
ZombiU Guide Essentials Hardware
Hardware: Inventory Resources—Items and Gear
This chapter details the different items, weapons, and other resources you have at your disposal during your journey through the ruins of Old London Town. For those who need to know meticulous details about exactly how resources are obtained, what benefits chocolate gives you, or what the rate of fire of a L9A1 Browning is, you’ve come to the right chapter.
GENERAL INFORMATION // PICKING UP RESOURCES
The term “resources” refers to anything you can gather as part of your adventure, including specific types of items such as upgrades or weapons. This section provides some general rules about how and why you gather particular resource types.
RESOURCE TYPES // STATIC AND RANDOM
There are two main types of resources: static and random.
STATIC RESOURCES
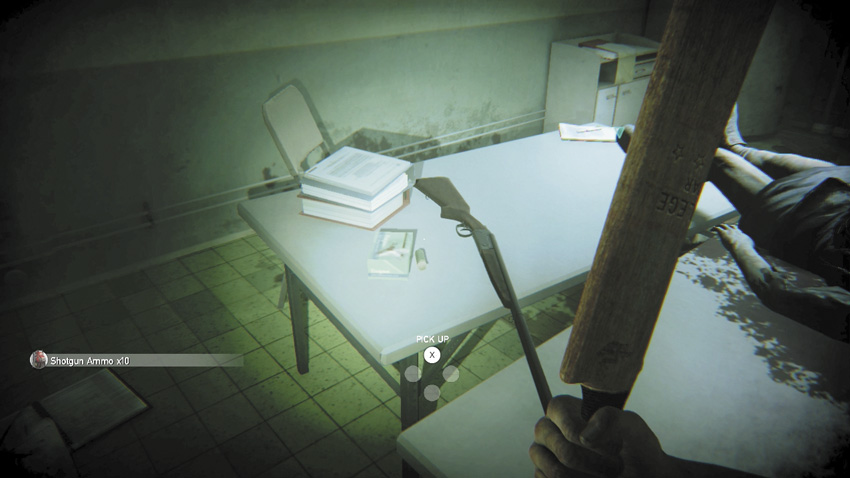
Some resources (including the first time you find a weapon), most upgrades, and mission-critical items (such as C4, the lockpicking tool, enhanced backpacks, pad upgrades, weapon upgrades, and Dee’s Letters) appear in the same location the first time you investigate it. These resources are then added to your inventory when you take them. Here are some additional notes regarding Static resources:
- If you die, these resources are kept in the backpack (BOB) of your previous Survivor, and you must hunt that Infected down, defeat it, and reclaim the backpack to secure all the items you previously gathered (and aren’t in your Safe House Chest back in the Safe House).
- If you die a second time, either fighting the previous Infected Survivor or before you have a chance to take the BOB, these resources are temporarily lost! This is obviously terrible news, and it’s imperative you prevent this from happening if at all possible.
- Once resources are “lost,” mission-critical items (such as gear, keycards, and other items you can’t finish your mission without) appear inside a small gray satchel at the point the initial Survivor died. Search and grab these immediately, or you’ll be stuck!
- Other resources such as health, projectiles (e.g., flares), ammo, and weapons you’ve collected are randomly distributed throughout London. The only way to find them is to stumble upon them or use the CCTV monitors in your Safe House. These list where “lost” resources are (by location), so you can mount a reconnoiter to salvage them.
- Salvaging resources takes a while and is quite dangerous, but it gets you back to the point you were at, before you failed so spectacularly. The moral of this story? Don’t die, and then don’t die a second time trying to kill your former Survivor!
RANDOM RESOURCES
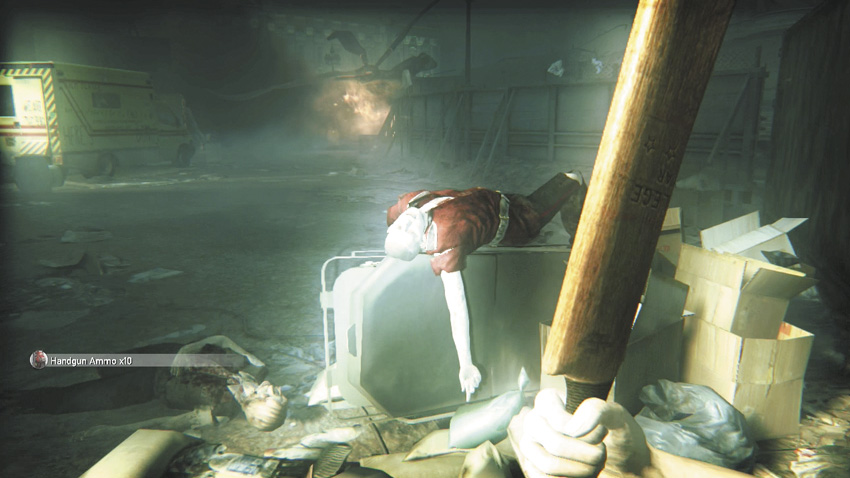
Most of the resources throughout London have been randomly placed. You find these resources in two ways: corpse looting and in situ.
Corpse Looting
These are resources available on an Infected, or an already-dead corpse.
- Scan the body or the Infected before you kill it to determine the type of resource it is carrying.
- Once you’re sure the corpse is dead, step up to it and loot it.
- The type of resource you find is randomly determined, based on your current status:
- Example 1: If your health is very low, the chances of seeing an Infected carrying a Medipack become more common.
- Example 2: If you’re low on or out of ammunition for your favored weapon, you’re more likely to see an Infected carrying that type of ammunition.
“In Situ”
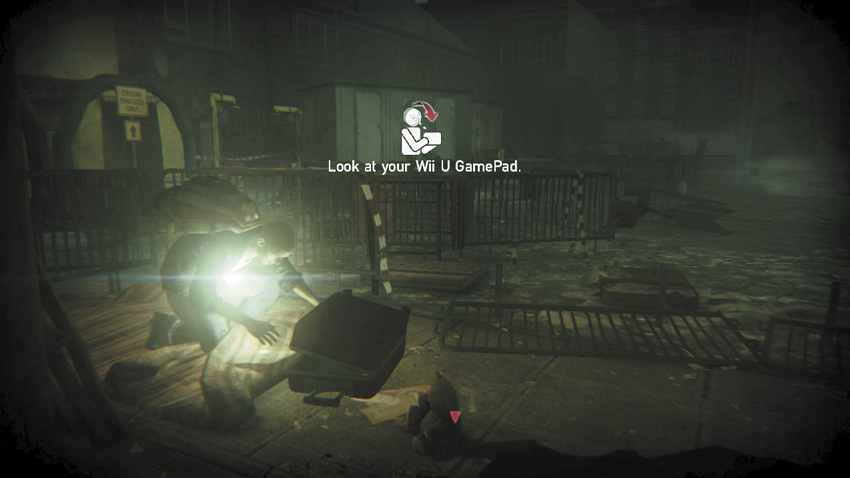
These are resources available in the environment.
- Such resources could be found inside any of the containers you can search, such as closets, lockers, file cabinets, or drawers. They could also be found on the ground, on benches, on tables, or on any other scenic object.
- When you see the HUD message “New Intel. Check Your CCTV Monitor,” you know that new resources have appeared in all of your previously explored maps. This occurs every time a Survivor dies and happens at specific points during your adventure (when you’re prompted to check your CCTV Monitors in the Safe House).
- Head to the Safe House CCTV Monitors, and check them for newly spawned resources. Then revisit any previously explored locale to gather more resources (and attack more Infected).
RESOURCE TYPES // GEAR // COMPLETE LIST
The largest selection of resources fit into the “Gear” category. They are all static items. They aren’t healing items, and they aren’t weapon-based and used to destroy the Infected, but they are critical to your progression. Some of this gear is unique, but some appear multiple times.
GEAR
BACKPACK (BOB)
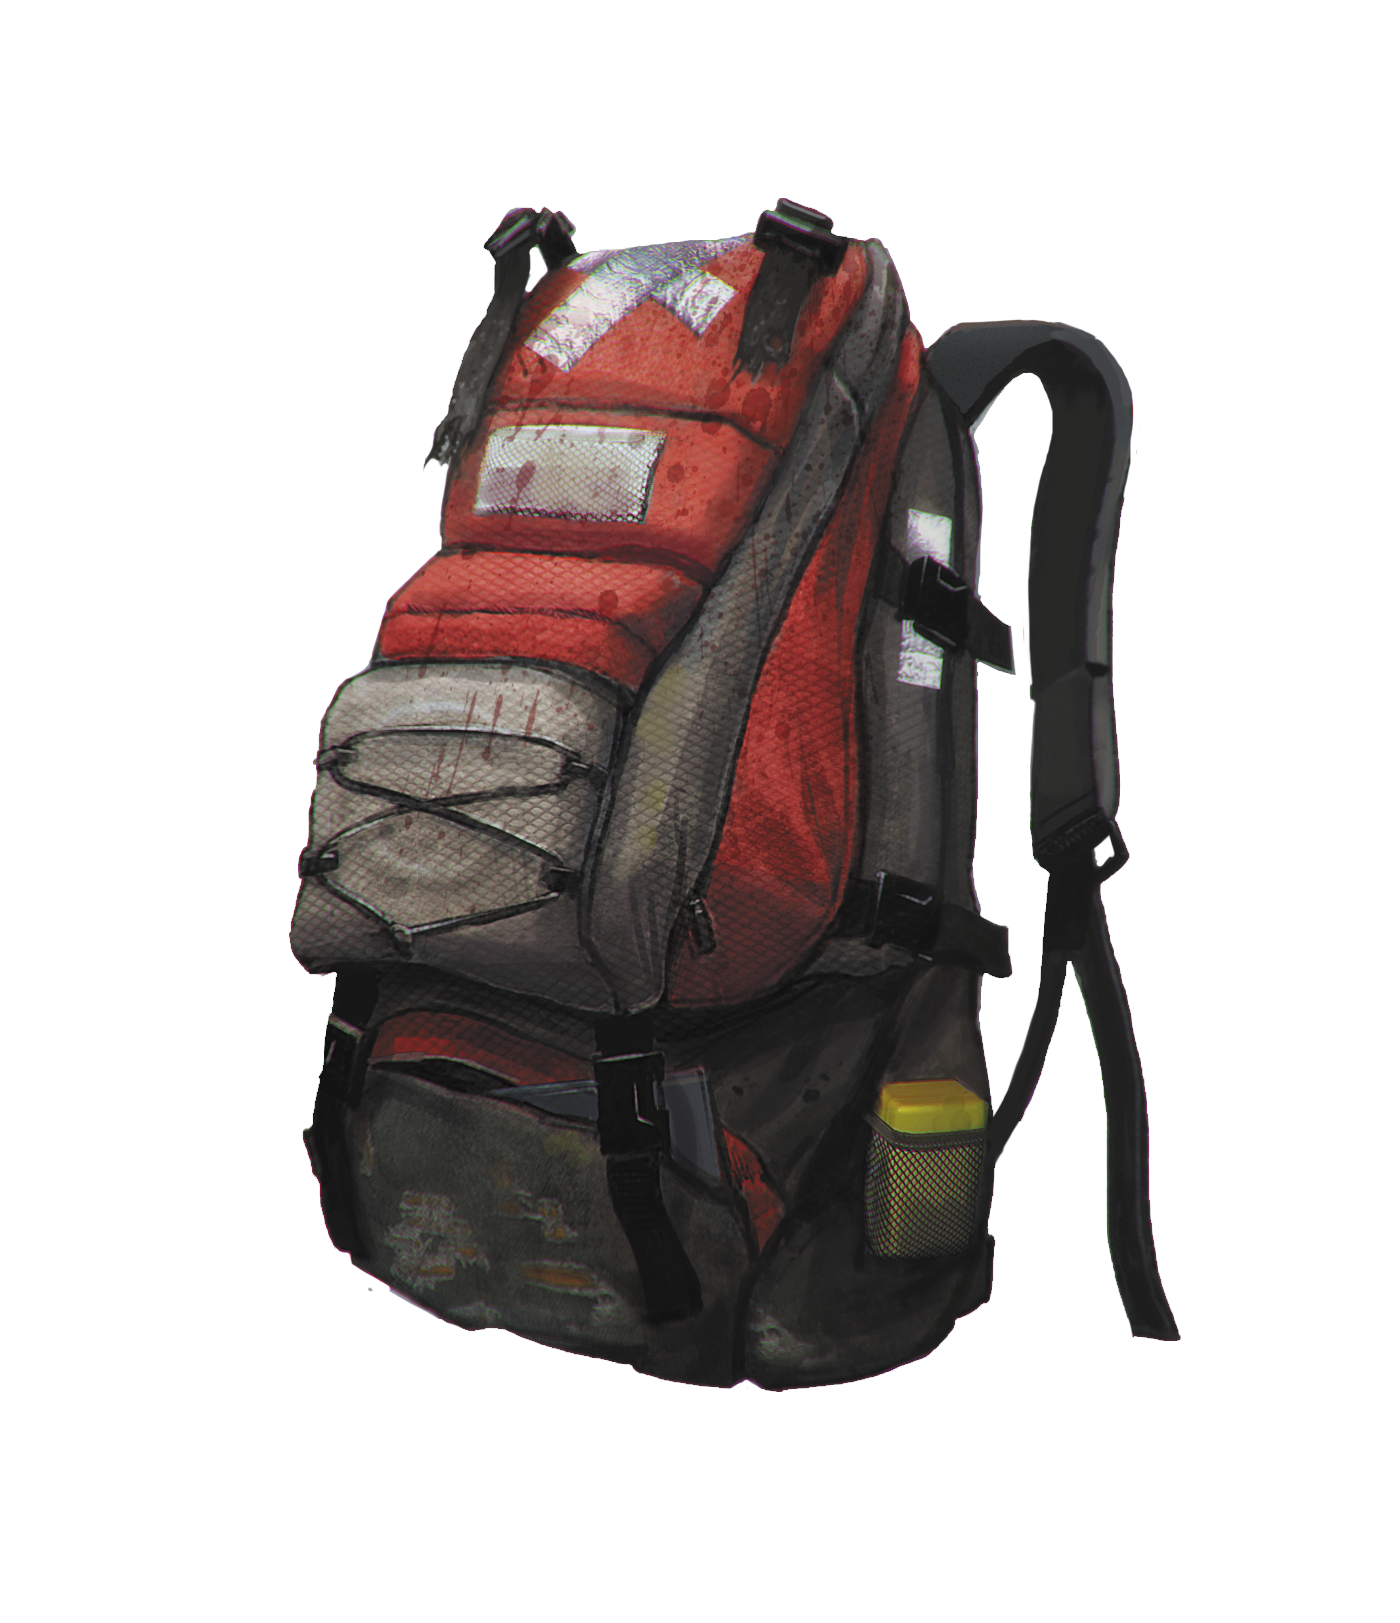
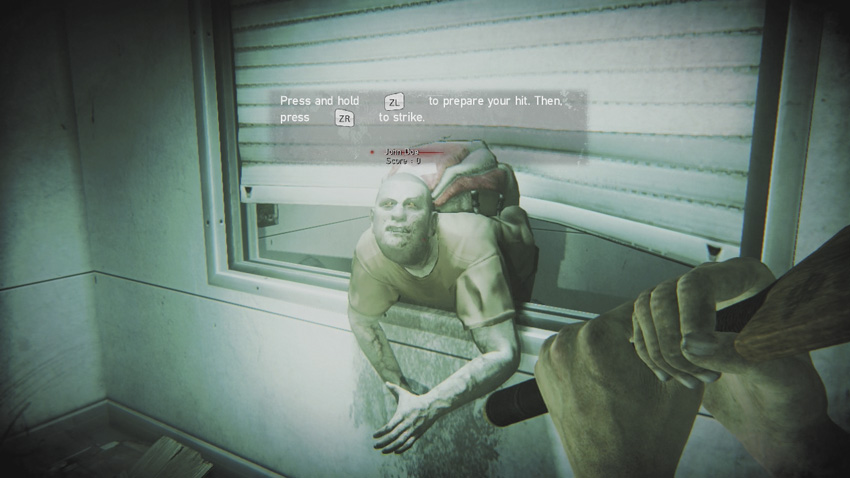
- Effect: Allows up to 10 items to be stored and carried.
- Where Found: Mission 01: Pried from the back of a recently deceased and newly infected Survivor, near the Safe House.
BACKPACK (BOB) // XL BACKPACK
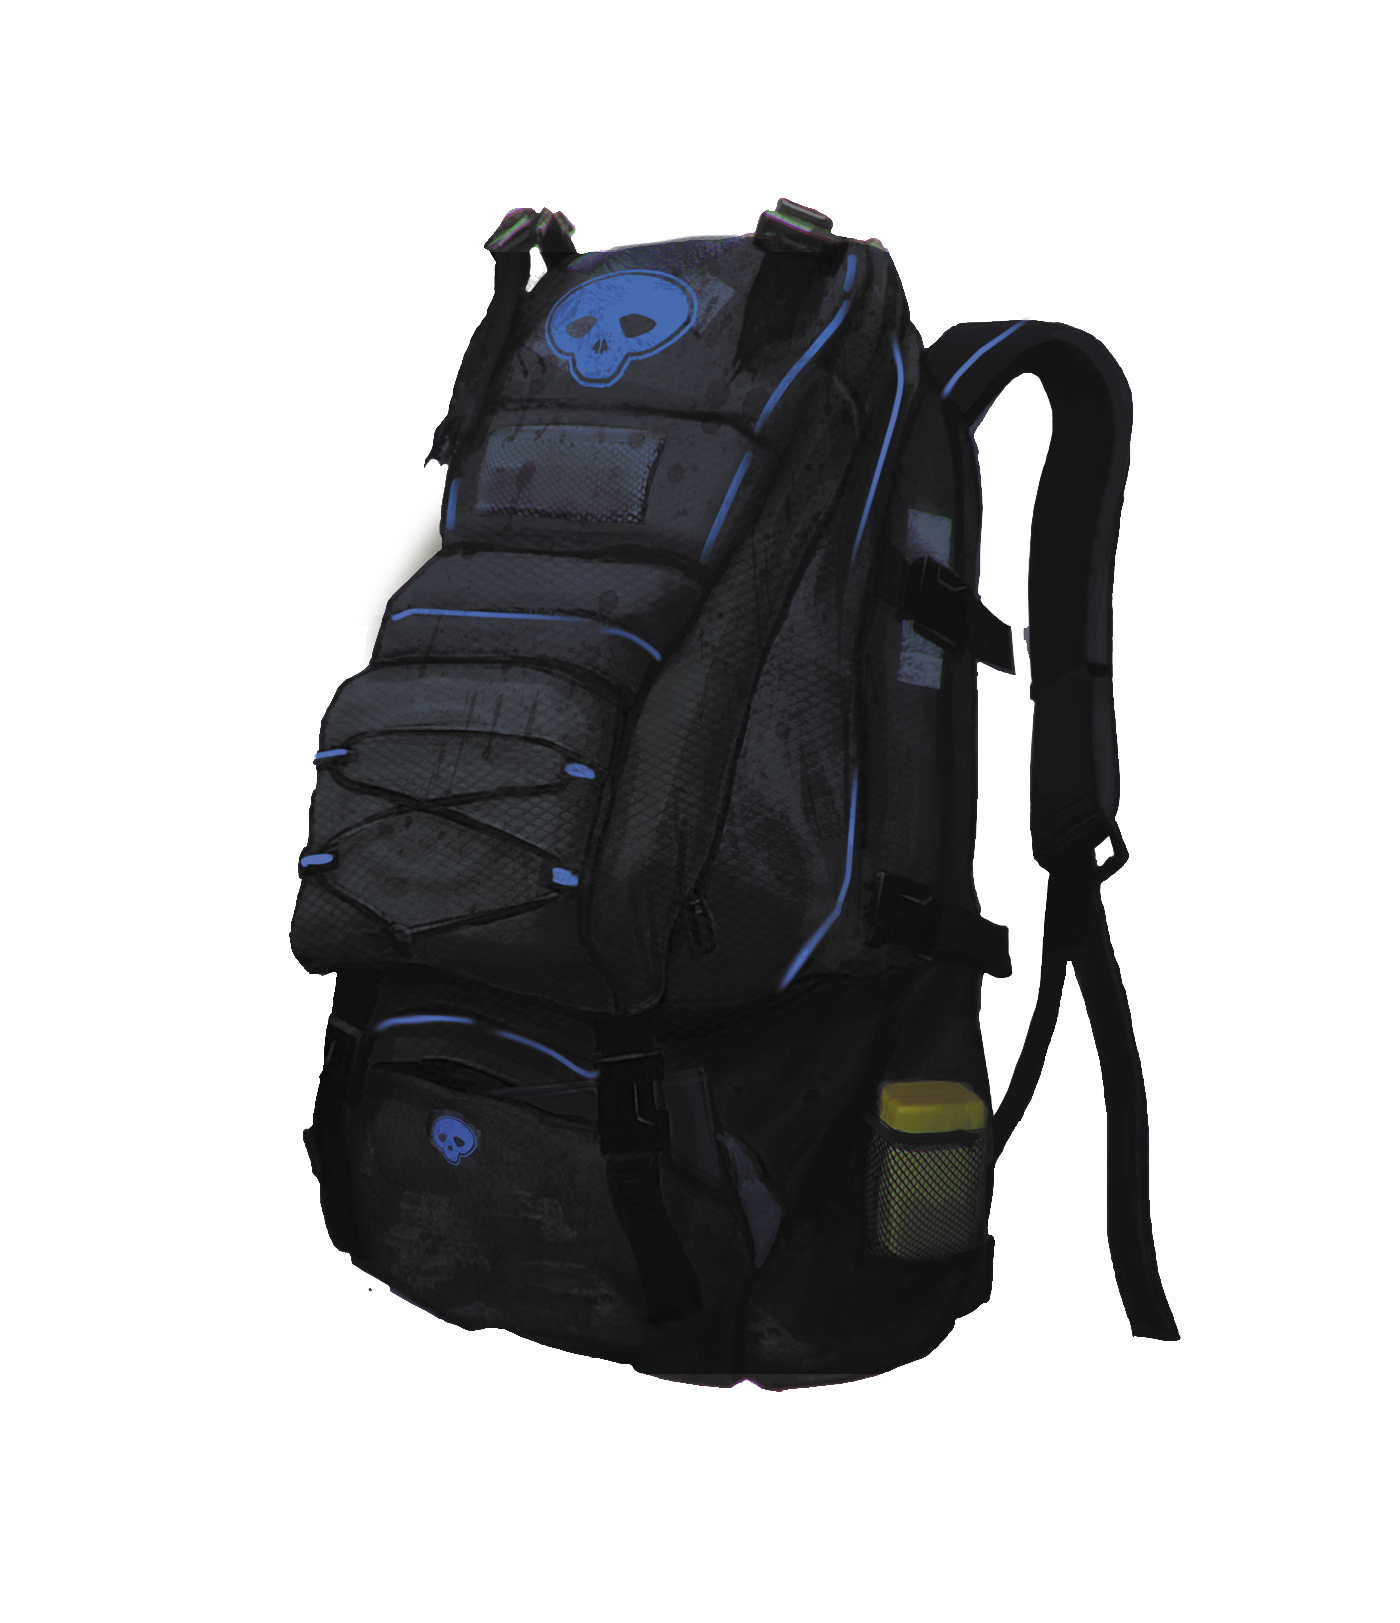
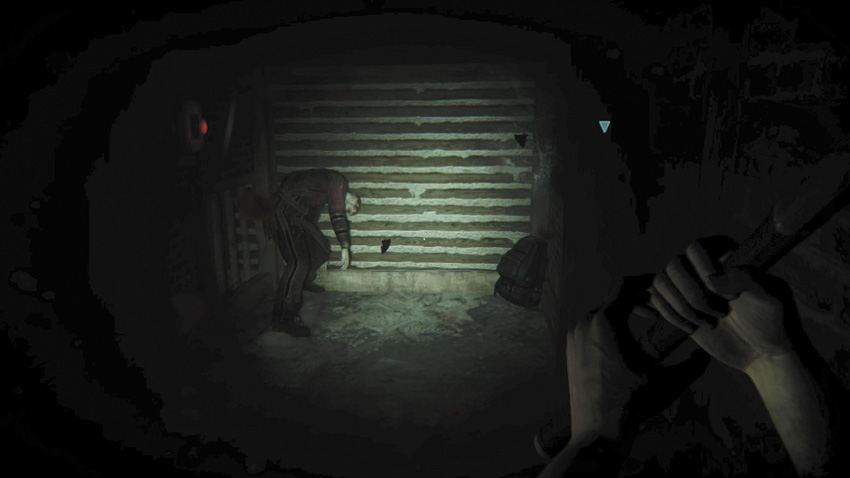
- Effect: Allows up to 12 items to be stored and carried.
- Where Found: Mission 06: Hidden in a long crawl space, found while exiting Buckingham Palace interior.
BACKPACK (BOB) // XXL BACKPACK
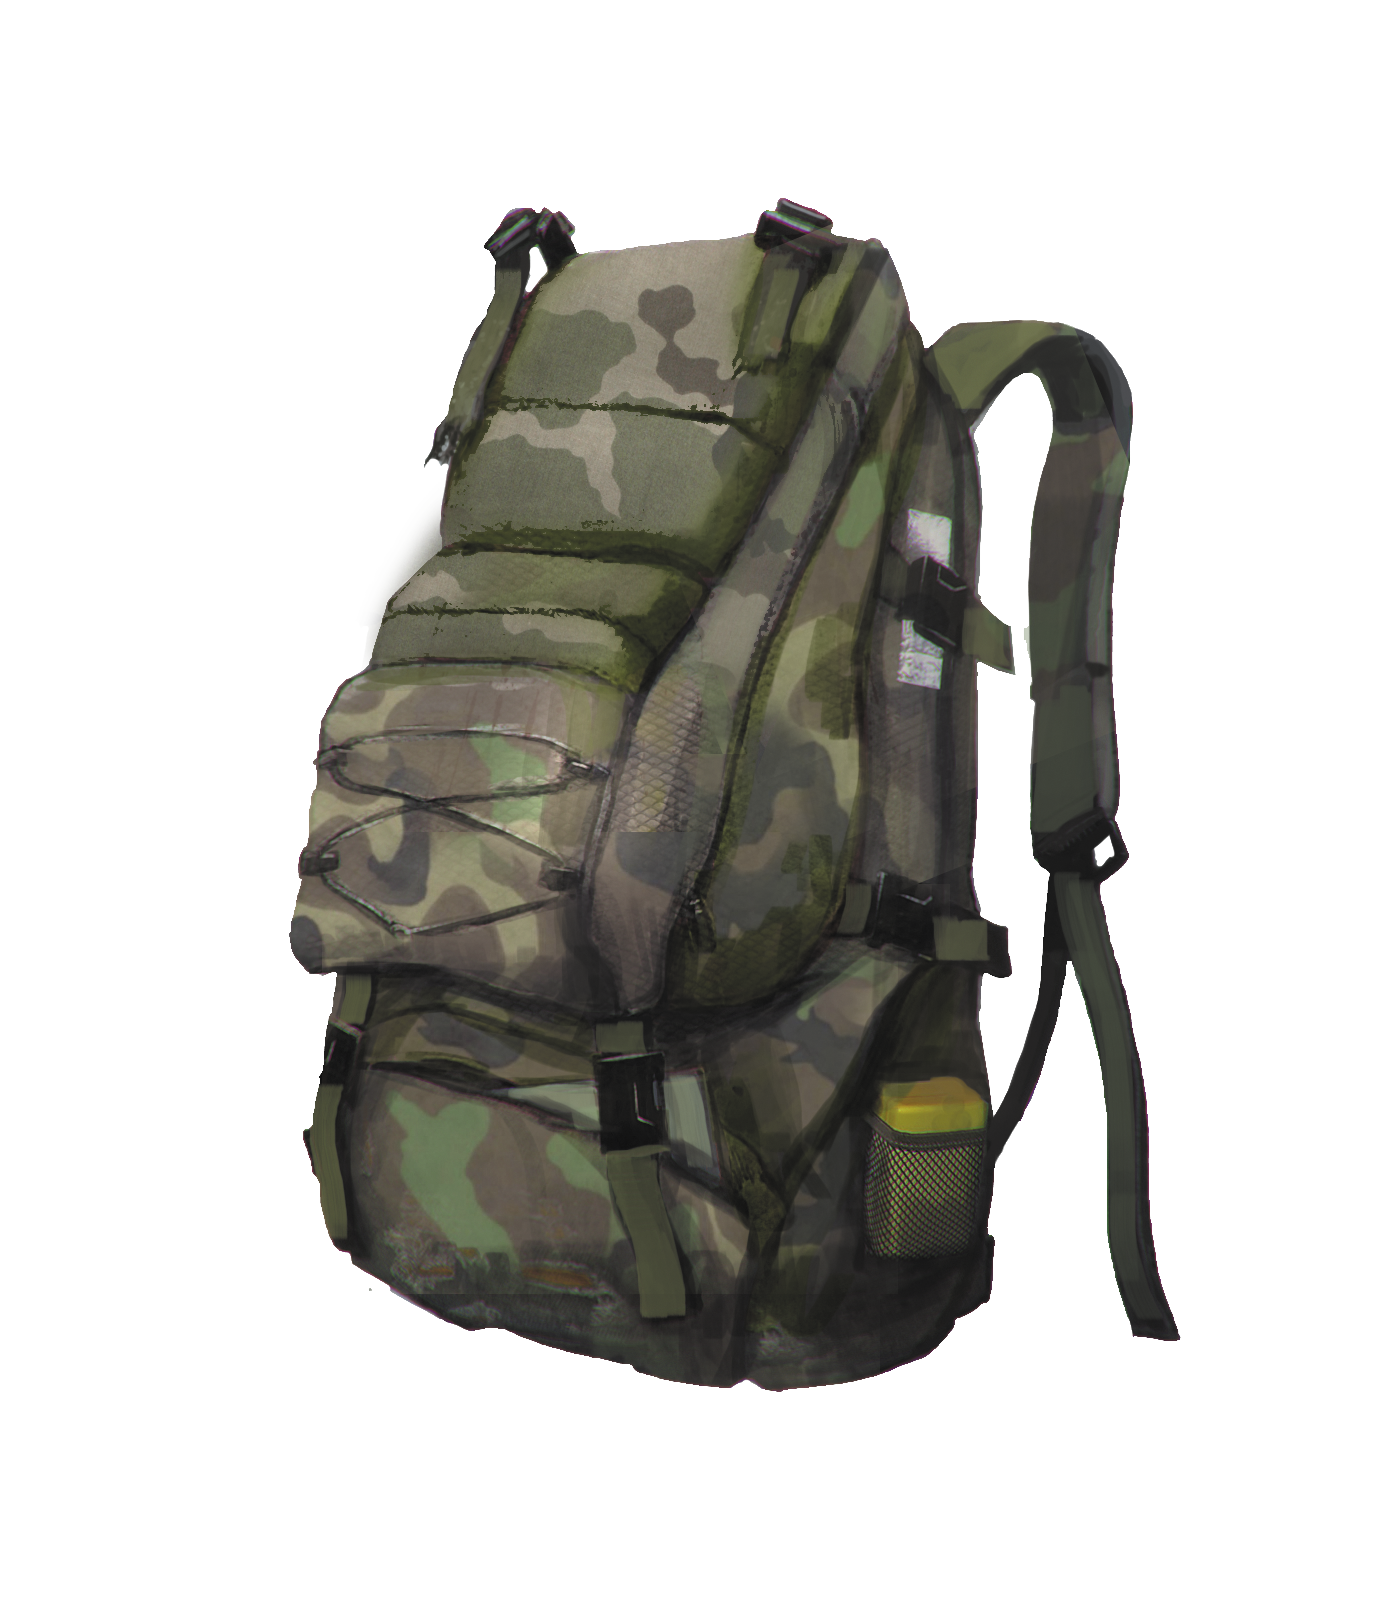
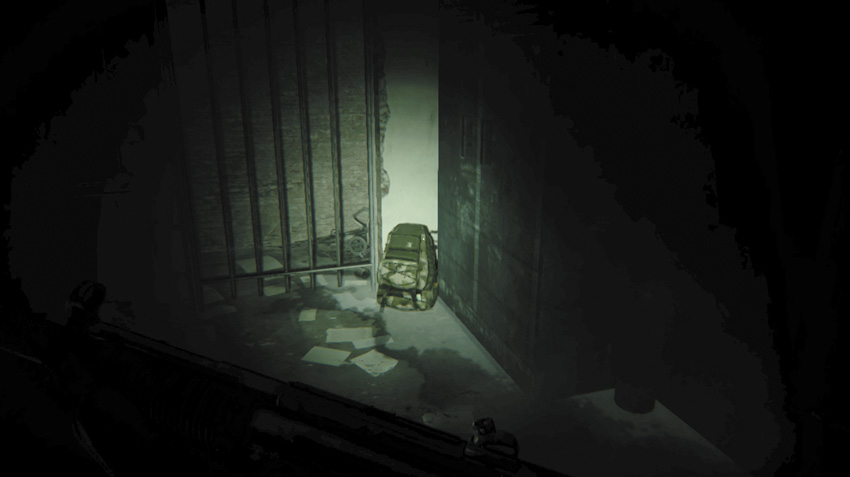
- Effect: Allows up to 16 items to be stored and carried.
- Where Found: Mission 11A: Spitalfields Green (Quaker Park), found in a dirt yard off the park, via a cracked wall; need C4 to uncover.
- This backpack initially allows you to carry up to 10 items (as you progress, XL and XXL Backpacks become available that increase the capacity still further). Certain items, such as ammunition, can be combined into a single slot; test this out by dropping items of the same type on top of each other.
- Place items you use the most in your corner “holsters” rather than in the bag, as you have to stop and search your backpack every time you want to use an item (except for ammunition, which can be reloaded, and planks, which are automatically used when needed).
- The only reason to keep ammo viewable at all times (in your holsters) is if you want a specific count of how many bullets you have left.
- Remember to discard any items you don’t want or wish to return to grab at a later date; just drop them from either slot cluster or the BOB. It’s also a good idea to gather items, return to the Safe House, and deposit in the Safe House Chest anything you aren’t using right now.
FLASHLIGHT
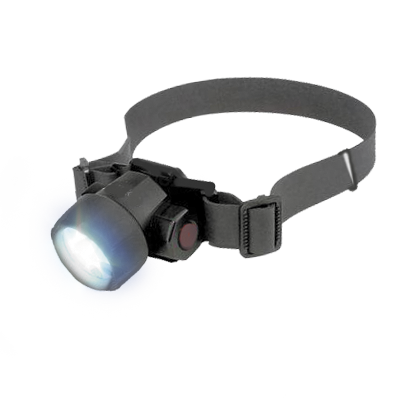
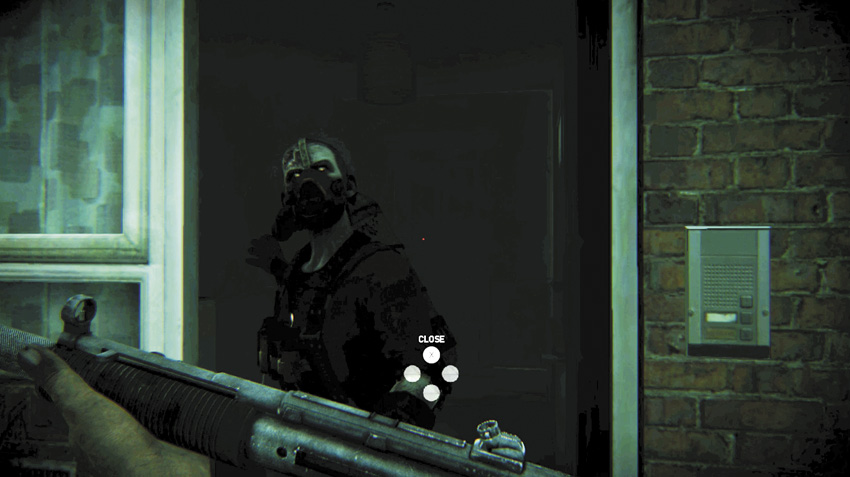
- Effect: Lights your way; attracts Infected.
- Where Found: Mission 00: On your person at the start of your adventure.
- The flashlight, also known as a torch, illuminates the area around you and is strapped to your chest.
- It runs off a special battery that ticks down from 99 to 0, flickering when only 10 points of power are left.
- It takes around 250 seconds, or just over four minutes, for the battery to die, after which the flashlight recharges, taking around 10 seconds to reach full power again.
- You can turn the flashlight off [1] and on [2] from your Prepper Pad, even during the time it takes to recharge (the power points tick down from where the recharge level reached, or you can wait for a full recharge).
- The Infected are drawn to this light, so you need to balance seeing a location in better light compared to attracting attention from rotting foes.
- It’s usually helpful to keep the flashlight on at all times when you’re first exploring an area, unless specified in this guide.
- It is also much safer to turn the flashlight off and let it recharge when you’re in a safe area, in between investigations and battles.
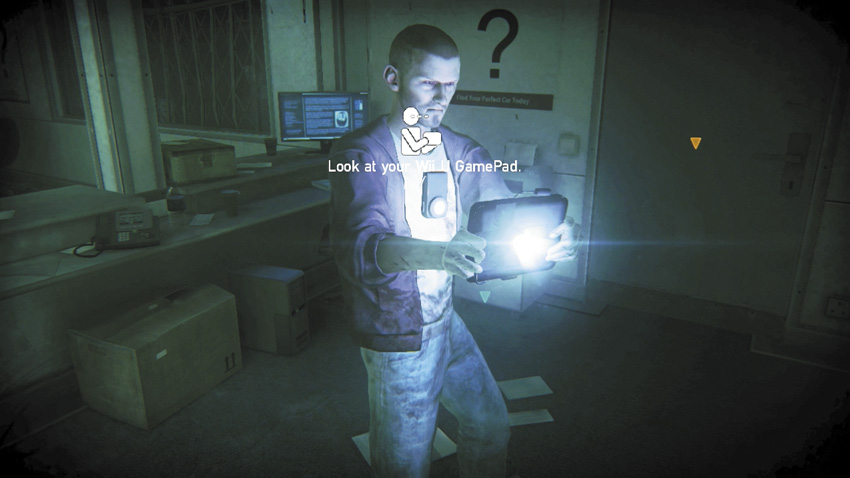
- The Prepper Pad also gives off light when used as a scanner. Be wary of that, too!
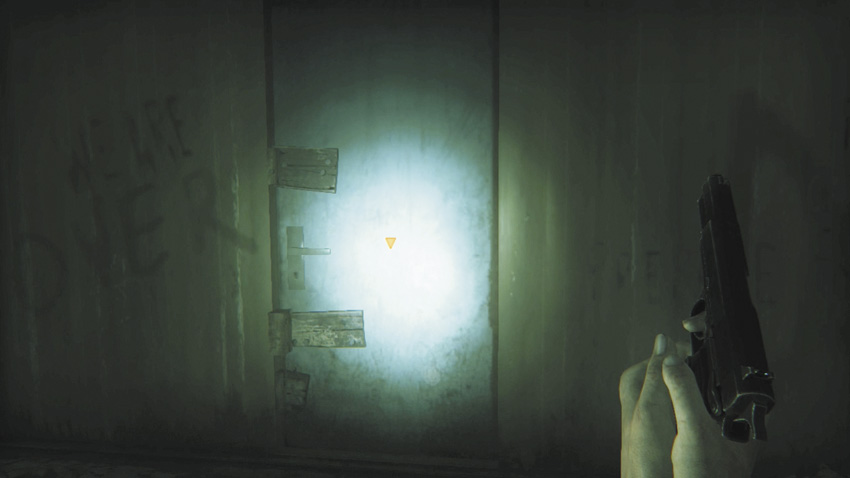
HAMMER
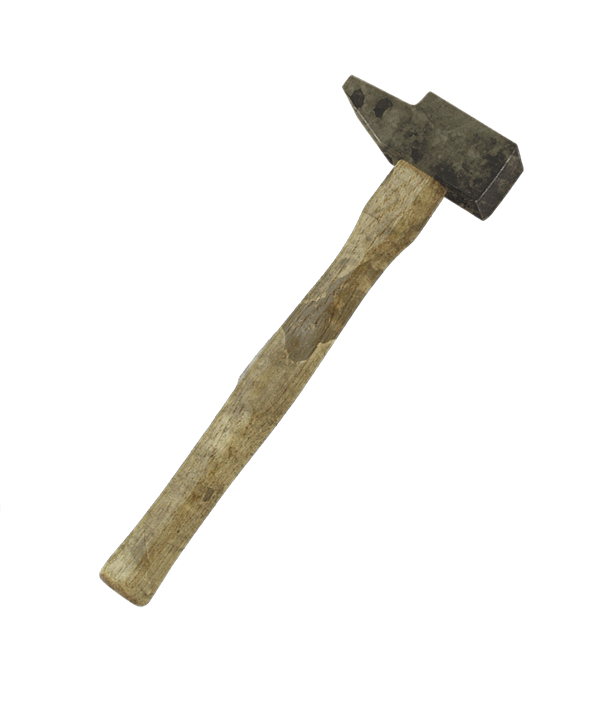
ITEM // PLANKS
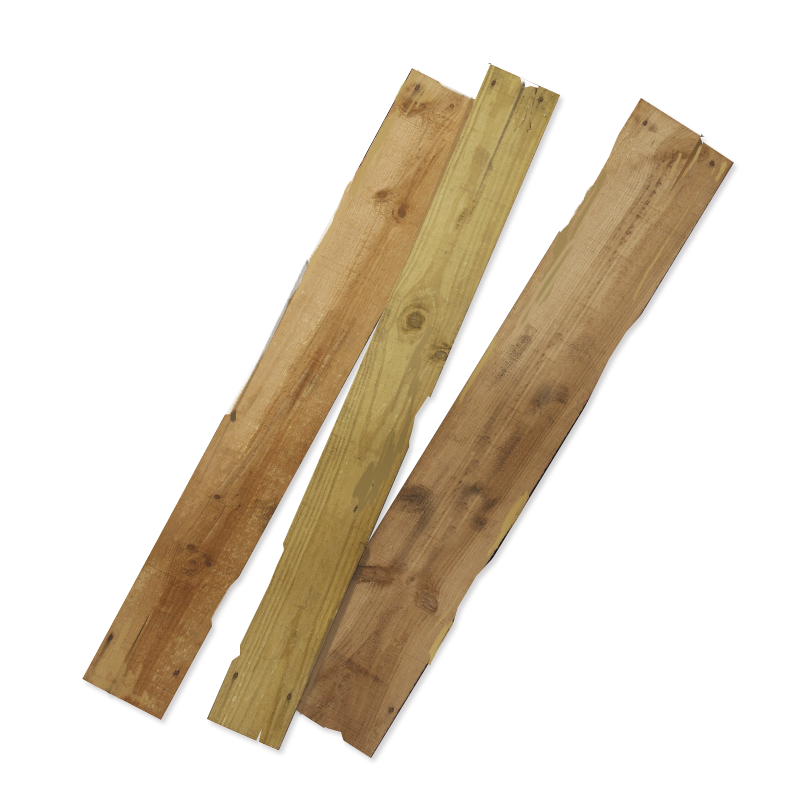
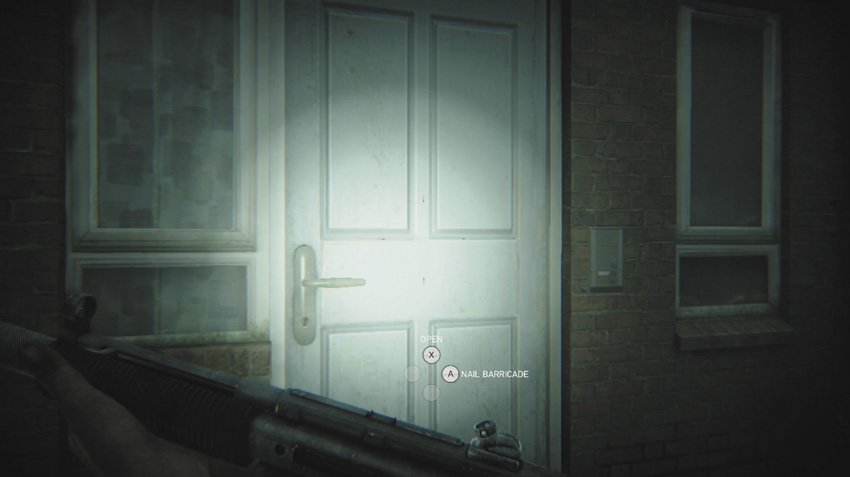
- Effect: Allows you to build or remove barricades.
- Where Found: Mission 02: Inside a metal cabinet within Brick Lane Supermarket.
- The hammer allows you to remove any barricades from doors that you, or anyone else, have made.
- It also allows you to erect a barricade (effectively strengthening a door so the Infected can’t open it). This uses up one set of “planks.”
- To remove barricades, tap your GamePad rapidly. This works in the same way as removing manholes, and it takes roughly eight “taps” to dislodge the cover.
- See if you can rapidly tap your GamePad eight times (use both thumbs and one finger) to shorten the time you’re doing this as much as possible (as you’re open to attack in more dangerous areas).
SPRAY CAN
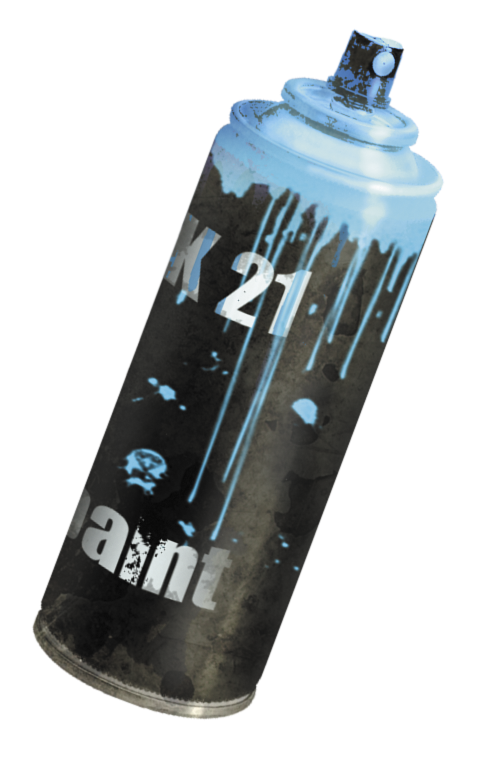
- Effect: Enables you to write online messages.
- Where Found: Safe House (and three other locations; see walkthrough for details).
- This item can be found at several locations, but the easiest way to get it is to loot the closet near the Safe House’s manhole.
- As soon as you get the spray can, it will not be available anymore in the other locations. Look to the maps in this guide if you want to know the other locations.
- Make sure you’re online, then utilize the spray can as described in the previous chapter to “tag” areas of interest for your friends to investigate (for example, indicate treasure or a horde, depending on how helpful you want to be with your messages!).
LOCKPICKING TOOL
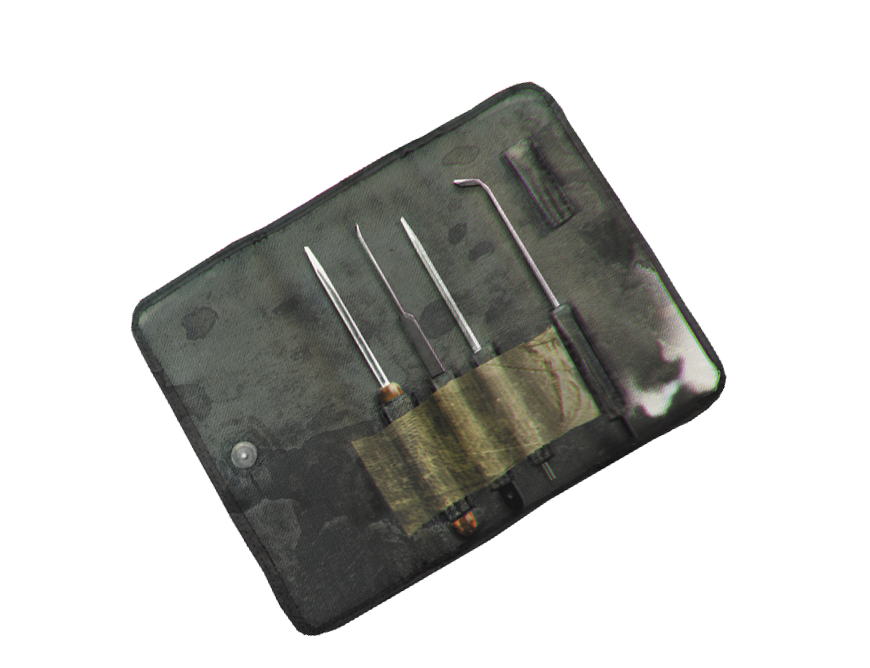
- Effect: Some locked doors and gates can be picked.
- Where Found: Mission 04: Victoria Memorial, in the metal container, close to the Shelter, near the palace gates.
- Certain doors are marked as “locked,” but not all can be opened by this tool. Doors that don’t allow the lockpicking tool are usually sealed from the other side and require you to enter from a different direction or to use another item.
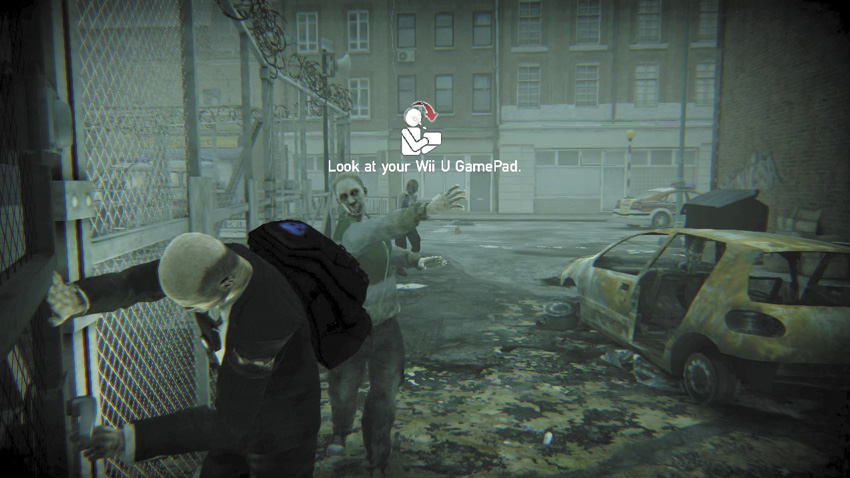
- Use your finger or thumb on the GamePad screen to line up with the end of the tool, moving it in a curve until a white circle around the lock forms.
- Move the tool left and right until the circle forms, then stop. Once the circle is formed, repeat this process until the entire lock is compromised and you can open the door.
PREPPER PAD
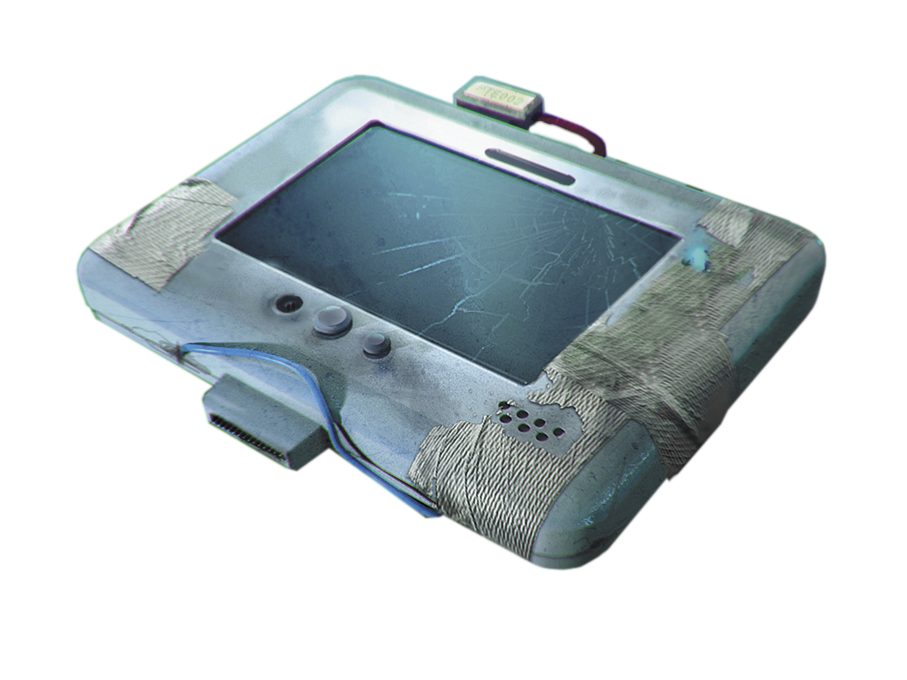
- Effect: Offers communication, mapping, resource management, and other functionality.
- Where Found: Mission 01: Inside the Safe House, on the workbench.
- The Prepper Pad is the ultimate all-in-one survival device. You can upgrade its smart-map, scanner, and radar as you progress. The number on the Prepper Pad icon indicates its level. The higher the Pad’s level, the more features become available.
- The Prepper Pad links directly to the Prepper, and he communicates to you through this. Don’t lose it!
The following upgrades are available for this valuable piece of equipment:
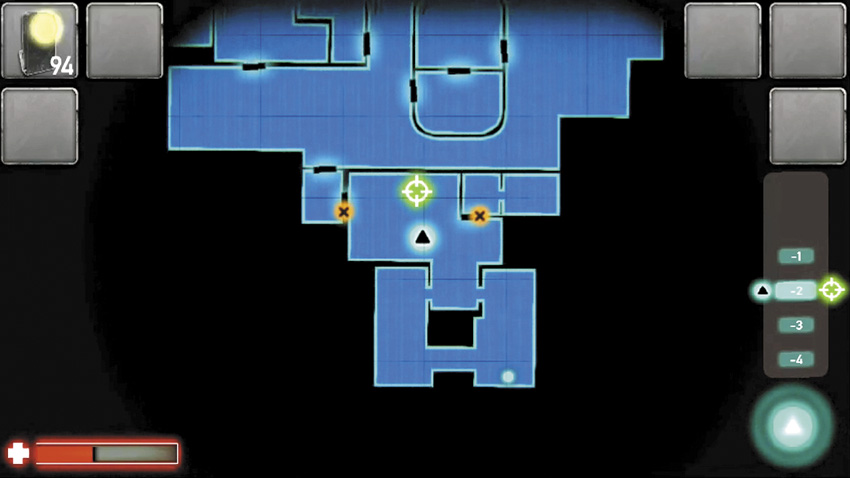
- Prepper Pad Level: 0
- Features: Holster
- How Upgraded?: Available immediately
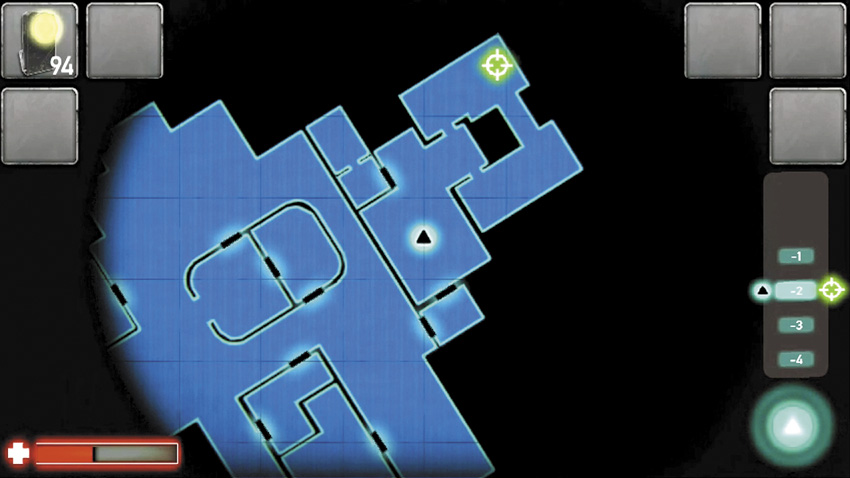
- Prepper Pad Level: 1
- Features: Map
- Upgrade 1: Smart Map
- How Upgraded?: Available immediately
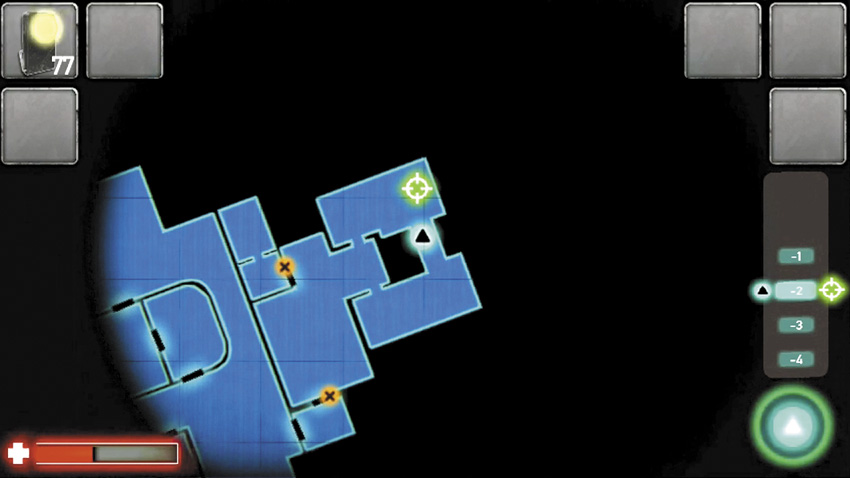
- Prepper Pad Level: 1
- Features: Map
- Upgrade 2: Objective markers
- How Upgraded?: Available immediately
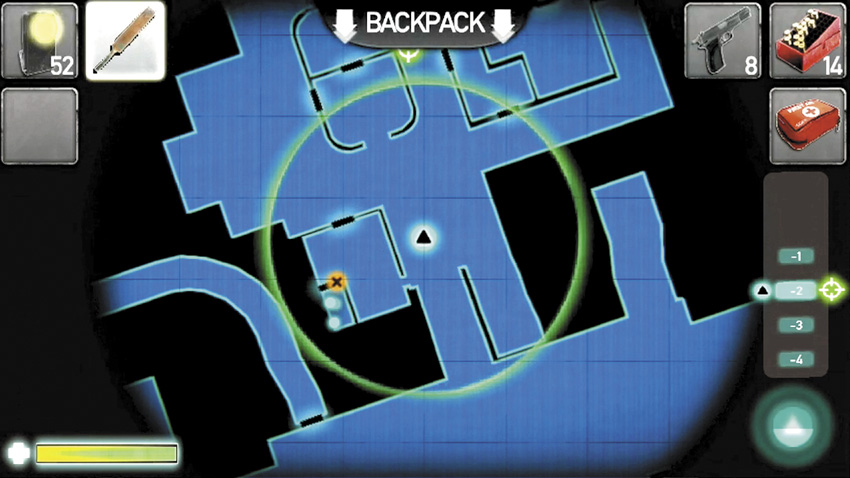
- Prepper Pad Level: 1
- Features: Map
- Upgrade 3: Manual radar
- How Upgraded?: Available immediately
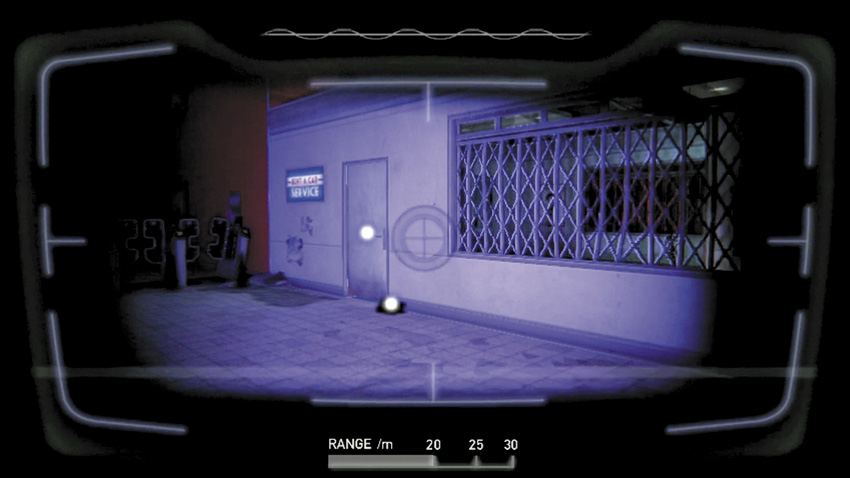
- Prepper Pad Level: 1
- Features: Scanner
- Upgrade 1: Short-range scanning (20 meters)
- How Upgraded?: Available immediately
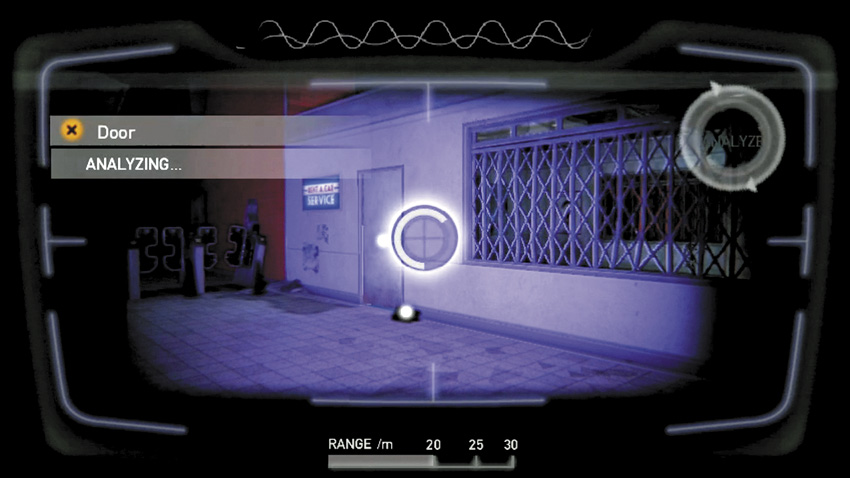
- Prepper Pad Level:1
- Features: Scanner
- Upgrade 2: Object scanning (“Analyzing”)
- How Upgraded?: Available immediately
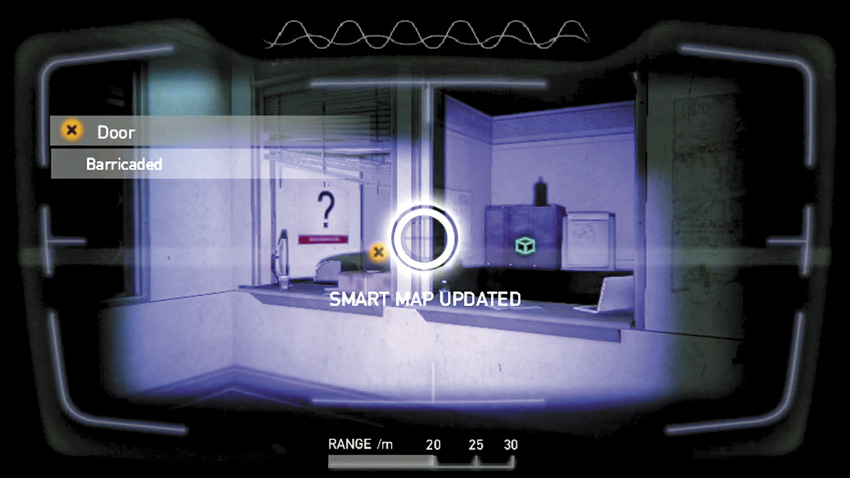
- Prepper Pad Level: 1
- Features: Scanner
- Upgrade 3: Object tagging
- How Upgraded?: Available immediately
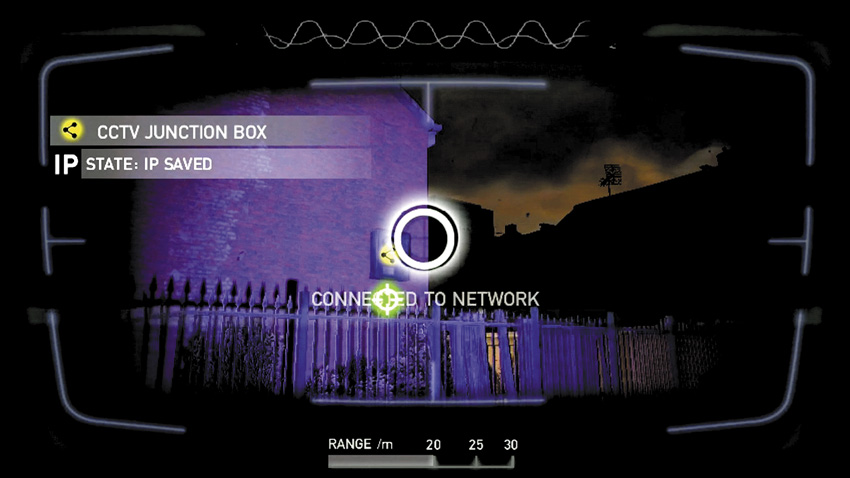
- Prepper Pad Level: 1
- Features: Scanner
- Upgrade 4: CCTV Junction Box hacking
- How Upgraded?: Available immediately
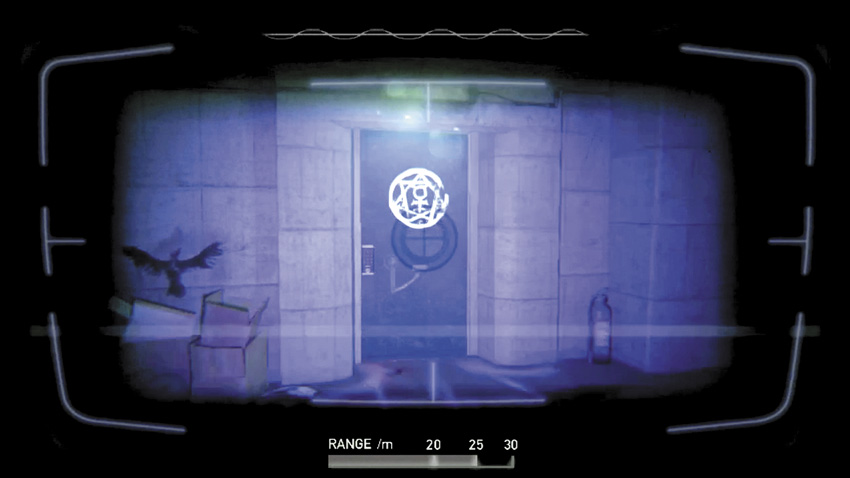
- Prepper Pad Level: 1
- Features: Scanner
- Upgrade 5: Black Light Utilization
- How Upgraded?: Available immediately
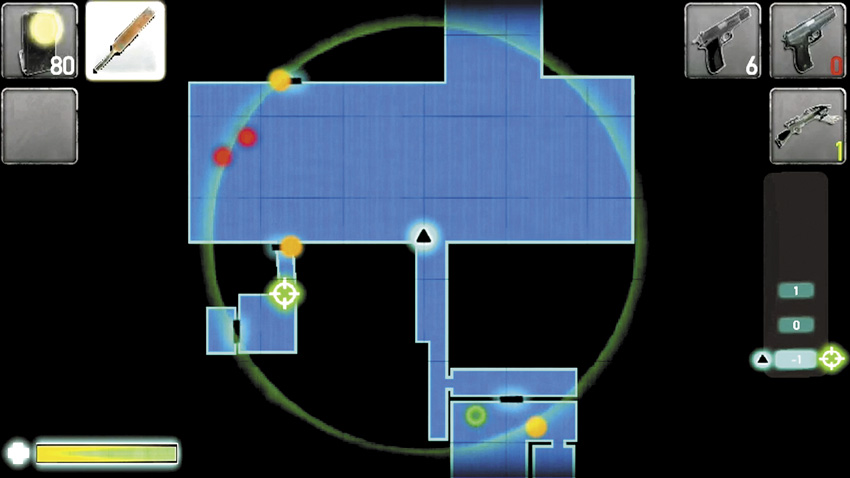
- Prepper Pad Level: 2
- Features: Map
- Upgrade 4: Longer-range radar
- How Upgraded?: Mission 06: Upgrade by Dr. Knight
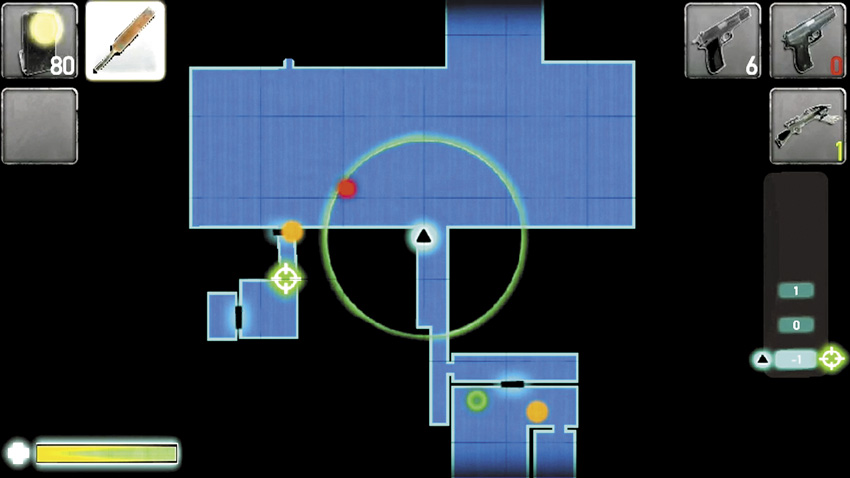
- Prepper Pad Level: 2
- Features: Map
- Upgrade 5: Automatic radar
- How Upgraded?: Mission 06: Upgrade by Dr. Knight
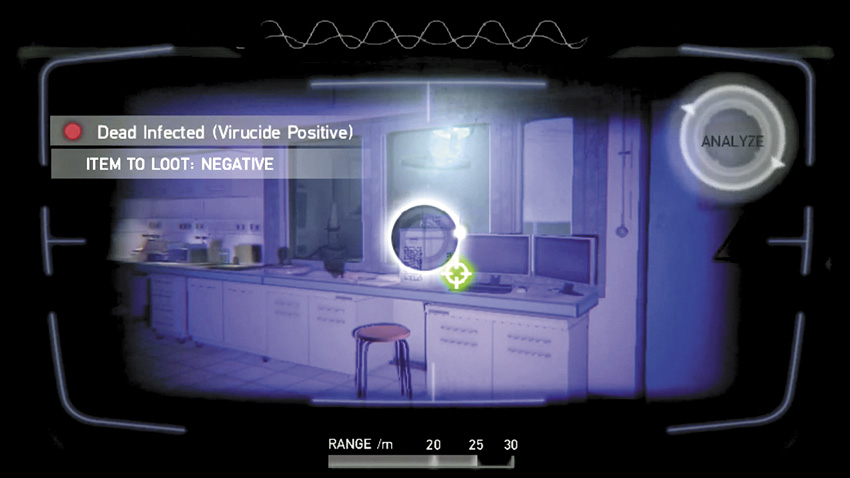
- Prepper Pad Level: 2
- Features: Scanner
- Upgrade 6: Infected Virucide scanning
- How Upgraded?: Mission 06: Upgrade by Dr. Knight
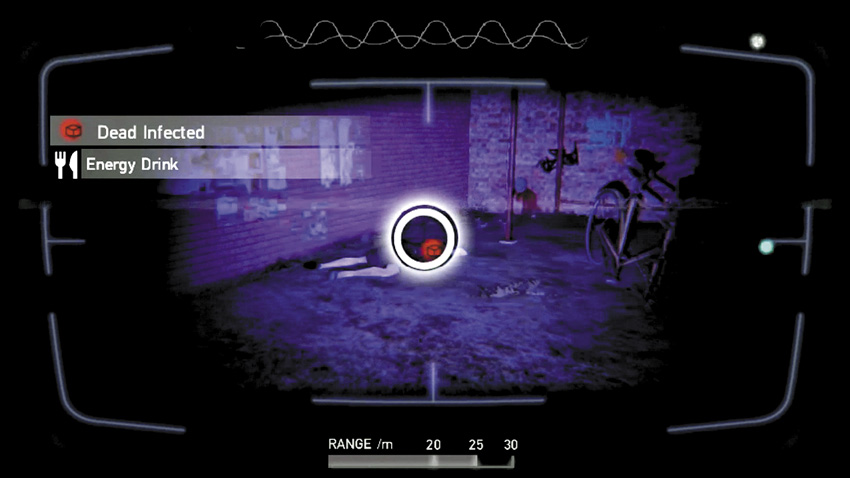
- Prepper Pad Level: 2
- Features: Scanner
- Upgrade 7: Infected item scanning (information)
- How Upgraded?: Mission 06: Upgrade by Dr. Knight
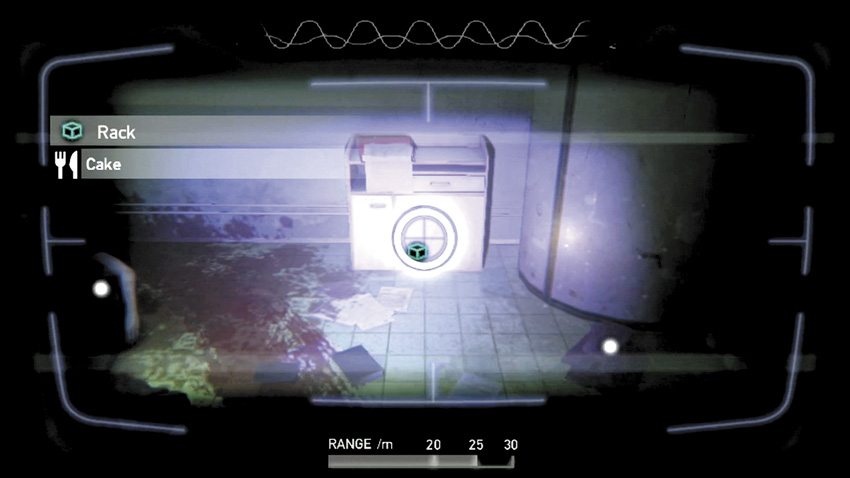
- Prepper Pad Level: 2
- Features: Scanner
- Upgrade 8: Container item scanning (information)How Upgraded?: Mission 06: Upgrade by Dr. Knight
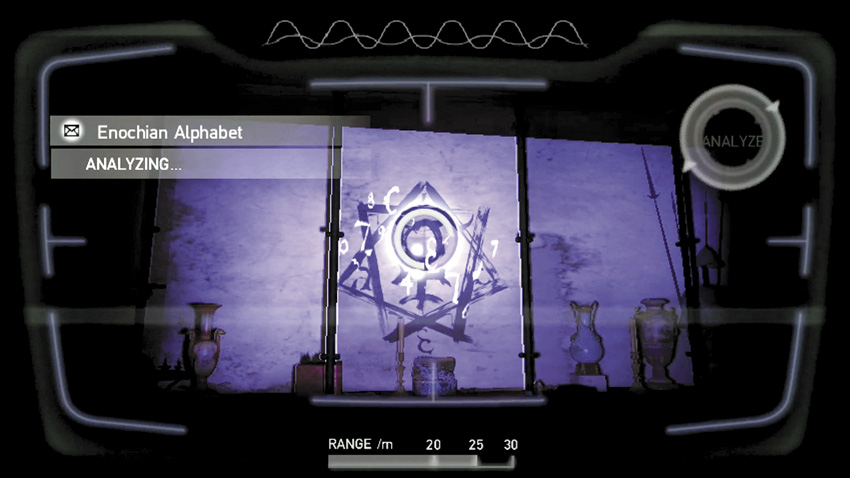
- Prepper Pad Level: 3
- Features: Scanner
- Upgrade 9: Decipher Enochian alphabet
- How Upgraded?: Mission 10: Upgrade in Raven’s Bunker
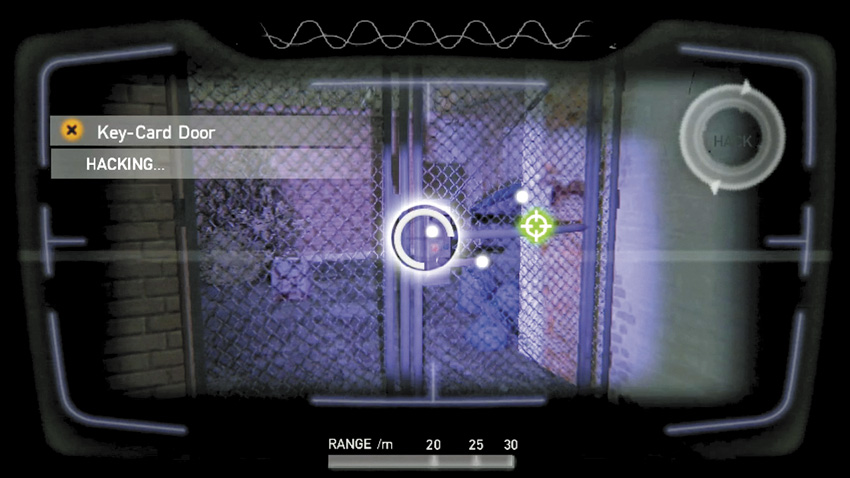
- Prepper Pad Level: 4
- Features: Scanner
- Upgrade 10: Door/system hacking Mission 11B:How Upgraded?: Upgrade at Vikram’s Petrol Station
LETTERS OF DEE

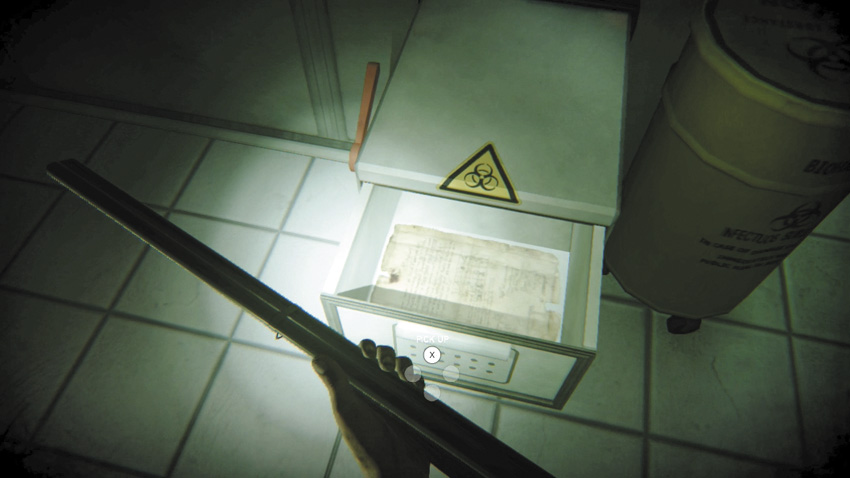
- Effect: Knowledge is gained regarding the historical documentation of the Blight by Dee.
- Where Found: Mission 08: Various locations across London.
- In order to complete this adventure, you need to locate and gather all seven of these collectible letters.
- They provide some historical context, and Dr. Knight requires them in the Palace Bunker.
- Look to the walkthrough and the appendices for their locations.
VIRUCIDE SYRINGE
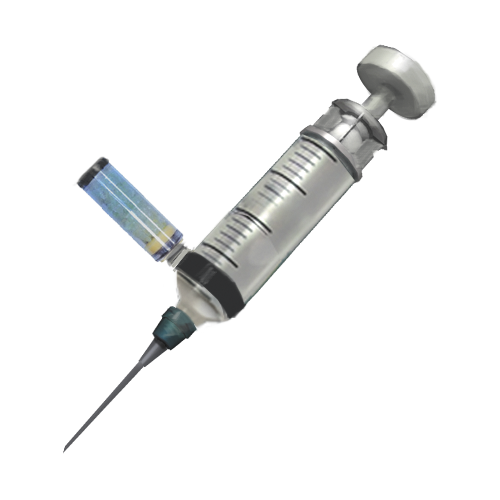
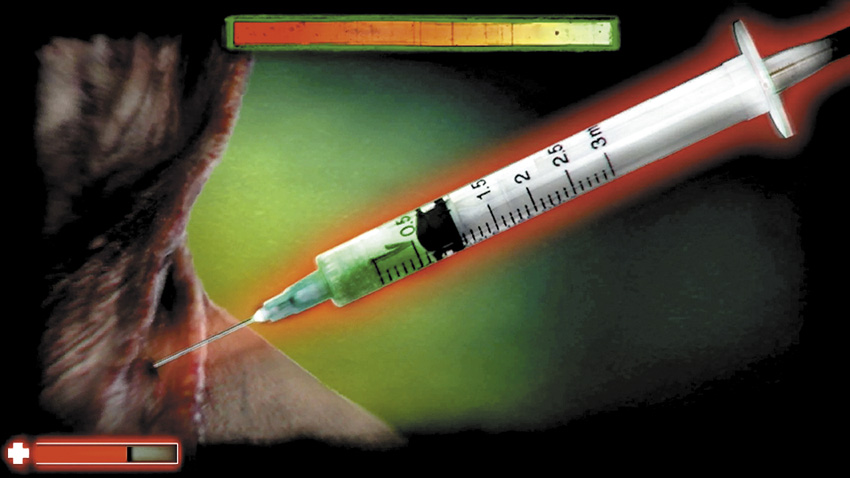
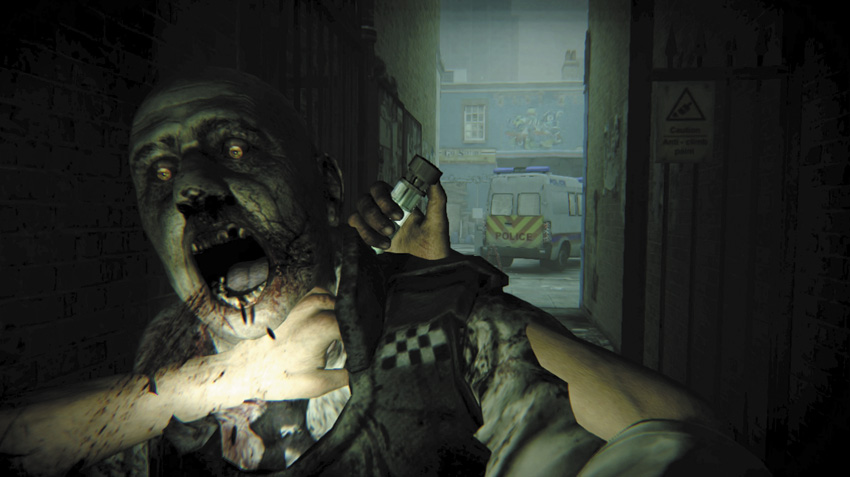
- Effect: Injects a foe with poison, preventing them from grabbing and eating you.
- Where Found: Mission 06: Palace Bunker, inside Dr. Knight’s Laboratory (first occasion).
- Dr. Knight hands you the Virucide syringe toward the end of Mission 06.
- The syringe is filled by plunging it into the corpse of an Infected that has specific antibodies.
- Not all Infected carry these antibodies. You can kill all foes and search them individually, or you can scan them to discover if they have the antibodies prior to attacking them.
- When the syringe is full, you can plunge it (by hitting quickly) into the neck of a foe that is trying to grab and eat you, killing it and saving your life.
- When the syringe is empty, it needs to be refilled as soon as possible.
- This essentially grants you another life, saving you from being killed during a grab.
RESOURCE TYPES // ITEM // FOOD AND MEDIPACKS
The following items revive you to some degree. They can all appear as static or random items. Consume them by placing them in your corner clusters (holsters) to access them easily. Or stop and rummage in your backpack and then consume them. Each health item adds the following points back to your health:
FOOD AND MEDIPACKS
SODA
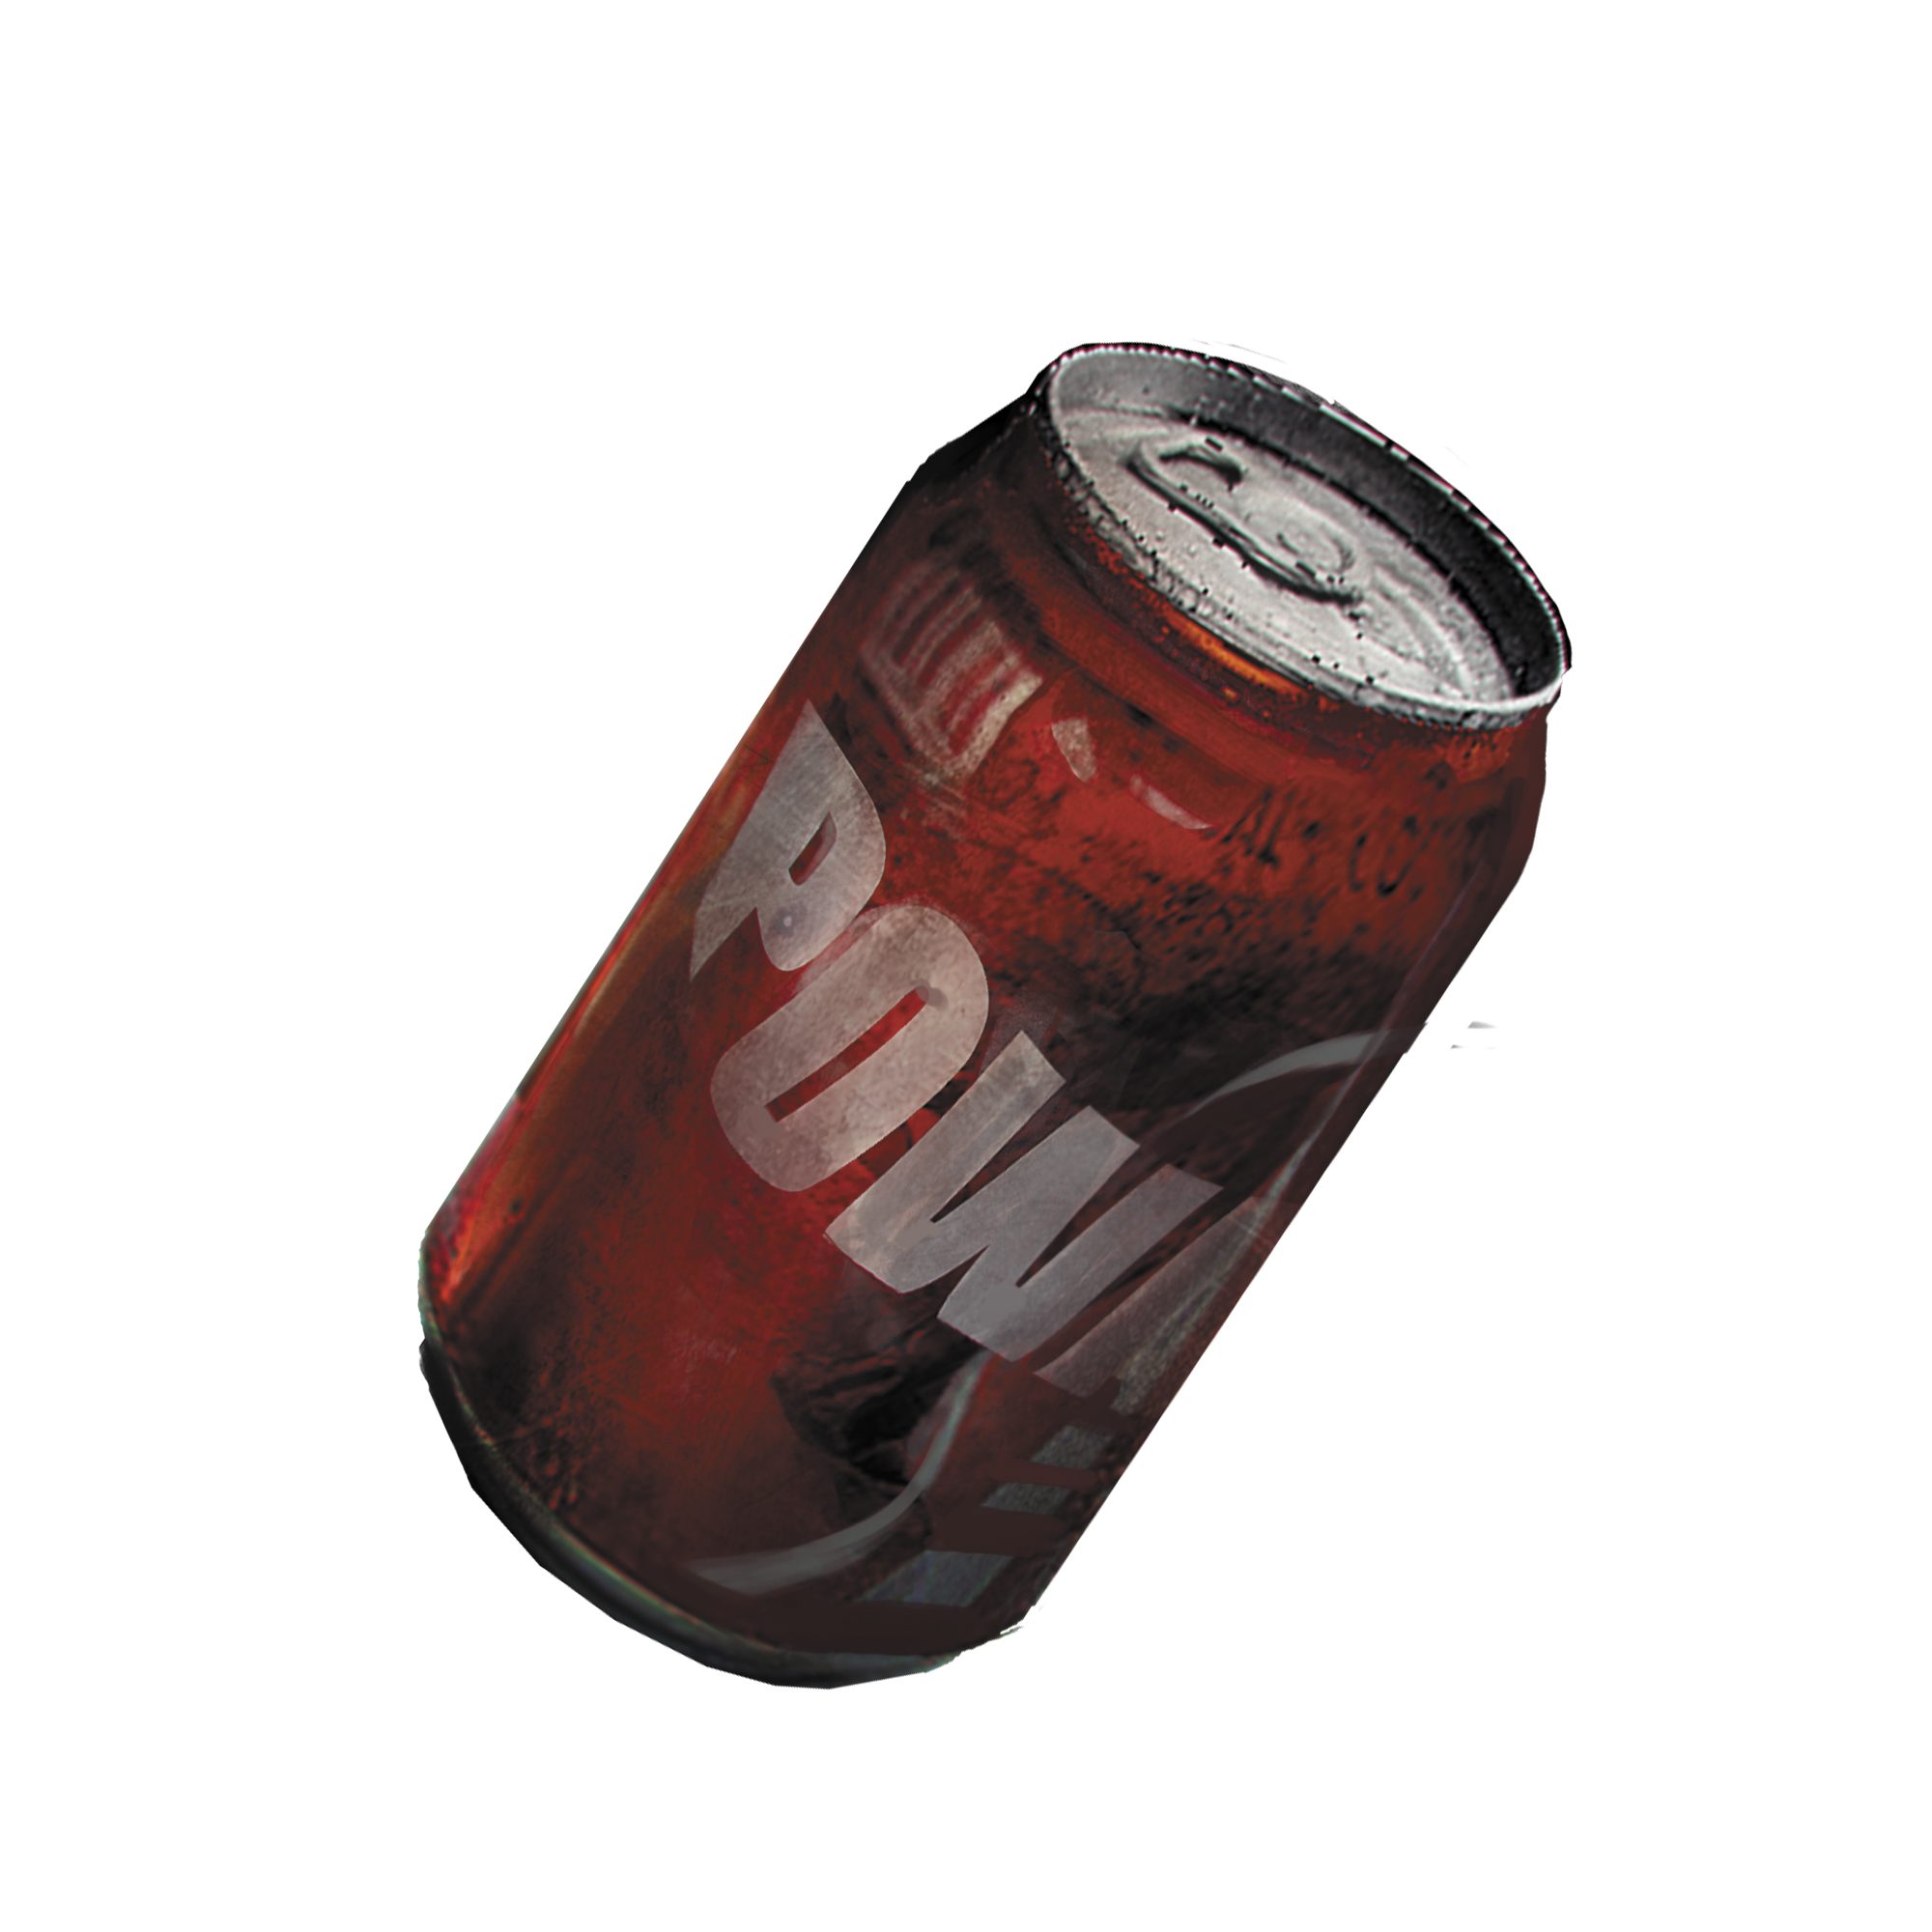
- Effect: HP +10
A thirst-quenching soft drink.
CHOCOLATE
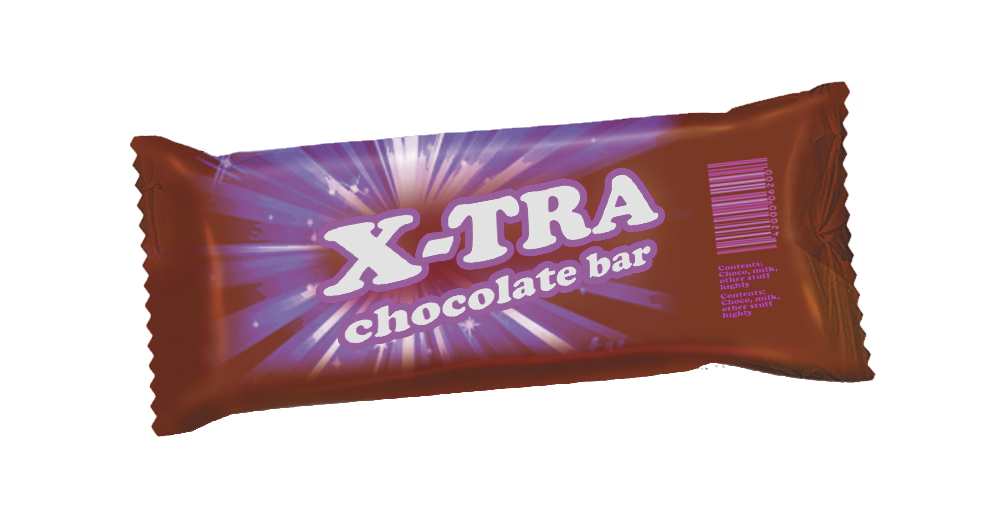
- Effect: HP +10
A delicious bar of fine English chocolate.
ENERGY DRINK
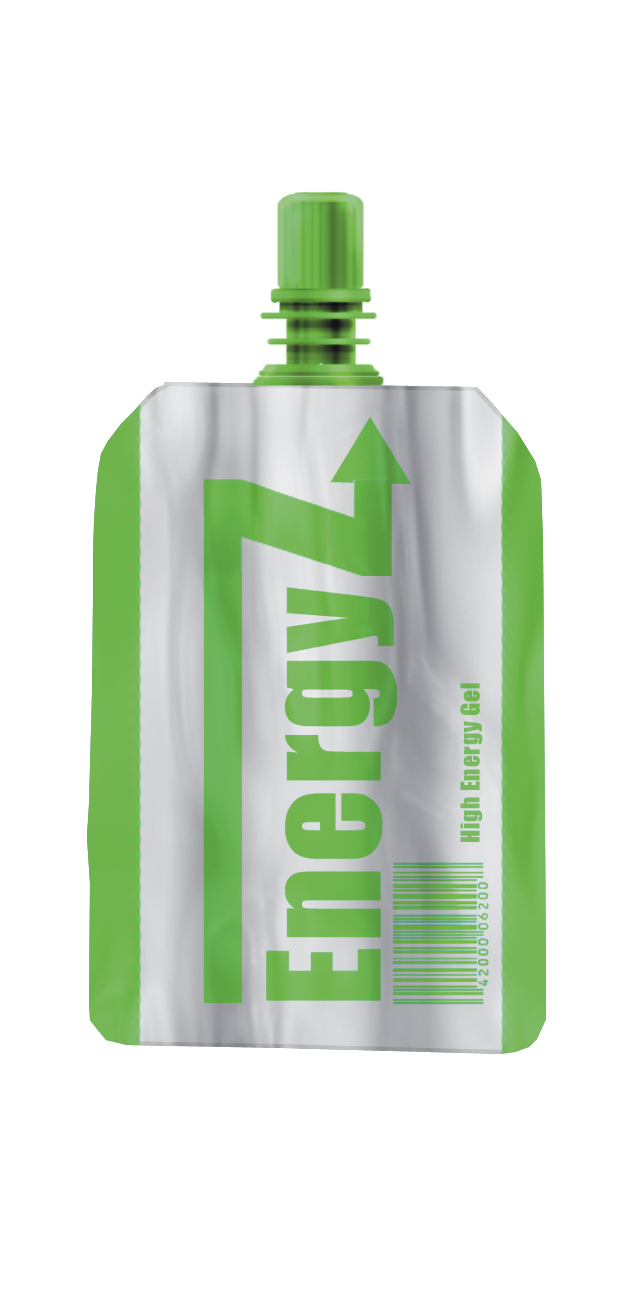
- Effect: HP +10
A fortifying drink to keep you up and peaking.
FRUIT JUICE
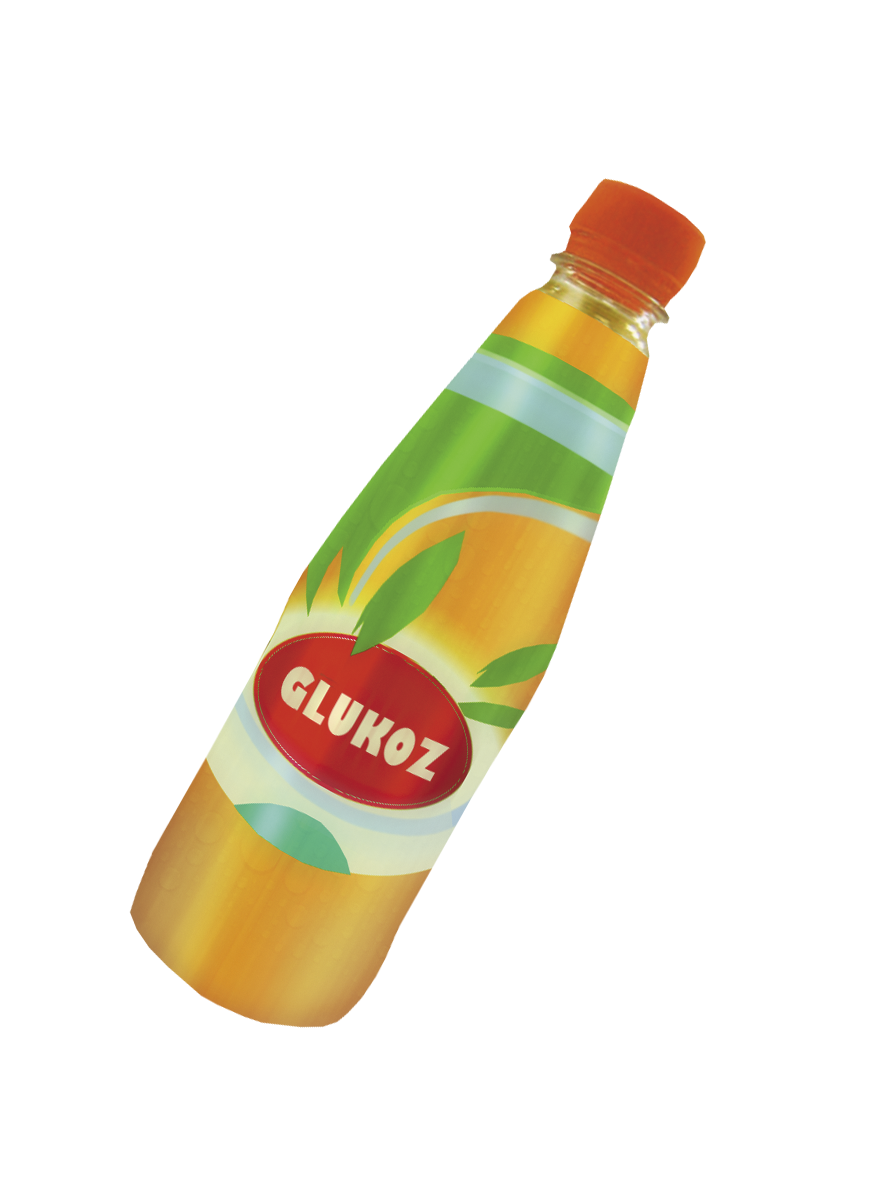
- Effect: HP +10
Made with real fruit puree! And lots of sugar.
CAKE
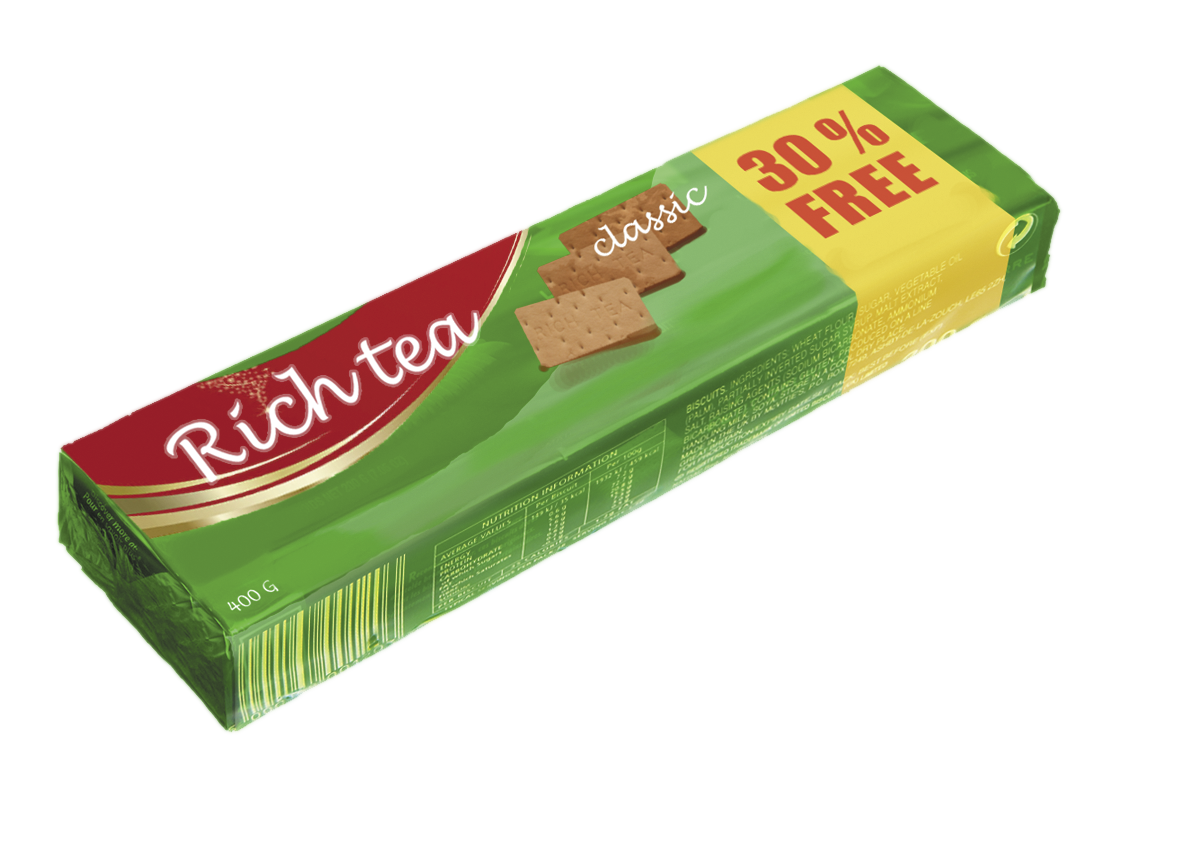
- Effect: HP +20
A dense, moist treat that really hits the spot.
MEDIUM MEDIPACK
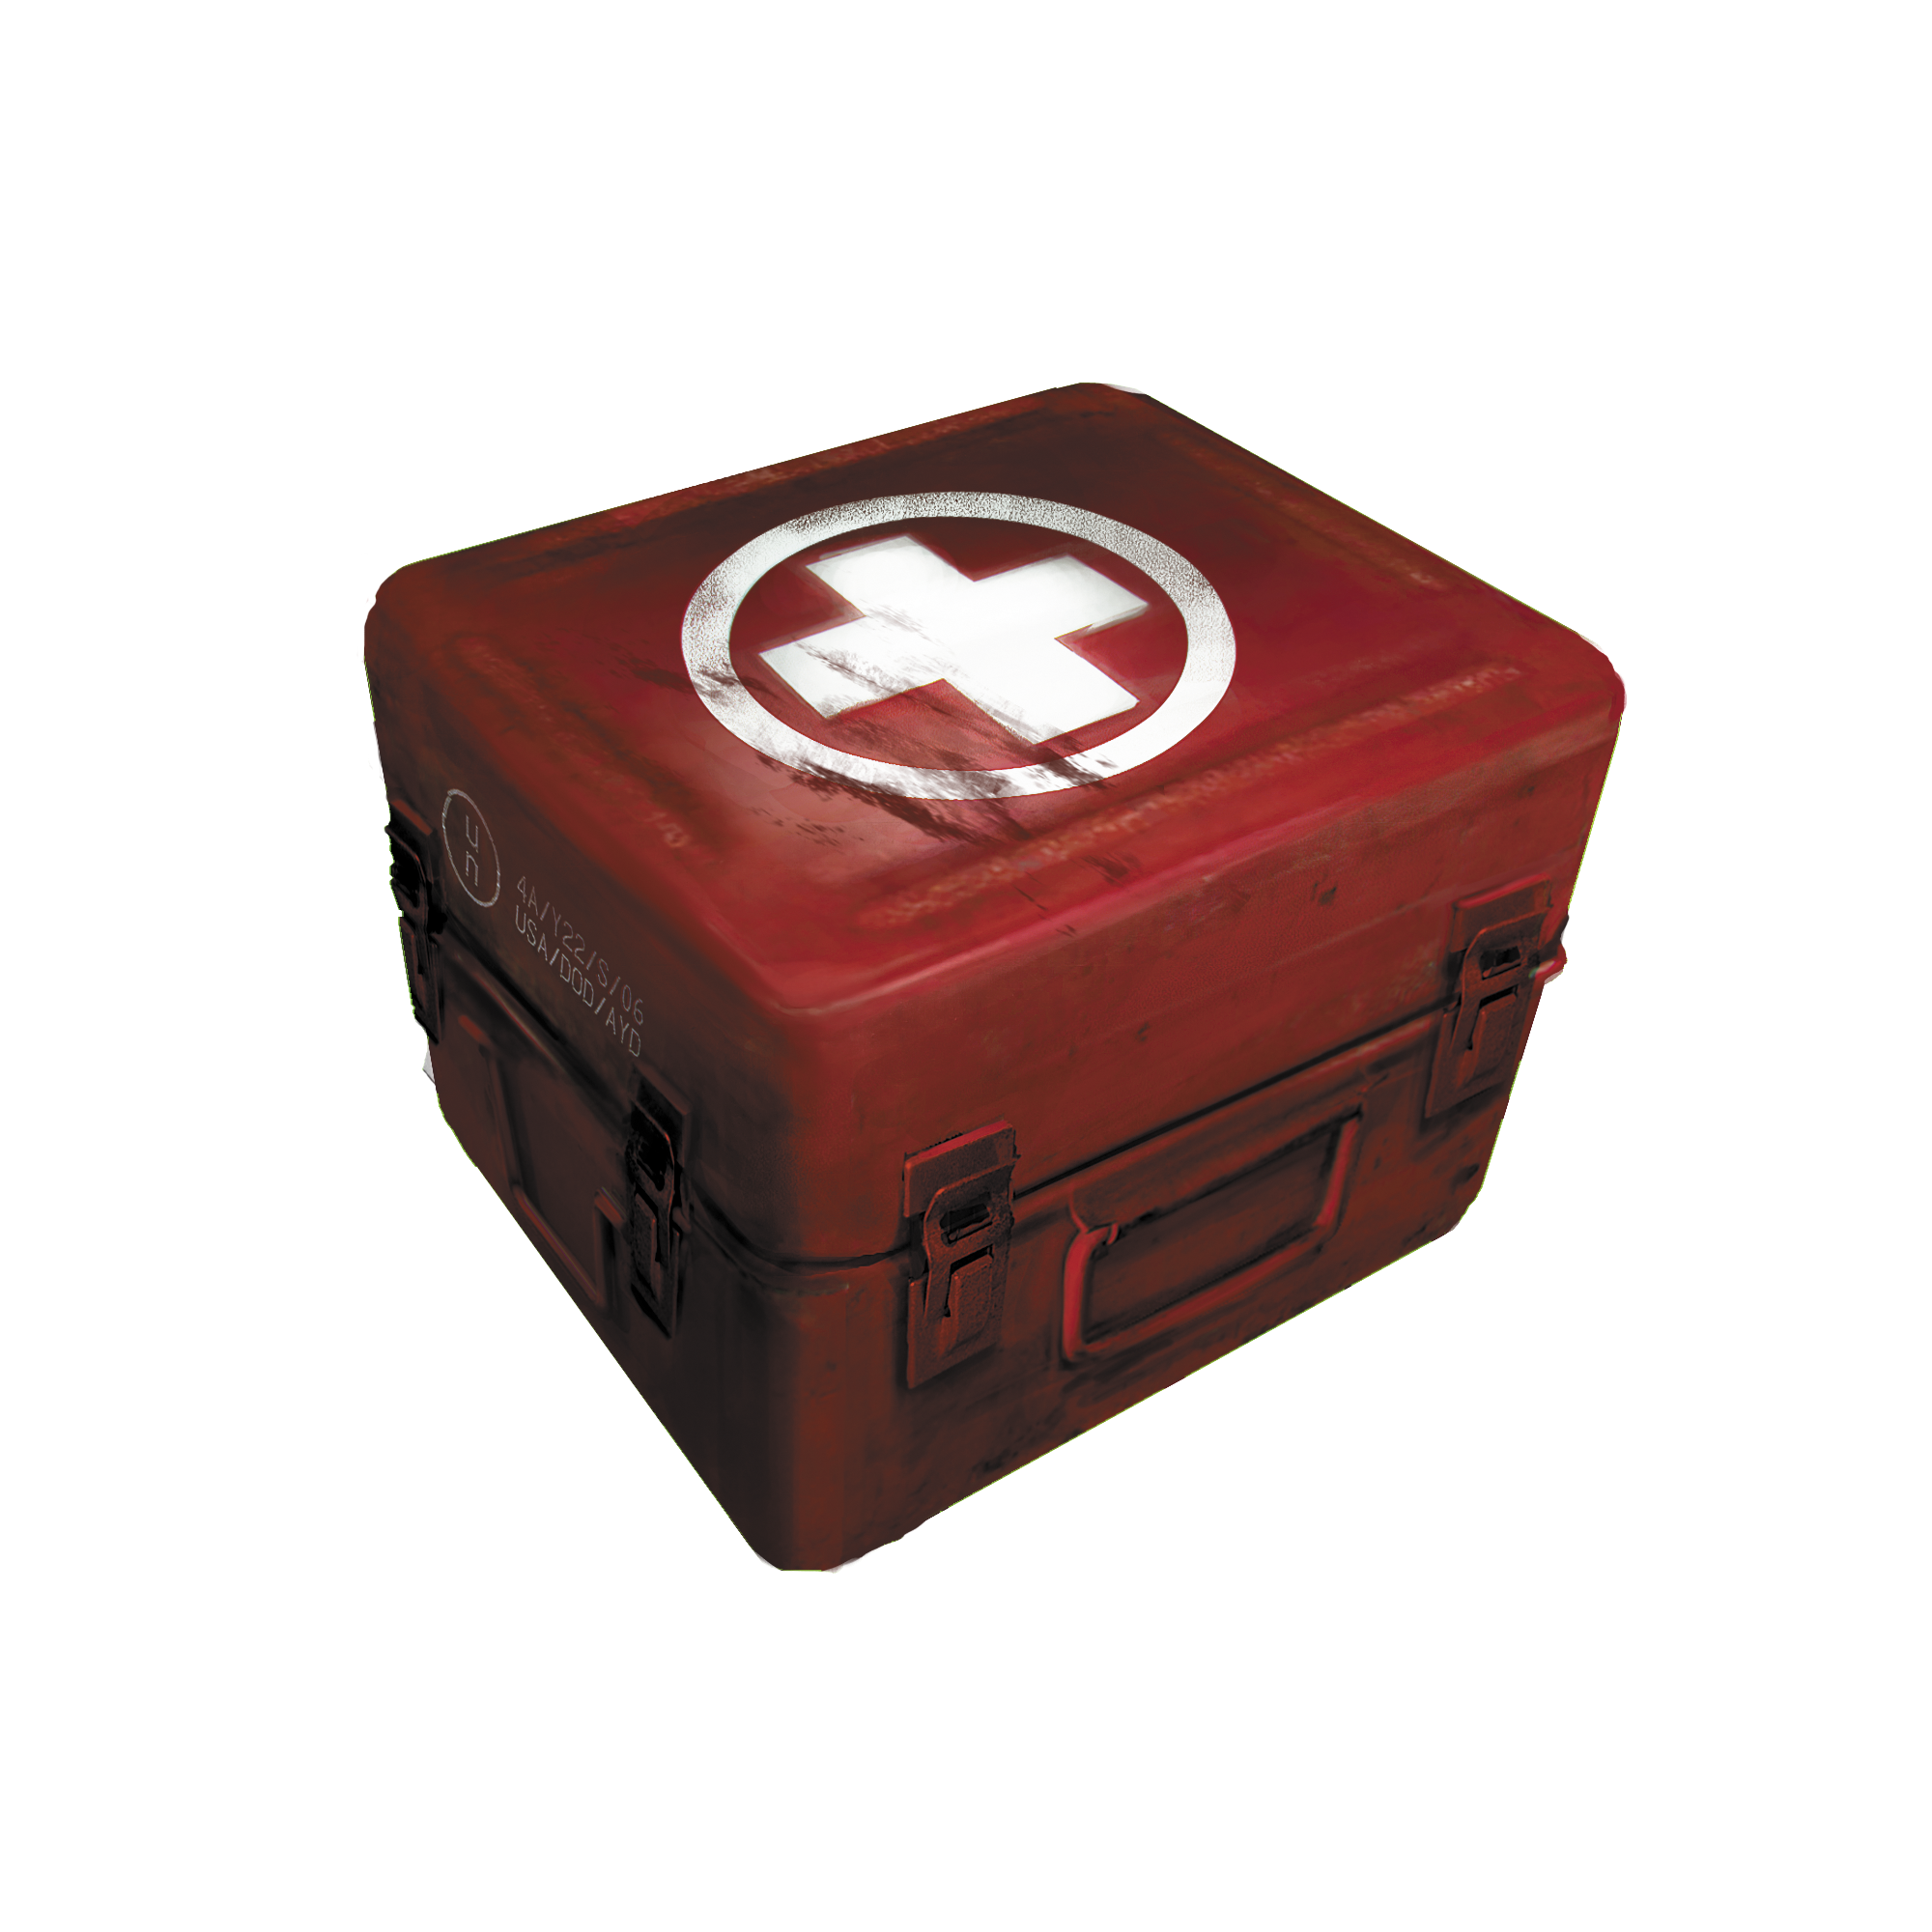
- Effect: HP +40
Essential painkillers and bandages.
LARGE MEDIPACK
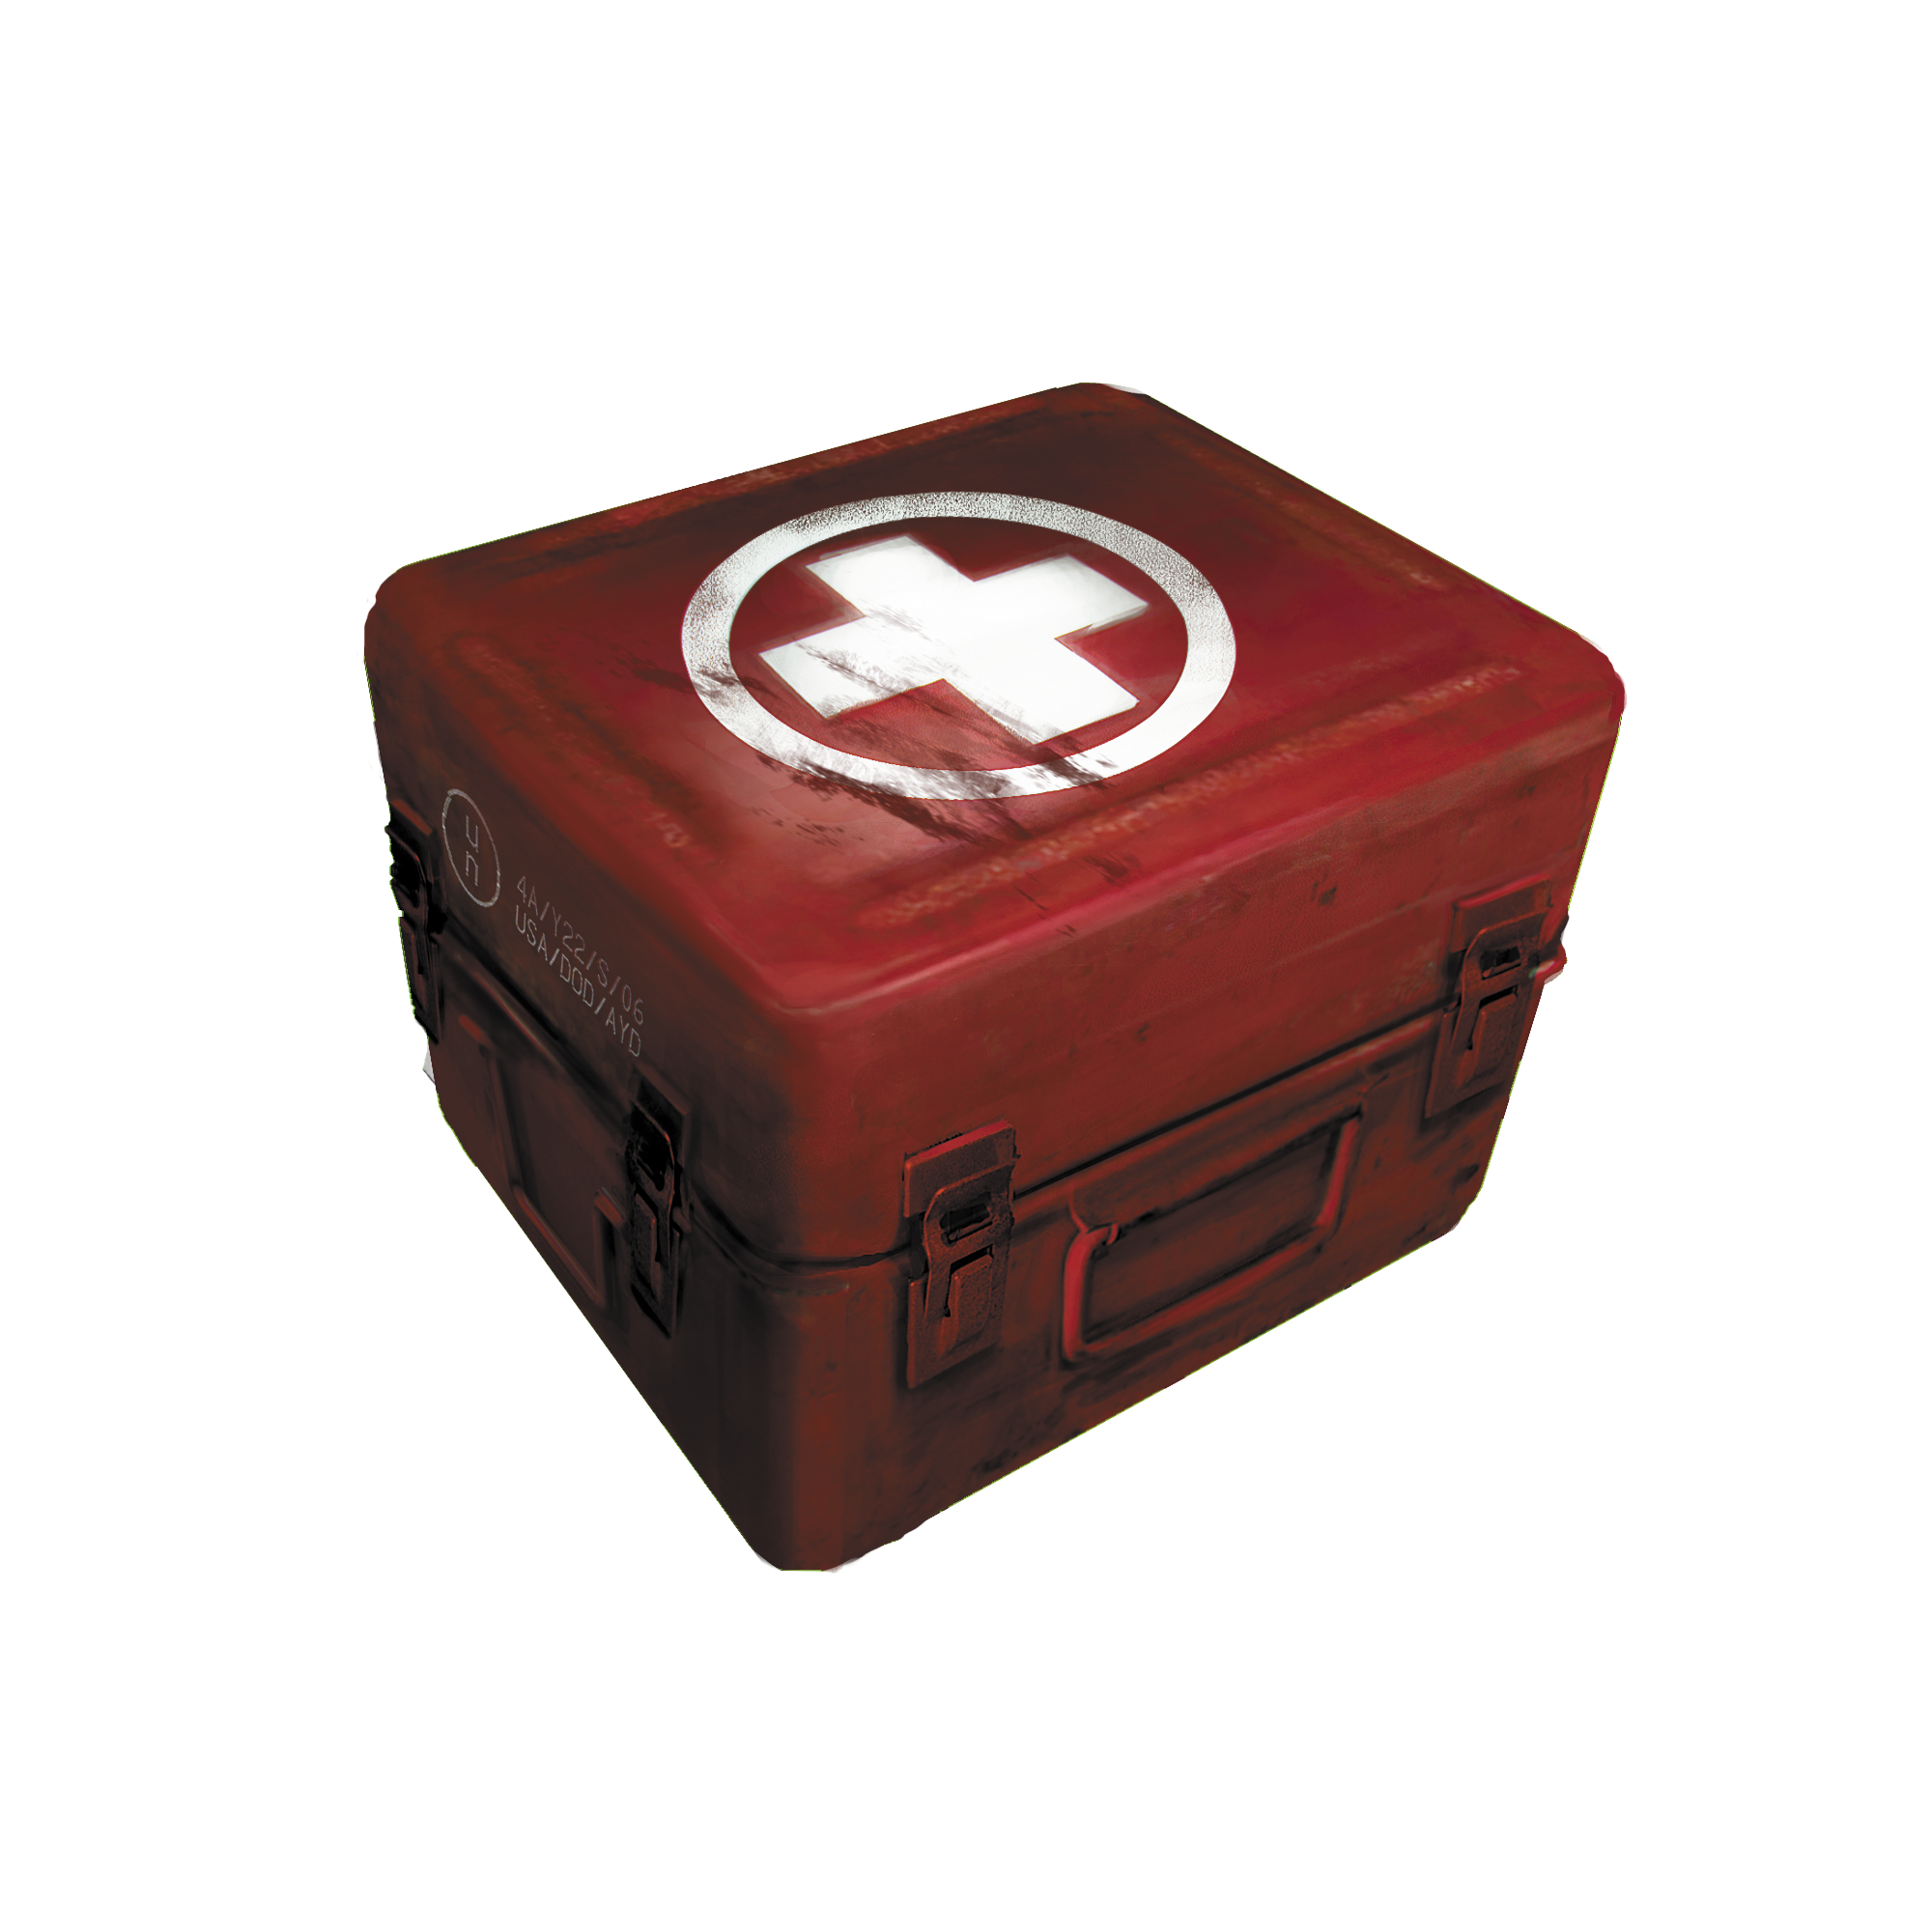
- Effect: HP +80
A portable triage in a box. Use only in the direst of emergencies!
ANIMAL MEAT
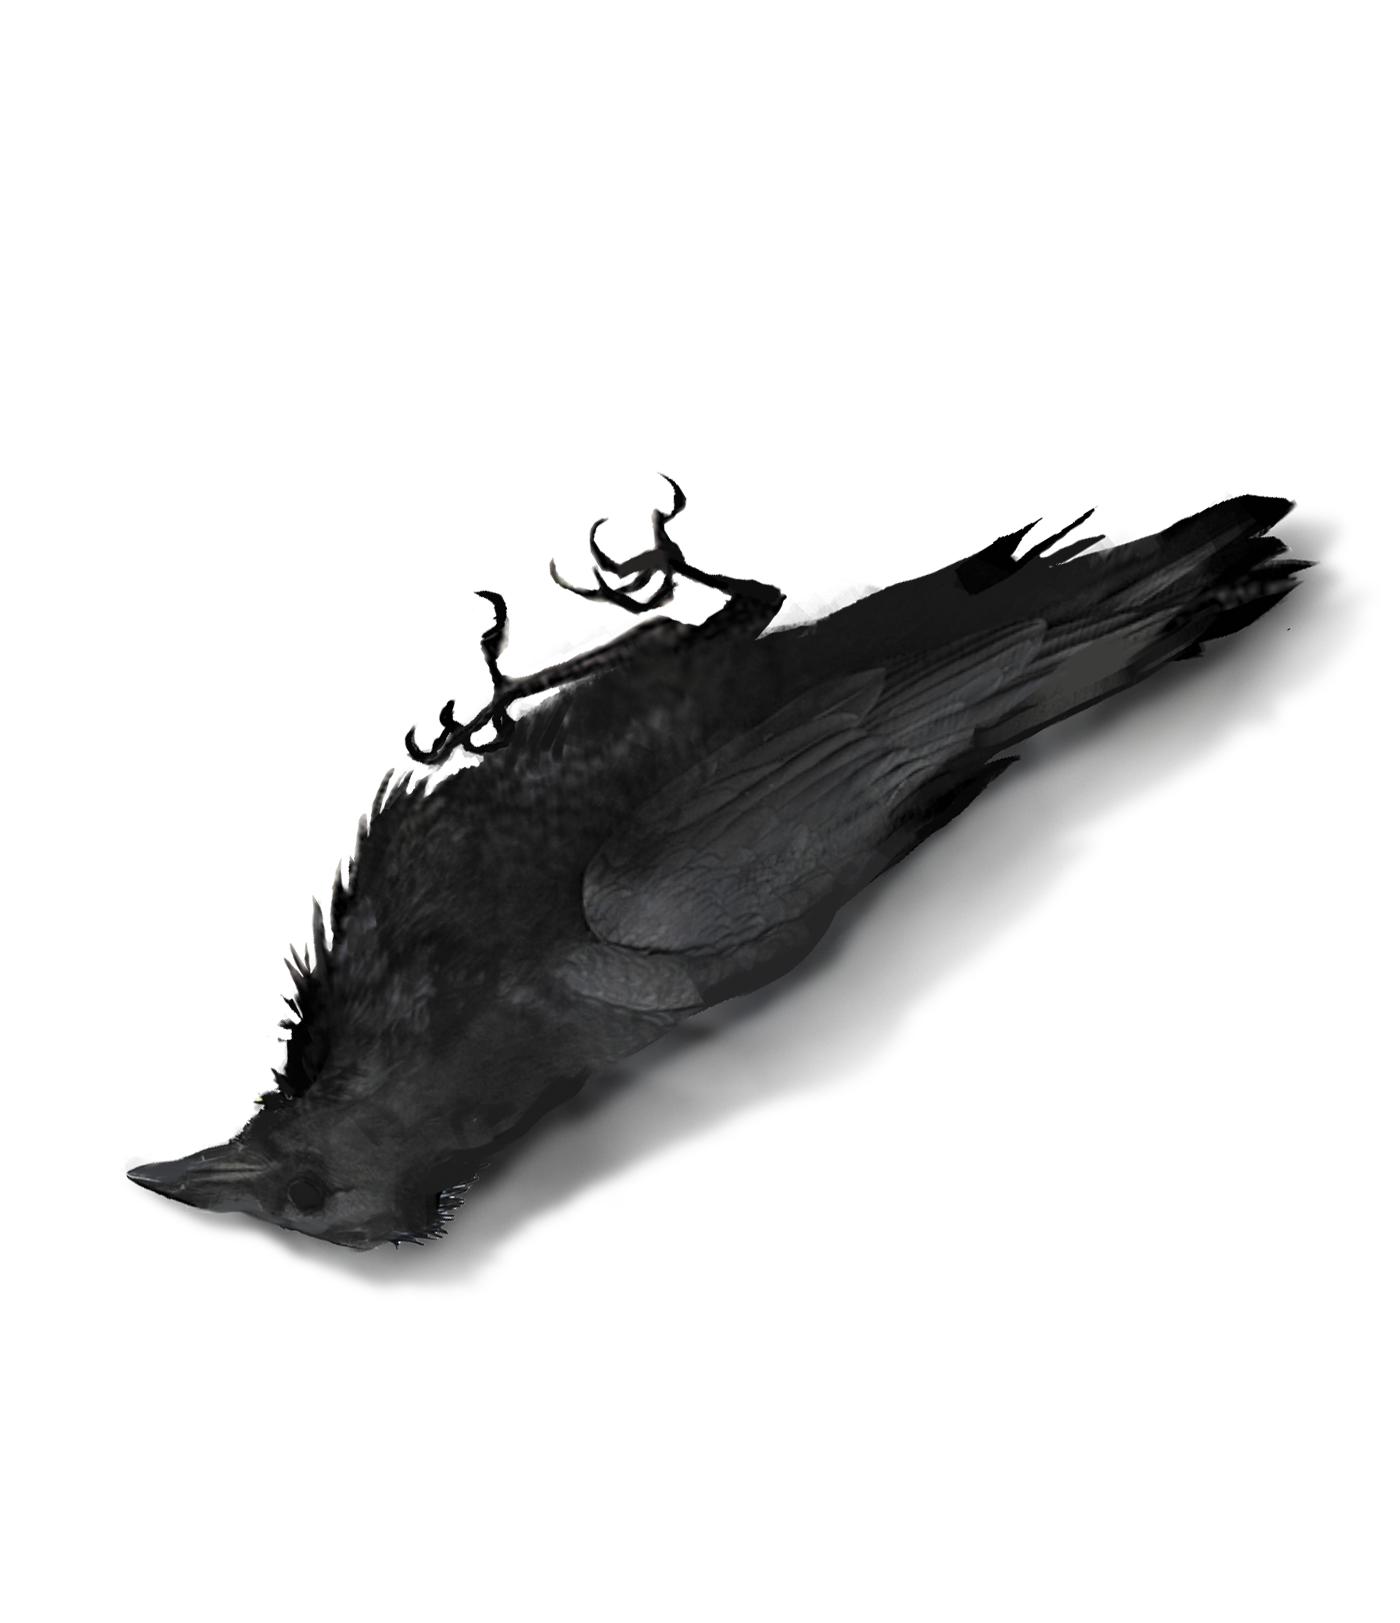
- Effect: HP +15 (50% chance)
- Effect: HP –10 (50% chance)
The remains of a recently slain rat or raven.
COLLECTIBLES // TRACKING
Before embarking on your missions, look out for the following areas, objects, and items. These are important enough to be tracked by this guide. Find a list of where they appear throughout the guide, and check the Appendices.
TRACKING
CCTV JUNCTION BOXES
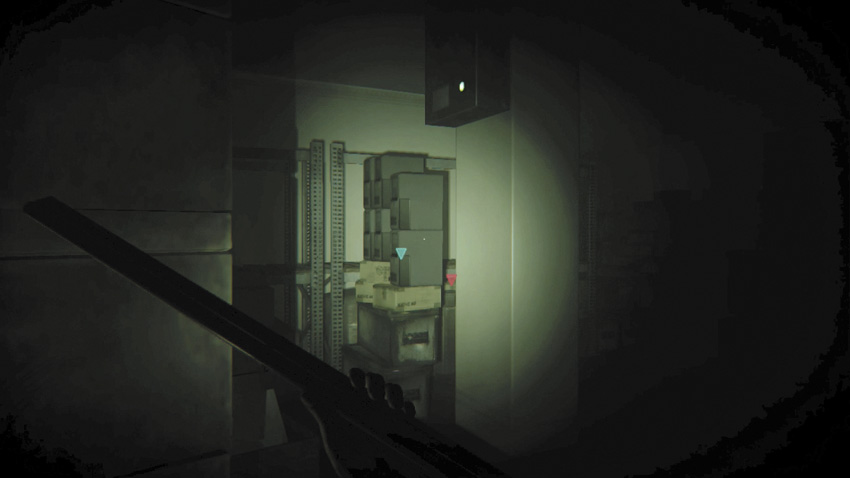
These activate the Smart Map and give a picture on your CCTV Monitors at the Safe House when scanned.
NOTEPAD DOCUMENTS
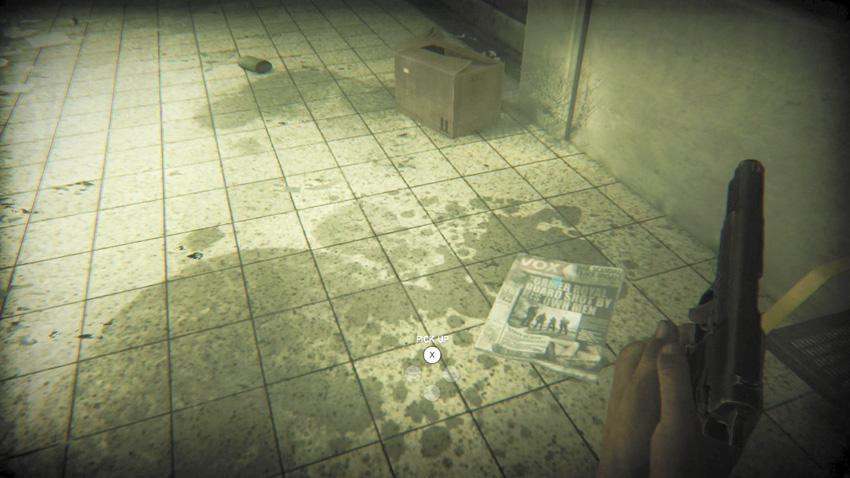
- Number available (Newspapers): 7
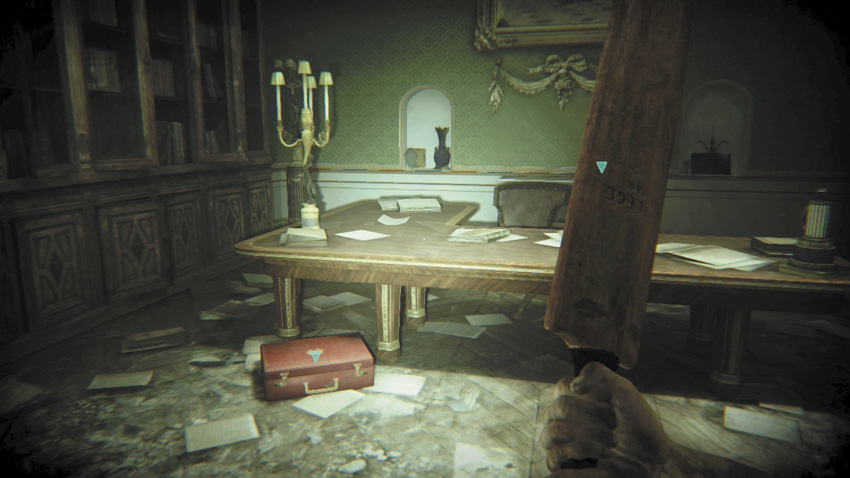
- Number available (Queen’s Letters): 6
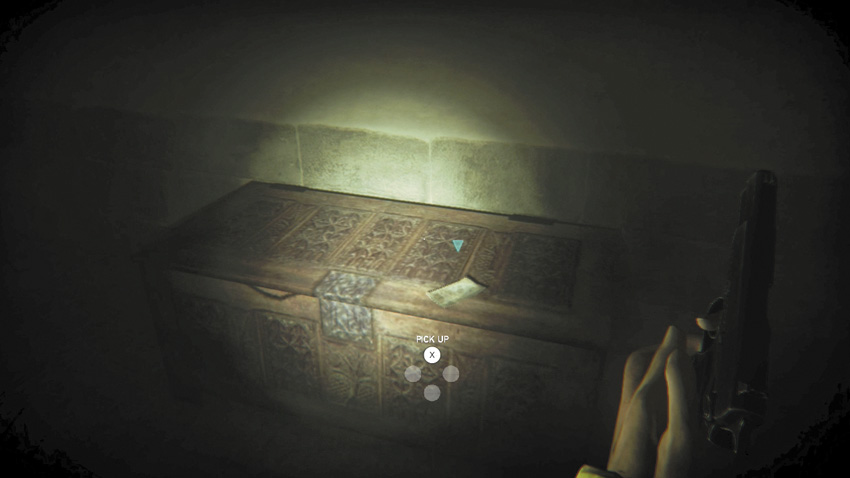
- Number available (Black Prophecy): 4
- Number available (Total): 17
These are newspapers, Queen’s Letters, and strange Black Prophecy documents. They shed more light on the Blight.
WEAPONS
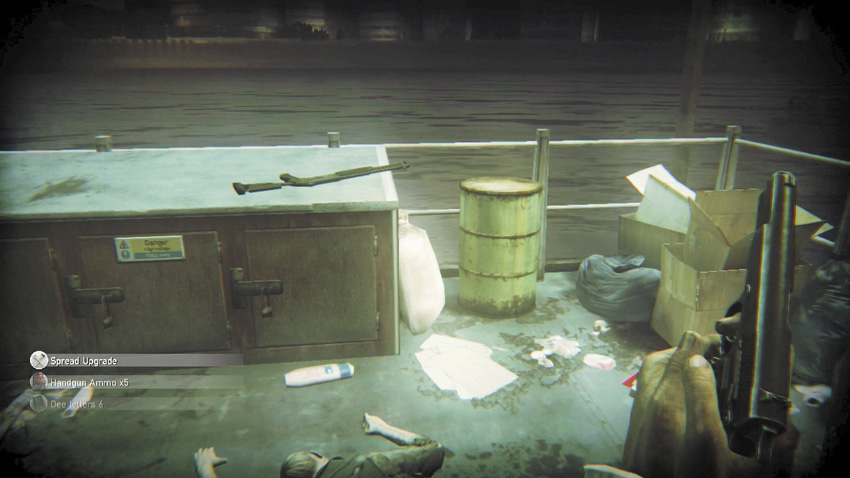
- Number available: 15
Only weapons that are static (not flares, grenades, Molotov cocktails, or mines) are tracked.
MANHOLES
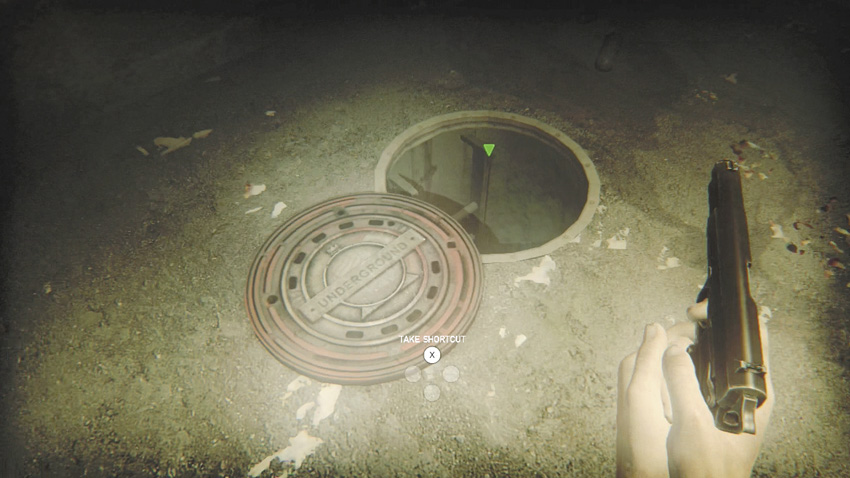
Locate these to obtain a shortcut between London locations.
C4 CRACKED WALLS
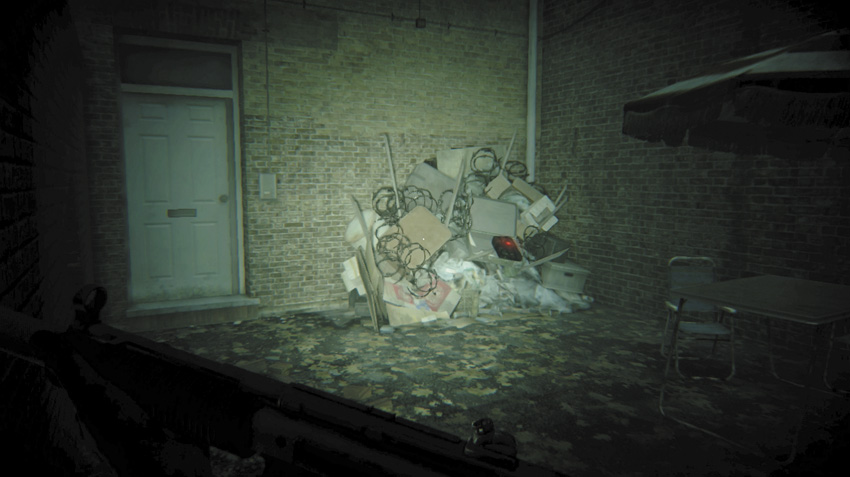
- Number available: 8
These are piles of trash and detritus, behind which is a weakened and cracked wall. Use C4 to blow these up.
BLACKLIGHT CODES
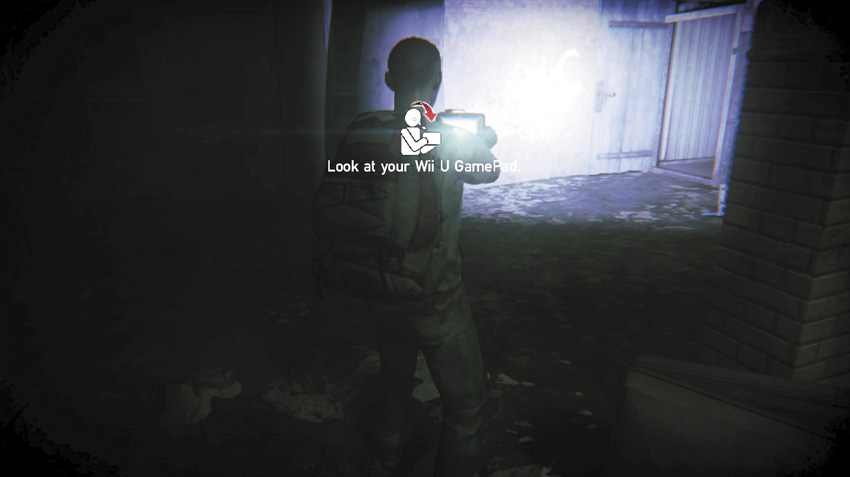
When your Prepper Pad can decipher the Enochian alphabet (during Mission 10), new doors can be opened.
WEAPON UPGRADES
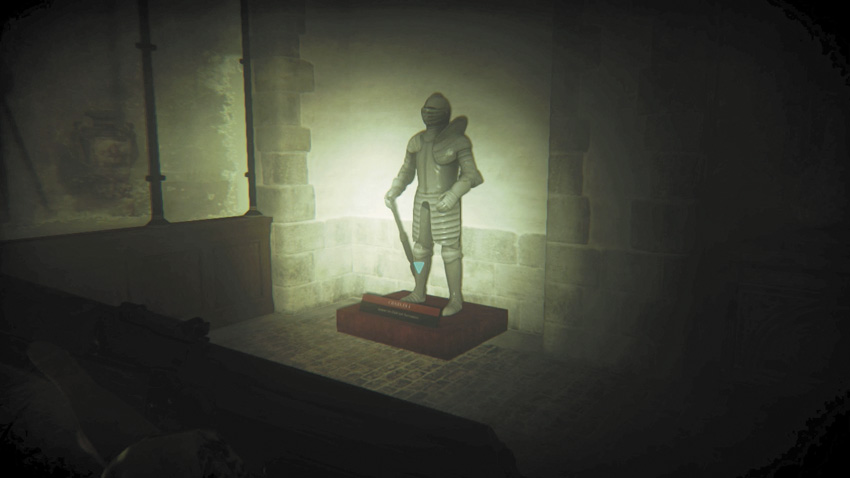
- Number available: 49
These augment your weaponry and improve their functionality. They are detailed later in this chapter.
DEE’S LETTERS
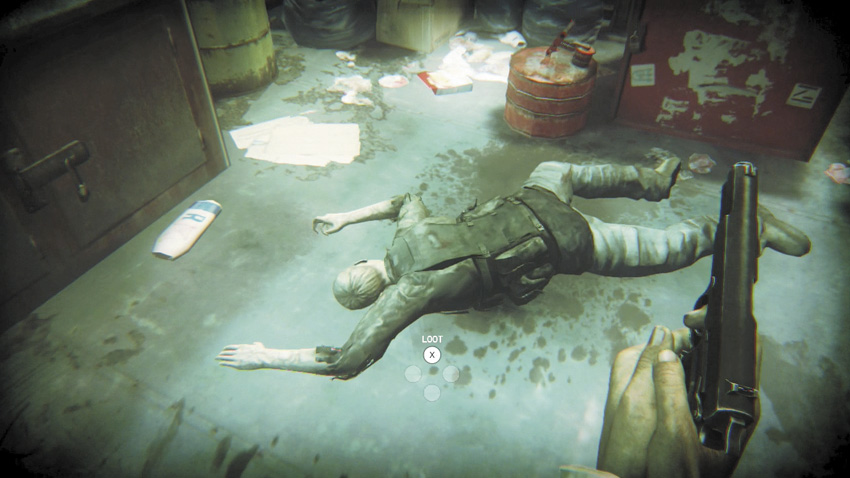
- Number available: 7
These are found throughout Mission 08. Dr. Knight needs these badly to help him find a panacea.
RESOURCE TYPES // ITEM // AMMUNITION
The following items are used in conjunction with the various firearms and ranged weapons you collect. They can all appear as static or random items. Grab and place them in your backpack, as you automatically use them when you reload. Drop ammo boxes on top of each other in your backpack menu to “merge” them. Also try reloading the associated weapon to use up ammo boxes, freeing space in your inventory.
The number of bullets, shells, or bolts you receive each time you pick up ammo is randomly set. The following indicates the maximum number per box or clip.
AMMUNITION
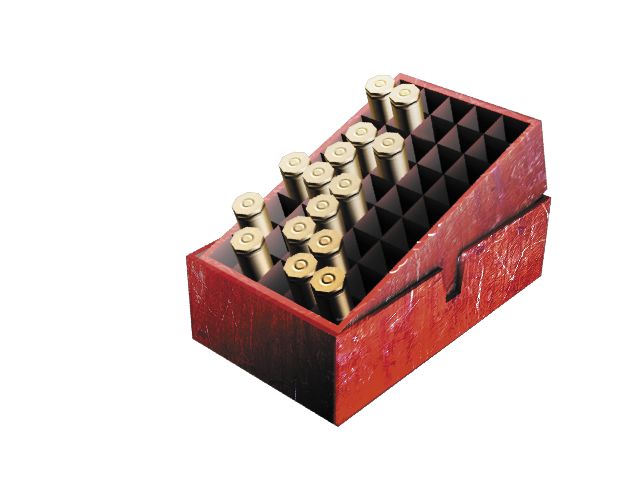
HANDGUN AMMO
- Maximum Ammo in a Box: Up to 20.
Ammunition used for the L9A1 Browning and HK P226.
SHOTGUN AMMO
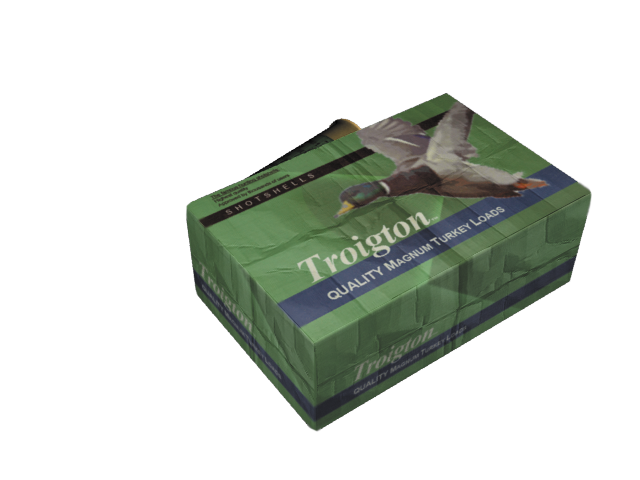
- Maximum Ammo in a Box: Up to 10.
Ammunition used for the double-barrel shotgun, Remington 870, and Benelli M4 Tactical.
CARBINE AMMO
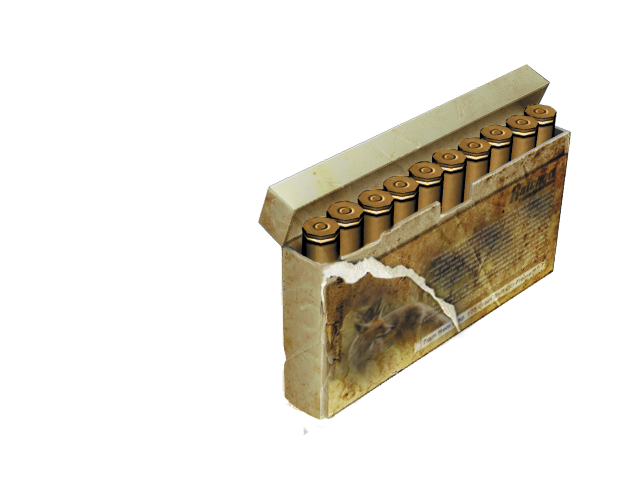
- Maximum Ammo in a Box: Up to 15.
Ammunition used for the Lee Enfield No.4 MK1 and Remington 770.
MAGNUM AMMO
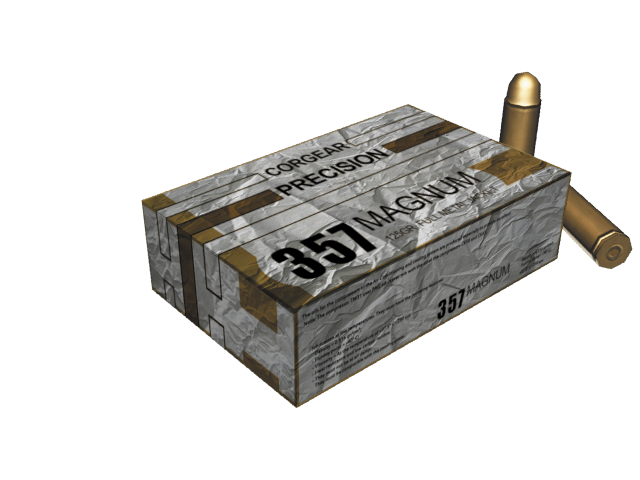
- Maximum Ammo in a Box: Up to 12.
Ammunition used for the Desert Eagle Magnum.
SUBMACHINE GUN AMMO
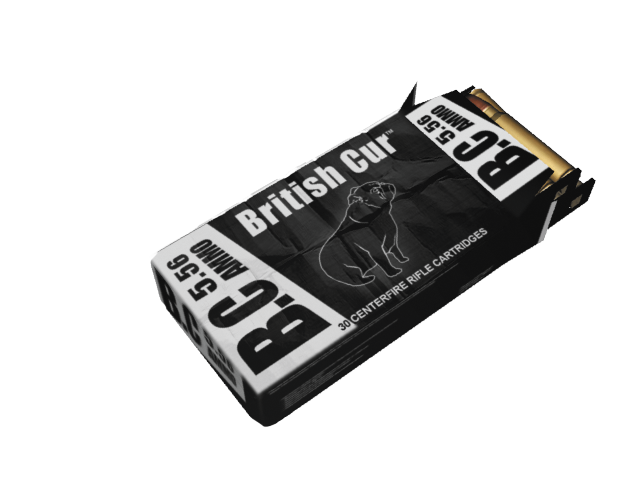
- Maximum Ammo in a Box: Up to 45.
Ammunition used for the MP5 SD and UMP45.
ASSAULT RIFLE AMMO
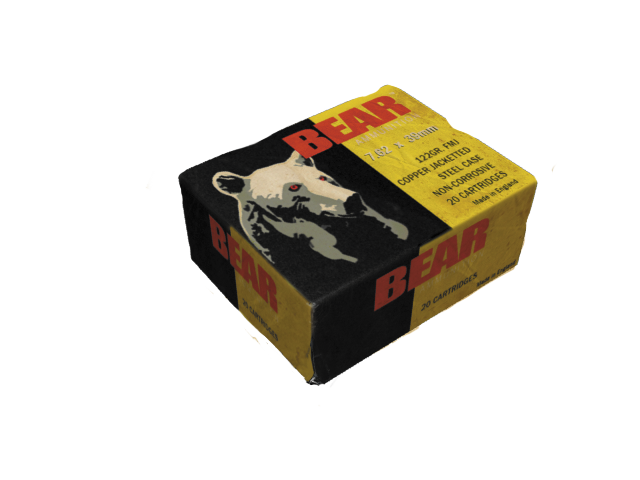
- Maximum Ammo in a Box: Up to 45.
Ammunition used for the AK-47 and SA80a2.
M2 TURRET AMMO
- Maximum Ammo in a Box: Up to 90.
Ammunition used for the M2 Turret.
CROSSBOW BOLTS
.png)
- Maximum Ammo in a Box: Up to 8.
Ammunition used for the hunting crossbow.
WEAPONS // AVAILABLE WEAPONRY
In order to fully serve the surviving Londoners scraping together ammunition and weaponry, along with the last vestiges of hope, we present specific statistical evidence of every available weapon. This information is shown in the following tables, allowing you to compare all the weapons and their abilities with any other weapon. That way, you can choose the weapon you think best suits your play style. After a more specific rundown of each available weapon, additional tables show exactly what benefits there are from both upgrading your weaponry and leveling up in your skill for each weapon type.
AVAILABLE WEAPONRY // WEAPONS TABLES
The following tables show you statistical information on every weapon.
WEAPONS TABLE // OVERVIEW
This table gives you an overview of the capabilities of every available weapon. Here’s what each column of information means:
- Weapon Name: The name of the weapon, as it appears in the guide and game.
- Type: The mechanism that the weapon uses.
- Caliber: The size of the projectile the weapon fires.
- Capacity: How much ammunition this weapon holds when fully loaded.
- Slot Capacity: How much ammunition a box of this weapon’s ammo type can hold when placed in your backpack.
- Attachments: Whether this weapon has a silencer or scope.
| Weapon Name | Type | Caliber | Capacity | "Slot Capa" | Attachments - Silencer | Scope |
|---|---|---|---|---|---|---|
| AK-47 | Full-auto | 5.56 mm | 30 | 45 | NA | NA |
| SA80a2 | Semiauto/Full-auto | 5.56 mm | 30 | 45 | NA | NA |
| Weapon Name | Type | Caliber | Capacity | "Slot Capa" | Attachments - Silencer | Scope |
|---|---|---|---|---|---|---|
| Lee Enfield No4 MK1 | Bolt action | Carbine | 1 | 15 | NA | NA |
| Remington 770 | Bolt action | Carbine | 5 | 15 | NA | ?(x4) |
| Weapon Name | Type | Caliber | Capacity | "Slot Capa" | Attachments - Silencer | Scope |
|---|---|---|---|---|---|---|
| Hunting Crossbow | Draw action | Bolt | 1 | 8 | ? | ? (x4) |
| Weapon Name | Type | Caliber | Capacity | "Slot Capa" | Attachments - Silencer | Scope |
|---|---|---|---|---|---|---|
| L9A1 Browning | Semiauto | 9 mm | 13 | 20 | NA | NA |
| HK P226 | Semiauto | 9 mm | 15 | 20 | NA | NA |
| Magnum | Semiauto | 0.357 | 9 | 12 | NA | NA |
| WEAPON NAME | FUNCTION | EFFECT |
|---|---|---|
| Cricket bat | Secondary weapon. Indestructible. Using it consumes your stamina. | Hit |
| Weapon Name | Type | Caliber | Capacity | "Slot Capa" | Attachments - Silencer | Scope |
|---|---|---|---|---|---|---|
| M2 Turret | semi-auto | M2 | 400 | 90 | NA | NA |
| WEAPON NAME | FUNCTION | EFFECT |
|---|---|---|
| Fire Barrels | Shoot it to trigger a burning area of effect (6 seconds). | Burn |
| Gas Tank (Large) | Shoot it to trigger a large explosion. | Explode |
| Gas Tank (Little) | Shoot it to trigger a small explosion. | Explode |
| Weapon Name | Type | Caliber | Capacity | "Slot Capa" | Attachments - Silencer | Scope |
|---|---|---|---|---|---|---|
| Double-Barrel Shotgun | Pump action | 12 mm | 2 | 10 | NA | NA |
| Remington 870 | Pump action | 12 mm | 4 | 10 | NA | NA |
| Benelli M4 Tactical | Semiauto | 12 mm | 7 | 10 | NA | NA |
| Weapon Name | Type | Caliber | Capacity | "Slot Capa" | Attachments - Silencer | Scope |
|---|---|---|---|---|---|---|
| MP5 SD | Semiauto /Full-auto | SMG | 30 | 45 | NA | NA |
| UMP45 | Semiauto /Full-auto | SMG | 25 | 45 | NA | NA |
| WEAPON NAME | FUNCTION | EFFECT |
|---|---|---|
| Flare | Throw it to attract zombies where it goes, regardless of their condition. | Attract |
| Grenade | A basic grenade. Explodes 4 seconds after being thrown. | Explode |
| Molotov cocktail | Triggers a burning area of effect that consumes zombies by time (6 seconds). | Burn |
| Mine | Activate it on ground to create a trap. | Explode |
| C4 | Quest item. Fix it on contextual spots for opening new areas. | Explode |
WEAPONS TABLE // STATISTICAL EVIDENCE
This table goes a step further, revealing the precise damage numbers (in Hit Points) each weapon inflicts, plus a host of other helpful and important information. Here’s how it all breaks down:
- Weapon Name: The name of the weapon, as it appears in the guide and game.
- Inflicted Damage—Range (meters)*: The damage the weapon inflicts on a foe; depends on range.
- Kill Shots (Short/Far): The number of bullets it takes to kill a basic Blighter Infected at short/far distances.**
- Fire Rate (RPM/Time)*: This is how quickly each shot is fired, shown in rounds per minute and per bullet.
- Reload: How long, in seconds, it takes to reload this weapon.
- Spread (Idle/Move)*: How the cone of dispersion opens. The larger the number, the less accurate the weapon is at range. The numbers change depending on whether you’re stationary or moving.
- Penetration Power: Number of penetrating layers; this allows you to shoot off an armored guard’s helmet or shoot through a foe and damage a second enemy, depending on whether this number is above 0.
- Ammo*: Ammunition per clip or magazine.
- Critical Ratio: The possibility that a close-range headshot results in an instant kill.
| Weapon Name | Inflicted Damage - Range (Meters) | Kill Shots (Short/Far) | Fire Rate (RPM/Time) | Reload | Spread (Idle/Move) | Penetration Power | Ammo | Critical Ratio |
|---|---|---|---|---|---|---|---|---|
| AK-47 |

|
(6) - (9) | 705 RPM 0,085s | 3,56s | 2,6 /4,0 | 0 > 1 | 30 | - |
| SA80a2 |

|
(5) - (7) | 571 RPM 0,105s | 3,3s | 2,35 / 3,65 | 1 | 30 | - |
| Weapon Name | Inflicted Damage - Range (Meters) | Kill Shots (Short/Far) | Fire Rate (RPM/Time) | Reload | Spread (Idle/Move) | Penetration Power | Ammo | Critical Ratio |
|---|---|---|---|---|---|---|---|---|
| Lee Enfield No.4 MK1 |

|
(3) - (5) | 32 RPM 1,87s | 4,4s | 0,95 / 2,3 | 0 > 1 | 10 | 14% / 6m |
| Remington 770 |

|
(2) - (3) | 32 RPM 1,87s | 4,4s | 1,65 / 3,15 | 2 > 3 | 5 | - |
| Weapon Name | Inflicted Damage - Range (Meters) | Kill Shots (Short/Far) | Fire Rate (RPM/Time) | Reload | Spread (Idle/Move) | Penetration Power | Ammo | Critical Ratio |
|---|---|---|---|---|---|---|---|---|
| Hunting Crossbow |

|
(4) - (7) | Reload Time | 3,33s | 0,95/ 2,1 | 0 | 1 | 100% / 50m |
| Weapon Name | Inflicted Damage - Range (Meters) | Kill Shots (Short/Far) | Fire Rate (RPM/Time) | Reload | Spread (Idle/Move) | Penetration Power | Ammo | Critical Ratio |
|---|---|---|---|---|---|---|---|---|
| L9A1 Browning |

|
(5) - (10) | 200 RPM 0,3s | 3,45s | 1,0 / 2,0 | 0 | 13 | 14% / 3m |
| P226 |

|
(6) - (12) | 231 RPM 0,26s | 2,88s | 0,85 / 2,0 | 0 | 15 | - |
| Magnum |

|
(2) - (3) | 188 RPM 0,32s | 3,26s | 0,9 / 2,2 | 1 | 9 | 20% / 3m |
| Weapon Name | Inflicted Damage - Range (Meters) | Kill Shots (Short/Far) | Fire Rate (RPM/Time) | Reload | Spread (Idle/Move) | Penetration Power | Ammo | Critical Ratio |
|---|---|---|---|---|---|---|---|---|
| Cricket Bat | 70 dmg | (5) - (5) | 0 | 8 | 5% |
| Weapon Name | Inflicted Damage - Range (Meters) | Kill Shots (Short/Far) | Fire Rate (RPM/Time) | Reload | Spread (Idle/Move) | Penetration Power | Ammo | Critical Ratio |
|---|---|---|---|---|---|---|---|---|
| Browning M2 |

|
(4) - (6) | 750 RPM 0,08s | 4,83s | 3,0 / 3,0 | 1 | 400 |
| Weapon Name | Inflicted Damage - Range (Meters) | Kill Shots (Short/Far) | Fire Rate (RPM/Time) | Reload | Spread (Idle/Move) | Penetration Power | Ammo | Critical Ratio |
|---|---|---|---|---|---|---|---|---|
| Fire Barrels |

|
(7) - (7) | - | - | - | - | - | - |
| Gas Tank (Large) |
|
(1) - (3) | - | - | - | - | - | - |
| Gas Tank (Little) |
|
(3) - (7) | - | - | - | - | - | - |
| Weapon Name | Inflicted Damage - Range (Meters) | Kill Shots (Short/Far) | Fire Rate (RPM/Time) | Reload | Spread (Idle/Move) | Penetration Power | Ammo | Critical Ratio |
|---|---|---|---|---|---|---|---|---|
| Double-Barrel Shotgun |

|
(1) - (2) | 120 RPM 0,5s | Left : 1,0s/Right : 0,87s/Add : 1,96s | 5,0 / 7,5 | 0 > 1 | 2 | 14% / 3m |
| Remington 870 |

|
(2) - (3) | 51 RPM 1,17s | Shell : 0,73s/Add : 1,5s | 4,2 / 5,8 | 0 | 4 | |
| Benelli M4 Tactical |

|
(2) - (3) | 125 RPM 0,48s | Shell : 0,73s/Add : 0,8s | 4,5 / 5,7 | 0 | 7 |
| Weapon Name | Inflicted Damage - Range (Meters) | Kill Shots (Short/Far) | Fire Rate (RPM/Time) | Reload | Spread (Idle/Move) | Penetration Power | Ammo | Critical Ratio |
|---|---|---|---|---|---|---|---|---|
| MP5 SD |

|
(9) - (12) | 800 RPM/0,075s | 4,17s | 2,9 / 4,1 | 0 | 30 | |
| UMP45 |

|
(7) - (10) | 600 RPM/0,1s | 4,38s | 2,2 / 3,5 | 0 > 1 | 25 |
| Weapon Name | Inflicted Damage - Range (Meters) | Kill Shots (Short/Far) | Fire Rate (RPM/Time) | Reload | Spread (Idle/Move) | Penetration Power | Ammo | Critical Ratio |
|---|---|---|---|---|---|---|---|---|
| Flare | 0 dmg | - | - | - | - | 0 | 8 | 5% |
| Grenade |
|
(1) - (4) | - | - | - | - | - | - |
| Molotov |

|
(7) - (7) | - | - | - | - | - | - |
| Mine |
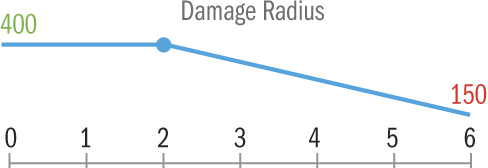
|
(1) - (3) | - | - | - | - | - | - |
| C4 |
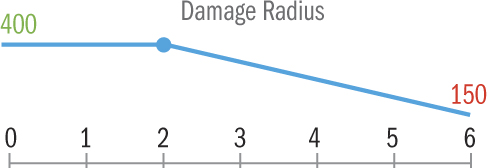
|
(1) - (3) | - | - | - | - | - | - |
WEAPONS // DETAIL
The following section shows each weapon being utilized in a combat situation. We provide a thorough inspection of how each weapon compares to similarly specced weaponry, the weapon’s strengths and weaknesses, and whether it is recommended for you.
MELEE // CRICKET BAT
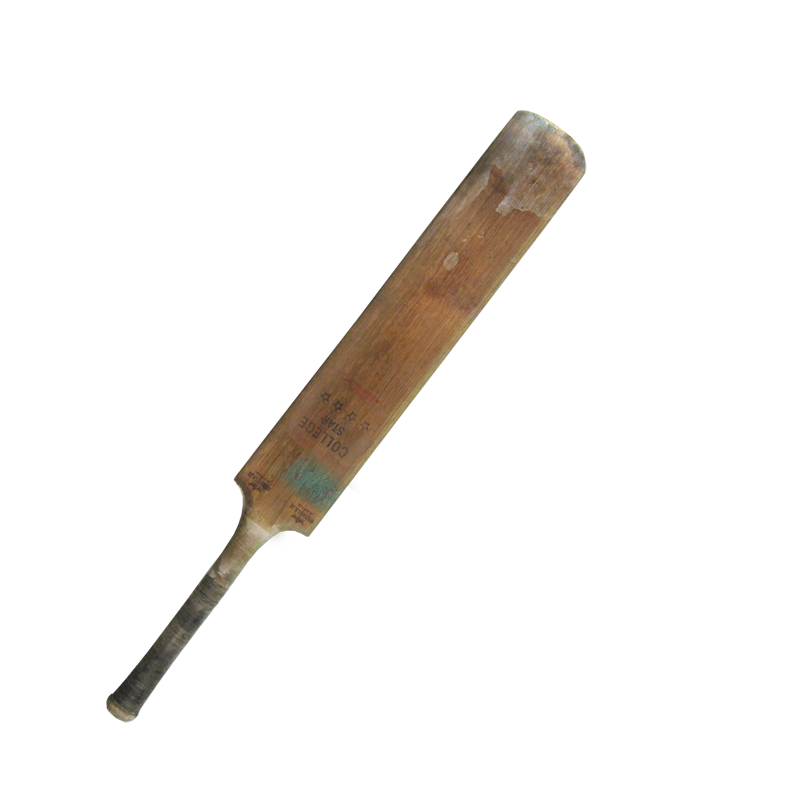
“Go on. Pick up the Cricket Bat. Don’t be squeamish. Then knock those Infected for six.”
- Where Found: Mission 01: Safe House area, travel shop by the Infected Survivor.
- Tactical Notes:
- Fortunately, you don’t have to understand the rules of cricket to utilize this. It is your only melee weapon.
- This never breaks, never weakens, and always hits home if you aim it properly during close combat.
- You rarely score a critical, and although the damage is impressive, it takes a while to kill anything.
- Swinging this bat also uses up your stamina, meaning you can’t run as far if you decide to flee.
- Use this on Blighters only when one or two foes are engaging you.
- Using this to fight off more than two foes takes too long and usually results in you fleeing or dying.
- Carry this at all times; you don’t want to run out of ammunition and not have any offense!
- This is perfect for times when you want to conserve firearm ammo.
- Use this to knock the helmet off any armored guard. Then finish with the bat or a firearm.
- You can knock foes to the ground with this and can execute crawling enemies with the bat instead of your foot.
- You can change the design of this bat after spending U-Play points. For more information, check out the Appendices, on page 277.
PROJECTILES // FLARE
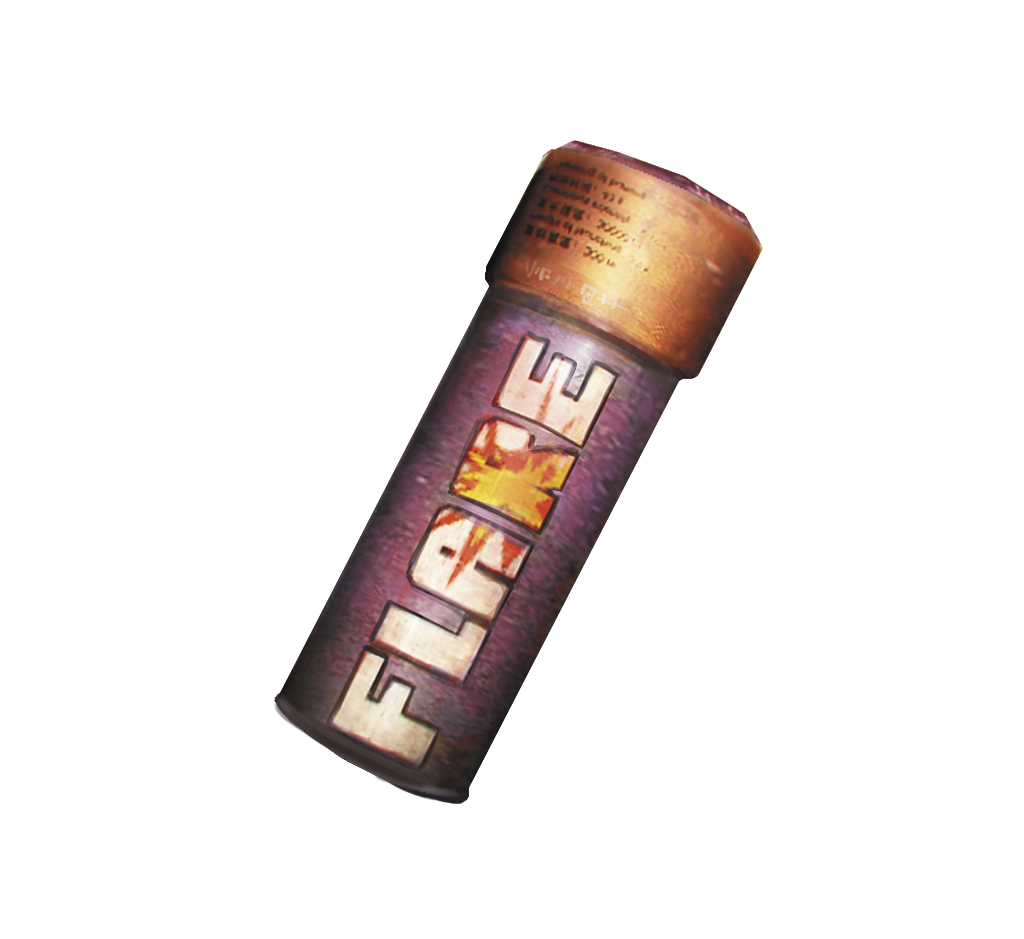
“Need to get a Blighter off your back? Light one of these up. Those zombies aren’t the brightest, but this is!”
- Where Found: Randomly placed.
- Tactical Notes:
- Throw this at a target you determine prior to launching this projectile.
- This provides a very strong light source. You can use it to light up areas of darkness, but this isn’t its intended purpose.
- Throw this to attract zombies. Any type of Infected is attracted. You can then flee or follow up with combat.
- Takedown 1: Lob this to attract the enemy. Then lob a grenade into the crowd for a multiple-hit kill.
- Takedown 2: Lob this to attract the enemy. Then throw a Molotov into the gathering for a similar multiple killing.
- Takedown 3: Place a mine, then lob this to attract the enemy to the mine, and watch the explosion!
- Takedown 4: Lob this close to a gas canister or explosive barrel to attract the enemy. Then shoot the canister or barrel.
- Takedown 5: Lob this when you see an Explosive Hunter. Then shoot the Hunter, exploding it and all nearby foes.
- Watch out! If you throw this too far, Infected close to you won’t be affected by its light area of effect.
PROJECTILES // GRENADE
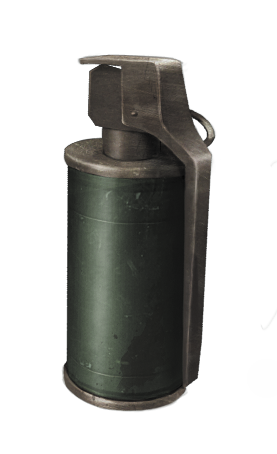
“Got your hands on a frag, did you? Careful where you drop that; it makes a real mess.”
- Where Found: Randomly placed.
- Tactical Notes:
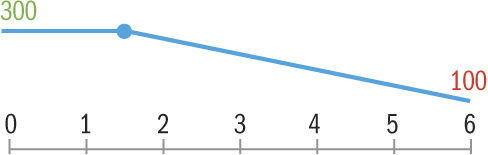
- This projectile causes a large explosion, blowing apart multiple foes within its relatively small blast radius (six meters).
- This damages both the Survivor and the zombie, so don’t stand near the detonation!
- Throw the grenade; then wait four seconds for the grenade to explode.
- This is useful when you have several Infected standing close to one another and wish to remove this threat.
- Use this in conjunction with the flare, which brings the Infected together; then lob in a grenade to tear them apart!
- The damage caused by a grenade drops off considerably as it reaches the limits of the blast radius.
- Compared to the Molotov cocktail, this offers quick, instant carnage.
- Prepare to follow up by removing any remaining and wounded Infected threats after the grenade explosion.
- This is best used in large, open spaces where your throw won’t be compromised by obstacles.
PROJECTILES // MOLOTOV COCKTAIL
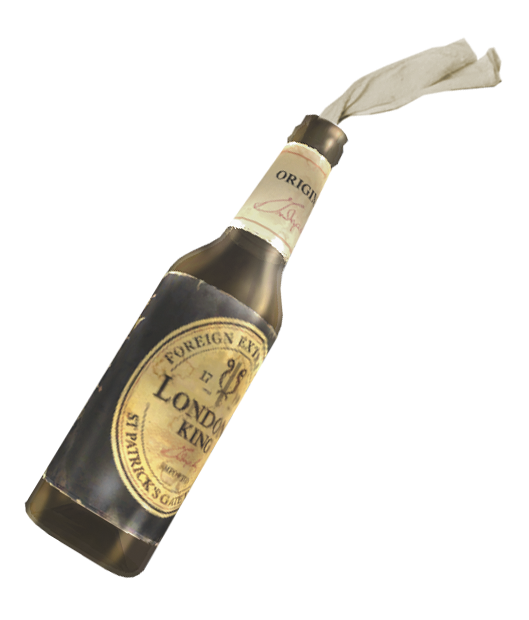
“Rotting flesh is one thing. But burning and rotting flesh? That’s a whole new kind of horrific smell.”
- Where Found: Randomly placed.
- Tactical Notes:
- This projectile causes a ball of fire, setting multiple foes ablaze within its small blast radius (three meters).
- This damages both the Survivor and the Infected, so don’t stand near an exploding cocktail!
- Although this has a smaller area of effect than the grenade, any foe caught in the blast burns for six seconds.
- At 50 HP of damage per second, this results in extremely high cumulative damage: 300 points for all foes caught in the blaze.
- The Infected that are ablaze are less inclined to attack but do not transfer the fire to other foes.
- Bring out a firearm, and finish off any foes that don’t automatically die or that close in to try mauling you.
- Use this in conjunction with the flare; the flare gathers the Infected, while a thrown Molotov sets them on fire.
- This is also best utilized in open areas, where you don’t have the possibility of hitting an obstacle instead of your intended target.
EXPLOSIVES // MINE
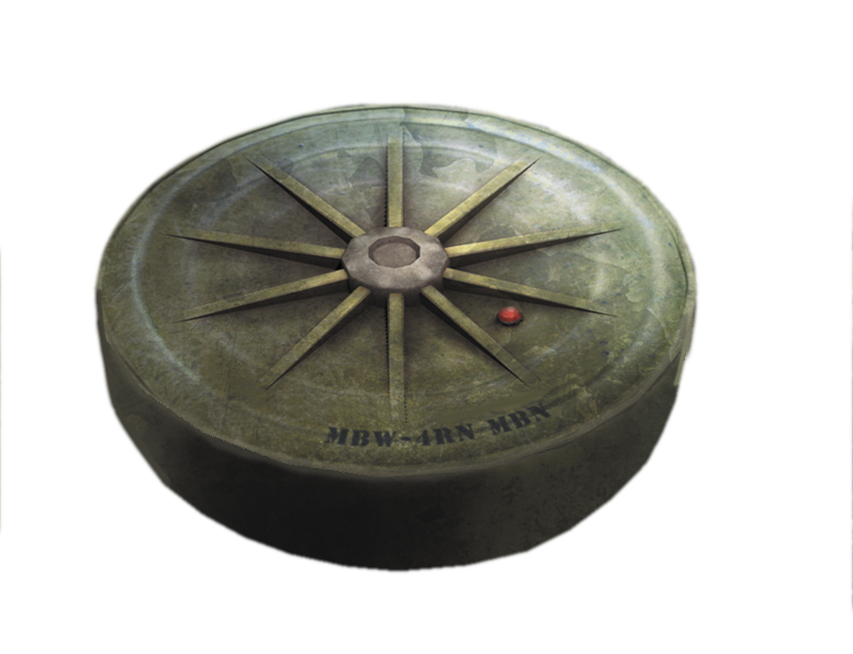
“Slap down a claymore, beckon a Blighter, and watch the dismemberment.”
- Where Found: Randomly placed.
- Tactical Notes:
- This is a ground trap—an extremely lethal one.
- When anyone (including you) steps on this, they are struck by the full force of the detonation.
- The damage radius is relatively big (six meters) and is more potent than a grenade’s.
- The obvious drawback is that you need to coax the enemy onto a mine rather than aim a throw.
- This mine is highly dangerous! It is active as soon as you set it on the ground.
- Don’t stand on the mine while setting it or move forward as you’re laying it, or you can set it off and kill yourself!
- This is another weapon you can use in conjunction with a flare; set the mine, then throw the flare so it lands near the mine.
- Place this mine at narrow entrances you know the Infected need to take to reach you; this improves chances of detonation.
GEAR // C4
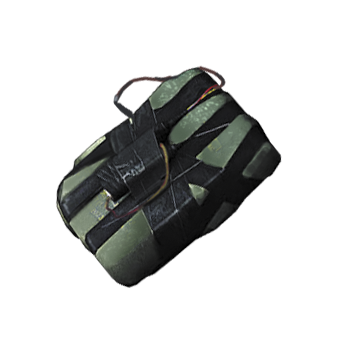
“These aren’t for mucking about with Blighters; lay these to remove obstacles from your path.”
- Where Found: Four locations. See the Map Appendices (page 236) for all of them.
- Tactical Notes:
- This is actually part of your gear. C4 appears in that part of your inventory, and you don’t use it offensively.
- Instead, there are eight piles of trash that you cannot access until you use C4 to remove the blockage.
- Slot the C4 into the contextual spot, back out of the blast zone, and watch the trash pile disappear! There’s always an important item—such as a Dee’s Letter, gear, upgrade, or weapon—in this newly accessible area.
- You can’t “waste” C4; this gear can only be used in specific locations, which we reveal in the walkthrough and Appendices (page 256).
SCENERY // EXPLOSIVE BARREL
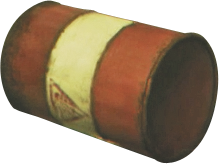
“See those red and white barrels? Get a Blighter or two near one, and blast away.”
- Where Found: Varies throughout campaign.
- Tactical Notes:
- Explosive barrels have damaging properties similar to Molotov cocktails. When they explode, they coat the victim in fire.
- This fire burns for around six seconds, inflicting 50 HP per second, with a blast radius of three meters in diameter,
- This barrel also damages you, so don’t fire at it from close range!
- Barrels are found in many locations across London. Look for references to them throughout the walkthrough.
- Detonate barrels by hitting them once with a firearm, usually the pistol (as you usually have the most ammo).
- Use the “flare” plan of lobbing this projectile at a barrel, waiting for the Infected to congregate, and then hitting the barrel to explode it.
- The advantages and drawbacks of having burning zombies (discussed in the “Molotov Cocktail” section) applies here, too.
SCENERY // GAS CANISTER (LARGE AND SMALL)
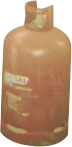
“High-pressure canisters and bullets don’t mix. Unless you want a violent detonation.”
- Where Found: Varies throughout campaign.
- Tactical Notes:
- Large and small gas canisters have damaging properties similar to grenades. When they explode, they blow victims apart.
- Canisters are found in a few locations across London. Look for references to them throughout the walkthrough.
- Detonate canisters by hitting them once with a firearm (usually the pistol, as you usually have the most ammo), after a short “hiss” of escaping gas.
- Don’t shoot a canister when standing next to it, or you’ll feel the full force of the explosion!
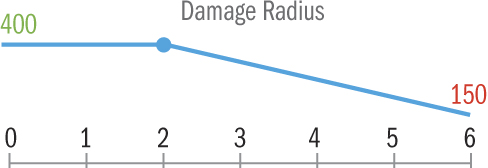
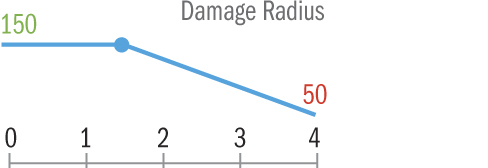
- Large canisters have a blast radius of six meters; small canisters have a blast radius of four meters.
- The damage they cause is far more severe than a barrel but doesn’t last as long.
- Look for these to help you remove zombie threats while using the smallest amount of ammunition possible.
HANDGUNS // L9A1 BROWNING
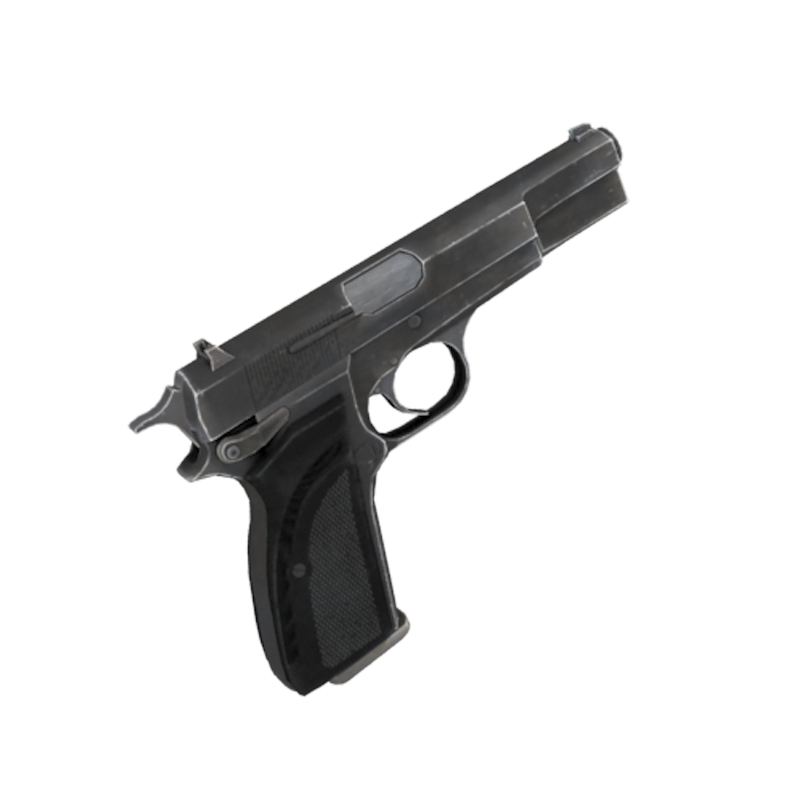
“That’s a Browning Hi-Power. One of the most reliable handguns in the world. It won’t let you down.”
- Mechanism: Semiauto
- Caliber: 9 mm
- Capacity: 13
- Slot Capacity: 20
- Attachments: None
- Where Found: Mission 01: Safe House area, travel shop, in the BOB (backpack) of the Infected Survivor.*
- Where Found: Mission 14: St. George’s Church, in the courtyard, on a small pedestal birdbath.*
- Tactical Notes:
- This is your only real ranged weapon for the first few missions. Fortunately, ammunition is relatively accessible.
- This has the longest range of the handguns, and although noisy, it is more damaging than the HK P226.
- Unfortunately, the reload time is relatively lengthy. It’s often better to swap weapons than reload this if you’re under constant threat.
- It takes around five shots to defeat a foe. Reload after every takedown so it becomes a habit.
- This is well worth upgrading, until you discover the HK P226. Then choose one of these to fully upgrade.
- This uses the same ammunition as the HK P226. However, its capacity is two fewer until upgraded.
- This has a small chance of causing a Critical, which the HK P226 cannot provide.
HANDGUNS // HK P226
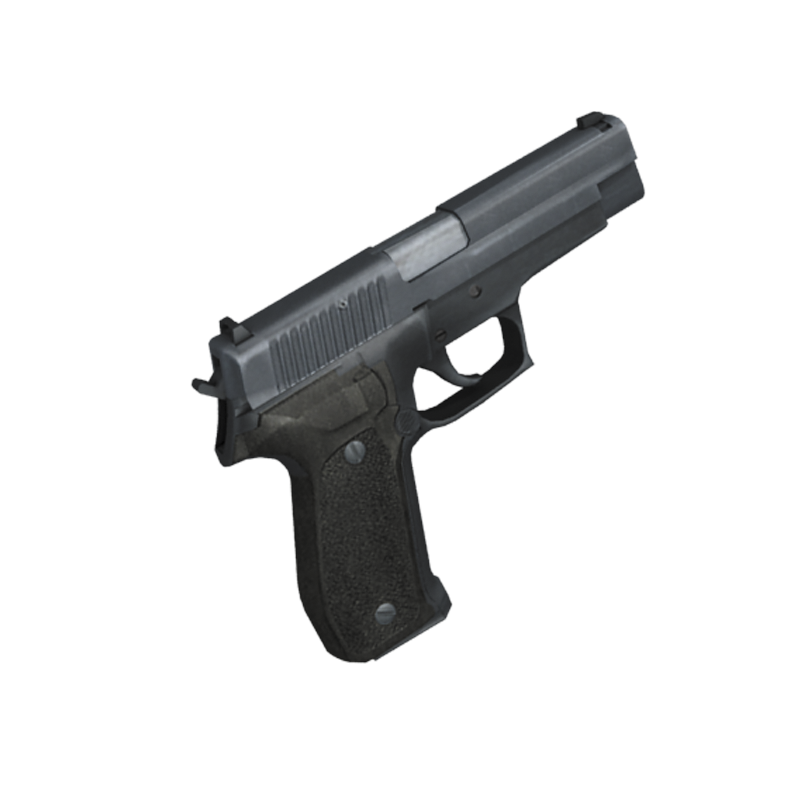
“The poor bloke that used this couldn’t take it anymore. Make sure his death is avenged!”
- Mechanism: Semiauto
- Caliber: 9 mm
- Capacity: 15
- Slot Capacity: 20
- Attachments: Silencer
- Where Found: Mission 06: Palace Underground (Bunker), in the restroom, in the last stall next to a corpse.
- Tactical Notes:
- This offers a very similar amount of protection as the L9A1 Browning, but with two important differences: First, it comes equipped with a silencer. This is very handy if you’ve turned off your flashlight, haven’t been spotted, and want to sneak about making quick, silent kills without being spotted. And second, the damage it inflicts is slightly less impressive.
- You’re likely to take one more shot bringing down a target with this, compared to the Browning.
- Choose either this or the Browning to upgrade, if you’re low on upgrade pieces.
- This uses the same ammunition as the Browning. However, its capacity is two more (15 versus 13) until upgraded.
HANDGUNS // DESERT EAGLE MAGNUM
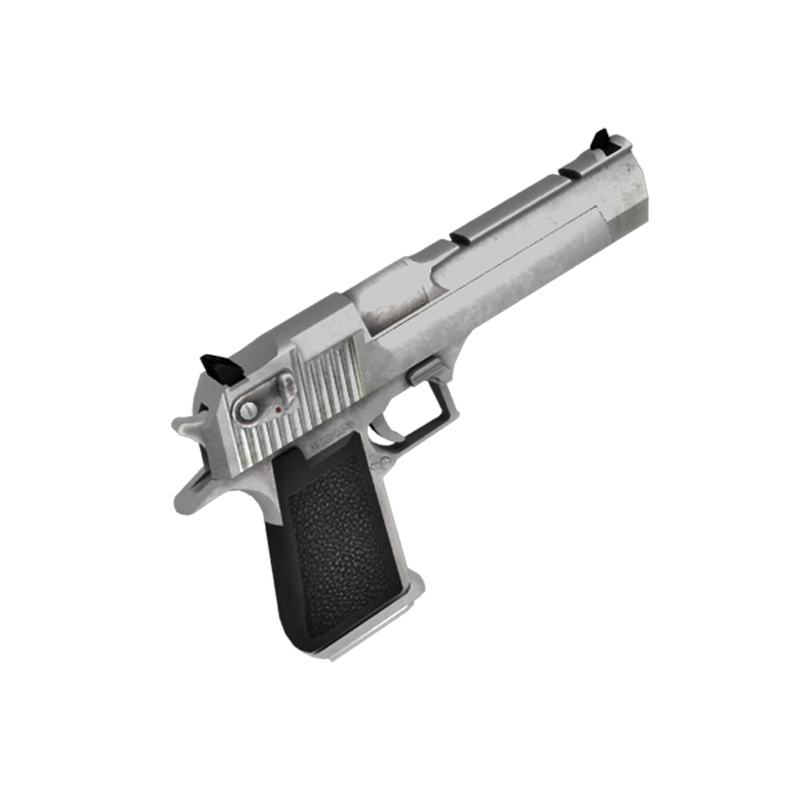
“Only the Yanks could have come up with a Magnum like that. A handgun you can barely fit in your bloody hand!”
- Mechanism: Semiauto
- Caliber: .357
- Capacity: 9
- Slot Capacity: 12
- Attachments: None
- Where Found: After Mission 11B: Baconfields, Darwin Yard. Hack the keycard lock of the shed (once your Pad is updated).
- Tactical Notes:
- This makes enough noise to wake the dead, if they weren’t up and shambling already.
- The caliber of this weapon makes all the difference; it inflicts more than twice the damage per shot as the Browning and close to three times the damage per shot as the P226, at close range. The long-range damage is even more pronounced.
- This also has a higher Critical Ratio and has penetrating power, meaning you can hit two foes with a single shot!
- The biggest concerns are picking up this weapon quite late in your adventure and the lack of clip capacity.
- This is a favored weapon in Multiplayer and well worth considering in Campaign mode.
- It is very easy to aim, use, and reload (although the latter isn’t the quickest). Reload between fights, as you would with the Browning.
SHOTGUNS // DOUBLE-BARREL SHOTGUN
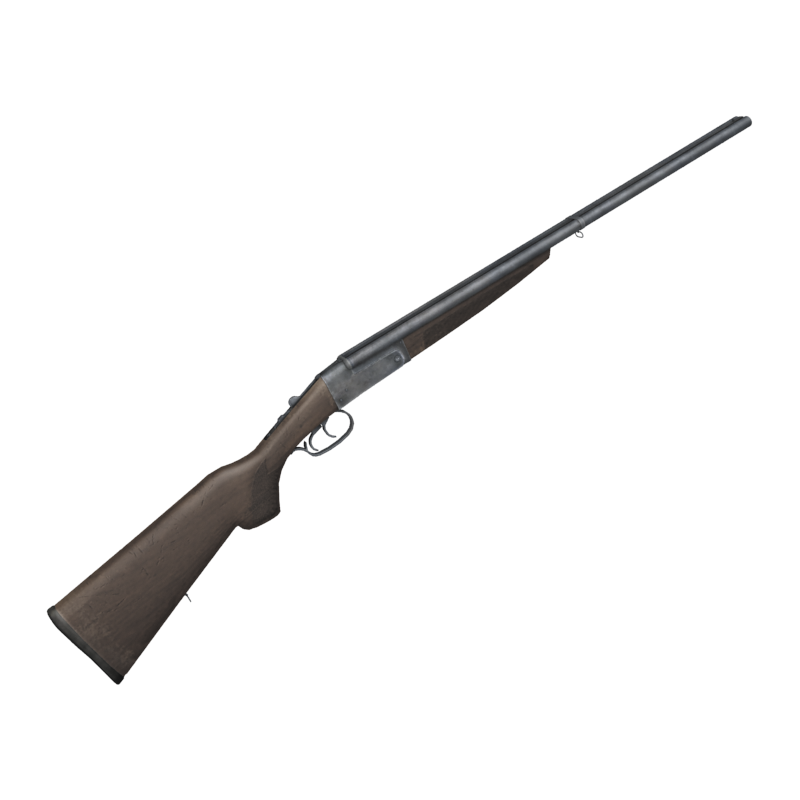
“Now we’re talking. Double the barrels for double the gun!”
- Mechanism: Pump Action
- Caliber: 12 mm
- Capacity: 2
- Slot Capacity: 10
- Attachments: None
- Where Found: Mission 07: Brick Lane Flats, in the foreman’s office of the second warehouse.
- Tactical Notes:
- This uses the same ammunition type as the other shotguns, so collect this ammo, even if you aren’t using this weapon.
- This offers an excellent, swift, and messy way to blast apart a foe’s head in a single shot (at close range).
- This unfortunately requires a reload after two shots are expended. Try to reload in between decapitations.
- Use this up close and personal, as an Infected tries to close in on you. Longer ranged combat isn’t as potent.
- Expect almost a four-second reload if you have both barrels empty.
- This reload time is obviously an issue, so retreat and push back or use a different weapon if you’re encountering multiple foes.
- However, this is the perfect weapon for removing one or two threats at a time. Don’t forget to upgrade it!
SHOTGUNS // REMINGTON 870
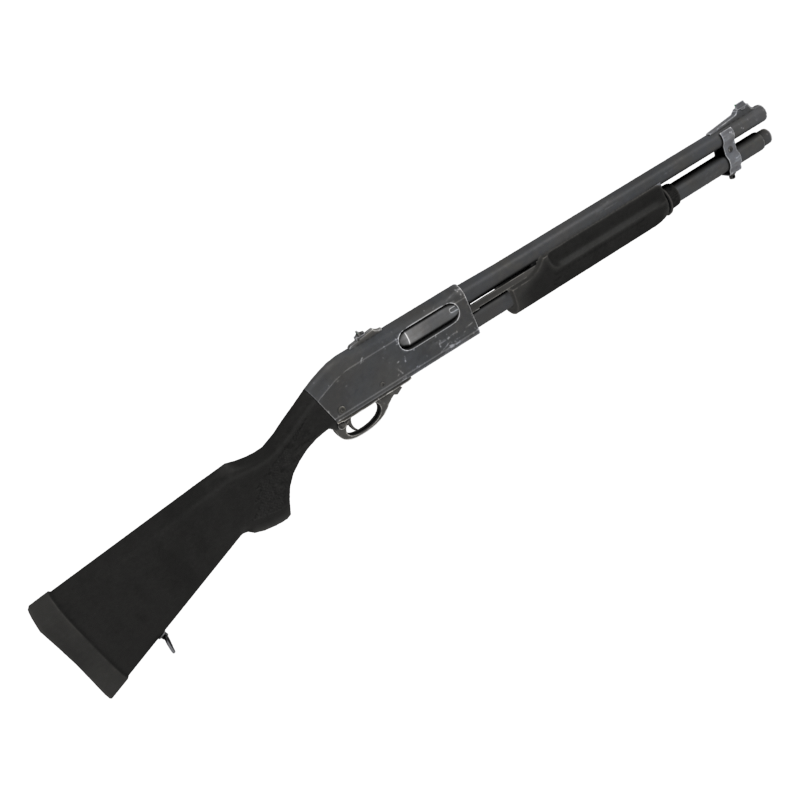
“The only thing better than a shotgun...is a pump-action shotgun.”
- Mechanism: Pump Action
- Caliber: 12 mm
- Capacity: 4
- Slot Capacity: 10
- Attachments: None
- Where Found: Mission 11B: Spitalfields Green (Shoreditch Road), by the petrol can, behind the keycard lock (must be scanned by your Pad), next to the petrol station.
- Tactical Notes:
- Comparing shotguns is tricky, as this and the M4 Tactical can be gathered at around the same time.
- This appears later into your missions, after you (should have) spent time with the double-barrel shotgun.
- This weapon’s main advantage is it has double the capacity (four shells before reloading, instead of two).
- The reload time is almost cut in half too. But there’s no chance for a critical hit on the head of the foe you’re facing.
- It takes two shots to bring the average foe down, compared to the double-barrel shotgun. Upgrade, or find more ammo!
- You may wish to use up the shells in the chamber, then choose between this and the M4.
SHOTGUNS // BENELLI M4 TACTICAL
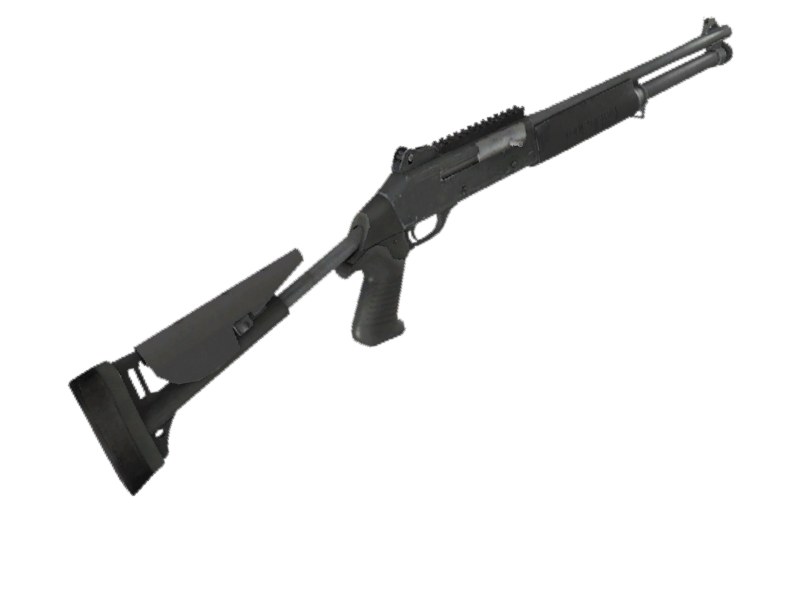
“Gotta love that pump action! Lighter, faster, cleaner than your average shotgun.”
- Mechanism: Semiauto
- Caliber: 12 mm
- Capacity: 7
- Slot Capacity: 10
- Attachments: None
- Where Found: After Mission 11B: Tower of London (Pier #2), on the tug boat, via the hacked keycard gate (once your Pad is updated).
- Tactical Notes:
- This might be the ideal shotgun for your needs; it combines the damage of the double-barrel (especially when upgraded) with a much larger capacity (seven shells before a reload).
- It still takes two shots to bring down an average foe at close quarters, though! Think about whether this is beneficial compared to the double-barrel shotgun, in terms of ammo expenditure.
- This does have an excellent reload speed, but no chance of a Critical Ratio.
- As with all other shotguns, this excels at bringing down foes menacing you at close quarters.
- Use other weapons at longer ranges, due to the inaccuracy and spread issues at distances of over 20 meters. This applies to all shotguns.
- The Remington and the M4 are both better suited for bringing down three or four foes at a time. The double-barrel shotgun is exceptional at killing one or two at a time.
CARBINES // LEE ENFIELD No4 MK1
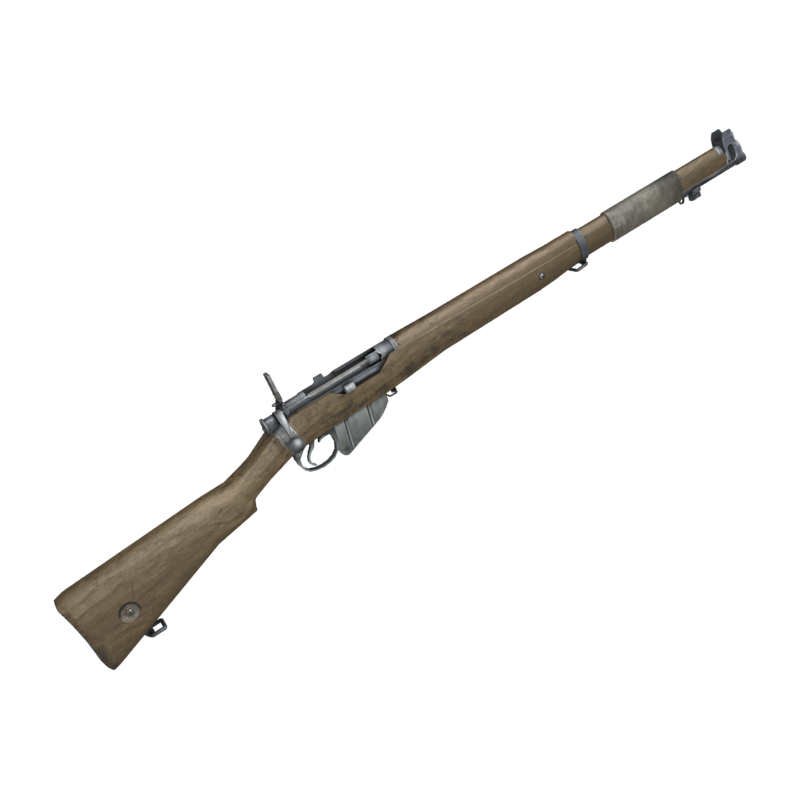
“This Lee Enfield brings back Army memories for the Prepper. It’s a lovely little rifle.”
- Mechanism: Bolt Action
- Caliber: Carbine
- Capacity: 1
- Slot Capacity: 15
- Attachments: None
- Where Found: Mission 04: Victoria Memorial (Green Park Command and Control), inside the C&C building, on a table.
- Tactical Notes:
- This can reduce a weak Blighter to almost half health in a single second. It takes three shots to bring one down, though.
- There’s also a small chance of obtaining a Critical and penetrating through one enemy and hitting another.
- This is the second weapon you receive. It’s worth practicing with the mechanism in preparation for using the 770.
- The Lee Enfield has some crippling problems: It has the longest reload (almost four and a half seconds), and it fires only one shot before needing to be reloaded. This can lead you to be easily swarmed and grabbed.
- Use this weapon at longer distances, wounding two or three foes before switching to a weapon more suited for close combat.
- This is the weapon to break out when all other firearms are out of ammo. Put this in your Safe House Chest for your next Survivor!
CARBINES // REMINGTON 770
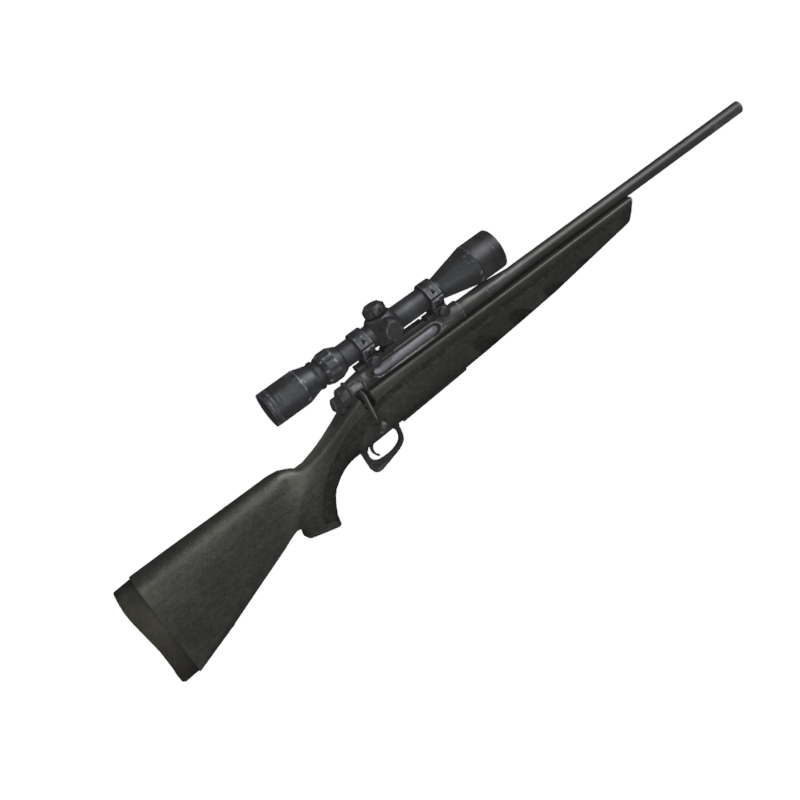
“I used to shoot gnats up the arse with one of those.”
- Mechanism: Bolt Action
- Caliber: Carbine
- Capacity: 5
- Slot Capacity: 15
- Attachments: Scope (x4)
- Where Found: Mission 10: Tower of London, on the first pier, by the corpse of the deceased Ravens member.
- Tactical Notes:
- The addition of a powerful scope makes all the difference to a carbine. This is a formidable long-range weapon.
- You need to physically lift your Prepper Pad, and use your left and right thumbs to utilize the zoom. Target on the Pad screen.
- Use this to pop the heads of foes from extremely long distances.
- This has exceptional penetrating power; it can hit up to three foes with a single shot, if you’re positioned well and accurate enough!
- Despite this power, it’s still going to take two shots to drop an average foe. Fortunately, you have five before needing the (lengthy) reload.
- This inflicts the largest damage at long range. Use it to tag foes, explode barrels (or explode Infected), and create havoc.
- Use this to weaken your foes at range, then swap to a more appropriate weapon for closer combat. This is unwieldy at shorter ranges (especially as you’re using the Pad to aim).
CROSSBOW // HUNTING CROSSBOW
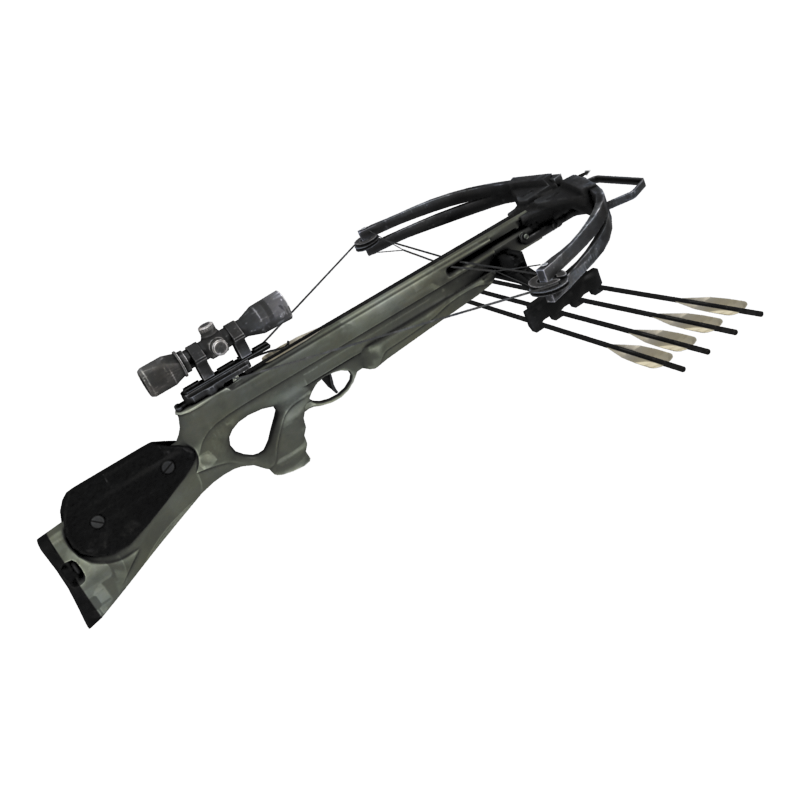
“Favorites of farm yokels from all over Yorkshire. Slow to prep, but great for silent running.”
- Mechanism: Draw Action
- Caliber: Bolt
- Capacity: 1
- Slot Capacity: 8
- Attachments: Silencer, Scope (x4)
- Where Found: Mission 06: Buckingham Palace, in the secret interior crawl space, accessed via the rotating plinth off the grand entrance room.
- Tactical Notes:
- This is the only weapon that is both silent and has a scope function (of up to four times the normal viewing distance).
- Expect this to inflict a critical hit at any range below 50 meters. If you hit the head, it will explode!
- This weapon can easily be underestimated, but it’s the perfect hunting implement for when foes haven’t seen you.
- Enter a location, get a visual on distant foes, drop as many with this as possible, then switch to closer ranged weaponry.
- Partner this weapon with the HK P226 and MP5 SD for a completely silent arsenal. Don’t forget to turn off your flashlight!
- Be sure you score a critical, or you’ll need four or more shots to drop a foe, even at short range.
- The biggest drawback is this weapon’s reload speed; it is reasonably lengthy and must be done each time you fire.
SUBMACHINE GUNS // MP5 SD
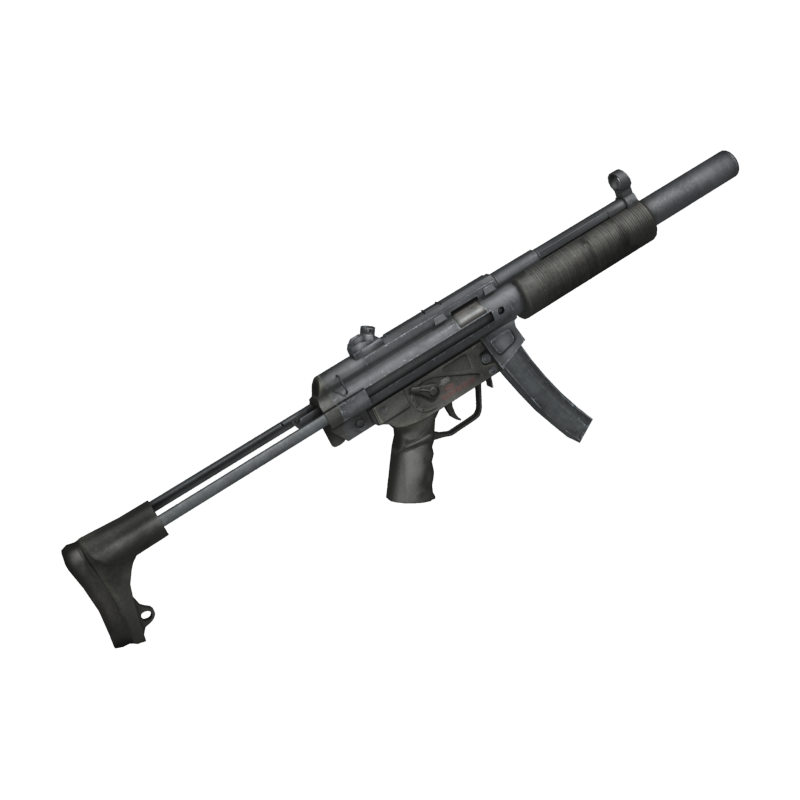
“The trusty MP5. The best gun in the world for close crowd control, if you catch my drift.”
- Mechanism: Semiauto/Full-Auto
- Caliber: SMG
- Capacity: 30
- Slot Capacity: 45
- Attachments: Silencer
- Where Found: After Mission 10: Brick Lane Flats. First warehouse, in the upper office, behind the secret wall keypad (scan using upgraded Pad).
- Tactical Notes:
- This uses the same ammunition as the UMP45.
- This and the UMP45 seem almost identical when viewing the initial statistics. In general, they are reasonably similar.
- One major difference is that this weapon features a silencer, allowing for stealth attacks on foes who haven’t seen you.
- In regards to damage inflicted, this loses slightly to the UMP45, requiring nine bullets to impact a nearby foe compared to the UMP45’s seven.
- However, this holds 30 shots, compared to the UMP45’s 25, so both can put down three foes before needing a full reload.
- Make sure you fire in short, controlled bursts. If possible, try to time the bursts so you don’t fire any additional shots for each kill.
SUBMACHINE GUNS // UMP45
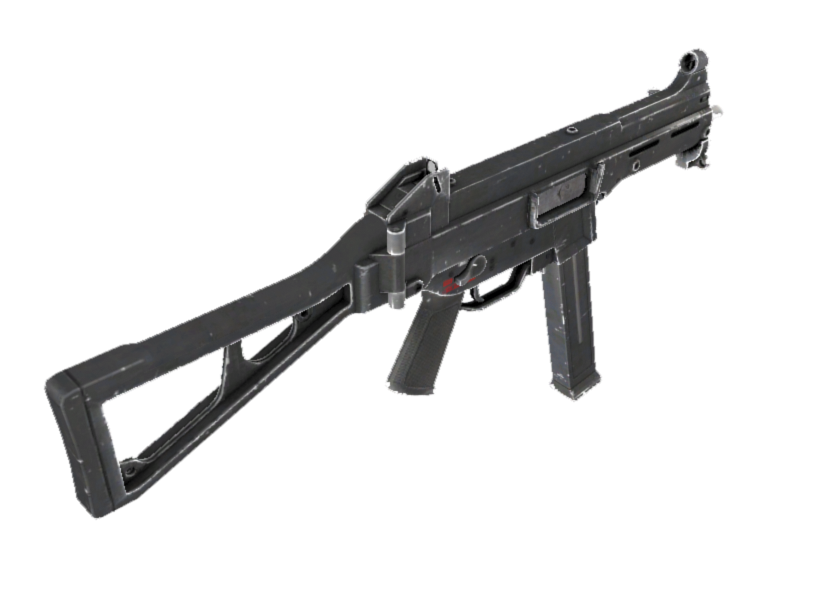
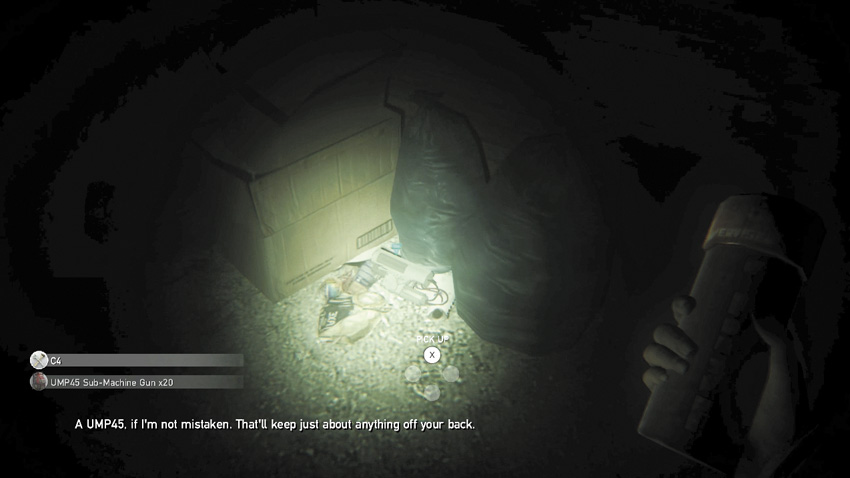
“An UMP45, if I’m not mistaken. That’ll keep just about anything off your back.”
- Mechanism: Semiauto/Full-Auto
- Caliber: SMG
- Capacity: 25
- Slot Capacity: 45
- Attachments: None
- Where Found: Mission 12: Nursery bottom basement, in a storage room accessed via a septagram puzzle and keypad door.
- Tactical Notes:
- This is almost identical in all respects to the MP5 SD, except it doesn’t come with a silencer. Stealth kills aren’t possible.
- The UMP45 does have a higher damage per bullet than the MP5 SD, so it expends fewer rounds if you’re adept at using as little ammo as possible.
- Fire in short, controlled bursts to avoid needless bullet expenditure.
- It takes seven bullets to drop a foe at short range and ten at longer ranges. This compares to the MP5 (9 at short range and 12 at long range).
- This can pierce more than one zombie per shot, even before upgrading.
- Although there isn’t much in it, this has a slightly longer reload time compared to the MP5 SD.
- Use this weapon to tackle multiple foes coming at you at once. With proper aiming, you can drop three foes and damage a fourth before a reload.
ASSAULT RIFLES // AK-47
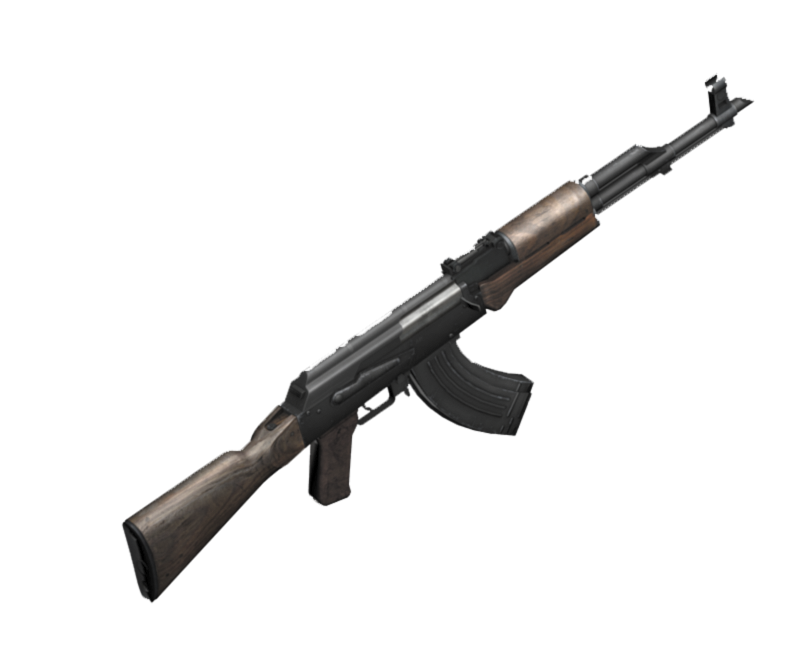
“The AK-47 assault rifle. Preferred weapon of communists everywhere. And it makes a very distinctive sound when fired.”
- Mechanism: Full-Auto
- Caliber: 5.56 mm
- Capacity: 30
- Slot Capacity: 45
- Attachments: None
- Where Found: Mission 10: Tower of London. Inside the Raven’s secret chamber, after the dungeon exploration.
- Tactical Notes:
- If you use this weapon adeptly, there are times when you may actually feel safe engaging the enemy!
- This and the SA80a2 are used for crowd control. They’re deafening but can drop multiple foes in quick succession.
- Compared to most other weapons, this is an excellent and powerful gun. But it’s just a little less powerful in all respects to the SA80a2.
- If you’re accurate, and all foes are within 18 meters or so, you can actually gun down up to five foes without reloading. Impressive!
- There’s the possibility of penetration power, too, and it has a three-and-a-half-second reload. You’re most exposed when you’re swapping clips.
- Be sure you’re searching for and carrying enough ammo; you’ll be going through a large amount if you’re using this constantly.
ASSAULT RIFLES // SA80a2
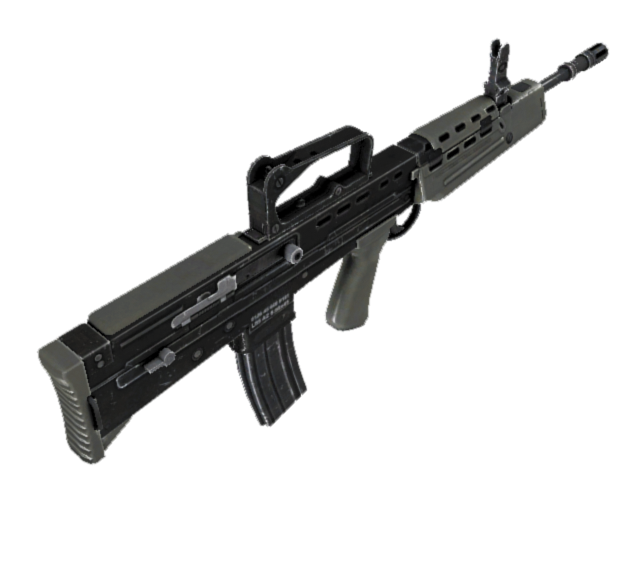
“That’s an SA80. Must have come from an Army regular, the poor bugger.”
- Mechanism: Semiauto/Full-Auto
- Caliber: 5.56 mm
- Capacity: 30
- Slot Capacity: 45
- Attachments: None
- Where Found: Mission 14: Behind the rising metal wall, inside an ammo stash accessed via lockpicking tools.
- Tactical Notes:
- This is arguably the most powerful weapon to be found across London. It’s a shame you can’t obtain it until late in your adventure!
- This is the only weapon that can drop up to six foes, at short range, without reloading.
- Be sure you’re firing bursts of five shots into the heads of foes to make the most of the sparse supply of bullets.
- The reload time is just over three seconds, which is reasonably lengthy. Back up and try to reload during a lull in the fight.
- Don’t forget the piercing power of the SA80a2. Line up two foes and you can damage both at once, effectively doubling the takedown possibilities!
- Employ the AK-47 until you find this. Then swap it for this, unless your AK is fully upgraded.
MOUNTED // M2 TURRET
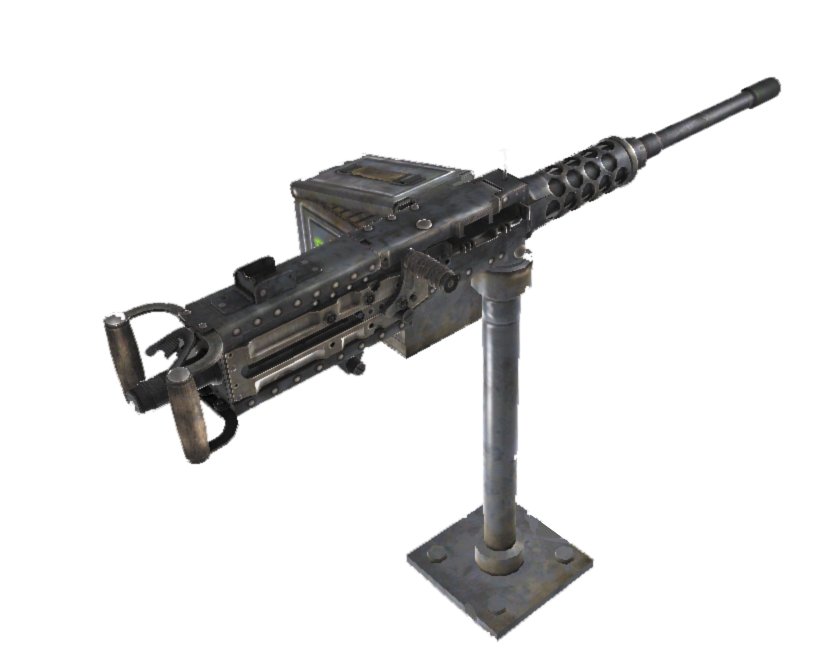
“The military brought these in for crowd control. And you saw what happened to them...”
- Mechanism: Semiauto
- Caliber: M2
- Capacity: 400
- Slot Capacity: 90
- Attachments: Mounted Turret (cannot be moved)
- Where Found: Mission 01: Safe House, upper mezzanine balcony.* Mission 04: Victoria Memorial, by Buckingham Palace gates.*
- Tactical Notes:
- This stationary turret provides an extremely powerful raking eruption that tears through Infected flesh almost as quickly as it uses up ammo.
- It takes almost five seconds to reload this weapon. You’ll be torn to pieces in that time if the Infected are near when you run out of ammo. Disengage and retreat!
- If you look at the raw numbers, you can technically drop a foe with four bullets. Theoretically that’s 22 foes before a reload!
- However, firing this usually means bursts are more than that, so you usually waste a few rounds with each takedown.
- Zombies can swarm your turret easily, especially as you can’t fully turn left and right. Watch your flanks for ambushes!
- This is a great way to increase your Survivor score. Don’t be shy using up the ammo here; it’s usually not worth taking with you.
WEAPONS // UPGRADES
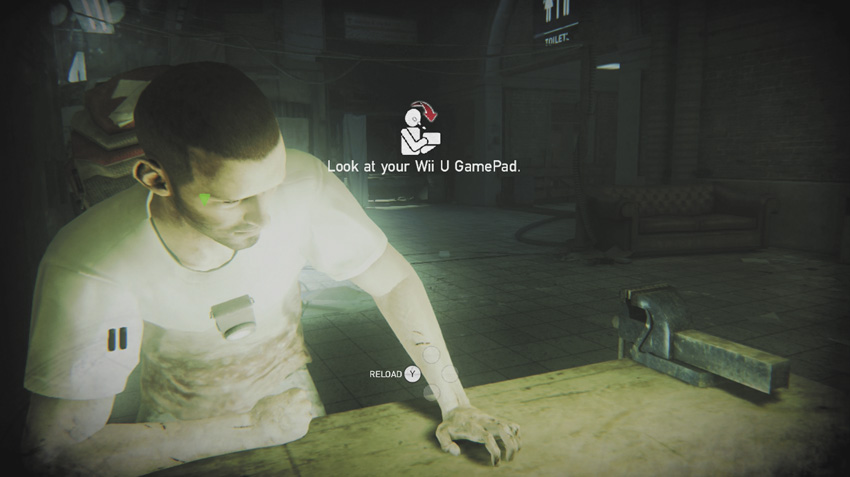
During your frantic battles across the streets of London, it’s critical that you gain every advantage possible. One way to increase your chances of survival is to build add-ons and improvements to your existing weapons. This is called “upgrading,” and you do this at a workbench. There’s one in your Safe House and in every Shelter that you locate.
At the workbench (and only at a workbench), you can instantly augment any weapon you’re currently carrying. These upgrades plug onto your guns and improve their attributes. Bring the weapon you want with you to ensure you can add to it. Then upgrade it with one of the following four improvements.
UPGRADES
CAPACITY UPGRADES
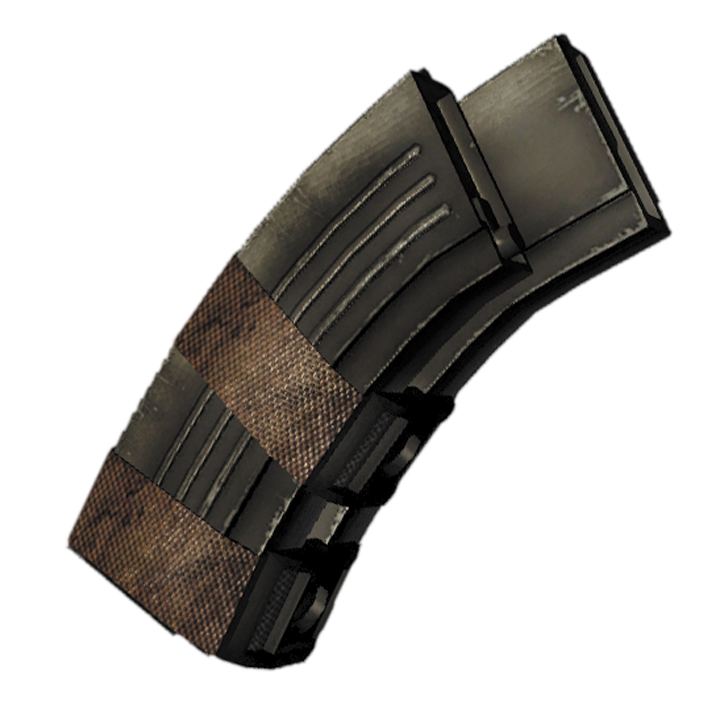
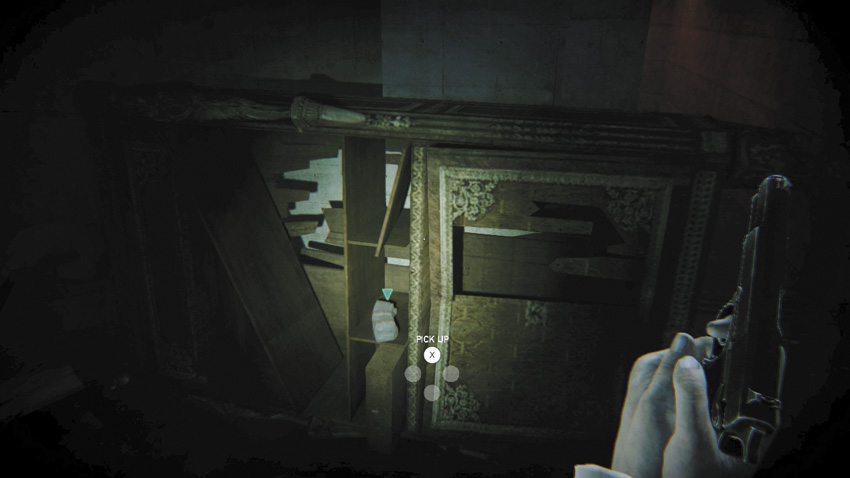
- Capacity upgrades increase the maximum number of ammunition a gun can carry.
- This essentially allows you to fire a gun longer before reloading.
- There are 11 capacity upgrades to find.
- These can be fitted to any ranged weapon, except for the double-barrel shotgun and the hunting crossbow.
FIREPOWER UPGRADES
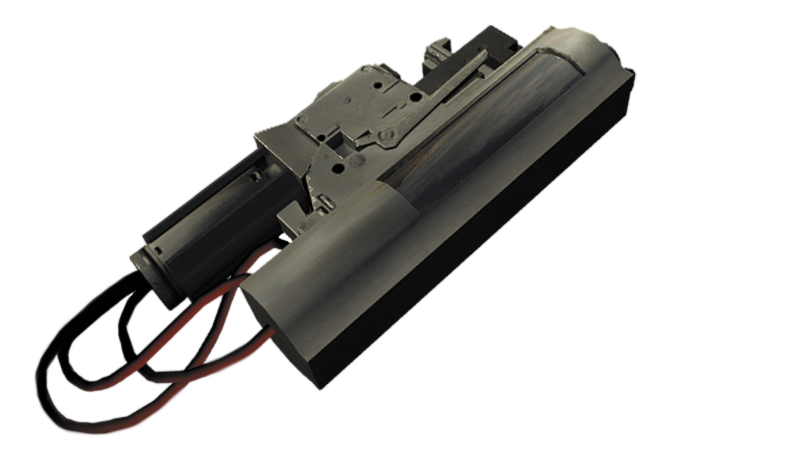
- Firepower upgrades increase the power of a gun or the damage that it inflicts on an enemy.
- This essentially allows you to dispatch an Infected with fewer shots.
- There are 13 firepower upgrades to locate.
- These can be fitted to any ranged weapon; there are no exceptions.
FIRING SPEED UPGRADES
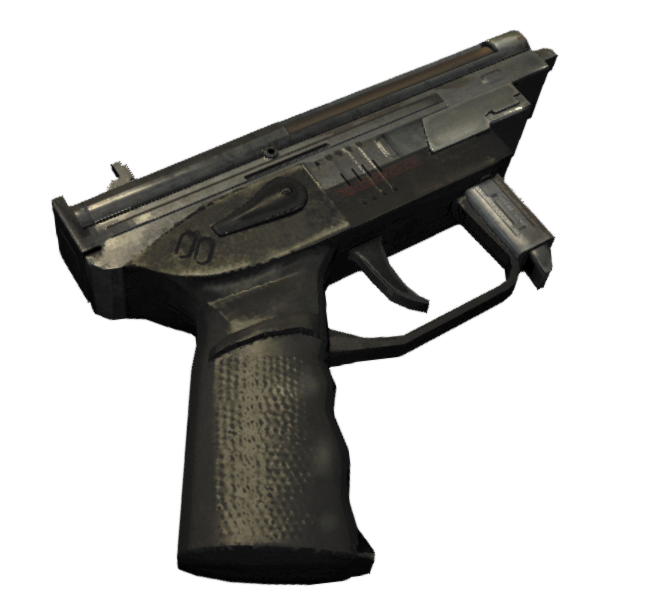
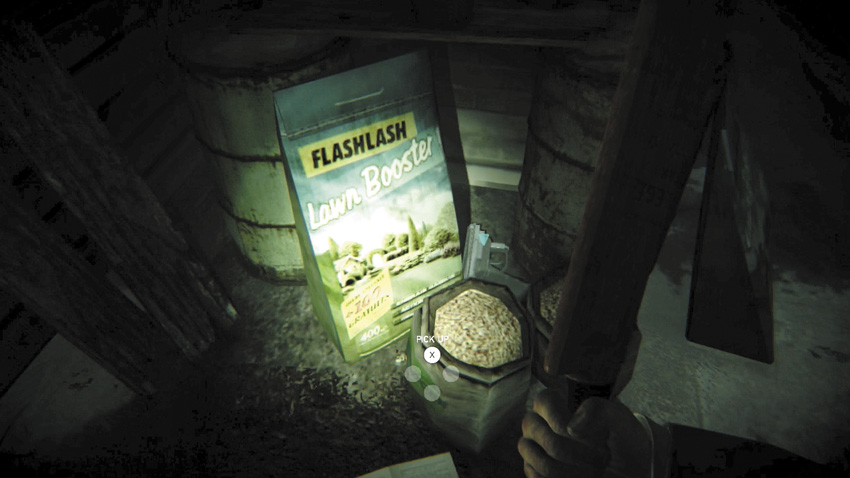
- Firing speed upgrades decrease the duration between the firing of two bullets.
- This essentially enables you to defeat a zombie in a quicker time, providing all shots connect.
- There are 12 firing speed upgrades to find.
- These can be added to any ranged weapon, except for the hunting crossbow.
SPREAD UPGRADES
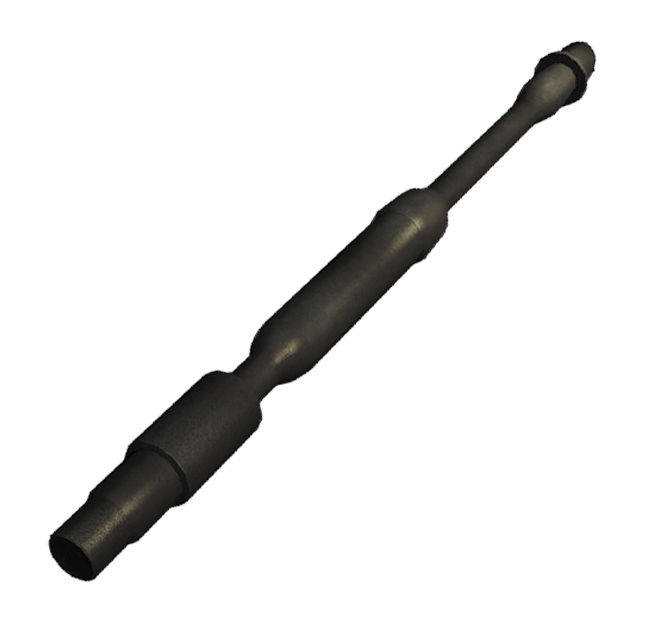
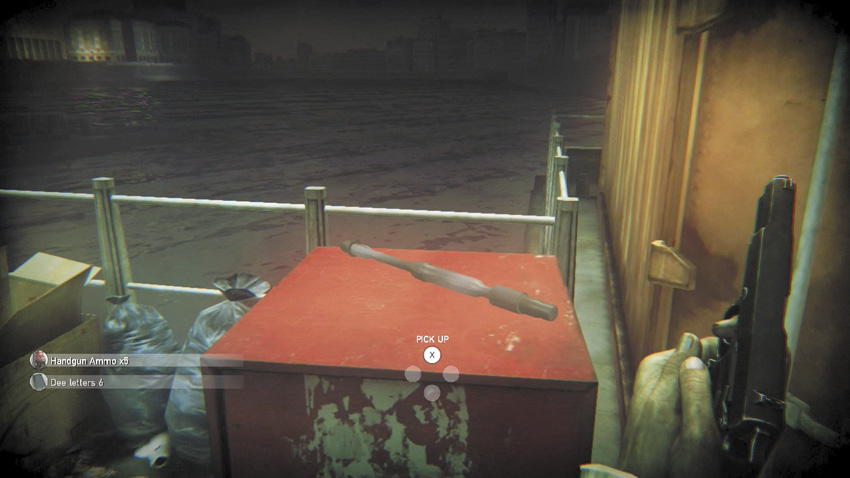
- Spread upgrades decrease the spread (or inaccuracy over range) that weapons have.
- This essentially makes your shots a lot more precise, enabling you to hit more accurately over any distance.
- There are 13 spread upgrades to find.
- These can be attached to any ranged weapon; there are no exceptions.
UPGRADES // TACTICAL ADVICE
FINDING UPGRADES
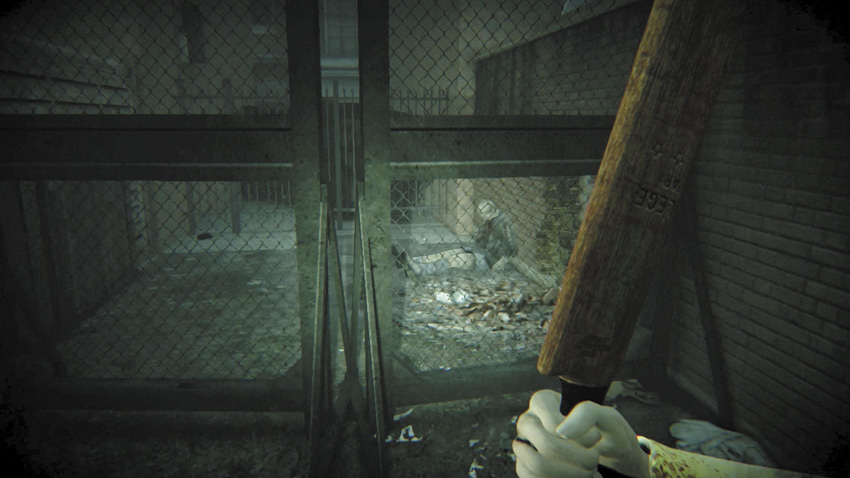
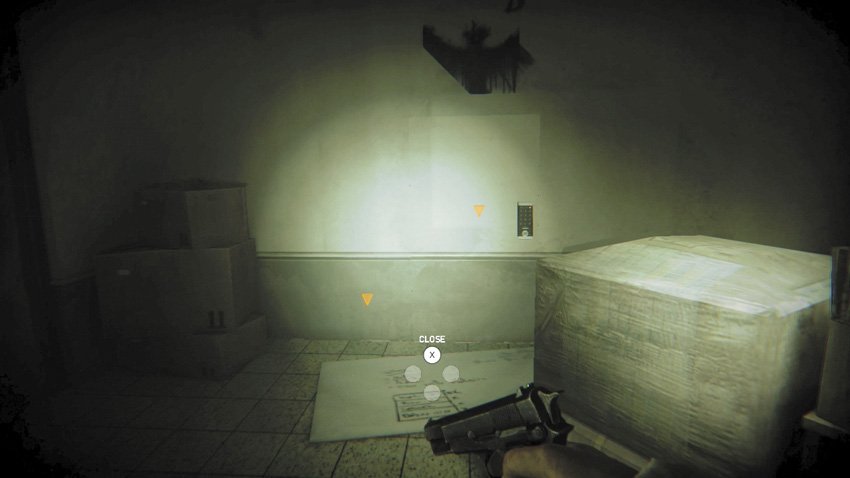
Upgrades are found or looted across London. Here’s what to look for and where to look:
It’s a secret: Most upgrades are in hidden passages or secret rooms. Most of the time, they are hidden behind cracked walls, locked doors, or in crawl spaces.
Accessing hidey-holes: Many upgrades become accessible only if you have the appropriate tools to open up these areas, such as C4 explosives, the lockpicking tool, or codes for a keypad door.
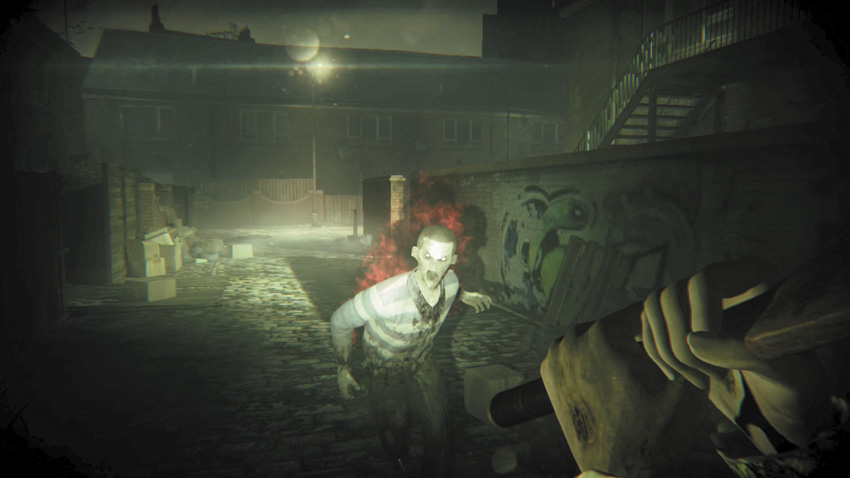
Super zombie slaughtering: Some upgrades are also found on the bodies of Evolved Super Zombies. You must slay these and loot their corpses. There are 10 such upgrades. These Super Zombies may appear during missions or when you revisit a map. If you haven’t been seen, scan these Super Zombies to see if one is carrying an upgrade.
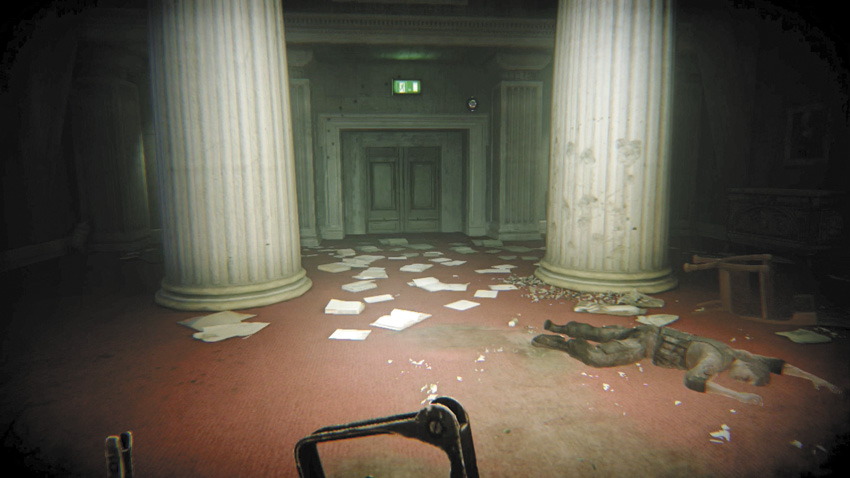
Getting a lift: Four upgrades can be taken only after Mission 15 is activated and you’ve used the royal elevator for the last time.
ATTACHING UPGRADES
There are 13 ranged weapons, and aside from the two weapons (the double-barrel shotgun and the hunting crossbow) that have only two or three areas for improvement, there are just enough upgrades to fully augment every weapon to its maximum potential. The question is, do you upgrade every weapon or concentrate on just a few?
- Upgrade at least one weapon of each type: It’s important to upgrade your initial Browning pistol and one weapon of each type (i.e., at least one handgun, shotgun, and so on).
- Upgrade a weapon you’re using frequently: If you’re using the double-barrel shotgun almost constantly, swapping it out with a pistol and an MP5 SD, concentrate your upgrades on these weapons. If you brought out the Lee Enfield No.4 MK1 twice and didn’t enjoy its bolt action, upgrade it only if you have extra upgrade pieces.
- Upgrade before you attack: There’s no point in keeping your upgrades and never using them! Similarly, it’s a terrible plan to start a mission with upgrades waiting to be made (unless you’re waiting for a specific weapon). Upgrades make you more dangerous, and thus make survival more of a possibility. Get tinkering!
- Waste not, want not: Don’t waste upgrades, though; if there’s a weapon you want to find, and the mission you’re on allows you to locate it, keep upgrades available so you can grab the weapon and instantly upgrade it.
- Know when upgrades are available: Check the walkthrough and the Appendices to get the optimal times to gather all 49 upgrades.
- Upgrade everything...eventually: Upgrading gives you Survivor points. But the final 14 upgrades (10 on the Evolved Super Zombies and 4 found only after Mission 15 starts) are found so late in the game, it isn’t wise to count on them for the majority of your fighting. But finding and upgrading everything helps you in the final stages.
UPGRADES // TABLE
This table details how the specific statistics improve based on a weapon without (first number) and with (second number) an upgrade. Each upgrade is given only once.
| WEAPONS | FIREPOWER | FIRING SPEED | SPREAD | CAPACITY |
|---|---|---|---|---|
| AK-47 | 66 > 75 | 0,085 > 0,070 | 6,60/5,00 | 30 > 40 |
| SA80a2 | 77 > 88 | 0,105 > 0,085 | 6,00/4,5 | 30 > 45 |
| WEAPONS | FIREPOWER | FIRING SPEED | SPREAD | CAPACITY |
|---|---|---|---|---|
| Lee Enfield No.4 MK1 | 134 > 160 | 1,87 > 1,55 | 3,25/2,60 | 10 > 15 |
| Remington 770 | 220 > 255 | 1,87 > 1,65 | 4,80/3,95 | 5 > 8 |
| WEAPONS | FIREPOWER | FIRING SPEED | SPREAD | CAPACITY |
|---|---|---|---|---|
| Hunting Crossbow | 95 > 122 | 3,05/2,30 |
| WEAPONS | FIREPOWER | FIRING SPEED | SPREAD | CAPACITY |
|---|---|---|---|---|
| L9A1 Browning | 77 > 88 | 0,30 > 0,24 | 3,00/2,50 | 13 > 16 |
| P226 | 61 > 75 | 0,26 > 0,18 | 2,85/2,30 | 15 > 19 |
| Magnum | 177 > 220 | 0,32 > 0,26 | 3,10/2,65 | 9 > 13 |
| WEAPONS | FIREPOWER | FIRING SPEED | SPREAD | CAPACITY |
|---|---|---|---|---|
| Double-Barrel Shotgun | 36*12 > 44*12 | 0,50 > 0,40 | 12,5/11,0 | - |
| Remington 870 | 27*10 > 35*10 | 1,17 > 1,00 | 10,0/9,1 | 4 > 7 |
| Benelli M4 Tactical | 30*10 > 39*10 | 0,48 > 0,40 | 10,20/9,30 | 7 > 10 |
| WEAPONS | FIREPOWER | FIRING SPEED | SPREAD | CAPACITY |
|---|---|---|---|---|
| MP5 SD | 43 > 49 | 0,075 > 0.063 | 7,0/5,80 | 30 > 45 |
| UMP45 | 56> 64 | 0,100 > 0,080 | 5,70/4,50 | 25 > 40 |
WEAPONS // PROFICIENCY
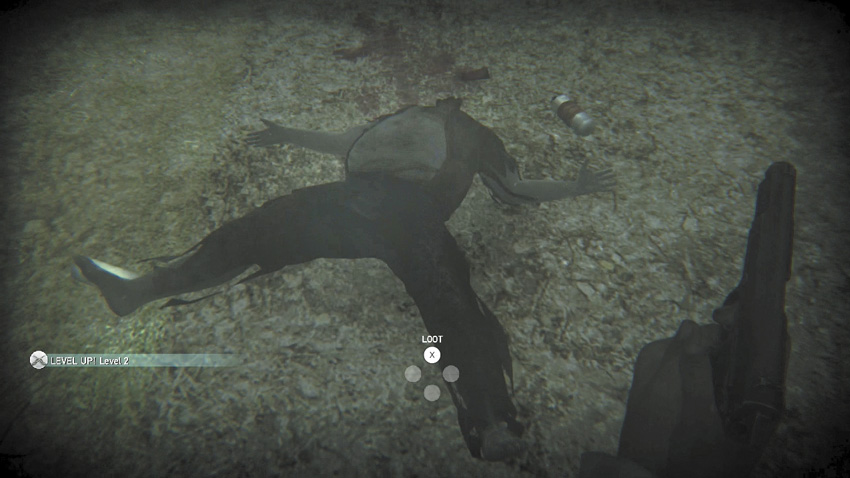
There is still additional augmentation you can gain from your weapons as you become more skilled with each type. This takes the form of “leveling up” your skill with handguns, shotguns, carbines, the crossbow, submachine guns, and assault rifles. Keep using these weapon types, and various facets of your gun control become more impressive.
PROFICIENCY
HOW TO GAIN SKILL // LEVELING
You gain skill by using a type of ranged weapon (you can’t become more skilled in the cricket bat or projectiles; only weapons with ammunition).
- The type of weapon is important, not the weapon itself. For example, if you want to increase your handgun proficiency, you can use the L9A1 Browning, the PK P226, or the Magnum. You can switch back and forth (killing some foes with one weapon and some with another).
- Every time you kill an Infected using a specific weapon type, this information is noted. When you reach a certain number, you “level up” in your skill with that weapon type. For example, you find an L9A1 Browning, and after you kill four zombies, you reach Level 1.
- If you find a different type of weapon, your skill with it begins at a base level. So, you need to kill a certain number of zombies with that type of weapon too.
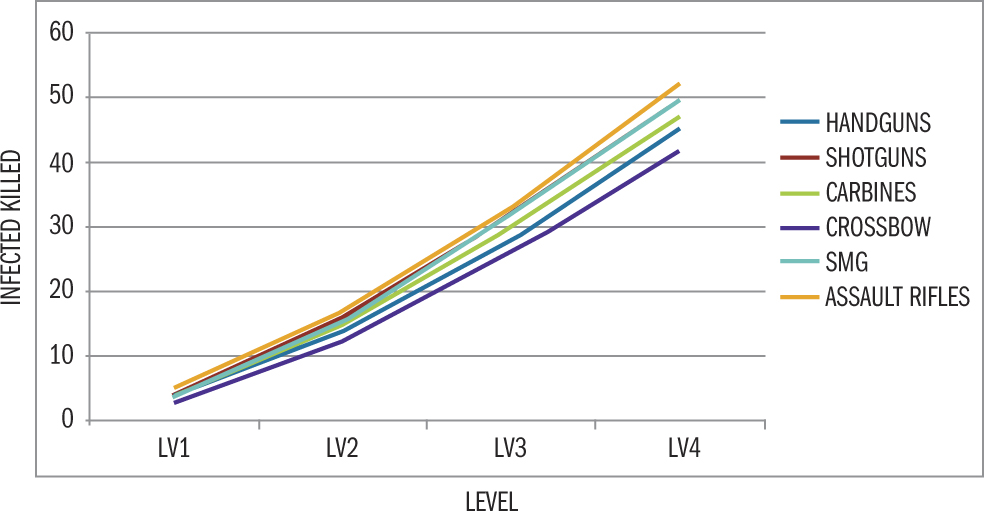
- Keep slaying foes, and you gradually improve up to Level 4 (the maximum). For example, if you want to reach Level 4 in handguns, you need to kill 4 zombies to reach Level 1, then 10 more to reach Level 2, then 14 more to reach Level 3, then 17 more to reach Level 4. That’s 45 zombies in total.
- Watch out! If your Survivor dies, the skills he accrued are lost, too, and you have to begin again!
- Don’t forget to find upgrades for your favorite weapon and then get skilled in it too; you’ll be unstoppable...or at least slightly more difficult to eat!
SPECIFIC IMPROVEMENTS
When you level up, you gain up to four specific improvements with the weapon you’re specializing in. Here’s how this breaks down:
- Reload speed: The time it takes to reload the weapon. The way you reload your weapon changes visually when you reach Level 3.
- Kickback addition: This reduces the weapon’s recoil, making it easier to aim. This only affects semiauto and automatic weapons.
- Drawing speed: The time taken to equip and unequip the weapon, in seconds. The faster you draw, the faster you can rattle off shots into those rotting flesh monsters!
- Aiming speed: How quickly you can move your weapon to aim at a foe. This means getting a foe in your crosshairs gets significantly faster.
TABLES AND GRAPHS
This table and graph reveals how many Infected it takes to become fully skilled in each weapon type.
| BASE | LV1 | LV2 | LV3 | LV4 | Notes | |
|---|---|---|---|---|---|---|
| L9A1 BROWNING PISTOL | ||||||
| Reloading speed | 3,45s | 3,24s | 3,03s | 2,85s | 2,7s | Time to equip/time to unequip. |
| Kickback addition | 18 | 14.4 | 10.8 | 7.2 | 4.5 | |
| Drawing speed | 1,04s / 0,52s | 0,95s / 0,48s | 0,89s / 0,45s | 0,84s / 0,42s | 0,78s / 0,39s | |
| Aiming speed | 0.20s | 0.19s | 0.18s | 0.16s | 0.15s | |
| P226 PISTOL | ||||||
| Reloading speed | 2,88s | 2,7s | 2,53s | 2,38s | 2,25s | Time to equip/time to unequip. |
| Kickback addition | 15 | 11.25 | 7.5 | 3.75 | 3.75 | |
| Drawing speed | 1,04s / 0,52s | 0,95s / 0,48s | 0,89s / 0,45s | 0,84s / 0,42s | 0,78s / 0,39s | |
| Aiming speed | 0.20s | 0.19s | 0.18s | 0.16s | 0.15s | |
| MAGNUM | ||||||
| Reloading speed | 3,26s | 3,06s | 2,86s | 2,69s | 2,55s | Time to equip/time to unequip. |
| Kickback addition | 28 | 23.8 | 19.6 | 14 | 8.4 | |
| Drawing speed | 1,04s / 0,52s | 0,95s / 0,48s | 0,89s / 0,45s | 0,84s / 0,42s | 0,78s / 0,39s | |
| Aiming speed | 0.20s | 0.19s | 0.18s | 0.16s | 0.15s | |
| DOUBLE-BARREL SHOTGUN | ||||||
| Reloading speed |
1 Shell : 0,73s
|
1 Shell : 0,67s
Add : 1,37s Full : 4,05s |
1 Shell : 0,61s
Add : 1,24s Full : 3,68s |
1 Shell : 0,53s
Add : 1,17s Full : 3,29s |
1 Shell : 0,49s
Add : 1,07s Full : 3,03s |
Full = (1 shell multiplied by basic capacity) + Add
No kickback addition on pump-action/bolt-action weapons. You have the time to realign.Time to equip/time to unequip. |
| Kickback addition | 0 | 0 | 0 | 0 | 0 | |
| Drawing speed | 0,67s / 0,55s | 0,61s / 0,51s | 0,56s / 0,48s | 0,51s / 0,44s | 0,45s / 0,40s | |
| Aiming speed | 0.28s | 0.25s | 0.22s | 0.18s | 0.15s | |
| BENELLI M4 TACTICAL SHOTGUN | ||||||
| Reloading speed |
1 Shell : 0,73s
Add : 0,8s Full : 5,91s |
1 Shell : 0,67s
Add : 0,73s Full : 5,42s |
1 Shell : 0,61s
Add : 0,67s Full : 4,94s |
1 Shell : 0,53s
Add : 0,63s Full : 4,34s |
1 Shell : 0,49s
Add : 0,58 Full : 4,01s |
Full = (1 shell multiplied by basic capacity) + Add
Time to equip/time to unequip. |
| Kickback addition | 20 | 16 | 12 | 9 | 7 | |
| Drawing speed | 0,67s / 0,55s | 0,61s / 0,51s | 0,56s / 0,48s | 0,51s / 0,44s | 0,45s / 0,40s | |
| Aiming speed | 0.28s | 0.25s | 0.22s | 0.18s | 0.15s | |
| CARBINE LEE ENFIELD No.4 MK1 | ||||||
| Reloading speed | 4,4s | 3,96s | 3,59s | 3,19s | 2,82s | No kickback addition on pump-action/bolt-action weapons. You have the time to realign. |
| Kickback addition | 0 | 0 | 0 | 0 | 0 | |
| Drawing speed | 0,68s / 0,56s | 0,63s / 0,51s | 0,58s / 0,47s | 0,52s / 0,42s | 0,47s / 0,38s | |
| Aiming speed | 0.35s | 0.32s | 0.29s | 0.27s | 0.24s | |
| CARBINE REMINGTON 770 | ||||||
| Reloading speed | 4,4s | 3,96s | 3,59s | 3,19s | 2,82s | No kickback addition on pump-action/bolt-action weapons. You have the time to realign. |
| Time to equip/time to unequip. | - | - | - | - | - | |
| Kickback addition | 0º | 0 | 0 | 0 | 0 | |
| Drawing speed | 0,68s / 0,56s | 0,63s / 0,51s | 0,58s / 0,47s | 0,52s / 0,42s | 0,47s / 0,38s | |
| Aiming speed | 0.35s | 0.32s | 0.29s | 0.27s | 0.24s | |
| HUNTING CROSSBOW | ||||||
| Reloading speed | 3,33s | 3,13s | 2,93s | 2,73s | 2,53s | No kickback on crossbow. |
| Kickback addition | 0 | 0 | 0 | 0 | 0 | |
| Drawing speed | 0,65s / 0,65s | 0,62s / 0,62s | 0,58s / 0,58s | 0,55s / 0,55s | 0,51s / 0,51s | |
| Aiming speed | 0.52s | 0.45s | 0.39s | 0.32s | 0.23s | |
| MP5SD SUBMACHINE GUN | ||||||
| Reloading speed | 4,17s | 3,83s | 3,33s | 2,83s | 2,17s | Time to equip/time to unequip. |
| Kickback addition | 15 | 13.5 | 11.25 | 7.5 | 4.5 | |
| Drawing speed | 0,68s / 0,61s | 0,62s / 0,56s | 0,58s / 0,52s | 0,53s / 0,48s | 0,48s / 0,44s | |
| Aiming speed | 0.33s | 0.28s | 0.22s | 0.16s | 0.10s | |
| UMP45 SUBMACHINE GUN | ||||||
| Reloading speed | 4,38s | 4,03s | 3,5s | 2,98s | 2,28s | Time to equip/time to unequip. |
| Kickback addition | 18 | 14.4 | 12.6 | 10.8 | 5.4 | |
| Drawing speed | 0,68s / 0,61s | 0,62s / 0,56s | 0,58s / 0,52s | 0,53s / 0,48s | 0,48s / 0,44s | |
| Aiming speed | 0.33s | 0.28s | 0.22s | 0.16s | 0.10s | |
| AK-47 ASSAULT RIFLE | ||||||
| Reloading speed | 3,56s | 3,23s | 2,91s | 2,52s | 2,1s | Time to equip/time to unequip. |
| Kickback addition | 18 | 16.2 | 14.4 | 10.8 | 6.3 | |
| Drawing speed | 0,70s / 0,58s | 0,66s / 0,55s | 0,59s / 0,51s | 0,54s / 0,48s | 0,48s / 0,44s | |
| Aiming speed | 0.33s | 0.29s | 0.24s | 0.19s | 0.15s | |
| SA80a2 ASSAULT RIFLE | ||||||
| Reloading speed | 3,3s | 3,0s | 2,7s | 2,34s | 1,95s | Time to equip/time to unequip. |
| Kickback addition | 19 | 16.15 | 13.3 | 10.45 | 6.65 | |
| Drawing speed | 0,70s / 0,58s | 0,66s / 0,55s | 0,59s / 0,51s | 0,54s / 0,48s | 0,48s / 0,44s | |
| Aiming speed | 0.33s | 0.29s | 0.24s | 0.19s | 0.15s | |
| WEAPONS | LV1 | LV2 | LV3 | LV4 |
|---|---|---|---|---|
| HANDGUNS | 4 (+4) | 14 (+10) | 28 (+14) | 45 (+17) |
| SHOTGUNS | 5 (+5) | 16 (+11) | 32 (+16) | 50 (+18) |
| CARBINES | 4 (+4) | 15 (+11) | 30 (+15) | 47 (+17) |
| CROSSBOW | 3 (+3) | 12 (+9) | 26 (+14) | 42 (+16) |
| SMG | 5 (+5) | 15 (+10) | 32 (+17) | 50 (+18) |
| ASSAULT RIFLES | 5 (+5) | 17 (+12) | 33 (+16) | 52 (+19) |
| TOTALS | 26 | 89 | 181 | 286 |
| WEAPONS | LV1 | LV2 | LV3 | LV4 |
|---|---|---|---|---|
| HANDGUNS | 4 | 14 | 28 | 45 |
| SHOTGUNS | 5 | 16 | 32 | 50 |
| CARBINES | 4 | 15 | 30 | 47 |
| CROSSBOW | 3 | 12 | 26 | 42 |
| SMG | 5 | 15 | 32 | 50 |
| ASSAULT RIFLES | 5 | 17 | 33 | 52 |