
ZombiU Guide Essentials Rogues Gallery
Introducing Incoming Infected
AN AUDIENCE OF THE UNWELL
London is doomed. Vast hordes of the Infected, riddled with Blight, roam the streets picking over the rotting corpses of man and beast. How do you prepare for an exploration of the capital that involves tackling such fearsome foes? By heeding the following advice.
The Infected appear in a variety of guises, from ex-commuters, workers, and policemen to nurses, soldiers, and even the Royal Guard and beefeaters from the Tower of London. But some of these slavering, ravenous beasts have specific traits and takedown tactics you need to be aware of. In this chapter, we reveal these traits and offer sound advice on dealing with London’s newly rambunctious locals....
GENERAL ADVICE: CHECK YOURSELF
As the Prepper will soon tell you, it’s important to remember these frothing, shambling corpses aren’t human anymore, and they are relentless in their determination to grab and devour you. Preventing this from happening is the overriding plan throughout your journey. When first encountering one or more of the Infected, employ the following checklist of activities:
CHECKLIST 1 // YOUR ODDS

How many Infected are there? Is there one, slow, shambling character or a horde of fast-moving undead? Generally, it’s worth standing your ground when facing down one or two foes and moving rapidly away from trouble if three or more adversaries make an appearance. If the path ahead involves navigating clusters or crowds of the Infected, rethink your more aggressive combat options.
CHECKLIST 2 // YOUR ENVIRONMENT
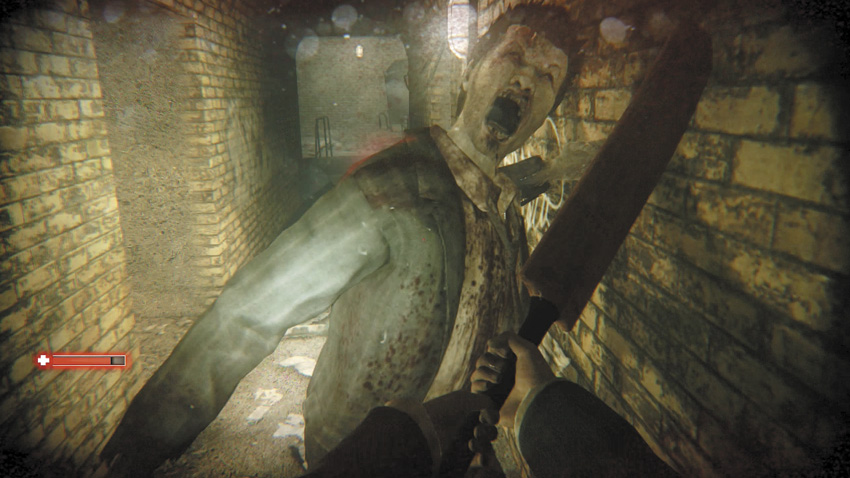
How easy is it to move around? Are you in a wide-open park, courtyard, or arena? Or are you battling along a narrow sewer with waist-deep water slowing you down? It is important to weigh your escape options, whether it’s better to run than gun and how you can best utilize the environment you’re in. Is sneaking better than engaging a gaggle of Infected? Figure out your options based on your location.
CHECKLIST 3 // YOUR WEAPONRY

Are you armed only with a cricket bat and harsh language? Or do you have the latest in semiautomatic assault rifles? How’s your ammunition supply? As you’re rarely weighed down with bullets, you need to carefully calculate whether you can expend ammo removing threats that may not be critical to your progress. Or you may favor the cricket bat to keep your ammo stash as high as possible.
CHECKLIST 4 // YOUR HEALTH AND WELL-BEING
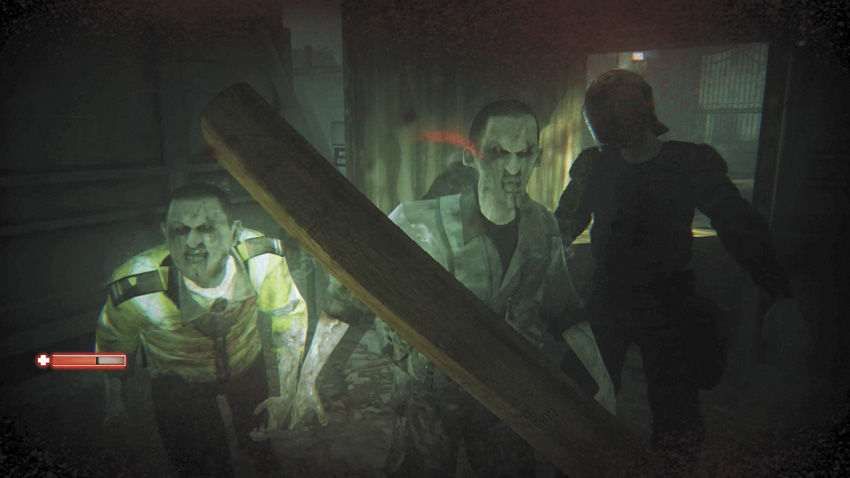
Are you fighting fit or are you partially cut to ribbons by zombie talons? How is your supply of Medipacks, cake, soda, chocolate, and Virucide Shots? It’s no use having a collection of firearms if you’re attacked from behind and can’t quickly heal yourself. Keeping a collection of healing items is paramount to your success. Facing foes when low on health, even with a plentiful ammo supply, is dangerous.
CHECKLIST 5 // YOUR POINTS

You’re heading through London with a purpose—to score as many points as possible—so you’ll need to figure out how many superfluous kills you can make and still be relatively safe. However, don’t overextend your combat opportunities with overly dangerous extra fighting; your score reflects how many times your Survivors die too. But if scoring is all you care about, be a little more aggressive.
GENERAL ADVICE: INFECTED ETIQUETTE

There are a general set of combat rules you should employ no matter what the combat situation. The following tactical information should serve you well throughout your exploits.
RULE 1 // JUST A HEADS-UP
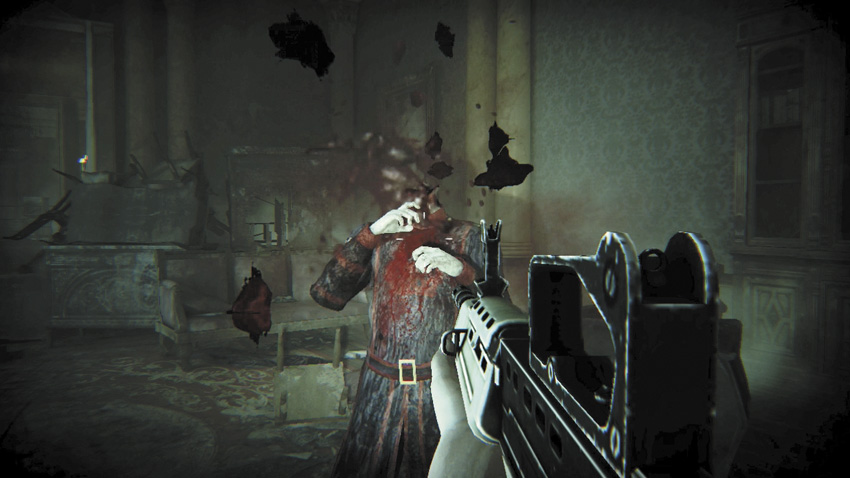
When you’re attacking an Infected, always aim for the head. There are no rules more important than this one. Separating an Infected’s head from its body is the only way to kill it effectively. Blasting the body uses far more ammunition and is far less effective. If an Infected has a head, it needs to be removed, as quickly as possible.
RULE 2 // ANYONE FOR CRICKET?
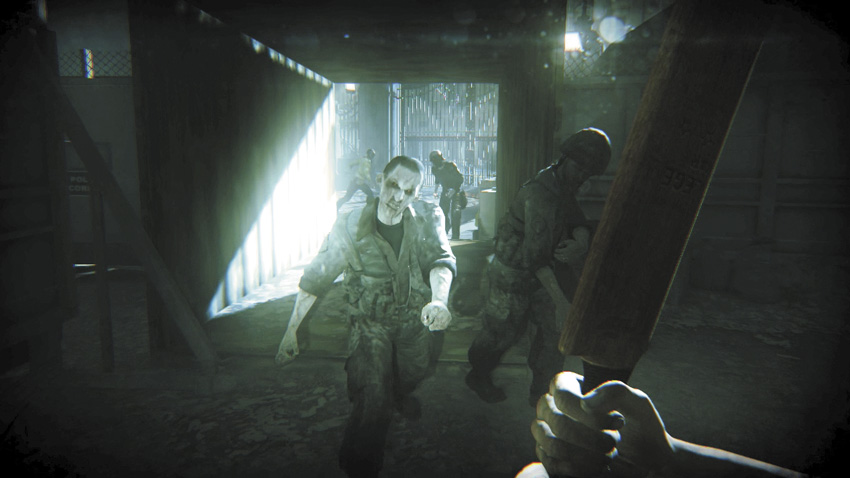
The cricket bat is extremely effective at battering a single Infected to death. Use this over all other weapons in this (and only this) circumstance. The reasons are simple: You never break a cricket bat, it allows you to get the timing of your attacks down, and it saves countless rounds of ammunition (which are very scarce). Switch to ranged weapons when facing two or more foes.
RULE 3 // GROUND AND POUND
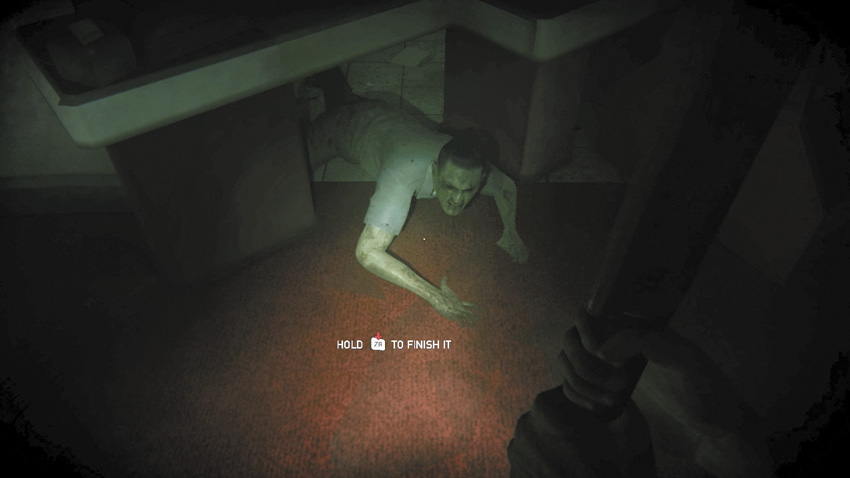
Infected that have lost the use of their legs—known colloquially as “Crawlers”—should be destroyed using either a cricket bat or a foot stomp, indicated by an onscreen prompt. Firing at them simply wastes ammunition. Also note that shooting a standing Infected several times can cause them to fall. If this occurs, race forward and execute it with a foot stomp. Ammunition preservation is the key to Survivor preservation.
RULE 4 // SLASH AND GRAB

The lower your health, the weaker you are and the greater the chance an Infected will grab you during close combat. Once you’re grabbed, your Survivor dies and becomes one of the undead masses, presenting a headache for the next Survivor. Prevent this from happening by fighting from range when wounded and healing at the first opportunity. Secure a Virucide Shot when available to gain an additional “life” after a grab, too.
RULE 5 // SIGHT, SOUND, AND SMELL
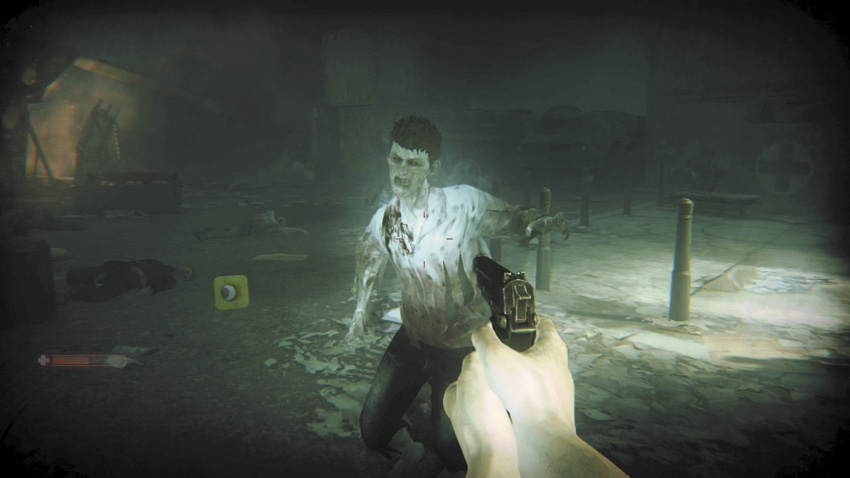
The Infected can see and react to you if you cross their line of sight. They can hear sound from your weapons or explosions. They can detect your flashlight and Prepper Pad’s light. They can even smell you at close quarters (within a few meters or so). The noisier you are, the more violent the combat. You can also use these facts to your advantage, such as by firing a single shot to draw a foe into a trap (e.g., a prepped mine).
GENERAL ADVICE: TYPES OF ATTACKS

All Infected have several different ways to weaken, maul, and generally freak you out. Expect to be manhandled in the following ways throughout your journey.
ATTACK 1 // DUCT WORK PULL
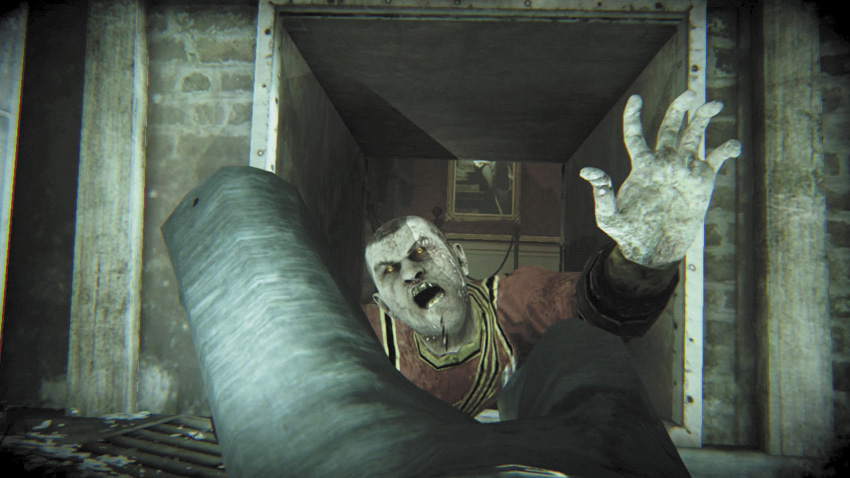
If an Infected pursues you into duct work, crawl spaces, or other ventilation areas, expect to be unceremoniously tackled and pulled back into the previous room. This is distracting and unnerving and can result in a subsequent lunge and grab, but this isn’t damaging (until after the pull is over).
ATTACK 2 // LADDER PULL

If an Infected is pursuing you as you try to climb up or down a ladder, or if they are below you at the bottom of a ladder, expect to be yanked up or down the ladder, in the same rough manner as Attack 1. As with the Duct Work Pull, this Infected move simply allows them to strike you afterward.
ATTACK 3 // MELEE STRIKE

This occurs during almost every fight if you let your foe get within melee striking range. The Infected will lash out with fists (or gnaw at your feet if crawling), damaging you in the process. This is the mainstay of the Infected’s attacks, and they use it all the time. Avoid it if at all possible. Back up and away from such attacks every chance you get.
ATTACK 4 // LUNGE AND GRAB
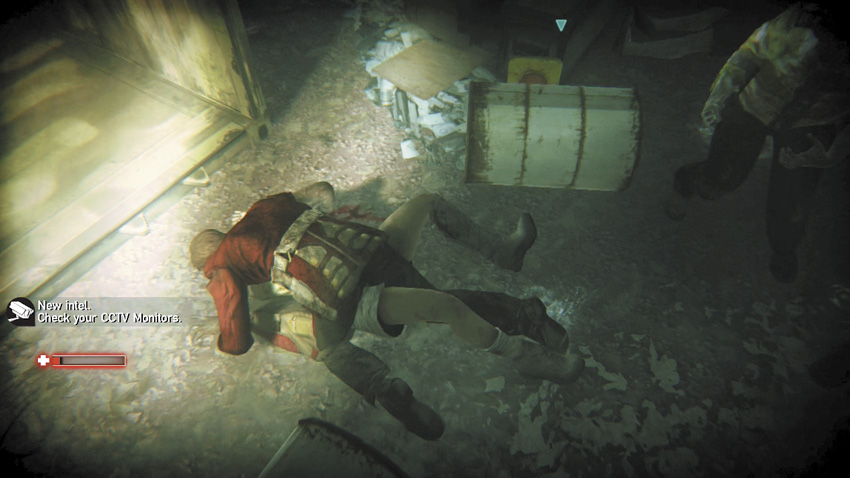
This spells doom for your Survivor. As you become more wounded, an Infected may (at melee striking range) lunge and grab you, with both of you falling to the ground. There’s no saving you when this happens—aside from striking them with a Virucide Shot, which results in the Infected dying instead. If not, you’re one of them now!
ATTACK 5 // THE FREAK-OUT

Most of the time, the Infected attack or try to scare you in more orthodox, “shamble and moan” type ways. But sometimes you’ll encounter a recently deceased foe that plays to your fears. Perhaps that hanged man isn’t quite dead. Is that slumped foe really an Infected playing possum? And what happens when you search a slain Evolved Infected?
ATTACK 6 // THE HORDE

More than six (and usually upward of a dozen) Infected shambling in a particular area is known as a horde; approach with extreme caution. Read up on the specific mission advice for dealing with such a menace, if running isn’t an option. All the members of the horde attack with general melee strikes, grabs, and their particular combat moves.
ADVANCED ADVICE: SITUATIONAL TAKEDOWNS
The preceding advice should serve you well during the horrific adventure to come. But what if you want to survive and thrive throughout this zombie apocalypse? Then employ some or all of the following 20 tips, rescued from the bloodied notepads of veteran Survivors....
TIP 1 // RADAR LOVE

If you’re wandering into an area you’ve just discovered or have already investigated, make sure you consult your Prepper Pad and hit the Radar button (prior to your Pad being upgraded with an automatic radar). Anything appearing as a red dot is of concern; it’s either a rat or raven (which you can ignore) or an Infected. This allows you to gauge how dangerous an area is before you enter.
TIP 2 // THIS IS MY HOUSE!
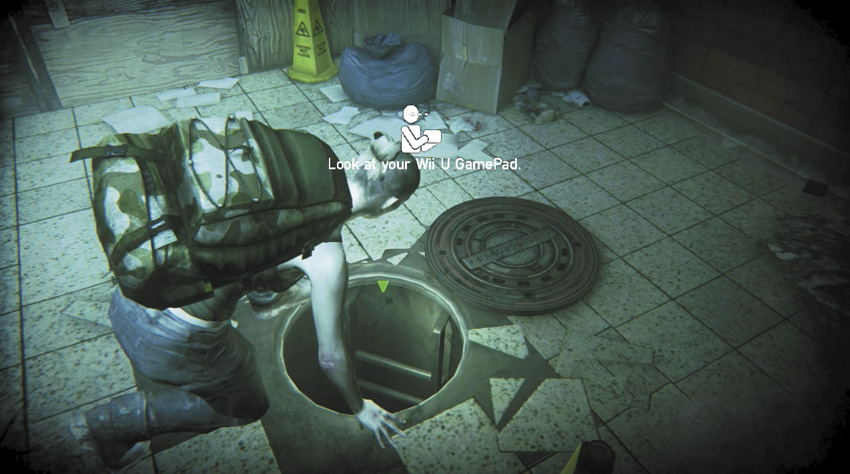
You’ve just survived a zombie onslaught, but you haven’t quite finished your mission yet. Do you chance dying just before completion? No; you locate the nearest manhole, and use shortcuts as often as possible. Heading back to the Safe House (or one of the Shelters out there in some of the locations) allows you to rest and regain all your health, without resorting to uncommon healing items.
TIP 3 // OBSTACLE COURSE
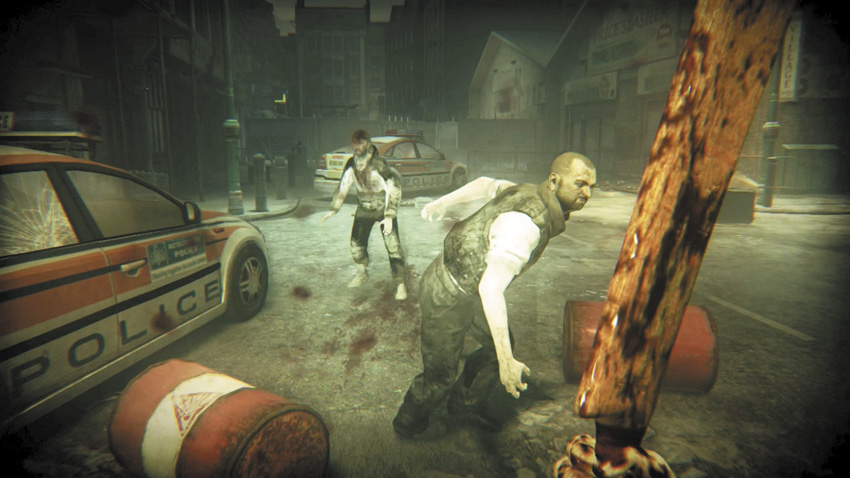
Staying on the move is the key to staying alive. Standing around simply invites foes to swarm you. Make your movements as unpredictable as possible if you’re facing down foes. Use larger scenic obstacles—such as police vans, barricades, trees, barrels, chain-link fences you can fire through—to keep yourself from being mauled while retaliating with concentrated fire to an enemy’s head.
TIP 4 // FORTIFIED WITH HEALTH BENEFITS

Don’t overlook or underestimate the benefits of using the hammer and planks of wood and barricading a door behind you. Naturally, it only makes sense to do this if you have an escape route, but the additional time it takes for the Infected to break the barricade could be the time you need to escape, heal, reload, or set up a mine trap for them. Even if you can’t hammer a barricade, close a door behind you to waylay any foes.
TIP 5 // MY MATE SONDRA

On a couple of occasions, a raven named Sondra appears to help you navigate certain treacherous locales. Let her do the firing while you keep your ammunition for future combat. Her shot is usually deadly, but a foe may occasionally reach you. Should this occur, push the Infected away, allowing Sondra time to remove this threat. Conserving ammo by every means is key to victory.
TIP 6 // ROLL OUT THE BARREL
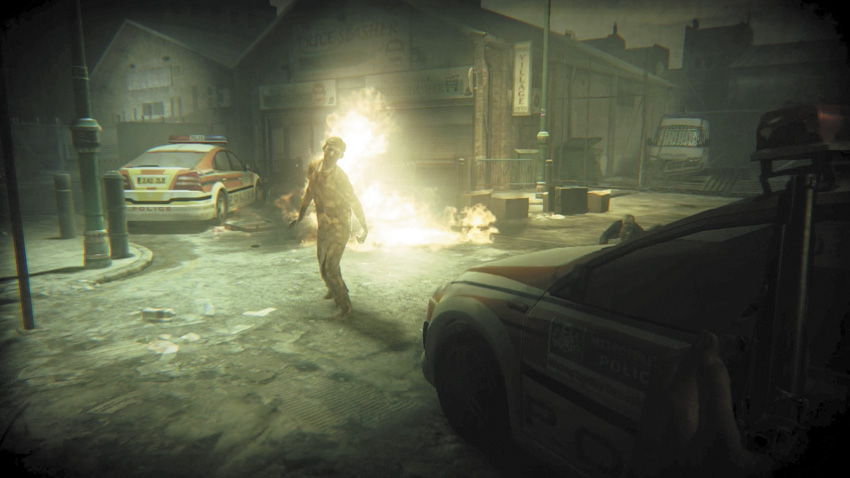
There are two pieces of scenery to pay specific attention to: red and white barrels and red gas canisters. Shoot these, and a second later they explode, setting any nearby Infected (and you) ablaze and killing (eventual) any Infected that stay torched. Aside from their inherent danger to you, using these items (from range!) is encouraged, as it provides a single shot for taking out multiple foes at once. Explosive Hunters also have the same capabilities, but only shoot at them from range.
TIP 7 // A FLARE FOR THE SPECTACULAR
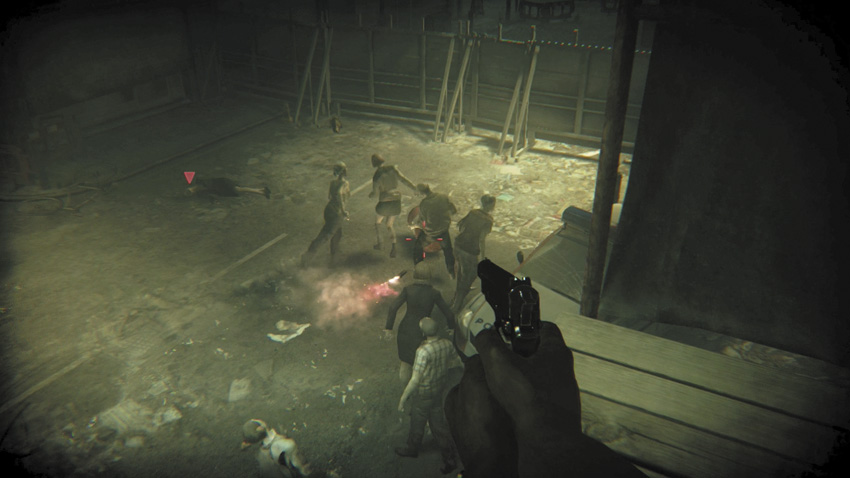
The previous chapter covered the benefits of the flare, but this bears repeating: For a nonlethal projectile, the flare provides flexible methods of extricating yourself from a problematic situation (for example, if zombies are heading your way, lob a flare so they change direction). But they also provide the ability to defeat multiple foes if the flare lands near a barrel or canister you can explode, or you lob a grenade or Molotov into the group attracted by the flare.
TIP 8 // THE LONG AND SHORT OF IT

In situations where you’re dealing with a lengthy area (such as the piers outside the Tower of London or a long sewer system), it’s always worth engaging nearby foes first before hitting the long-range ones, simply because closer enemies reach you first! This may sound like common sense, but sometimes you see foes in the distance and don’t see the hidden ones close to you, ready to pounce from the flanks.
TIP 9 // YOUR BACK’S AGAINST THE WALL
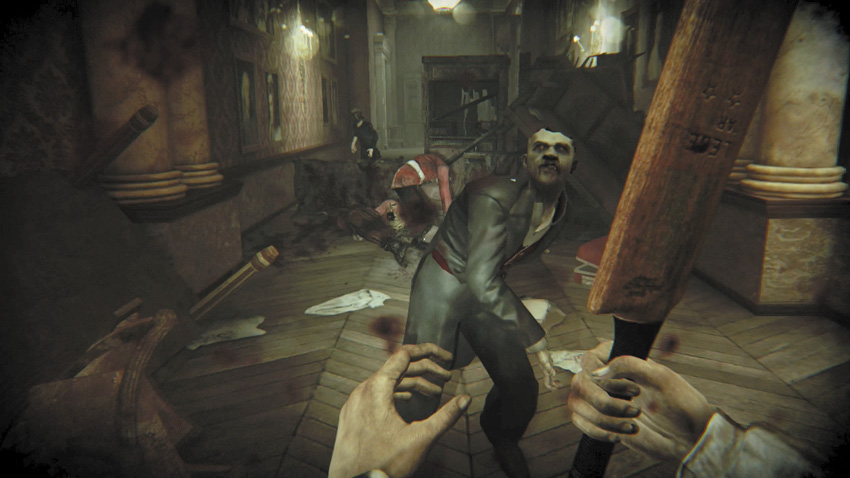
You have problems enough without being attacked from directions you weren’t aware Infected were coming from! Prevent swipes from the sides and behind by keeping your back to a wall (but not to the extent you trap yourself in a dead-end area). When fighting foes, you need to keep track of all of them and give them as limited an attack radius as possible.
TIP 10 // YOU TAKE THE HIGH ROAD...

It’s always better to stand on higher ground, looking down and shooting at Infected below you, rather than gazing up and trying to hit a foe above head height. Looking up and fighting means you’re less likely to move swiftly and safely, and you may miss other foes on your level. Looking down and fighting means you can drop a foe more easily and without them striking back with any real degree of threat.
TIP 11 // OPTIONAL EXTRAS
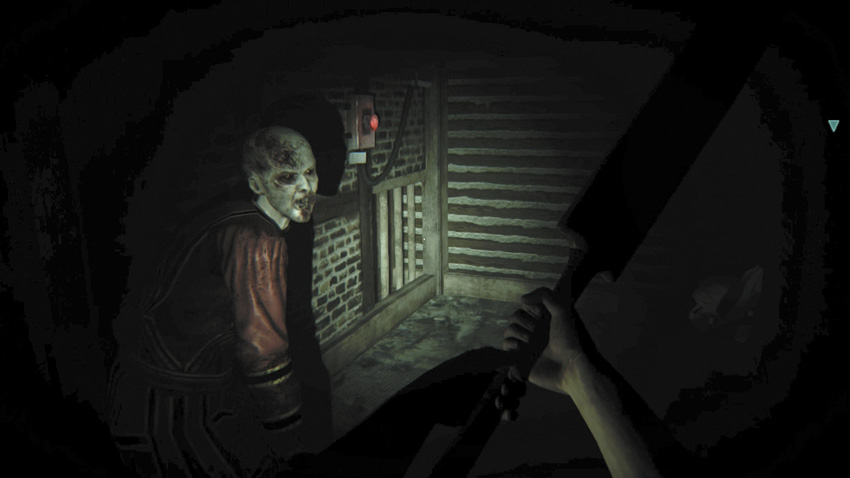
If you’re determined to engage as many Infected as your sanity and competence permits, or you want to fully explore every part of a map, there are numerous optional areas to check out during a mission. Expect to encounter more foes as your search widens, but don’t explore just for the sake of it, especially if you’re running low on health or ammunition.
TIP 12 // RUN AWAY!
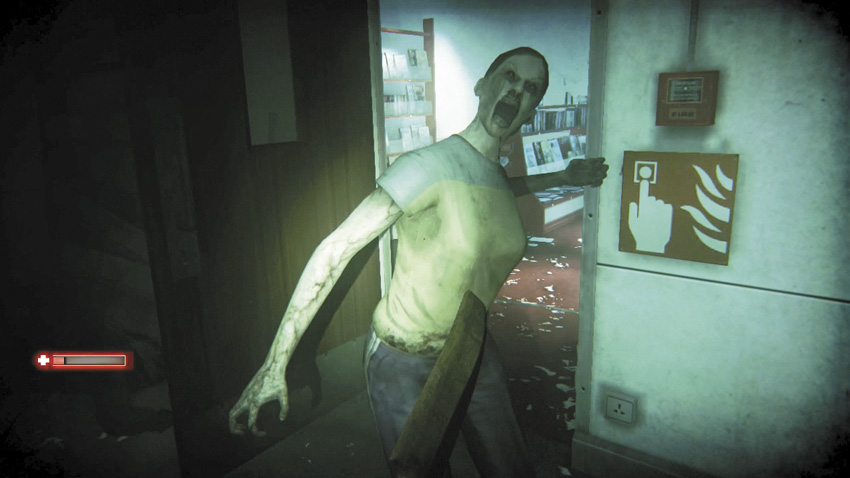
There’s no harm in running away. It may be counterintuitive to those seeking to destroy everything that moves, but sometimes you will be outmatched or overrun or will run out of ammo. When this occurs, focus on where you need to run and how to get there as safely as possible, and don’t get bogged down slamming a cricket bat into a zombie head when you can flee to your Safe House to sleep, save, and regain health and ammo, and return to finish the job (or avoid the area completely).
TIP 13 // SHOVE OFF!
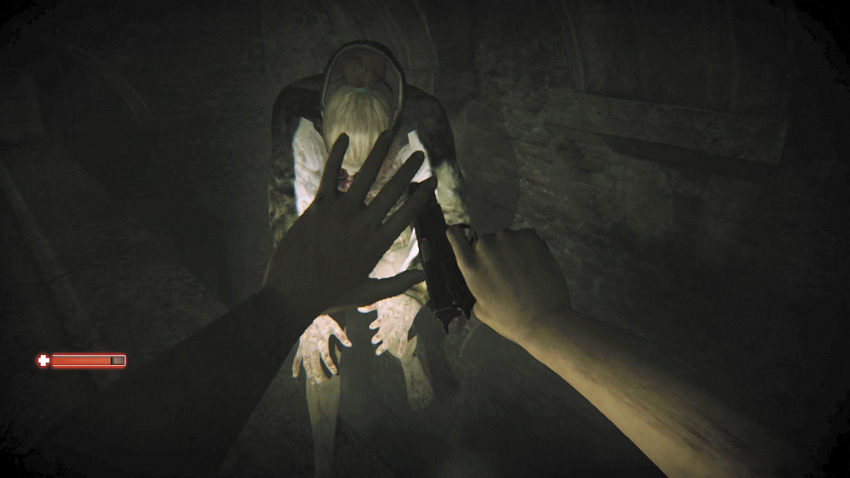
You should have learned by now that shoving or pushing foes out of the way is an excellent idea, especially as this gives you time to aim and plant a headshot after the foe is staggered. But there are occasions when the shove becomes even more helpful, such as when you’re traversing high platforms or the sides of a sewer. Pushing an Infected into murky water or the lower levels of an area means they can’t retaliate. You’re safer, and you haven’t expended any ammo!
TIP 14 // JUST A FLESH WOUND
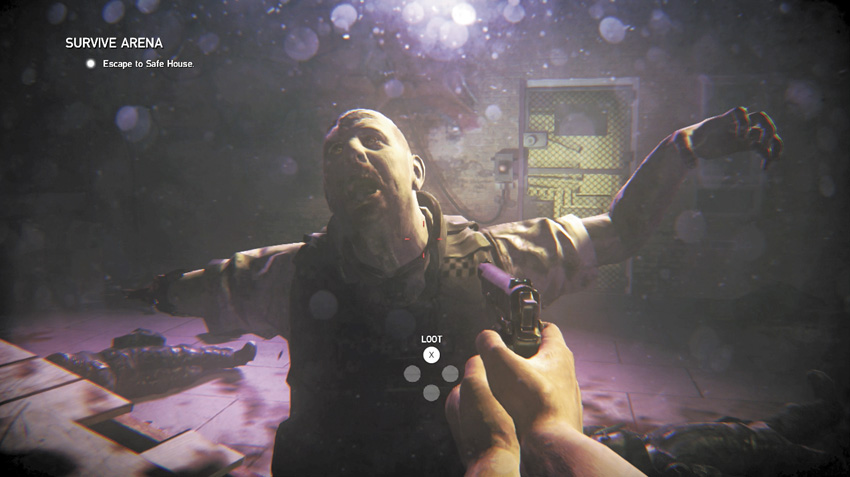
You can blast an Infected’s extremities (arms and legs) if you’re happy to waste ammunition. Even with two stumps for arms, an Infected can still grab and pull you down. Shooting legs is a little more helpful, as the zombie becomes a Crawler, which you can then head stomp. However, such appendage removal isn’t necessary. Headshots are your keys to success. Anything else is wasting bullets.
TIP 15 // CRAWLING CHAOS
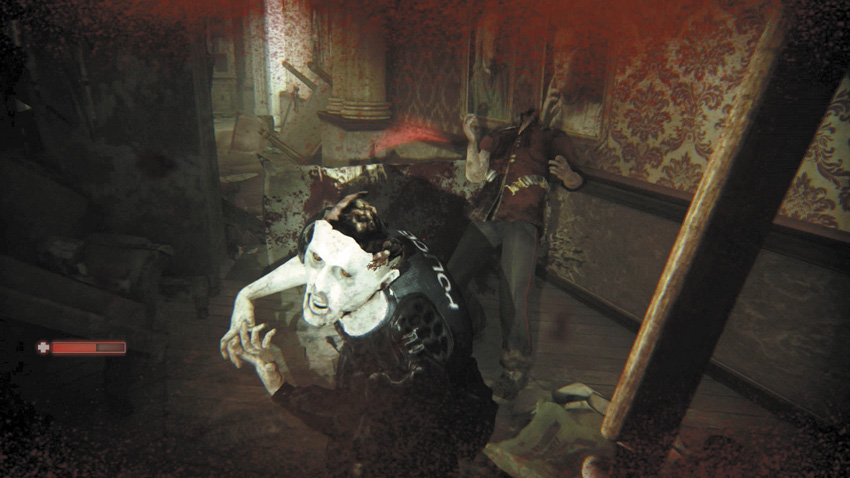
When fighting off foes across scenery or barricades you can climb over, it’s a good idea to wait on the opposite side, watching the Infected attempting to climb over and then attacking when they’re prone. Time this right and you can force the foe onto the ground and then execute a head stomp. Or you can topple a foe over an upturned table or other piece of furniture, delaying them in reaching you.
TIP 16 // A HERD MENTALITY #1
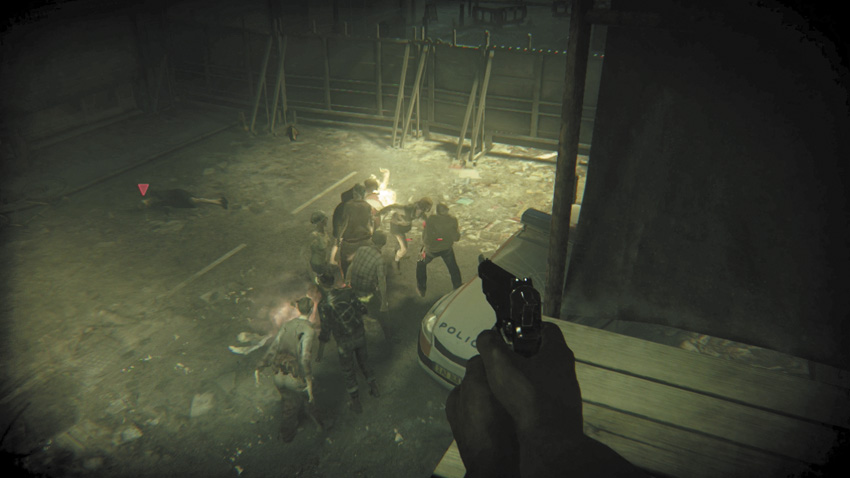
You want to inflict multiple casualties with as little ammunition expenditure as possible. Kill one Infected with a cricket bat. Bring out ranged weapons if two or three are attacking you. But when four Infected appear simultaneously, it’s time to gather all of your foes in a single group and then devastate them with an explosive (and sometimes a projectile-based attack). Explode barrels, canisters, or Explosive Hunters, or drop or lob grenades, Molotovs, or mines.
TIP 17 // A HERD MENTALITY #2

“Herding” the undead is a great way to get them to fall into a trap you’ve set. This usually works in wider courtyards and against groups or hordes of zombies. To attract the Infected’s attention, stand where they can see you. When all of them are lumbering toward you, sprint for the trap you’ve set (as detailed in Tip 16) and rip through as many Infected carcasses as you can before resorting to conventional combat.
TIP 18 // A HERD MENTALITY #3
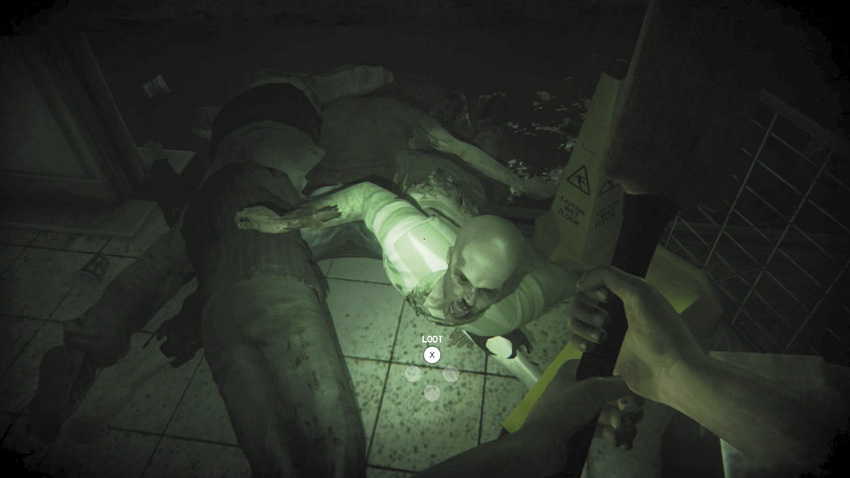
What happens when you’ve a whole tube station of foes descending on your location, which is perhaps not as wide open as you’d like? Then perfect the art of “funneling,” which is to close off all extraneous doorways or thoroughfares (by barricading or herding) and forcing your foes to attack via a single, and hopefully narrow, point. If, for example, you can get a horde to only attack via crawling at you under a shutter, you can head stomp multiple foes with zero ammo loss (but slightly soggy footwear).
TIP 19 // A WEAPON FOR EVERY OCCASION

See that sniper rifle or crossbow? It’s available at this particular point because it excels in the location you find it. Each weapon should be employed the moment you find it. Although ammo is scarce throughout London, don’t become overly cautious in hoarding ammo and never breaking out a new shotgun or other helpful firearm.
TIP 20 // ZEN AND THE ART OF HEADSHOTS
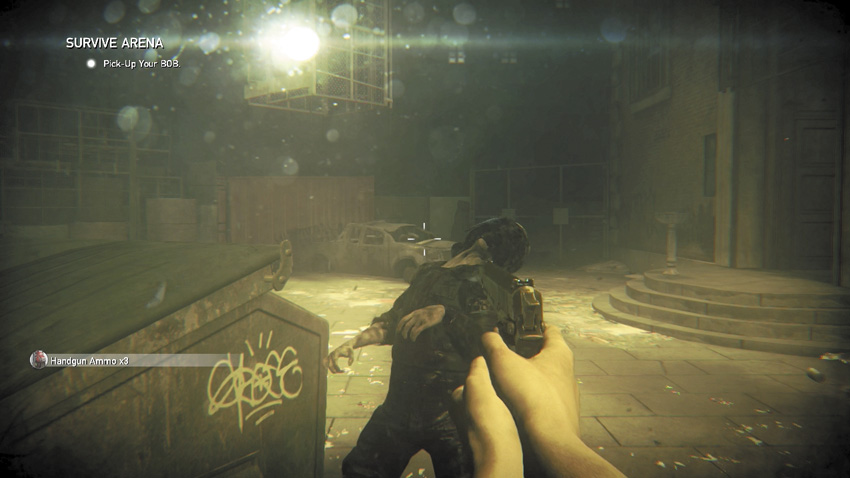
There’s a particular “rhythm” certain veteran Survivors get into when faced with blasting a foe (particularly the Armored Guard). If you time your headshot correctly, the zombie lolls its head to the side before straightening up, into your crosshairs. During this half-second, you can fire a second shot, and if timed right, the zombie lolls its head again. Once you find this rhythm, you can use it to hit every time, instead of constantly re-aiming during a takedown.
INCOMING INFECTED: KNOW YOUR FOE
The remainder of this chapter provides visual representations of each of the Infected types, along with notes on their constitution, attack pattern and damage, traits, and takedown tactics. The following data is presented. Here’s what it all means:
- Other Names: If there are any other names or colloquialisms for the entity, it is mentioned here.
- Body Type: “Varies” means the Infected comes in all shapes, sizes, and outfits, from dead commuters to expired palace guards; the picture is an example of a specimen. “Specific” indicates the Infected looks pretty much identical to the visual representation shown.
- Constitution (HP): How many Hit Points this entity has. Cross-reference this with the damage your weapon inflicts to figure out how long it will take to destroy this foe.
- Attack Type: The attack style the foe employs when attacking you.
- Traits: Any specific or unique abilities or predilections the entity possesses.
- Tactical Notes: Aside from the previous information in this chapter, what you need to do to kill it and what to watch out for.
VERMIN TYPE
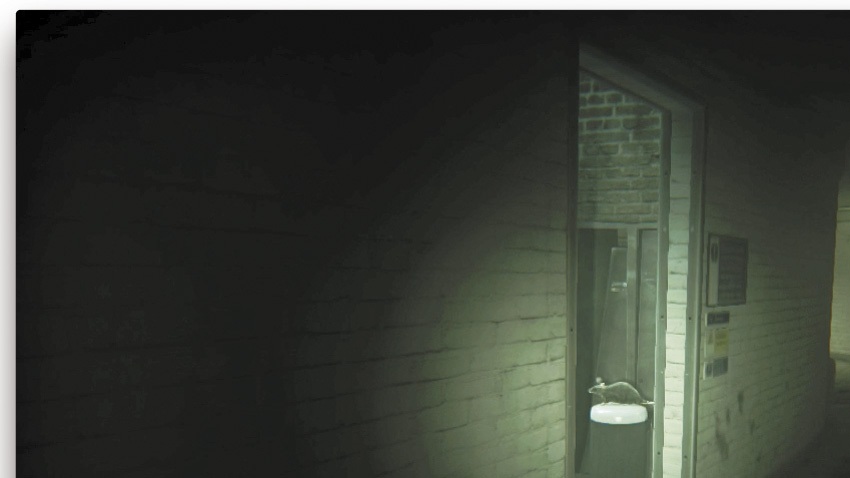
RAT
Other Names: Vermin
Constitution (HP): 15
Attack Type: None
Traits: Scurrying
Tactical Notes:
- These appear as red dots when scanned. However, they aren’t aggressive.
- They usually scurry for cover; shoot them before they see you or before they hide and disappear from view.
- Their meat can be harvested if you’re desperate for food, but there’s a 50 percent chance it will be rotten, causing you harm.
- These are the lowest priority in terms of interaction.
RAVEN
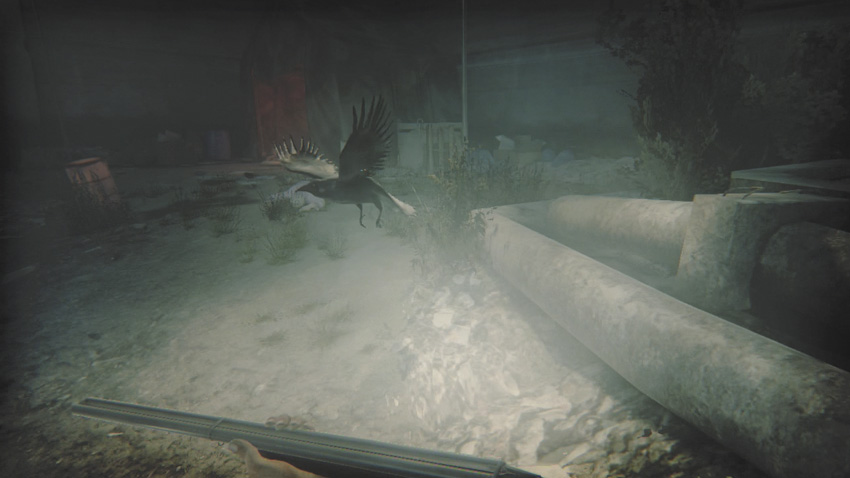
Other Names: Crow, Bird
Constitution (HP): 15
Attack Type: None
Traits: Flying
Tactical Notes:
- These appear as red dots when scanned. However, they aren’t aggressive.
- They usually fly away; aim and fire at them before they spot you or before they fly away from view.
- Their meat can be harvested if you’re desperate for food, but there’s a 50 percent chance it will be rotten, causing you harm.
- These are the lowest priority in terms of interaction.
INFECTED TYPES
BLIGHTER
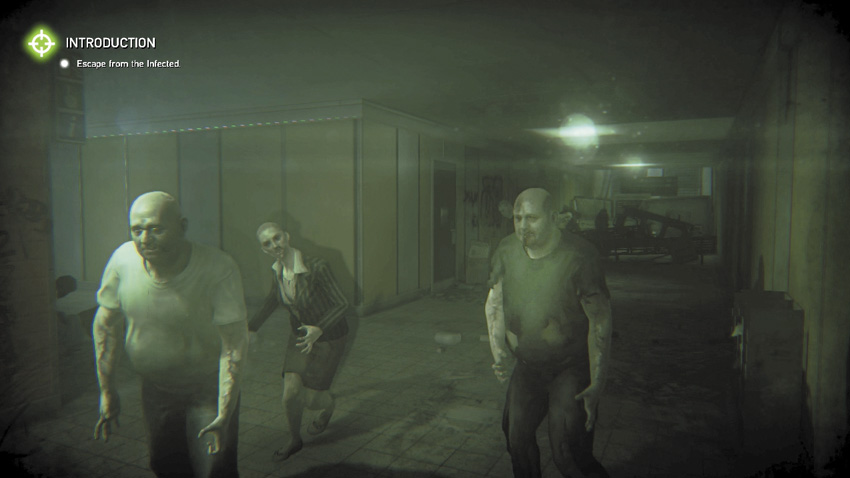
Other Names: Basic, Common
Body Type: Varies
Constitution (HP): 350–750 (random)
Attack Type: Clawing Punch, 20 HP damage
Traits: Weak head, can be dismembered
Tactical Notes:
- Isolate a single Blighter, defeat it, and move to the next.
- Maneuver so you’re attacking one foe at a time; combat against a group is extremely dangerous.
- Try pushing and shoving if these are within melee range; this allows you some time to dodge them and escape.
- Shoving them into fire or setting them alight (using a Molotov or exploding barrel) kills them after a short time.
- Beware of Blighters “playing possum”; they integrate with the actual dead, lying on the floor. But they aren’t really dead!
- Blighters appear on your radar when standing. Blighters lying down do not, so be wary of stepping near corpses.
- Blighters punch, decreasing your health.
- These enemies also grab; this kills you instantly.
- There’s no struggling out of a grab and no way to prevent this, except if you have and use a Virucide Shot.
BLIGHTER // SUBTYPE // CRAWLER
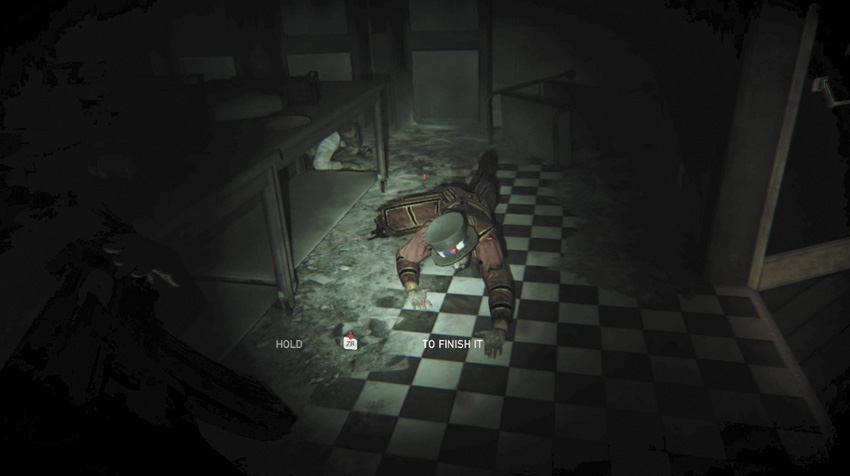
This is a Blighter that’s lost the use of its legs. Crush its head with your cricket bat or boot.
BLIGHTER // SUBTYPE // HUNTER
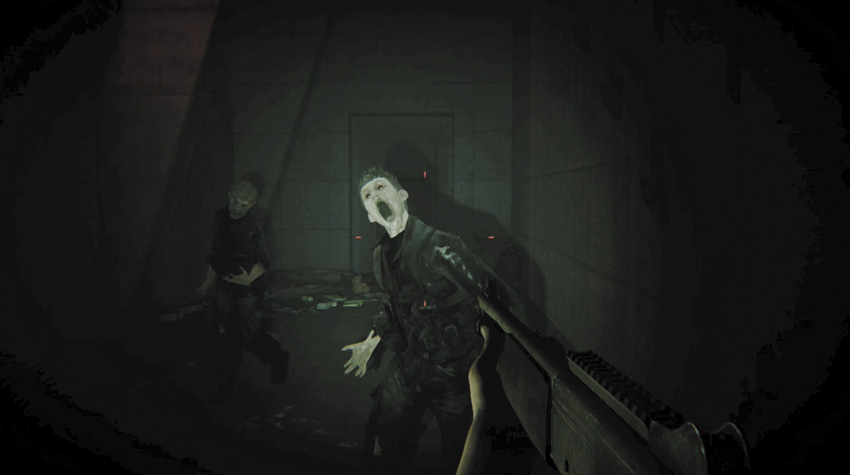
This Infected moves more quickly, usually sees you from afar, and tries to tackle you quickly.
BLIGHTER // SUBTYPE // SHAMBLER

This Infected moves more slowly and doesn’t usually spot you until you enter its line of sight.
BLIGHTER // SUBTYPE // SURVIVOR
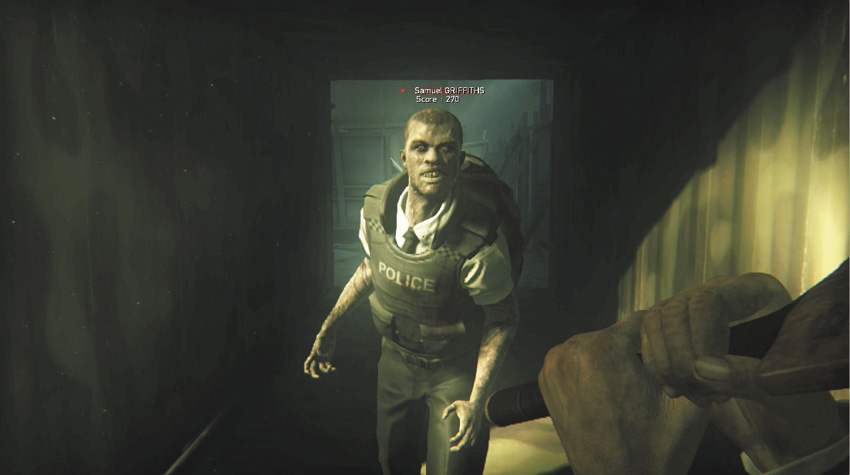
This is a Blighter that was once your or a friend’s Survivor. It is a lost soul now.
SCREAMER
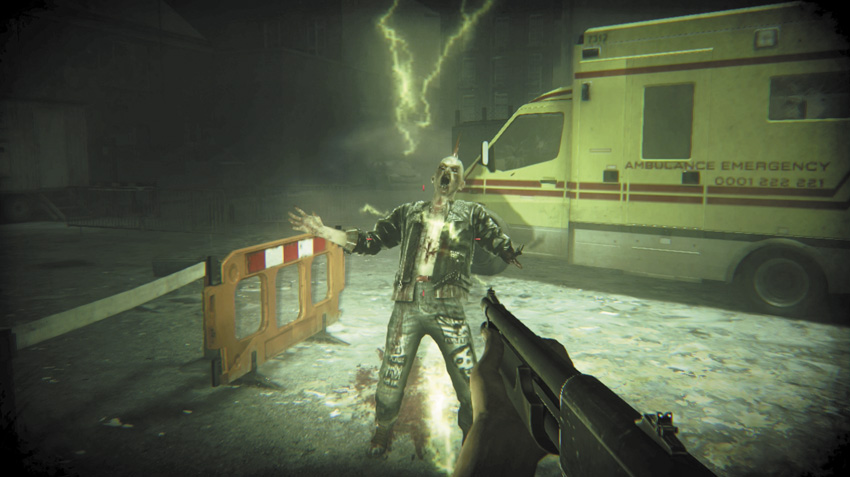
Other Names: Raging Punk
Body Type: Specific
Constitution (HP): 700
Attack Type: Clawing Punch, 20 HP damage
Traits: Screams intermittently; screaming spawns more Infected
Tactical Notes:
- This punk’s screaming attracts more Blighters into the local area, where you’re positioned.
- In general, the more this foe screams, the more foes appear and the more difficult the combat becomes.
- This is a priority target, unless you’re so proficient that you want to attract further foes, then destroy them all for the Survivor points or skill level increases.
- Rush toward the Screamer and it halts its yelling to attack you.
- Note the constitution; this punk is more resistant than the average Blighter!
- Infected summoned by the Screamer have crackling lightning around their heads, so you can differentiate them from other Blighters. However, they function in the same way.
EXPLOSIVE HUNTER
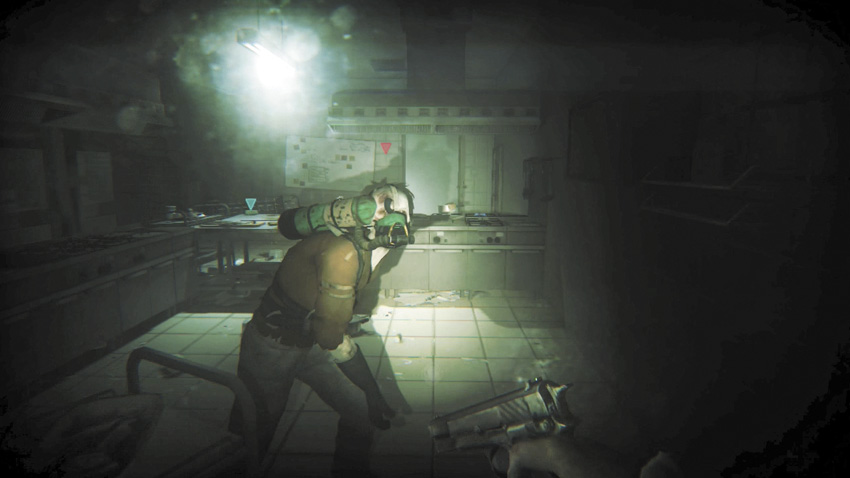
Other Names: Explosive Infected, Inhuman Bomb
Body Type: Specific
Constitution (HP): 350
Attack Type: Clawing Punch, 20 HP damage
Traits: Explodes if shot in the body; headshots won’t trigger the explosions
Tactical Notes:
- Exercise extreme caution with this Infected; haphazardly firing at it, at close range, usually results in your death.
- If this foe reaches you, attempt to shove it, back up, and blast it from a distance, well away from its explosive blast radius.
- Scan this enemy first! If it is carrying loot you need, try to aim for the head. Headshots won’t detonate the explosives the enemy carries.
- Caution! Do not, under any circumstances, use the cricket bat on this enemy. The explosion usually kills you!
- Use this foe as a “walking bomb” that can remove multiple foes at once. Shoot the foe when it and others are clustered together.
- Employ the flare to summon a group of Infected together with this enemy. Then shoot it.
- Even if you need to maneuver and run for a while, setting up an explosion that takes out many foes is preferable.
- If this foe dies without exploding, you can still use the corpse as a type of mine: Shoot it when foes are near!
- Listen! This foe can also be detected by the sound of gas leaking from its explosive capsule. You hear this when they are near.
ARMORED GUARD
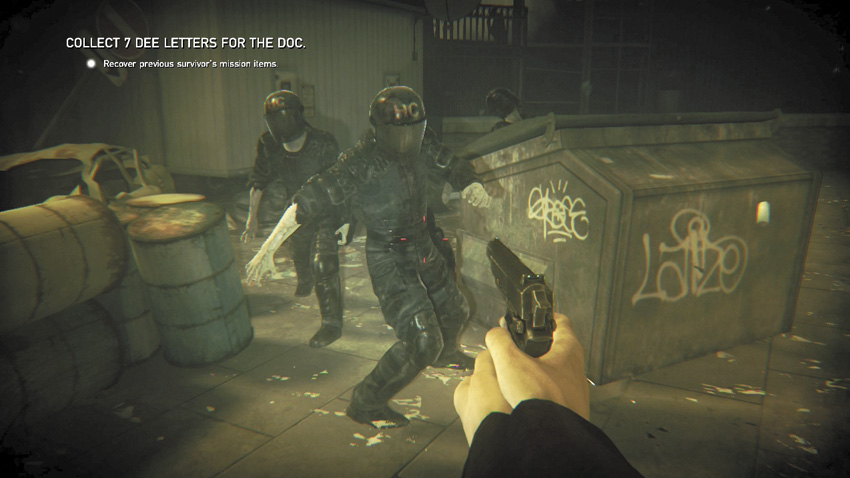
Other Names: Riot Control Infected
Body Type: Varies (head and gender only)
Constitution (HP): 110 (Helmet), 350 (Head)
Attack Type: Clawing Punch, 20 HP damage
Traits: The entire body is bulletproof.
Tactical Notes:
- This foe is completely impervious to bullets in all body locations; it can’t be dismembered. It can be knocked to the ground but doesn’t take damage.
- Pushing these enemies is less effective than pushing against Blighters.
- Defeat it by shooting its helmet to remove it, then shoot it in the head.
- When only one of these is attacking (and no other foes are present), use the cricket bat, although this is a laborious process.
- Another option is to use the bat to remove the helmet and finish with a firearm.
- A more proficient way to kill an Armored Infected is by using explosives (mines, grenades, barrels, and the like). Use this method wherever possible.
- However, the foe’s armor is fireproof, so pushing them into a fire isn’t an option. Neither are Molotov cocktails.
- This foe cannot grab and eat you while its helmet is still on.
SPITTER

Other Names: Vomiting Infected
Body Type: Specific
Constitution (HP): 700
Attack Type 1: Clawing Punch, 20 HP damage
Attack Type 2: Spit, 15 HP damage
Traits: Spits from a distance; loss of health and visibility if spit hits you
Tactical Notes:
- Spitters are a priority, unless a Screamer is also sighted.
- Their spittle causes visibility problems for a second; peer through the goo and keep your composure!
- Run toward this enemy, and it stops spitting in order to attack like a Blighter. This is helpful!
- Make sure you can strafe constantly and consistently; quickly moving left or right, or circling around the foe causes it to miss its spits.
- Watch and listen; you can hear the disgusting “prespit” sound it emits prior to the projectile launch. Promptly avoid.
- Standing still, you’re very prone to being struck, so stay active and moving at all times.
- Be sure to keep this foe in your sights until you escape or kill it.
EVOLVED
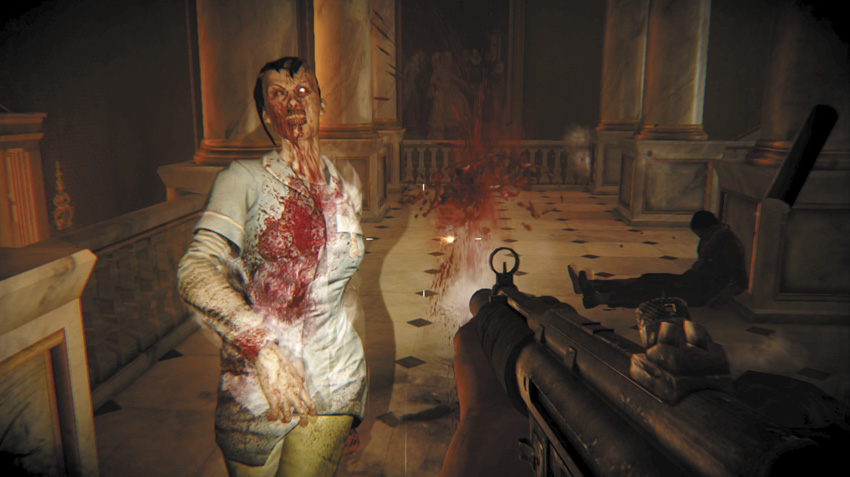
Other Names: The Tormented, Jammer
Body Type: Specific
Constitution (HP): 1,300 (total), 350 (before each teleport)
Attack Type: Three-strike combo, 10 HP damage
Traits: Teleports three or four times before dying; jams radar
Tactical Notes:
- A truly frightening adversary, and one that you must fight after defeating all other nearby foes.
- This entity teleports three or four times before finally expiring.
- The teleport is limited to the immediate fighting area.
- While alive, this Infected jams all Prepper Pad functionality (your screen is replaced by a “white noise” image).
- While alive, this Infected also jams all electronic devices in the near area, such as electronic door locks.
- One method of defeating it is to use a cricket bat, with precise swings, as it charges you.
- Another method is to wait, aim, and fire precise headshots as the foe charges.
- Once it teleports, look left and right until you spot it, so it doesn’t ambush or outflank you.
- Don’t let it reach you; attack during its charge. If it engages you in melee battle with its combo, push it back and aim for the head.
- Remain close to walls, or even in a corner, so you can’t be attacked from the sides or behind.
- It’s usually better to stay still, let the Evolved Infected come to you, and execute head strikes; this is counterintuitive to all other zombie combat!
ENRAGED
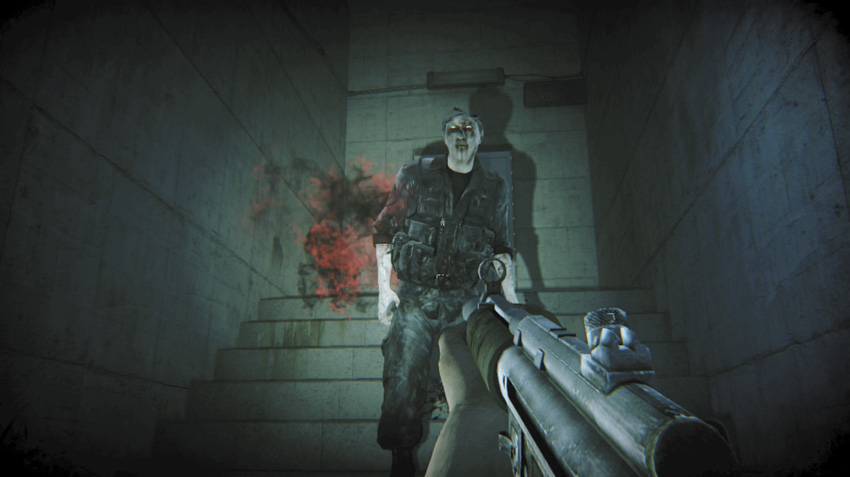
Other Names: Super Zombie, Super-Survivor
Body Type: Varies
Constitution (HP): 950
Attack Type: Clawing Punch, 70 HP damage
Traits: Very fast, very resistant, very dangerous!
Tactical Notes:
- Think of an Enraged Infected as a Blighter with a red haze around its head and increased statistics.
- These statistics include greater health and an extremely damaging clawing punch. Beware!
- Whenever possible, try to deal with this foe without other Infected nearby. Concentrate all your fighting prowess on this enemy.
- The damaging clawing punch means you need to avoid close combat at all costs. Use ranged gunfire.
- Don’t be surprised if your previous Survivor is Enraged; an experienced Survivor usually returns as one of these monstrosities!
- A few Super Zombies carry upgrades later into the Campaign missions.
ENRAGED // SUBTYPE // SUPER-SURVIVOR

This is an Enraged that was once your or a friend’s Survivor and was successful at completing much of this adventure until it was taken by the Infected. It cannot be saved.
CALCULATING MINIMUM DEATH REQUIREMENTS
You now have all the statistical data required to figure out exactly how few shots it will take to bring down each type of Infected with every type of weapon. Consult the “Hardware” chapter, learn the Body Damage (in HP) for each weapon, and compare it to the Constitution of every Infected type. Divide the Constitution by the Body Damage to learn the shots. Then check if there’s a chance of a Critical Hit (using the “Critical Ratio” information). Finally, if the Kill Shots number is lower than the calculated number, this is the result instead.
Example 1: Beating a Spitter to death with a cricket bat:
700 (Spitter Constitution) divided by 70 (cricket bat damage, per hit), equals 10 (with a 5 percent chance of killing it per strike).
However, 5 is the Kill Shot rating for the cricket bat, so it takes a minimum of 5 cricket bat strikes to bring down a Spitter.
Example 2: Shooting a Spitter to death with an MP5 SD from 10 meters (short range):
700 (Spitter Constitution) divided by 95 (MP5 SD damage, per hit), equals 7.4 (with no chance of killing it per strike). You can’t have “parts of a shot,” so the number is always rounded up to 8.
However, 9 is the Kill Shot rating for the MP5 SD at this range, so it takes a minimum of 8 bullets to bring down a Spitter.