
ZombiU Guide Essentials Training
The Enhanced Survivor’s Guide
The basics of surviving the Blight that has transformed London into a derelict wasteland of burning buildings, shambling locals, and escalating, wanton violence—even worse than Deptford on a Saturday night prior to the outbreak—are covered in an onscreen manual you can flip through as part of your Prepper Pad. This chapter seeks to enhance the information contained on that Pad—which is displayed in italics—along with an introduction to the atrocities you’ll have to witness (and commit) in the name of survival.
CONTROLS
CONTROLS // HOW TO SURVIVE
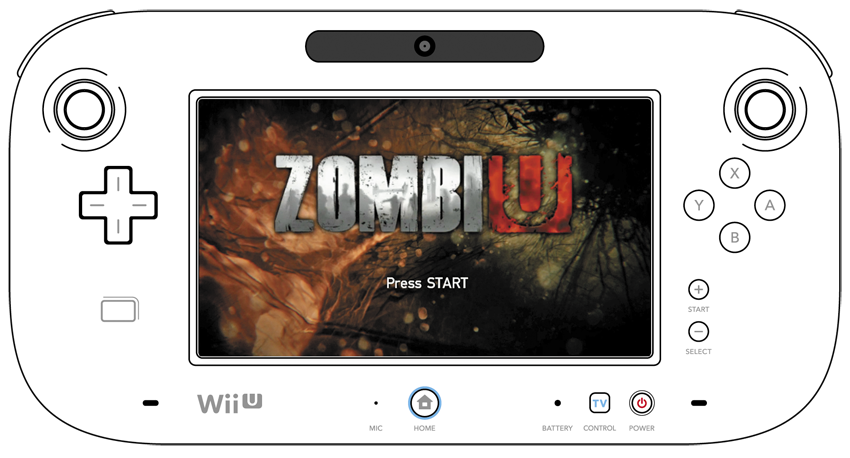
In order to keep from becoming zombie food, it’s important to competently control your Survivor. Learning what each of the buttons on your GamePad (known as the Prepper Pad) does is of paramount importance. Here’s what to remember:
 Primary Interaction
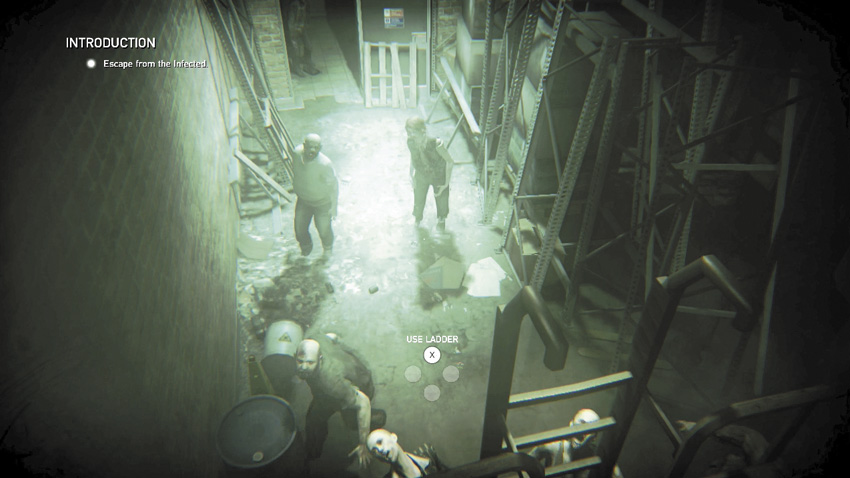
This is your main contextual button. You use this all the time: when you’re trying to open or close a door, loot a corpse, save your progress, cross over an obstacle, duck into a duct, or climb a ladder. When the onscreen prompt displays, press this button if you want to complete the associated maneuver.
 Secondary Interaction
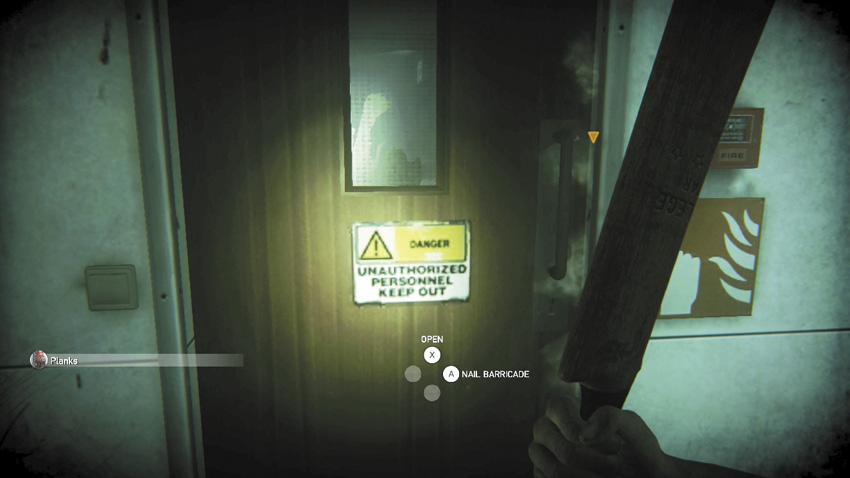
This is your infrequent contextual button. You use this occasionally: when you’re trying to hammer planks of wood on a door to make a barricade or to take them off so you can open a barricaded door. Attempt this when the onscreen prompt appears.
 Reload
This reloads the weapon you’re currently carrying. It automatically appears when your weapon has one or no bullets, shells, or arrows left. Unlike the other three contextual buttons, you can reload at any time—indeed, it is encouraged!
 Write Message
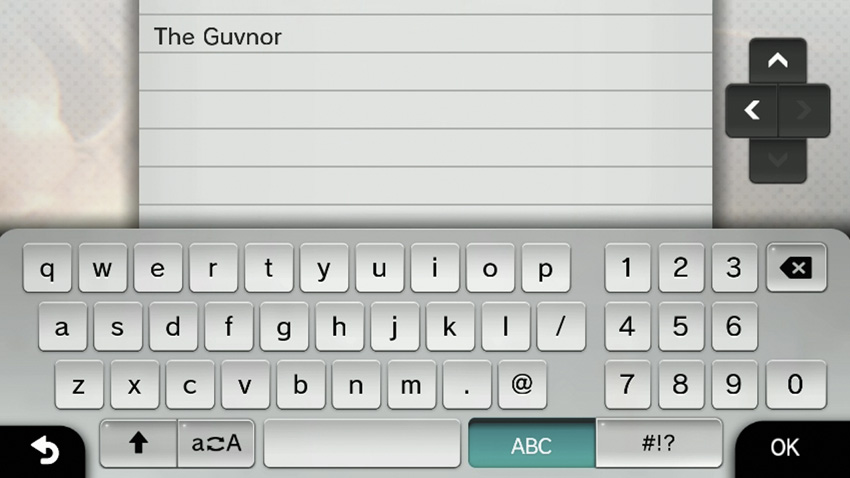
This brings up a keyboard on your GamePad, allowing you to write messages to other Survivors who are journeying around their versions of London. You won’t ever interact with these people (unless they die and appear as Infected!), and this button doesn’t have an effect if you’re not online; however, when you have friends playing this game, you can use the spray can.
 Move
Move
 Run
Run
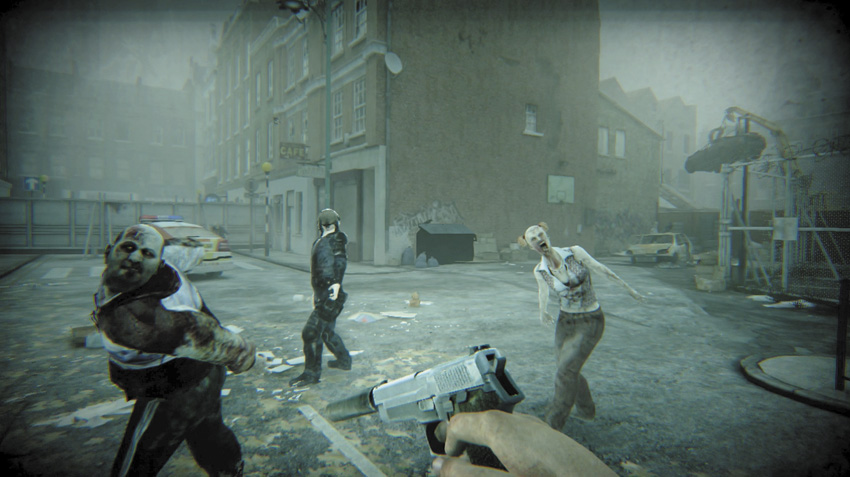
Obviously this is exceptionally important, as moving allows you to head forward, backward, and strafe from side to side. Learn the “sway” of your movements, how easy it is to turn corners, and to go into the Controller options if you want to make this or your Look functionality more or less sensitive. Press down to Run, which is imperative during many chaotic situations; depress when you slow down and run out of breath, and then press again. Run when you need to remove yourself from danger or cover ground quickly.
 Look
Look
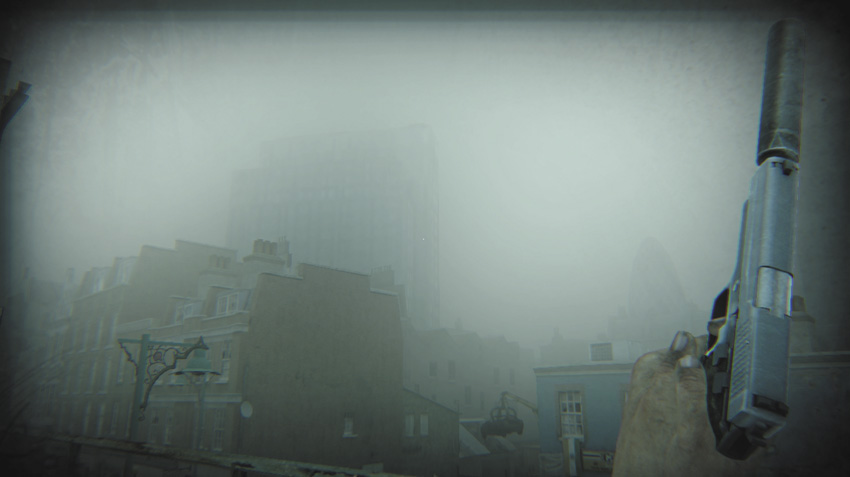
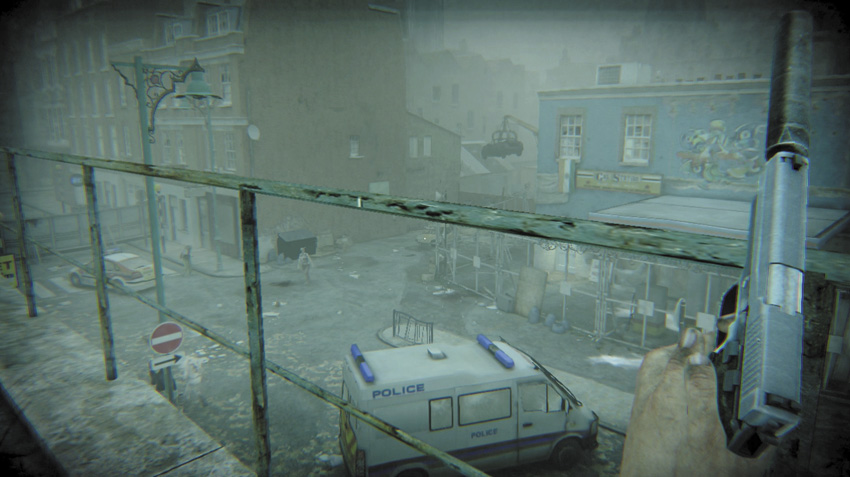
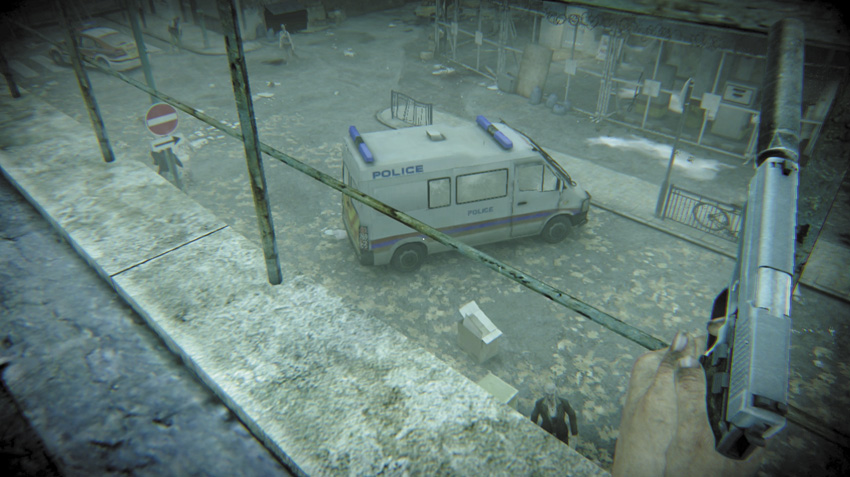
This enables you to look up, down, and all around. Look allows you to aim at a foe, getting their head in your crosshairs, and allows you to check your surroundings for incoming foes, routes to take, items, or other important scenic objectives. Remember you can access the Controller options if you want to make Look more or less sensitive or invert your Look (i.e., pressing up on
makes you look down instead of up).
 Pause
Pause
 Display Objectives
If you need to stop the action and take a breather, hit the Pause button. If you want to display the current objectives, hit the associated button. Objectives are also listed if you use the Prepper Pad’s menu.
 Use Scanner
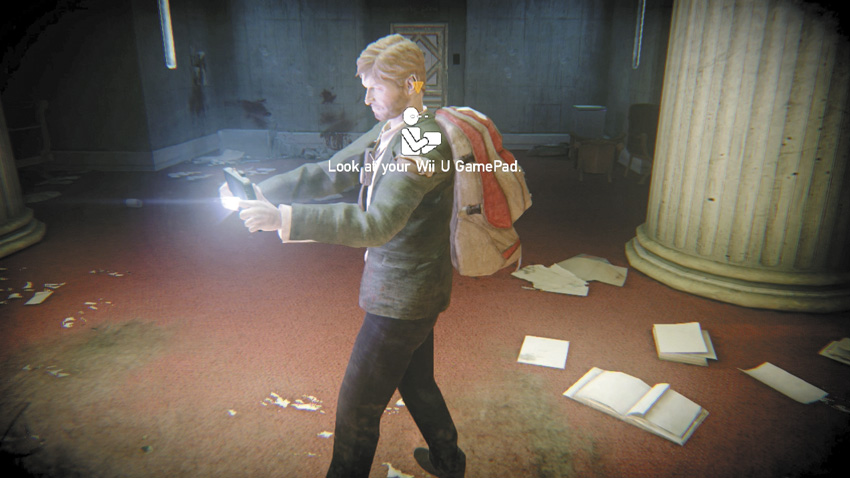
You aren’t initially told about this function, but this is available immediately upon taking the Prepper Pad. You stand and turn, using the Pad’s screen to check for items of interest. You’re prone to attack at this time, so press this button only when you’re not close to Infected attackers.
 Quick Turn
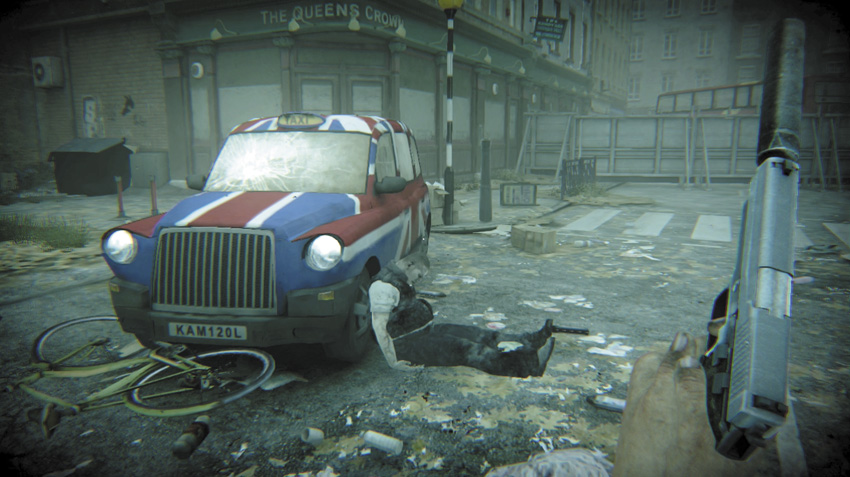
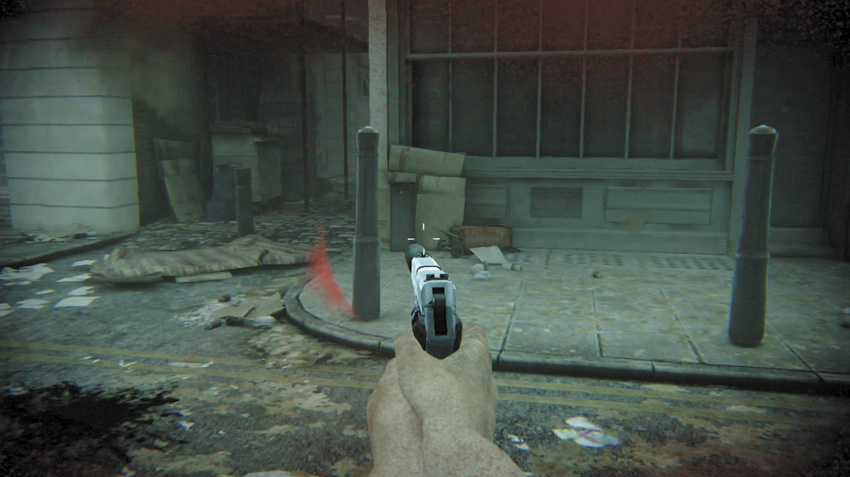
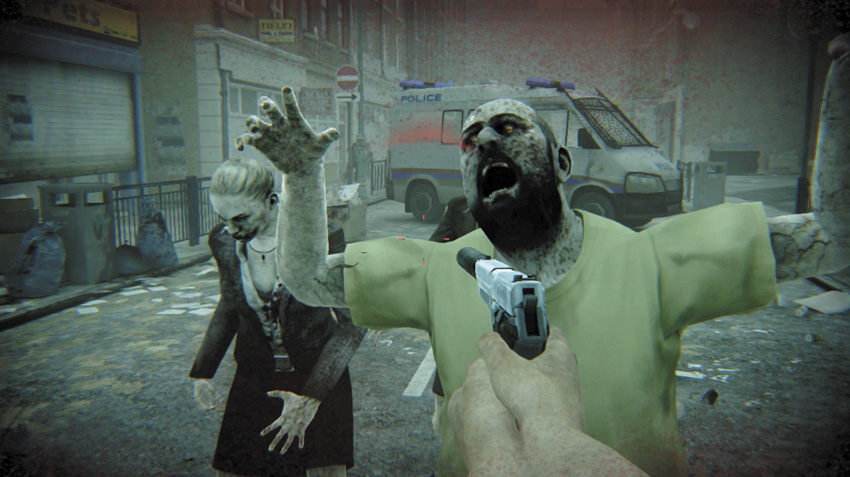
Press this and you spin 180 degrees to face the opposite direction. Some Survivors never use this function, while others find it most useful, such as if you are attacked from behind and need to react faster than turning and looking normally.
 Aim
Aim
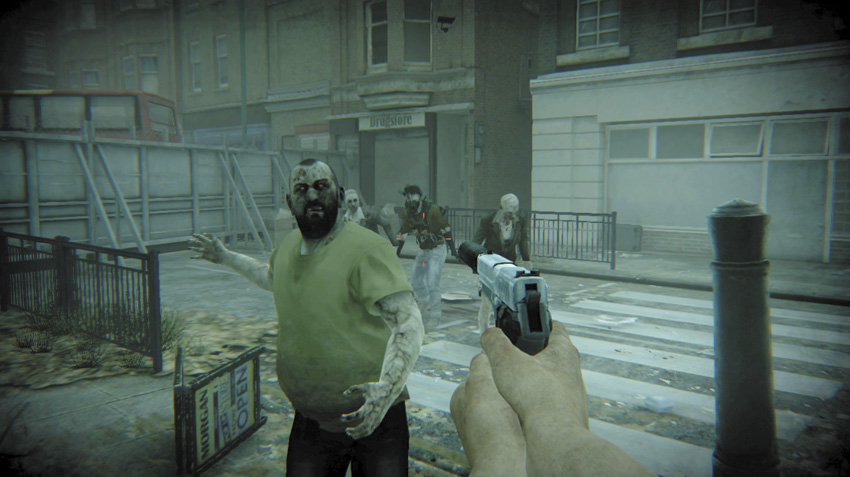
This makes you bring out your ranged weapon in an aggressive stance, ready to fire. Use this to move your target into position or to gauge a throw, before the actual firing commences. Learn to hit this, then Push Back/Inject Virucide
 in quick succession to start firing.
Push Back/Inject Virucide
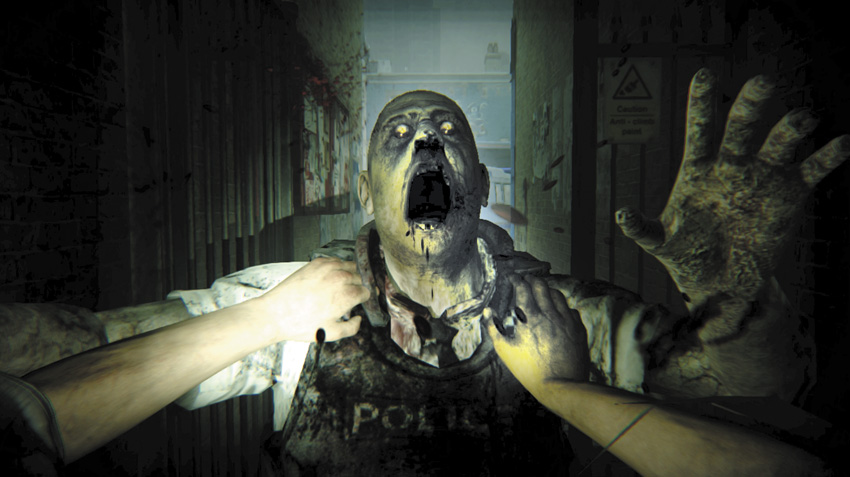
If you only press this button (i.e., you don’t hold both
and this together), you can shove an enemy backward. This is helpful if you need to clear a path and combat is taking too long. To escape multiple clutches, you can quickly shove in a semicircle before fleeing the scene. Shove just before you’re grabbed, too, although this doesn’t always save you.
When you find the Virucide needle, you can quickly jam it into the neck of any Infected who’s grabbed you, effectively saving your life—the Infected falls backward and expires. This essentially gives you an extra “life” later into your exploration. The needle can be refilled.
Execute (Enemy on Ground)
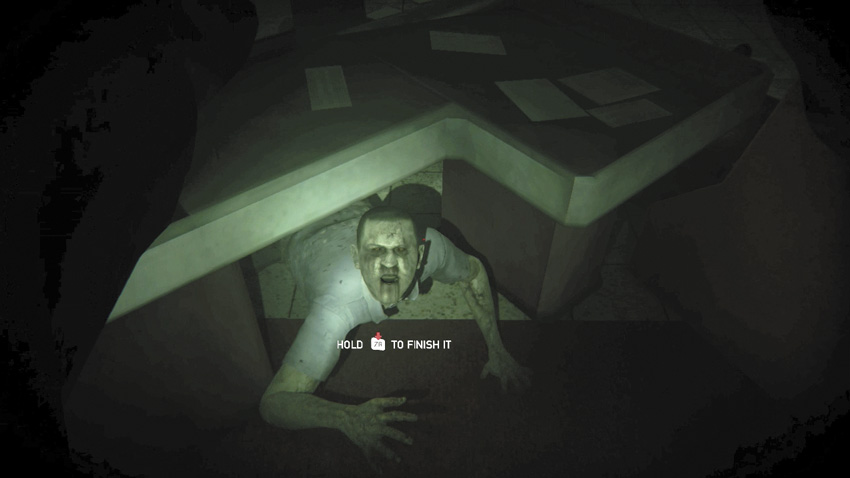
If you encounter a crawling Infected, an Infected “playing possum” that wakes up but is still on the ground, or an Infected you’ve pushed to the ground, execute them when prompted. If you’re carrying a cricket bat, you bludgeon the foe’s head off. If you’re unarmed or carrying a firearm, you stomp on the enemy’s head until it collapses. Messy.
 Shoot/Hit/Throw
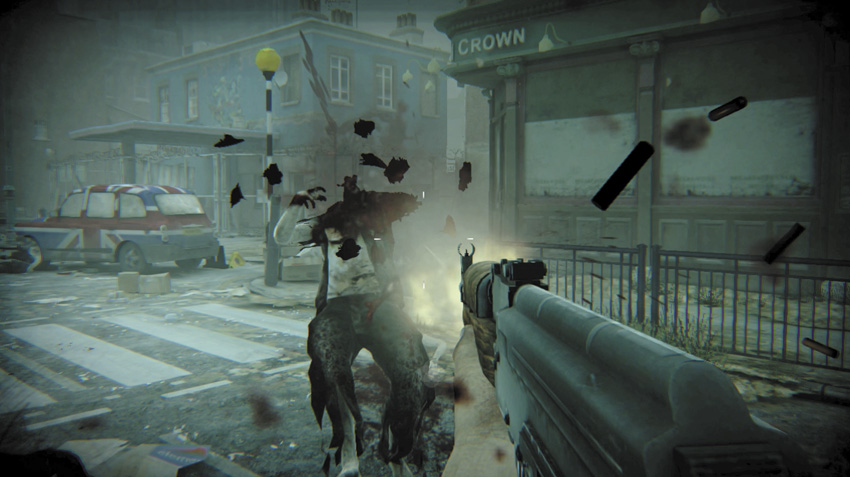
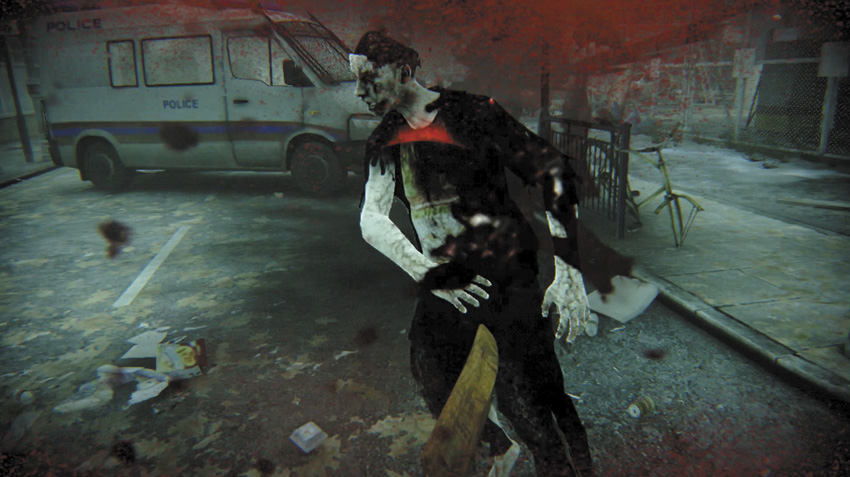
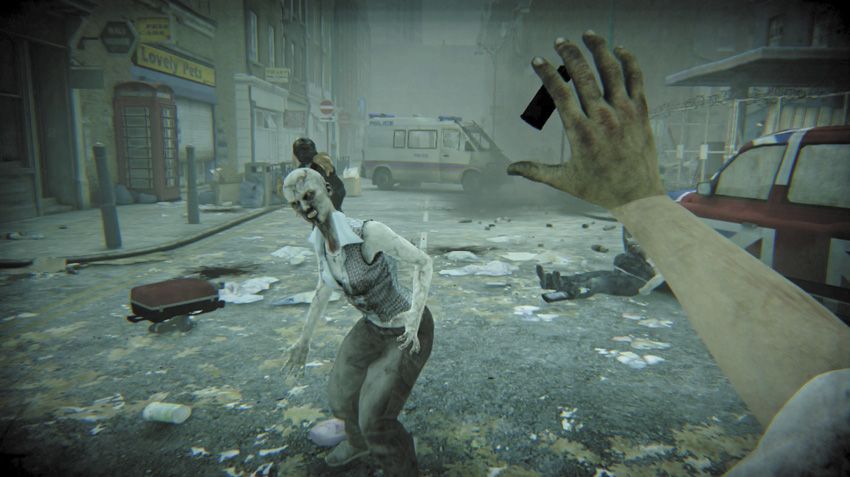
Depending on the armament you’re carrying, you’ll Shoot it (with a pistol or other firearm), Hit with it (with a cricket bat), or Throw it (with a projectile, such as a flare or grenade). Get used to pressing both buttons. This attack is the only way you’ll thwart the undead!
INFORMATION // HEADS-UP DISPLAYS
While you’re frantically escaping the clutches of the unwell, information will flash on your screen and on your Prepper Pad. The following information is contained within the heads-up display, which appears from time to time:
THE MAIN SCREEN
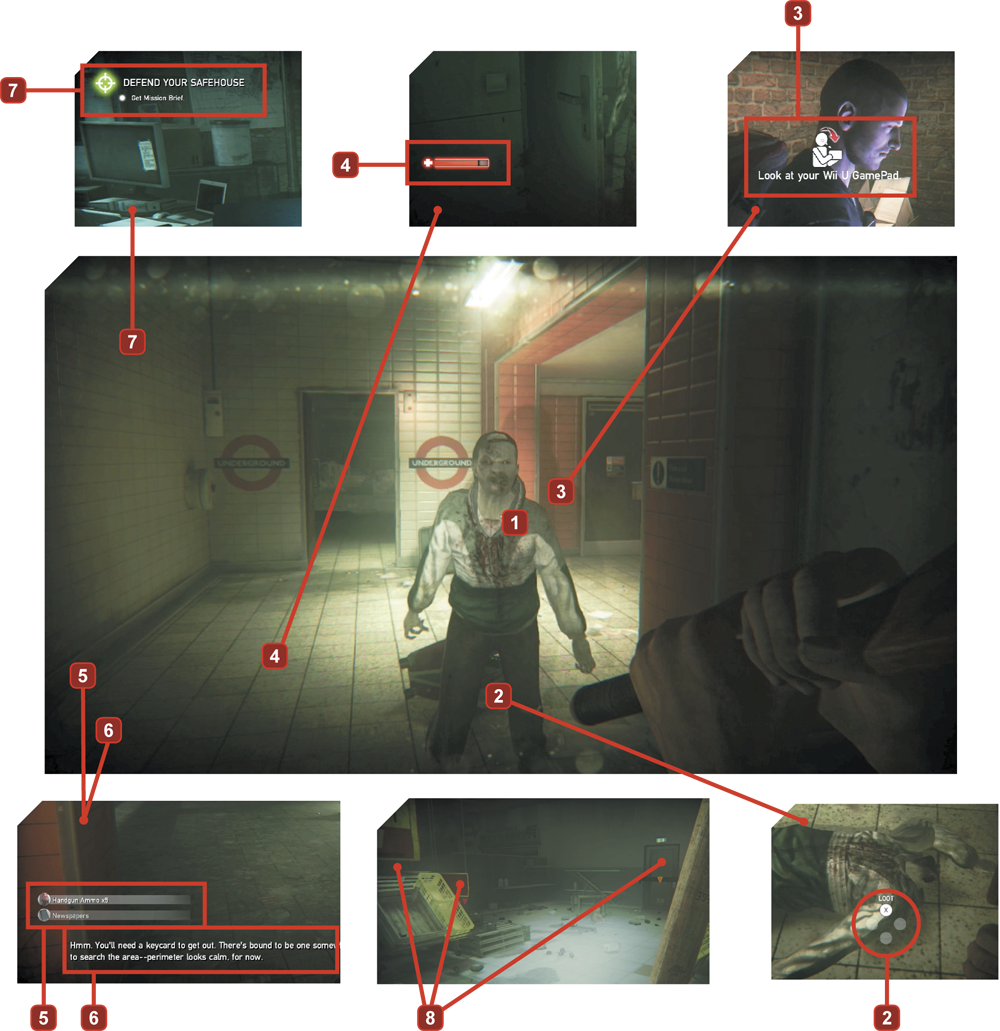
This is an example of a usual encounter during your survival stay in London:
- [1] Crosshairs: This small white dot is your crosshairs. Line up shots using this, and turn this off and on in the Options.
- [2] Context-Sensitive Buttons: When you’re about to interact with something, the context-sensitive buttons will display.
- [3] GamePad Activities: When you’re using your Prepper Pad, this message appears. Look at your Pad, but keep an eye open for incoming Infected on your main screen.
- [4] Health: This appears briefly when you’re wounded, showing your current health level. The closer to empty, the closer to death (by being grabbed and eaten) you are.
- [5] Items: Whenever you pick up an item, it is briefly displayed here, so you know what you’ve taken.
- [6] Subtitles: If you’ve chosen the Option allowing subtitles, these are shown here whenever anyone speaks.
- [7] Mission and Objectives: The name of the mission and your current objective appear here. This is shown after you finish sleeping and every time the mission and/or objective updates.
- [8] Flagged Information: When you use your Prepper Pad to scan an area, markers are shown indicating doors (in orange), items (in green), and enemies (in red).
THE PREPPER PAD SCREENS
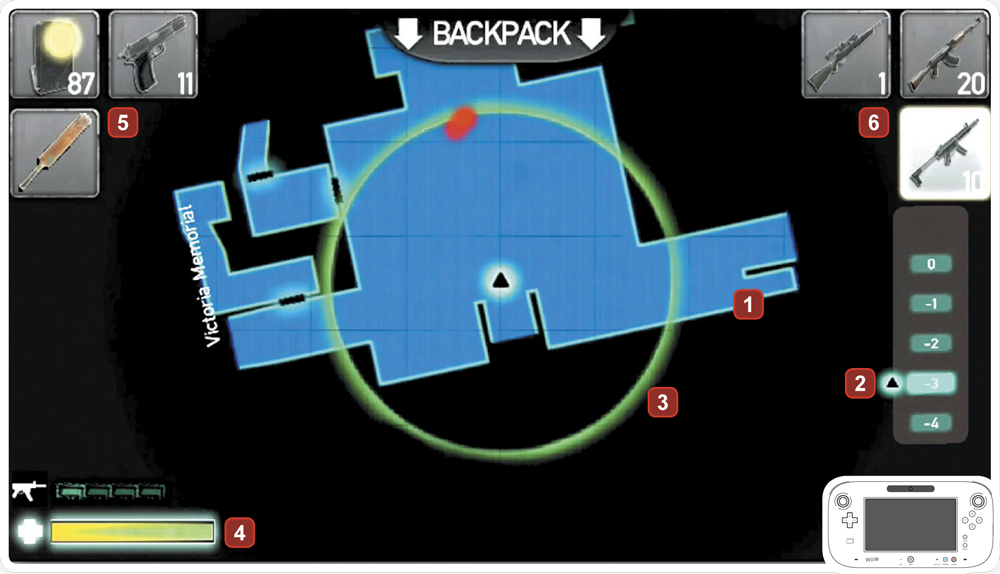
[1] This is the usual screen you see when you look down at your Prepper Pad. It contains the following information:
- Smart Map: This appears only after you scan and hack the CCTV Junction Box for the location you’re in. Some locations have more than one box, and these are usually well hidden.
- [2] Floor: This shows the level of the location you’re standing on—basically how high into the air or how low into the ground the location goes, and where you are relative to the other levels.
- [3]Radar: Manually tap this until you receive the necessary Pad upgrade. It provides a reading of your immediate area. Living creatures (aside from those on the ground) are shown in red. These include Infected, rats, and ravens. Don’t confuse your readouts; occasionally a flock of birds may appear to be a horde of zombies! But usually, the danger is extremely real....
- [4]Health: This appears continuously and updates every time you’re wounded or you heal. The closer to empty, the closer to death (by being grabbed and eaten) you are.
- [5] [6]Item Cluster or Holster (Left and Right): These show the items you have instant access to (by tapping the slot to use or bring up the item). It’s important to place items you use constantly here and not waste the slots with unnecessary clutter.
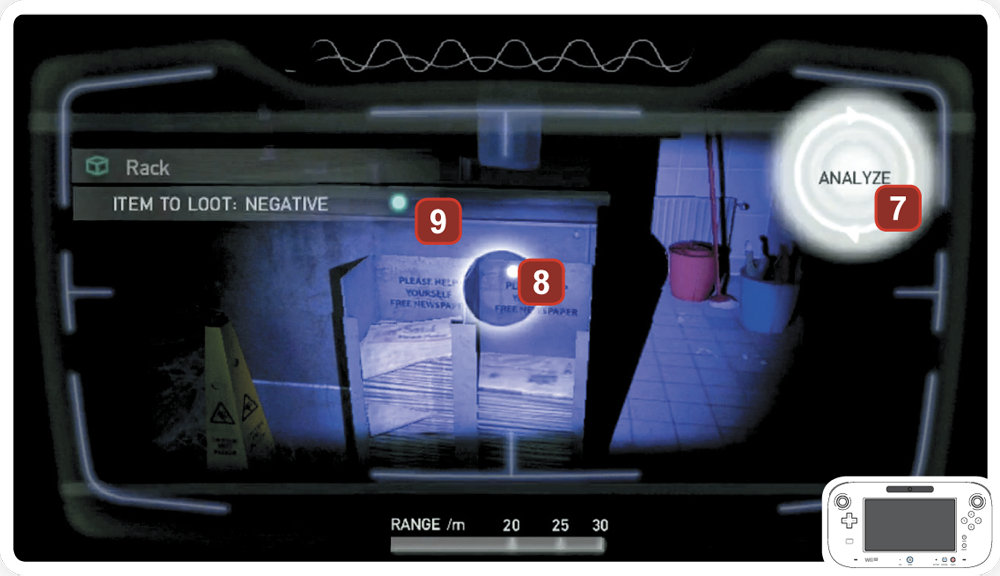
This is an example of the screen you see when you’re scanning an area. Items, doors, and enemies all show up once you analyze them (they turn from a white to a color dot, and appear as an icon on your main screen). Later on, you can see hidden messages left by the ravens of John Dee, making this screen especially helpful to your progress.
- [7]Scanning Analyzer/Hacker: Press and hold down your thumb or finger on this part of the screen until the scan is complete or you’re interrupted by an Infected attack. When you’re finished, the scanned or hacked image appears on your screen, map, and main screen.
- [8] Unmarked Area of Interest: This is shown as a white dot. It’s an object, enemy, or item you haven’t scanned yet.
- [9]Marked Area of Interest: This appears as a dot of a particular color after you’ve scanned it. Helpful items are colored green. Doors and access points are colored orange (i.e., locked or sealed areas with a black “X” through them). Moving, living entities (Infected, rats, and ravens) are colored red.
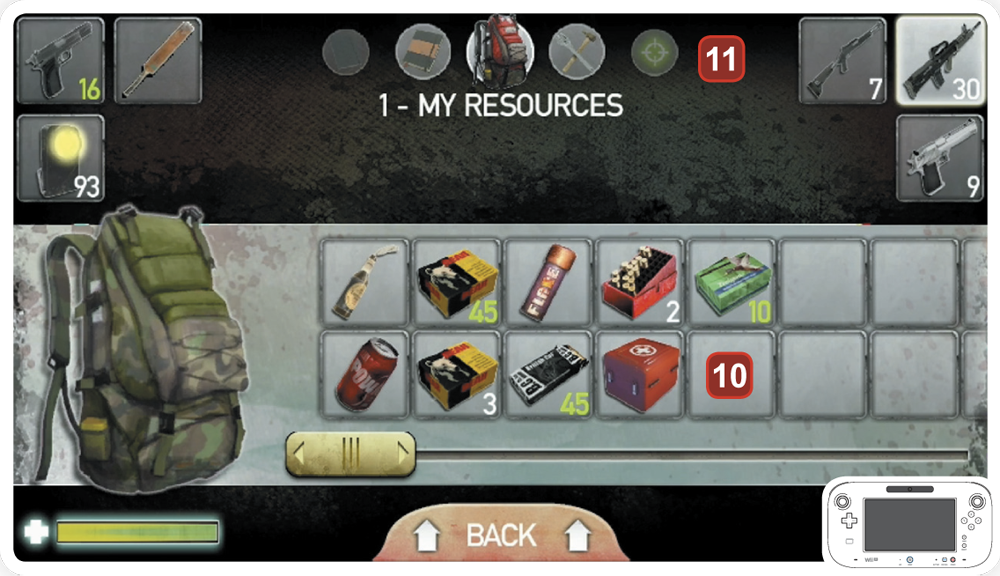
This appears when you swap between your Smart Map and your BOB (backpack). You can swap items, drop items, or move them to your item clusters.
- [10] BOB Slots: Simply take an item you want to place in a slot, and drag it from one slot to another. You can also use the “drop” icon that appears in the top-middle of the screen if you wish to place the item at your feet. You can also swap between your BOB and holster or any metal container (such as the Safe House Chest in the Safe House).
- [11] Resources and Menu: The menu of circles at the top of your screen can be accessed here. The following menus are available:
- 2—My Gear: This menu shows the specific gear you’re carrying. At the moment, this is just the Prepper Pad. As you progress, this fills up with items (including mission-specific ones). Click over each time for more information. Any equipment flagged as “Gear” in this guide usually resides here.
- 3—My Missions: If you’re unsure of what to do next, consult this menu. The mission and any active (and completed) objectives are shown here. Objectives are added as you are given them. This information is also present in the “Mission Overview” section of every mission in this guide.
- 4—My ID: Open your wallet and look at your ID (your Survivor’s name, gender, age, and occupation), your Survivor Scores (these are listed throughout the walkthrough), time survived, Infected killed, and Survivors played.
- 5—My Skills: This shows how proficient you are with six different types of ranged weaponry. Under each is displayed the number of Infected you need to kill to increase your skill. How proficiency affects your competency is explained on page 48 of the “Hardware” chapter.
- 5—My Map: This is the main overview map of London, showing how each area is linked to one another. This appears when you find shortcuts between locations to travel to. At the moment, only the Safe House is visible. Other locations are uncovered as the missions continue.
- 6—My Notebook: This is where all the different Lore articles you’ll find are stored. Tap the screen on any you find to learn more about the “blight” affecting the British Isles.
- 5—My Survivor’s Guide: The last menu is a quick and dirty list of how to improve your game. All of this is covered in much greater detail later in this chapter.
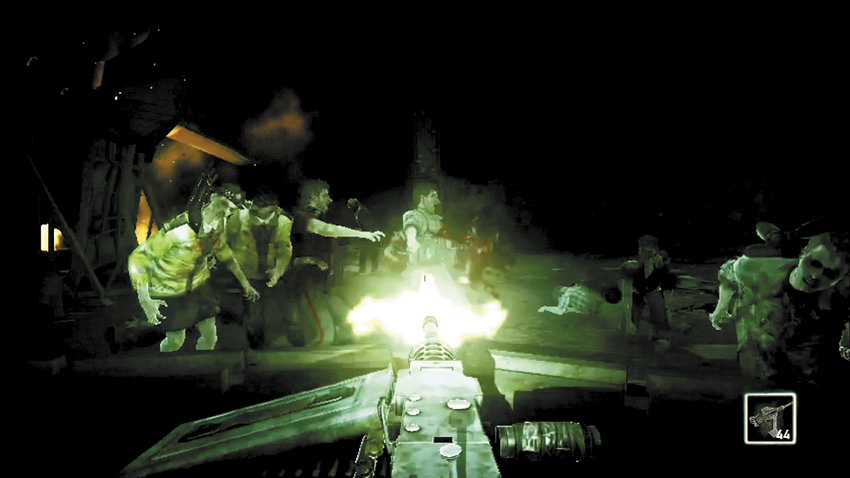
This screen appears when you’re using a weapon that requires you to raise your Prepper Pad at the main screen and target a foe. The machine-gun turret, crossbow, and the Remington carbine all require this function. Refer to the “Weapons” chapter for further information.
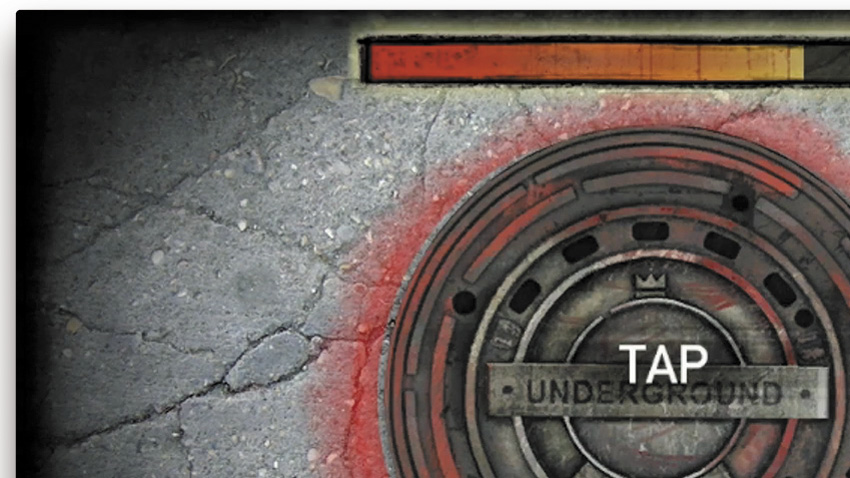
This screen appears when you attempt to remove an obstacle blocking your progress. These can be bars, barricades, or manhole covers. You can also fill a Virucide syringe at a similar screen. Simply tap the screen eight times until the action is completed.
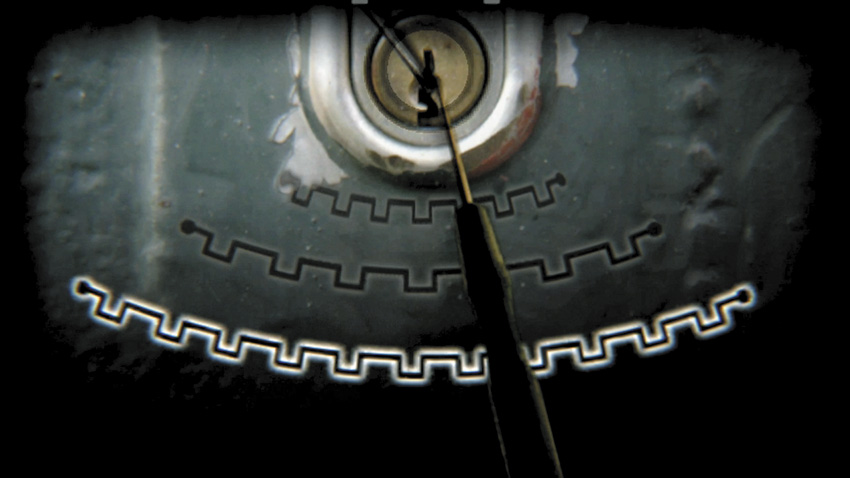
This screen appears when you’re trying to pry open a lock using lockpicking tools. Use your finger or thumb on the GamePad screen to line up with the end of the tool, moving it in a curve until a white circle around the lock forms. Move the tool left and right until the circle forms, then stop. Once the circle is formed, repeat this process until the entire lock is compromised and you can open the door.
RULES OF SURVIVAL
BE PREPARED!
For quick access, place items in your holsters (also known as clusters) in the top corners of your Wii U GamePad screen. Touch any holster on the screen to use the equipped item.
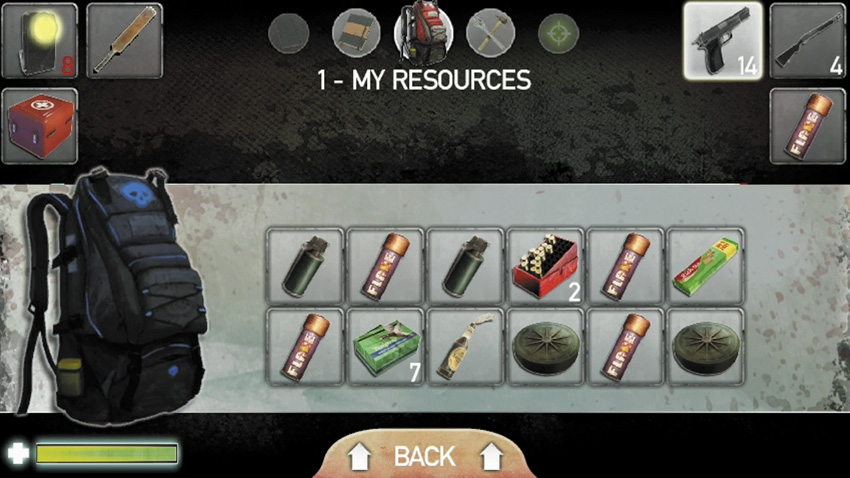
This is an example of a well-equipped left and right cluster. Learn and employ the following rules:
- Items that are often used, such as the flashlight, cricket bat, and pistol, are all within easy reach.
- Items that you carry but don’t necessarily need to place in the clusters (such as ammunition) aren’t here.
- There’s a good variety of items for every eventuality: projectiles for lobbing and multiple weapons.
- Health items take up a space.
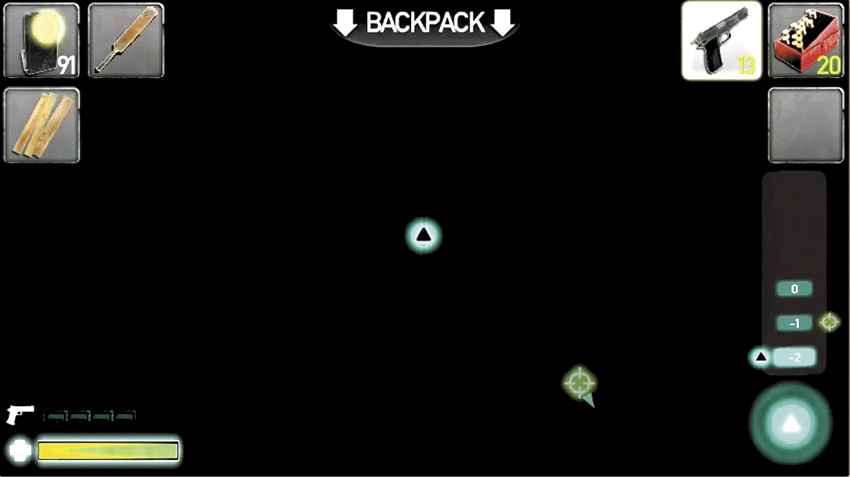
This is an example of a badly equipped left and right cluster. The following rules were missed:
- Ammunition was placed in the clusters, which is unnecessary.
- Items that are instantly used when carried in your BOB, like planks, are taking up space.
- There’s little mixture of weapons and health items; in an emergency, there’s no way to quickly bolster your health.
- There are empty slots. Never leave a slot unfilled!
SLOW AND STEADY WINS THE RACE
Take your time and loot anything that’s not nailed down and do not panic! If you run around like a chicken with its head cut off, you will die. At the end of the day, who lives and who dies comes down to one thing: preparation. Research your surroundings, scavenge for supplies, stock up your Safe House, and do whatever it takes to survive.
RESEARCHING AND SCAVENGING
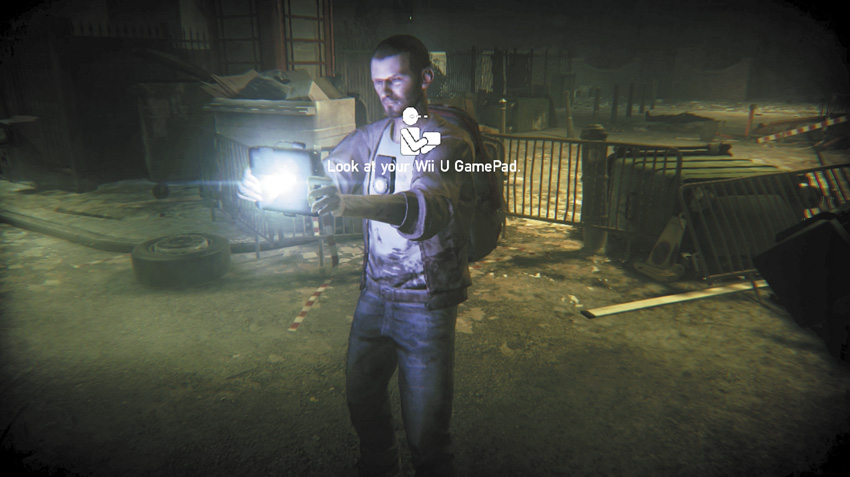
This simply means that every time you step into a new area, as long as you’re not set upon by the undead, bring out your Pad and scan your immediate surroundings. Continue to tag all interesting items, objects, furniture, and moving entities. As you progress, check again and look around in all directions; certain objects (such as CCTV Junction Boxes) may be hidden above, below, or to your sides.
STOCKING UP YOUR SAFE HOUSE
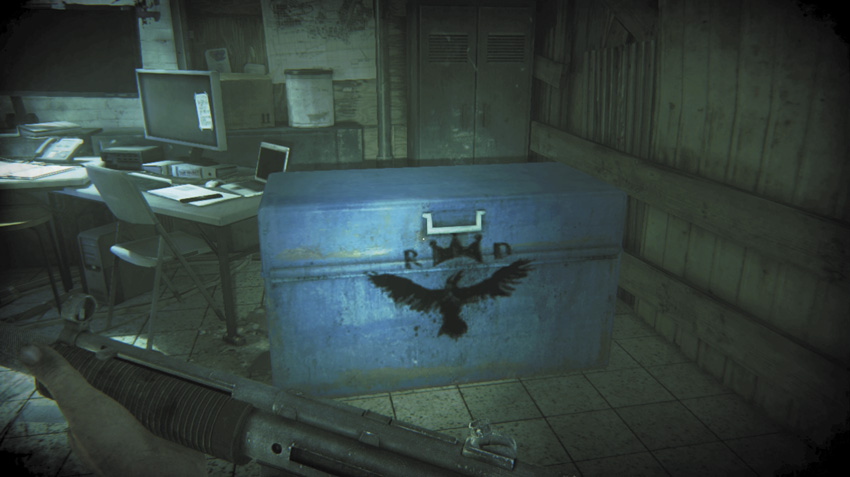
The blue chest with the ravens sign on it is known as the Safe House Chest. It lies next to your CCTV monitors and allows you to stock up with items you’ve collected on your travels.
- Check your CCTV monitors for previously explored areas. This lists the items available.
- Use the manhole shortcuts to quickly reach these locations, search for items, and bring them back between missions.
- Place unused or rarely used items in the Safe House Chest, so if your Survivor dies, your next Survivor begins with more than the bare essentials. Think about putting older weapons, some ammo and health, and anything else you deem necessary, which your current Survivor isn’t going to immediately need.
RUN FOR YOUR LIFE!
Feeling overwhelmed? No need to kill every Blighter in London to survive! There’s no shame in living to fight another day. Push your way past as many Infected as you can and flee to save priceless ammo. Sometimes retreat is your best option.
WHEN TO RUN AND WHEN TO STAY
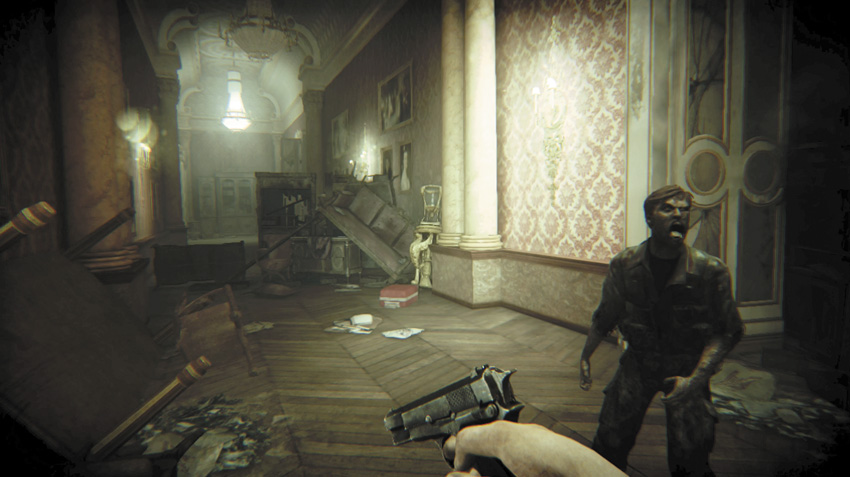
Running is advisable under the following circumstances:
- You’re close to a safe point, such as a manhole, the end of a mission, or help from another character.
- You’re in a position where can easily push away your incoming foes without being grabbed and eaten.
- You’re about to get yourself stuck in a narrow or dead-end space, and fleeing is your only option.
- When you’re low on health, ammo, or other supplies and multiple foes are incoming.
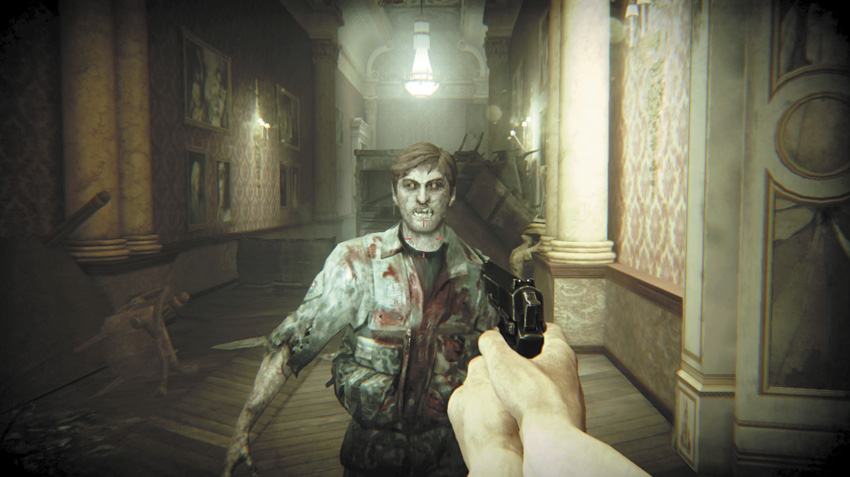
Staying is advisable under the following circumstances:
- You have a height advantage, or the area you’re in is wide enough for you to dodge, strafe, or circle around.
- You can see additional threats up ahead, which lead you to even worse trouble.
- You have high health and copious ammo and supplies.
- You aren’t sure of the path ahead and how far you need to travel before reaching a safe point.
PROPER MANEUVERING
The following maneuvers are worth practicing in empty locations, prior to trying them out with enemies present:
Learning to shove (also known as pushing) your Infected foes. This is faster and safer than attacking with the cricket bat, in cases where more than one Infected is close to you.
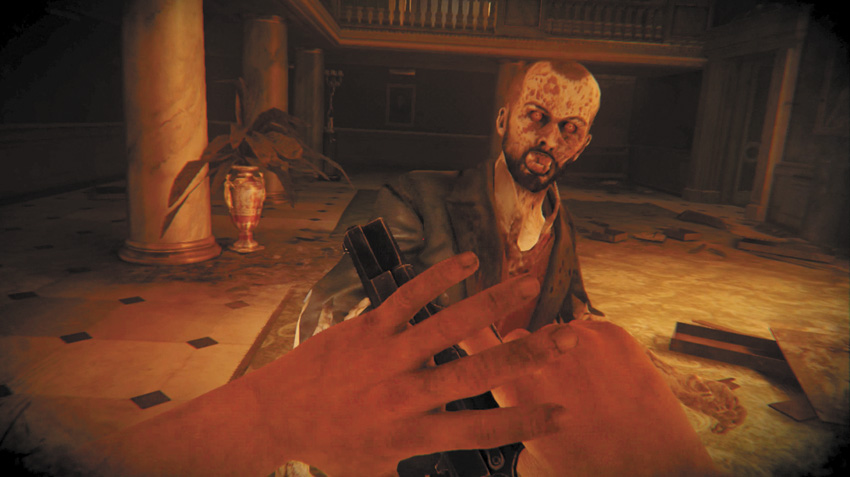
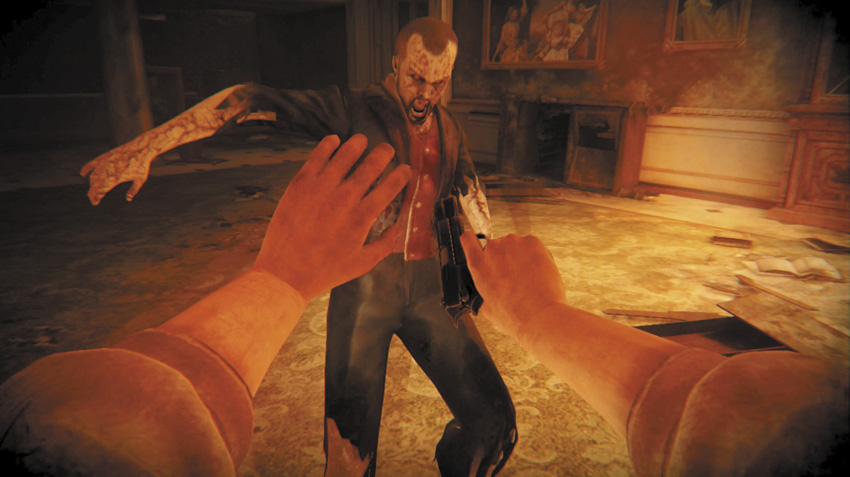
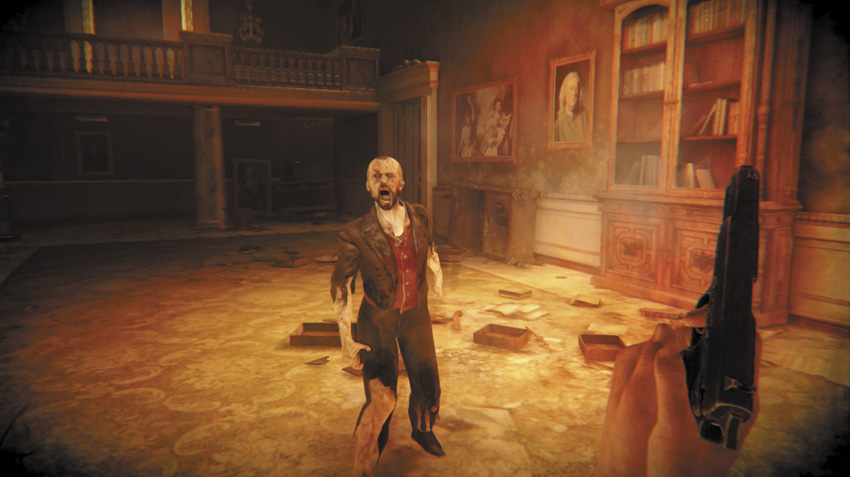
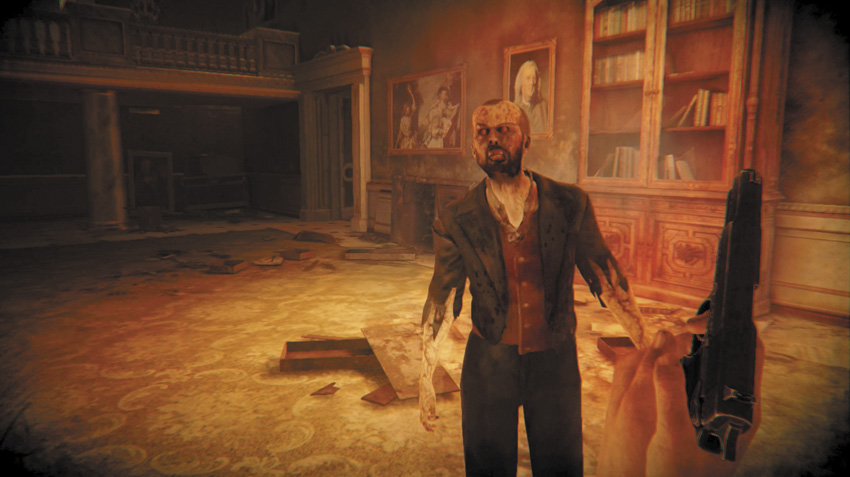
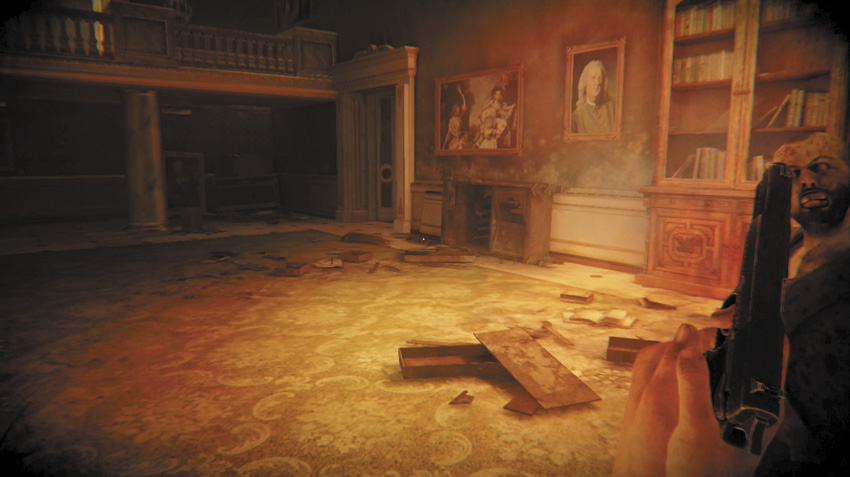
Dodging them by strafing (the act of moving to the side). Try sidestepping in a strafe so an Infected’s attack misses you. Practice makes perfect!
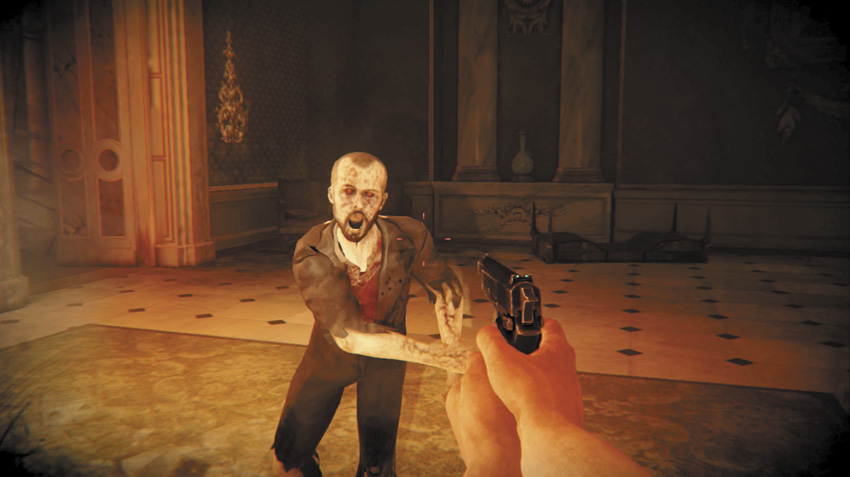
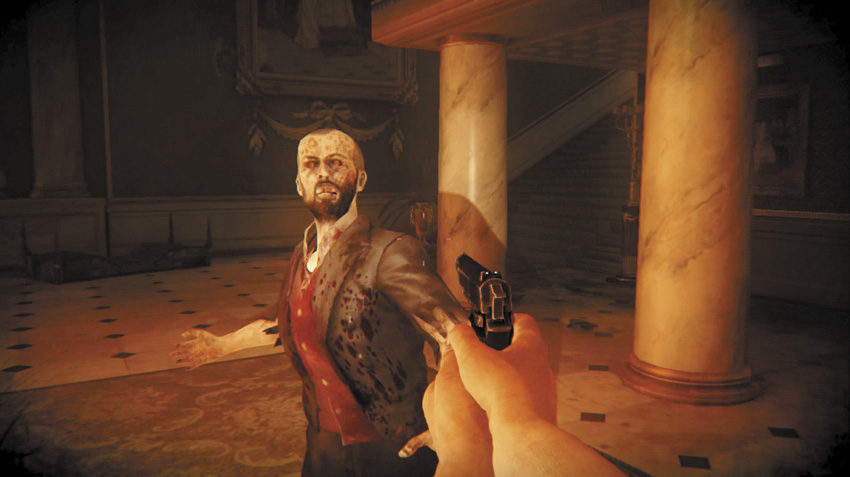
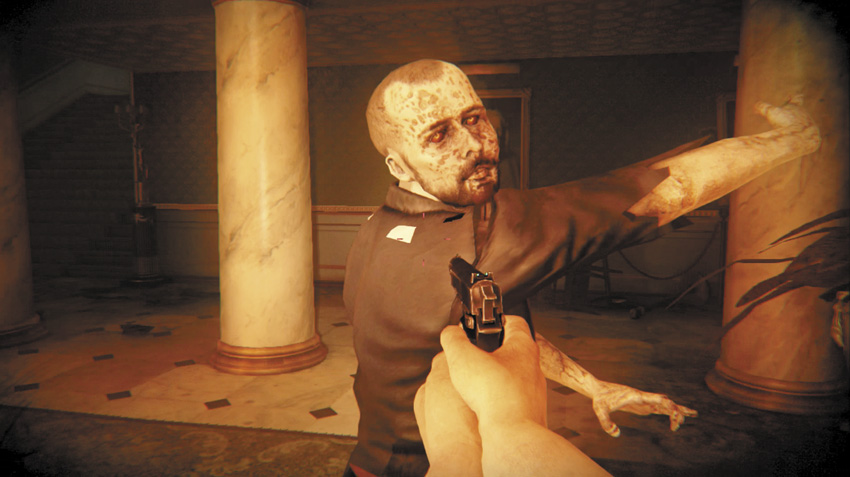
Circle-strafing is the art of keeping your crosshairs targeted on a single foe and running around them in a circle. This allows you to avoid their attacks. Practice this by running around a pillar first.
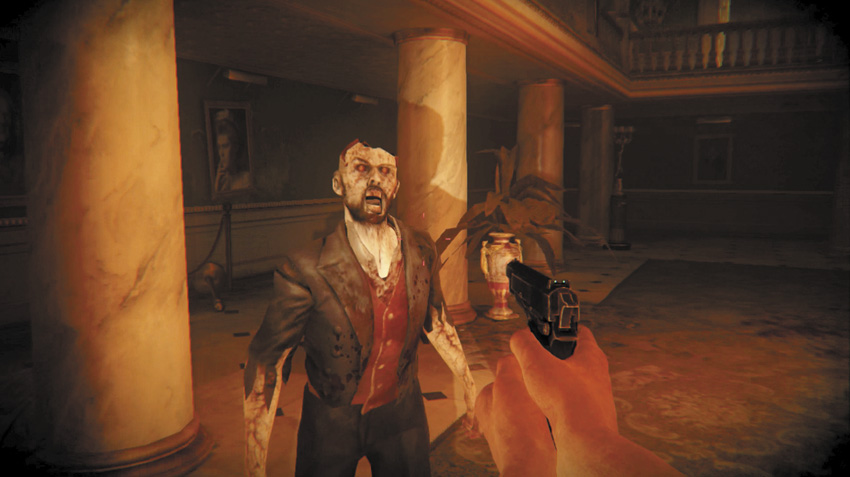

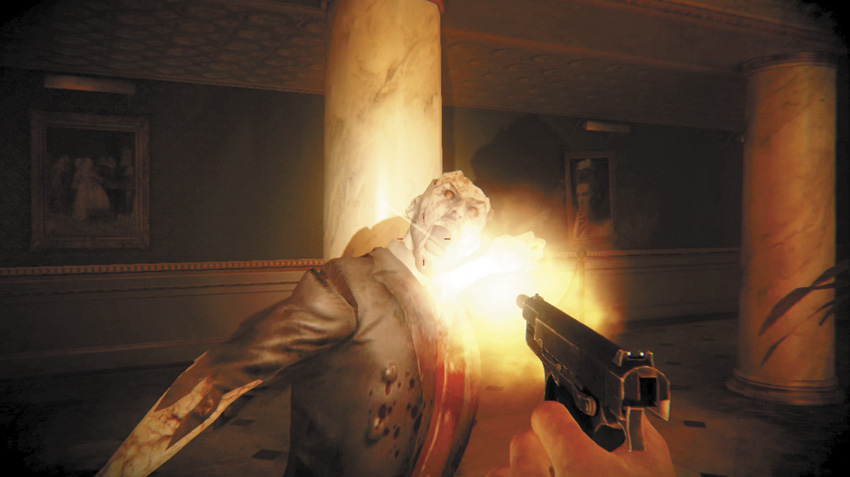
Steady aiming means keeping your crosshair dot at Infected head height, instead of looking up and down, when you’re in combat. This way, you have less aiming to do and more accuracy when trying headshots.
KEEP YOUR DISTANCE!
Always keep your bloody distance, or the Infected will clamp down on you like rabid dogs. And push them the hell away before they get in your face! Buying yourself just one second to cock that weapon will save your hide a hundred times. A cricket bat won’t save your bacon, not against a horde. But it’s handy one-on-one, and best of all, it’s silent.
SILENCE OR VIOLENCE?
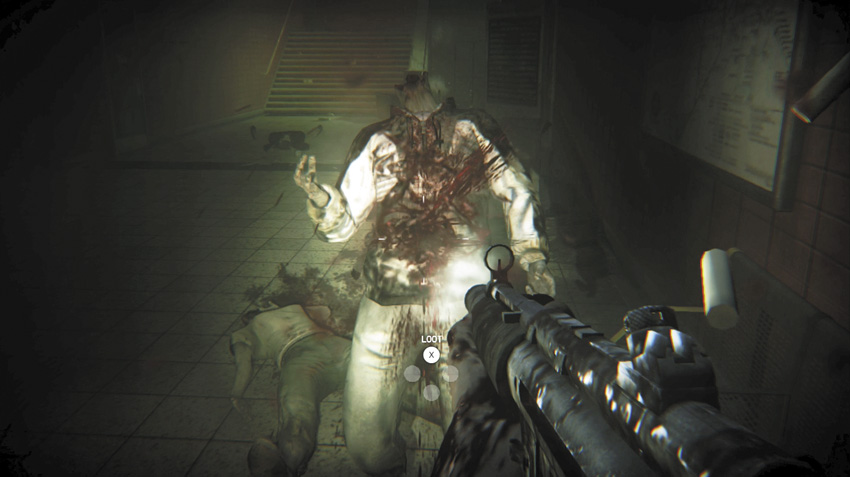
There are four weapons—the cricket bat, HK P226 Pistol, crossbow, and MP5 SD—that are silent. Any other time you’re attacking foes, you’ll make a noise. So it’s a good idea to use silenced weaponry when you’re in a newly found area, don’t know the layout or how many foes are around you, or if you’re trying to attract a foe to a particular area (for example, shooting a crossbow bolt at a distant enemy so they fall, and you can sneak to that point, in front of other foes with their backs to you). If you’re behind a corner, you can also dart out, plug a foe, then dart back.
SHORT, CONTROLLED BURSTS
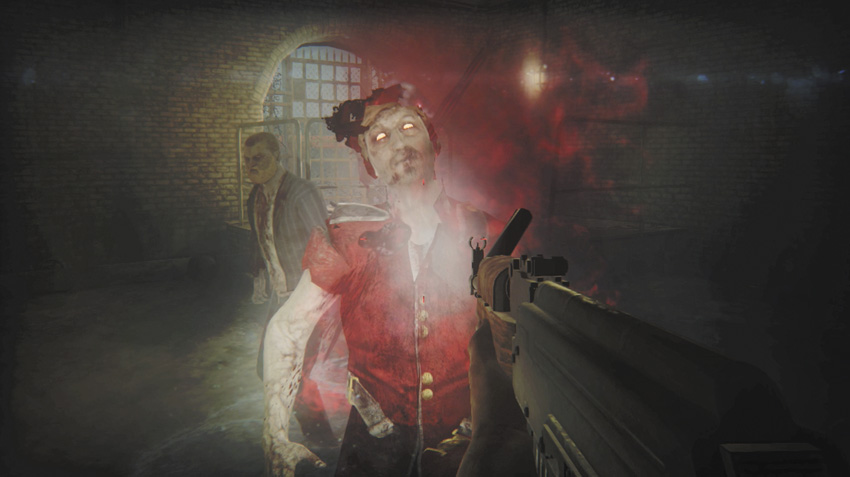
Otherwise, fire on foes and face them down with superior hardware and superior tactics. Aside from the bounty of knowledge contained in the walkthrough and the mantra “aim for the head, aim for the head,” you need to make sure you’re expending as few bullets as possible. Single foes should take a cricket bat to the head. Downed foes need to be batted or stomped, not shot. Use firearms when encountering two or more foes at once. Aim shots accurately, as every bullet counts. Semiautomatic weapons need to be fired in short, controlled bursts where each bullet strikes home.
LIGHTING YOUR WAY TO A QUICK DEATH
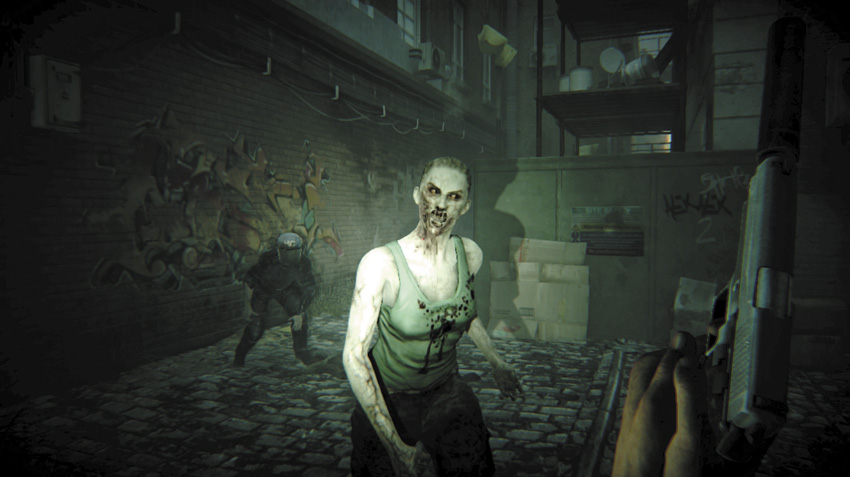
Beware of overusing your flashlight and Prepper Pad’s scanning light; these attract any enemies that spot it. It’s always worth turning off your flashlight in areas where you can actually traverse without needing a light (such as outdoor areas or in missions occurring in what passes for daylight in London). Only keep your flashlight on when you’re in a maze, in confusing locations, in areas you haven’t explored yet, or when you want to beckon foes into a trap.
STAY HEALTHY, STAY HUMAN
Your Health gauge turns from green to red and empties each time you are wounded by an Infected, an explosion, or other harm is caused to your person. When the gauge is completely empty, your character dies. BEWARE: One bite will kill you! No second chances. If you are grabbed and bitten, you will become one of the Infected. Keep your strength up at all times. Food and medikits can help you replenish your Health gauge. Stock up!
WHEN TO WORRY
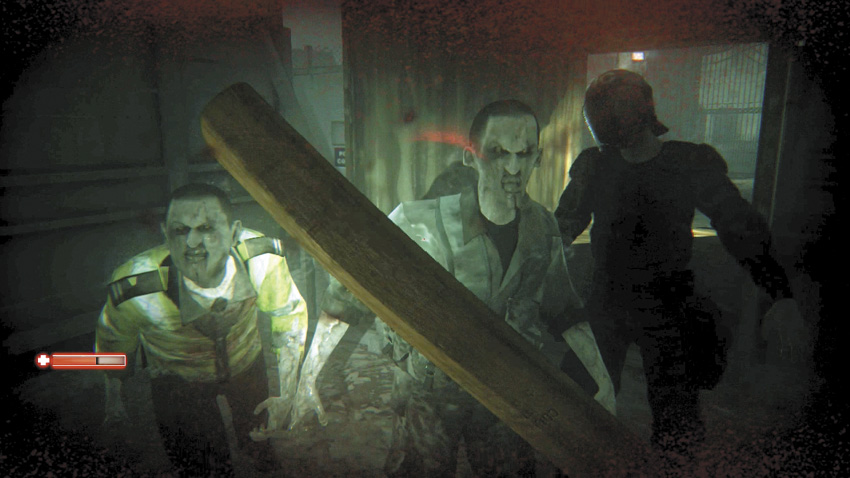
Once your health drops below half, as indicated in the bottom-left of your Prepper Pad (and onscreen during the actual damage), use one of the minor health items, such as soda, cake, chocolate, or another minor health-improving comestible. Be sure one of them is in your holster of slots. As the Infected find it easier to bring you down and devour you the more wounded you are, top off your health as soon as possible.
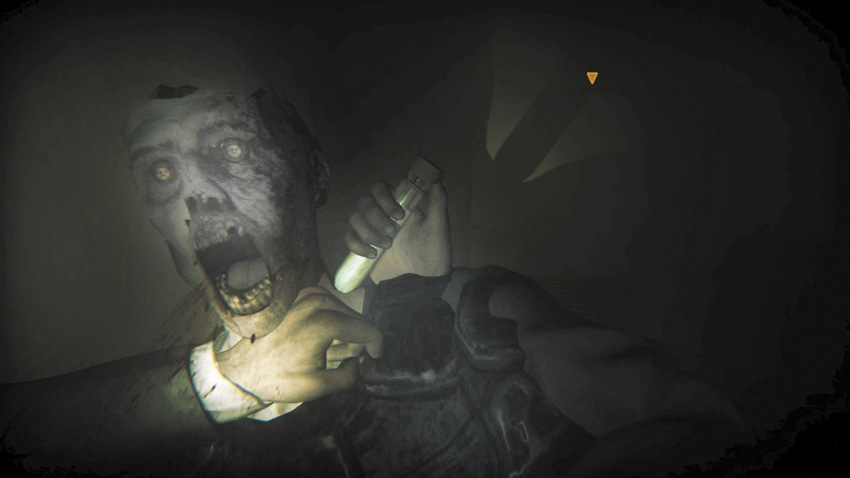
Get to a safe place when your health is less than half. However, when you have the Virucide syringe filled, your health is (a little) less important, as you essentially can survive one zombie takedown before needing to heal once again—that is, as long as you jab that pus into the Infected’s neck!
WHAT TO HEAL WITH
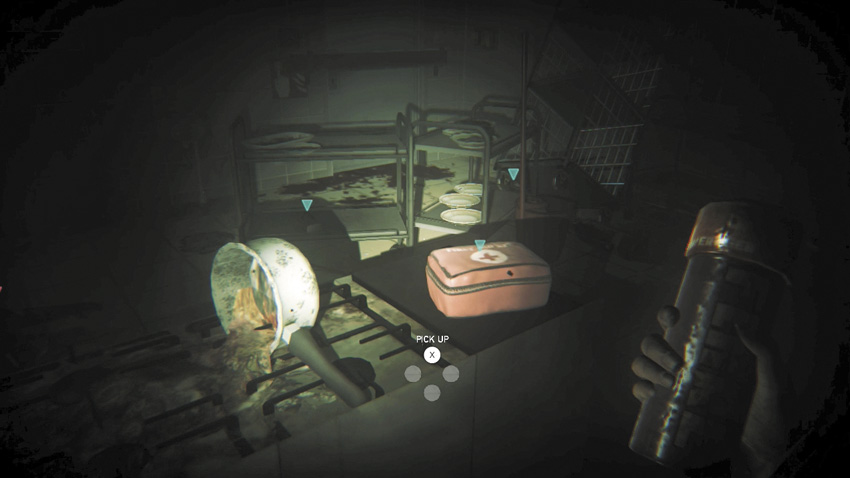
Bring out the Medium Medipack when the going gets tough and the Infected have had their mauling, punching fun with you. Quickly bring that health back to 75 percent or higher, or you’ll be picked off far more quickly. Use a Large Medipack when you’re close to death, but always with the knowledge that there’s one surefire (and free) way to restore your health: by sleeping.
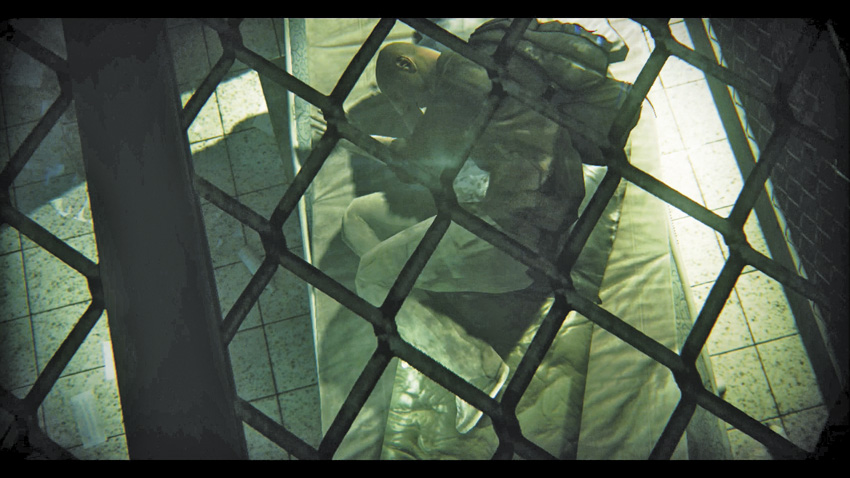
Sleeping (in your Safe House or Shelter) restores your health completely. Sometimes it’s worth consulting your London map to find the nearest manhole, and take a shortcut back to your Safe House for a snooze. Even if you need to backtrack, this is a better plan than being eaten and having to face your former Survivor and get all your best stuff back!
BUY TIME
If you delay your enemies even briefly, it may be enough to save your life! Buy time by closing and barricading wooden doors. If you have planks in your inventory, you can reinforce a door. Remember: Metal doors can’t be barricaded. Some furniture can be moved. Move furniture to block doors and unlock or reveal hidden passages.
CLOSING DOORS AND ELONGATING LADDERS
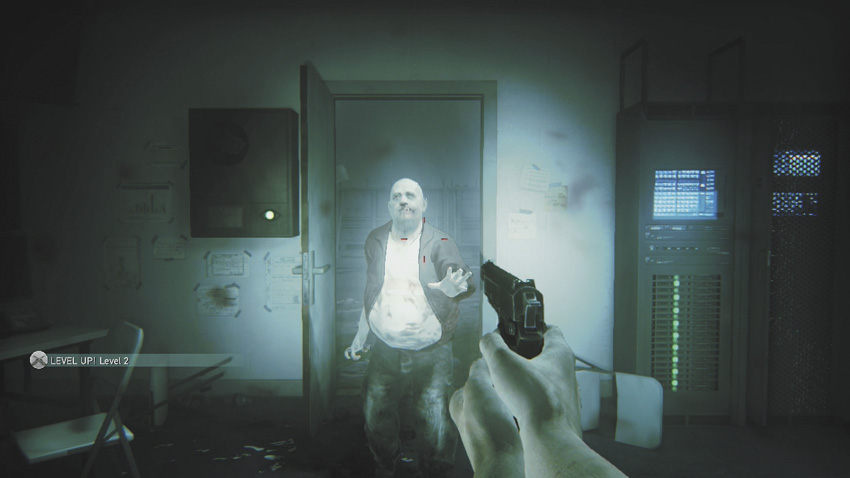
In the reality of combat, barricading is sometimes forgotten about in favor of fleeing or fighting. Even though metal doors can’t be barricaded with planks, even closing doors behind you stops your zombie foes for a few seconds. If Infected are active in the area, keep as many obstacles between you and them. Also think about lowering any ladders that are pulled up (drop them from above) so you can use them later, if necessary.
PUSHING FURNITURE
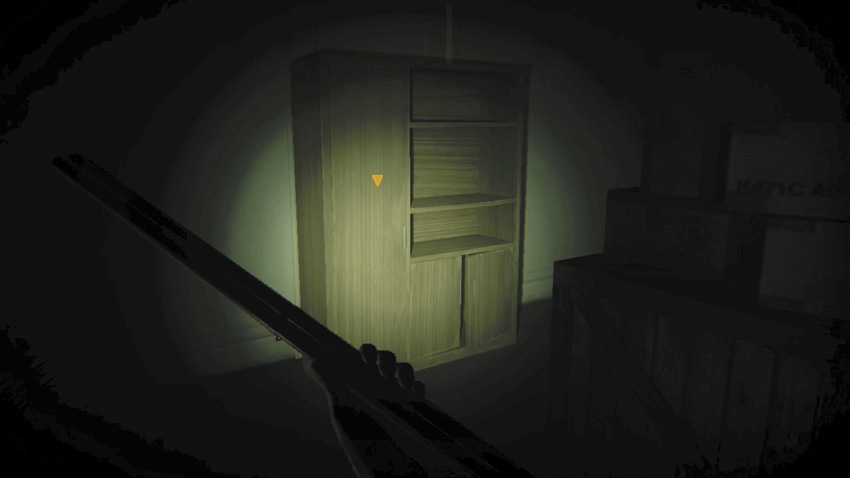
Certain wardrobes or shelving can be pushed, and this is almost always due to there being a door or duct behind the furniture, a thoroughfare to move through in order to finish a mission. Blocking these off doesn’t usually occur, but it can happen if you’re wanting to “funnel” Infected away from you or to an entrance you’ve booby-trapped.
BE QUIET, BE SMART
The Infected may be brain-dead, but they can still see you and hear you. Stay out of sight and avoid making noise if you want to live longer. Destroying an Infected’s brain is the best way to kill it quickly. Avoid wasting ammo and aim for the head! Create diversions wherever possible. Bright lights and noise attract these dimwits, so use flares and observe the environment for stuff you can blow up!
HEADING FOR TROUBLE
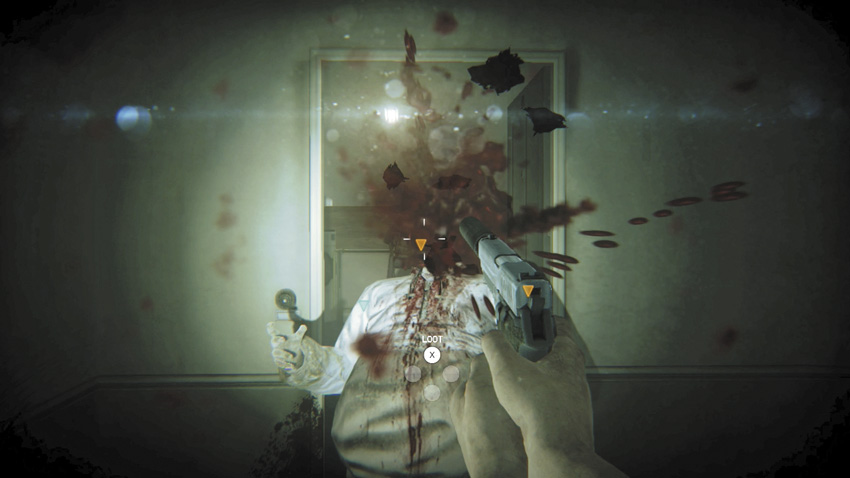
How to take down an Infected and how they stalk you, and every possible and pertinent method of destroying them is detailed in the “Rogues Gallery” chapter of this guide. But overall, don’t rush into unexplored areas, don’t move too far too quickly, expect a random assortment of zombies if you revisit a location, and always aim for the head. There are a few minor exceptions (also shown in the Rogues Gallery).
ENVIRONMENTAL HAZARDS
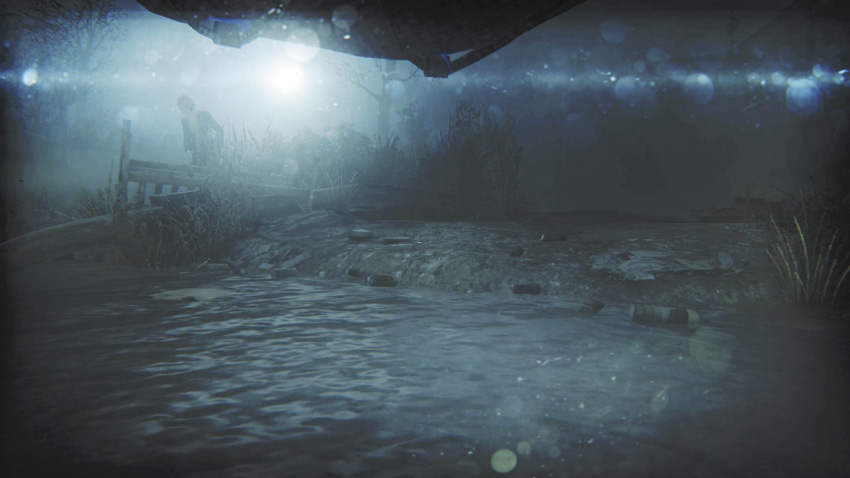
“Bright lights” refers to your flashlight; your Pad’s light; and flares, a projectile that you use to keep foes away from you while you escape or set up a takedown that removes all foes with a single shot or explosion. The “environment” includes gas canisters and barrels. Find out more about these in the Rogues Gallery. The biggest hazard you’ll find is water that’s deeper than waist level. You carry your backpack over your head, and you’re completely vulnerable to attack, so clear an area before or after you get wet, or you’ll get dead.
YOU ARE NOT ALONE
With your Pad’s blacklight feature, you can reveal and read messages left by other players online. Make sure to check the message rating before deciding who to trust! Use the spray can to leave messages for other survivors across the city. Open the messaging interface and choose the icons you want to use. Then touch the Paint button on your Wii U GamePad screen. This message will be readable by other online players.
BLACK LIGHT, BIG CITY
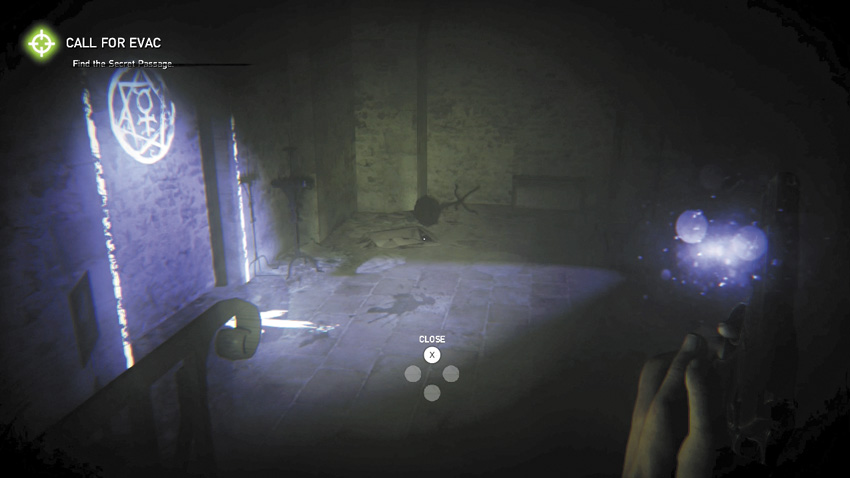
Use the blacklight in the same way you scan for hidden messages on doors and walls during the campaign. Be sure you know who drew the message; remember you and your friends can always play tricks on each other and give false information. However, a quick check of this guide soon solves that problem! The next chapter has more information on the spray can and where to find it.
A CAN-DO ATTITUDE
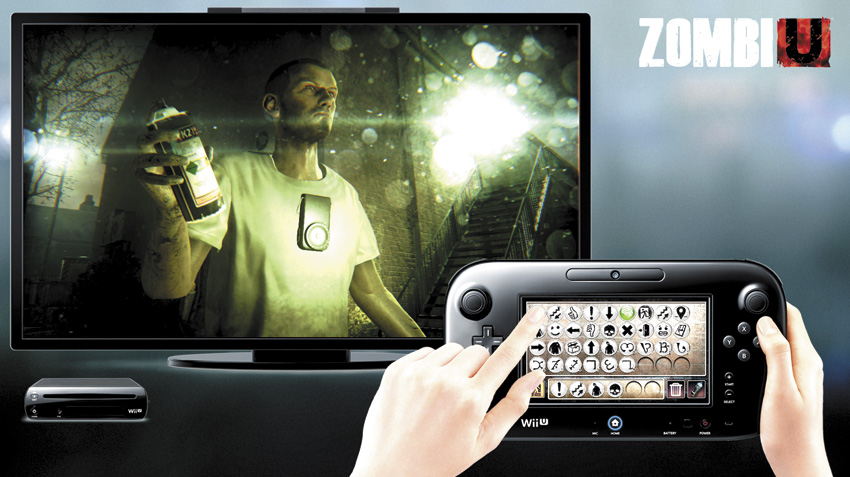
If you’re playing this game with friends, you already have a sizable advantage: this book! With all the knowledge contained within these pages, you know which areas contain the best upgrades, weapons, and collectibles. With this in mind, when you’re using your spray can to spray messages, agree that certain icons mean something specific to your friend. Here are some examples:
- Use the “thumbs-up” symbol to indicate a stash, upgrade, or collectible (such as Dee’s Letters).
- Use the “man running through doorway” to indicate a shortcut or manhole.
So, instead of your friend guessing at what you’re spraying, have a chat beforehand so you know instantly what the icon means. Or get them to buy this guide too!
DON’T LEAVE HOME WITHOUT YOUR VIRUCIDE
Thanks to Dr. Peter Knight, you have a syringe full of Virucide. Use it when an Infected grabs you—but before it bites you—to poison it. Your syringe contains one dose but may be refilled. To refill your Virucide shot, scan to find Infected with the required antibodies. Analyze to isolate a swollen gland. Kill it and recover its infected pus.
SYRINGE SMACKDOWN
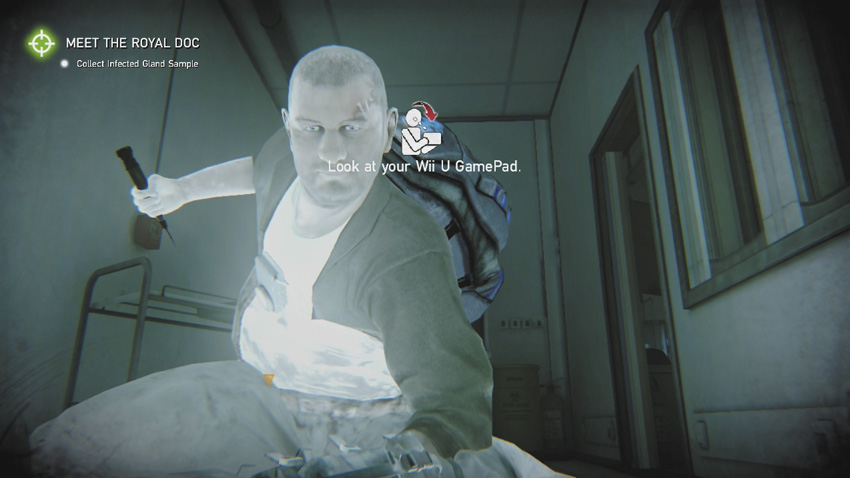
Although ideally you should scan an Infected to see whether it carries the necessary pus used to create Virucide, there are times where this just isn’t possible. Here are some facts to think about, regarding this syringe-plunging trick:
- You don’t receive the Virucide syringe until the end of Mission 06. Before that, you’re fending off foes with weapons and harsh language.
- It is helpful to scan enemies. But if you can’t (or didn’t), simply check each corpse after a battle; the ability to remove Virucide from the zombie is shown on your heads-up display.
- Fill your Virucide shot wherever possible, as it’s essentially an extra “life,” preventing you from being jumped on and bitten.
BETTER DEAD THAN UNDEAD
Mercy kill! When you respawn as a new Survivor in the Safe House, you can put your former (and now Infected) character out of his misery and loot the contents of the Bug-Out Bag! When other ZombiU players online become Infected, they will appear as nonplayer character zombies in your game. You can kill them and loot their backpacks.
SURVIVOR SACRIFICE
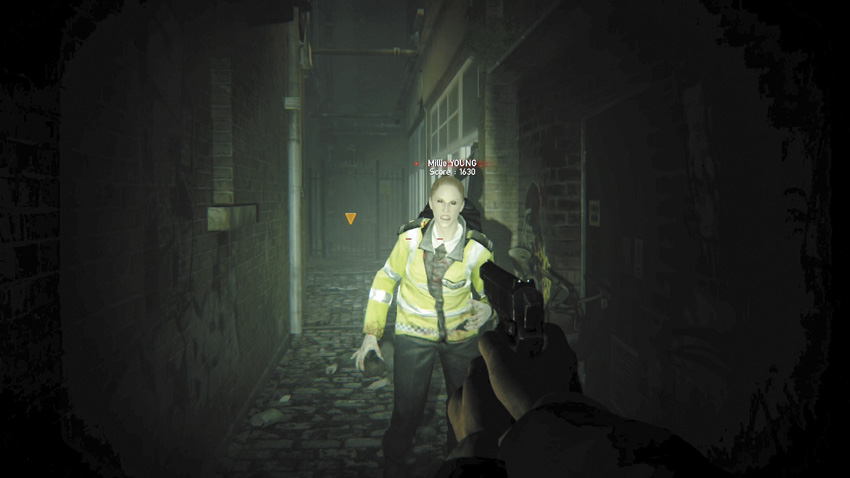
Are you playing ZombiU with a friend? Does your friend need some additional help? Then sacrifice yourself and your game for their benefit; gather some choice items and weapons in your BOB, purposefully die in a relatively safe area (for example, close to a manhole), and then instruct your friend to hunt down and slay your previous Survivor to claim the loot!
DON’T CHEAT...ON YOUR FAVORITE GUN!
Find your weapon of choice and commit to it. The more you use one weapon type, the more your skills with it improve. You will learn to reload faster, suffer less from recoil, quick-draw your weapon, and target enemies more quickly with every new level. In another life, maybe you’ll choose differently....
INITIAL GEAR (PAD AND BOB)
PREPPER PAD
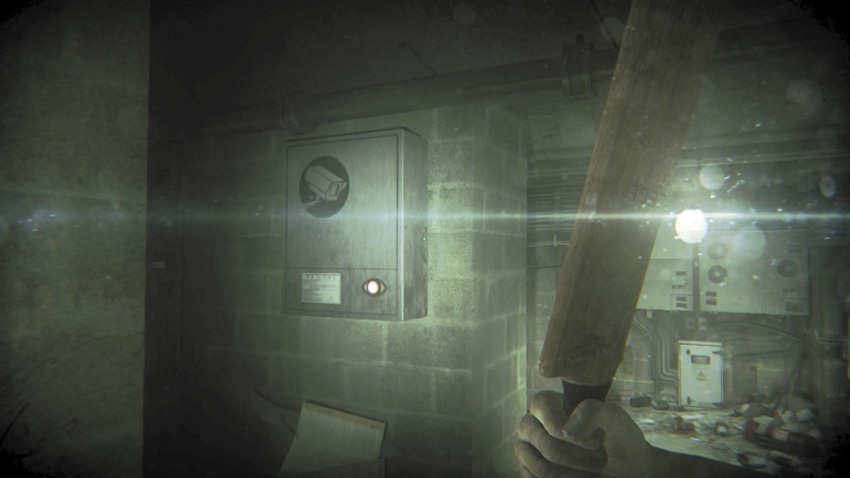
Unlock new areas on your minimap (Smart Map) by hacking CCTV cameras. You don’t want to walk around blind! A better map means better planing. Beware: Your radar only detects moving objects!
THE CCTV JUNCTION BOX
Your current location isn’t visible (although scanned objects and entities are) on your Prepper Pad, until you find CCTV Junction Boxes. There’s always one, and usually two or three for every main location. You find them at specific moments during your missions. They are optional to find, but the Smart Map that becomes available once these are scanned and hacked is extremely useful.
Your radar detects moving objects (which are animals or Infected). Gain a better knowledge of your immediate environment by scanning the area with your Prepper Pad. Additional enhancements are available, but initially, here’s the extra information you can see on both your main and Pad screens:
THE ITEM
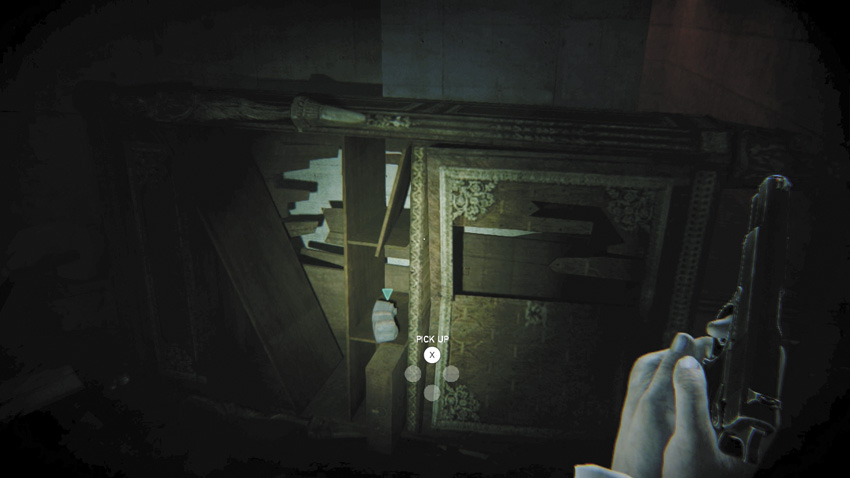
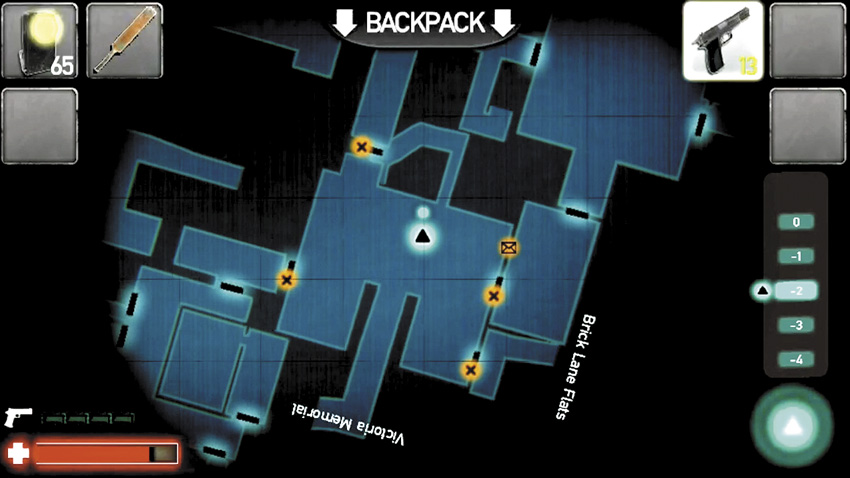
Items appear as green on both your main screen [1] and Prepper Pad Smart Map [2].
THE ACCESS POINT
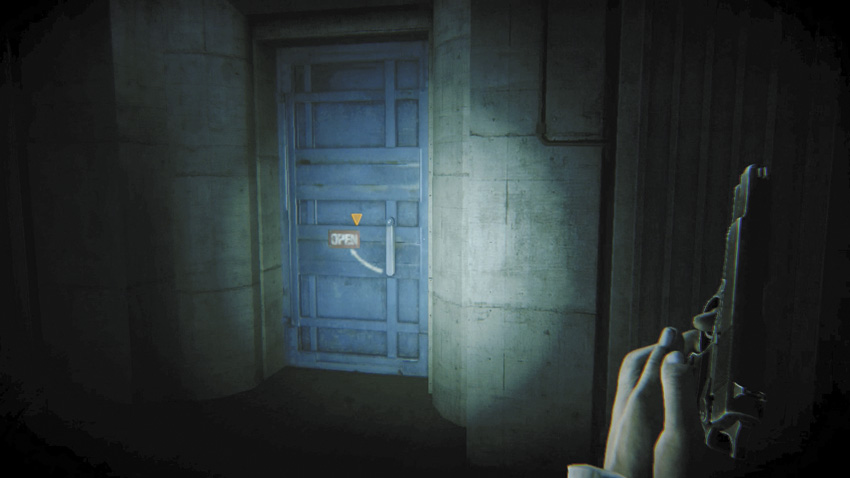
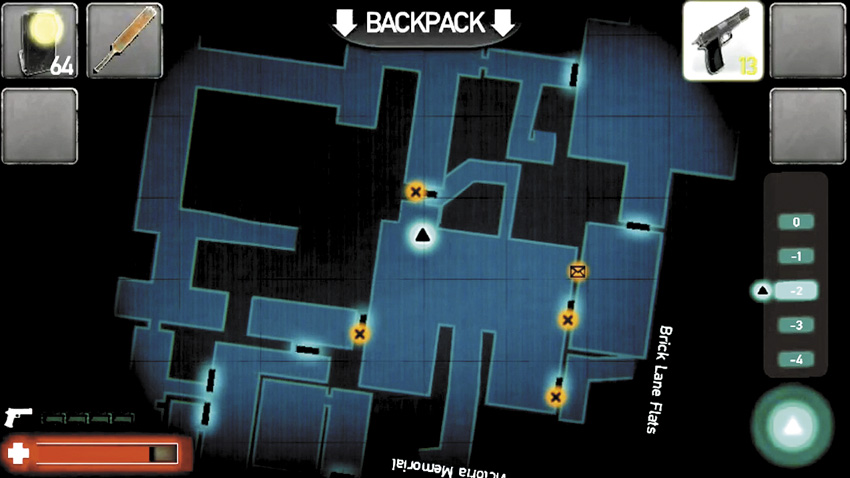
Doors and access points appear as orange (and locked access points have a black “X” through them) on both your main screen [1] and Prepper Pad Smart Map [2].
THE ENEMY
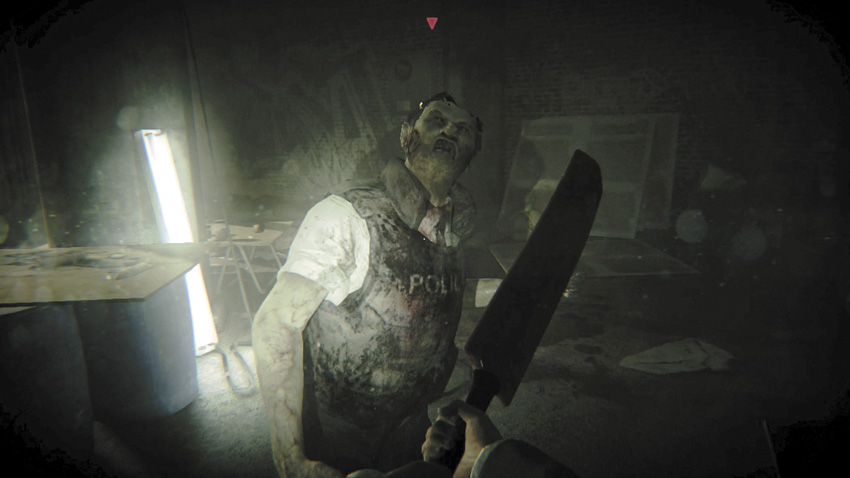
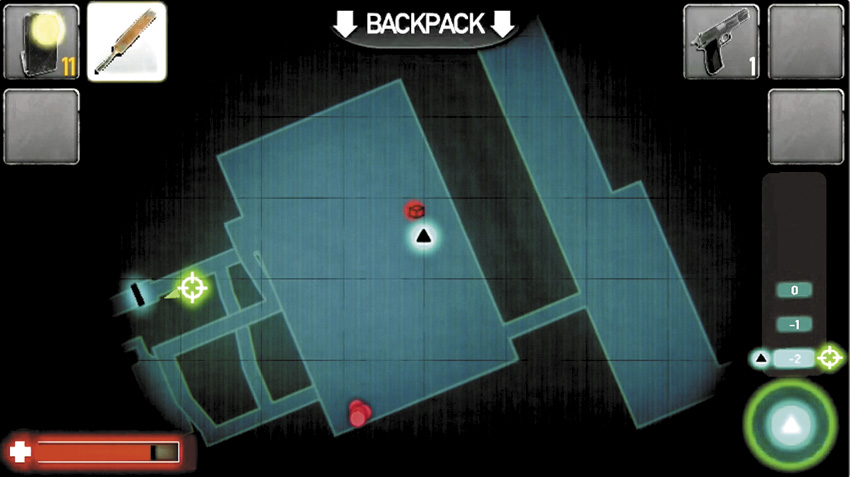
Moving enemies appear as red on both your main screen [1] and Prepper Pad Smart Map [2]. Motionless enemies do not appear, and some red dots are animals, so don’t rely on this radar to check for foes!
SCAN. LOOT. LIVE!
Your environmental scanner allows you to analyze and mark loot on your minimap (Smart Map). Use your Pad to scan the area and see what you can loot. Never look a gift horse in the mouth.
ONLINE APP: SURVIVOR STATS
When playing online, you can consult the Online App to discover where your former infected Survivors are roaming and devouring other players online and to check out leaderboards and survivor statistics.
MY RESOURCES
Your inventory contains your backpack and your holsters. Place the items of first necessity in these holsters for quick access. Good preparation is the key to survival, and a life is a precious thing to waste! Recover your basic resources by killing your former infected Survivor and looting his backpack.
MY GEAR
Your inventory contains your gear, like your hammer and lockpicking tool. Unlike basic resources, you never use your gear when you take on the role of a new Survivor. When your character dies, you will have to retrieve your mission items to complete the game. As a new Survivor, you can recover them by picking them up in a small satchel dropped where your former Survivor met his demise.
BRINGING BACK THE BAG
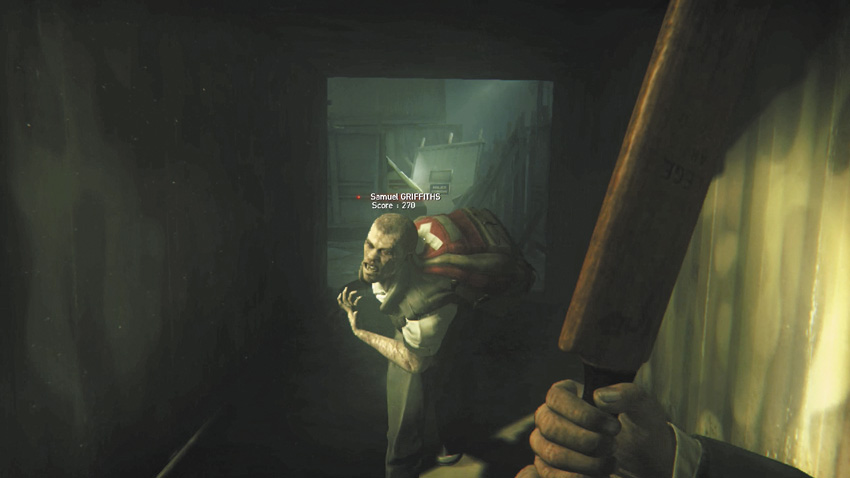
Did your Survivor die? Then your only focus should be retrieving his backpack so you can continue the missions with all of the items you previously carried. Don’t rush it when reaching the location of your previous death; overstretching yourself or being impatient or overly aggressive usually results in you dying a second time. This is even more problematic, as your mission-critical items are left in a satchel, and everything else is randomly scattered and only found when you scan the CCTV monitors back in your Safe House. Yes, that includes weapons you’ve gathered!
MY ID CARD
Your ID card displays information about your current Survivor’s gameplay stats and score. The higher the Survivor Score, the more competent the Survivor! How long will your survivors last?
- Complete an objective: “X” points (depends on objective)
- Kill an Infected: 10 points
- Kill an Evolved Infected: 50 points
- Kill any playable character who has become Infected: 50 points
- Open a manhole: 150 points
- Hack a CCTV Junction Box: 150 points
- Find a weapon upgrade: 50 points
- Find new gear: 100 points
- Weapon skill level-up: 50 points
INCREASING YOUR SURVIVOR SCORE
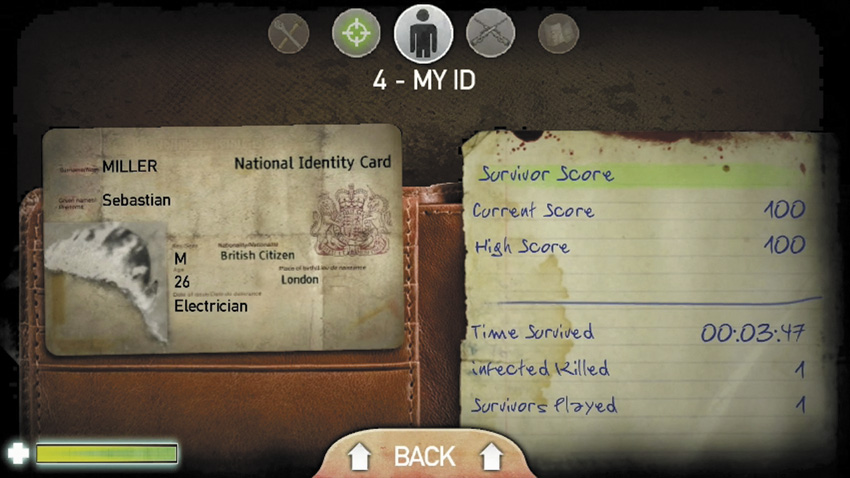
You receive points as listed previously, and they appear on your ID card. But you also receive points for completing certain objectives. These points are listed throughout the walkthrough and offer extremely helpful notes on what your maximum score can be. Of course, adding to this score means balancing your safety with your Infected takedowns. Here’s how to increase your score still further:
- Take down every Infected you encounter, no matter how laborious this process.
- Make sure Infected are removed by your hand, not by other characters or traps laid by other people.
- Revisit every location multiple times throughout your missions. Repeatedly clean out previously explored locales until nothing is moving.
- Collect every upgrade, hack every CCTV Junction Box, and become proficient in every weapon.
- When increasing your weapon skill level, you get 50 points per level. As it’s easier to go from Level 0 to 1 than it is to go from Level 3 to 4, it’s better to become reasonably proficient with all weapons at once, rather than become extremely proficient with one. For more information on skill levels, check out page 48.
- Play through Survivor mode. You have only one life, but you should start over again if you die anyway, as you’ll never get an exceptional score once your first Survivor dies! Play the regular Campaign mode first (three or four times) to memorize everything. Then go for the “Score” run, with the accumulation of points being your only focus.
MY SKILLS
Increase your weapon skills by using weapons in one category regularly. You will learn to reload faster, suffer less from recoil, quick-draw your weapon, and target enemies more quickly with every new level. New Survivors will not inherit these skills! All weapon skill levels are reset when a character dies or becomes Infected.
MY MAP
Complete your map of London by exploring the city; it displays your current position, objectives, Shelters, manholes, and the location of your dead predecessor.
Check this map if you’re trying to figure out where the general objective point for a mission is located or how each of the major locations connect to one another.
MY NOTEBOOK
The Survivor’s Notebook contains all of the documents that your Survivors will discover throughout the apocalypse.
SAFE HOUSE
STOCK UP AND LOAD OUT!
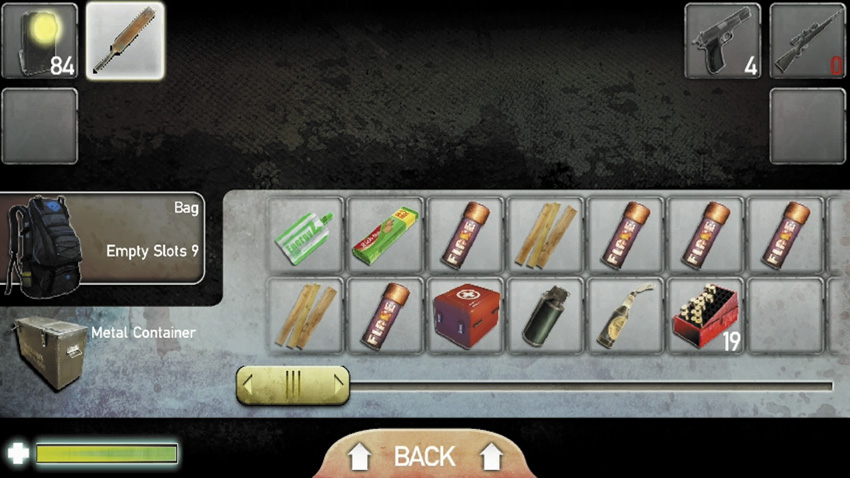
Use the Safe House Chest to store items when your backpack is full, and manage loadouts as you plan your outings. All items stashed here can be recovered later and/or left for future Survivors.
THE SAFE HOUSE CHEST
Also known as the “Container,” the Safe House Chest offers a sizable hold for all items you carry. Return items you don’t want in your holsters or backpack, drop items off for future Survivors (so you can begin with more than the Pistol and bullets your second Survivor has), and keep health, weapons, and anything else you’ll get back to later into your missions in this massive box.
WORKBENCH
Workbenches in your Safe House and Shelters allow you to upgrade your weapons. Collect upgrades across London to improve firearm attributes.
REST TO RECOVER, AND SAVE YOUR LIFE
ZombiU saves automatically each time you sleep in your Safe House or Shelter and each time a Survivor dies. Shelters, like your Safe House, offer a place to rest and a workbench to upgrade your gear. Sleep to save the game and your progression and to recover your health. Your save displays a “Continue Flag” where you last slept and saved the game. You will start here each time you load your saved game.
WARNING! ONE SAVE SLOT!
You don’t have the luxury of multiple save slots! Therefore, you can’t run through a location, make mistakes, reload your game, and try again. This makes reading the walkthrough chapter even more valuable! When you save, the slot is overwritten. When you die, the slot is overwritten. This game is designed to make you think twice before making rash choices. The stakes have never been higher!
CAMPAIGN AND SURVIVOR MODE
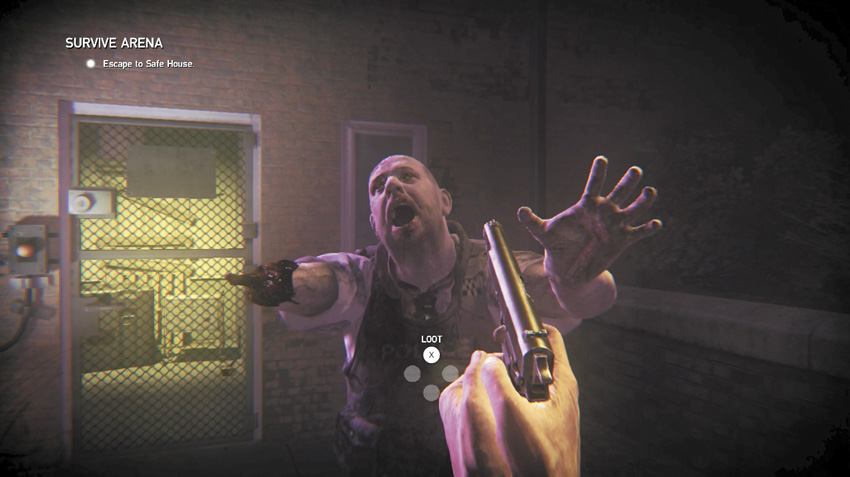
There’s only one difference between Campaign mode and Survivor mode: You don’t get any further chances in Survivor mode! Once you’re grabbed and eaten, your game is over and your score tabulated. So, it’s worth playing this only after you’ve mastered the game in Campaign mode. Consider yourself an expert if you finish Survivor mode!
CCTV: YOUR EYES AND EARS
Scan CCTV Junction Boxes (camera hubs) across London so that the Prepper can hack them for you and bring cameras back online. This will upgrade the Smart Map on your Pad. Once hacked, CCTV Junction Boxes will give you eyes all over London, providing vital intel about weapons and available loot. Always consult the CCTV monitors in your Safe House to plan ahead! You will only get information about locations where the CCTV hubs have been hacked.
REVISITING LOCATIONS
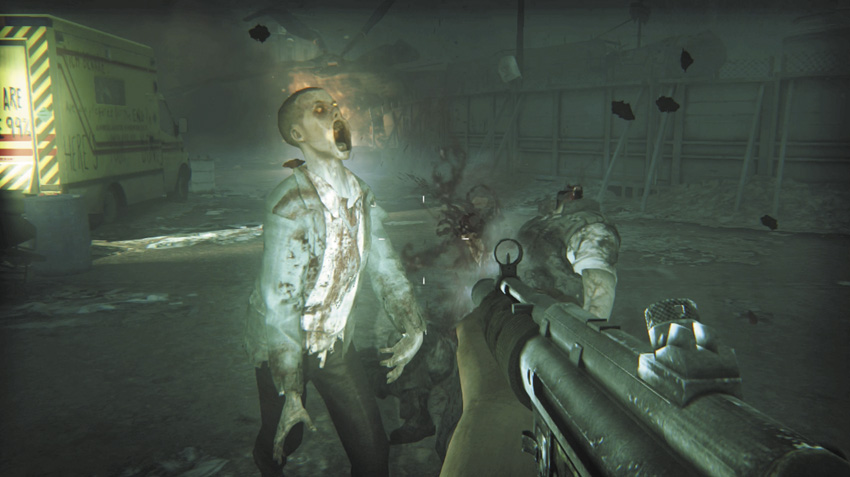
When revisiting locations, follow this advice:
- Make sure you’ve accessed and hacked the CCTV Junction Box, or you’ll only get a static screen on your monitor.
- Beware that Infected are randomly determined, so the Infected takedowns throughout this guide’s walkthrough can’t help you this time around!
- Make sure you know where you’re going, how to get there, and how to escape. Pour over the maps in this guide to help.
- Scan every area so you know where the items are that you’re going for.
- If you’re worried about safety, return to locations only when you need to (for example, while searching for Dee’s Letters).
MANHOLES: GETTING AROUND TOWN
Manholes are shortcuts that lead to London’s underground and provide the fastest, safest way to travel around the city. Each manhole leads directly to all the other manholes you have discovered or unlocked. Each time you die, use a manhole in the Safe House to get back to the area where your previous Survivor died or became infected.
THE “HOLE” PICTURE
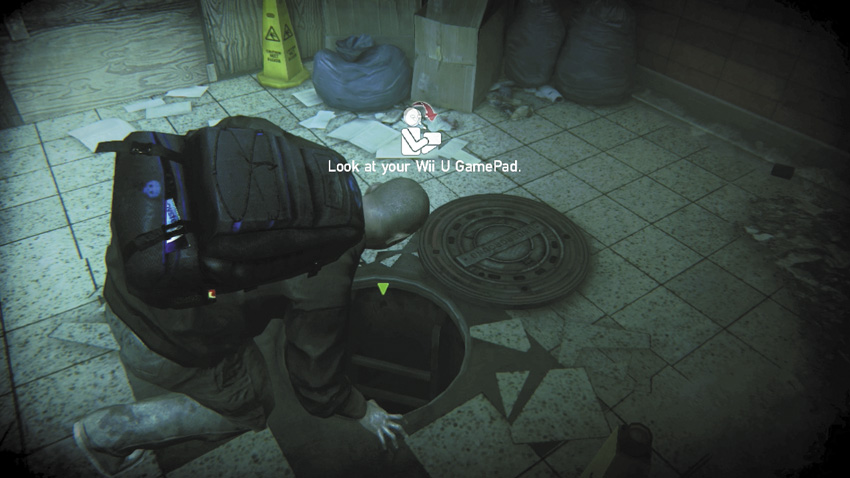
Don’t overlook manholes. They are incredibly useful and prevent you from traipsing all the way back to a previous location and facing possible combat along the way (although you can choose that option if you so desire). When prompted in the walkthrough, uncover these manholes, and use them to your advantage. Scoot back to your Safe House to upgrade a weapon, grab supplies from your chest, or save between fights.