
Dead Space 3 with Interactive Map Walkthrough Co-op
Co-op

Once of the great features of Dead Space 3 is the ability to play the entire campaign cooperatively. While one player is Isaac Clarke, the other takes the role of John Carver. Most of the campaign is very similar to the single-player campaign. However, there are times when you need both players. For example, when you have to use an electrical engineering interface puzzle, each player moves one of the cursors rather than one person doing it all by themselves. Also, to open supply chests, both players have to activate one of the two consoles.
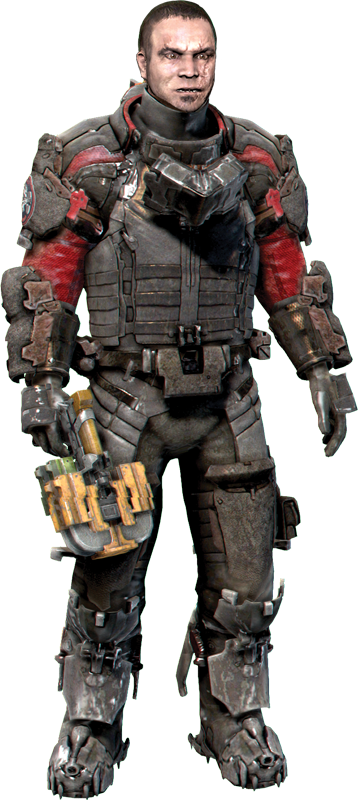
While starting a co-op campaign, you can choose to be able to revive your partner. This means that death is not the end. If your partner can get to you without dying, he can revive you and get you back into the fight.
The co-op campaign also offers three optional quests that are only available if you have two players in the game. These offer some great collectibles that you can’t get anywhere else, as well as logs that help reveal more of the story. Plus, there are several achievements/trophies that can only be earned while in the co-op campaign.
From the Jaws
Save your co-op partner from an execution by killing the attacker to earn this award.
Share and Share Alike
Collect this award by using the RIG to give an item to your co-op partner.
Medic!
Revive your co-op partner ten times and claim this award.
Architect
Earn this award by sharing a blueprint with your co-op partner.
Ghosts of the Past
Face all of Carver’s demons by completing all co-op only optional missions and you are rewarded.
CMS Brusilov
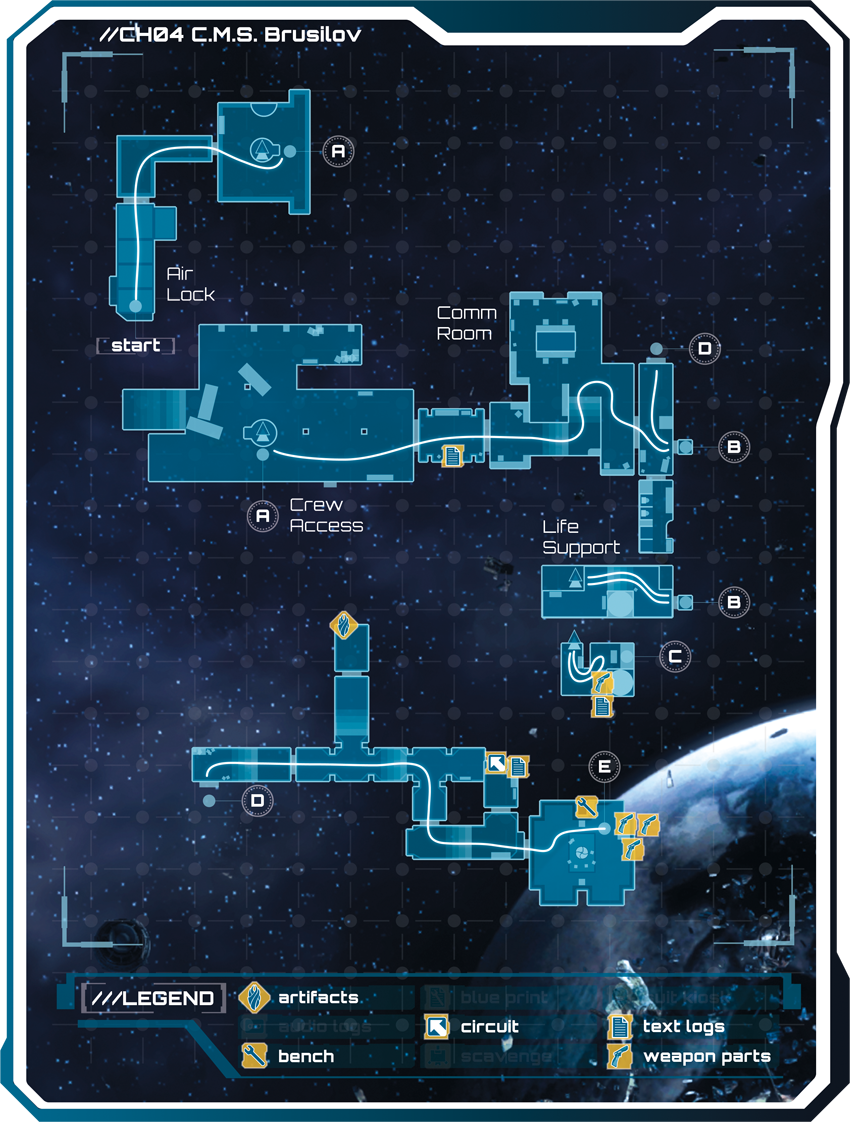
While you are in orbit over Tau Volantis, one of the locations you can visit using the skiff is the Brusilov. This is another spaceship in the derelict fleet. To board it, you must have two players in a co-op campaign. It can be accessed while you are in Chapter 4.
Explore the Brusilov
There’s another research vessel out there, the CMS Brusilov. If it’s anything like the Roanoke, it may contain clues about the S.C.A.F. fleet’s investigation into Tau Voltanis.
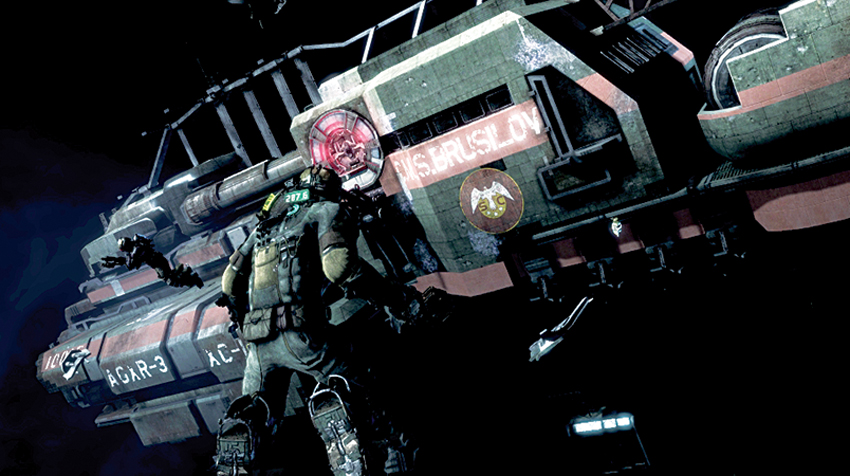
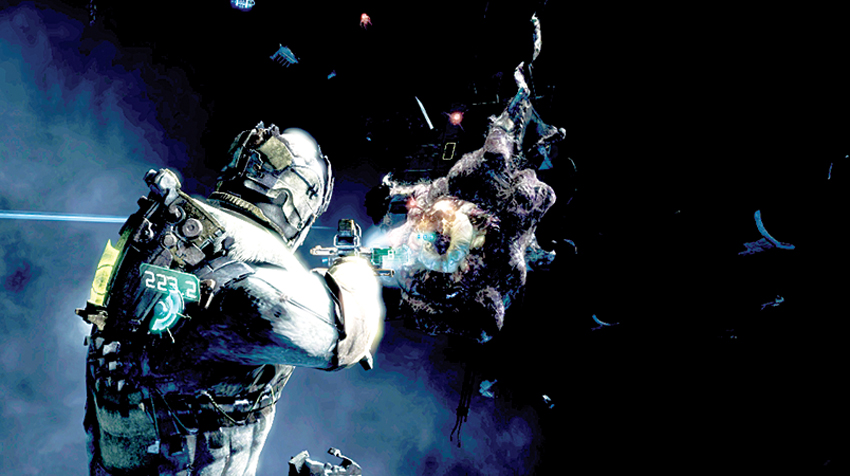
From the skiff platform, boost your way through space to the air lock platform. Watch out for a Nest on a piece of debris that fire projectiles at you and your partner. If you want to take it out, hit it with stasis, then shoot off the tentacles. With two of you attacking, you can make short work of this Necromorph. When you are ready to continue, land on the air lock platform and then open the hatch to enter. Wait for the room to pressurize, then open the other hatch to enter the ship.
Restore Oxygen to the Ship
The life support systems on the Brusilov are offline. We’re not going to get very far unless we can get the air flowing again. In the meantime, we should be able to survive by locating oxygen containers throughout the ship.
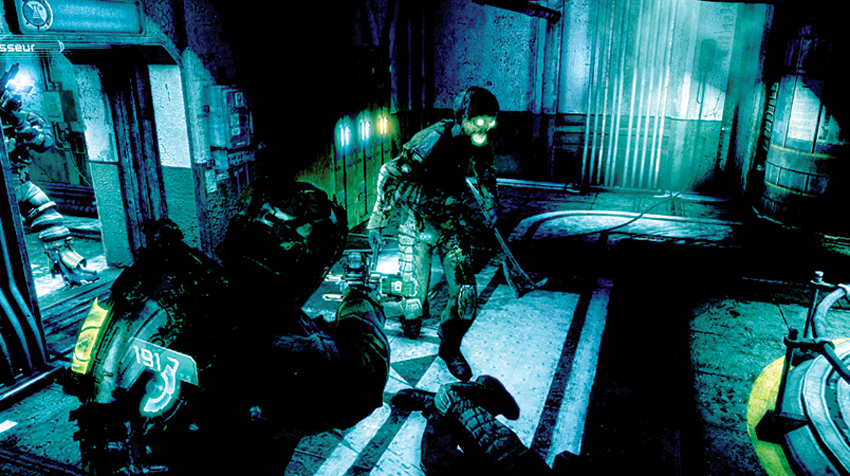
As soon as you open the hatch to the ship, you once again enter a vacuum. There must be something wrong with the life support system. Continue down a hall and then enter a room with a ladder leading down into the main part of the ship. Be ready for Wasters to attack you. Once they are defeated, climb down the ladder to the main deck of the ship. More Necromorphs attack.
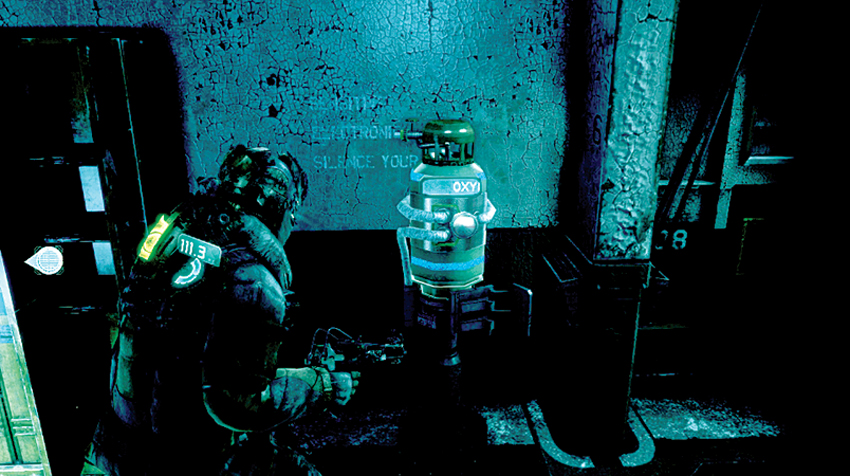
Advance through the large door that leads farther into the ship. Luckily there is an oxygen container in this corridor. Be sure to use it to refill your air supply. Also pick up the text log across from the oxygen.
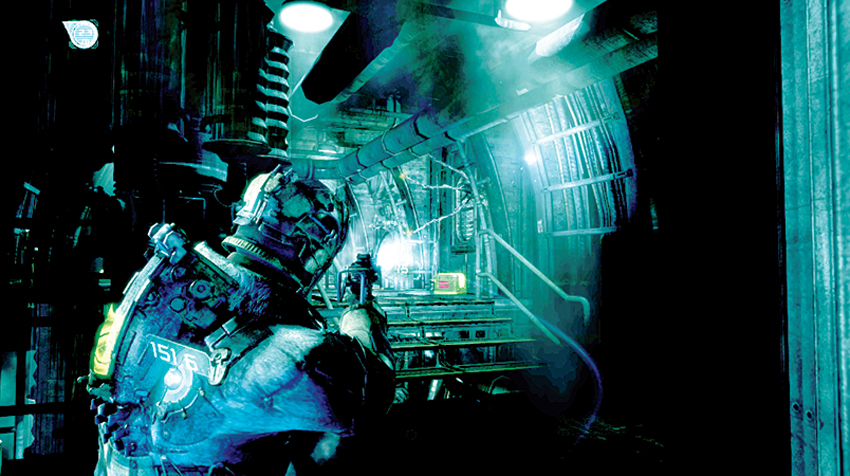
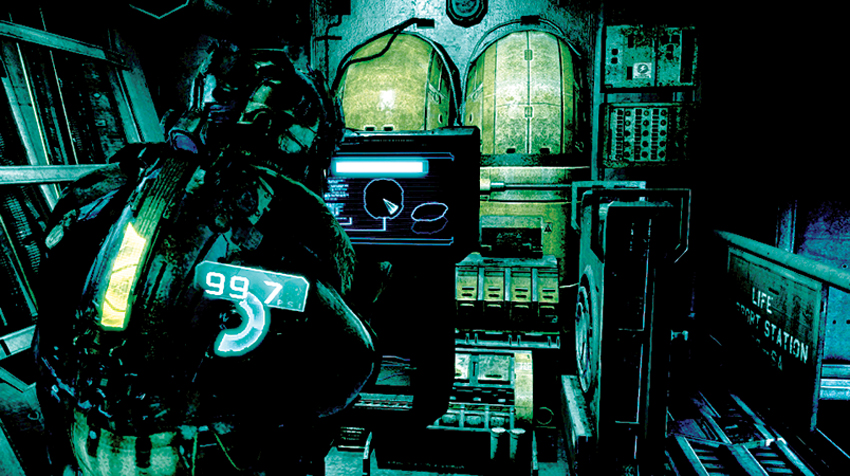
Follow your locator beam through a control room. Head up the stairs and call for the elevator. It takes you to the life-support system which is guarded by Lurkers. Shoot off their tentacles and then move farther into the room. Head up some steps, get some oxygen, and then climb down a ladder into a lower area. Find a control panel and then hack it to restart the life-support system and restore the atmosphere to the ship. Since more Necromorphs arrive, it is a good idea for one player to hack the controls while the other provides cover and deals with the hostiles. While you are down there, pick up an explosive module weapon part that is near the control panel as well as a text log.
Find the Source of the Transmission
These strange transmissions seem to be coming from the heart of the ship. There’s something very familiar about all this.…
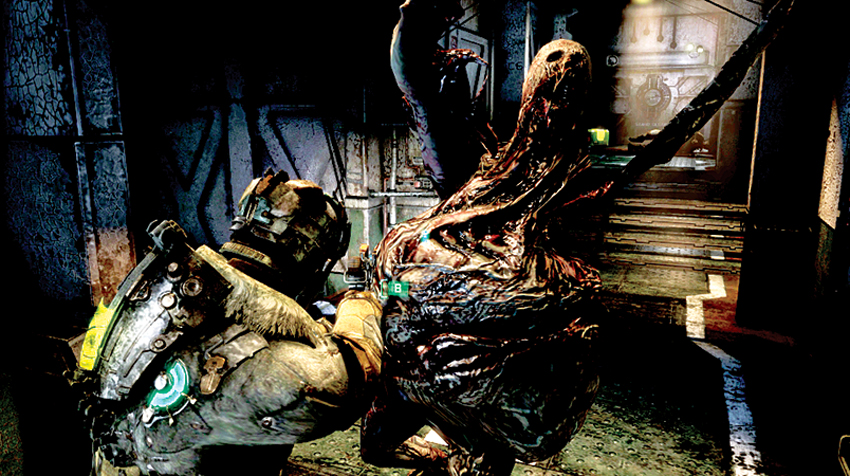
Backtrack to the elevator and take it back down to the control room. Follow the locator beam to the right and through a large door. Continue along a corridor and be ready for an attack. Necromorphs come out of the ducts.
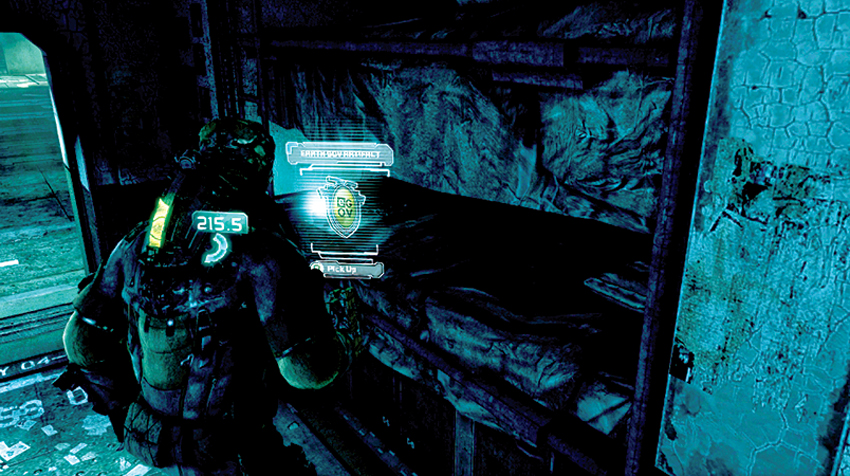
As you are going down the long hallway, take a side trip to the left to find an artifact in a science quarters room.
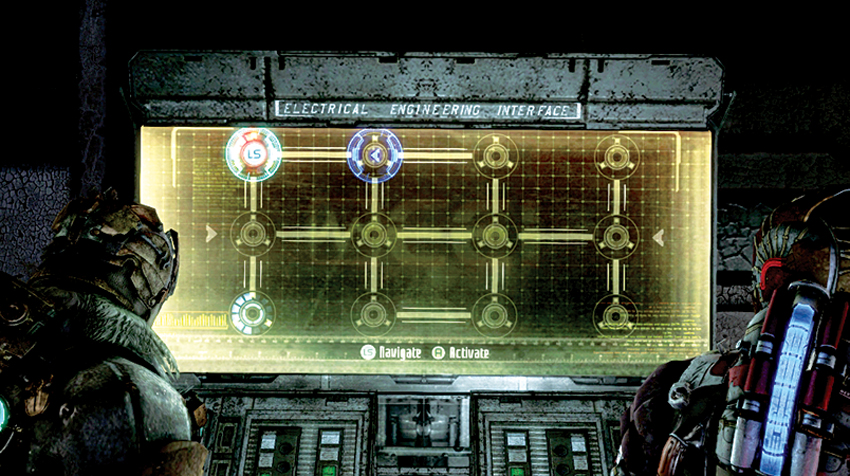
Continue following the corridor to en electrical engineering interface. Both you and your partner have to complete this puzzle together. Communicate so that you can complete it and unlock the door to your objective.
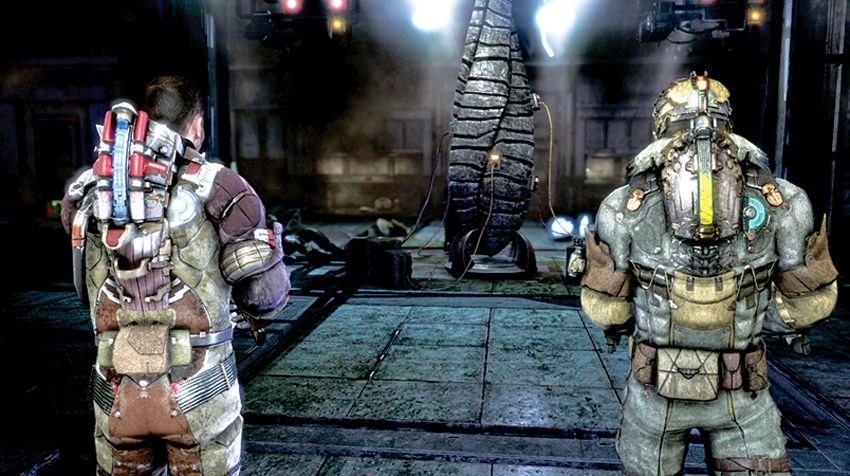
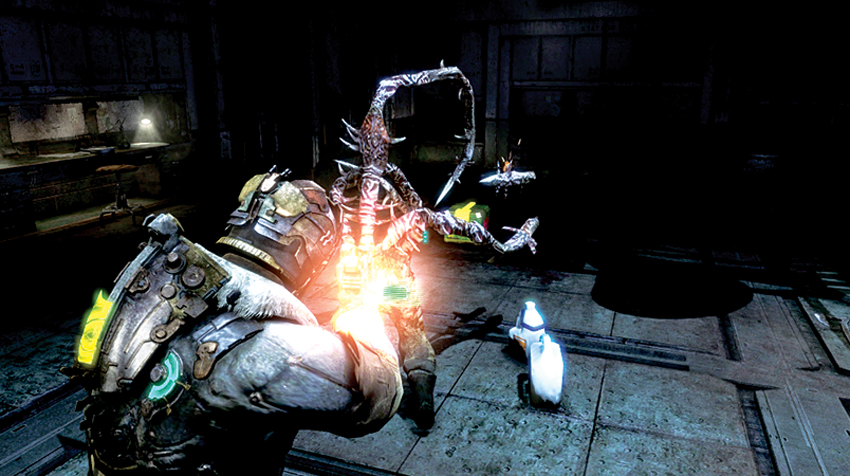
Once the door is unlocked, enter a room where a Marker was being studied. Carver begins hallucinating and seeing things that are not really there. Meanwhile, real Necromorphs attack. Work together to kill them all. You face Wasters and Lurkers
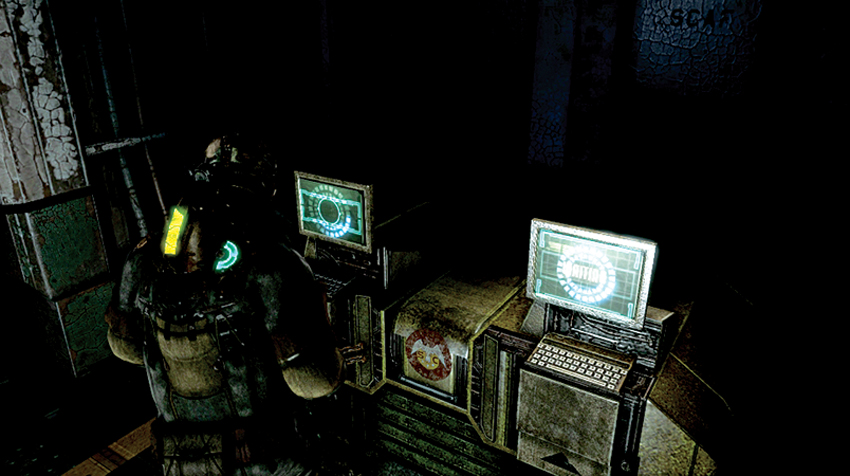
After all the Necromorphs are neutralized, both you and your partner have to jointly open the supply container in the corner of the room. Inside you can find a plasma core weapon part, an ammo support weapon part, a compact conic dispersal weapon part, and a few spare parts boxes. This is a good haul for your efforts. There is a workbench nearby where you can unload these items from your inventory and put them to use right away.
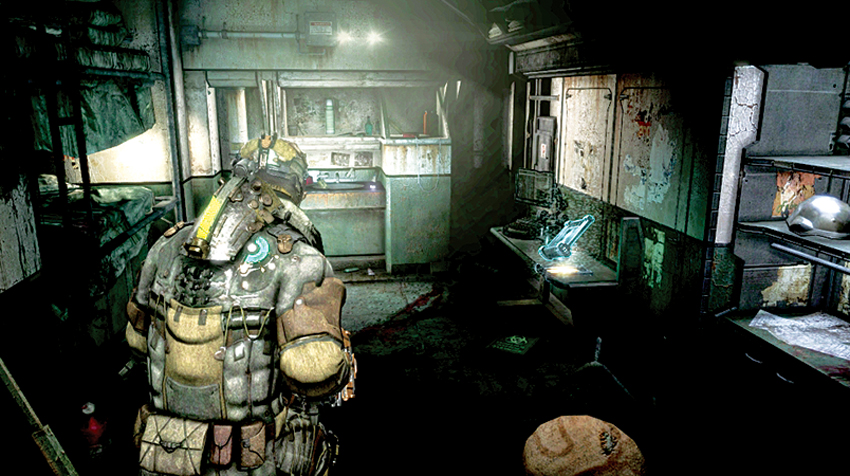
Collect everything, then exit the room. Go through the door to the right, across the hall from the electrical engineering interface to enter a science quarters. Inside you can find a text log and a circuit.
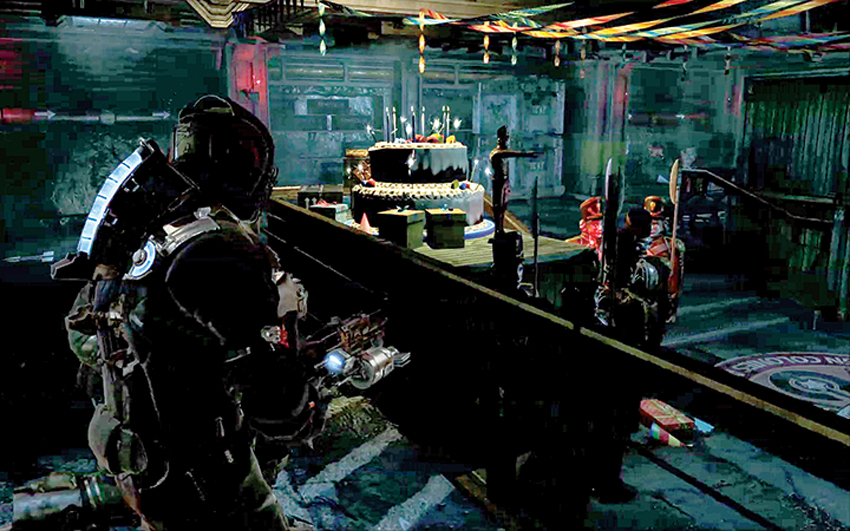
As you backtrack down the corridor to get back to the air lock, the ship depressurizes again. Keep an eye on your air meter as you fight Necromorphs you encounter along the way. When you come across oxygen tanks, refill your air supply. Continue to the room with the ladder and climb it up to the room that leads to the air lock.
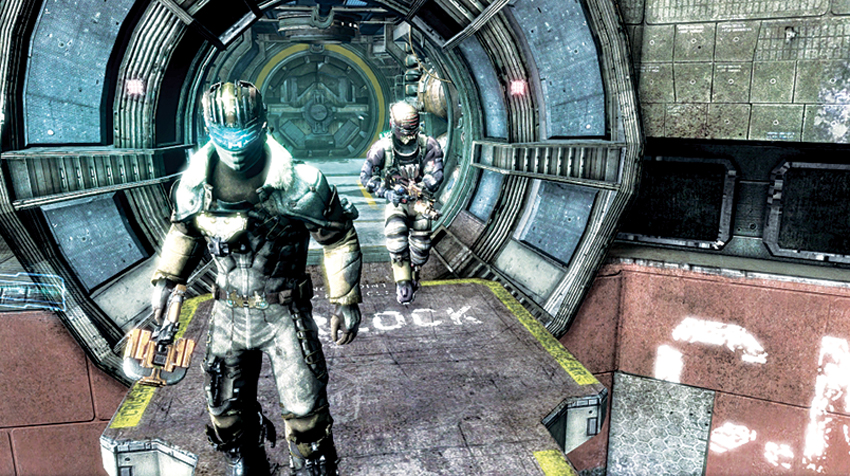
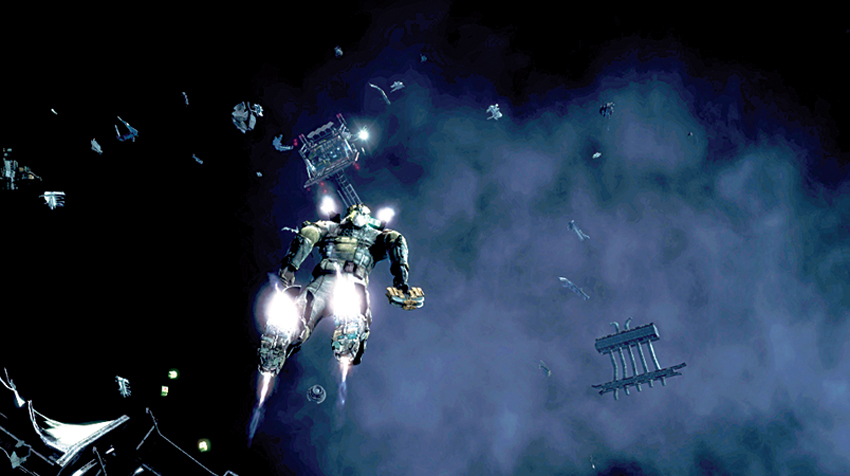
Enter the air lock and the chamber pressurizes so that you can refill your air supply before exiting the ship and venturing out into space. Now that you have explored the Brusilov, boost your way back to the skiff platform and use the skiff to get to your next destination.
Archeology
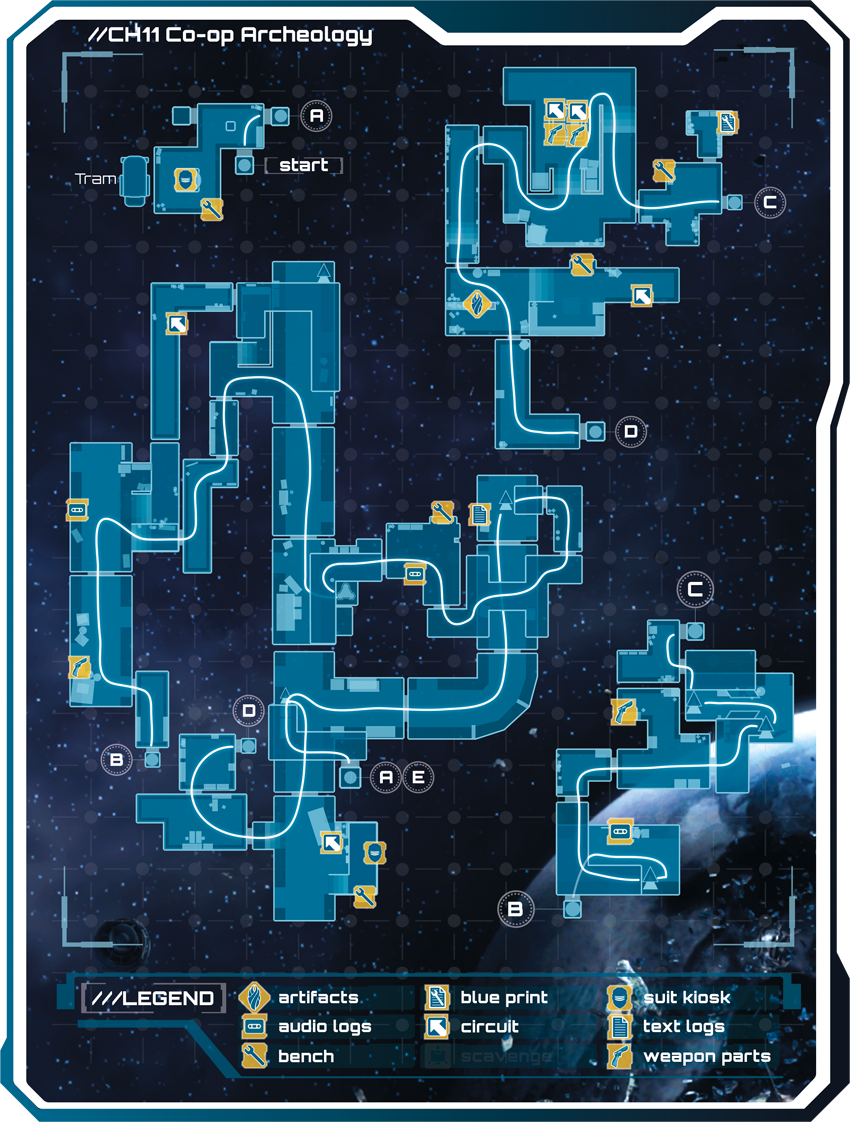
While you are in Chapter 11, you can backtrack from the drilling core area with the drill through a tent structure to get to a clearing with several crates where you previously fought against Unitology soldiers. One of the doors in this clearing leads to an Archaeology Storage facility.
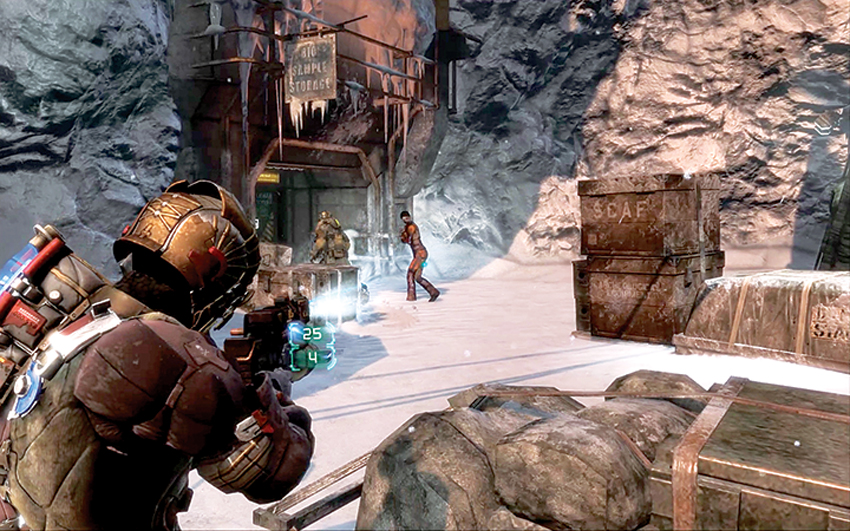
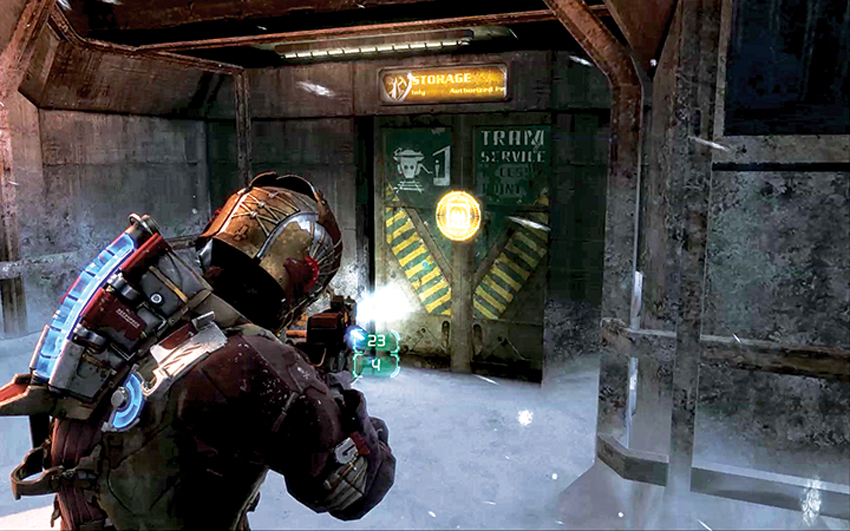
As you advance to the area near this co-op optional quest, Carver sees a ghostly woman who is crying walk up to the door and then pass right though it. Only Carver can see this—not Isaac. Follow her to the door and then call the elevator. Wait for your partner to get in and then ride the elevator down to a tram station. Move to the next elevator on the right to continue from the station down to the facility.

While you are riding down in the elevator, Isaac experiences nothing. However, Carver sees pictures of his dead wife and child on the walls of the elevator.
Explore the Warehouse’s Secrets
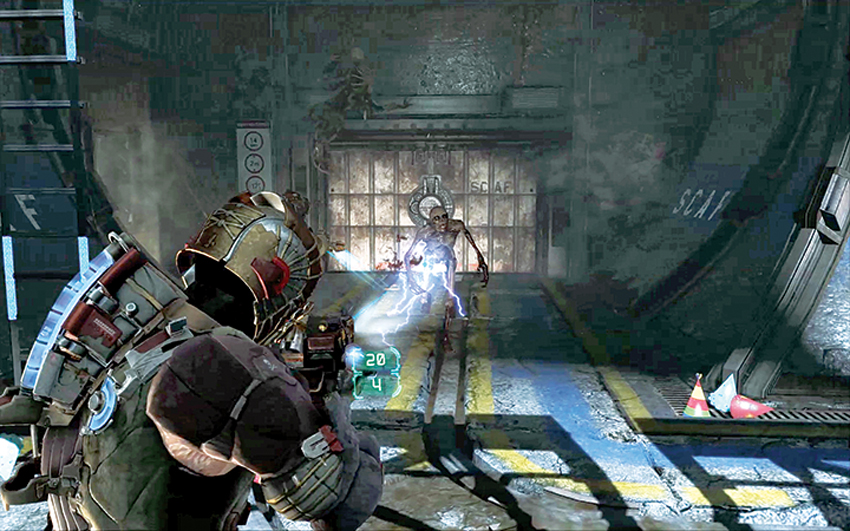
Exit the elevator onto a catwalk. Carver sees a small toy soldier pointing to the left. This shows the direction you need to go. Walk to the end of the catwalk, then climb down a ladder to a large transportation tube. Once both of you are down, you are attacked by Feeders and Leapers. Work together to kill them all. Then continue through a couple of doors as you advance along the tube until you get to the end of the tube, where you must climb a ladder up to a catwalk.
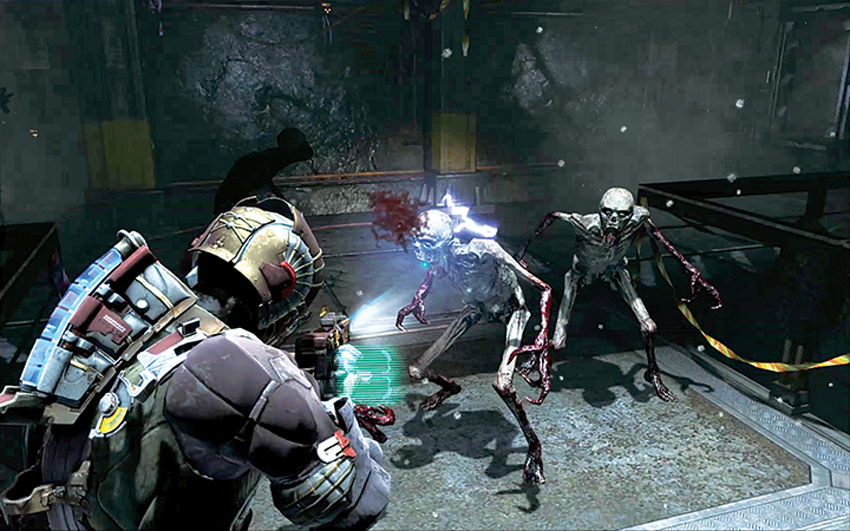
Move through a small room and out onto some more catwalks that cross over the tube below. Here you must fight against more Necromorphs.
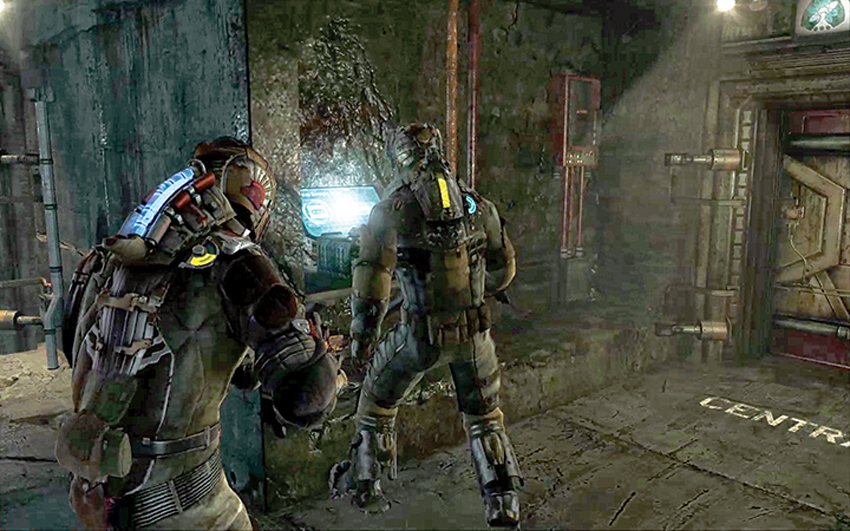
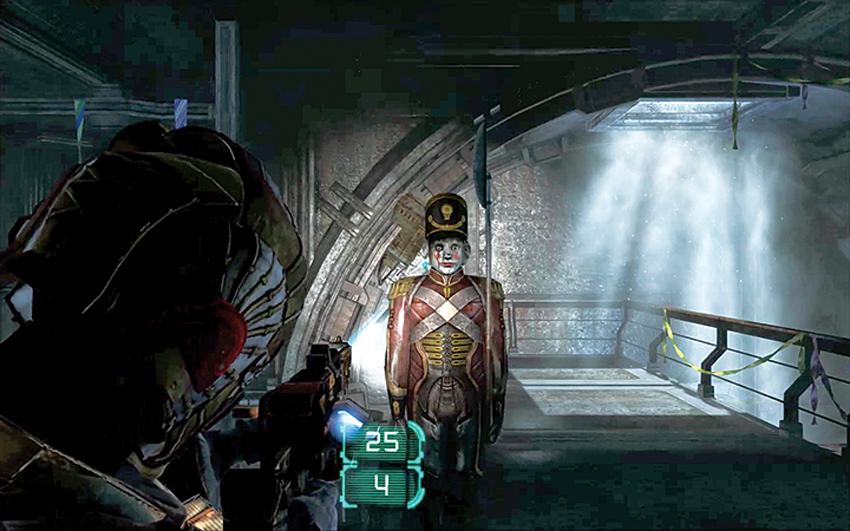
Once the area is clear, advance into the next room, where you find a workbench and an audio log. Listen to it and then pass through the next door onto a catwalk, where Carver can see a life-size toy soldier. Call the cargo lift and ride it down.
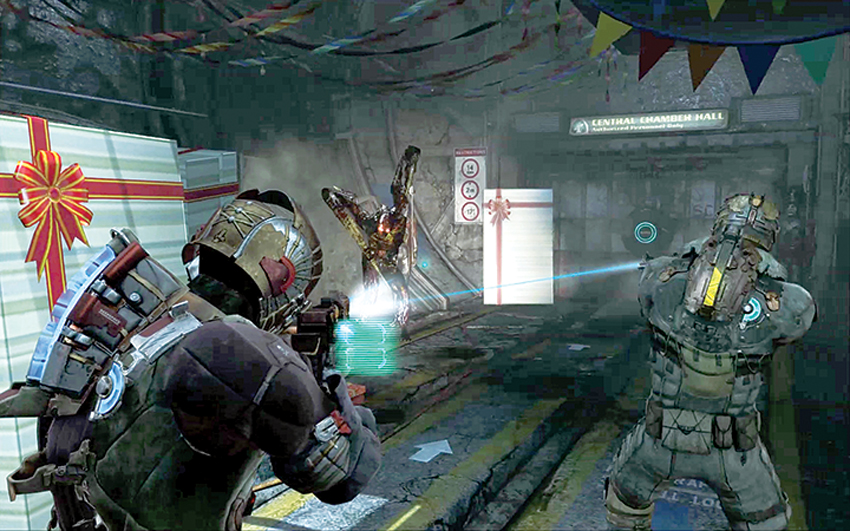
When you get down to some more tubes, kill the Necromorphs that attack you and then proceed until you get to a power control room.
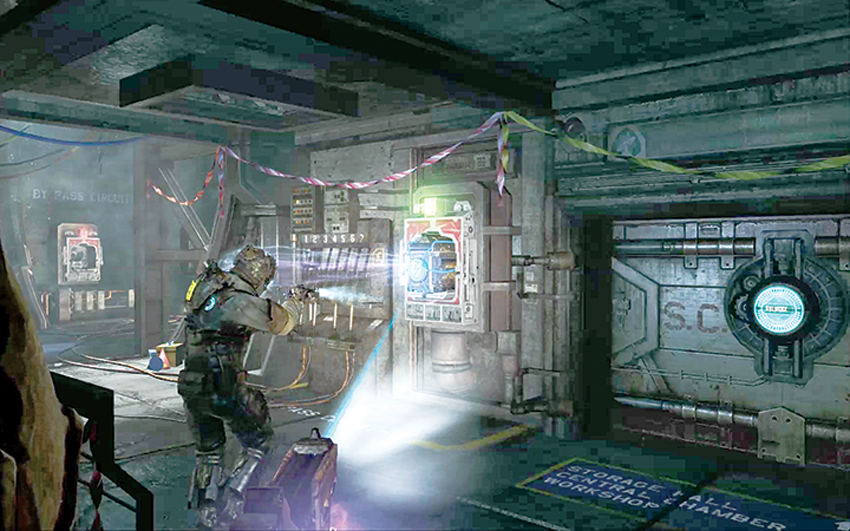
Kill all the Necromorphs in the control room, then one of you must use kinesis to pull the power cell out of the socket and place it in the socket next to the door on the left. This allows you to continue. However, if you want to get a circuit, climb up the ladder in this room and place the power cell into a socket by a door so that you can access a corridor where you can get the circuit. Then bring the power cell back down to the lower level and advance to the next room.
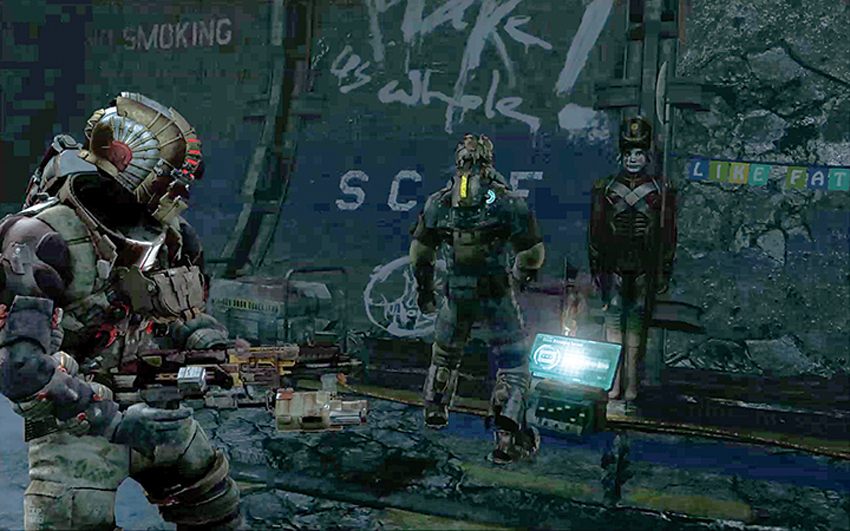
Continue through a short corridor into another tube. You can find a second audio log here. Follow the locator through the tube to a small hall that leads to an elevator. Fight the Necromorphs that attack along the way.
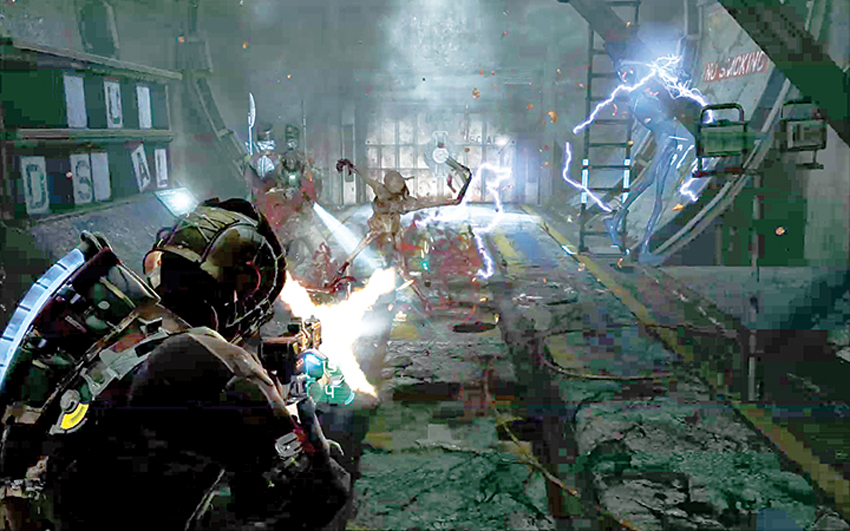
Take the elevator and emerge into yet another tube. Kill the creatures in here, then listen to an audio log. Climb up the ladder to a catwalk and follow it into a trash control room where you can find a rip core weapon part.
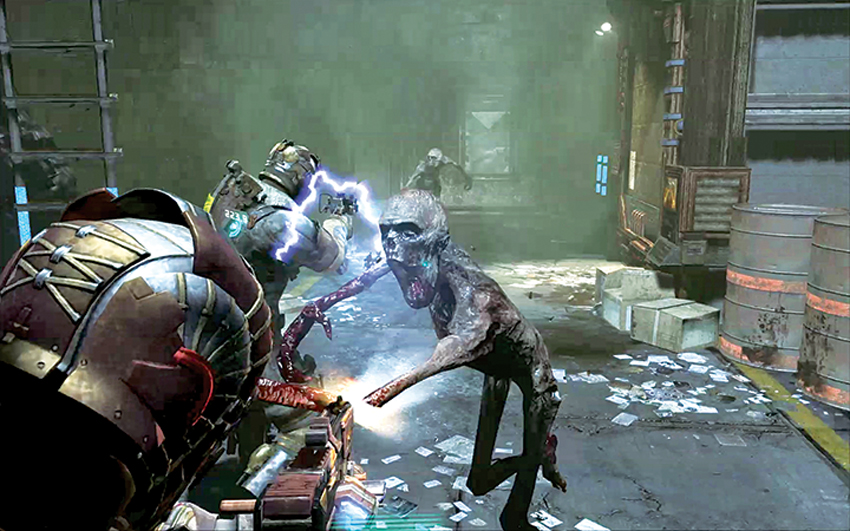
Leave the room and continue down a ladder since a bridge along the catwalk is out. When you get to the bottom, the room contains toxic gas and you come under attack. You are now relying on your RIG’s air supply. Climb another ladder to get to the other side and out of the gas. Move to an elevator and ride it to the next level.
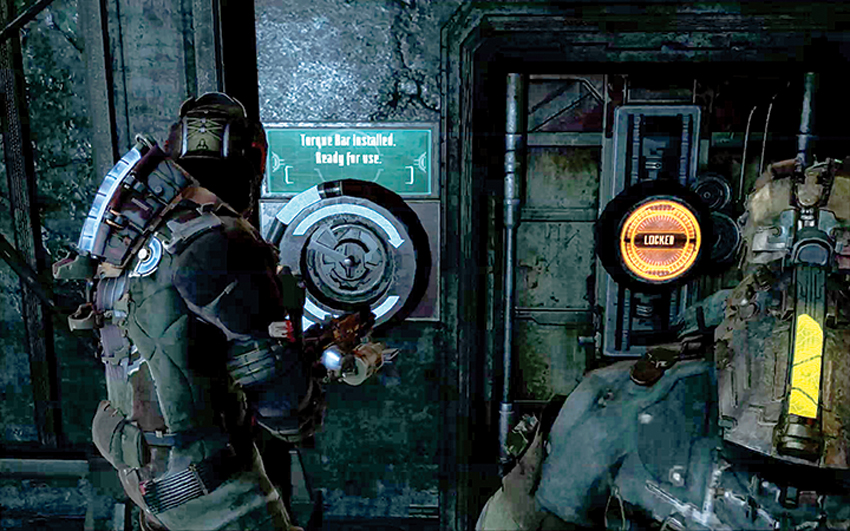
There is a workbench and a locked door to a loot room here. Craft a torque bar if you need one, then open the door so you can get into the loot room and collect a blueprint for a flamethrower, a spare parts box, and other pick-ups. Make sure you have some good weapons for taking on hordes of Necromorphs, then go into the explosives storage room.
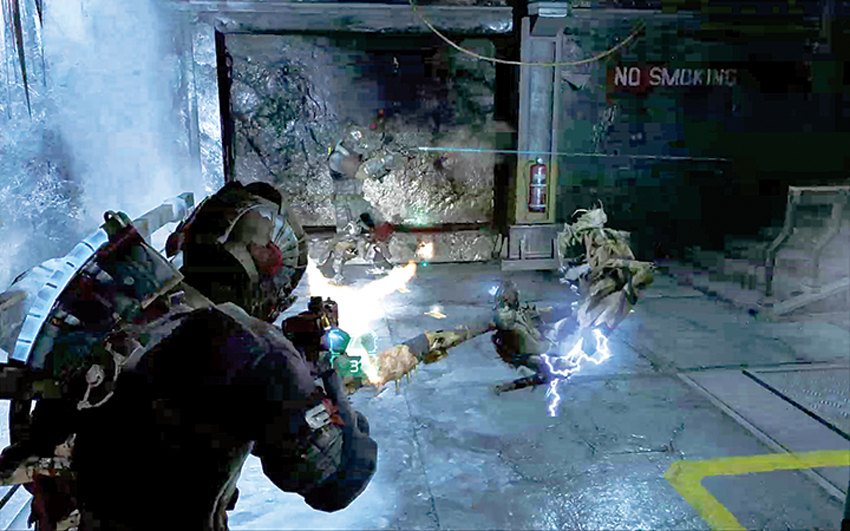
As you enter, Carver sees the room set up for a birthday party, complete with cake. However, Isaac sees nothing but the room. Both of you need to go to the storage lift and activate the two consoles to begin bringing down the lift with a storage crate. This also brings in Necromorphs. Since they come from all directions, work together to cover one another from the creatures’ attacks.
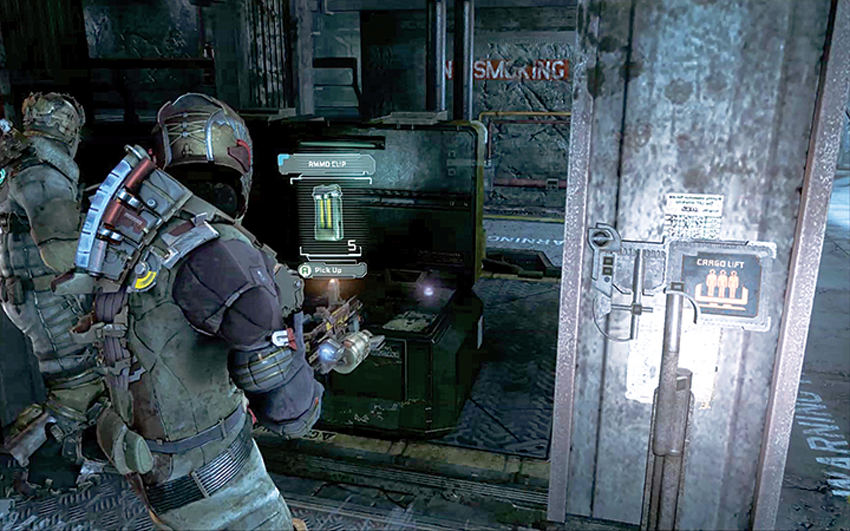
After all the Necromorphs are defeated, the storage lift reaches the bottom. It takes both of you to open the container. Inside is a Weller’s compact frame weapon part, a flame glaze weapon part, and some circuits. Once you have all collected everything, exit the room by way of the opposite door and follow a corridor.
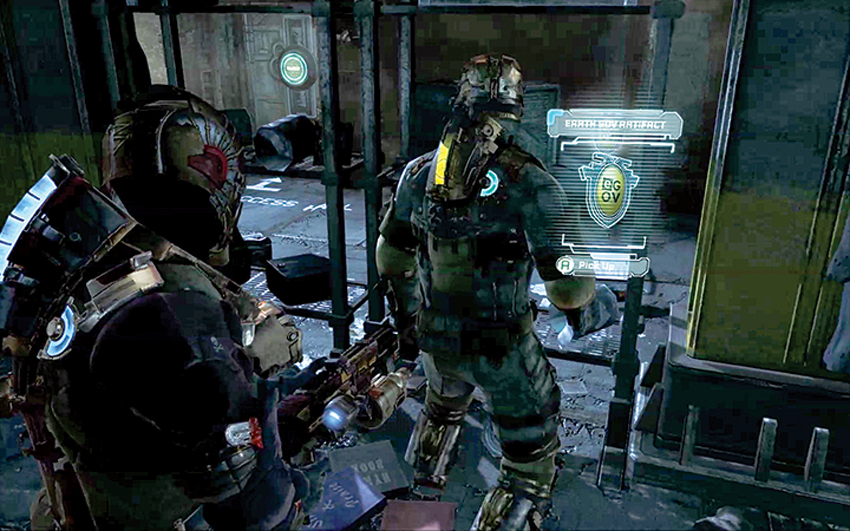
In the security room, you can find an artifact on a shelf as well as a circuit. Use the workbench in this room to drop off your weapon parts and circuits and upgrade your weapons. Then go through a door and a short hall to get to an elevator.
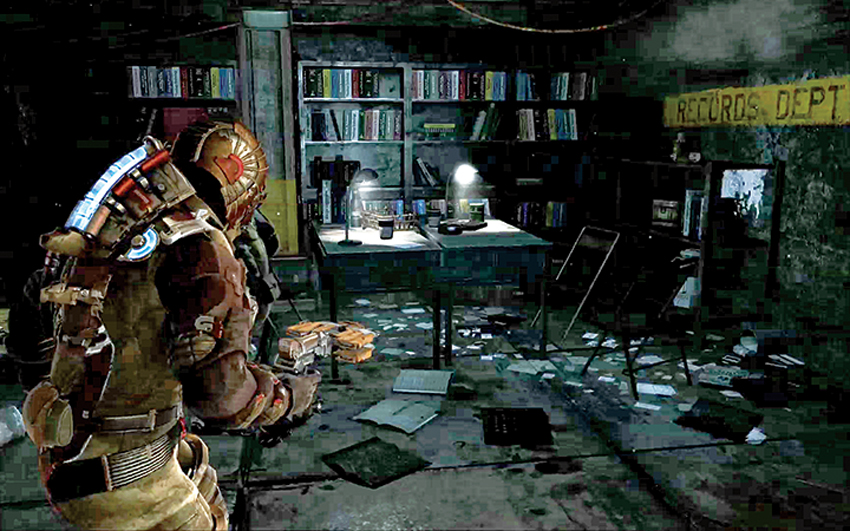
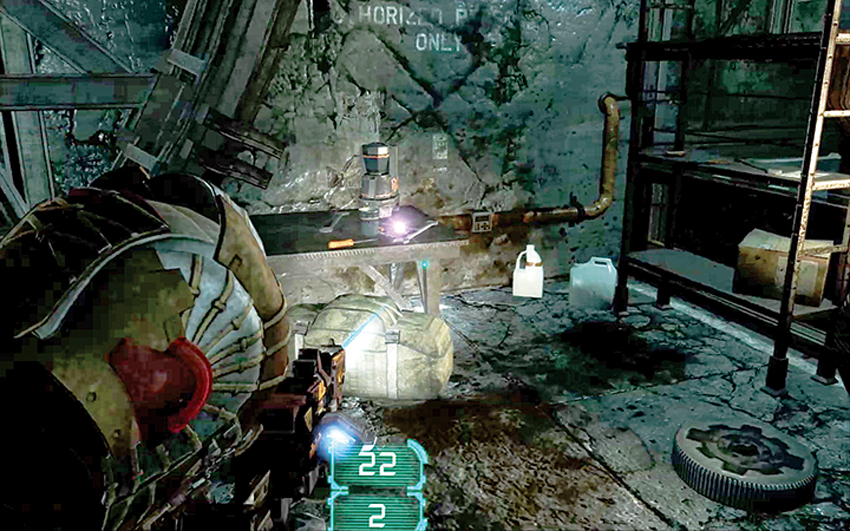
Take the elevator back to the first level and move through some offices to get back to a tube. You are again attacked. Once you have defeated everything, pick up a circuit from a table. Continue to the next section of tube and then climb a ladder to a catwalk. Follow it to an elevator that takes you back up to the tram station. Move to the elevator that goes to the surface and ride it to end this quest.
Marker Containment
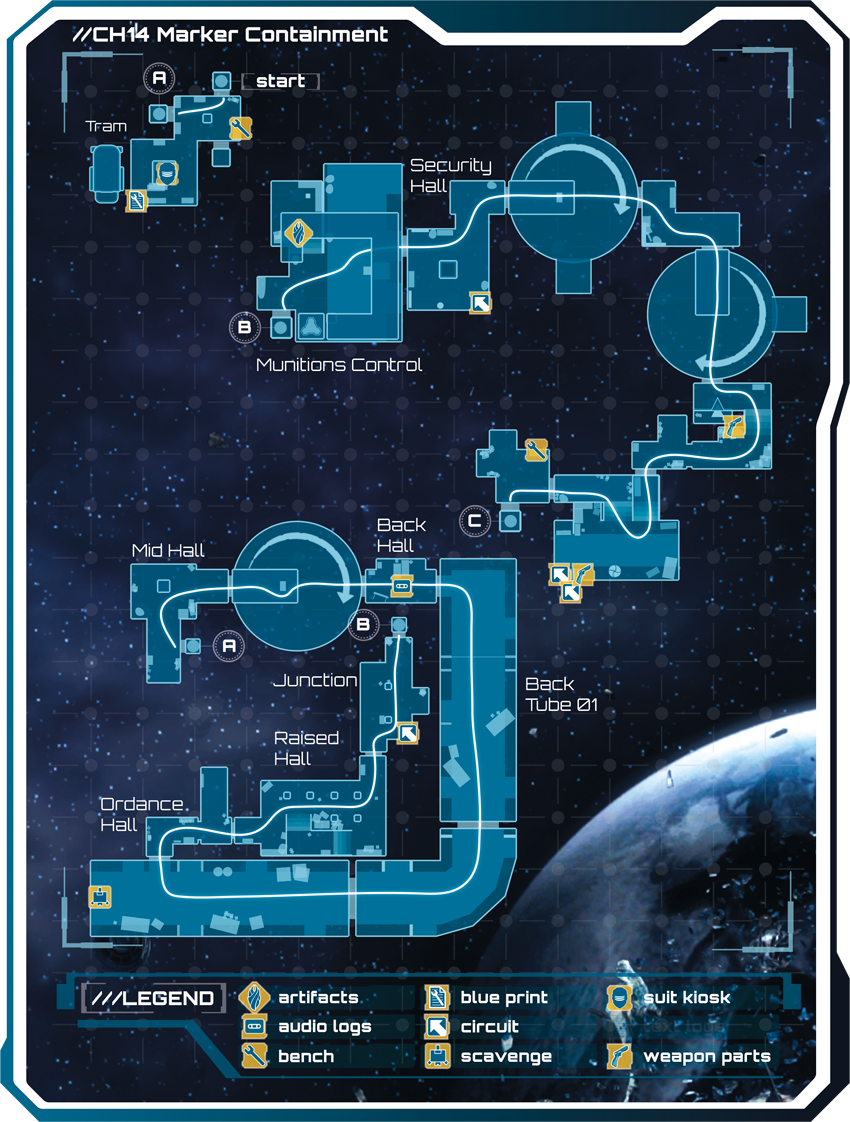
While you are in Chapter 14, you can access this co-op quest by boarding an elevator on the first floor hallway of the Biology sector. It only opens when there are two players
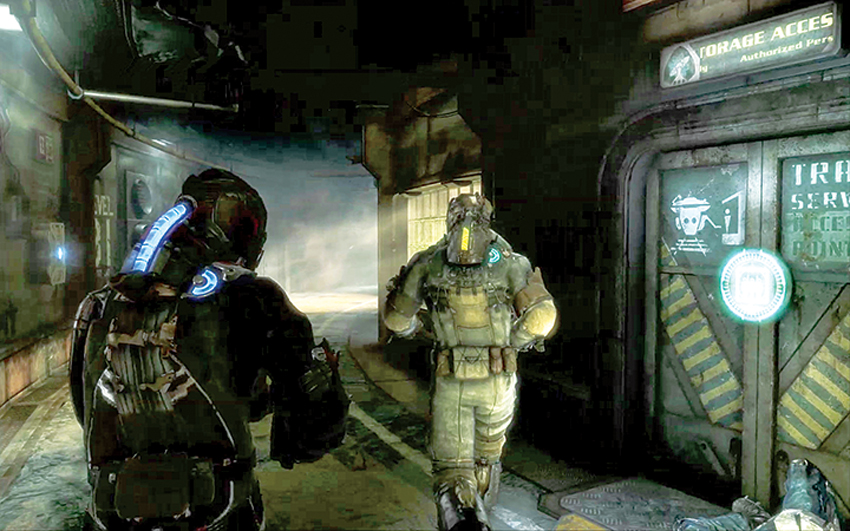
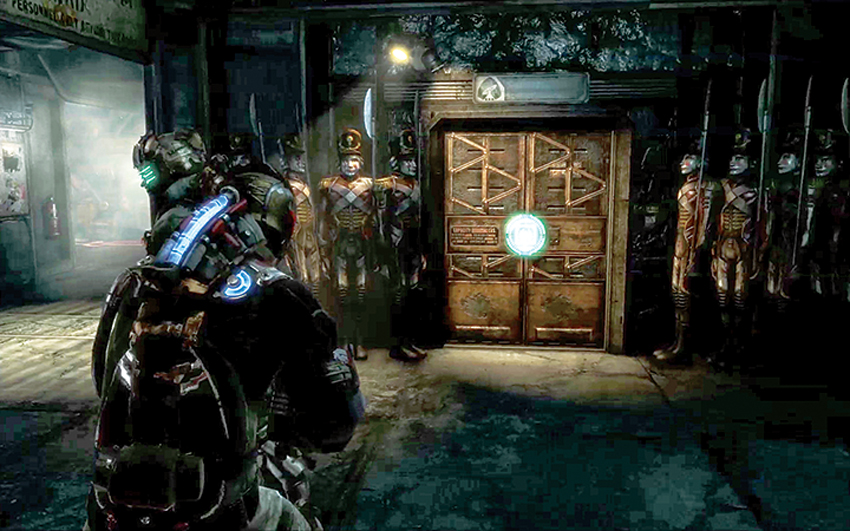
Start this quest by locating this elevator. It is across the hall from the door that exits out to the Geology sector. Ride the elevator down to a tram station. When you arrive, you see life-size toy soldiers lined up on either side of the elevator you need to take down to the Marker Containment area. However, before leaving the tram station, pick up the blueprint for a line gun.
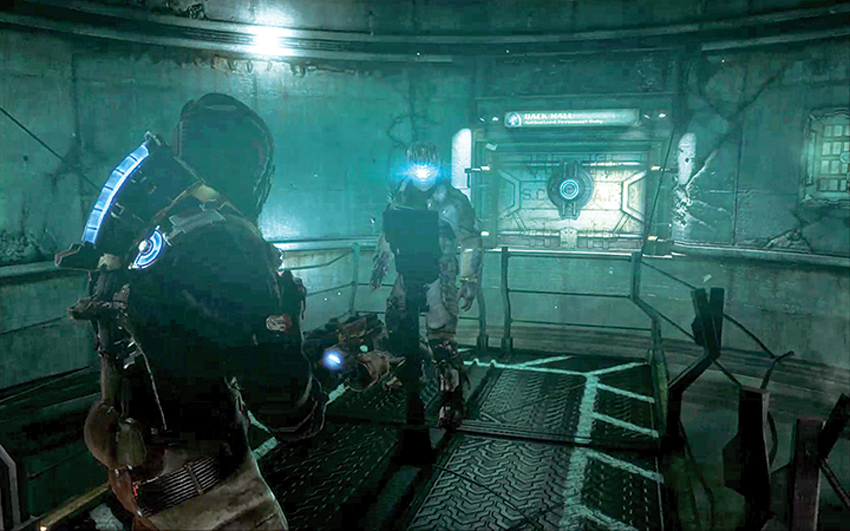
Ride the elevator down to the facility, then advance through a hall to an ordnance room. Kill any enemies along the way. The catwalk in the ordnance room goes only part way across. One of you must activate the controls to rotate the catwalk to get to the other side.
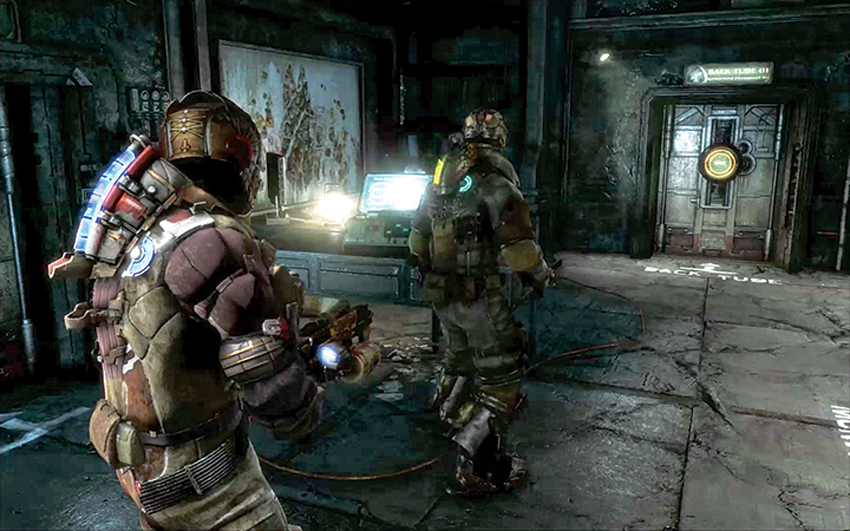
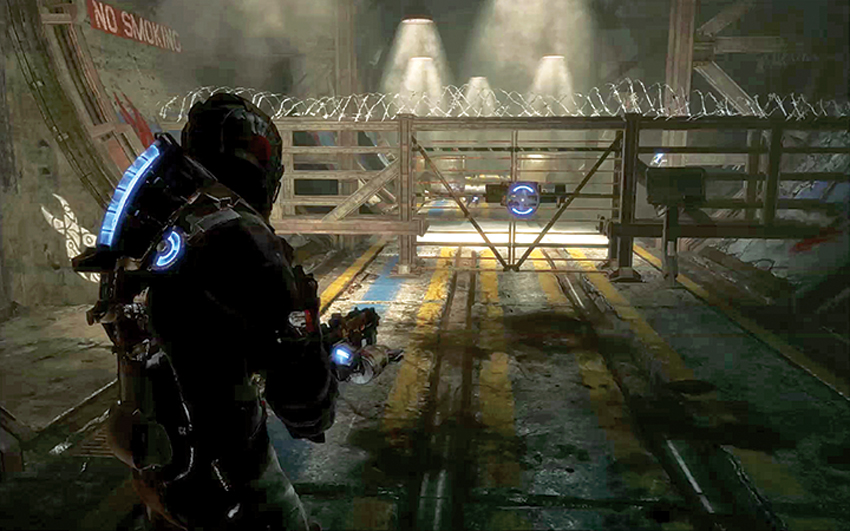
In the back hall, listen to an audio log. As you advance into a transportation tube, you must use kinesis to open a gate to proceed. As you move though the tubes, you find a stasis recharge station and several stasis canisters lying around. This is not a good sign. You will need these to help you defeat the Twitchers that attack. Kill them and keep moving through the tube.
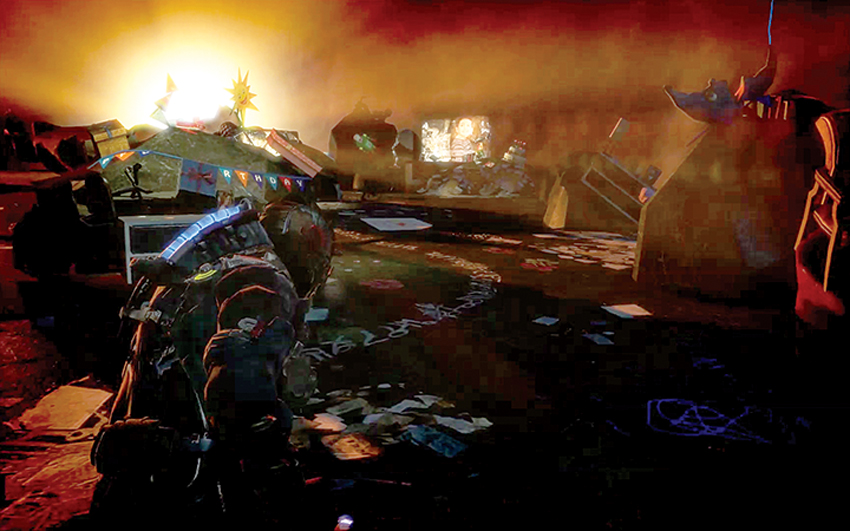
As you get to a turn in the tube, Carver begins hallucinating again. He sees a completely different room with his son in it. Meanwhile, Isaac must fight off Necromorphs by himself. Isaac can use stasis to help slow down the fight. Once Carver regains his faculties, follow the tube to the end and move through a small door on the right.
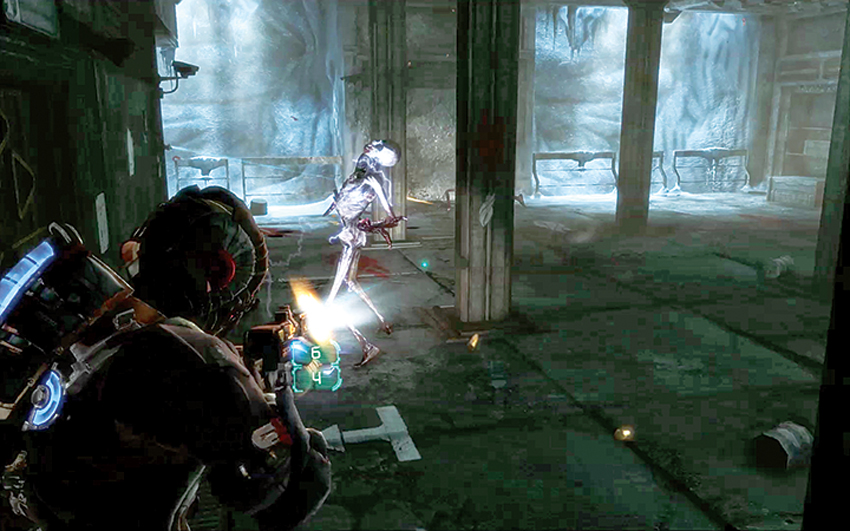
Move to the raised hall and fight off a horde of Feeders that drop from above to attack you. As the battle continues, Slashers join the fray. Advance into the junction and look on the floor for a circuit in the corner to the right. Then go to an elevator that takes you to munitions control.
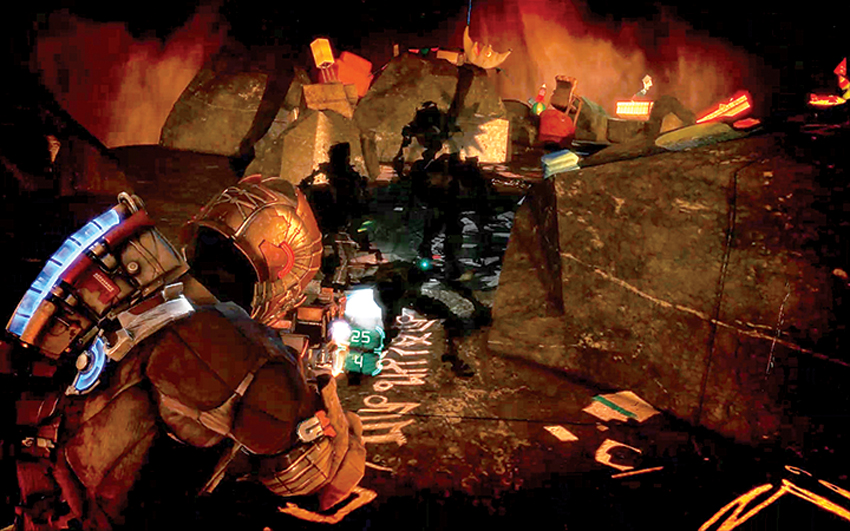
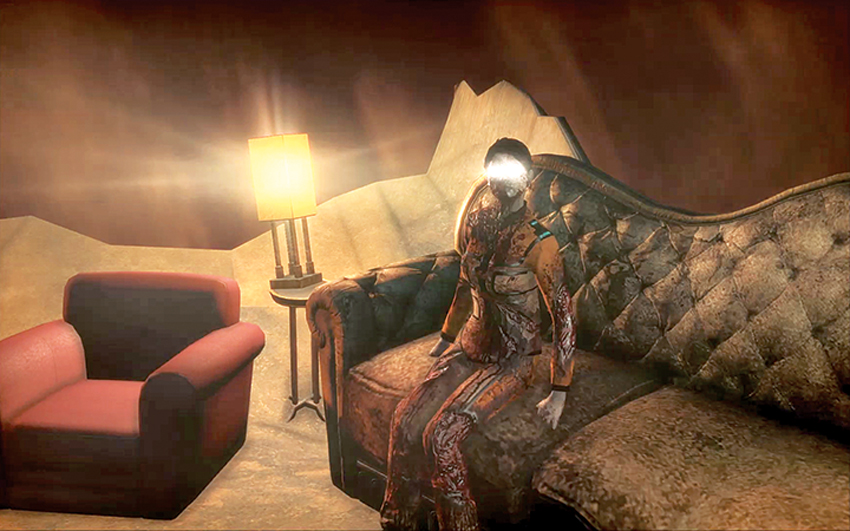
Once there, take a cargo lift up to a catwalk. At the end you can find an artifact. Then descend on the cargo lift. As try to exit this room through a small door, Carver has another hallucination. He returns to the room he was in before. However, this time shadows attack him. Carver must shoot them since they can inflict damage. They also drop pick-ups once they are killed. After they are eliminated, move to the couch to see Carver’s wife and end the hallucination. Of course, Isaac is left to fend for himself against waves of Super Slashers during this hallucination. Carver can join him in mopping up when he returns to reality.
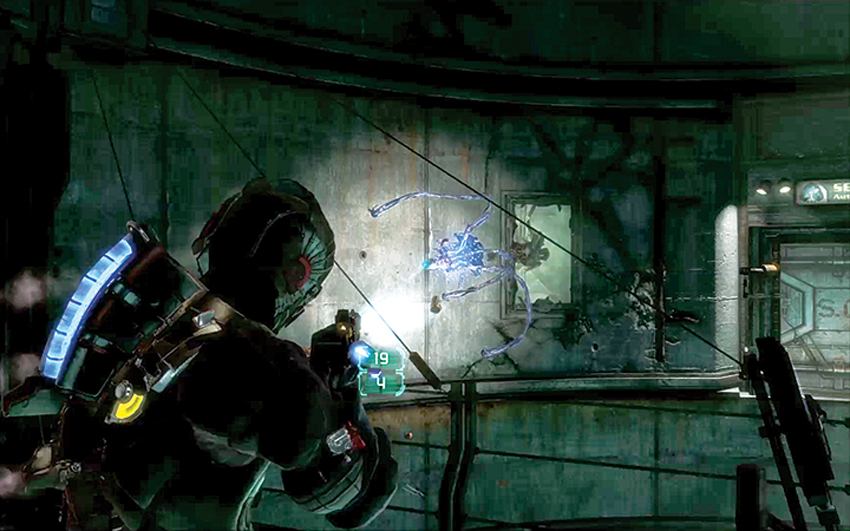
In the next room, the security hall, pick up a circuit from a box on the wall. Then make your way into another ordnance tower. As you are rotating the catwalk to the other side, Lurkers come out of the ducts and attack. Shoot off their tentacles to kill them before they can hurt you. Continue through a short hall to another ordnance tower. Do the catwalk thing again, and keep going into the next room.
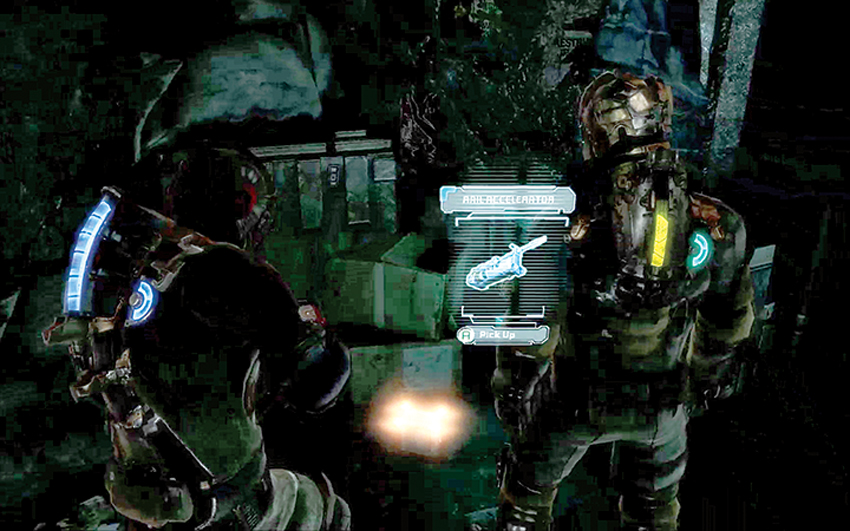
Climb down the stairs to get to the lower level of this room, where you can find an rail accelerator weapon part. Then fight off Slashers and Exploders as you advance through halls to a large workroom.
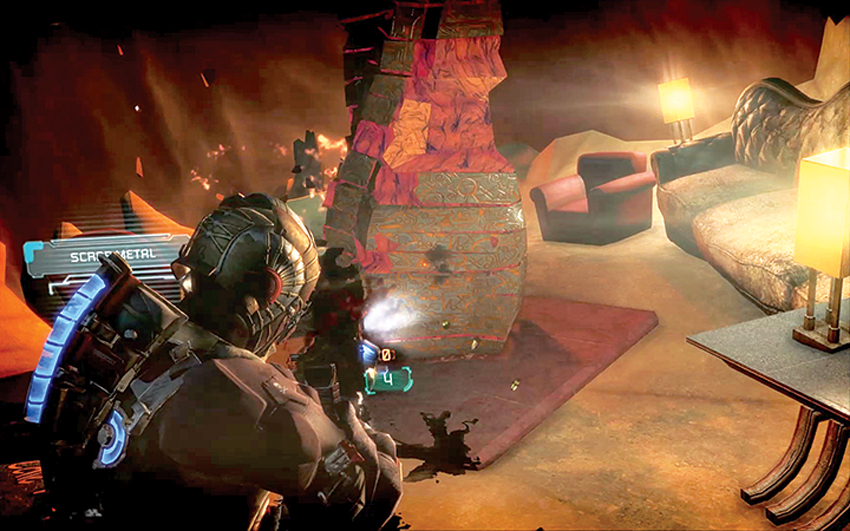
As you approach the supply chest, Carver hallucinates again while Isaac takes on a lot of Necromorphs single-handedly. Carver must fight off the shadows again. Then attack the Marker by the couch to end the hallucination.
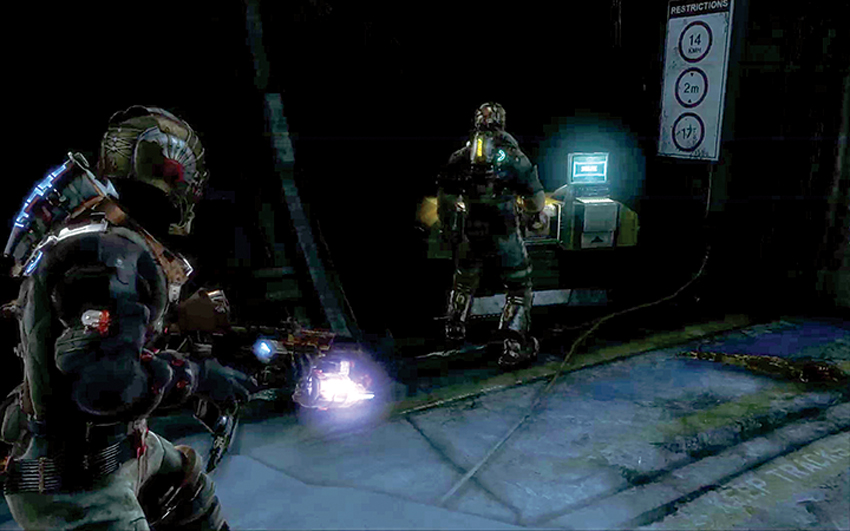
Once the individual battles are over, both of you must open the supply chest together. Inside is an ammo box weapon part, a couple of circuits, and a spare parts box. Once you have what you need, exit into a small room where you can use a workbench to use your new items to upgrade your weapons. Then take the elevator back to the tram station and then back up to the Biology sector of the Research Facility to end the quest.