
Dead Space 3 with Interactive Map Essentials The Basics
The Basics
Tau Volantis is an icy world that can kill the unprepared. Both the planet and the derelict fleet orbiting above it are filled with dangerous Necromorphs. Before you explore this system at the far end of the galaxy, it is vital that you first understand the basics of your equipment, how to move around, and how to use weapons and other devices. You also need some basic combat skills that will help you defeat the hostiles you encounter.
The RIG
In Dead Space 3 , the screen is never cluttered with a heads-up display (HUD). Instead, all of the information you need is displayed on your RIG, which is part of your suit or your weapon.
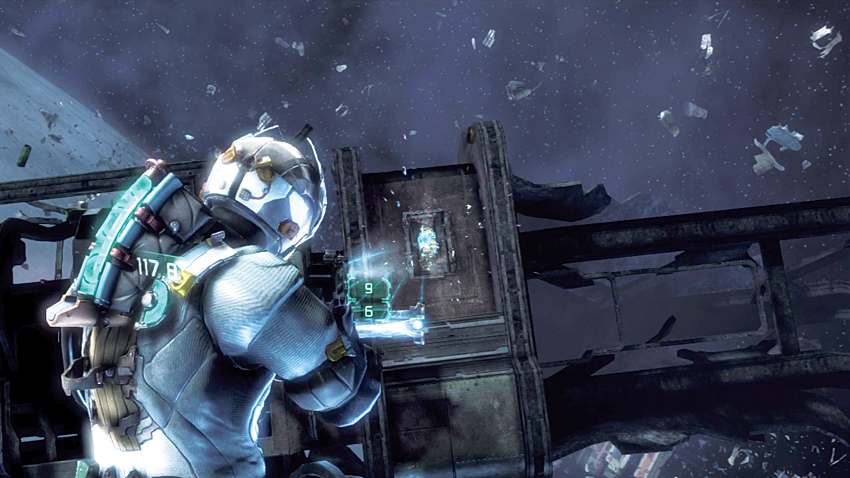
Health Indicator
The blue row of lights running along your spine is your Health meter. The bar begins to deplete as you take damage. When your health is about half, the remaining lights turn yellow. When your health is very low, the last remaining bar turns red. At this point, you must get some medical treatment or the next attack could be your last.
Stasis Module
The stasis module appears as the curved bar on the right side of the RIG. When the bar is full, your stasis module is fully charged. As you use your stasis ability, sections of the bar will dim, indicating that charge is exhausted. When the entire curved bar is dim, you will need to recharge your module before you can use stasis again. Your Stasis meter recharges slowly over time, but you can instantly recharge it by using a stasis pack or a stasis recharge station. Upgrade your stasis module at a suit kiosk to increase the number of shots and other aspects of stasis.
Air Timer/Temperature Gauge
When operating in areas without an atmosphere, your Air Timer appears on your RIG. This shows you how much time in seconds you have of remaining oxygen. As the tank approaches empty, the meter begins to flash red. Either get to an oxygen recharge station or into an area with an atmosphere to refill your tank. When in cold environments where you are in danger of freezing to death, the Air Timer is replaced by a Temperature gauge, which shows your current temperature. This helps you know when you need to find a heat source to warm up.
Ammo Count
When you hold down the aim button to bring up your weapon, the ammo indicator will appear, listing the amount of ammunition currently left in the selected weapon. The indicator will turn orange when the ammo in the weapon gets low. If the ammo counter is red, the current clip is empty and you must reload. If the ammo counter is red with bars at the top and bottom, you have no more ammo for that weapon and must switch to another.
Basic Movement and Controls
Before you can confront enemies, you first need to learn how to get around.
Movement
Use the left thumbstick or analog stick to move forward and backward as well as to strafe left and right. The right thumbstick or analog stick controls the direction where you are looking. The view in Dead Space 3 is a bit different than in other games. It is third-person with your character offset to the left. This allows you to see more of the screen’s center, where the action happens, as you use your weapons. By default, you move at a walking pace. However, if you need to move faster, hold down the run button.
Navigation
Locator
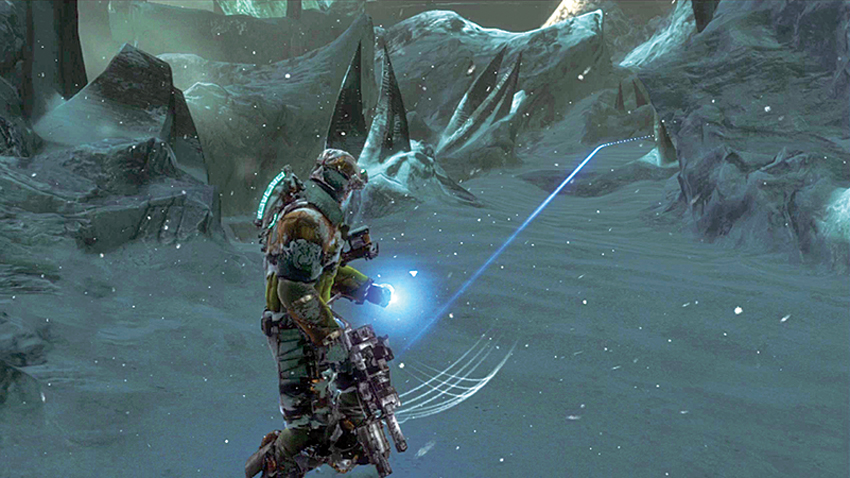
Dead Space 3 features large areas, and it is easy to get lost in the many rooms, corridors, and open spaces. Luckily, your RIG is outfitted with a locator. Just click the locator button and a blue pathway will appear onscreen for a short time; this shows you where to find your next objective. Use it often to make sure you stay on course. However, feel free to explore off the locator path as you go. If you don’t veer off the path, you will miss some useful items. You can use the locator to point you toward a suit kiosk or a workbench. While holding down the Right Stick, use the D-pad to change your destination.
Zero Gravity
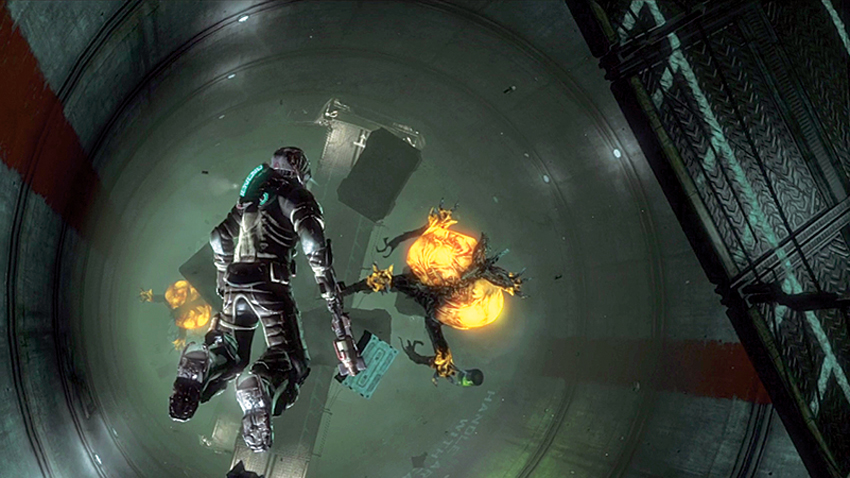
When in zero-gravity areas, your magnetic boots will keep you attached to the floor. However, you can disengage you boots by pressing the zero-G launch button. Move the left stick to float in any direction you want; use the run button to fire thrusters built into your suit for some additional speed. When you are near a surface, press the left stick again to engage your magnetic boots and begin walking around again.
Using Weapons
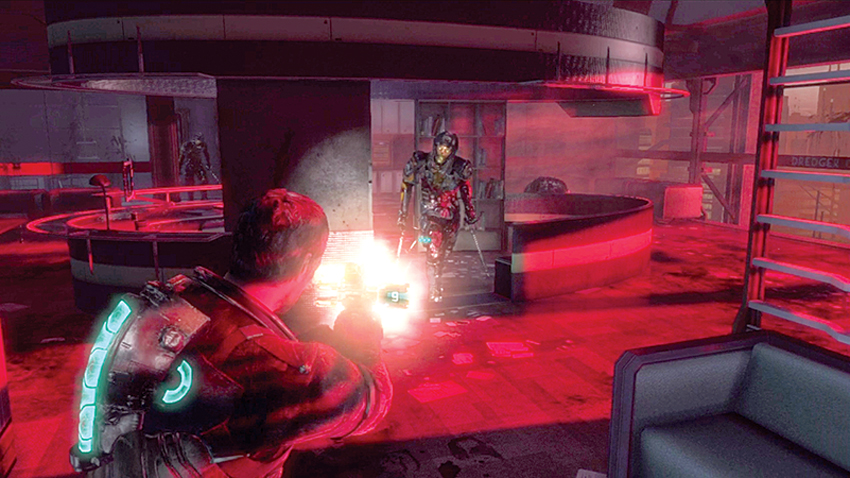
Using weapons is a two-step process. You must first aim and then fire. Once you have a weapon equipped, hold down the aim button. This brings the weapon up to a ready position, and a reticle appears onscreen to assist in targeting.
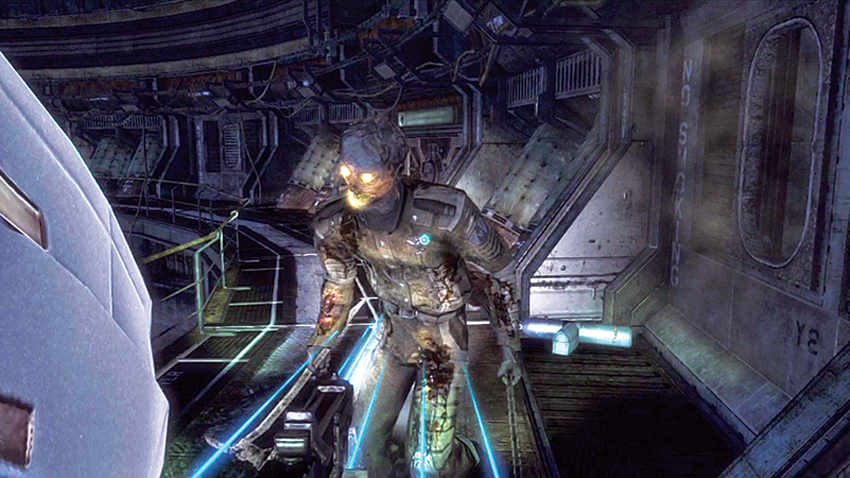
Press the fire button to activate the weapon’s primary fire. Many weapons also have an alternative-fire function or a second weapon. Press the alt-fire button to activate this feature or fire the second weapon. Some weapons can be fired at long range while others are for short-range combat. Some weapons fire rapidly with little damage while other weapons are slower but can kill an enemy with one shot. When fighting Necromorphs, you will need a variety of weapons and combat tactics to survive. You can carry up to two weapons in your inventory at one time. Visit a workbench to switch out weapons between your inventory and your safe.
When using weapons in combat, it is important to ensure that you have ammo for them. All weapons use the same type of ammo, so be sure to pick up any ammo you find. Also, reload your weapons frequently so that you are always ready for a fight. There is nothing worse than firing off one shot at the start of the battle and then having to immediately reload—while taking damage from an attack. Some of the weapons require a bit of finesse as you battle Necromorphs and require careful aiming for effective use.
As you collect weapon parts and circuits, craft new weapons or upgrade your current weapons to give them different abilities. Try out all the different types of weapons to see which one works best for you.
Melee Combat
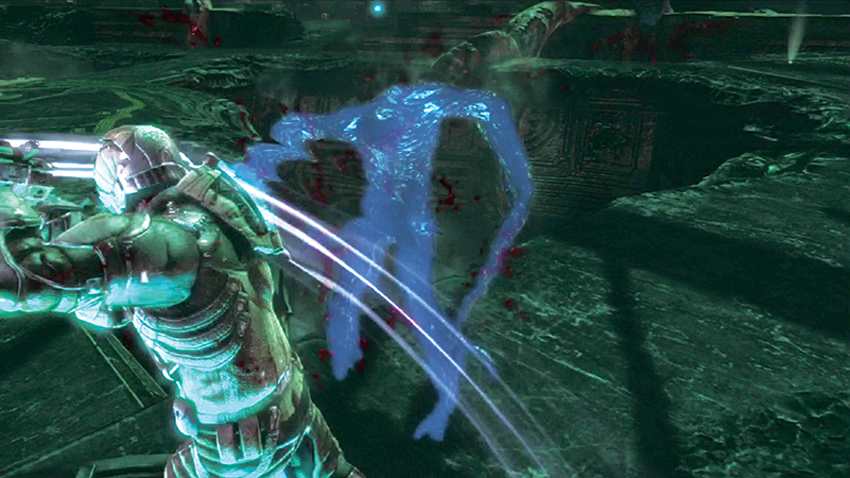
Necromorphs have a bad habit of jumping out at you from walls or dropping on you from ceilings. In those circumstances, you don’t have time to aim and fire a weapon. Instead, you have to react with a melee attack. There are two types of melee attacks. Press only the fire button and you will swing your current weapon and damage your target. Keep hitting your enemy until it moves back or until you can get away; then take aim and fire your weapon. For smaller enemies or those on the ground, you can use your feet to attack. Press the stomp button to bring your foot down on the foe and cause some damage. Stomping is a good way to finish off an enemy that is barely crawling. In addition to inflicting damage on enemies, melee attacks can also be used to break open containers or bust fuses to open locked doors.
Some weapon parts allow you to perform melee attacks with a lot of damage. To use these, aim and then press the button to activate the weapon for the attack.
Kinesis
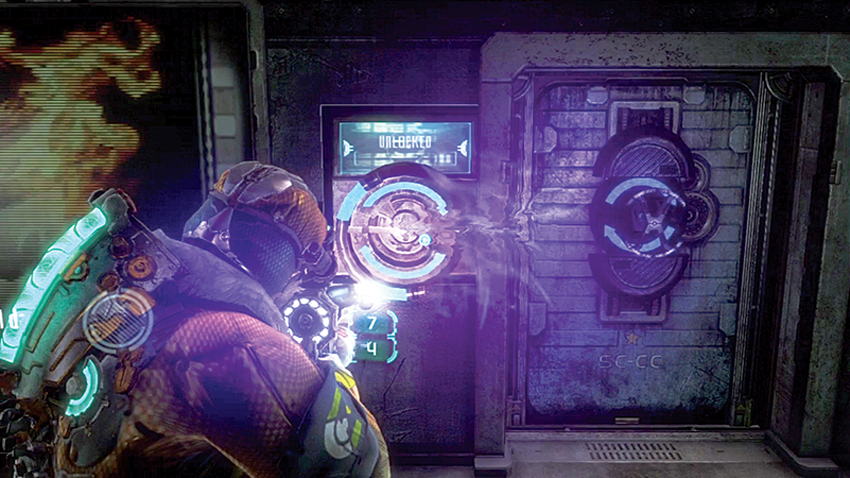
The kinesis module attached to your RIG allows you to manipulate gravity to move objects. To use kinesis, hold down the aim button, aim at the object you want to control, and then press the kinesis button. If it is an unattached object that is small enough to be moved, it will come and hover in front of you as long as you hold down the kinesis button. Release the button and the object will fall at your feet. This is a great way to pick up items that are out of reach or in an inaccessible area. When you are using kinesis to hold an object, you can also launch it toward a target by pressing the fire button. Some objects, such as spikes from dead Necromorphs, can be used as weapons. Just launch them right at your target. Other objects, such as explosive or stasis canisters, will cause extra effects when they strike a target. Since kinesis never runs out of power, don’t be afraid to experiment with it.
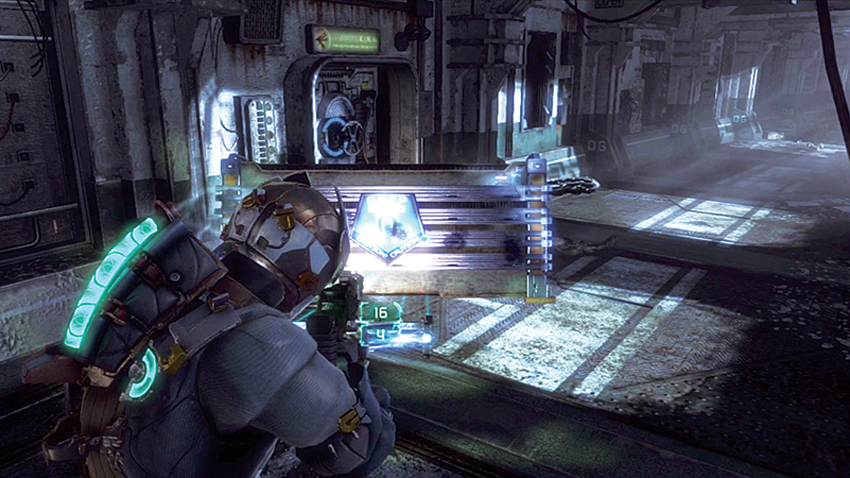
Kinesis also allows you to interact with some parts of the environment. Look for panels or other objects with a GRIP decal on them. You can use kinesis to remove panels to access circuitry behind them or to manipulate larger objects such as moveable walkways.
Stasis
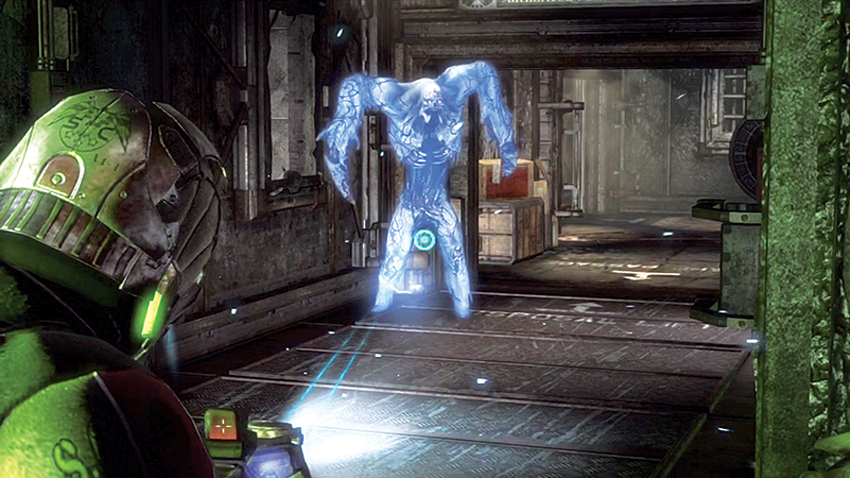
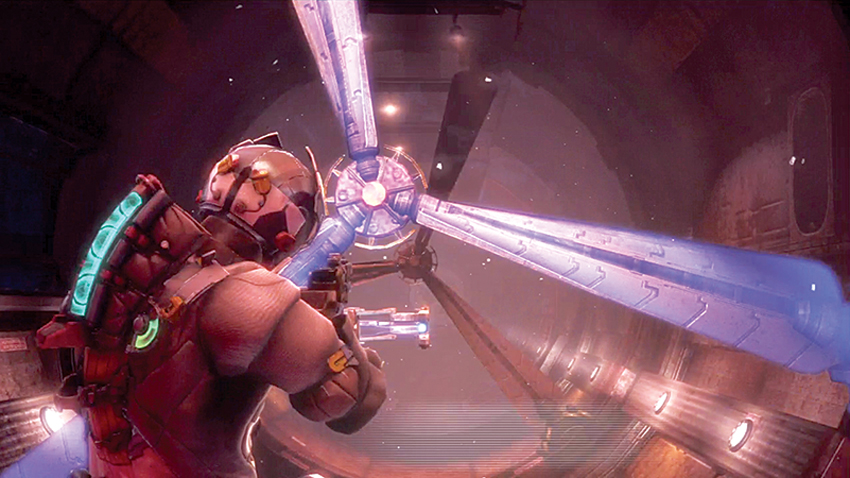
Stasis is another power you get from a module on your RIG. Unlike kinesis, which you can use as much as you like, your RIG has enough power to use stasis only twice when you first begin the game. You must then recharge it at a stasis recharge station or with a stasis pack, or wait until your stasis energy recharges on its own. To use stasis, hold down the aim button, aim at a target, and press the stasis button. Stasis will slow down whatever it hits. You can use it against Necromorphs to slow their movement and attacks against you. This is very useful when you’re being assaulted by several of these enemies or by individual Necromorphs that are fast and powerful.
In addition to using stasis on Necromorphs, you can also use it on some objects in the environment. For example, if a door is opening and closing too fast for you to get through, use stasis to slow it down so you can pass through safely. Whenever something is too fast for you to get past or through, use stasis. Also, if you see some stasis recharge stations on the wall, chances are you will need to use this ability.
Combat Tactics
While anyone can merely fire a weapon, you must learn how to use your weapons effectively and use your brain if you want to succeed. Tau Volantis is a deadly place, and you can’t survive by just blasting away at everything. You will run out of ammo or be overwhelmed by enemies. Therefore, it is vital that you learn combat tactics to give you an edge against the Necromorphs.
Choosing the Right Weapon
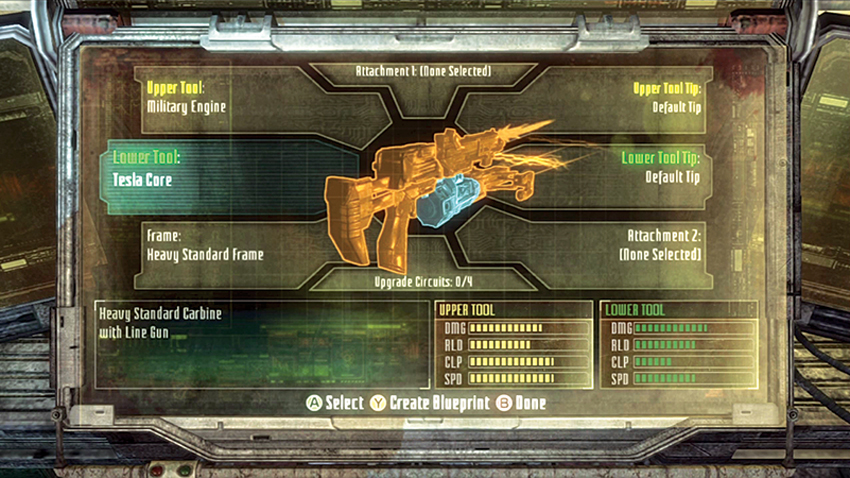
First off, you must choose the right weapon for the job. You need a balanced loadout of weapons in your inventory, and you must know which weapon is effective against different Necromorphs and situations. The ripper is great for fighting up close, while rifles are designed for attacking at long range. The submachine gun has a high rate of fire but does not inflict a lot of damage per round, while the contact beam will blow apart most Necromorphs but requires that you charge it before you fire a blast. Once you know about the weapons, you need to know your enemies. Each Necromorph has its weaknesses and an efficient way to kill it. By combining this knowledge with a mastery of the weapons, you will know what weapon works best against each enemy and in which situations. Study the following two chapters that cover Necromorphs and weapons, respectively.
Situational Awareness
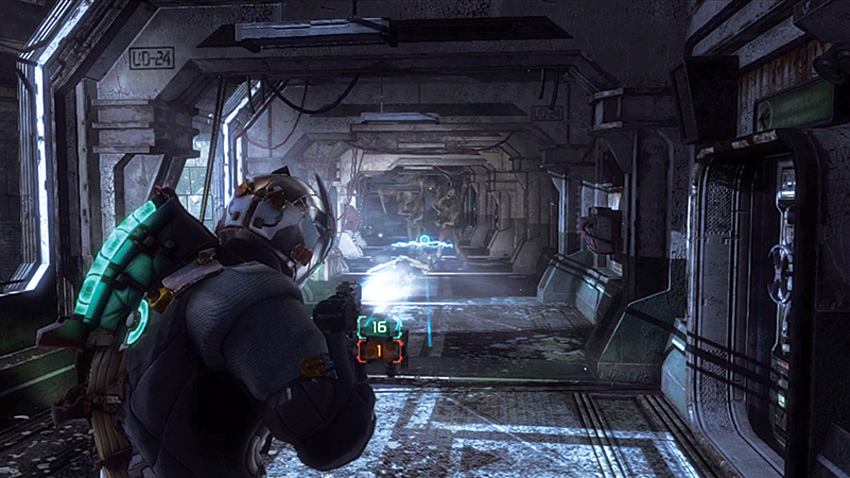
As you advance through the campaign, it is important to think ahead and be prepared for surprise attacks. As you enter an area, look for duct vents on the walls and ceilings through which a Necromorph might jump out at you. Search for items and use alternate paths to reach your destination. For example, if you must move through a large open area, consider moving along the edges to prevent becoming surrounded. Select an appropriate weapon for the situation. For narrow corridors, choose a close-range weapon; in open areas, a longer-range weapon is often best. Finally, consider where you can run to if necessary. Is returning the way you came feasible, or should you just try to rush ahead to the next door and get through?
Using the Environment
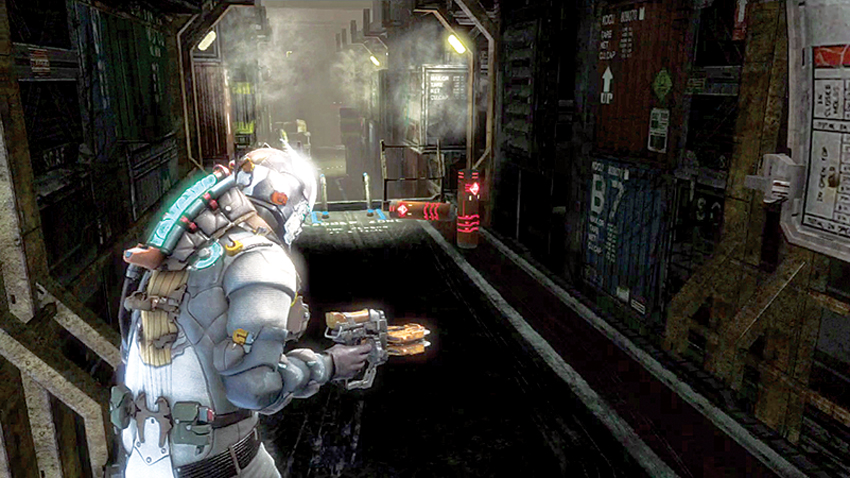
As a part of situational awareness, it is important to know how to use the environment to your advantage. Look for obstacles that block movement. Search for objects you can throw at enemies to hinder them or objects you can use as weapons with the help of kinesis. Since some enemies have ranged attacks, you also need to consider cover. What can you move behind to avoid getting hit by acid or other attacks? Some objects, such as stasis and explosive canisters, have additional effects when you launch them at enemies. Also locate stasis stations in case you need to recharge your stasis during a fight. In addition, use the area’s terrain to your benefit. Look for alcoves or narrow corridors where you can set up defenses such as detonator mines to help protect you. These spots are also great for holding out in so enemies can’t surround you; focus your weapons and firepower in one direction, killing anything that comes into your sights.
Combining Your Abilities
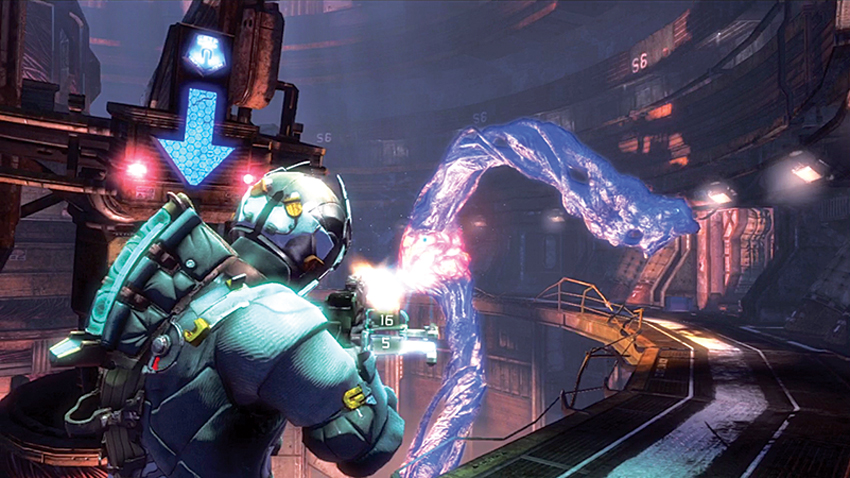
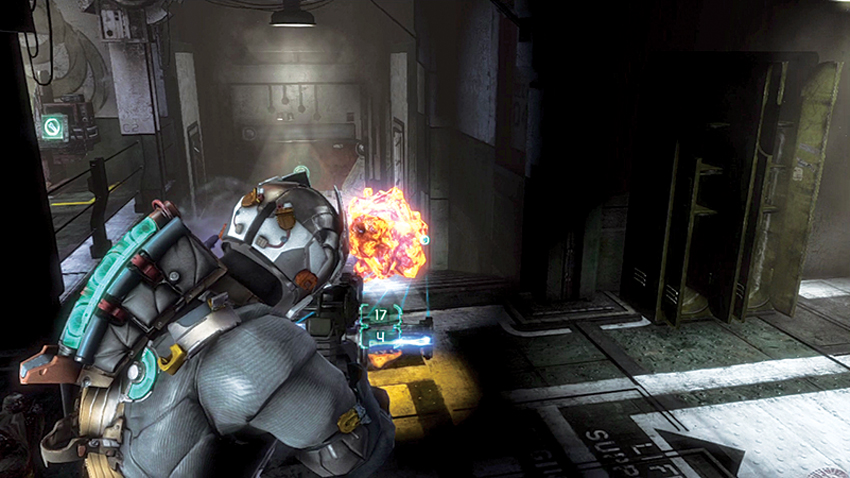
While each of your abilities is great individually, they become even more effective and powerful when combined. Always consider how you can use stasis, kinesis, and weapons together. As mentioned earlier, stasis is an important ability and the sooner you learn how to use it in battle, the better off you will be. Hit enemies, either groups or individual, powerful Necromorphs, with stasis to slow them down. This gives you time to pick up an object with kinesis and launch it or to use a weapon to dismember or destroy the Necromorph while it is caught in stasis. Stasis alone can’t kill, but it gives you an advantage when using other abilities. Another way to combine abilities is to shoot off an explosive sack from an Exploder or a Crawler, then pick it up with kinesis and launch it at other enemies. With a little bit of practice, using abilities and weapons together will become second nature.