Stranger of Paradise Chaos Difficulty Easy Grinding
Over the past few days I’ve been banging my head against a brick wall. That brick wall is engaging with Stranger of Paradise Final Fantasy Origin’s post-game difficulty mode, CHAOS. Unlocked once you finish the story, mastering this mode is more or less required if you want all the trophies/achievements. Even getting strong enough to […]
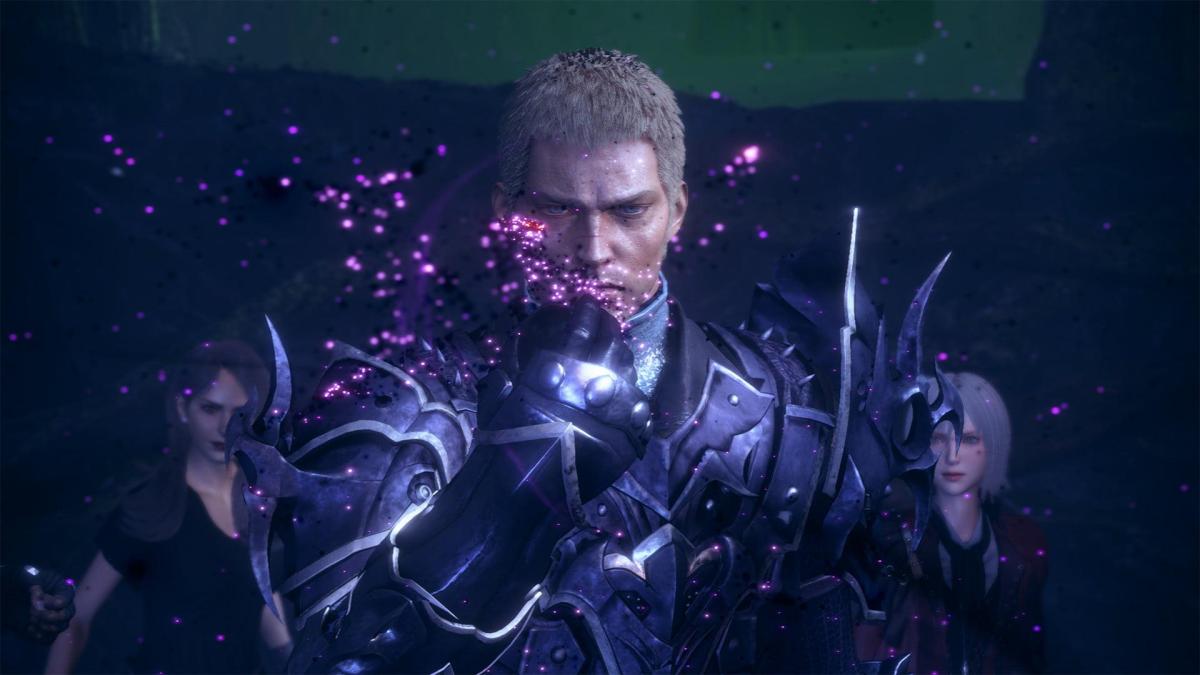
Over the past few days I’ve been banging my head against a brick wall. That brick wall is engaging with Stranger of Paradise Final Fantasy Origin’s post-game difficulty mode, CHAOS. Unlocked once you finish the story, mastering this mode is more or less required if you want all the trophies/achievements. Even getting strong enough to start is a royal pain, but luckily there’s a strategy to help kickstart your progress.
Stranger of Paradise CHAOS Grinding Guide
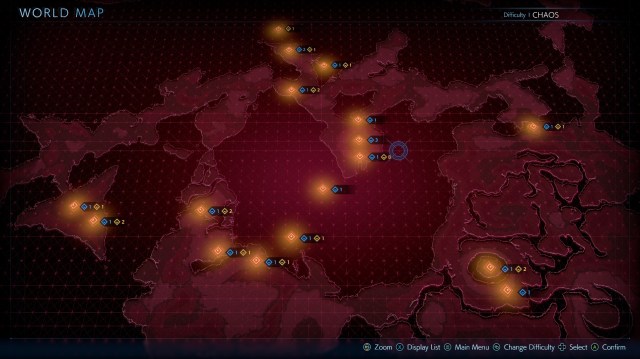
So, what is CHAOS mode? Basically, once you beat the game you get spit back onto the world map, and can choose CHAOS from the difficulty menu. This turns the whole world red, and shoots the minimum gear level suggestions through the roof. But you don’t have to Git Gud to a whole new level of existence, because this also unlocks Job level cap extensions and eventually, new stuff you can do with the Smithy.
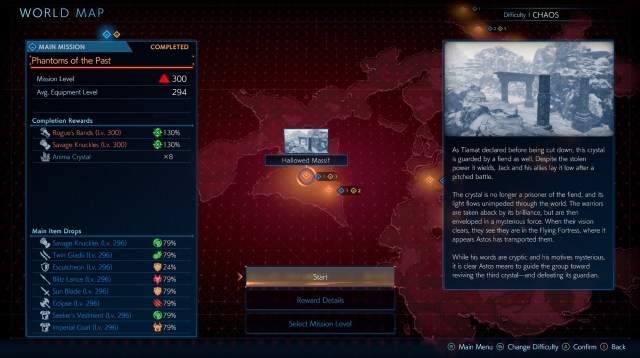
Grinding from wherever you finished the story to level 300 is an exercise in dedication I can’t imagine being comfortable with. That’s because even getting started can be a huge pain, because the stats matter more than ever, and you will routinely get one shot by basic enemies just trying to get a foothold. Luckily, there’s a way to cheese it, at least to enough of a push to be competitive.

Regardless, you might need to do a little grinding on Stranger of Paradise’s first level to get your gear level up to the bare minimum of survival. Then head straight to the Hallowed Massif level. If you have enough Anima Crystals to pump the level up first, go ahead and do so. Figure out a sweet spot based on your skills, or just start at the default. Either way, take note of how many you need for each upgrade.
Related: How to Level Up Fast in Elden Ring
In this snowy area, you’ll first encounter around five wolves, two up front and three more a little further ahead. You can test your mettle against these critters, and even use them to grind a little if you need to. Your main goal, however, is to book it through this level just like you may have in Elden Ring for a similar strategy. You’ll come to a dead end either way.
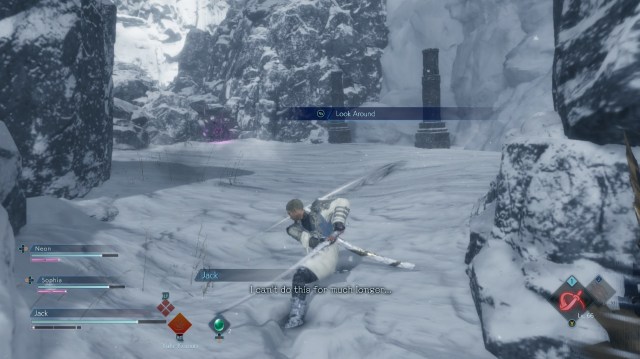
Here, you can either try your luck at taking down the nasty purple monster wall, or do your best to hang with the wolves until you trigger an avalanche. Either way will permanently alter the level for this run, letting you run forward. The avalanche opens up a breakable wall, which leads to a small cave. This is the safer method, since you can get your ass kicked and still trigger the avalanche.
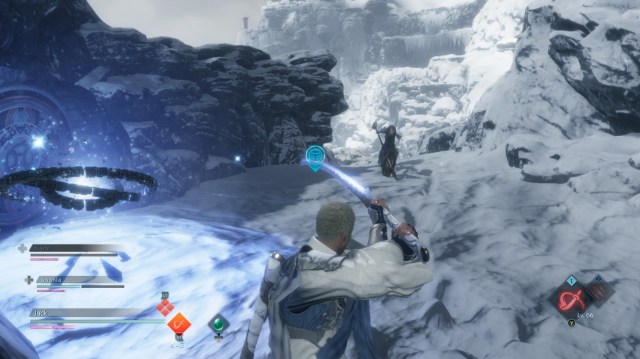
Book it through this cave, avoiding enemies, to get to the exit behind another breakable wall. This spits you out next to an incline covered in skeletons, which you do not want to even try standing up against. Just run like hell to a set of cubes. Then, you basically have to do the same thing again but with scarier enemies.
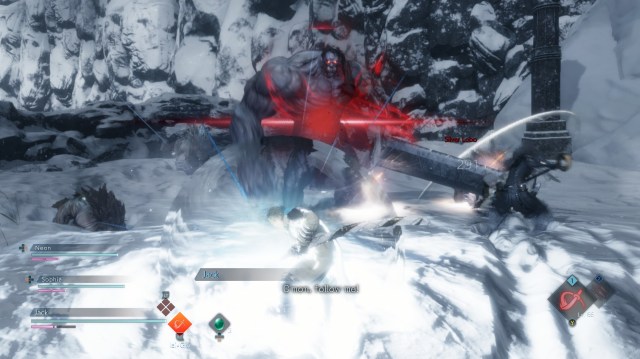
Do your best to trigger the avalanche while getting your internal organs pulverized by the ogre and its wolf posse. Run through this cave, which is longer and a bit more windy than the first. You’ll have to pay attention to avoid the enemies here, but again keep running. You’ll pop out in a snowstorm you can’t see through; continue running, but don’t veer too close to the left edge because a piece of it will collapse. Otherwise the third cube set is waiting for you beyond the blizzard.
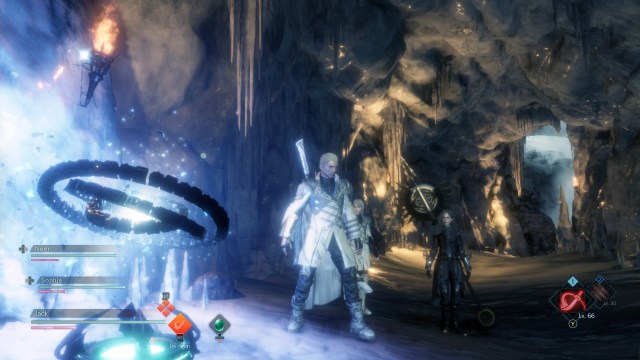
Around the corner from this checkpoint is your goal. A solitary griffin is hanging out here, in front of another monster wall gimmick. Do your best to fight this bird, because unlike Elden Ring this special Grinding Bird has to be defeated legitimately. It’s tough and you’ll get hella one-shot until you get the Soul Shield and punishment timings down. But once you win you’ll get a bunch of drops and most importantly, an Anima Crystal.
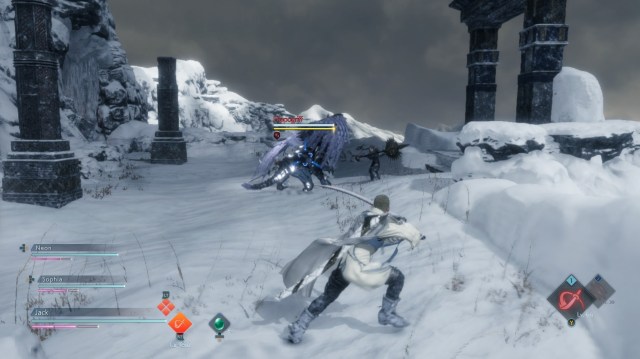
Simply go back and forth fighting the Griffin, running back to reset and browse your drops at the cube, then run back to fight again. Do this until you’re bored, which is a decent sign you’re ready to move up. Abandon the mission and use your Anima Crystals to boost Hallowed Massif’s difficulty. After a couple steps your feathery friend will drop more than one Crystal, which is good because the upgrade requirements get steep as you get close to 300.
Related: Stranger of Paradise Final Fantasy Origin Ending Explained
You can do this as much as you want, all the way up to around 295 or so depending on your luck. Congrats, you can have fair fights in CHAOS mode now! You will still routinely get your ass kicked, but with the drops there you’ll be able to hang and start exploring the levels and rewards you actually want. This still won’t prepare you for the post-game Ebon Memories boss and enemy gauntlet missions. You still have to work on grinding and building your party up, especially for Job upgrades.
So this isn’t an easy win button. It’s more of a direct route to getting past the crappy initial post-game grind to get to the one that’s a bit more entertaining. As you get better and better drops your builds will get wilder and wilder, and you’ll eventually have the confidence to tie up your loose ends and get that Platinum trophy.
