
How to Complete Hostile Intelligence in Starfield
The UC has a plan, but you'll need some samples first.
Starfield’s faction mission lines have some solid progression that ups the ante as you make your way through. The Crimson Fleet questline, for example, follows a lucrative ship that can offer some incredible riches, culminating in strengthening one side of an endless war. For the Hostile Intelligence mission, it’s time to take a trip to the location of one of the worst disasters in United Colonies history. Here’s how to complete the Hostile Intelligence mission in Starfield.
Starfield Hostile Intelligence Walkthrough
The Hostile Intelligence mission is the penultimate mission of the United Colonies questline, following the previous War Relics mission where you found the robot Kaiser. At the end of the mission, Hadrian reveals you’re going to make your way to Londinion. If you aren’t aware, this is the site of a massive Terrormorph invasion that decimated the colony. Given the subject of the story thus far, it adds up.
Follow and Speak to Hadrian

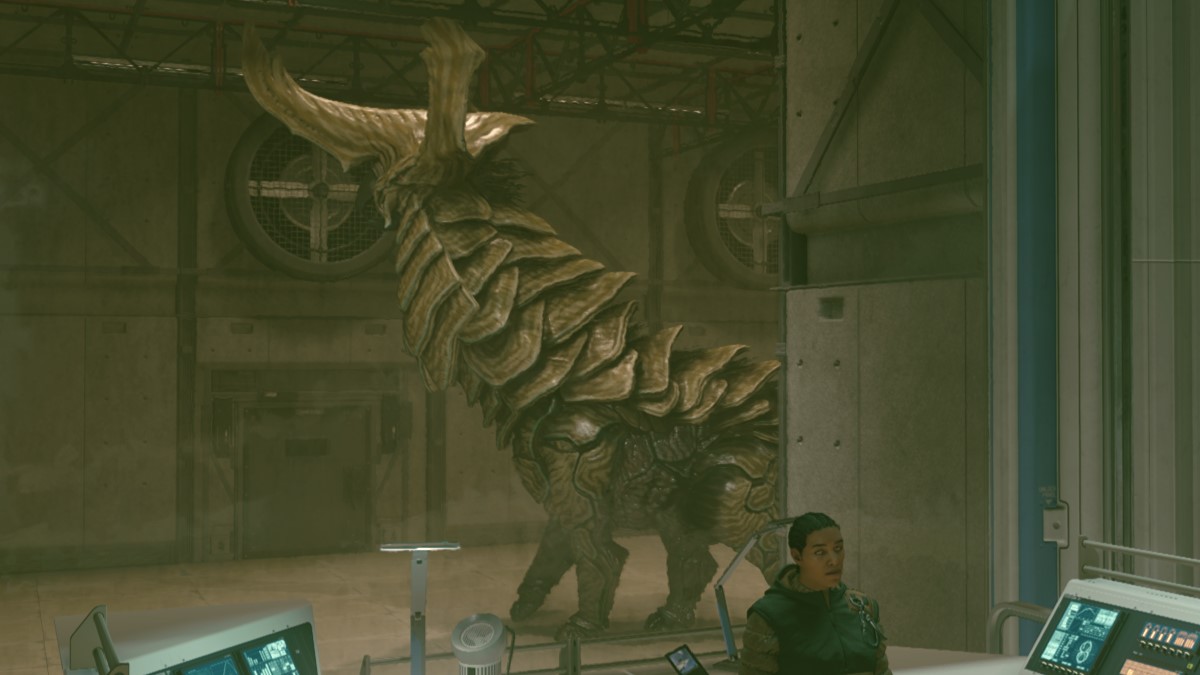
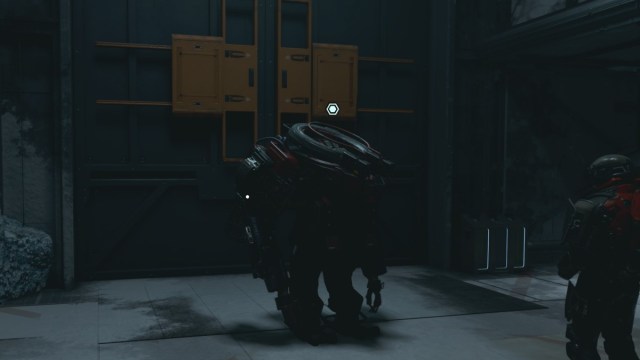
After asking Kaiser to prepare for battle, Hadrian will lead you downstairs before telling you about the creature that can eat Terrormorphs: the Aceles. The UC believed that after their use in the Colony War, they were made an extinct species. However, it turns out a few remaining specimens still exist. This includes one in a holding cell within the base itself.
What Hadrian is suggesting is that they breed them, distribute them to different human worlds, then let them keep the Terrormorphs at bay. They could even go one step further and have them locate the Terrormorph transmission method at its source, stopping them from spreading completely. The other option is to use a Microbe, aerosolize it, and spread it. It would be designed to kill anything with Terrormorph DNA, thus ending their population completely. It would be far more efficient than the Aceles and less damaging to a planet’s ecosystem.
However, both of these methods require some data from both Terrormorphs and Aceles to take care of. That’s why you’re heading to Londinion, as it’ll have more than enough data and danger to contend with.
[Optional] Speak to Lt. Gaulter

Before you leave for Londinion, you can optionally speak to Lieutenant Gaulter to purchase some supplies. He has an array of weapons and ammo, and you should get some stuff. These are Terrormorphs you’ll be dealing with, so you’re likely to need a lot of supplies to tear through them. If we may suggest something, snag yourself his Vampire’s Gift rare rifle. The Med Theft perk on it is incredibly helpful.
Proceed to Londinion
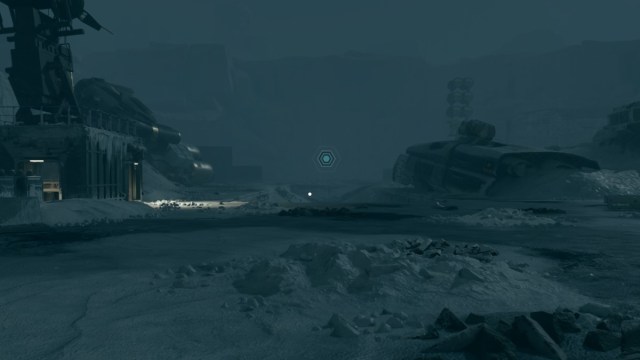
Londinion can be found in the Toliman system on the planet of Toliman II. As you arrive, you’ll be hailed by the UC Sec Chimera and asked to jump away immediately. Tell them you’ve cleared your visit, then make your way to the Forward Base 441 landing zone. You’re looking to reach the far end of the ice-covered compound to speak with Command inside the Terrabrew Coffee store.
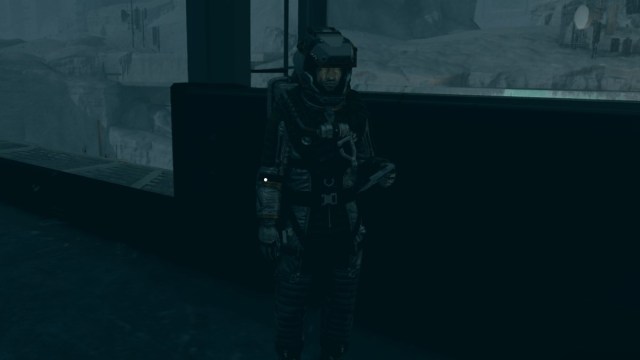
Speak With Commander Hatoum
Speak with Commander Hatoum, and both Dr. Walker and Hadrian will proceed in soon after. Hatoum will brief you on just how dangerous Londinion is, given that it’s infested with Terrormorphs. Seeing as things are so treacherous, Hatoum will be providing you with the gear and information that you need to progress safely. You won’t have any help once you leave the Forward Base, so you’ll be on your own to get the data you need.

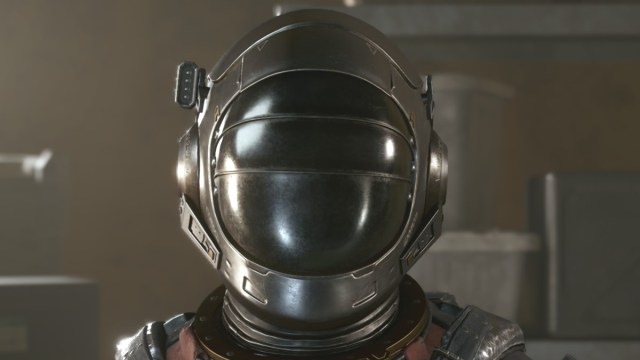
After the briefing, your squad will chat a bit before you can go to the Armory and get some gear. I highly suggest you don’t skip out on this, as you’ll score yourself some powerful Antixeno armor and 7.77mm ammo. It is hilarious that they give you a Grendel, though, thinking that it’ll do anything against a Terrormorph. Speaking with the Agent there will also grant you the X-989 Legendary Microgun, featuring additional damage to Alien enemies. I can’t stress this enough, use this gear. With all that done, speak to Hadrian and get moving.
Proceed Into the City and Get the Aceles Samples

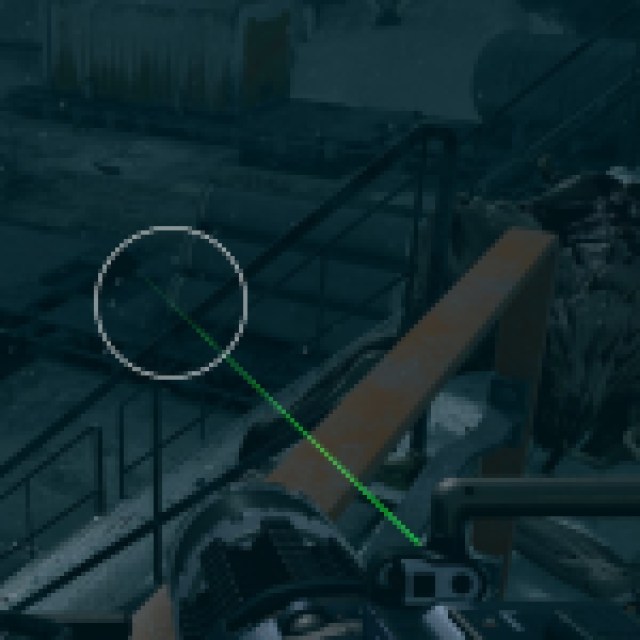
After speaking with your team, make your way through the airlock and into Londinion proper. There’ll almost immediately be some aliens to fight, alongside a Terrormorph controlling them. After taking out all the enemies in the plant, there’ll be a nice resource cache with plenty of ammo that you should take. With the cache looted, head to each of the waypoints and grab the Aceles samples. As you collect both, several Terrormorphs will attack you, which should be handled quickly using that Microgun.


A high-up shipping container holds one of the Aceles samples, but also holds a rare version of the Bridger grenade launcher called the Shock. With that taken care of, pass the samples over to Kaiser.
In this part of the mission, Kaiser glitched for us, and we were forced to reload a previous save to fix it.
Locate a Terrormorph Sample
Now that you have the Aceles samples, you just need a Terrormorph sample. Unfortunately, it’s also in the loading bay that was bombed to hell back during the evacuation. Make your way over to the Londinion Steam Tunnels back where you came and enter them.

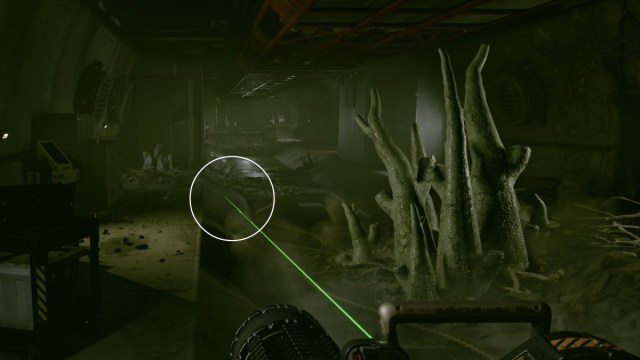
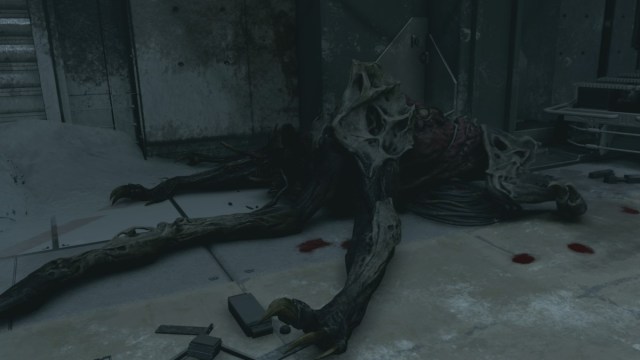
Within the Londinion Steam Tunnels are Lazarus plants, which can strangely only grow in the city. A beauty, though not why you’re here. Keep on progressing through until you find a beautiful Lazarus plant blooming, with a Heatleech heading over to see. Except, that beauty doesn’t last long. To everyone’s shock, the Heatleech quickly transforms into a Terrormorph when coming in contact with the plant.
That’s how Terrormorphs have magically shown up in places like Tau Ceti II and the spaceport. And given how so many people will mention the existence of heatleeches on ships and in settlements…you need to fix this problem now. Regardless, you and Hadrian chat about how the Lazarus plant is an accelerant and can begin the transformation instantaneously. This also brings up the interesting point that someone could’ve set this up to happen.
Kill the Terrormorph
While it would be fun to muse over what just happened and the colossal discovery you just made, you need to get after that Terrormorph and kill it so you can get the sample. Make your way through the door Kaiser just unlocked and kill the Terrormorph, then give its sample to Kaiser for analysis. It’s a match with the New Atlantis and Tau Ceti II attacks. There’s no way these plants could’ve gotten out of the city normally. Someone moved the Lazarus Plant elsewhere and wanted these attacks to happen.
While we’d love to have a chat about this colossal discovery once again, we’ve got a job to do. That sample you got off the Terrormorph isn’t enough, and you’ll need the sample found in the spaceport.
Follow Kaiser and Get the Power Restored
Unfortunately, Kaiser doesn’t have enough power to open the door to the spaceport. There is an office upstairs where you can initiate a system reboot. There you’ll find a transcription that’s particularly interesting. When Vae Victis was going to bomb the spaceport, he knew full and well about the heatleeches and Lazarus plants.
Speak to Hadrian afterward, who is starting to put the pieces together. The Terrormorph attacks on other planets were clearly started deliberately by someone, and the only person who knew about it was him…it’s very possible he’s the one who started this all. To what end, we’re not sure yet, but it doesn’t matter. Right now, you’re surrounded by Terrormorphs and need a sample, so it’s time to handle that end of things. Return to Kaiser, who can now open the locked door.
Find the Final Sample and Speak With Percival
With the door open, it’s time to start exploring the spaceport and finding the Terrormorph. It’s moved since you last spoke with Dr. Walker, so you’ll need to chase it down somewhere. It can be found on the other side of the spaceport, but this is no ordinary Terrormorph. This thing is massive and hits like a truck. You better hope you have a lot of ammo in that Microgun, or you could be here a while. Once it’s dead, take the sample and give it to Kaiser. After the group is done chatting, you can safely fast-travel back to Forward Base 441.
Once you’re back, head onto the roof with Dr. Walker and Hadrian using the scaffolding on the side of the building. During this conversation, you’ll have the option to tell Percival (and possibly Hadrian) the truth. It doesn’t matter if you do, and we actually suggest it. Once you’re done talking, Hostile Intelligence will be complete.
All Missions in the United Colonies Questline
If you’re helping out the United Colonies with a bit of work, you’re gonna need to know just what you’re in for. Here’s a list of the entire United Colonies Questline below:
- Grunt Work.
- Delivering Devils.
- Friends Like These.
- The Devils You Know.
- War Relics.
- Hostile Intelligence.
- A Legacy Forge.
Hostile Intelligence Bug in Starfield
Some players have reported experiencing a quest breaking bug in the quest Hostile Intelligence. If you come across bugs or issues with your Starfield missions, Bethesda suggests a few things on its website for general troubleshooting.
Here are a few options you could try. If none of these work, consider checking out all of the solutions Bethesda has on its website.
- Fast Travel to a different location, and then come back.
- Go to another place where you get a loading screen, and then return to the area you experiencing the bug.
- Exit the game and reboot your system/computer.
- Disable or remove the mods you’ve installed, and then try to complete the quest.
If you’re looking for help with some other faction missions, check out our guide on how to complete the Deep Cover mission in Starfield.