
How to Complete Eye of the Storm in Starfield
One last heist...
The treasure looms ever closer. And now, we may finally have a way to get through the storms that were blocking our way. So, let’s not waste time. Here’s how to complete Eye of the Storm in Starfield.
How to Complete Crimson Fleet Faction Quest Eye of the Storm in Starfield
Eye of the Storm is the seventh and penultimate quest in the Crimson Fleet Faction questline. At this point, you’ve been going undercover for the UC Sysdef, and whether or not you consider yourself a legitimate pirate, you’re well on your way to finding Kryx’s Legacy.
It feels like we’re a hair’s breadth away from that treasure now that we have all the tools to get past the storm. But, naturally, getting to the Legacy won’t be easy.
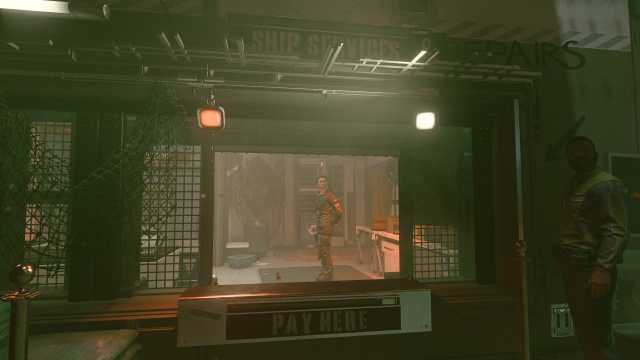
First, head to The Key and go to Ship Services. Delgado and Jazz will be chatting about the difficulties of getting through the storm, even with the Comspike. But that’s a problem we’ll tackle later.
Speak to Delgado in Ship Services. He’ll give you a few vague threats and instructions before leaving. When he does, speak to Jazz.
Install Both the ComSpike Module and the Conduction Grid Module
Speak to Jazz, then select the option “Mind helping me with my ship?” Then select “I’d like to view and modify my ships.”
Here’s the quick way of what you’ll need to do next, with a more in-depth explanation below.
- Click “Ship Builder”
- Select “Add.”
- Select the menu “Equipment.”
- Select Conduction Grid.
- Drag the Conduction Grid over one of the blue outlines.
- Press “Accept.”
- Return to “Add.”
- Select “ComSpike.”
- Drag the “Comspike.” over a blue outline on your ship.
- Press “Accept.”
You’ll arrive at the ship’s menu. At the bottom of the screen, you’ll see a few command options, including “Ship Builder.” Press the button associated with this command. On Xbox we needed to press “X.”

You’ll then be able to modify your ship. Now, here’s where it took us ages to realize where we were going wrong. If you’re on PC, all you need to do is select the “Add” button next.
But if you’re on Xbox, to install the Comspike you’ll need to make sure your cursor is not hovering over any part of your ship. Once your cursor is in free space, you’ll also see an option to “Add.”
Once you’ve pressed add, a menu will appear on the top right of your screen. You’ll need to tab over until you find Equipment. There, you’ll find Conduction Grid and Comspike.
Click on Conduction Grid and it will appear on the screen. You’ll need to click it again to drag it. Once you’re dragging it, blue outlined orbs will appear on your ship. These outlines are all the places the Conduction Grid can be placed.
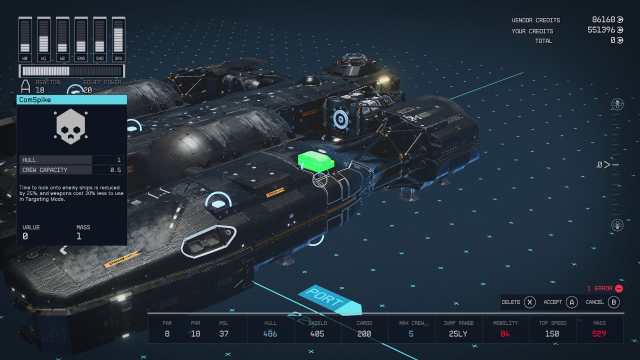
Select the place you’d prefer to put your Conduction Grid, then repeat the process for the Comspike.
Once you’ve added the Comspike and Conduction Grid, exit the menu and confirm your modifications.
Proceed to the UC Vigilance and Speak to Commander Ikande
Now that that’s done, we’ll need to return to the UC Vigilance to report the status of the case. Leave The Key and fast travel to the UC Vigilance. Speak to Ikande, who will let you know that he’s about to launch a full-scale attack on The Key.
He’ll then threaten you, demanding that you bring back the money you get from The Legacy to the UC Vigilance. This is precisely the same threat Deldago made when you spoke to him on The Key, and it’s foreshadowing the big decision we’ll have to make later.
Go to Bannoc IV
Now, we’re finally on our way to the Legacy. Head to Bannoc IV, in the Bannoc System, to the right of Kryx. You can also use your quest menu to automatically set course and jump there instantly.
You’ll arrive in an asteroid field that’s being bombarded with endless lightning. But ahead of you? An unknown signal. Head towards it, and its silhouette will slowly swim out of the mists, revealing the lost Legacy. Edge closer and you’ll be able to board it.
And don’t dawdle too long. Even though your Conduction Grid offers you some protection, you’ll still continuously take damage to your hull. Think of it as a timer.
Onboard the Legacy: Find the Vault Control Center
The path forward is straight. But if you like lore, like we do, here are all of the Legacy’s audio recording locations.
Audio Recording Locations on the Legacy:
- At the bottom of the stairs, right before you go up to the second floor. Grab the tape beside the stairs before you head up to the next floor.
- In the galley / mess hall on the table.
- In the crew quarters, in the far back on the table with the last player.
- In the Captain’s Quarters, next to the safe.
- Outside the restrooms, on a mobile table.
- In the following order:
- In the vault control room, behind the Revenant.
- In the vault control room, on the desk behind the body.
- In the vault control room, on the floor beside the pile of credits.
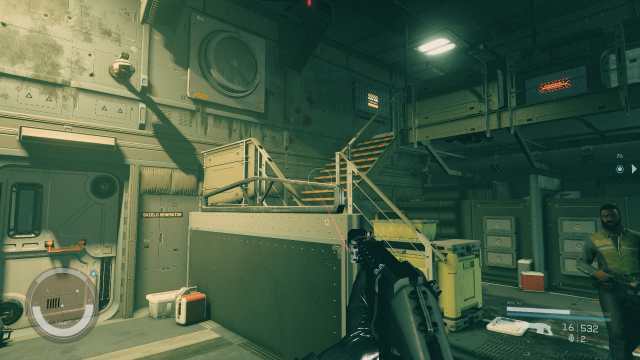
So, once you get up to the second floor, you can choose to examine the side rooms. There’s nothing of significant value in the various locked rooms and safes. If you like meds, it might be worth lockpicking your way into the bathroom. There’s also a spacesuit in the captain’s quarters.
The Transfer Module Lock
Otherwise, head straight and you’ll find yourself at the Transfer Module Lock.

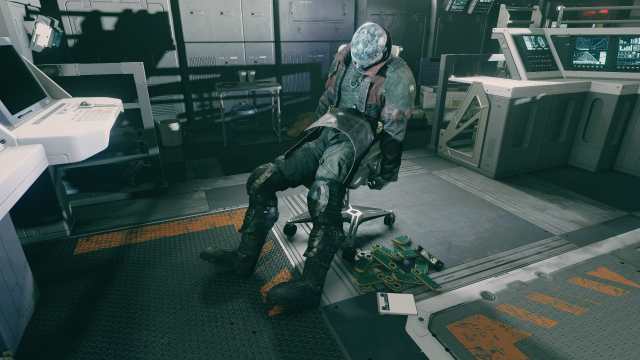
Interact with it, and it will tell you that you need the Transfer GalBank Module. Fortunately, we don’t have to go far to find it.
Turn around and you’ll see the body of a Legacy crew member surrounded by bottles. He has the Galbank Transfer Module. Pick it up, then insert it into the Transfer Module. The door in front of you will open.

Head left, down the stairs. Be sure to interact with the impressive storage container to grab the Credits inside.
Open the orange door at the end. You’ll quickly be attacked by both a robot and a turret. Kill them, then you’ll have two options. You can open the door to the reactor on the left, which will cause radiation damage. It also has a turret and two robots. If you go this way, just turn right and you’ll find a door that will lead you into the locked area.
Otherwise, you can lockpick the “Advance” difficulty door to skip the turret and robots and enter the hall. Note, if you do it this way, I recommend a long-range gun. There are two turrets at the end of the hall, and it will be easier to take them out this way.
This hall will also have two robots on top of the turrets.
To the left of the door at the end of the hall is the Hydraulics Computer. If you hack its advanced lock to change the settings of the robots in the area, as well as disable the alarm.
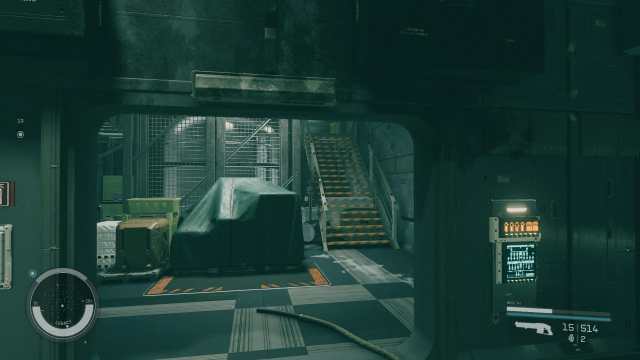
Head through the next corridor with its two doors. You’ll then enter a room that has two paths. You can go upstairs or go into the Shield Generator Room.
Going upstairs is the easiest option, but it has an Expert lock. If you can’t tackle that lock, you’ll have no choice but to go through the Shield Generator room, where a combative robot and a turret.
Entering the Physical Plant
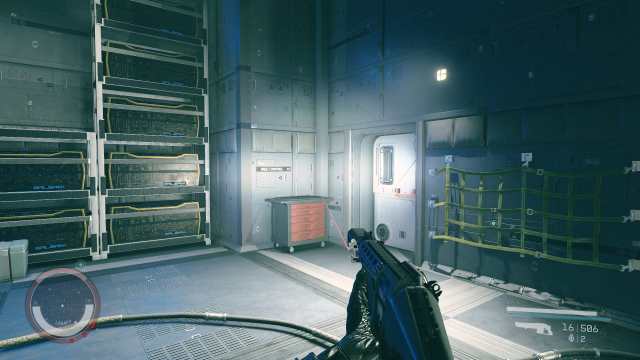
Whether you lockpick your way inside or walk through Shield Generator, you’ll be in the Physical Plant. Expect to find more robot resistance. Fight your way through, then open up the orange vault door. This will lead you to a new stairwell that heads down.
Again, you’ll have two options. The Engine Room or Security. The Engine Room is open, whereas Security requires you to pick a novice lock. The Security Room is essentially just a “treasure” room, with some ammo and a common gun.
Worth noting is that the Engine Room also has a room to the right, with a locked “Advance”-level door. Pick it up, and you’ll gain access to a terminal that will allow you to shut down the turrets, alarms, and robots in this area.

If you lockpick this door, you’ll also gain access to Osterholt’s secret cache in the Control Room. In the terminal, select Maintenance Issue 0602-10-ERL to get the access code.
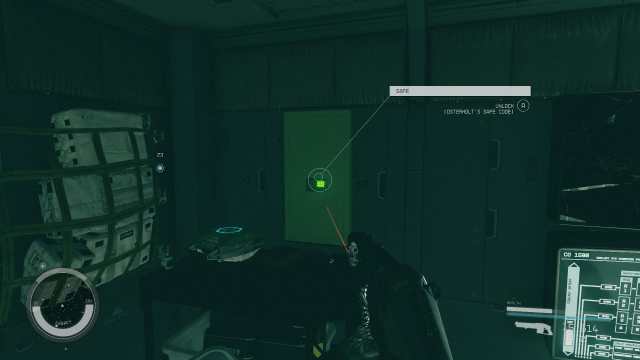
The safe you can use this access code on is in this very room. Opening it will get you a gun (mine was a rare heavy), 762 credits, ammo, and zero wire.
Getting back to the main quest. Once you’re in the Engine Room, head down to the bottom floor. Go to the very back and turn right. You’ll see a flight of stairs.
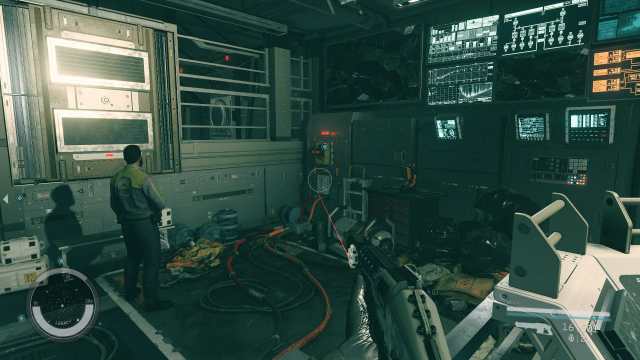
Go up these, and you’ll find yourself in a short corridor with a terminal that opens the vault door. Use it to open the vault.
Inside the Vault
Finally, we’re in the vault. And it’s huge! For the most efficient path, just jump down onto the floor. There are plenty of robots here, which you can try to sneak past or kill. We’re grinding out skill points, so we opted to kill everything.
But if you prefer loot, take the door on the right and head up. There will be two turrets here. But if you go left, you’ll find a weapon case (Novice lock), a gun, and a space suit. If you go right, you’ll find a pack.
There are also treasure rooms on the bottom floor, with one on the left wall and one on the right wall. But the loot is just so-so. You won’t miss anything significant if you opt to skip it.
On the bottom floor, head to the very back left corner. There, you’ll find a door to Vault Control. Expect a turret when you open it.
Head up the stairs to the back left. And then, finally, we’re here.
Retrieve Jasper Kryx’s Possessions
In front of the desk sits the man himself. Jasper Kryx. He, like the rest of the crew, starved to death. But at least he died surrounded by money.
There are two things we need to retrieve here. Jasper Kryx’s Legendary Rifle, the Revenant, and the Galbank Transfer Module in the pile of credits.
There are also three audio recordings in this room. The first is behind the Revenant, which you should listen to first. The second is on the desk behind Kryx, to the left. The third is in the pile of credits.
Once you’ve collected everything, there will be two switches we’ll need to throw at the back of the room.
Do that, then approach the front desk again. Activate the two Transfer Module Locks. Next, activate the Data Core Port, above the final switch. And finally, we can throw the Download Control Switch.
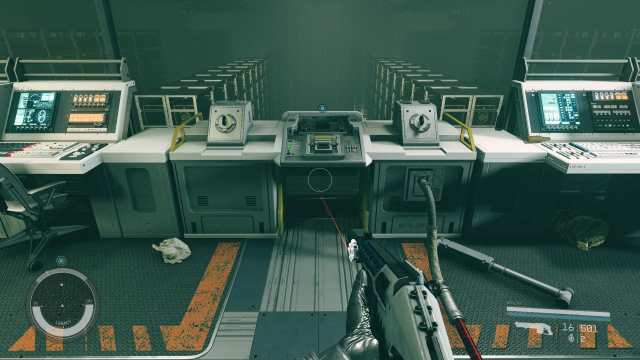
All those hundreds of caches will transfer into the data core. Interact with both Transfer Module Locks again, then take the Data Core.
Escape the Legacy
So, this is about to get stressful.
The moment you take the Data Core, Legacy will undergo a catastrophic system failure. Toxic gas and fire will erupt everywhere. Being exposed to it for too long will inflict damage that will lower your health state in a way that medkits can’t fix.
Your goal is to go back exactly the way you came, all the way back to your ship. This can be difficult because the path is full of smoke and fire. But if you’re struggling with knowing where to go, pull open your scanner. A path will be highlighted that will show you the way.
Here are the main areas where there are changes.
On the vault floor
In the big open space where all the credits were stored, some rubble has changed your pathing, blocking the way straight. Instead, go to the far right to reach the Engine Room.
Once you get through the Engine Room, you’ll start encountering Robots. They will block your way and try to kill you, so dispose of them as quickly as possible.
Transfer Module Lock
Do you recall where you first interacted with the transfer module lock? The thing you opened with the dead crew member’s key? Yeah, this area is completely collapsed. Be prepared to jump across using your boost pack.
It’s okay if you fall, you’ll just have to take the stairs up.
Final hallway
The final hallway with all the crewmembers in it has rubble in it. This will prevent you from going straight. Go left through the crew quarters to get past the blockage, then head down and to your ship.
Once you’re on your ship and in the pilot seat, you’ll have to make a final choice.
Should You Choose UC SysDef or the Crimson Fleet in The Eye of the Storm?
So, here we are. The final choice. And yes, it’s a real one, with lasting effects. You can choose to bring the credits to the Crimson Fleet, or you can return to the UC SysDef and give the credits to them.
Here’s the impact of those choices.
Choosing the UC SysDef / UC Vigilance in Eye of the Storm – Consequences
So, here’s how it breaks down. Commander Ikande will naturally be pleased, but you’ll be forced into a series of space fights with the Crimson Fleet. This will eventually culminate in you landing on The Key itself to talk to Delgado. You can kill him or persuade him to come quietly, thus resigning himself to prison. Much like his hero, Kryx.
The more tangible consequences for siding with UC SysDef are:
- The Key will then be lost as a destination, along with its vendors.
- The Crimson Fleet will no longer be enemies you encounter.
- You’ll gain access to the UC SysDef mission board.
- Your companion will likely gain approval points.
- You’ll gain the SysDef Formal Uniform.
- You’ll gain 250,000 Credits.
Choosing the Crimson Fleet in Eye of the Storm – Consequences
Things will have an air of stress in the Crimson Fleet. You’ll hand over the goods to Delgado, and he’ll be extremely grateful. You’ll then need to fight the UC Vigilance. You can then persuade Commander Ikande to not destroy his ship and everyone on it.
The more tangible consequences for siding with the Crimson Fleet are:
- You keep the Key as a destination, along with all the vendors.
- You’ll keep the Crimson Fleet Mission board.
- Your companions will likely disapprove.
- You’ll gain 250,000 Credits.
So, which should you choose? Whichever you like. We opted to keep the Crimson Fleet because they’re extremely useful for selling contraband. Also, there was more character development with the fleet, so in terms of storytelling, it was the more satisfying option.
The Crimson Fleet Questline in Starfield
The Crimson Fleet Faction questline has seen you going undercover for SysDef to infiltrate the criminal space pirate group. You’ll eventually decide whether or not you want to be a true space pirate, but until then, you’ll play the role of space cop.
Eye of the Storm is the seventh quest in the Crimson Fleet questline, serving as the faction’s penultimate quest. You can check out the rest of the questline along with some of our guides to walk you through them below. Coming up next is Legacy’s End.
- Deep Cover
- Rook Meets King
- Echoes of the Past
- Breaking the Bank
- The Best There Is
- Absolute Power
- Eye of the Storm
- Legacy’s End
And now that you’ve finished Starfield’s Eye of the Storm, make sure you’ve completed the ongoing Burden of Proof quest before continuing on.