
How to Complete Absolute Power in Starfield
Electrifying consequences.
Starfield, being an open-world RPG and all, features a lot of missions for you to complete. Some of these are main missions and tend to be somewhat straightforward, while most are side missions that take you on branching paths, such as with faction mission groups. One such mission comes towards the latter half of the Crimson Fleet storyline and has some people stumped. Here’s how to complete the Absolute Power mission in Starfield.
Starfield Absolute Power Mission Walkthrough
This mission requires you to complete the previous mission in the Crimson Fleet storyline, The Best There Is. At the end of that quest, you’ll be instructed to help deal with the EM Gas Giant problem, which is blocking the Fleet’s path from accessing a ship containing a hefty amount of credits. To fix the issue, you’ll need access to Neon’s Conduction Grid technology. Delgado, thankfully, has just the contact for that.
All Absolute Power Mission Steps
- Travel to Neon.
- Travel to Madame Sauvage’s Place.
- Talk to Estelle Vincent.
- [Optional] Locate Evidence to Extort Ayumi Komiko.
- Ask Myka About Ayumi Komiko’s Whereabouts.
- Acquire the Generdyne Passkey From Ayumi Komiko.
- Proceed to Generdyne’s Power Core.
- Locate Breyson Bayu.
- Upload Estelle’s Virus/Decrypt the Conduction Grid Data.
- Speak to Benjamin Bayu.
- Locate Estelle at Madame Sauvage’s Place.
- Return to The Key.
Travel to Neon

This step is pretty straightforward. Head to Neon, which is located within the Volii system on the planet Volii Alpha.
Travel to Madame Sauvage’s Place

Delgado’s contact, Estelle Vincent, is found at Madame Sauvage’s place. To get there, land at Neon and take the elevator past the security checkpoint. Once at the top, go behind the elevator and down the stairs to Ebbside. When you enter Ebbside, you should see Madame Sauvage’s Place clear as day.
Talk to Estelle Vincent

Estelle can be found on the second floor. When speaking to her, she won’t exactly be in the mood to go through with the pre-established plan and wants Delgado to start “taking her seriously.” After some back and forth, she’ll tell you that you need to download the Conduction Grid tech from the Power Core of Generdyne’s facility. She’ll also ask you to install a virus into Generdyne’s systems, which for whatever reason, is mandatory. However, the extra Credits are nice.
She’ll point you in the right direction, with your next objective being to get in contact with Komiko, a high-level executive at Generdyne.
[Optional] Locate Evidence to Extort Ayumi Komiko

Assuming you want to proceed with Komiko the easy way, you’ll want to get some incriminating evidence from her office in the Trade Tower first. Head over to the Astral Lounge at the center of Neon and take the elevator to the right of the entrance up to the Generdyne Industries floor.

Once on the floor, speak with the receptionist, Ji Nashida, who isn’t in the greatest mood right now. If you’re kind to him, he’ll get his thoughts off his chest about the currently poor state of Generdyne. Nothing new is being developed, and there’s a bit of a conflict of interest with Benjamin Bayu’s brother at the head of the R&D department. What you choose for this conversation doesn’t matter, except for what comes afterward.
Asking him about Komiko opens up the possibility for a Persuasion speech check, which you’ll want to take. Make sure to save beforehand, in case you mess it up. If you succeed in the speech check, he’ll tell you Komiko and Bayu are up to something. He witnessed a not-so-friendly discussion between the two of them and knows Komiko keeps audio logs of her meetings. If not, then you’ll need to ensure you’re Level 3 in Security to be able to finish this objective.

When you two are done chatting, head into Komiko’s office, but don’t open the safe yet. If any of the people outside see you, it’ll tip them off, and you’ll be attacked. Instead, close the door to her office and hit the switch next to her safe to close the blinds. Then, you’re free to take whatever you want from her safe.
Ask Myka About Ayumi Komiko’s Whereabouts

No matter whether you have the evidence or not, head to the Euphorika bar and speak to its owner, Myka. Euphorika can be found by entering the Ebbside door between The Emporium and Terrabrew Coffee within Neon’s main street. When you enter, Euphorika is right in front of you. Speaking to Myka at the bar, you’ll want to ask about Komiko. She’ll get a bit defensive and ask what you want with her, to which you can select whatever you want.
When she’s had her rant, tell her you’re part of the Crimson Fleet, and she’ll calm down. She’ll tell you Komiko can be found in the Member’s Lounge, though you’ll have to pay a hefty 5,000 Credits to get access. Once in the Member’s Lounge, head upstairs, and you’ll find her sitting in a chair.
Acquire the Generdyne Passkey From Ayumi Komiko

There are a few ways you can send this conversation, depending on how prepared you are. If you got the evidence from the optional objective earlier, you can use that against her and get her passkey easily. If you didn’t, you can also execute her, though that’s ill-advised given all the people around and the fact that she’s (mostly) innocent. If neither of those is your fancy, then you’ll have to pay 4,000 Credits to get her to make the deal. No matter how you do it, you’ll get the Generdyne Storage Room Passkey, and you can be on your way.
Enter Generdyne Through the Storage Entrance
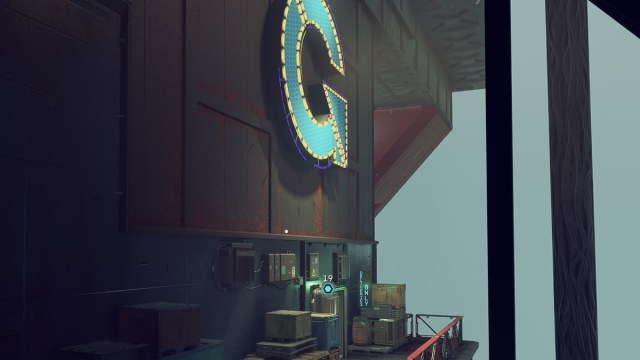
With the Pass in hand, make your way to the Underbelly and head over to the Generdyne Industries building on the far side. On the right wall of the building is the storage room, which you should now be able to access. Once inside, open up the maintenance hatch and begin making your way through the building.
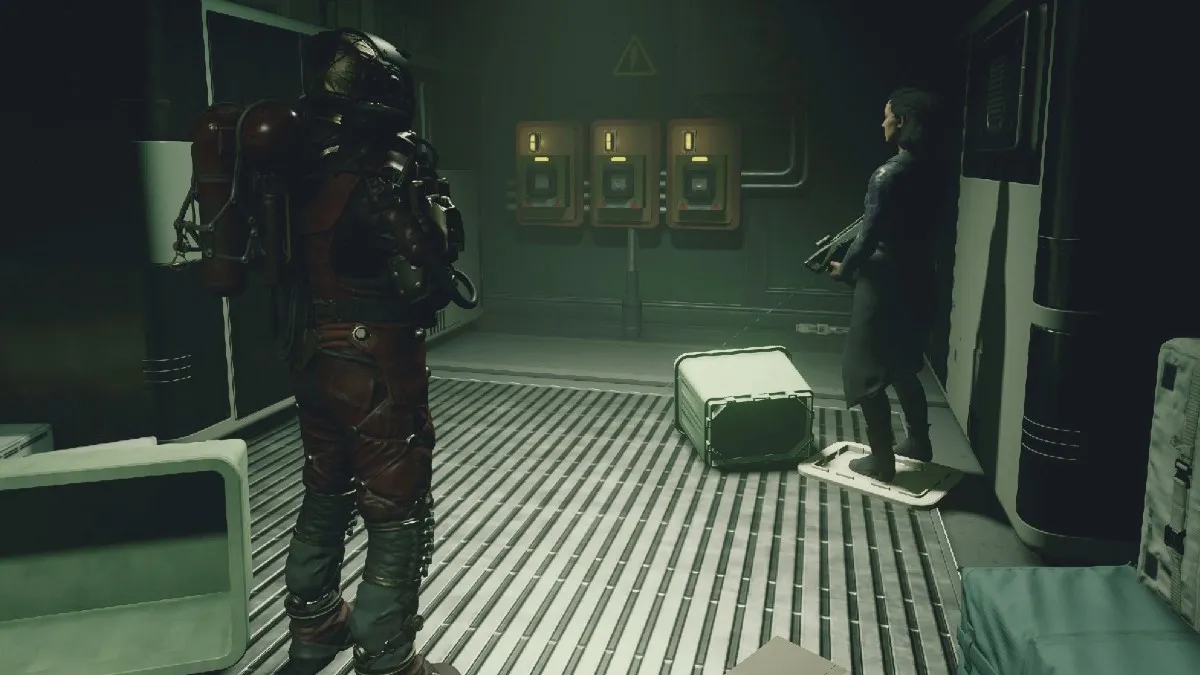
Proceed to Generdyne’s Power Core

This is where things can get a little tricky, so we recommend saving frequently. Start making your way through Generdyne’s factory, carefully avoiding guards and security robots. You’ll need to make your way downstairs, then take the vent at the bottom of the stairs to avoid the security robot. Be careful when you exit the other end of the vent, as the security robot does patrol that side as well. Make your way through the nearby door and past the Generdyne Technicians. If you don’t have points in Stealth or the Void Form Power, going quiet beyond this point may be impossible. Don’t worry, though, as it won’t have a massive detriment.

Continue making your way through the halls and attempting to avoid the guards and Technicians, unless avoiding them is impossible for you. When you make it to a green room with a guard alongside a ton of Technicians, you can make your way behind the giant computers and access a maintenance tunnel to progress far more easily. When you’re at the other end of said maintenance tunnel, play it patient. The guard will go pretty far away from the opening, and you’ll be able to pass easily.
Continue taking those maintenance tunnels and avoiding both civilians and guards wherever possible. If you’re going loud at this point due to a lack of skills, then just keep proceeding and trying to follow the objective marker. Once you’ve made it to the Conduction Grid’s massive pit, you’re in the clear and can proceed without sneaking from here on out.
Locate Breyson Bayu
Once you’ve acquired the Conduction Grid Data, make your way through the tunnel and up to the assembly area. Unfortunately, you will have to stealth this once again, albeit with an easier path. There’s a maintenance tunnel to the right of the first open area, which can help to avoid the guards and civilians. When you exit, you’ll see the Research Director’s Office across from you, which you’ll want to access while ideally avoiding the hostiles.
Check out the Advanced Safe underneath the Research Director’s desk for some nice loot.
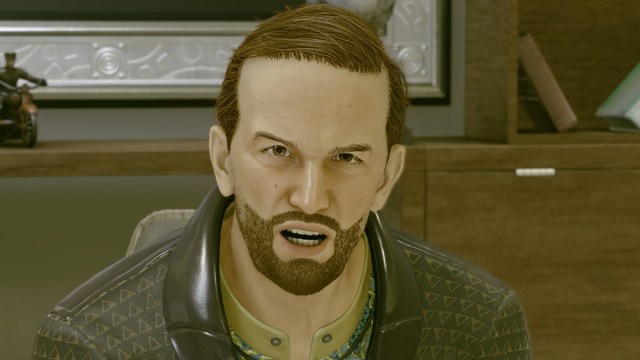
Make your way up the maintenance tunnel in his office, then hug the wall leading to Breyson Bayu’s office. Otherwise, the guards and civilians may see you. Inside is Breyson, who you’ll need to speak to to get the Encryption Cipher. However, there’s no speech check or fancy dialogue choices you need to make. Instead, he wants to give it to you as a way of getting back at his brother. Nothing like a little jealousy to make things easier.
Upload Estelle’s Virus/Decrypt the Conduction Grid Data
Once he gives you the Encryption Cipher, you can decrypt it through his computer. You can also upload Estelle’s virus to the PC to complete that part of the mission. From here, return to Estelle through Breyson’s elevator and into the Astral Lounge.
Speak to Benjamin Bayu

…Except it’s not that simple. It seems Benjamin caught wind of your little plan, and got into the VIP room before Estelle could get there. He knows all about the virus and everything else you had planned. He also isn’t interested in a negotiation. Instead, he wants to make an offer. If you tell him who’s profiting from that virus, he’ll let you leave Neon alive. From here, you have three options. You can either say it was you, say it was Breyson, or say it was Estelle. We suggest saying it was you, since it’ll increase your companion’s likeness instead of lowering it. It also won’t actually affect you since you seemingly never get a bounty on your head or anything remotely close to it.
Locate Estelle at Madame Sauvage’s Place

Return to Estelle at Madame Sauvage’s, and she’ll mention that she can’t use the virus and wants to be cut in on a bit of cash. If you give her some Credits, no matter how much, she’ll be happy to get some money, and you’ll increase your companion’s likeness for you. She’ll speak highly of you if you paid her, then send you back to the Key. This will finish the mission and send you immediately into the final mission of this chain, Eye of the Storm.
Absolute Power Mission Rewards in Starfield
Once you complete Starfield’s Absolute Power mission, you’ll receive a nice bonus in the form of Credits and XP. But only if you kept to the shadows and successfully tip-toed your way through the mission as a stealthy little sneak. If so, you should get 14,000 Credits and 350 XP. Not bad.
Well, that’s it for the Absolute Power Starfield mission. If you’re looking for help with more missions, check out our guide on how to complete the Out on a Limb mission in Starfield.