
Baldur’s Gate 3: How to Solve Ketheric Thorm’s Mausoleum Puzzle (BG3)
This man loves his dead wife
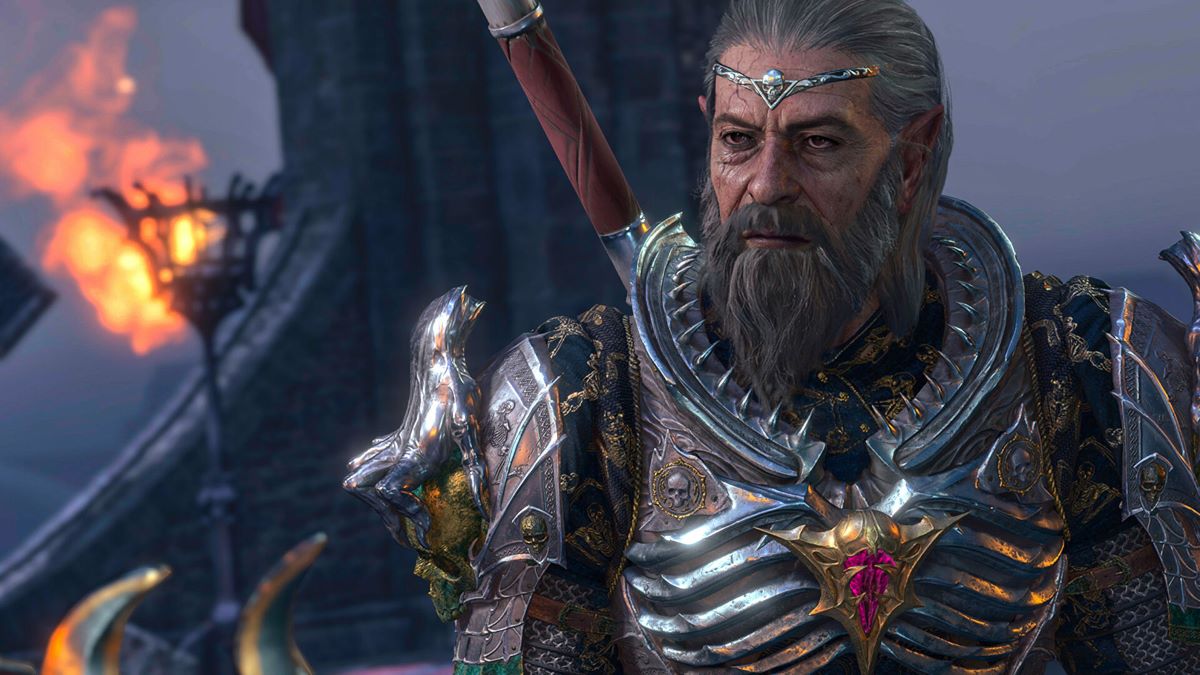
Ketheric Thorm’s immortality is an endlessly reviving thorn in our side, but what if there was a way to sever the connection that sustains his accursed life, and what if it happened to be blocked by a puzzle? Here’s how to open the Thorm Mausoleum in Baldur’s Gate 3.
How to Get to the Thorm Mausoleum Puzzle
The Thorm Mausoleum puzzle can be found in Act 2 of Baldur’s Gate 3 toward the northwest Shadow-Cursed Lands. There are quite a few clues scattered around that push you to the Thorm Mausoleum. You might learn about it from the Blighted Brewer Thorm in the Waning Moon Inn. You might have learned about it from the prison diary in Moonrise Tower.
To get to the Mausoleum, start from the Moonrise Towers and move forward through the House of Healing and through the Reithwin Graveyard northwest of the Masons Guild. Here you’ll find the mausoleum entrance where Raphael is waiting for you near the entrance doors. But if you want to assist Raphael, you’ll first have to get into the Gauntlet of Shar.
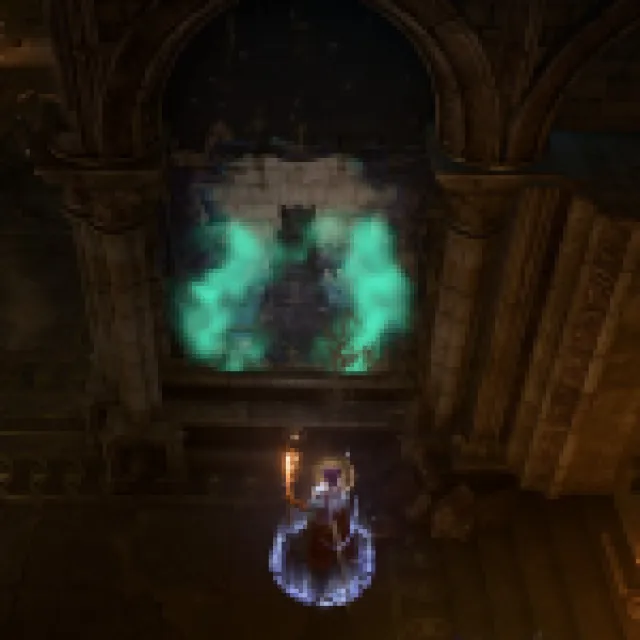
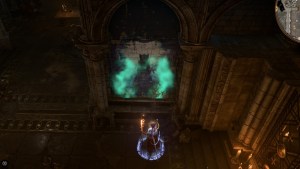
But actually getting into the Gauntlet of Shar, which stretches below the Grand Mausoleum, will require some puzzling, as it’s blocked by a door hidden by a painting of Thorm himself. Fortunately, the puzzle is straightforward. If you read a book in the next room, you’ll learn that you’ll need to walk in Thorm’s footsteps “deed by deed. From splendour, to tragedy, to infamy.”
How to Solve Ketheric Thorm’s Mausoleum Puzzle
To solve Ketheric Thorm’s Mausoleum puzzle, follow these steps:
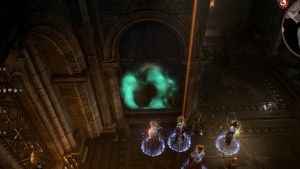
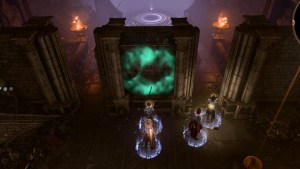
- Head to the far back room in the mausoleum.
- Press the button on the mural of the Moonrise Tower.
- Press the button on the mural of the dead wife (Grief).
- Press the button on the mural of Ketheric Thorm (General).
And that’s it. After you press the buttons in the right order, a set of doors on the sides of the General mural will open up, and you can then use them to descend into the Gauntlet of Shar.
Screenshots by Prima Games
Location of Each Mural for the Mausoleum Puzzle
In case you’re unsure which mural is which, the first mural of Moonrise Tower is to the left of where you enter this room. The second mural, of Thorm grieving his wife (sorry, Isabella), is to the right of the entrance. And the final mural is the one on the far wall, which shows Ketheric Thorm himself. Go to each mural in that order and you’re all set.
Note, the entire room looks booby-trapped but they’ve all been disarmed. So, wander around freely. The only thing you have to really be concerned about is getting the puzzle wrong. If you do, the room will flood with darkness. But you can still click the buttons just fine without taking any damage.
What Happens When You Solve Ketheric Thorm’s Puzzle?
After you’ve pressed all the mural buttons in the right order, Ketheric Thorm’s mausoleum puzzle will be complete, and a door will slide open on either side of Thorm’s portrait. This door will lead down to the Gauntlet of Shar: a sprawling series of trials you’ll need to complete to continue Act 2 in Baldur’s Gate 3.
We highly recommend you bring Shadowheart with you as run through the Gauntlet of Shar as it’s heavily tied to her personal questline. Just be sure that you’ve done all that you need to in Act 2 before you progress—the end of the Gauntlet of Shar is a soft Point of No Return that will progress the game’s story and lock you out of many questlines and areas from the game’s first act.
Gauntlet of Shar Trials
The Gauntlet of Shar trials located past the mausoleum puzzle will be comprised of three challenges that test your cunning. You’ll also be presented with a few other challenges and puzzles as well. Below, you can check out what’s coming up next so you know what to expect as you descend into the depths of Ketheric Thorm’s Mausoleum:
- Get past the Umbral Gem puzzle maze.
- Complete the Soft-Step Trial.
- Complete the Self-Same Trial.
- Complete the Faith-Leap Trial.
- Grab the Spear of Night.
How to Start Shadowheart’s Questline
Shadowheart’s companion quest Daughter of Darkness automatically starts when you first meet up with her in BG3. You can find Shadowheart initially either unconscious on the beach by the Abandoned Ruins or at the Druid’s Grove. At both of these opportunities, you’ll be given a chance to recruit her.
This recruitment is crucial if you want to get some very important sidequests done in the Gauntlet of Shar. So be sure to find her ASAP.
And now that you’re about to get into the thick of it, it might be a good idea to kill two birds with one stone and find Raphael’s Old Enemy while you’re down there.