
Luigi's Mansion: Dark Moon Guide Walkthrough Walkthrough
Treacherous Mansion
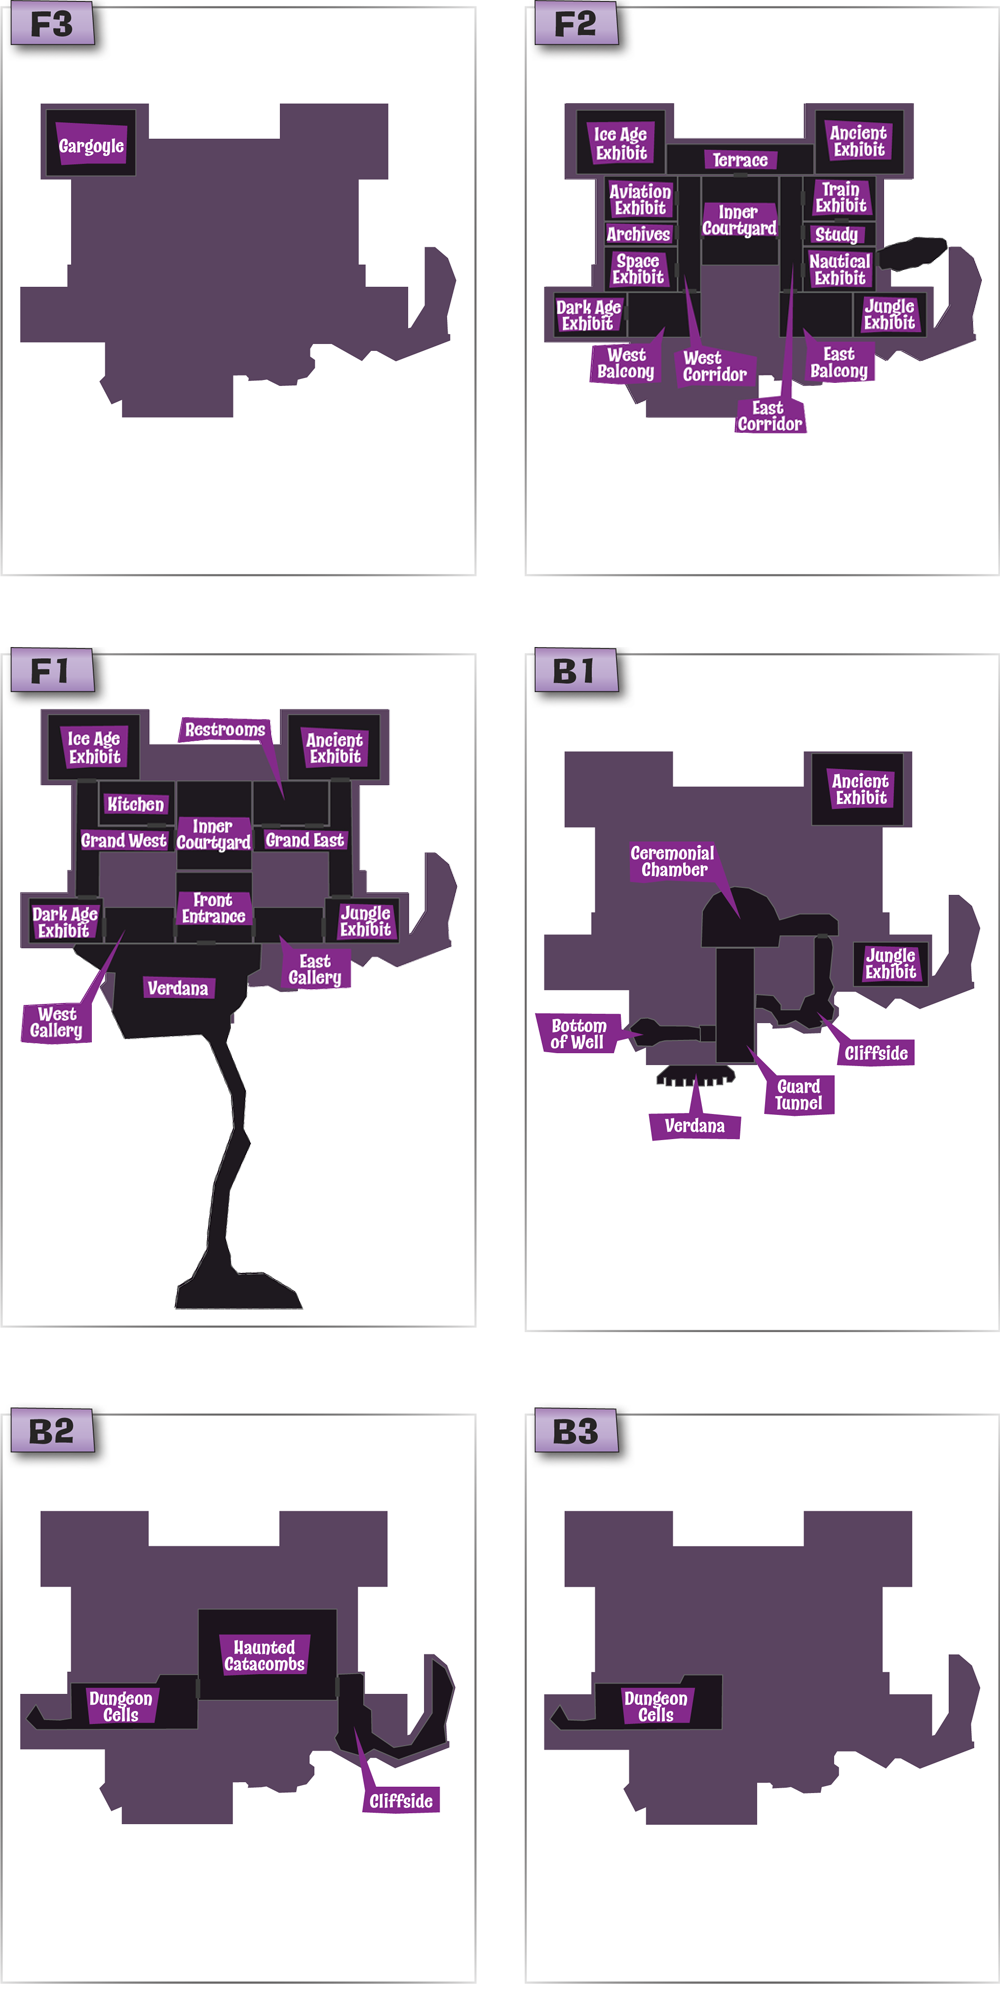
Mansion Overview
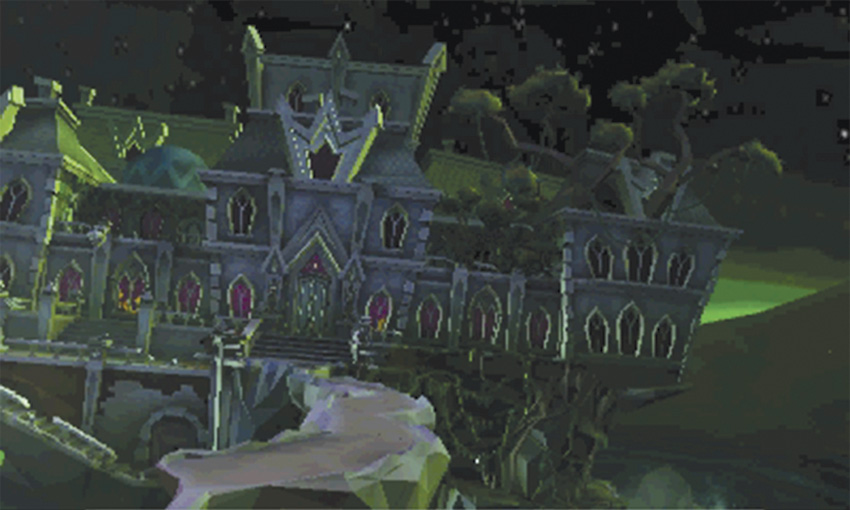
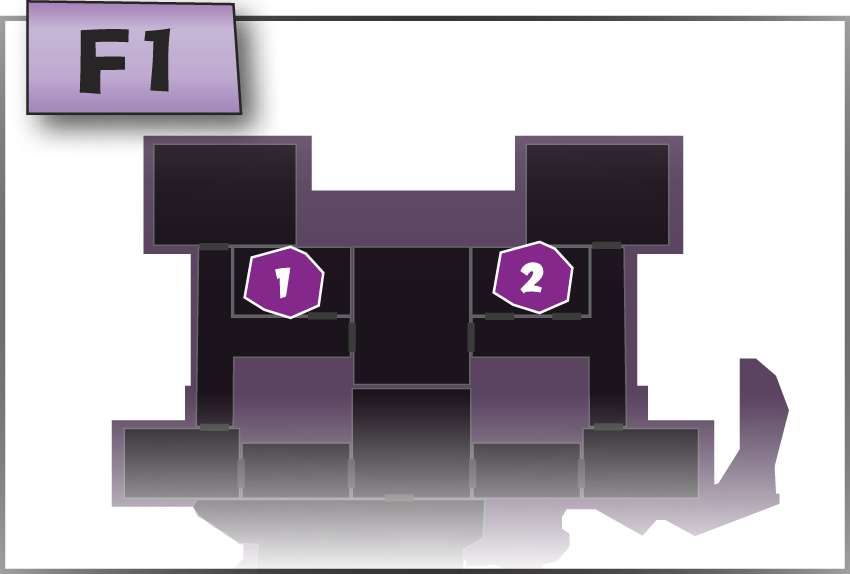
Over the time, the Treacherous Mansion has been transformed into a private museum. Many of the building’s rooms contain impressive collections of rare artifacts and oddities. This mansion also contains a vast network of E-Gates, making it easy for interested visitors to pop between the many exhibits.
Of course, this lavish mansion has seen better days. The Toad curators have gone missing, and in their absence, some particularly strong ghosts have laid claim to the property. According to Professor E. Gadd, the Treacherous Mansion’s paranormal readings are off the charts.
E-1 Front-Door Key
Search the Veranda
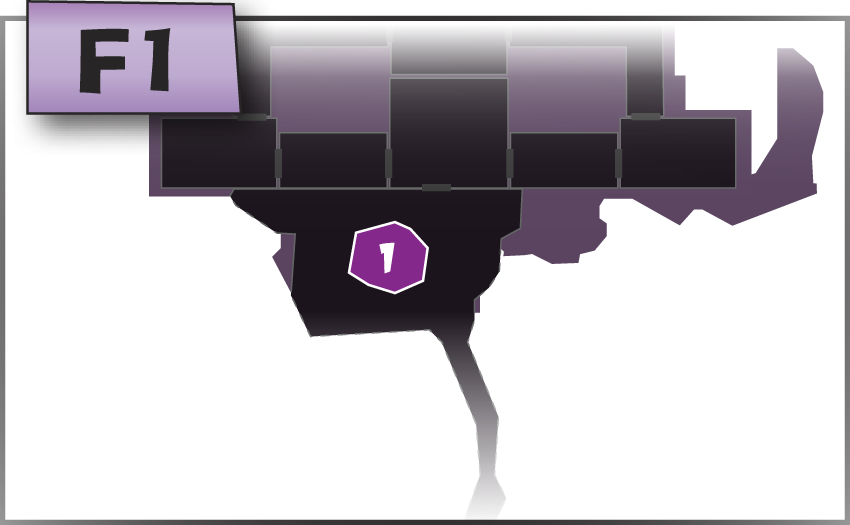
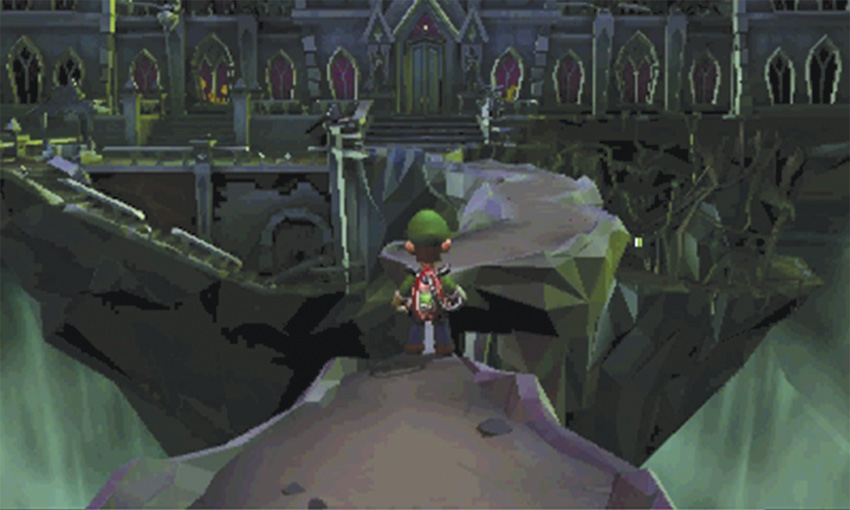
 When the mission starts, you’re transported to a precarious path attached to the Veranda. As you move toward the mansion, the path begins to crumble. Shuffle across the narrow strips that remain.
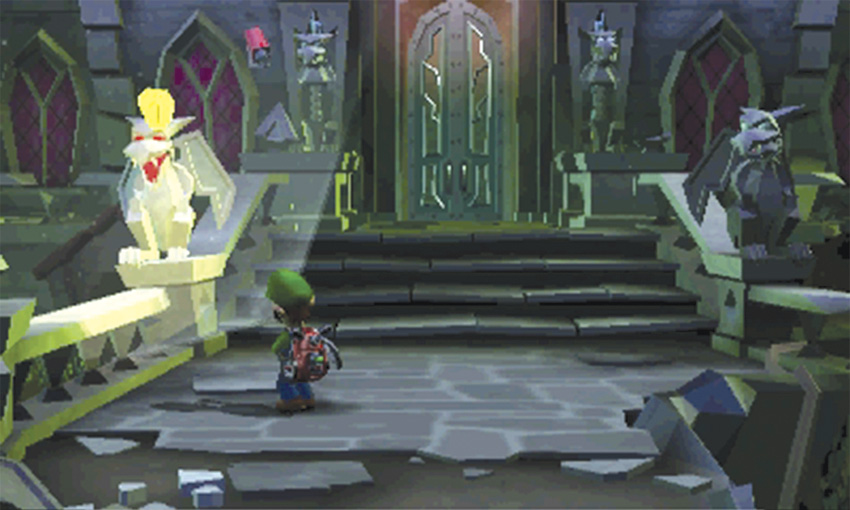
When you reach the end of the Veranda steps, the narrow path crumbles away. Flash the gargoyles lining the steps and attempt to open the mansion’s front door.
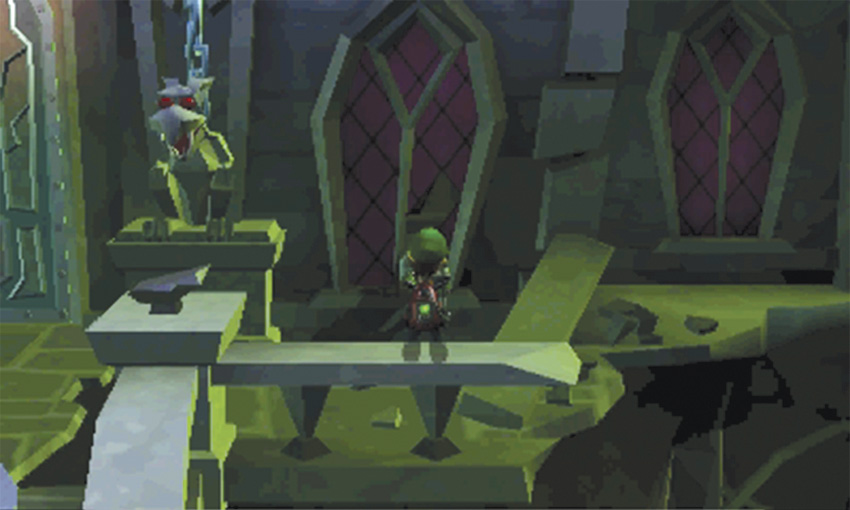
During a brief cinematic, the Polterpup runs off with the Front-Door Key. When you recover, slide a few steps east and use the window to peek into the Front Entrance. When you’re finished watching the sinister goings-on, follow the porch west and explore the Veranda.
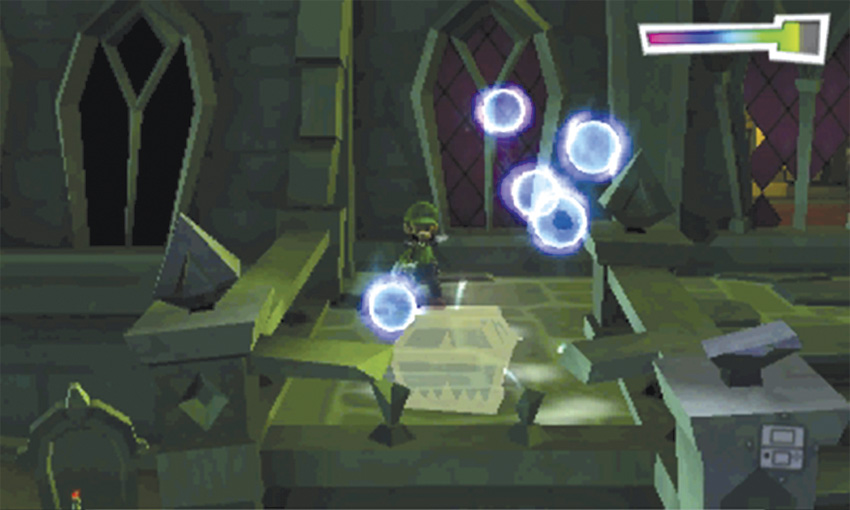
Move to the west edge of the porch and use the Dark-Light Device to reveal the chest near the broken railing. Capture the Spirit Balls, search the chest, then head down the nearby steps.
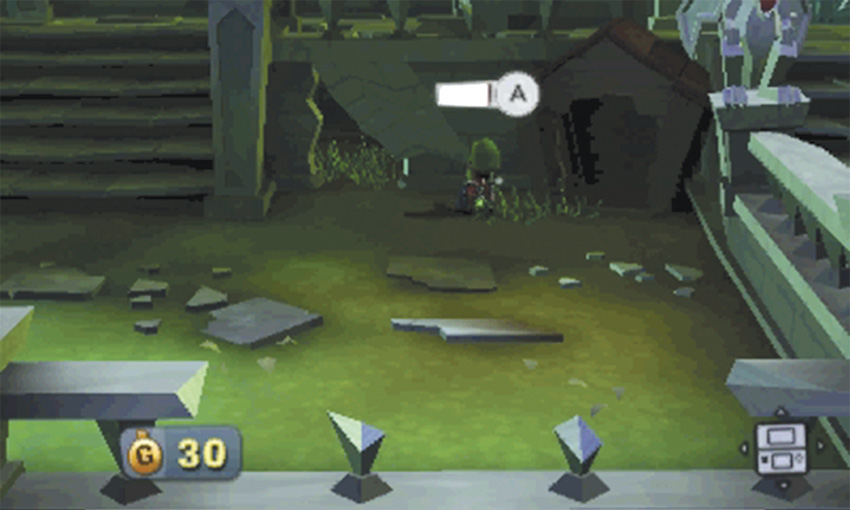
When you reach the bottom of the steps, the Polterpup leaps down to level B1. Before you follow it, take the time to search the area. Slide a few steps to the east and collect the treasure stashed in the doghouse. A-Pull the false bricks just west of the doghouse, then follow the revealed passage to the small graveyard at the Veranda’s northwest corner.
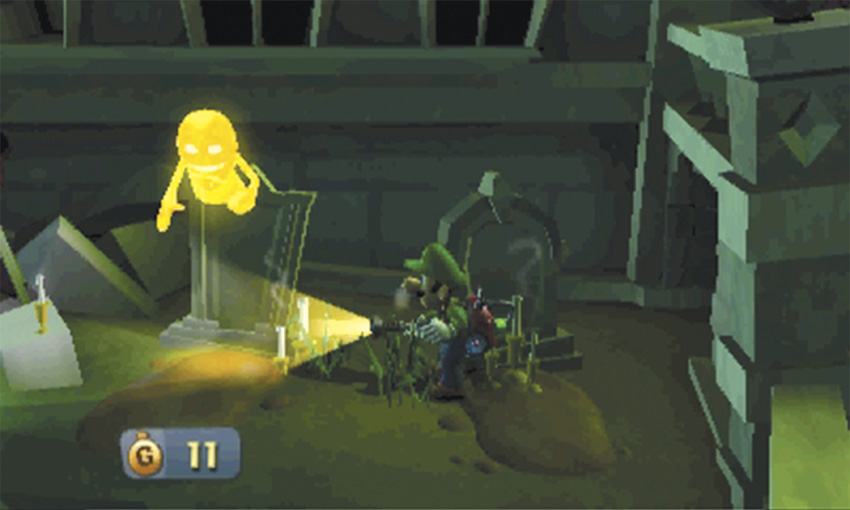
Flash the crows perched on the headstones, then use the Poltergust to extinguish the nearby candles. When all of the flames are gone, a Gold Greenie emerges from one of the graves. Capture the ghost before it escapes, then collect the resulting treasure and head back through the hidden passage.
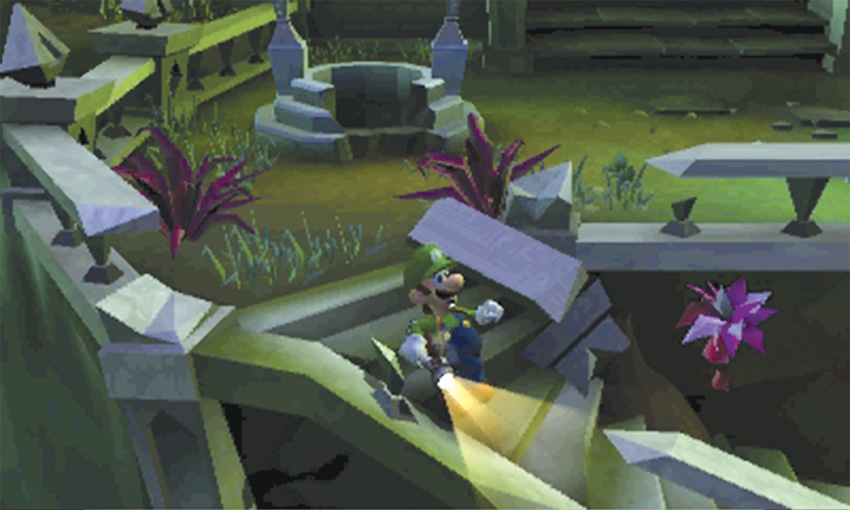
Locate the steps along the area’s south edge. Vacuum the purple weeds near the well, then head down the steps to look for the Polterpup. A-Pull the weeds growing out of the wall, and flash any bats that emerge from the openings.
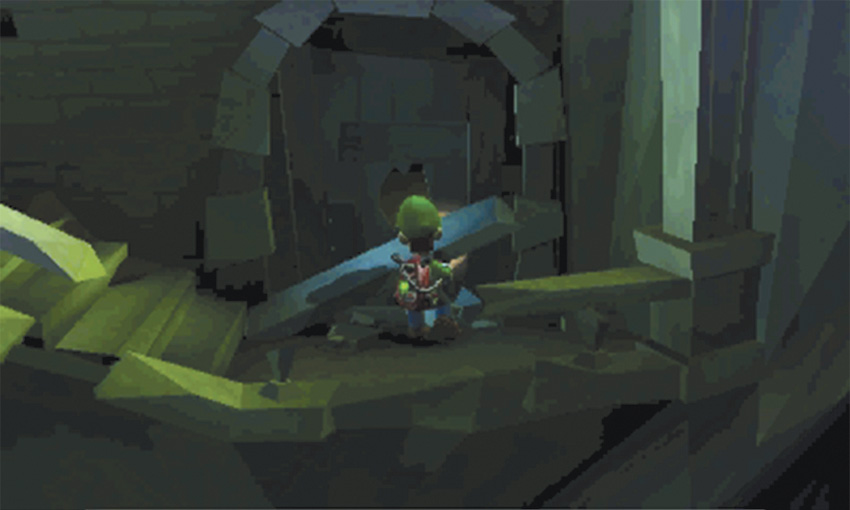
The door at the bottom of the steps is blocked. Peek through the hole to see glimpse the Polterpup in the Guard Tunnel, then head back up the stairs to find another path into the area.
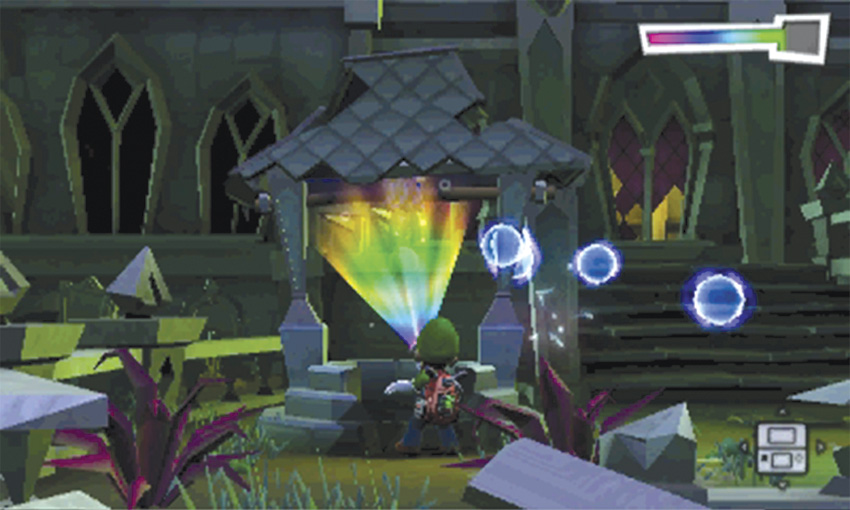
Use the Dark-Light Device to reveal the missing chain above the well, then capture the Spirit Balls that appear. When you’re ready, latch onto the chain and ride down to the Bottom of the Well.
Reach Level B2
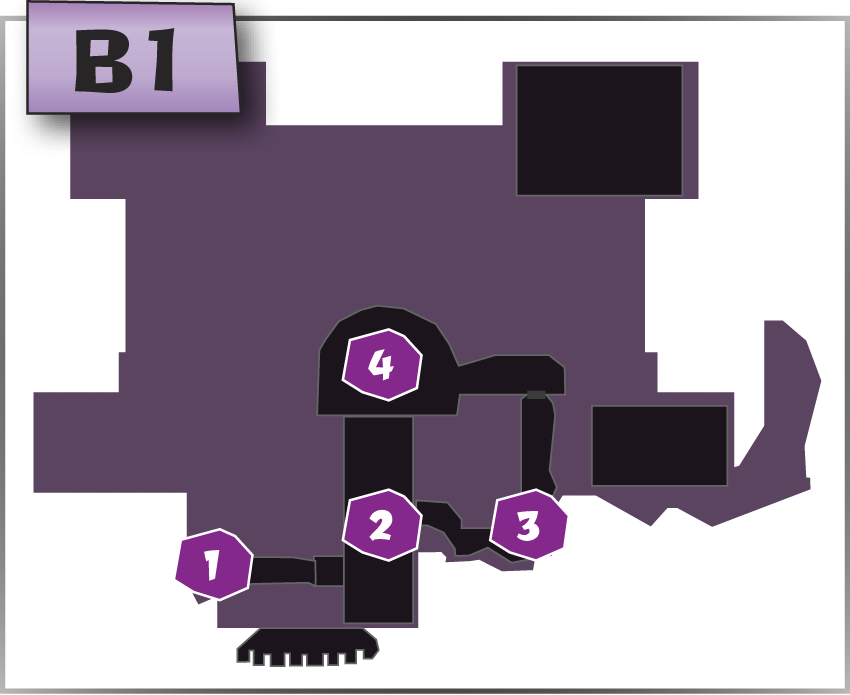
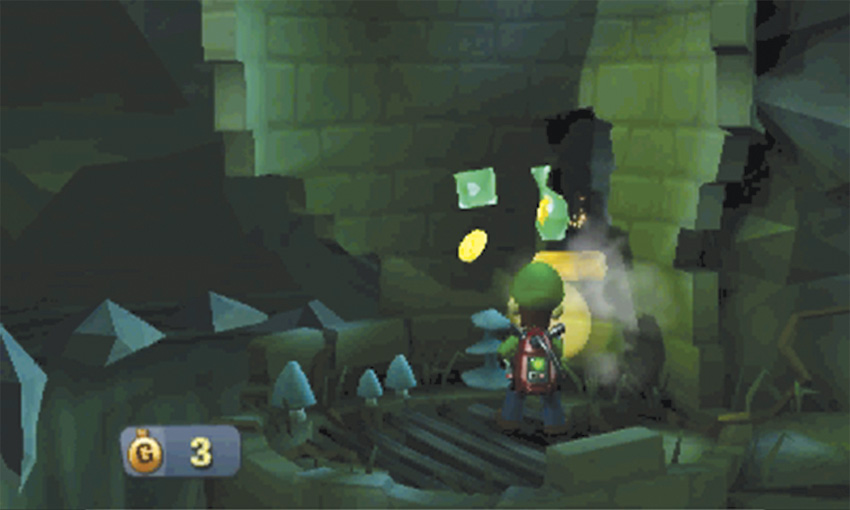
When the cinematic ends, vacuum the false bricks on the wall to find some stashed treasure. When you’re ready, follow the path to the east.
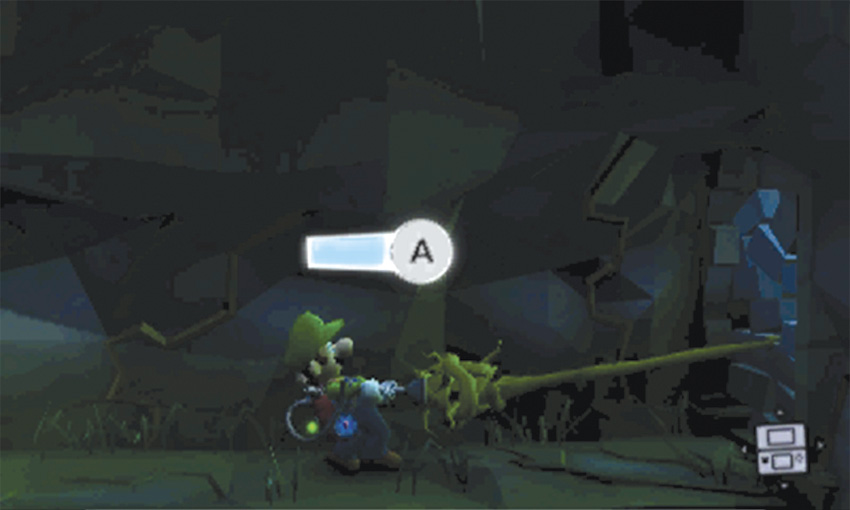
Flash the spiders in your path and vacuum the mushrooms growing along the passage. When you’re ready, A-Pull the knotted vine in the east wall. After the bricks crumble, follow the path into the Guard Tunnel.
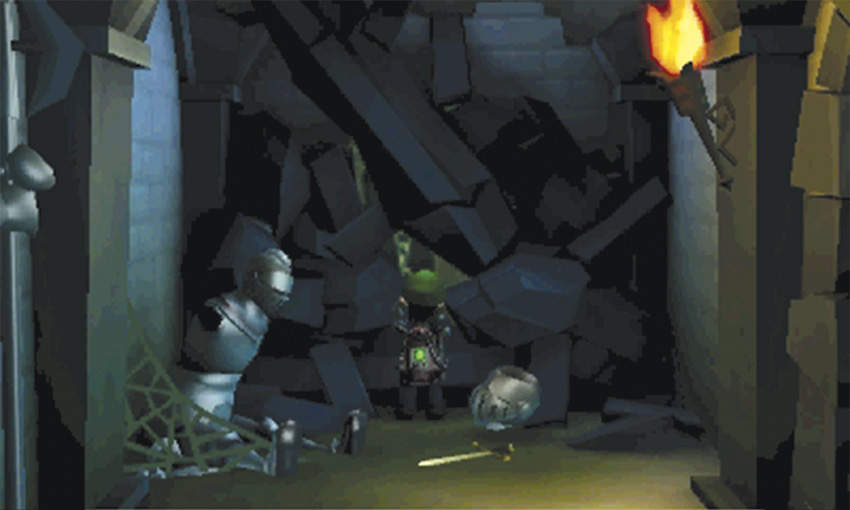
 When you enter the Guard Tunnel, the Polterpup leaps through the room’s north wall. Peek through the hole in the north wall to seen the Polterpup in the Ceremonial Chamber.
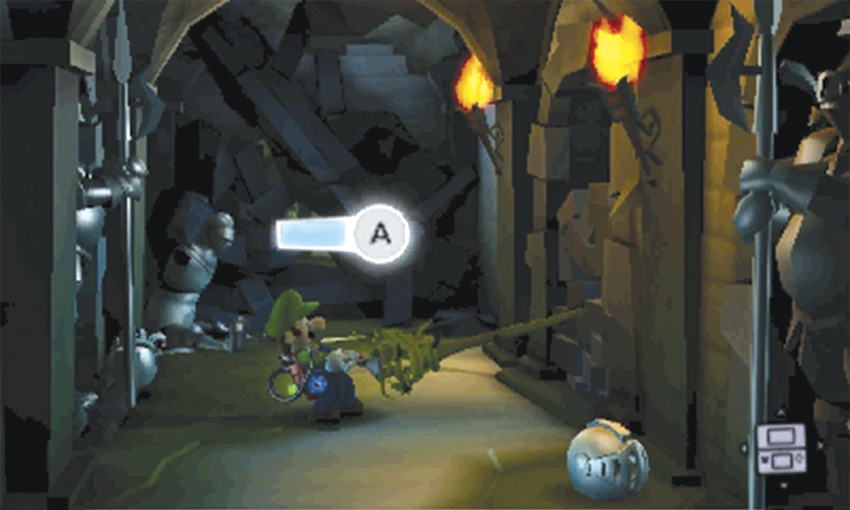
When you’re ready, A-Pull the knotted vine on the east wall. When the bricks crumble, two Strong Greenies enter the room. Soon after the battle starts, a Strong Slammer and a third Strong Greenie appear in the Guard Tunnel. Try to capture the first two ghosts before their reinforcements arrive.
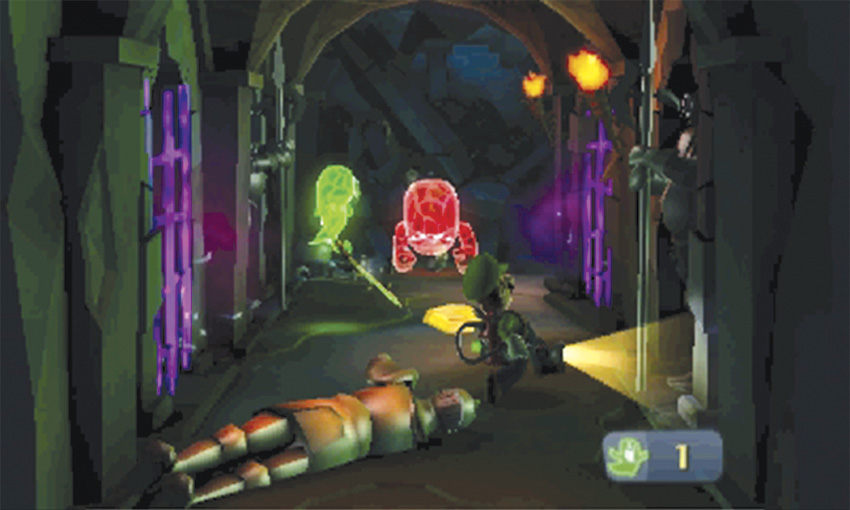
The Strong Greenies tend to use the swords and helmets littered about the room. Watch out for spinning attacks, and disarm any specially equipped enemies as soon as possible. After you capture all four ghosts, head through the hole in the east wall to find the Cliffside.
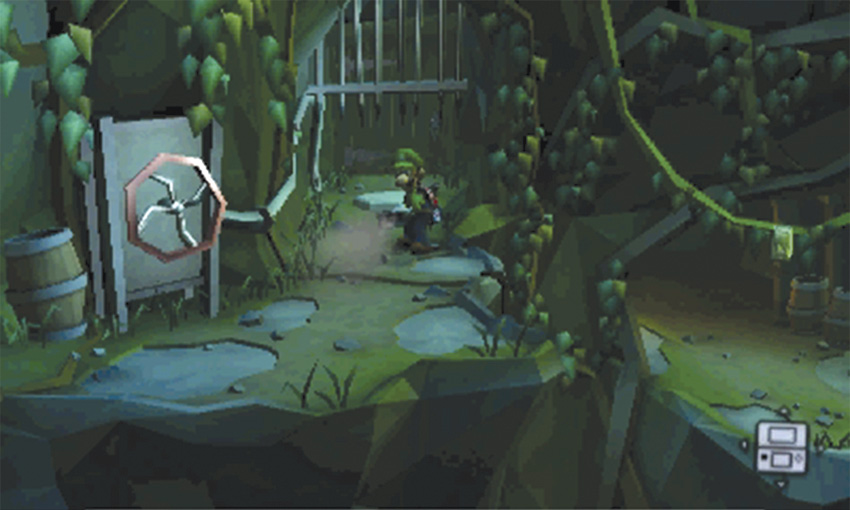
 Vacuum the mushrooms along the Cliffside path and search the barrel near the wheel mounted on the wall. Move to the gate at the end of the path, then turn around and vacuum the wheel. When the gate is completely raised, slip under the bars and continue to the Ceremonial Chamber.
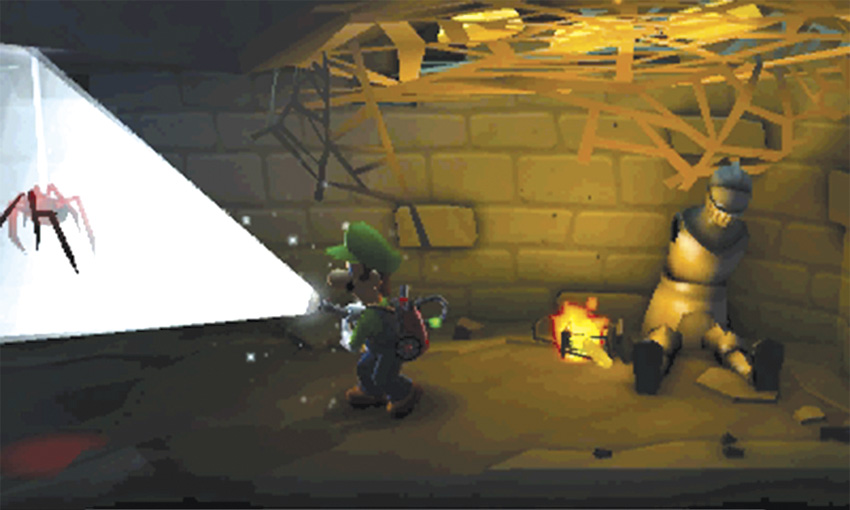
 When you first enter the Ceremonial Chamber, you do so through a small passage on the room’s east side. Flash the spiders in the passage, then move into the room’s main area.
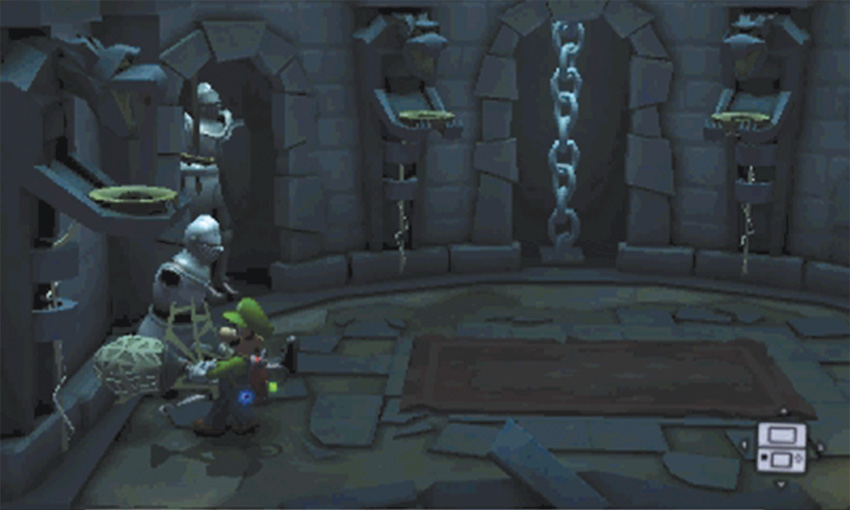
Cross the Ceremonial Chamber and vacuum the ball of webbing near the west wall. Carry the web-ball into the passage on the east side of the room.
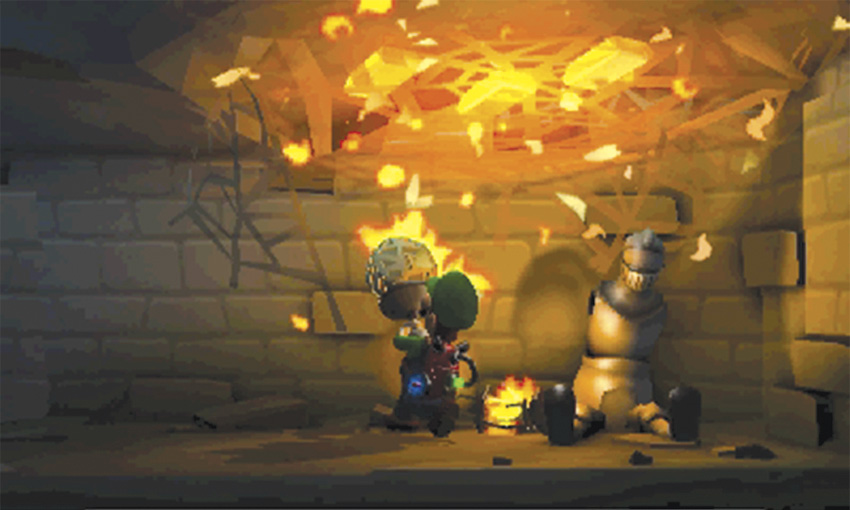
Use the lantern on the floor to ignite the web-ball, then burn the large web on the ceiling above you. Collect the treasure that drops to the floor, then head back across the Ceremonial Chamber to grab a fresh web-ball.
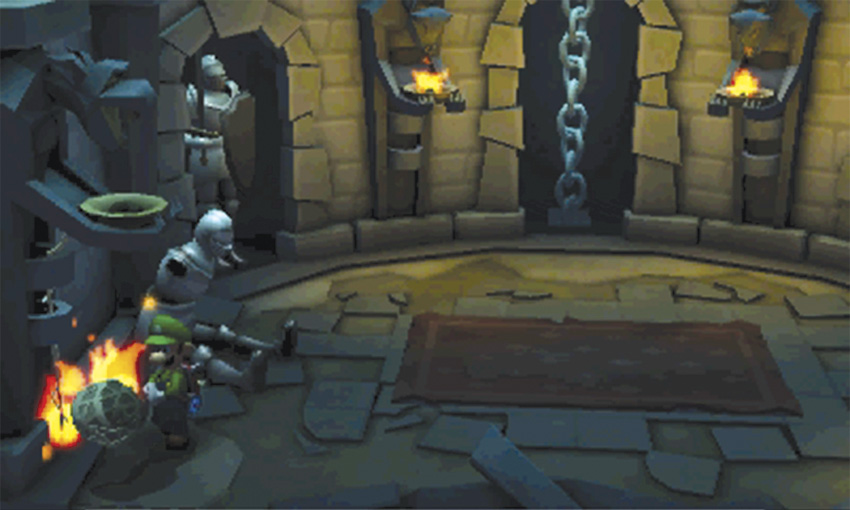
Take the web-ball back to the passage and light it on fire. Circle the Ceremonial Chamber and use the burning web-ball to ignite the three unlit sconces. When all of the room’s sconces are lit, it triggers a cinematic.
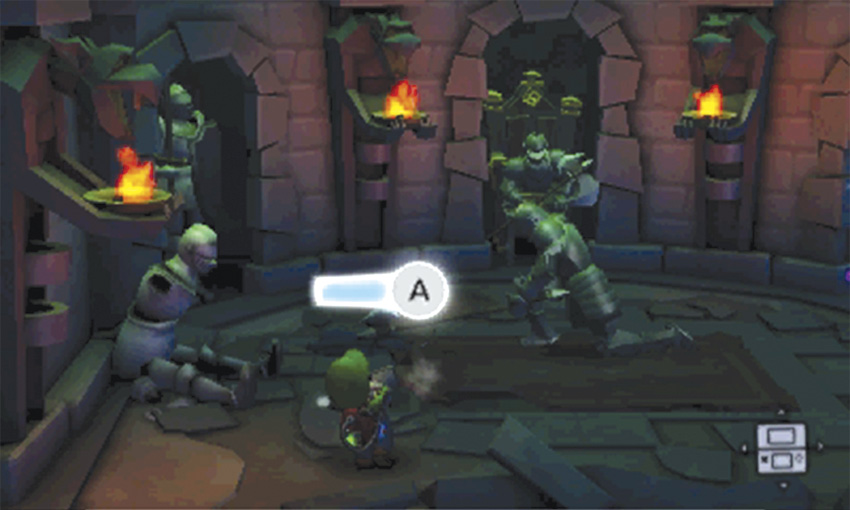
When the cinematic ends, one of the nearby suits of armor steps into the room and attacks. Lure the armor to the center of the Ceremonial Chamber. When the armor steps on the rug, vacuum one of the rug’s corners and perform an A-Pull. When the armor crashes to the ground, a Strong Greenie emerges from the pieces.
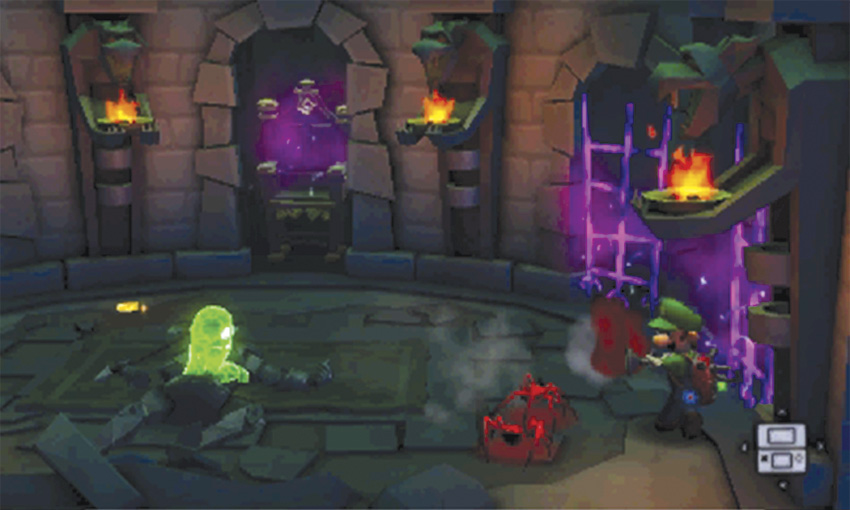
After you capture the Strong Greenie, a second suit of armor attacks. Once again, you must lure the armor to the center of the room and A-Pull the rug out from under it. This time, however, each time the armor slams its axe into the ground, some red spiders fall down from the ceiling. Flash any nearby spiders, then capture the Strong Greenie.
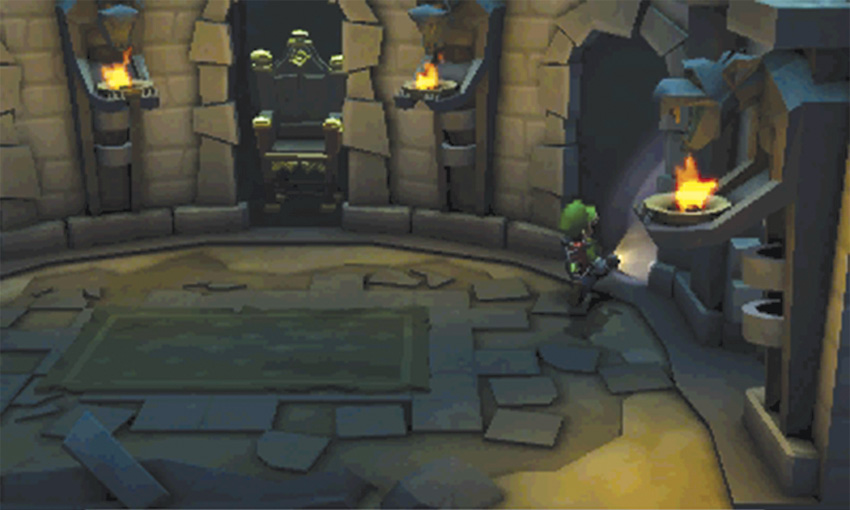
After you clear the room of enemies, search the arch in the east wall to find a hidden chest. After you search the chest, climb onto the throne in the north wall and ride down to level B2.
Reach the Underground Lab
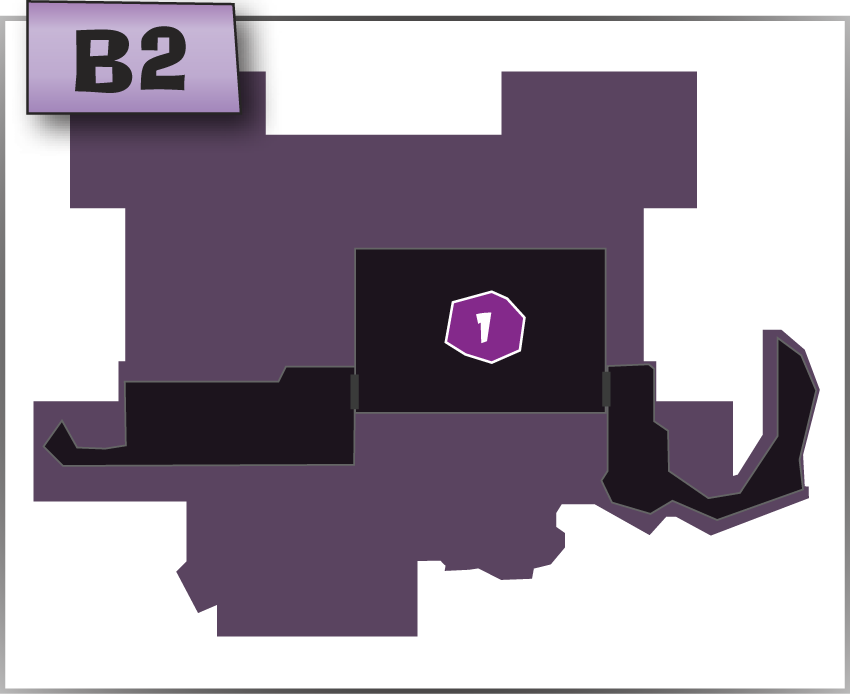
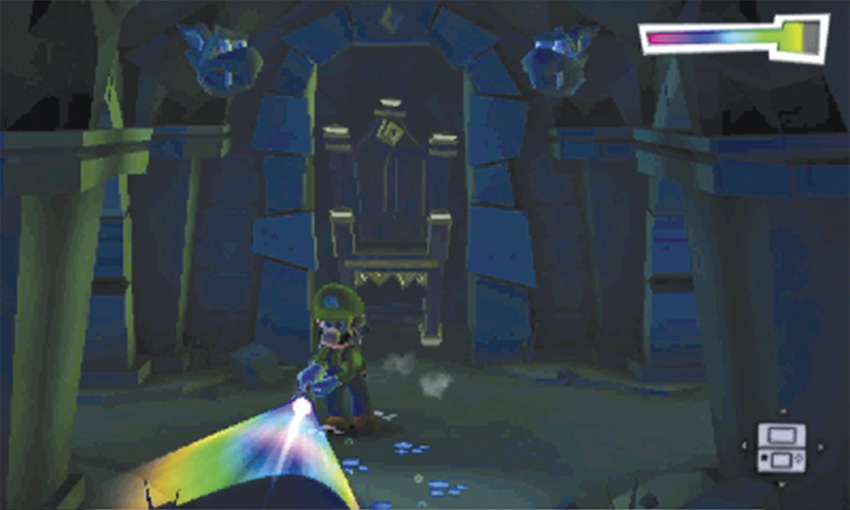
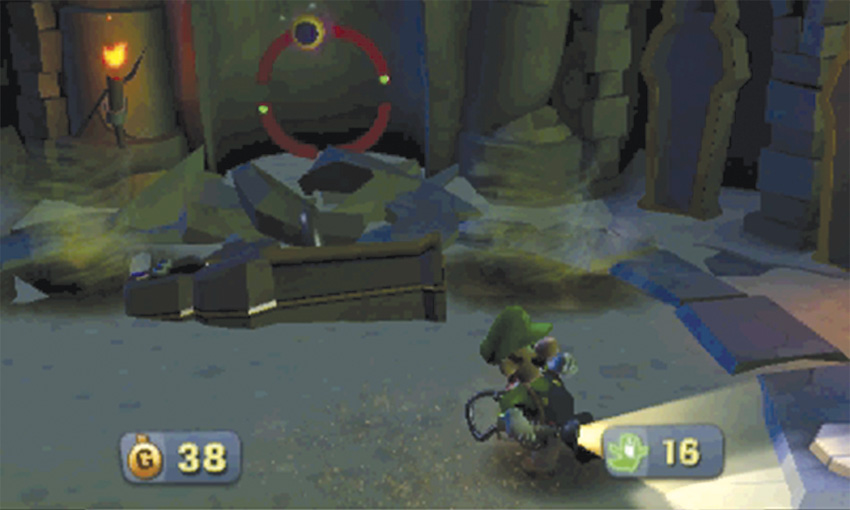
The Haunted Catacombs can be a very confusing area. This room is essentially a collection of intersections, but many of the available paths are simply illusions. One wrong turn, and you find yourself back where you started! When you land in the area, use the Dark-Light Device to reveal the Polterpup’s trail. You can follow the trail directly to the Underground Lab, but there are a few secret paths worth exploring along the way.
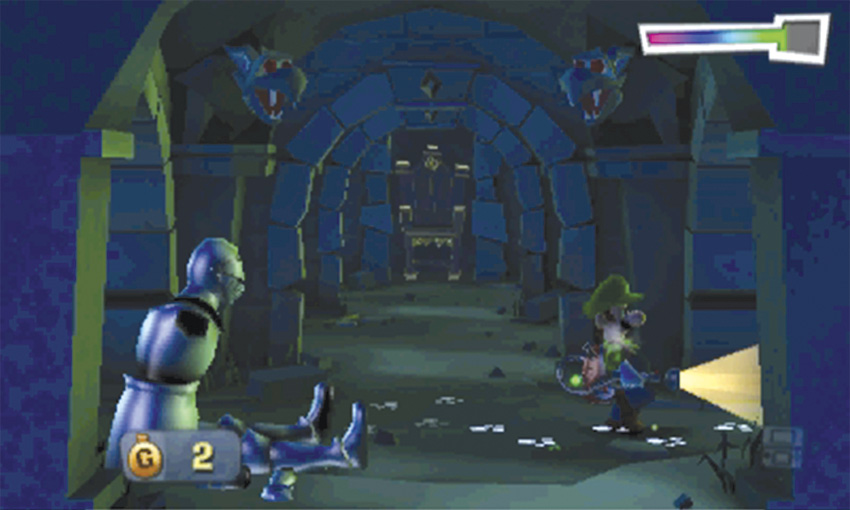
From the throne, follow the trail south. When you reach the suit of armor, turn around and flash the gold frogs that appear to the north. Collect the treasure, return to the armor, and follow the trail to the east.
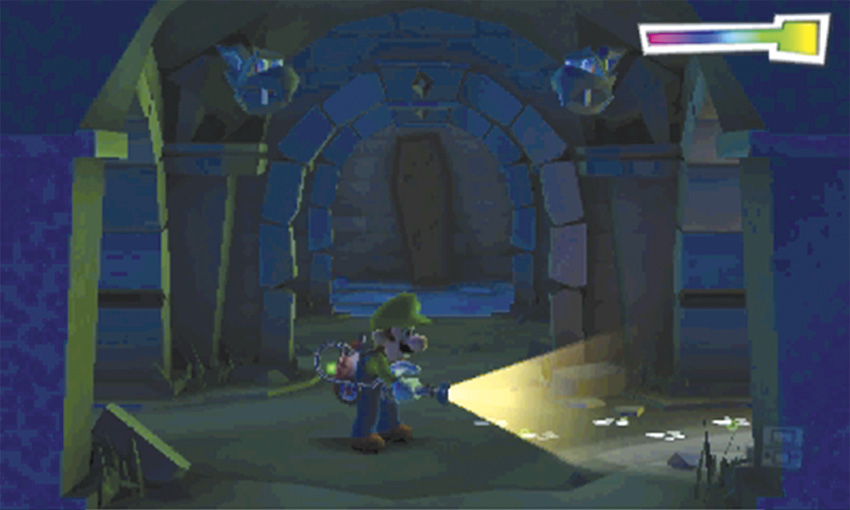
When you reach the next intersection, look for the suspicious coffin in the background. The Polterpup’s trail continues to the east—before you follow it, move north and inspect the coffin.
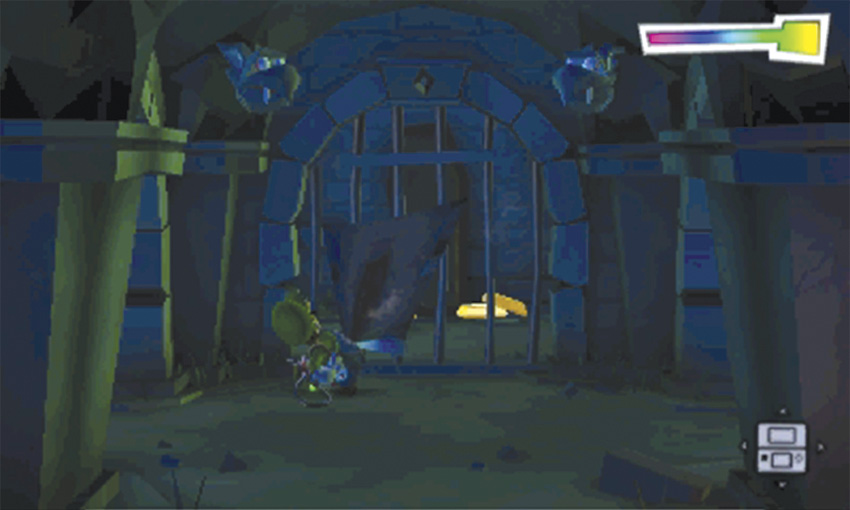
What appears to be a coffin is actually a painting! Vacuum the painting to find that while there is, in fact, a coffin against the north wall, the path is blocked by a set of bars. You must find a different route to the coffin.
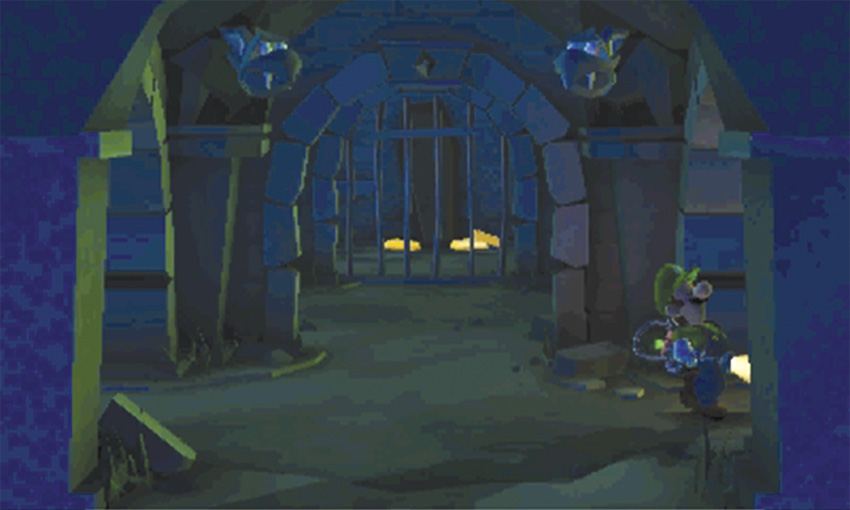
After you reveal the bars, return to the Polterpup’s trail: move south one intersection and follow the trail east.
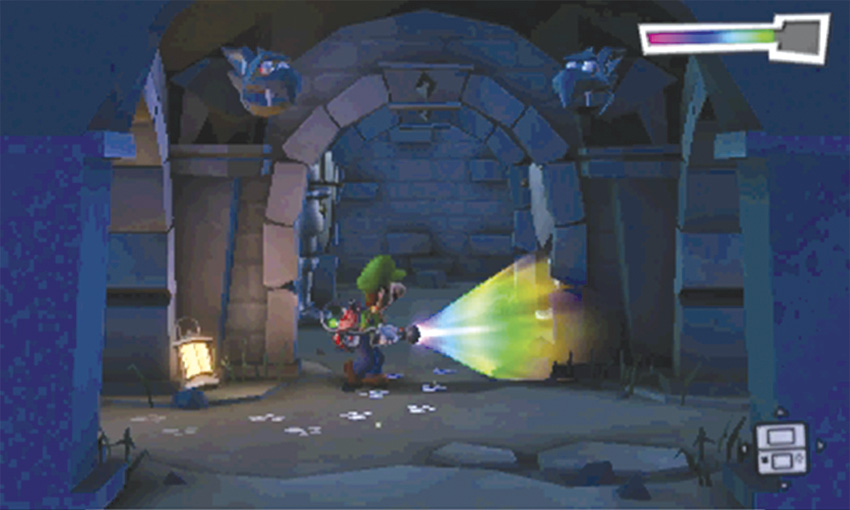
When you reach the next intersection, the Polterpup’s trail leads up to the north wall. Switch off the Dark-Light Device and run straight to the north wall.
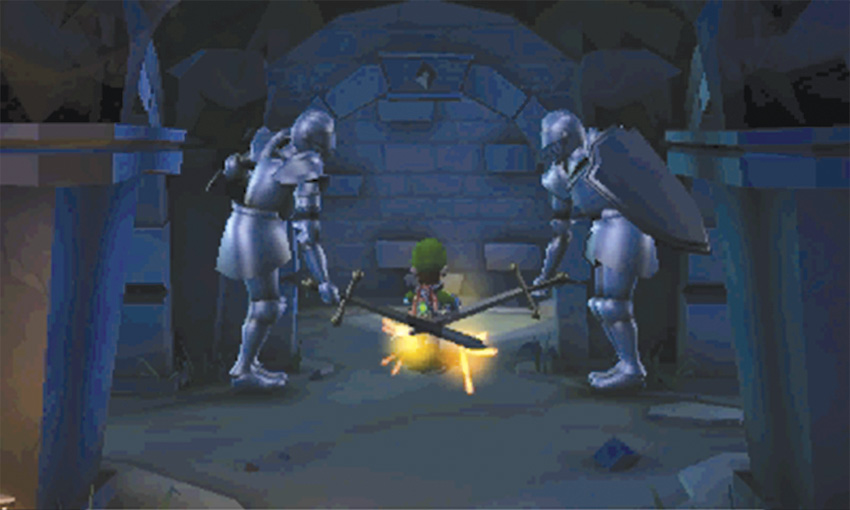
The suits of armor attack as you pass between them—to avoid taking damage, you must be running at full speed. When you reach the north wall, use the Dark-Light Device to find the Polterpup’s trail. Before you follow trail to the east, move west one intersection to find the coffin behind the bars.
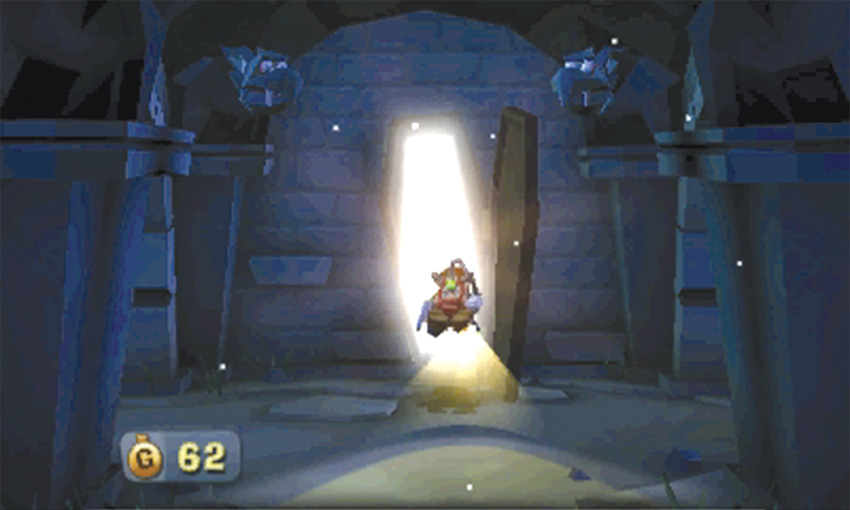
Collect the treasure on the ground, then open the coffin to find a bonus challenge.
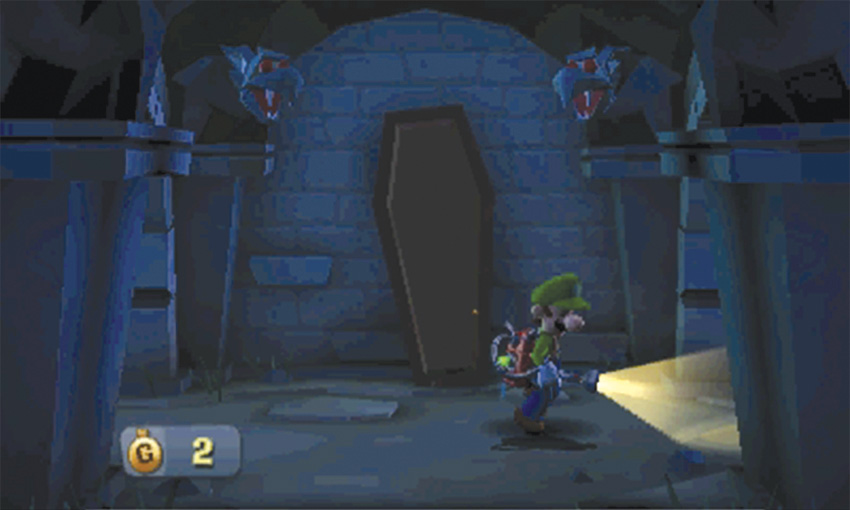
After you emerge from the coffin, move east one intersection to return to the Polterpup’s trail. Follow the trail as it leads you east one intersection, then south one intersection.
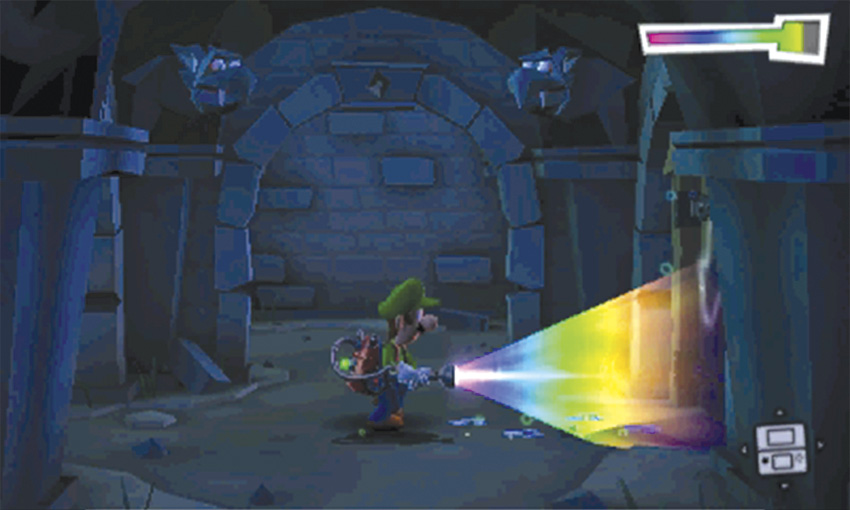
The Polterpup’s trail ends at the door to the Underground Lab. Before you head inside, however, move south one intersection to find a suit of armor.
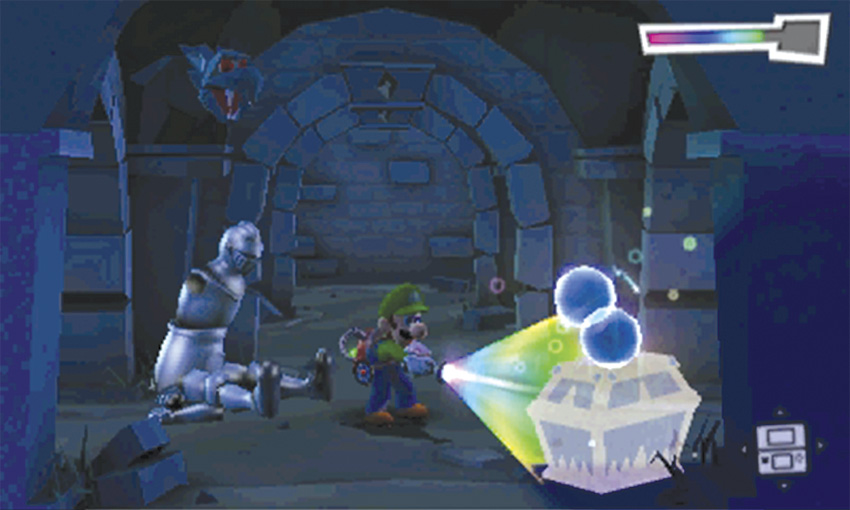
Use the Dark-Light Device to reveal the chest at the southeast corner of the intersection. Capture the Spirit Balls and search the chest, then move north one intersection and use the door on the east wall to enter the Underground Lab.
Search the Underground Lab
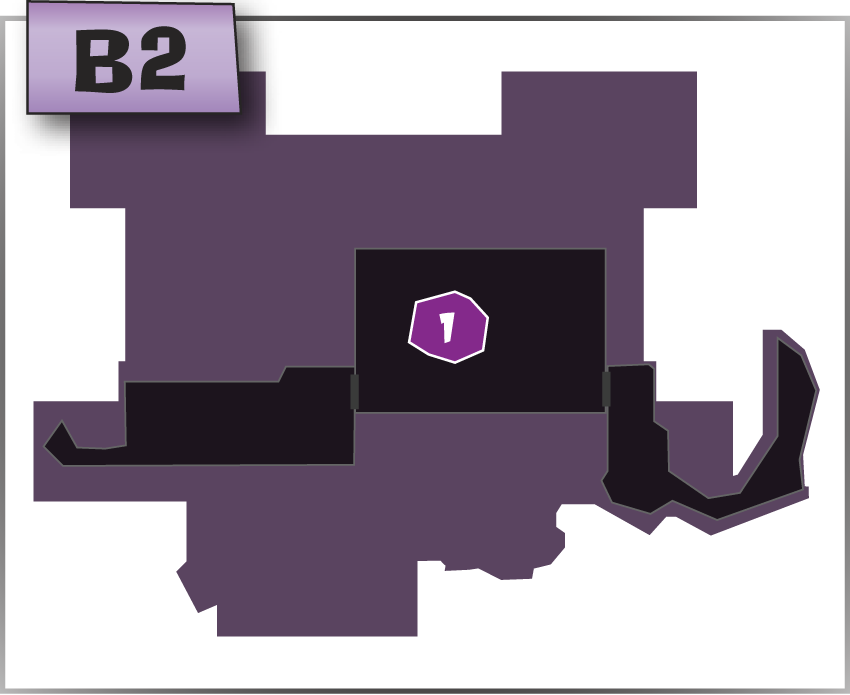
The Underground Lab is located inside the Haunted Catacombs, so the Touch Screen map is not available while you’re in this room.
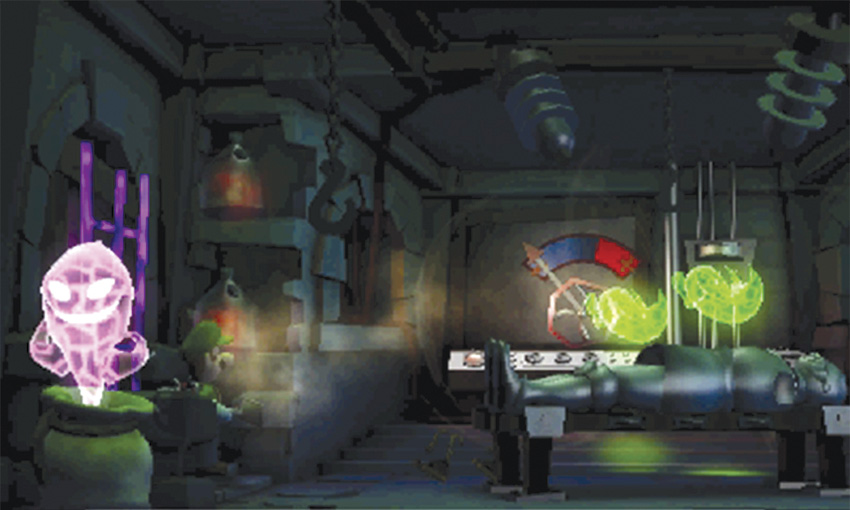
When you first enter the Underground Lab, two Strong Greenies are conducting an experiment. When the cinematic ends, vacuum the safety goggles off of both Strong Greenies. As you do, watch out for the Strong Sneaker lurking in the room. Defeat all three ghosts, then move to the north wall.
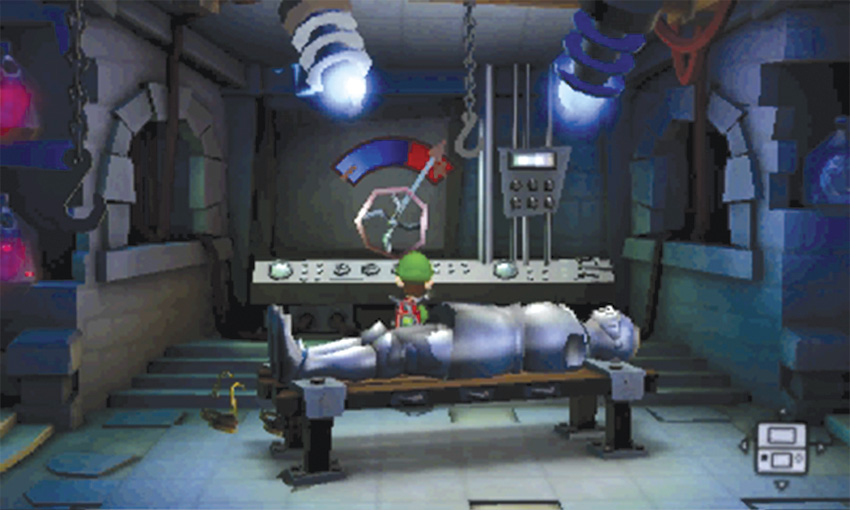
Vacuum the wheel mounted on the wall until electricity strikes the table in the center of the room. The jolt shakes the suit of armor to pieces, revealing the hidden Boo.
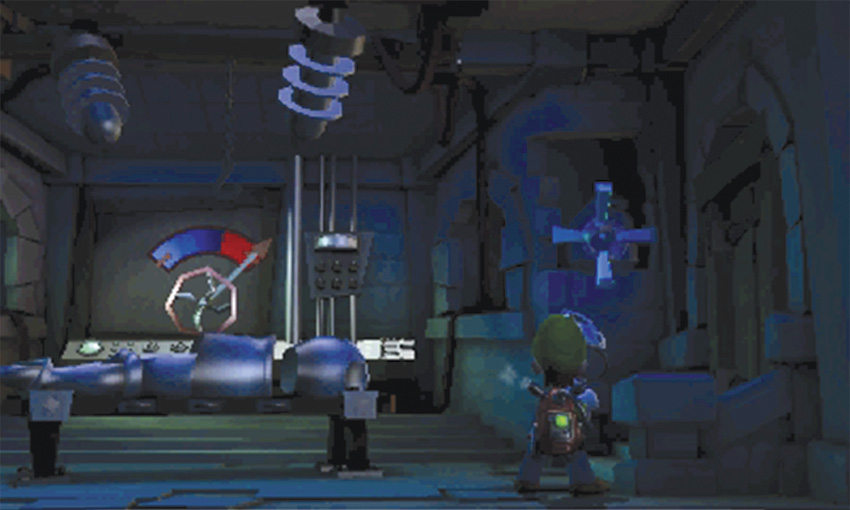
After you clear the room, locate the helmet that fell off the table when the armor fell apart. Vacuum the helmet and move near the door on the east wall. Aim the Poltergust at the nearby shelf until the targeting reticle appears. Launch the helmet to destroy the glass jar, then vacuum the Round Diamond down from the shelf. Use the same method to destroy the glass jars on the west wall, finish searching the room, then head through the door in the east wall.
Reach the Cliffside
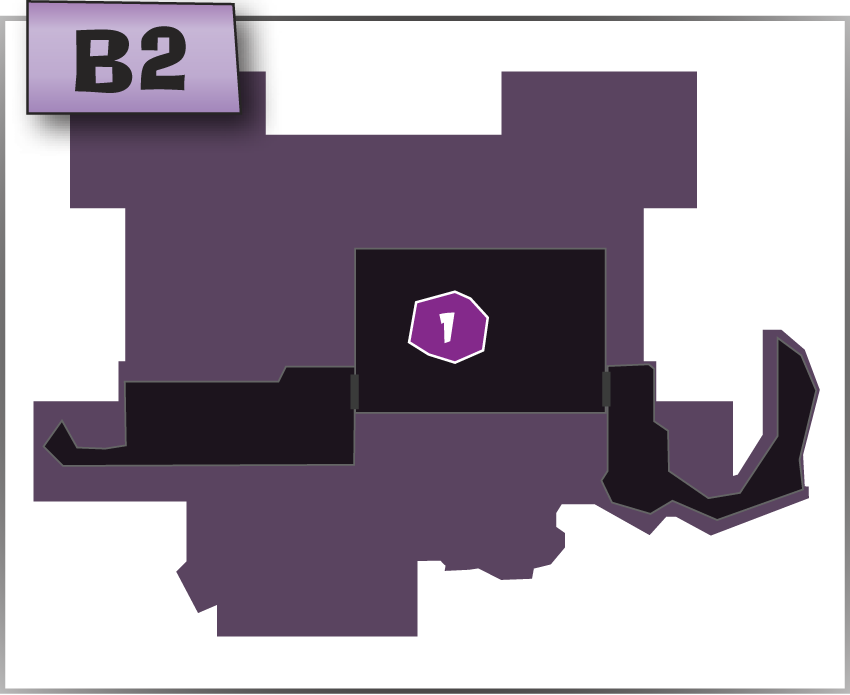
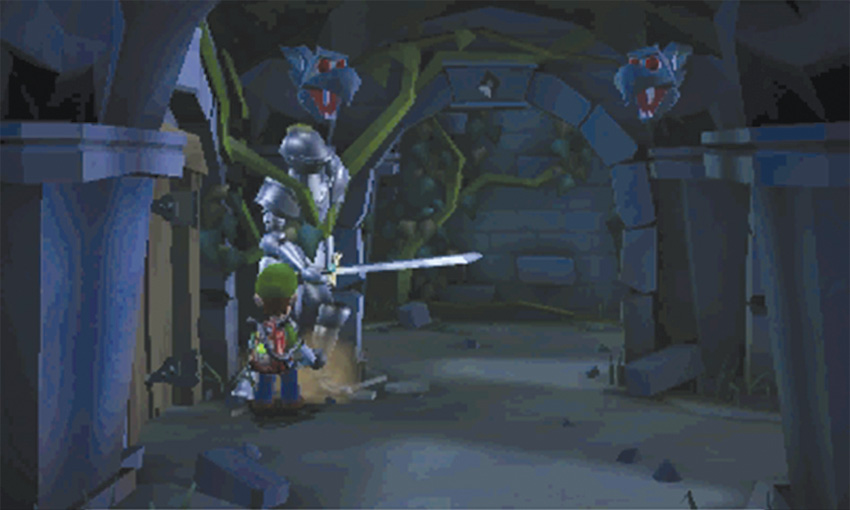
When you enter the second half of the Haunted Catacombs, you can follow the Polterpup’s trail straight to the Dungeon Cells. However, there are some important items hidden in and around the maze. Search the suit of armor near the Underground Lab door. When you do, the armor points its sword to the right. Move one intersection to the east and look for the next clue.
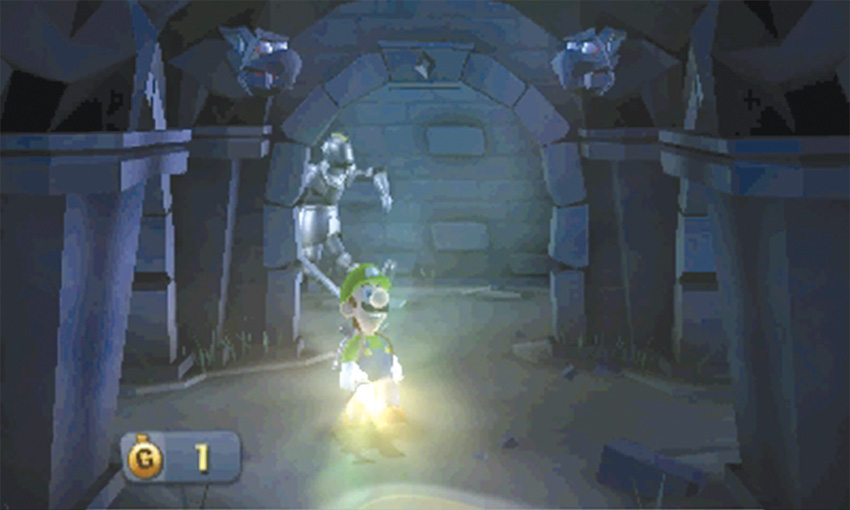
When you reach the next intersection, there’s a suit of armor leaning against the north wall. This armor provides your next clue, but before you examine it, move one intersection to the south.
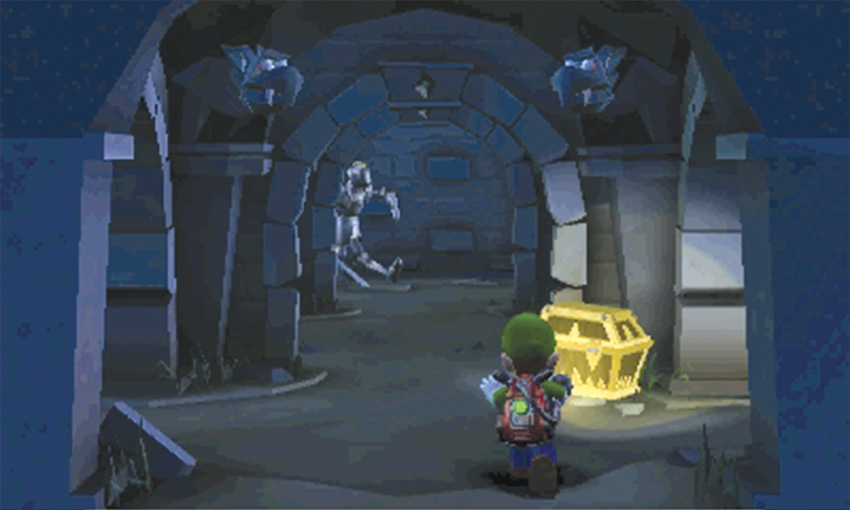
Open the chest in the northeast corner of the intersection and collect the treasure that spills out of it. When you’re ready, run straight to the north wall.
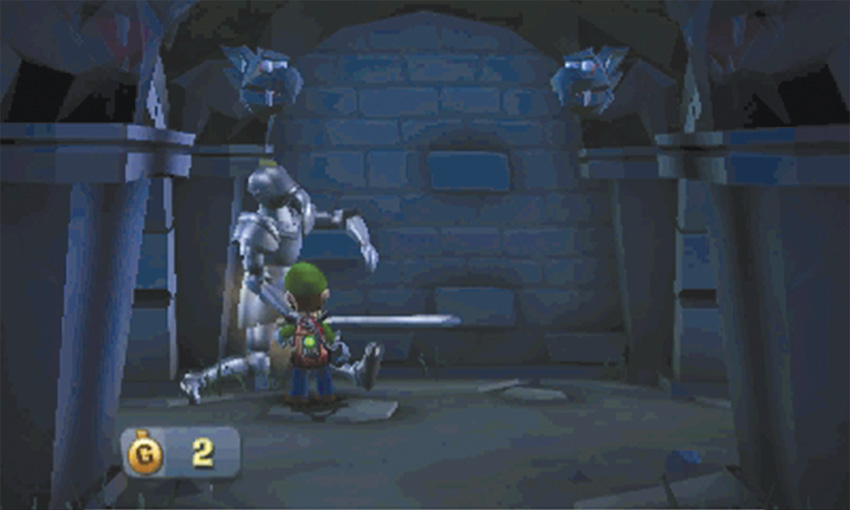
Examine the suit of armor leaning against the north wall. Just as the sword indicates, move one intersection to the east.
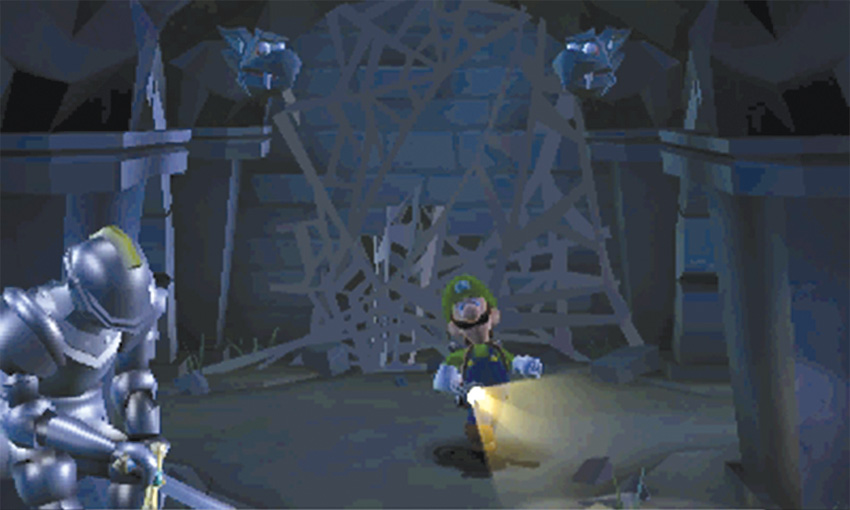
When you reach the next intersection, there’s a large web on the north wall. In the foreground, there’s another suit of armor.
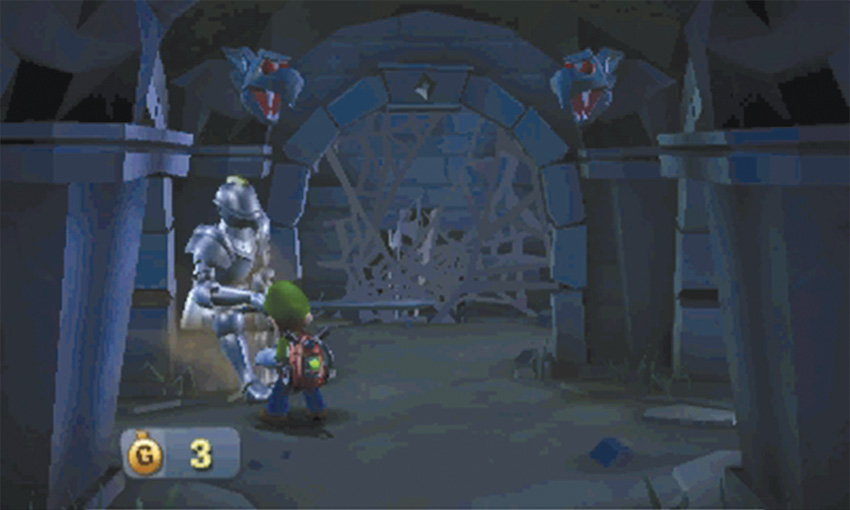
After you reach the large webs, move one intersection to the south and examine the suit of armor. Move one intersection to the east, just as the sword indicated.
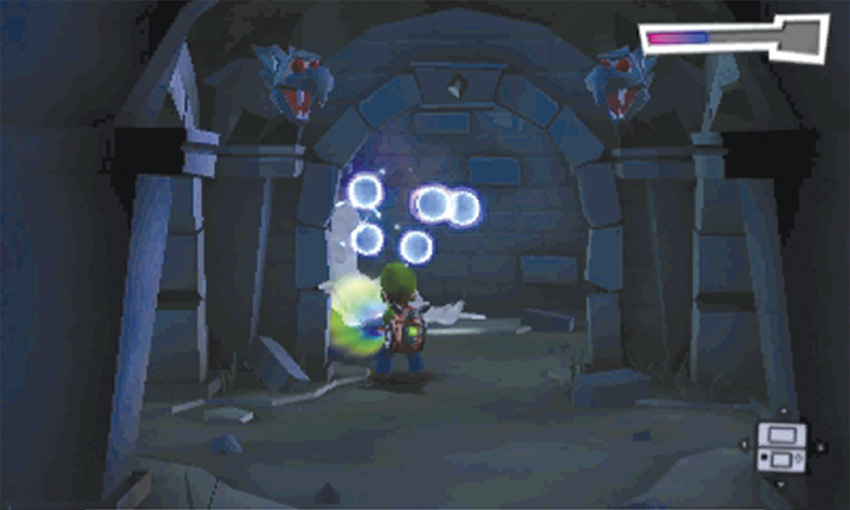
When you reach the next intersection, there’s no suit of armor in sight. Use the Dark-Light Device to reveal the armor leaning against the north wall. Capture the Spirit Balls, then move to the north wall and examine the armor.
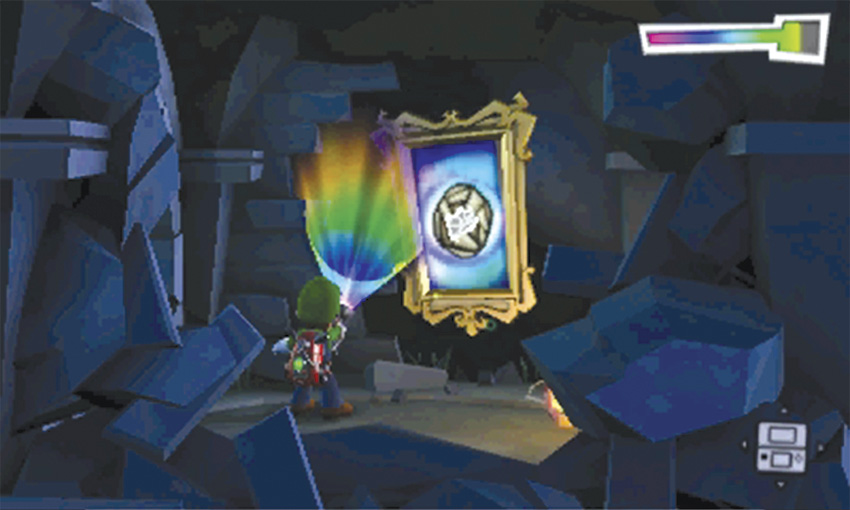
Upon inspection, the newly revealed armor points its sword east. Move east one intersection to find a framed sketch. Use the Dark-Light Device to pull a ball of webbing out of the sketch. Vacuum the web-ball and use the lantern on the ground to light it on fire.
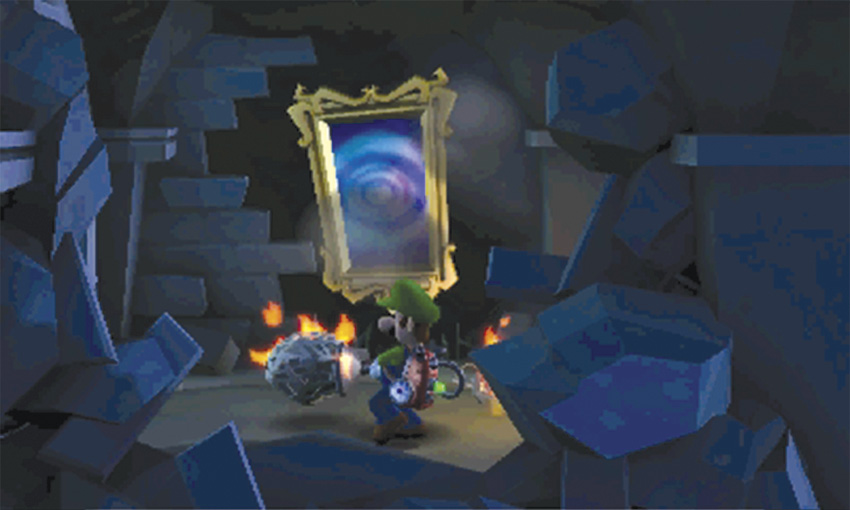
After you have the flaming web-ball, retrace your steps back to the large webs.
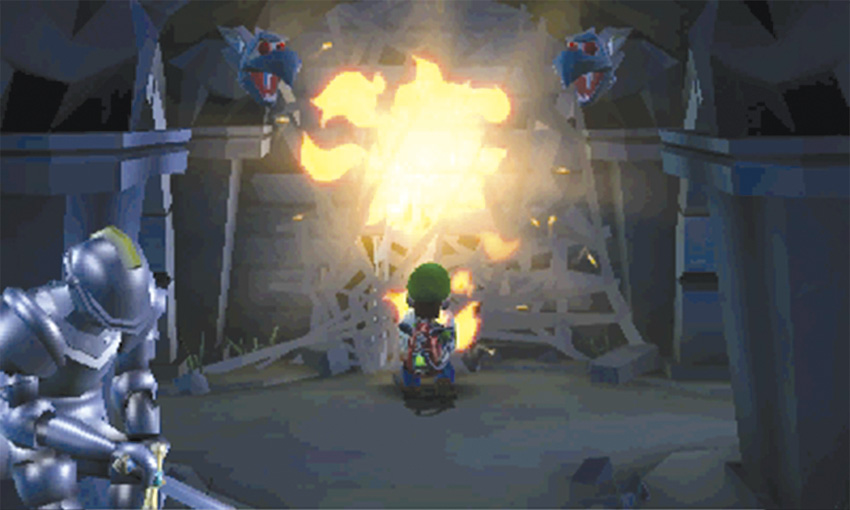
When you reach the large webs, use the flaming web-ball to destroy them. Once the webs are gone, collect the Trillion Diamond from the hole in the wall.
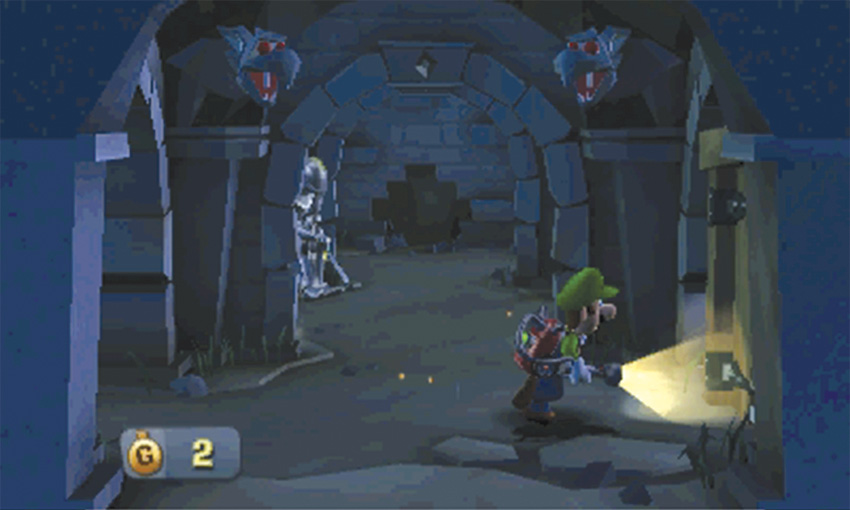
After you collect the Trillion Diamond, move two intersections to the south. Open the door in the east wall to find the B2 level of the Cliffside.
Reach the Dungeon Cells
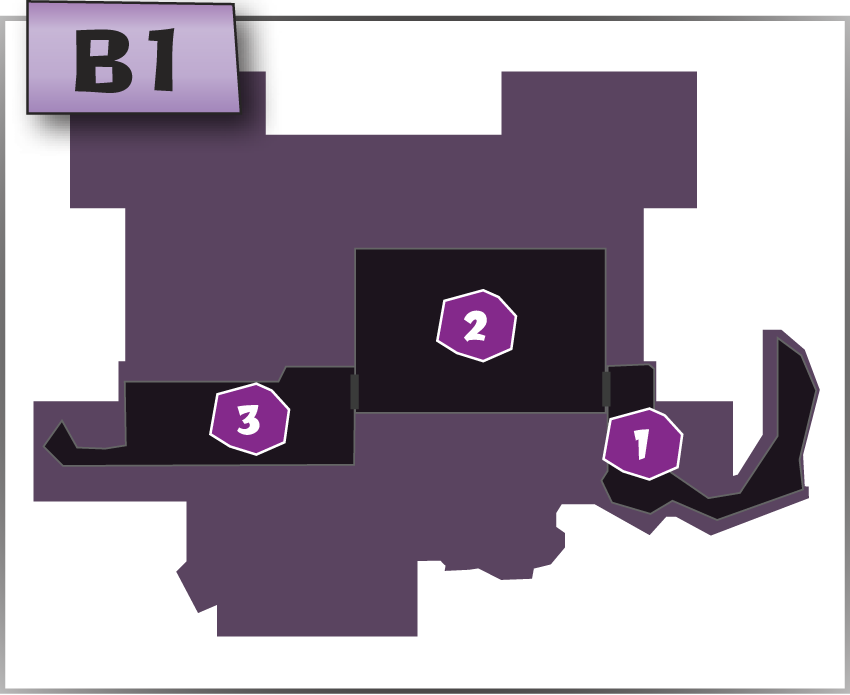
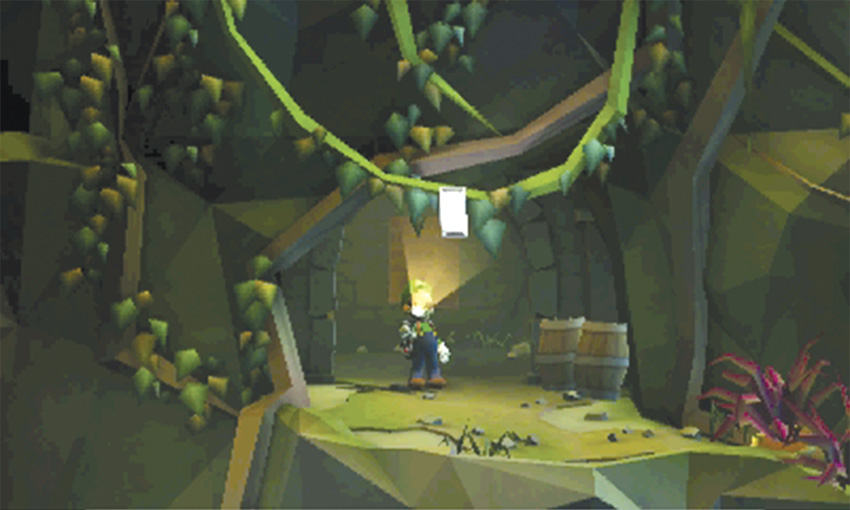
When you reach the B2 level of the Cliffside, the Baguette Diamond is hanging in the foreground. Use the Poltergust to vacuum the Gem, then A-Pull the false bricks on the north wall. Collect the revealed treasure stash, then search the nearby barrels.
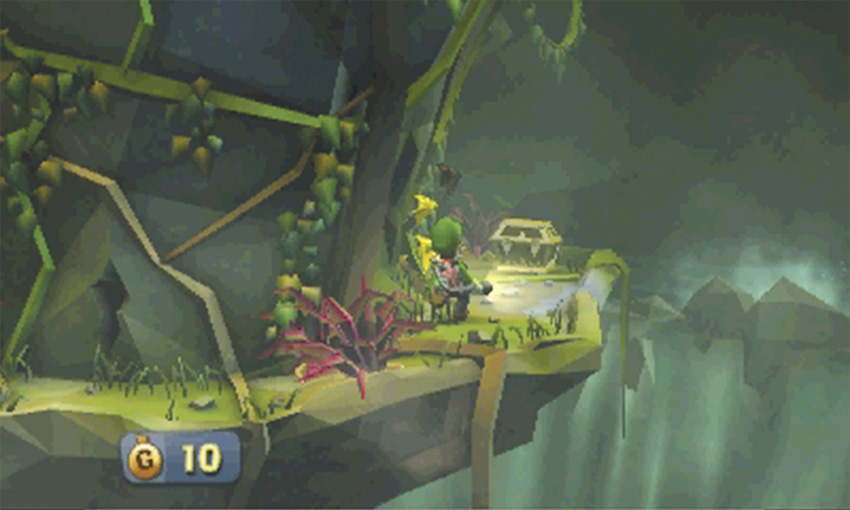
Follow the narrow path as it curves to the east. There’s a crevice between two pairs of purple weeds. As you approach it, some bats burst out of the opening and fly across your path. As you continue along the path, look for the crevice just past the second pair of purple weeds. Approach slowly and flash the gold bats that fly out from the opening. Search the chest at the end of the path, then head back into the Haunted Catacombs.
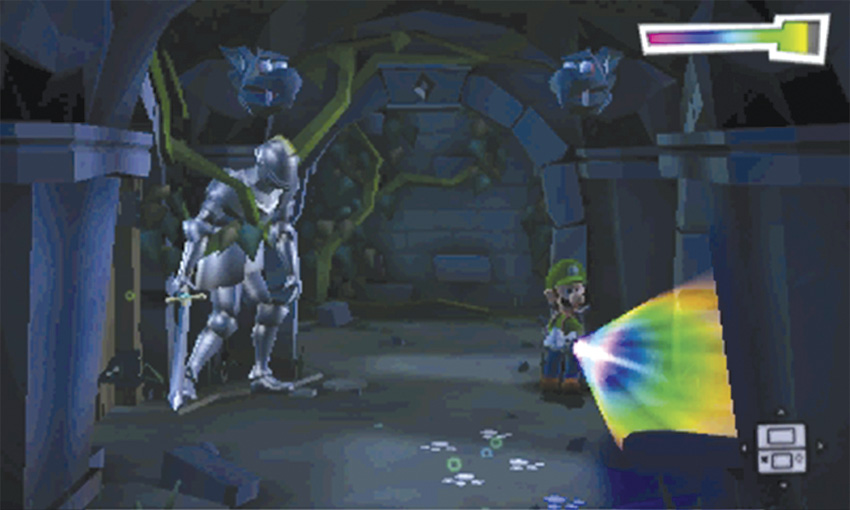
After you explore the Cliffside, it’s time to track down the Polterpup. Return to the intersection just outside the Underground Lab to pick up the Polterpup’s trail. To do this, you can retrace your steps through the maze, but it’s much simpler to make a wrong turn. When you’re sent to the start of the maze, move one intersection to the south.
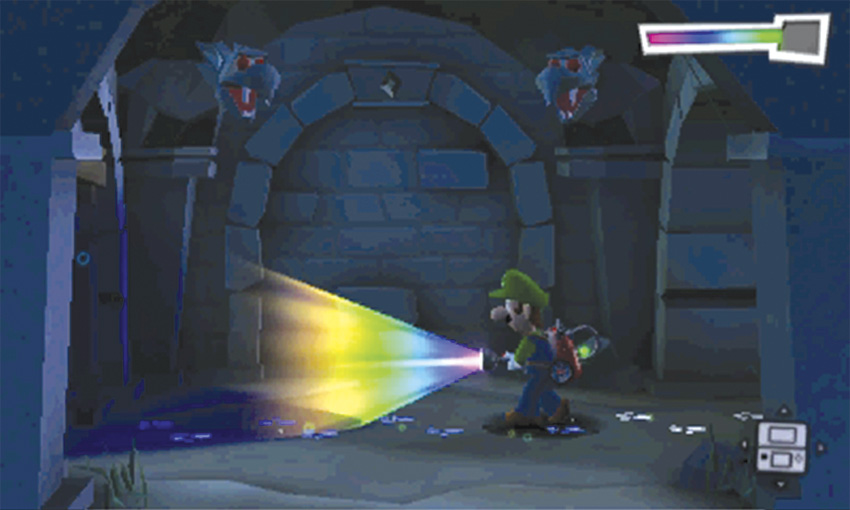
Use the Dark-Light Device to follow the Polterpup’s trail to the Dungeon Cells. From the door to the Underground Lab, move one intersection to the south, then move one intersection to the west. Head through the door in the west wall to find the Dungeon Cells.
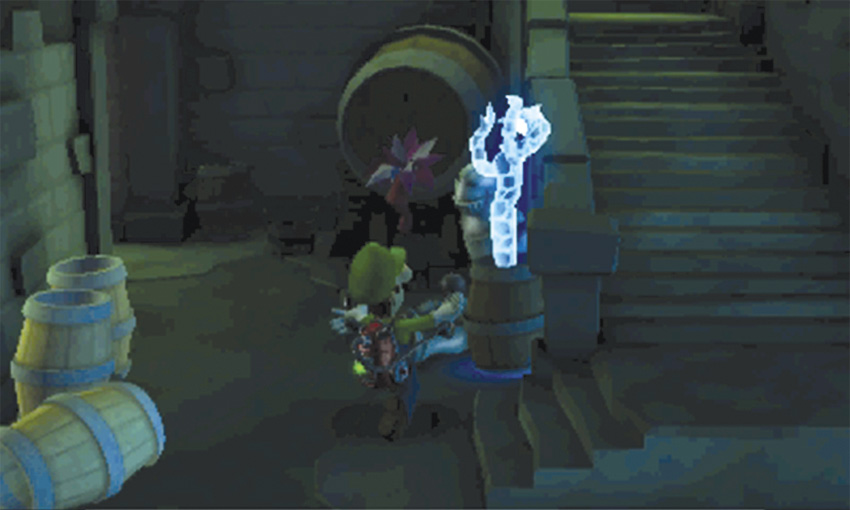
When you enter the Dungeon Cells, the Polterpup runs out of sight. Search the barrels at the bottom of the steps to find a Strong Hider. Flash the Strong Hider, latch on, and perform A-Pulls until you capture it.
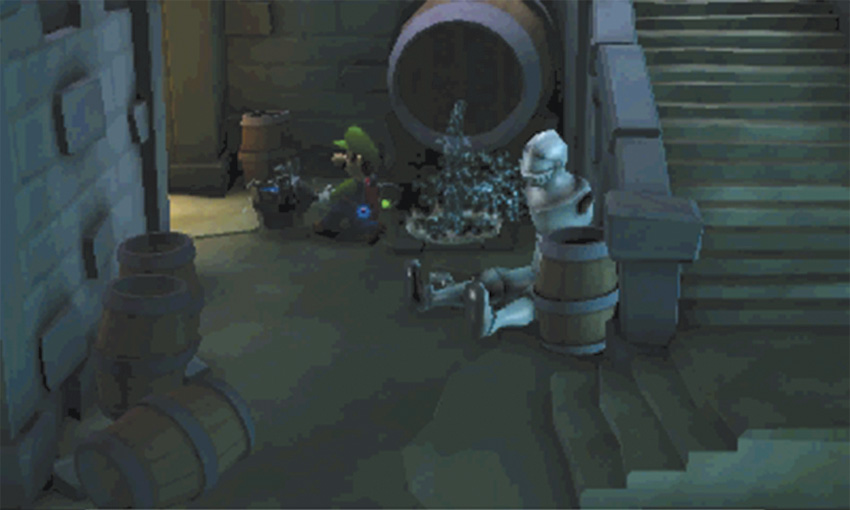
After you clear the area, A-Pull the blockage from the cask. Vacuum the nearby bucket, then pass it under the water spilling from the cask. Carry the filled bucket down the hall to the west.
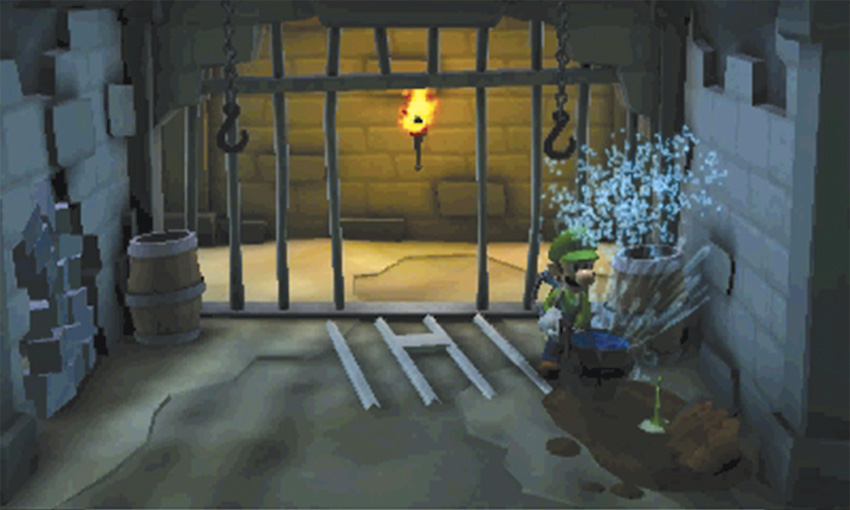
There are three cells connected to the hall. Water the sprout in the east cell, then hold
 to drop the bucket. When the purple flower appears, flash it to earn some treasure. Search the nearby barrels, then leave the cell and continue down the hall.
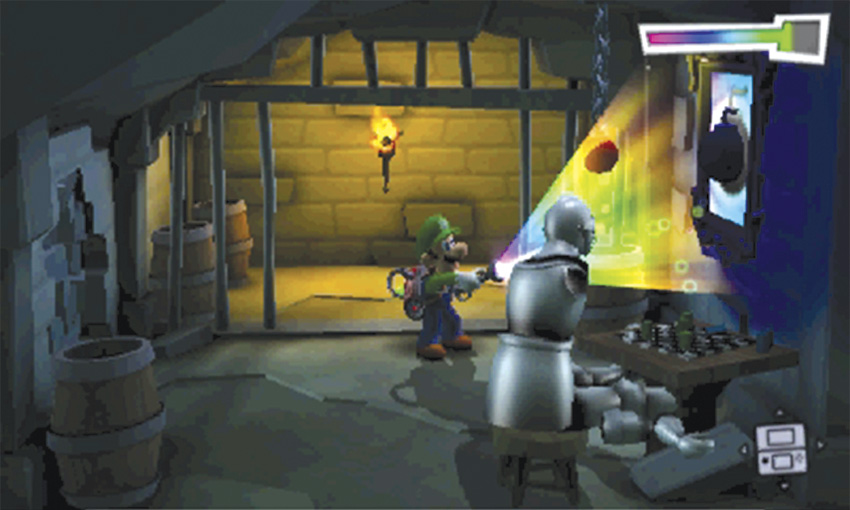
Check the barrels at the end of the hall, then A-Pull the false bars on the west cell. Use the Dark-Light Device to pull an explosive out of the framed sketch.
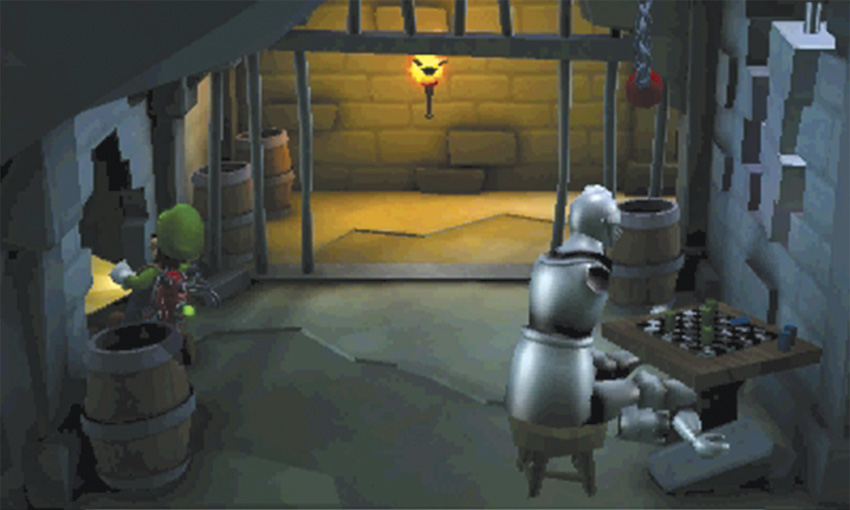
After the blast, A-Pull the chain hanging near the framed sketch. This rotates a section of the wall, moving the sketch into the middle cell. Search the nearby barrels, then head through the hole in the west wall.
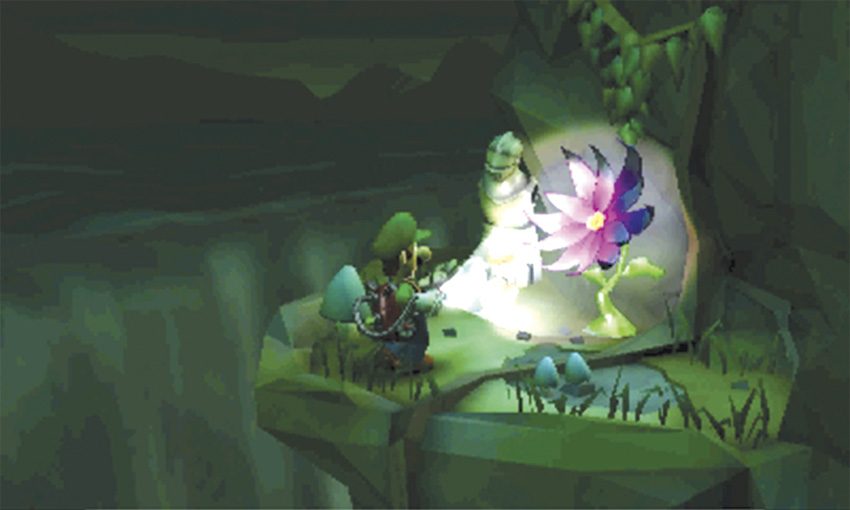
Vacuum the mushrooms along the passage until you reach the ledge at the end of the path. Flash the purple flower to find some treasure, then head back through the passage.
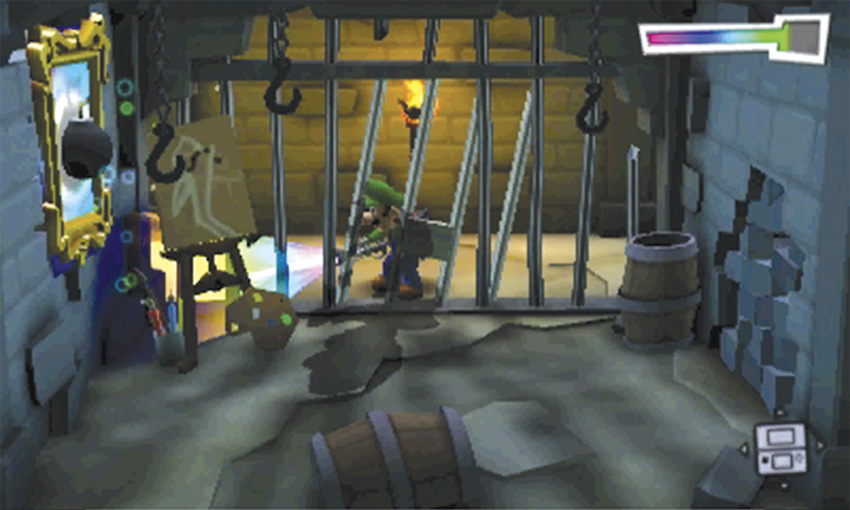
The middle cell is locked up tight, so you’ll have to create a new entrance. Use the Dark-Light Device to pull an explosive out of the framed sketch. Return to the east cell and wait for the blast.
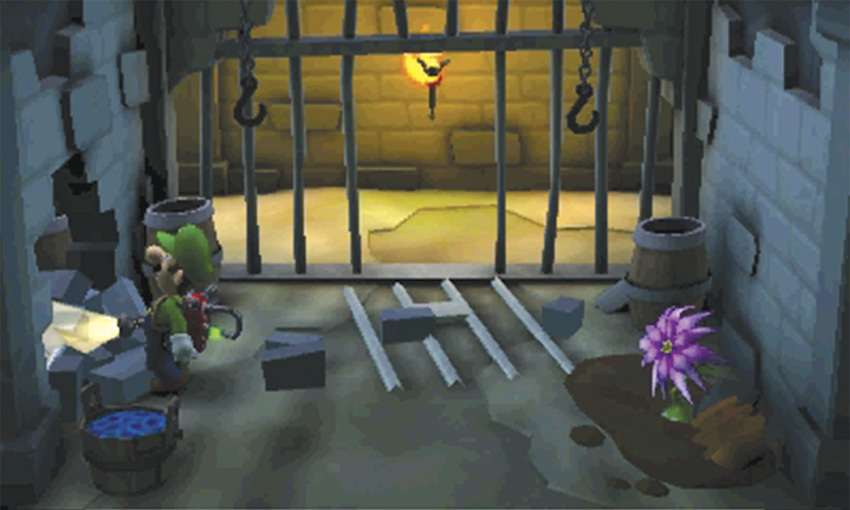
After the explosion, pass through the hole in the wall to enter the middle cell.
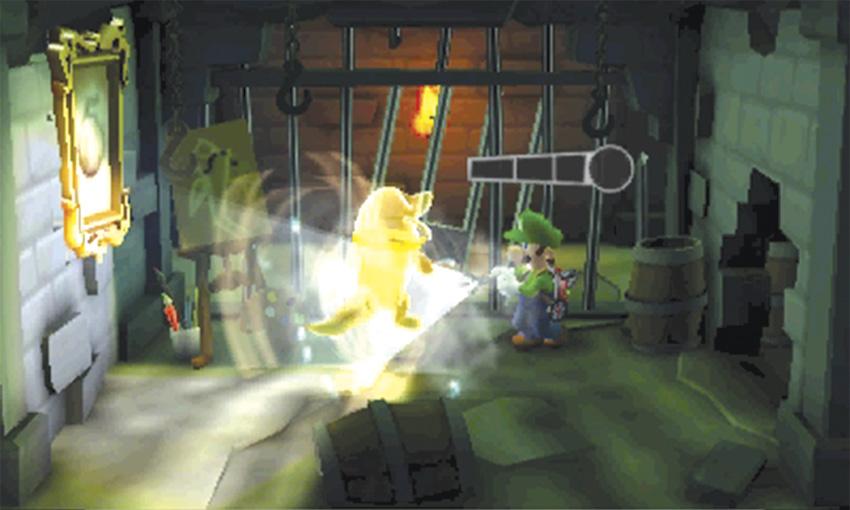
Search the barrel in the northeast corner of the middle cell. When you do, the Polterpup emerges from a nearby barrel and knocks you to the ground. When you recover, flash the Polterpup, then latch on and capture it. Collect the Front-Door Key from the floor, then answer the Duel Scream to complete the mission and return to the Bunker.
E-2 Double Trouble
Reach the Front Entrance
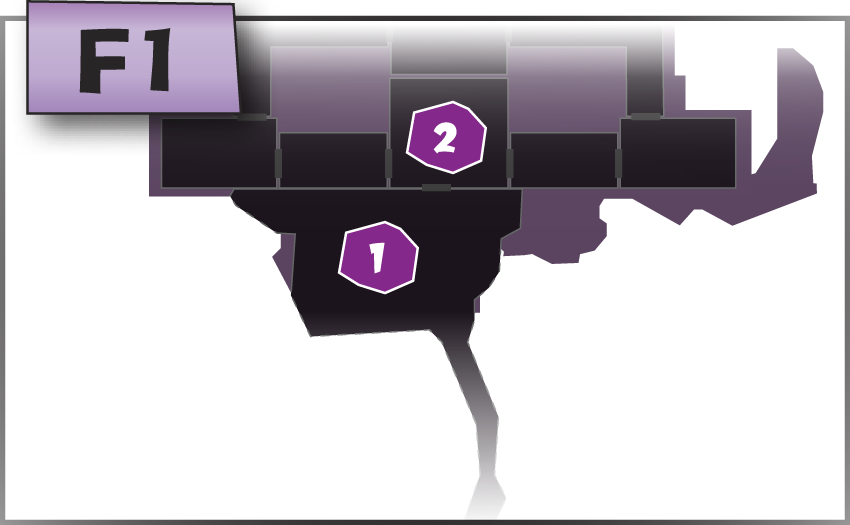
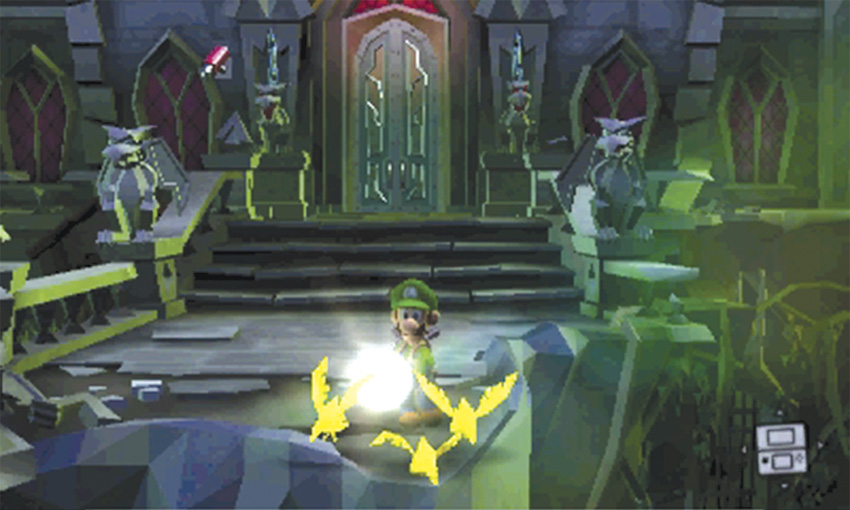
When the mission starts, you’re transported to the Veranda. Before you unlock the mansion’s front door, search the area for treasure. Move down the steps and flash the gold crows at the south edge of the path. Flash the gargoyles along the railings and peek in through the windows. Search the chest at the west edge of the porch and follow the steps down to the grass.
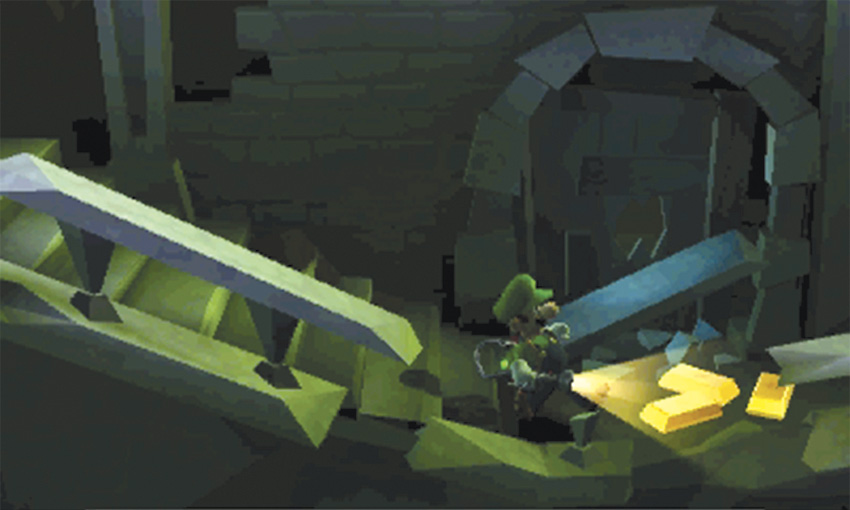
Flash the crows perched on the gravestones, vacuum the purple weeds by the well, and head down the steps along the area’s south edge. A-Pull the weeds growing out of the wall, flash any bats that fly out of the opening, then collect the treasure stashed at the bottom of the steps. When you’re ready, head back up to the porch and unlock the front door.
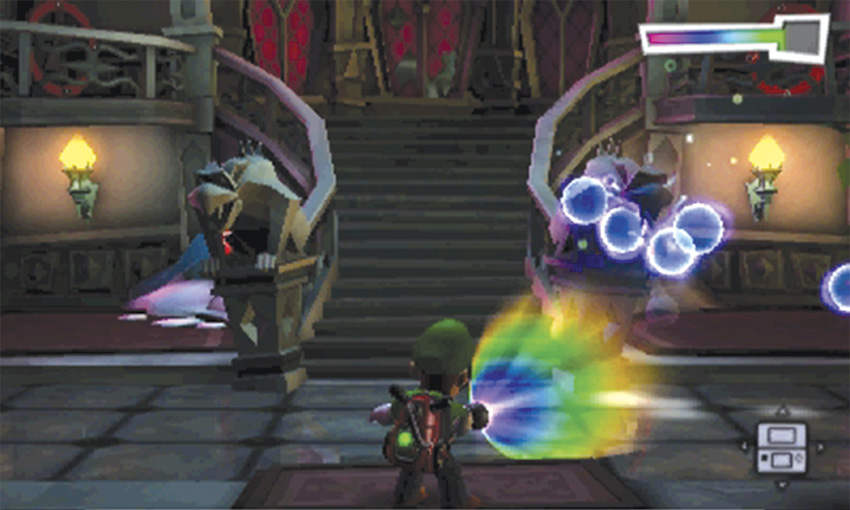
The Front Entrance contains six E-Gates, but none of them are active when you first reach the area. Before you move on, however, use the Dark-Light Device to reveal the hidden chain hanging from one of the gargoyles at the bottom of the stairs.
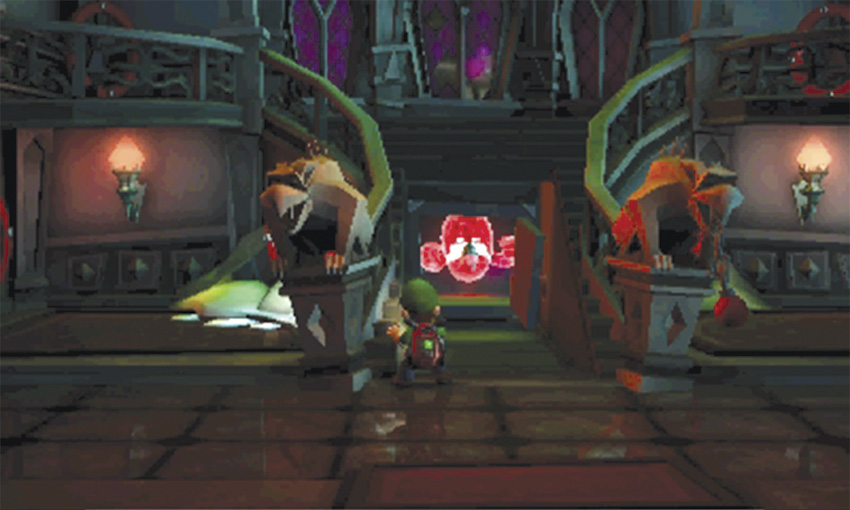
After you capture the Spirit Balls, A-Pull the chain to reveal a safe hidden under the stairs. Flash the safe to open it, then flash the Strong Slammer hiding inside. Capture the Strong Slammer, then vacuum the Football Diamond from the safe.
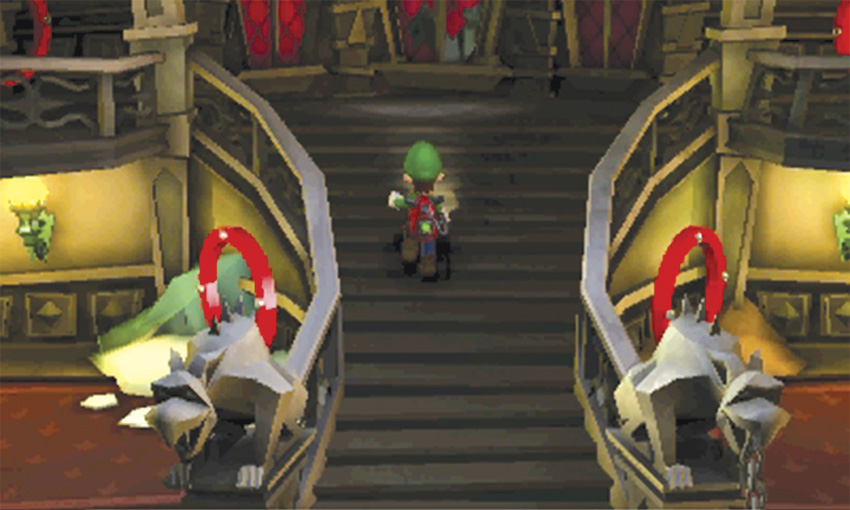
After you collect the Football Diamond, A-Pull the chain to move the stairs back into place. Climb the stairs and use the window to peek into the Inner Courtyard. Head back down the stairs and use the door in the east wall to find the East Gallery.
Activate the Jungle Exhibit E-Gate
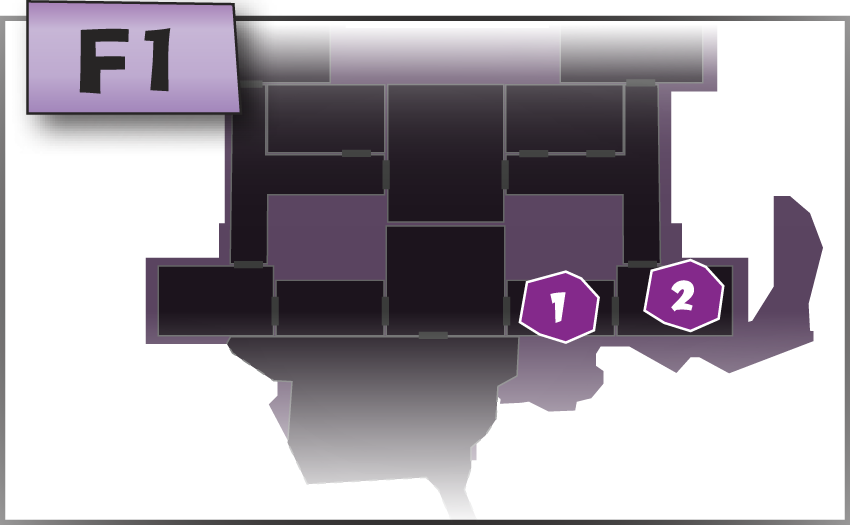
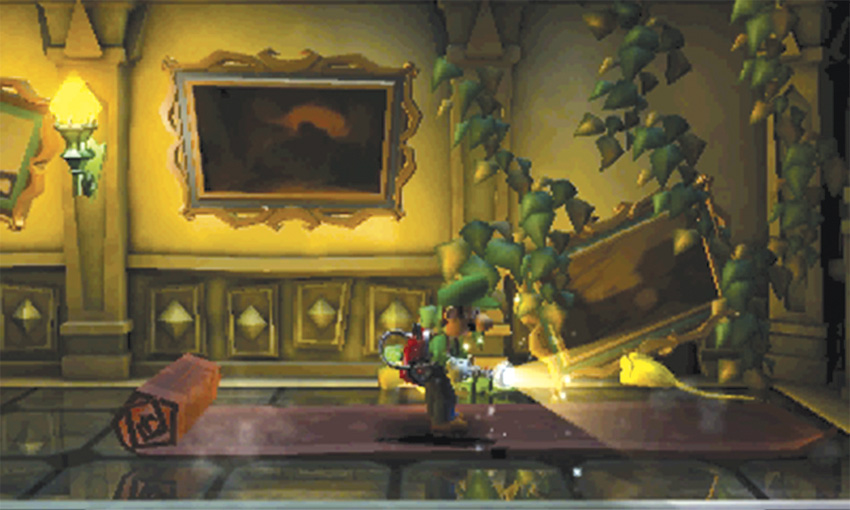
As you move through the East Gallery, look for the gold mouse that emerges near the end of the rug. Flash the pest and collect the treasure, then use the door on the east wall to find the Jungle Exhibit.
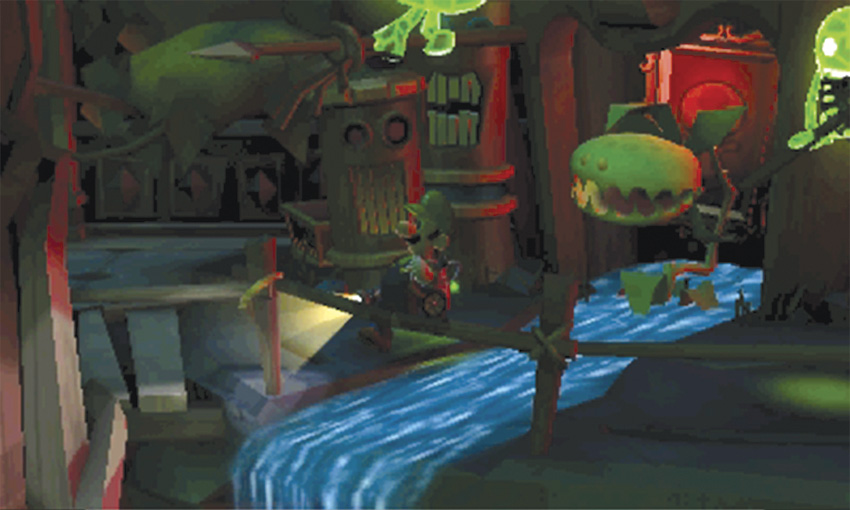
Cross the wooden walkway and A-Pull the giant leaf near the Jungle Room’s northeast corner. Open the exposed chest to find some treasure, then move over to the nearby stream. Shine the Dark-Light Device at the framed sketch above the water to draw some nearby enemies out of hiding. When the enemies appear, run away to lure the Strong Greenies out of the flytrap’s attack range.
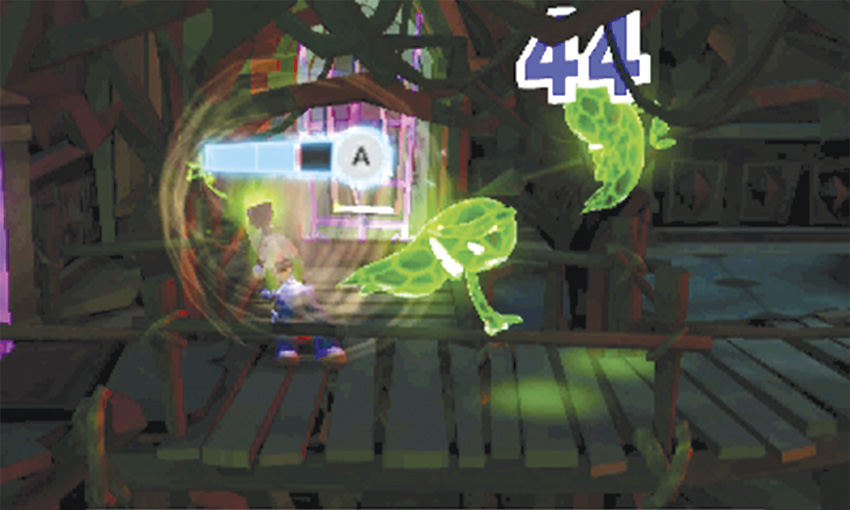
The Strong Greenies are equipped with spears, so each ghost is only vulnerable immediately after performing a lunge attack. Dodge the attack, flash the ghost, then latch on and capture it. If you opt to capture the Strong Greenies separately, remember to dodge incoming attacks. While the ghosts fade in and out of sight, the spears are always visible.
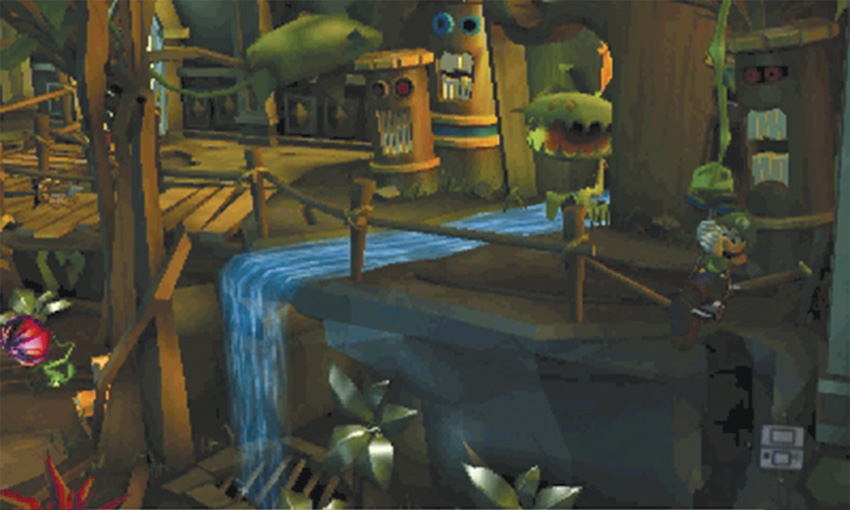
Unfortunately, you’re unable to defeat the flytrap at this time. After you capture both Strong Greenies, dash past the flytrap and vacuum the knotted vine near the room’s southeast corner.
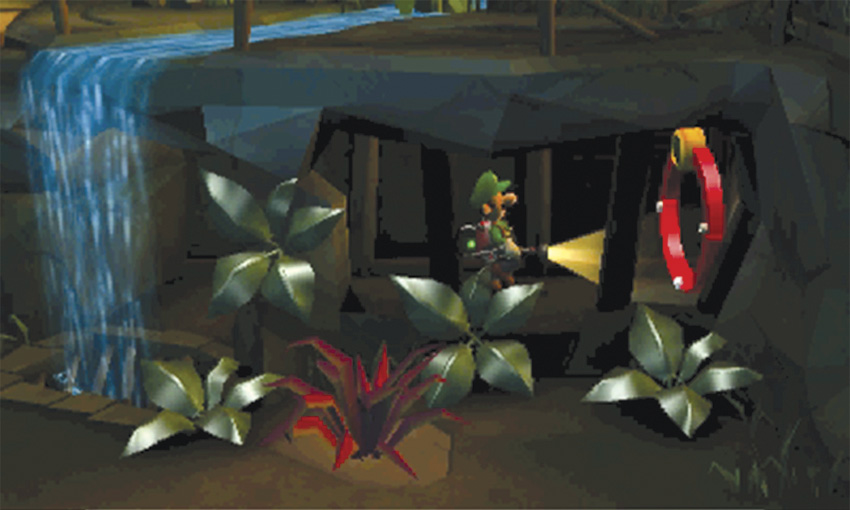
Ride down to the ground, then hold
to detach yourself from the vine. Vacuum the nearby purple weed, then pass under the waterfall and flash the E-Gate mounted on the wall. Rather than use the E-Gate, however, move back out from under the waterfall and search the rest of the room.
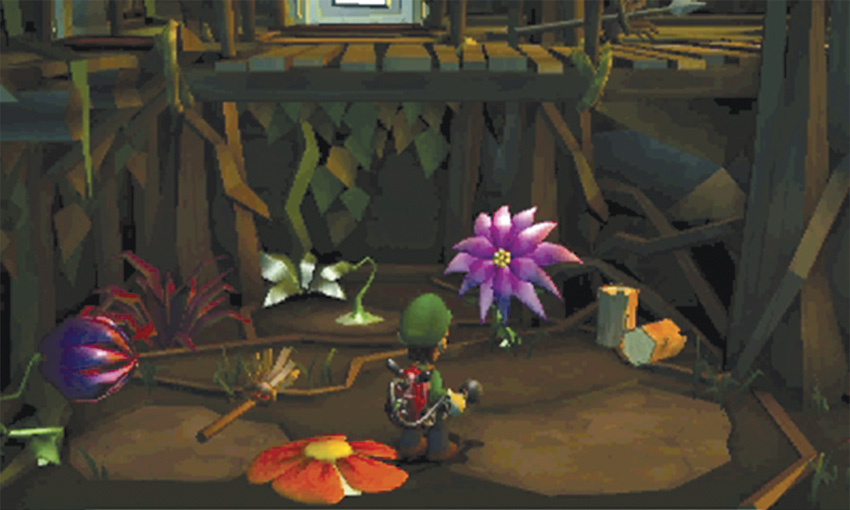
The Jungle Exhibit contains a few more items of interest. Locate the logs and the sprout in the west half of the room—these items will play important roles in completing your mission. For now, however, flash the purple flowers and collect the resulting treasure. When you’re ready, step on the orange flower to launch yourself back up to the walkway.
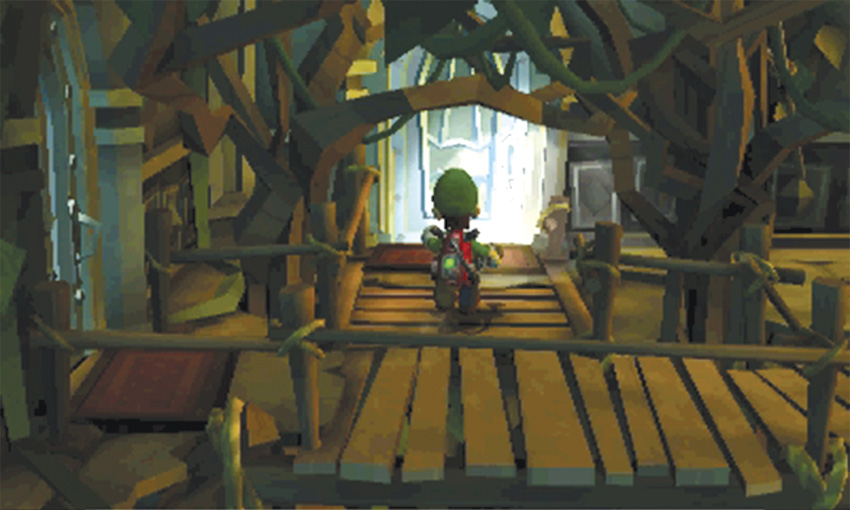
When you land, use the door in the north wall to enter the Grand East.
Activate the Ancient Exhibit E-Gate
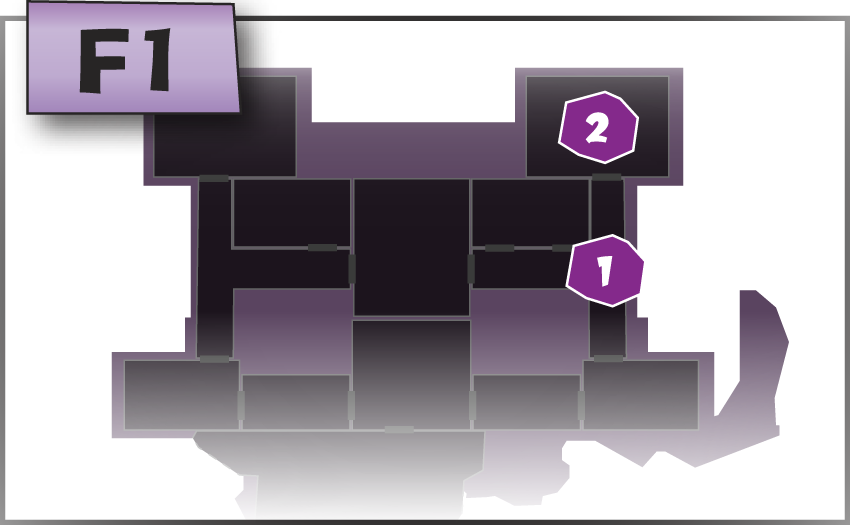
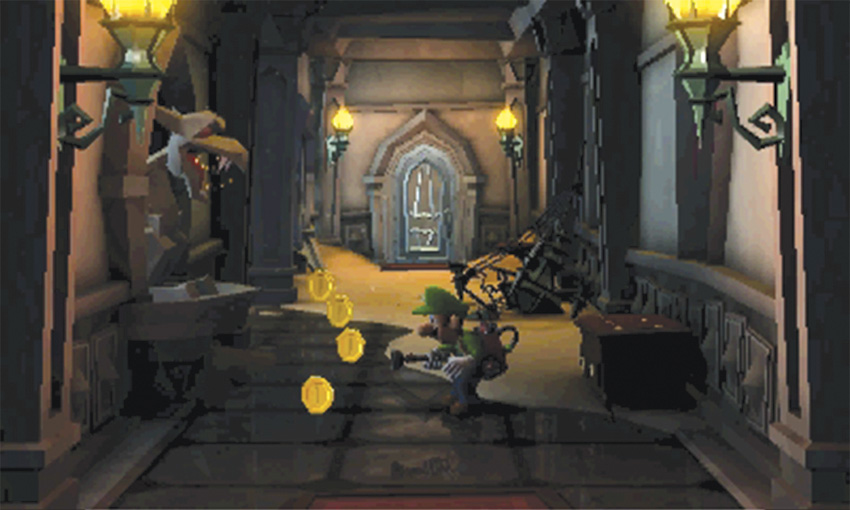
The Grand East serves as a junction between the Jungle Exhibit, the Ancient Exhibit, the Restrooms, and the Inner Courtyard. When you first reach the Grand East, flash the gargoyle on the wall and search the nearby chest. Head north and move straight past the three-way intersection at the center of the area.
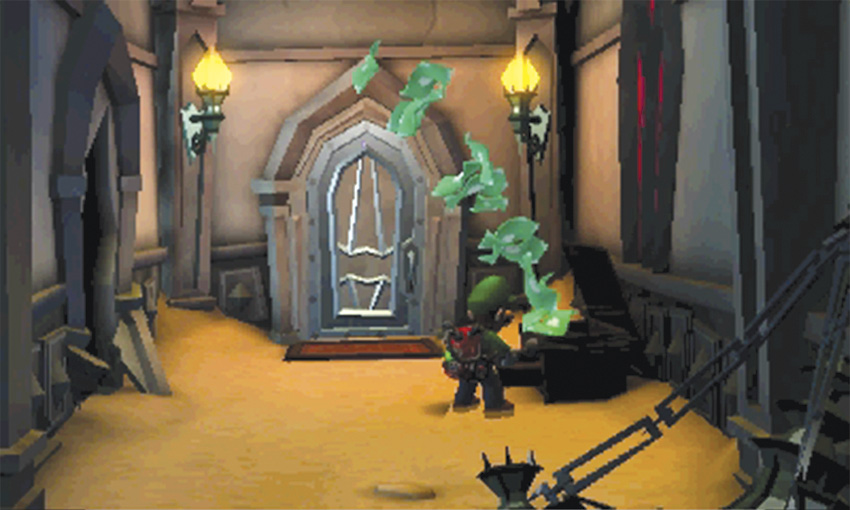
Vacuum the sand piled near the end of the path, then open the chest to find some treasure. Use the large hole in the west wall to peek into the Restrooms. Open the door in the north wall and enter the Ancient Exhibit.
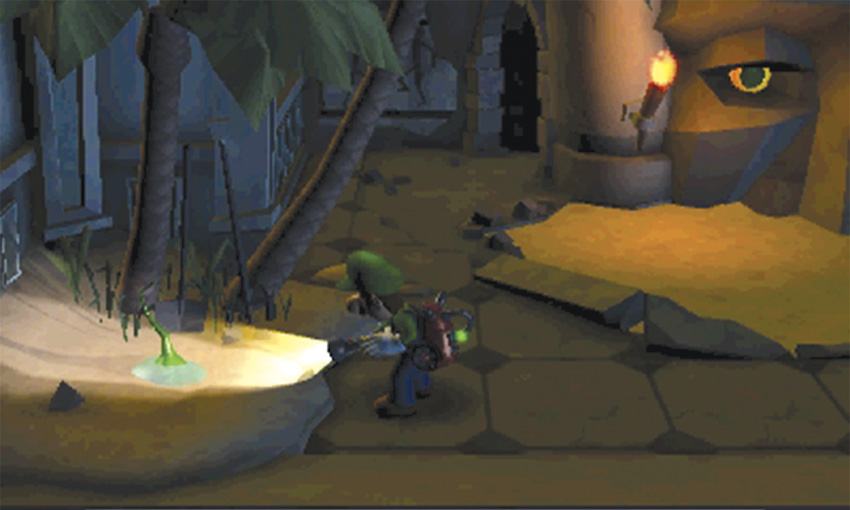
When you reach the Ancient Exhibit, note the sprout in the room’s southwest corner. After you find a water supply, remember to water this struggling plant. For now, however, move onto the sand at the center of the room.
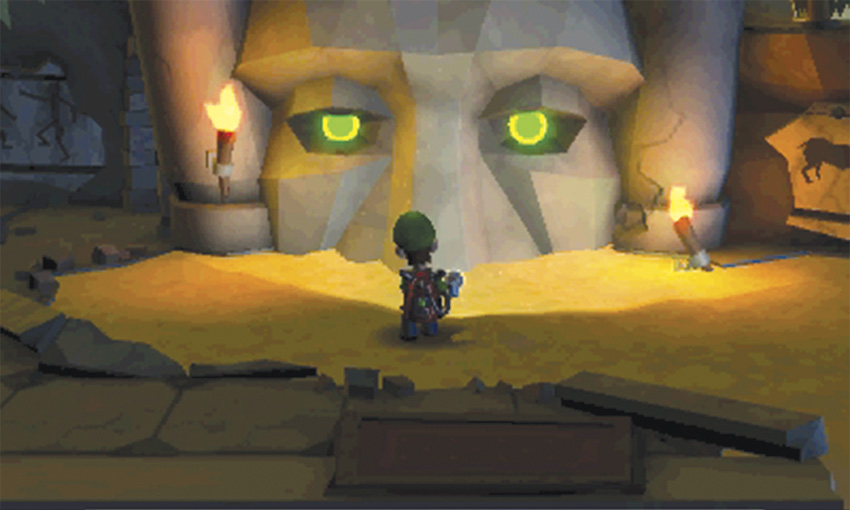
Stand in front of giant carving and charge the Strobulb. Hit both of the carving’s eyes with a single flash. As the sand drains out of the room, you’re carried down to a hidden tomb.
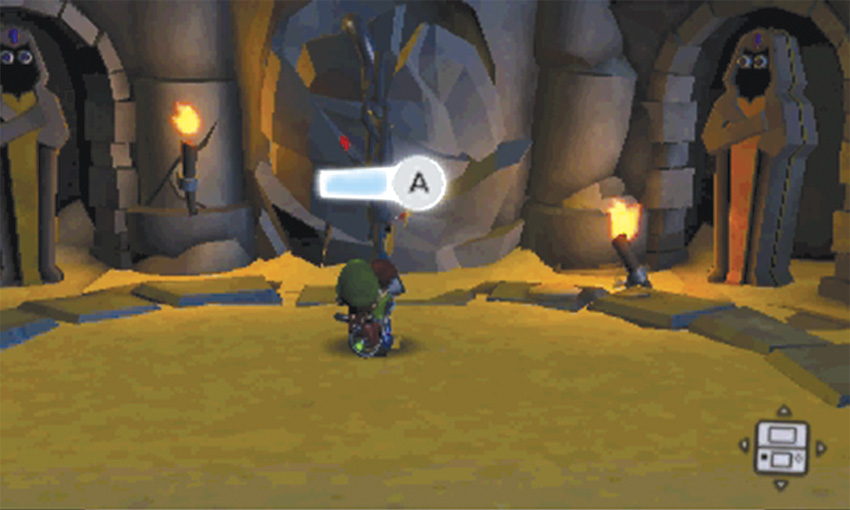
Move to giant carving’s mouth and latch onto the hanging chain. Perform three A-Pulls to crumble the stone and reveal the Ancient Exhibit E-Gate. When you do, it triggers a cinematic.
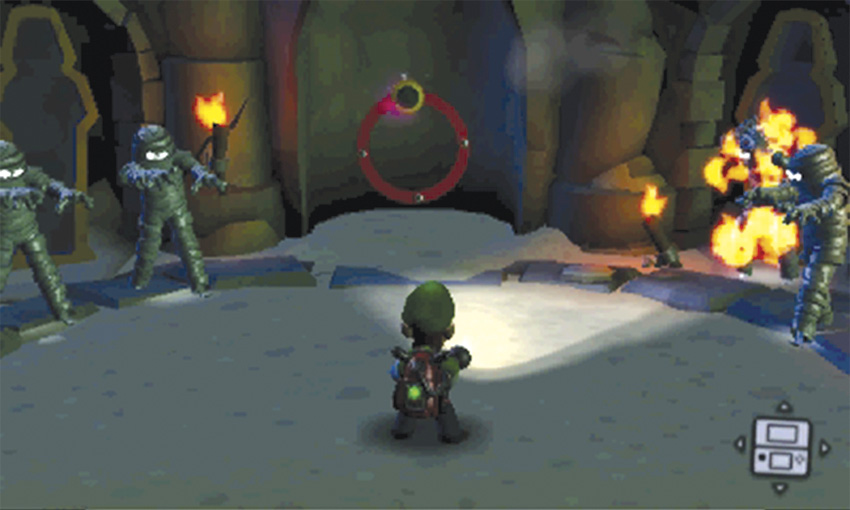
During the cinematic, four bandaged Strong Greenies emerge from the sarcophagi. When the cinematic ends, however, one of the Greenies walks straight into a lit torch. Take a cue from this clumsy enemy and lure the other Greenies into open flames. Stand near a torch, allow the Strong Greenies to approach, then flash the Strobulb and run away.
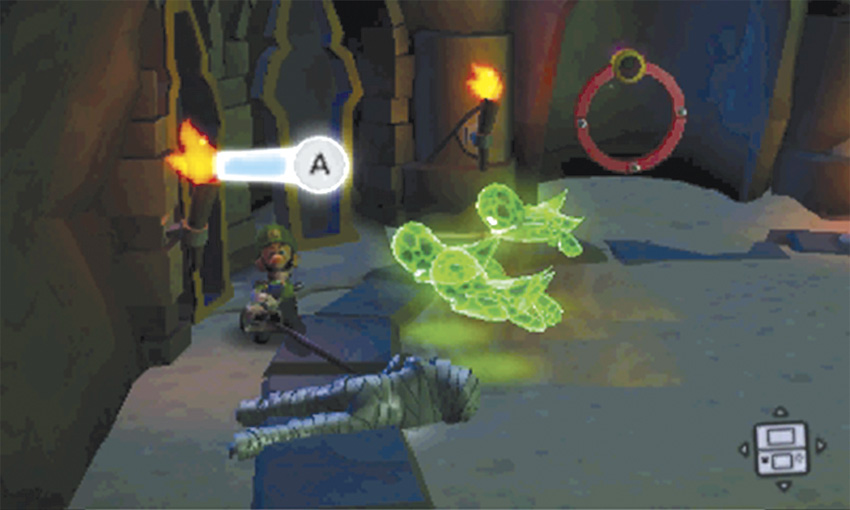
If you have trouble igniting the bandaged Strong Greenies, you can still trick them into charging at the walls. When an enemy falls to the ground, A-Pull its loose bandage before it recovers. Capture all four Strong Greenies, then use the Strobulb to activate the E-Gate. Move to the room’s southeast corner and follow the path back to the surface. Leave the Ancient Exhibit and return to the Grand East.
Reach the Inner Courtyard
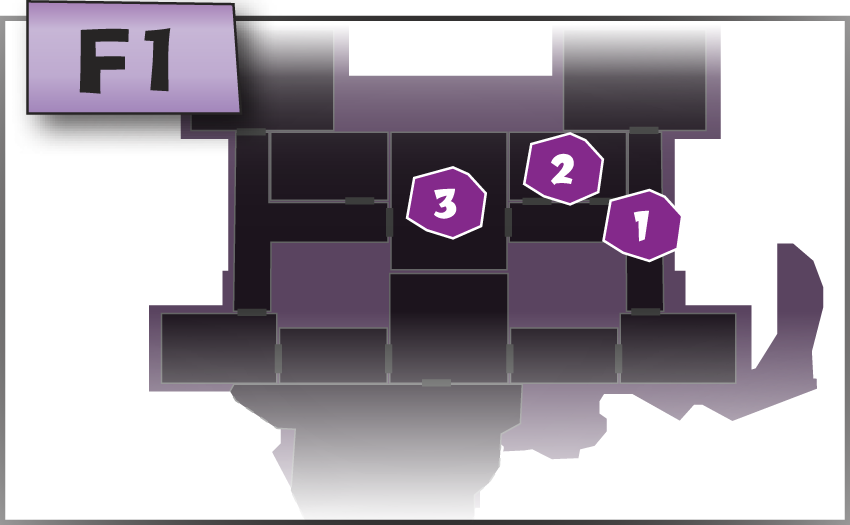
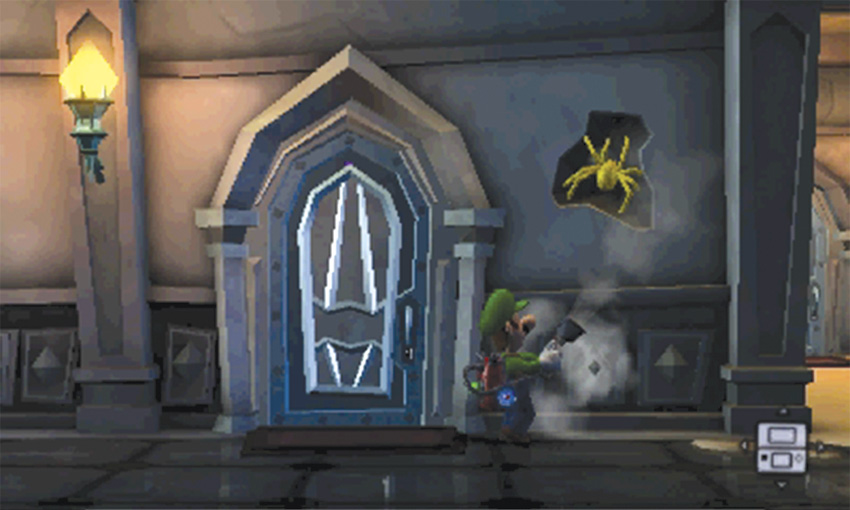
Return to the three-way intersection at the center of the Grand East. Move west to find a door to the Restrooms. Vacuum the wall just east of the door to reveal a gold spider. Flash the pest, collect the resulting treasure, then head through the door.
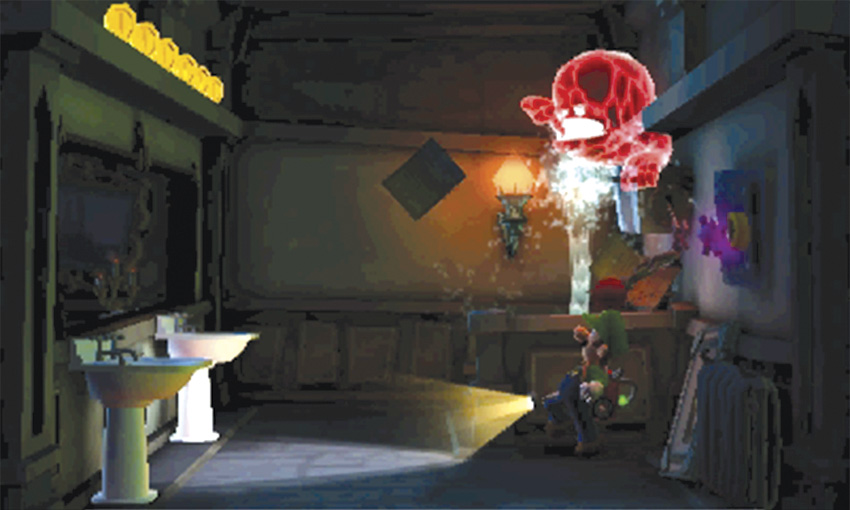
The east half of the Restrooms is occupied by a Strong Slammer. The ghost doesn’t seem to notice you, and the stall protects it from your Strobulb flashes. A-Pull the chain hanging from the water tank. When the Strong Slammer is launched out of the stall, flash it with the Strobulb and capture it. An unseen ghost is preventing you from opening the safe at this time. Vacuum the coins above the sinks and return to the Grand East.
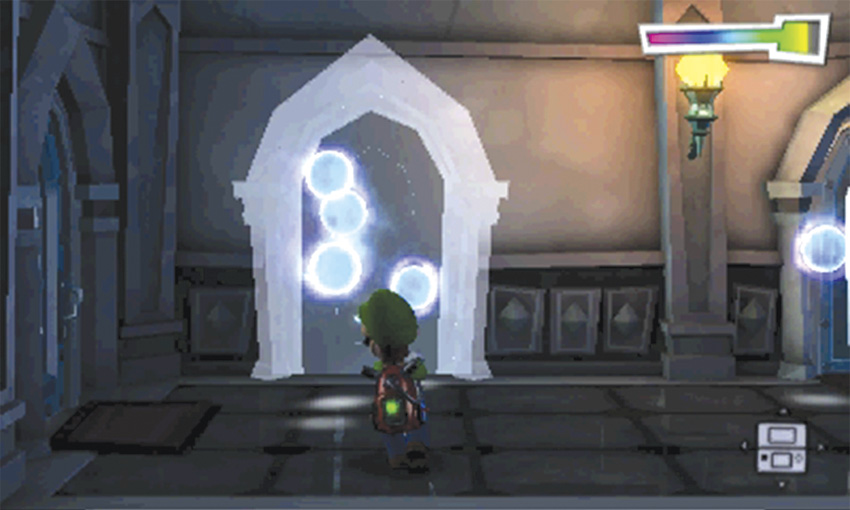
The troublesome ghost is hiding in the Restrooms. Move to the west end of the Grand East and use the Dark-Light Device to reveal the missing door on the north wall. After you capture the Spirit Balls, head through the door to find the west half of the Restrooms.
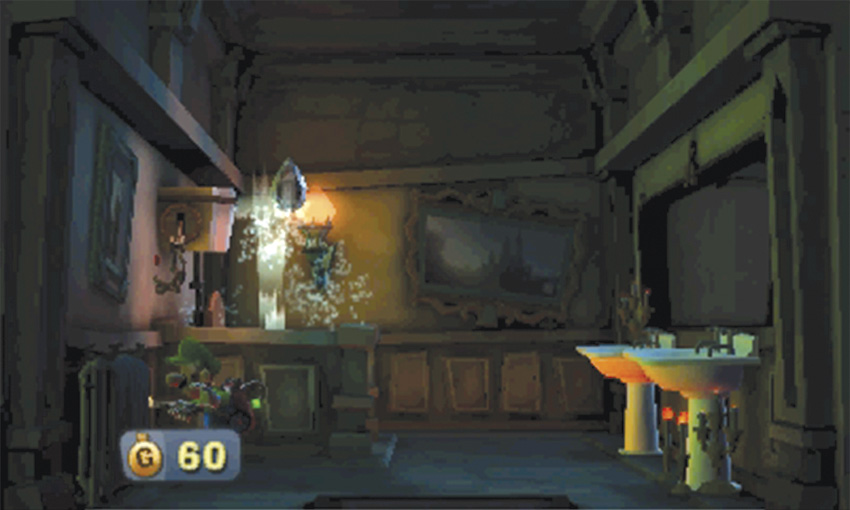
Collect the treasure near the west wall, then A-Pull the chain hanging from the water tank. The blast of water launches the Drop Diamond into the air. Collect the Gem when it lands, then move back toward the door in the south wall.
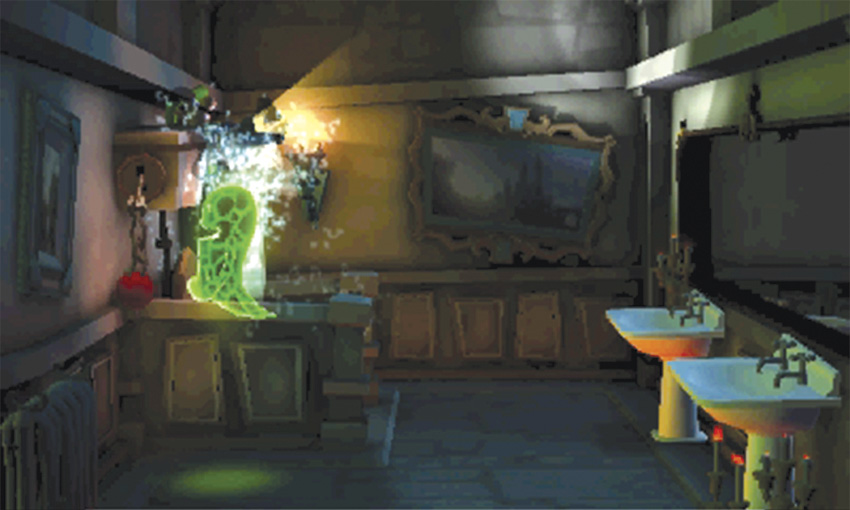
As you approach the door, an unseen ghost laughs. Head into the stall to investigate the sound. The Strong Greenie flushes the toilet, launching you into the air. When you recover, capture the Strong Greenie. Now that the area is clear of enemies, head back to the east half of the Restrooms and flash the safe. When you’re ready, use the door just west of the Restrooms to enter the Inner Courtyard.
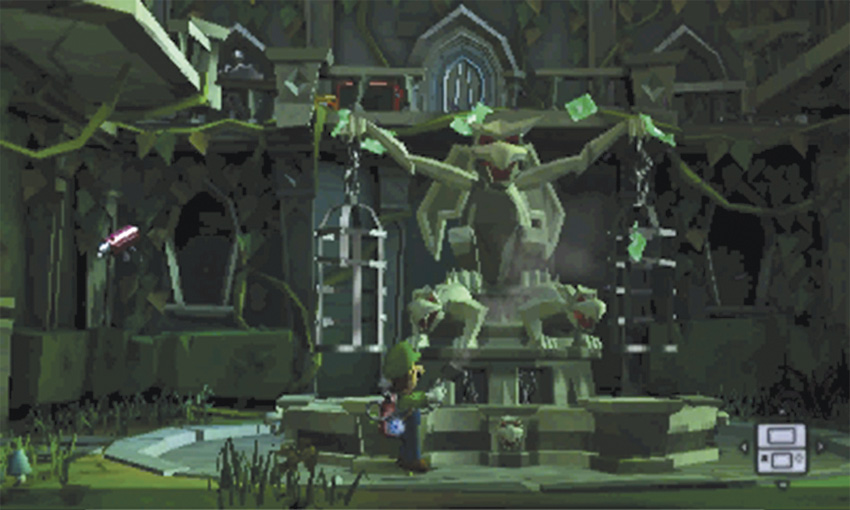
After you reach the Inner Courtyard, answer the Duel Scream, then flash the crows perched on the statue at the center of the room. When you’re ready, use the door in the west wall to reach the Grand West.
Activate the Ice Age Exhibit E-Gate
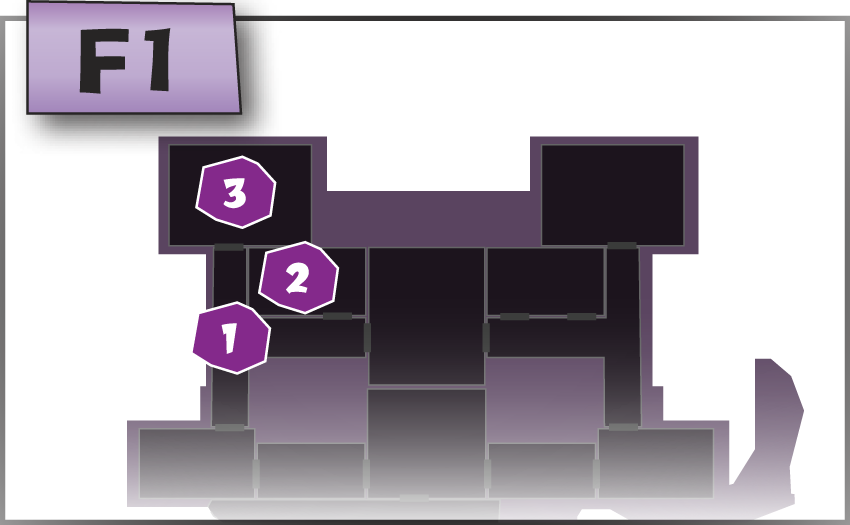
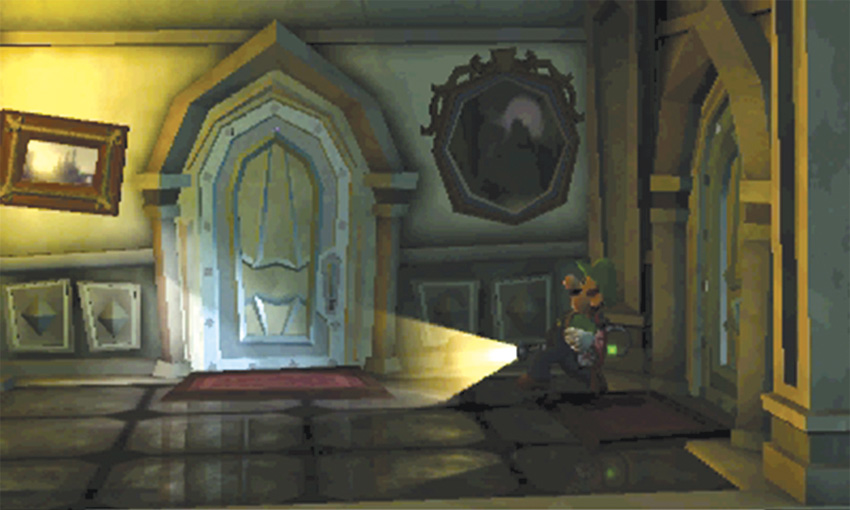
When you step into the Grand West, you find yourself just outside the Kitchen. Head through the door in the north wall to make a quick visit.
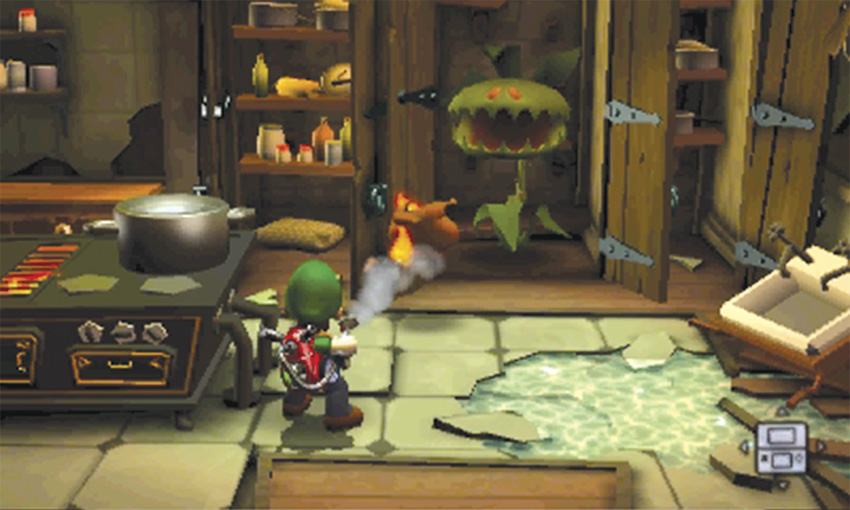
Cross the Kitchen and open the pantry on the north wall to find a flytrap. Run out of range before the plant attacks, then move over to the stove. Search the doors along the south side of the stove until the turkey pops out of the large pot. Vacuum the flaming turkey and launch it into the flytrap’s mouth. When the plant withers, collect the treasure that flies into the room.
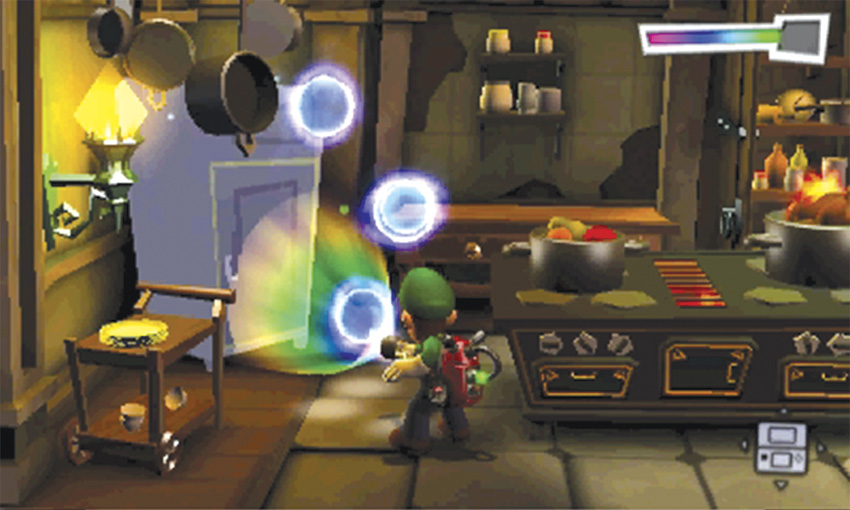
Before you leave the Kitchen, use the Dark-Light Device to reveal the refrigerator in the room’s northwest corner.
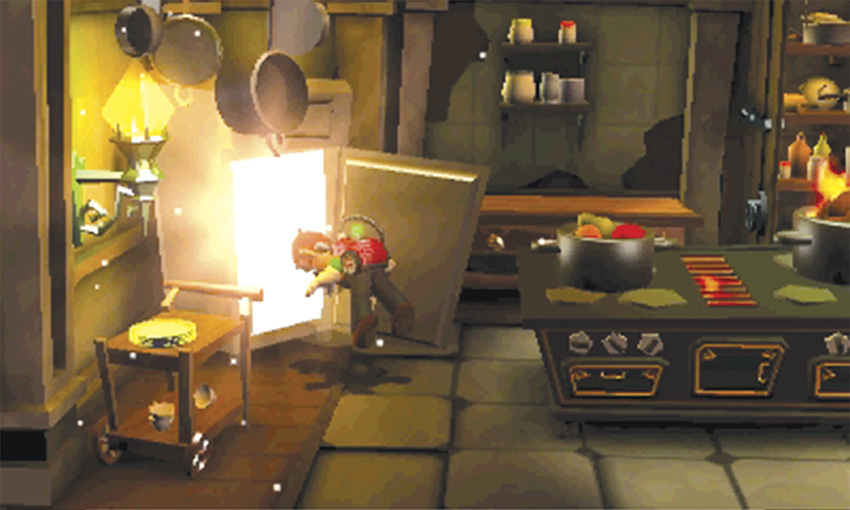
After you capture the Spirit Balls, search the refrigerator to find a bonus challenge.
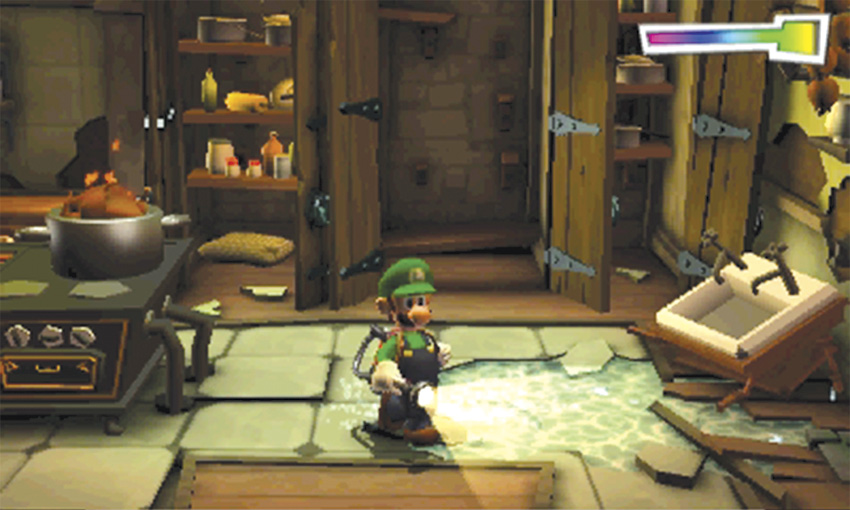
After you complete the bonus challenge, finish your search of the Kitchen. When you’re ready, use the door in the south wall to return to the Grand West.
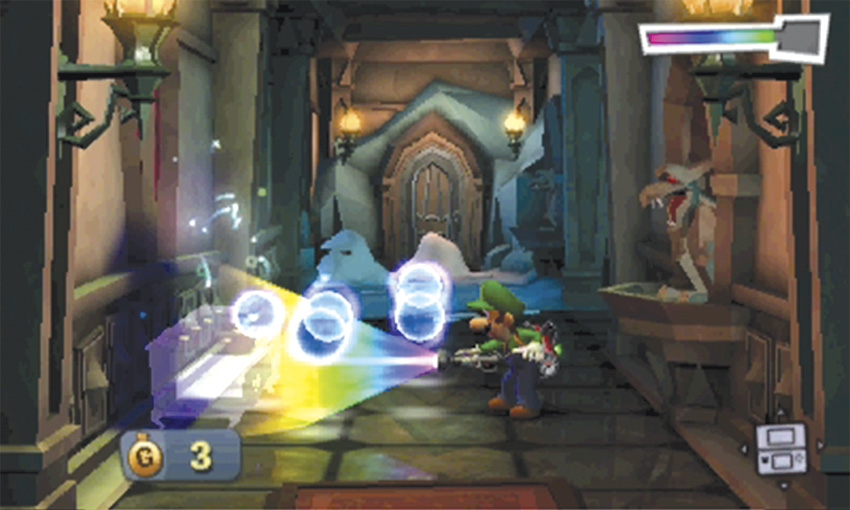
Before you head to the Ice Age Exhibit, take a moment to search the Grand West. When you emerge from the Kitchen, move straight to west wall, then slide a few steps to the south. Use the Dark-Light Device to reveal a missing chest at the south end of the Great West.
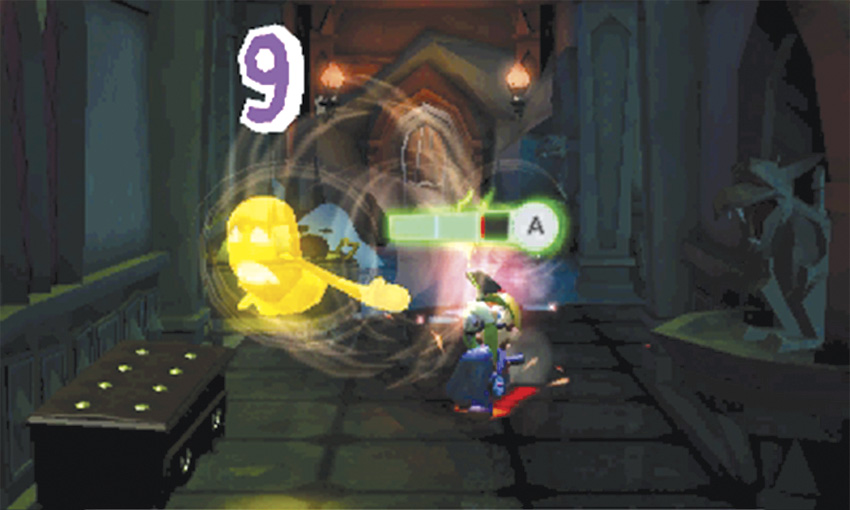
After you collect the Spirit Balls, open the chest to find a Gold Greenie. Capture the ghost before it escapes, then collect the resulting treasure. Flash the nearby gargoyle, then move to the north end of the Grand West.
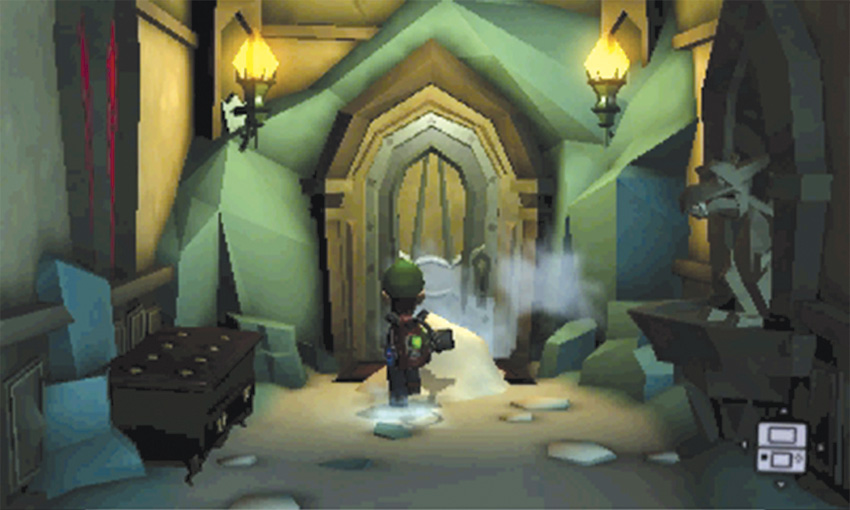
Vacuum the snow mounds outside at the north end of the area, then search the chest and flash the nearby gargoyle. When you’re ready, open the door in the north wall to find the Ice Age Exhibit.
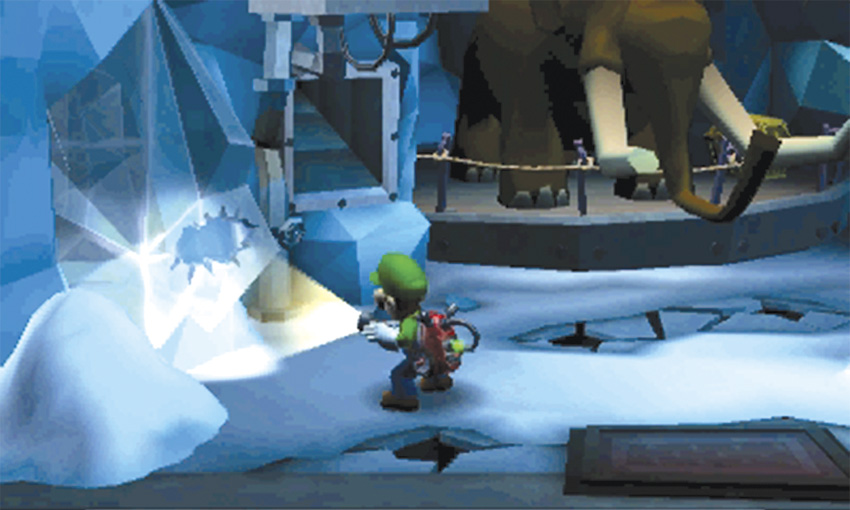
When you reach the Ice Age Exhibit, examine the large chunk of ice in the west wall. When you peek through the crack, you can see another Toad Assistant trapped in a framed sketch. Vacuum the fans above the nearby duct until they stop producing treasure, then vacuum the snow mounds on the ground.
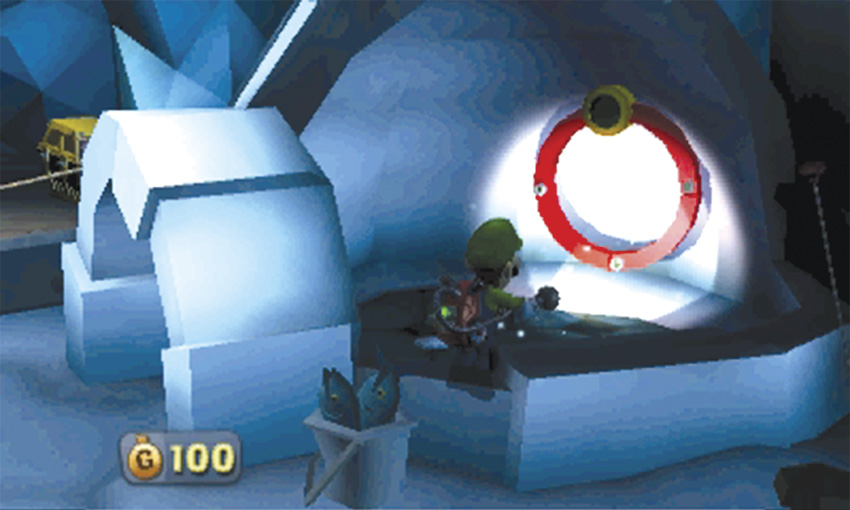
A-Pull the fish hanging in the room’s southeast corner to find another nice stash of treasure, then head into the igloo to find the Ice Age Exhibit E-Gate. Flash the E-Gate, then step out of the igloo.
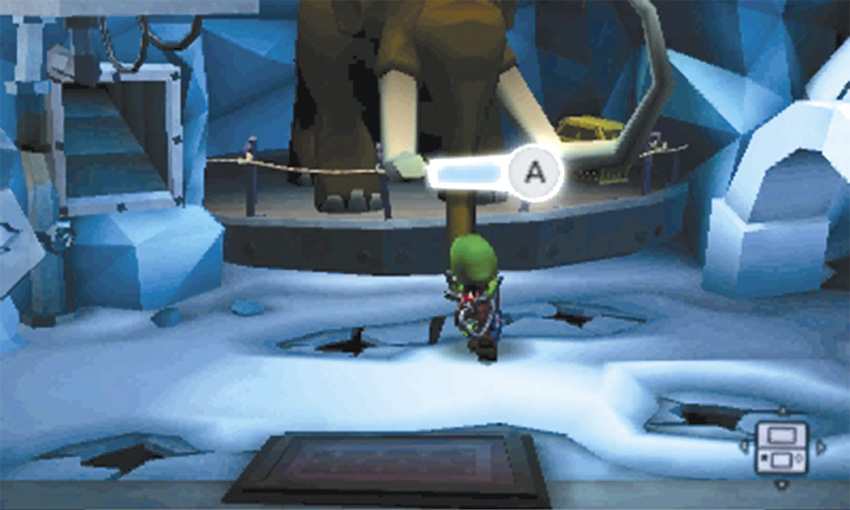
When you’re ready, vacuum the woolly mammoth’s trunk and perform an A-Pull. The beast springs to life and launches you up to the Gargoyle Roof.
Search the Gargoyle Roof

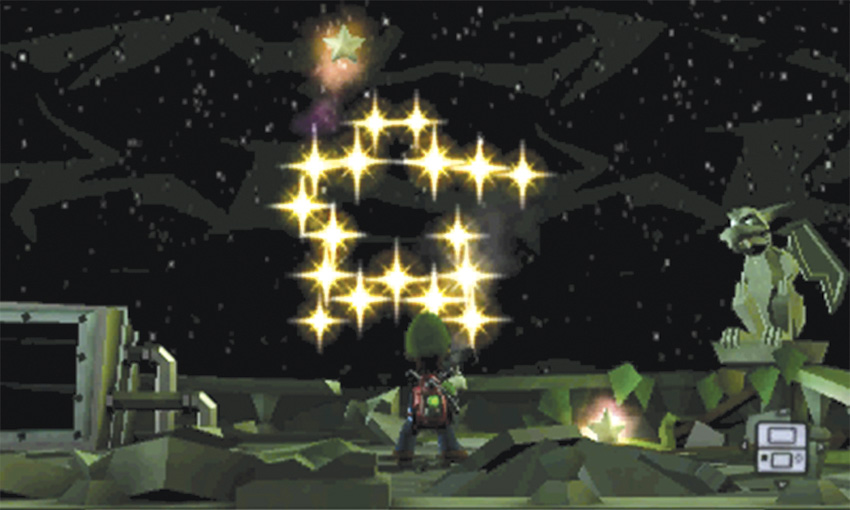
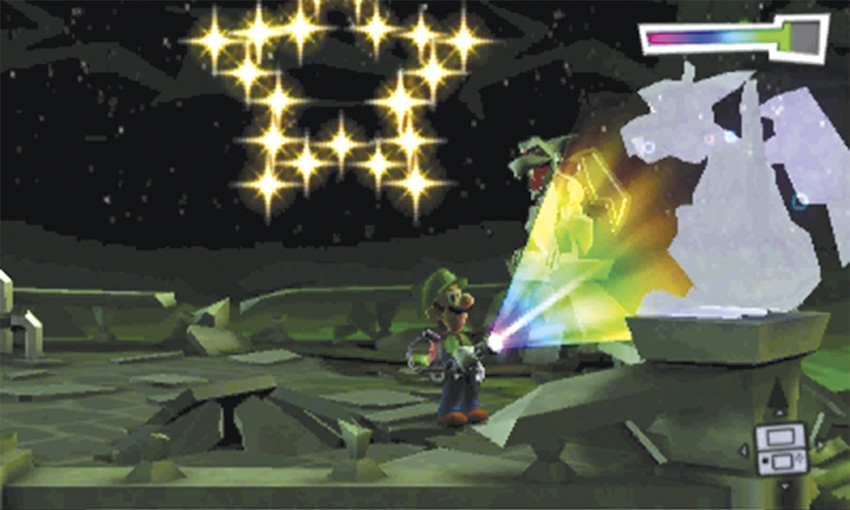
When you reach the Gargoyle Roof, the large constellation in the background is missing a few stars. Search the surrounding area to find three stars. One star is sitting in the northeast corner, one star is held by the gargoyle in the southwest corner, and one star intermittently flies through the area.
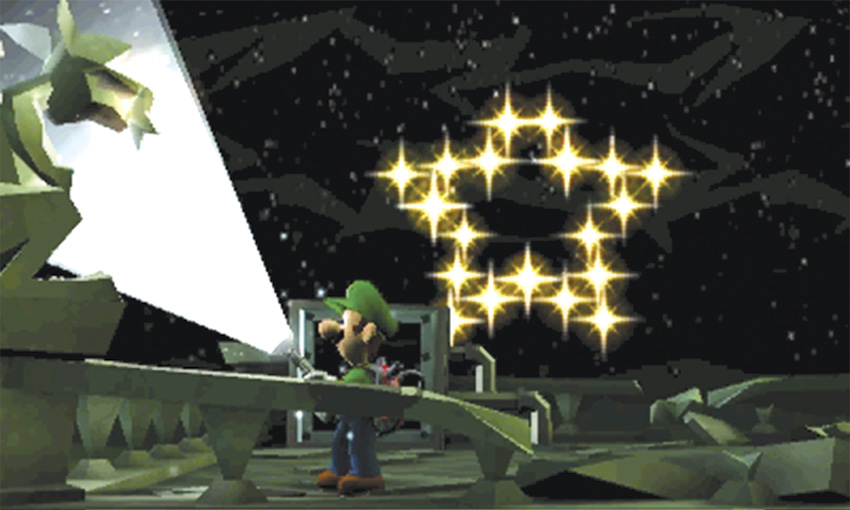
Vacuum the star in the northeast corner, then aim it at the constellation. When the targeting reticle appears, launch the star in to the indicated spot. Vacuum the flying star as it passes over you, then repeat the process to fill another slot. Finally, flash the gargoyle in the southwest corner to free its star. Vacuum the last star, then launch it into the constellation’s remaining slot.
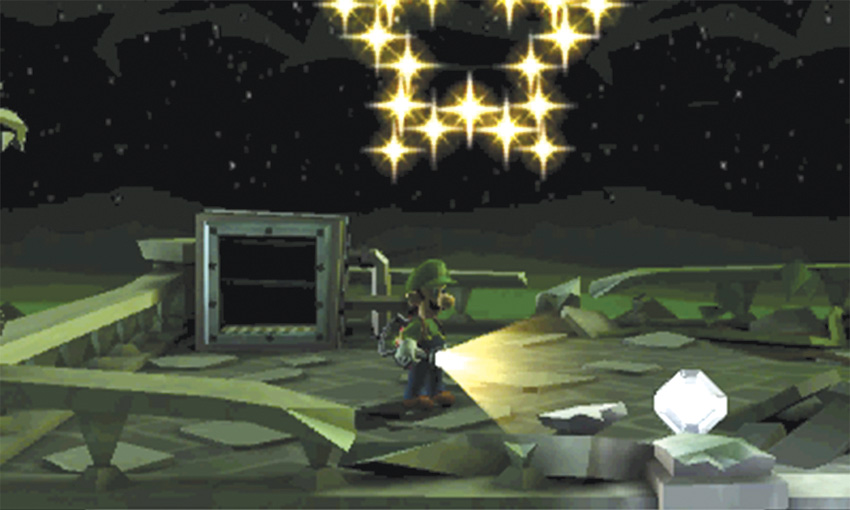
When you complete the constellation, the Pebble Diamond falls on to the Gargoyle Roof.
After you collect the Pebble Diamond, use the Dark-Light Device to reveal the missing gargoyle in the area’s southeast corner. After you capture the Spirit Balls, flash the gargoyle to receive a nice stash of treasure. When you’re ready, climb into the duct in the northwest corner and slide back down to the Ice Age Exhibit.
Activate the Dark Age Exhibit E-Gate
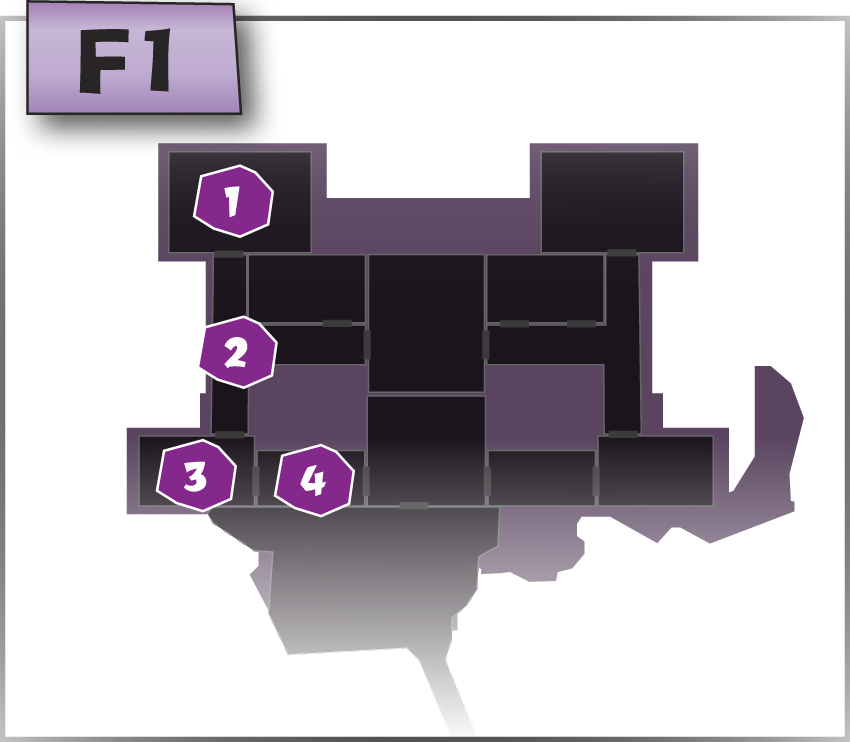
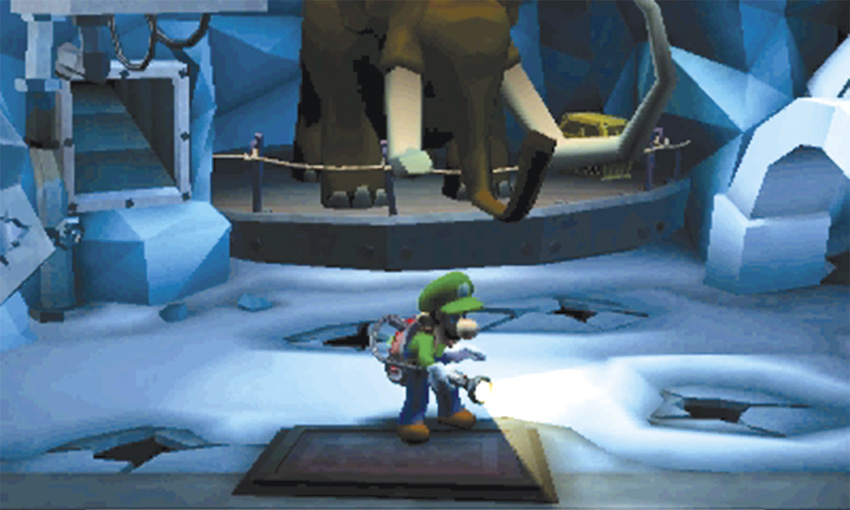
When you land in the Ice Age Exhibit, use the door in the south wall and return to the Grand West.
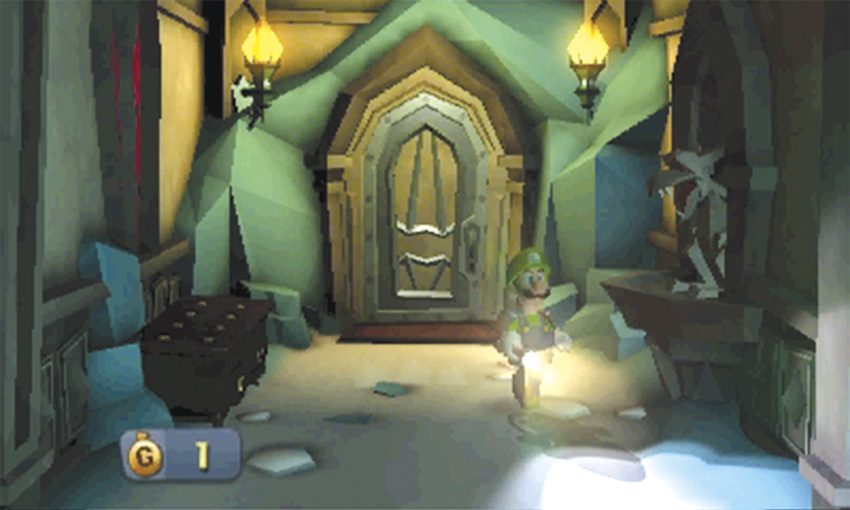
Follow the Grand West south and open the door at the end of the path to find the Dark Age Exhibit.
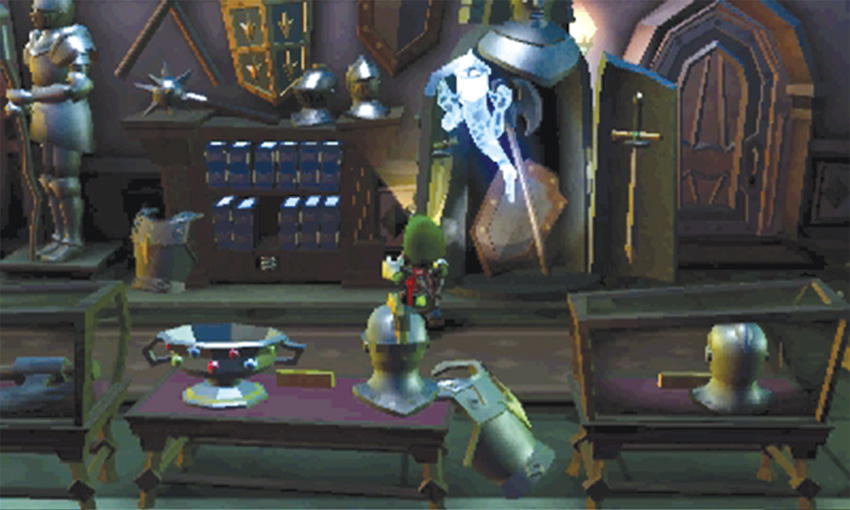
When you reach the Dark Age Exhibit, open the weapon cabinet along the north wall to reveal a Strong Hider. When you recover from the scare, search the nearby objects for hidden enemies.
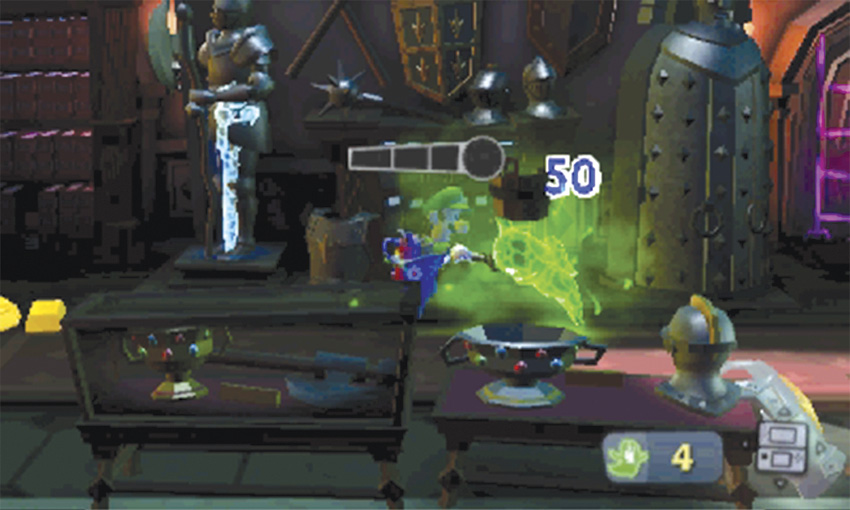
The room contains two Strong Hiders and a Strong Greenie wearing a bucket on its head. As you engage each enemy, watch out for incoming attacks. It’s usually best to deal with the Strong Hiders first, but if you see the Strong Greenie peek out from under its bucket, take the opportunity to flash it while it’s vulnerable.
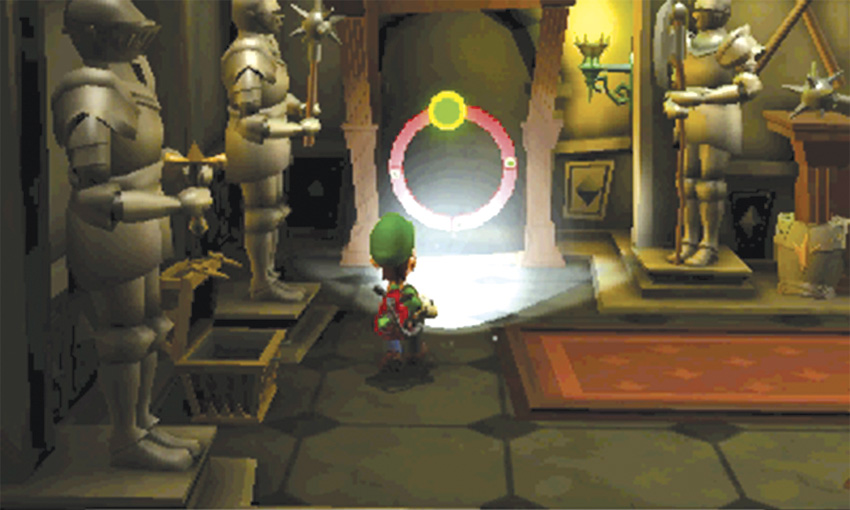
After you capture all three ghosts, search the chest along the west wall to find a red book. Vacuum the book and carry it to the bookcase near the northwest corner. Place the book in the empty slot to reveal the Dark Age Exhibit E-Gate. Before you use the E-Gate, take a moment to visit the West Gallery.
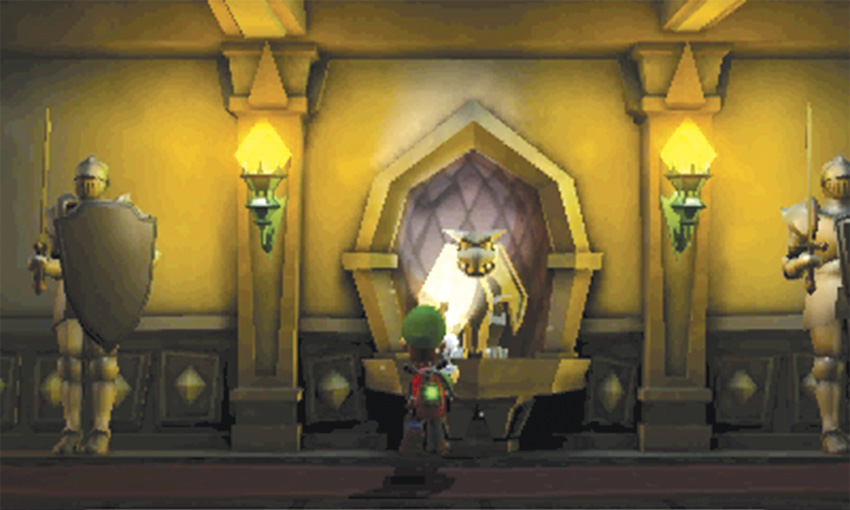
Search the West Gallery for any suspicious activity. Flash the gargoyle on the north wall, then return to the Dark Age Exhibit.
Free the Toad Assistant in the Jungle Exhibit
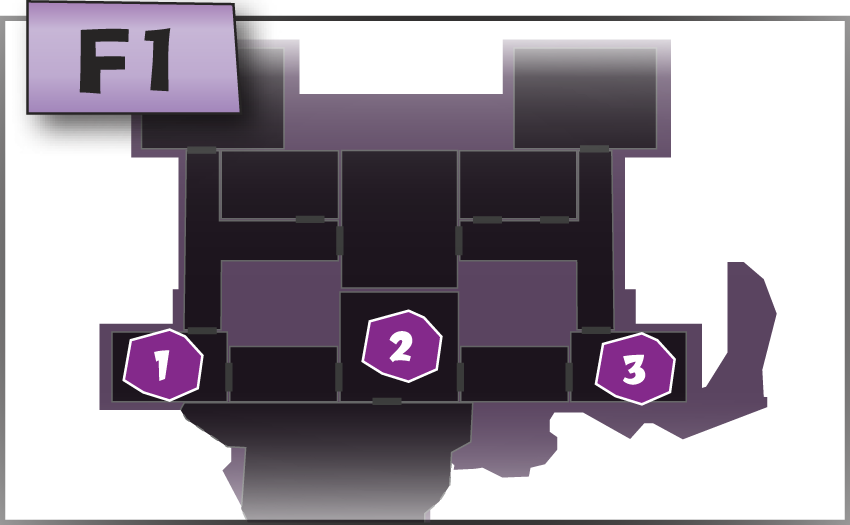
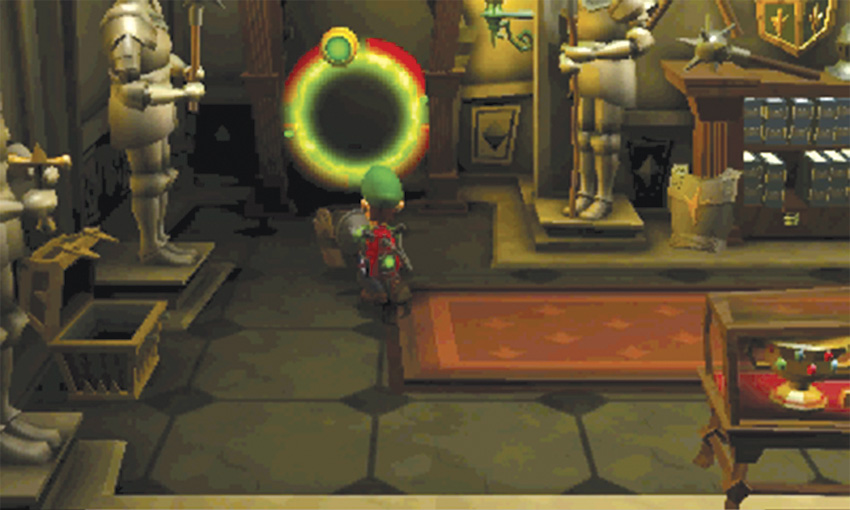
Now that you’ve activated the necessary E-Gates, you’re ready to rescue both of the imprisoned Toad Assistants. When you captured the Strong Greenie in the Dark Age Exhibit, the ghost left its bucket behind. Vacuum the bucket, then carry it through the Dark Age Exhibit E-Gate.
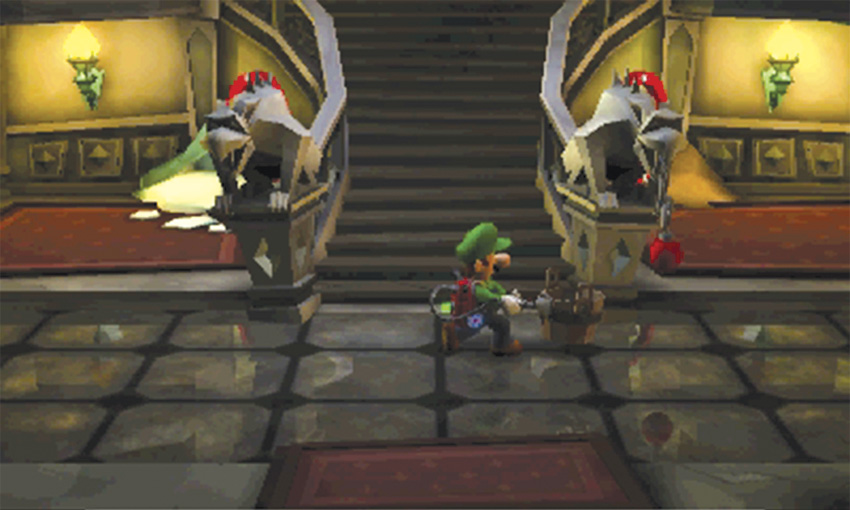
The E-Gates allow you to transport important objects between connected rooms. Since all of the E-Gates are connected to the Front Entrance, this room plays a very important role in the next few objectives. To rescue the first Toad Assistant, you must bring the bucket to the Jungle Exhibit. Move past the stairs and carry the bucket through the E-Gate on the east wall.
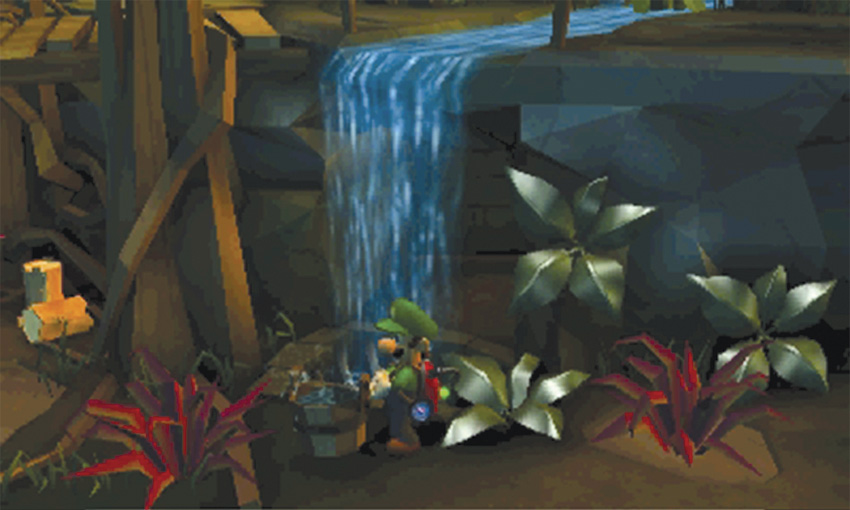
When you emerge from the Jungle Exhibit E-Gate, move toward the center of the room. Passing under the waterfall fills the bucket.
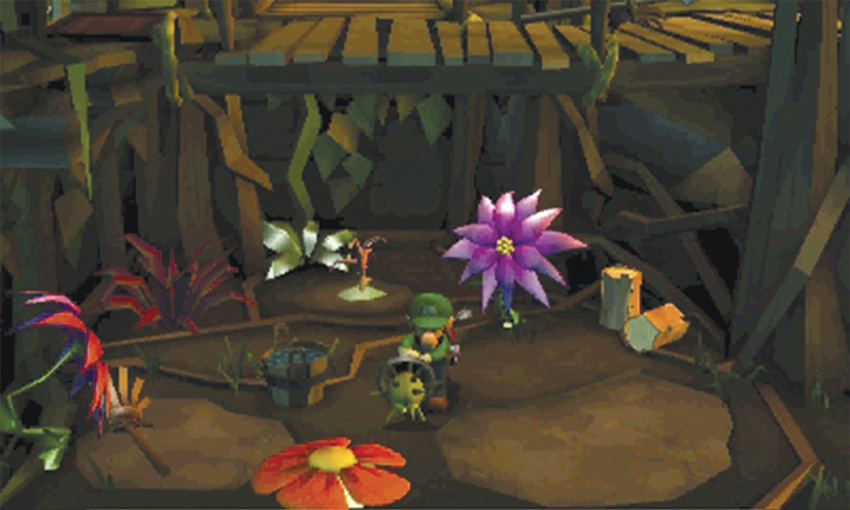
Use the bucket to water the sprout beneath the wooden walkway. Wait for the gnarled plant to grow, then vacuum the spiked seed pod. Move onto the orange flower to launch yourself up to the walkway.
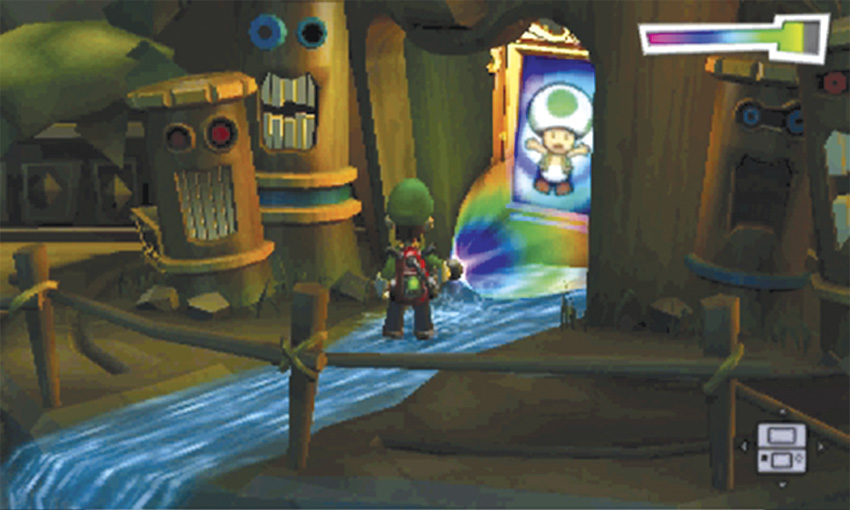
When you land, follow the walkway east and launch the seed pod into the flytrap’s mouth. After the plant withers away, use the Dark-Light Device to free the Toad Assistant from the framed sketch.
Free the Toad Assistant in the Ice Age Exhibit
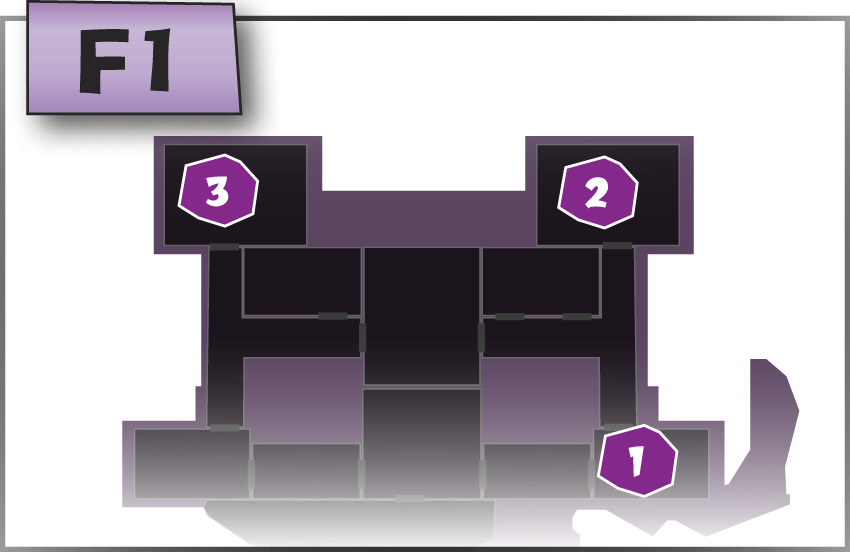
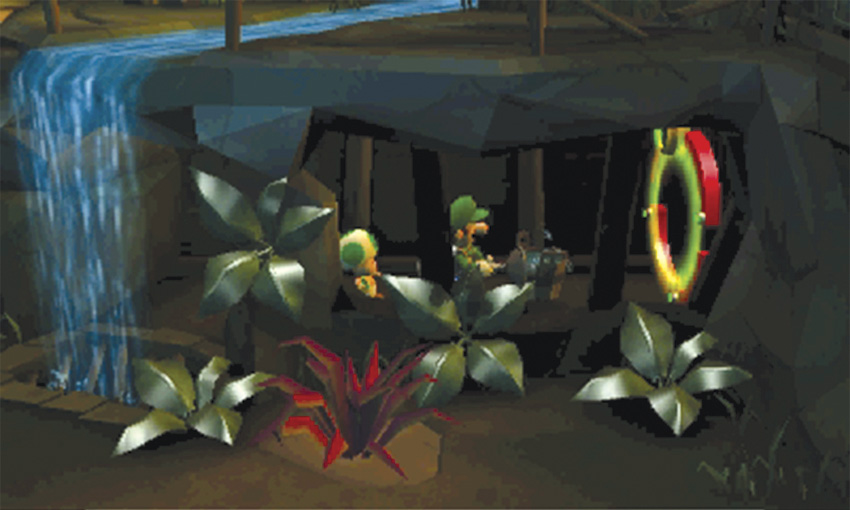
Vacuum the Toad Assistant and launch him to the bottom of the Jungle Exhibit. Use the knotted vine in the southeast corner to lower yourself down from the ledge. Regroup with the Toad, then vacuum the bucket you left by the gnarled plant. Carry the bucket through the Jungle Exhibit E-Gate. When you emerge in the Front Entrance, use the E-Gate just east of the stairs to reach the Ancient Exhibit.
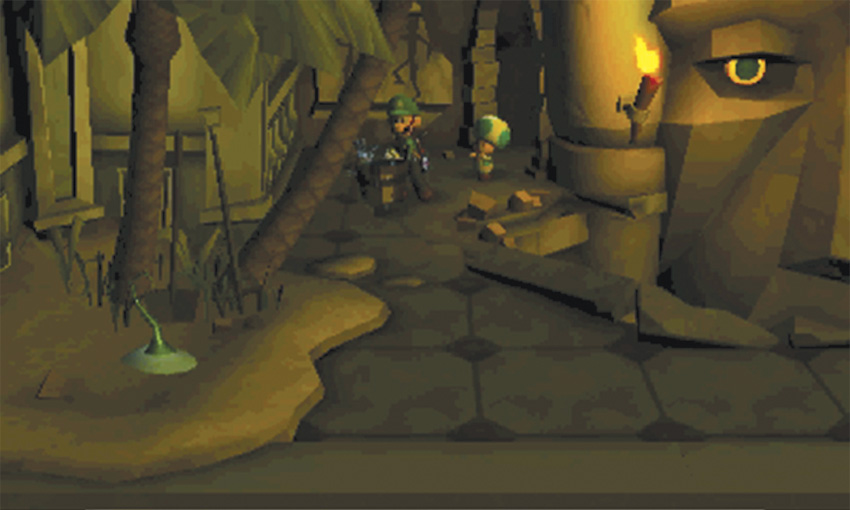
When you emerge from the Ancient Exhibit E-Gate, move to the room’s southeast corner and follow the path out of the tomb. When you reach the top of the path, use the bucket to water the sprout in the room’s southwest corner.
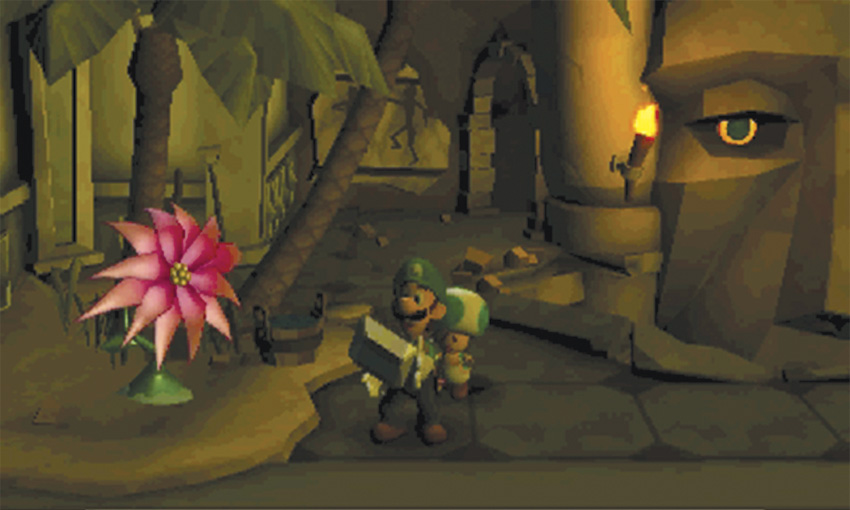
When the purple flower appears, flash it with the Strobulb to find the Rhombus Diamond. Collect the Gem, then follow the path back down and use the Ancient Exhibit E-Gate. When you emerge in the Front Entrance, use the E-Gate on the east wall to return to the Jungle Exhibit.
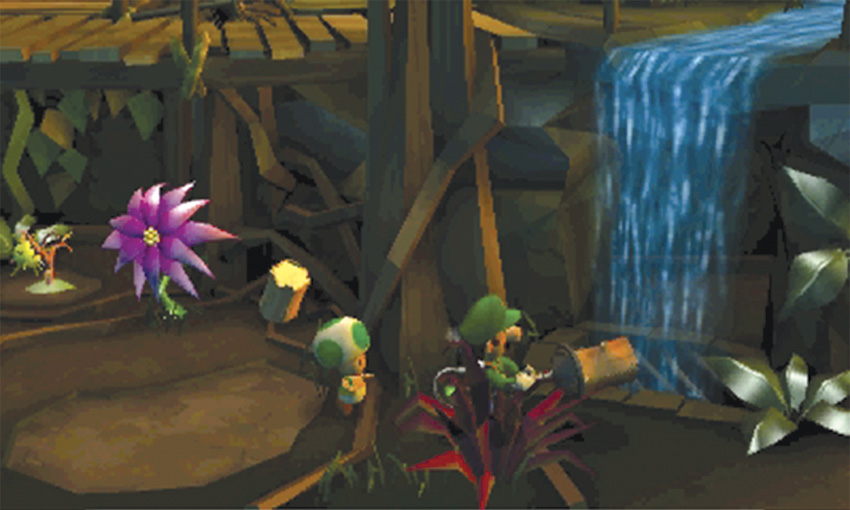
When you arrive in the Jungle Exhibit, step out from behind the waterfall and vacuum one of the logs near the north wall. Carry the log back under the waterfall and through the E-Gate. When you emerge in the Front Entrance, use the E-Gate just east of the stairs to return to the Ancient Exhibit.
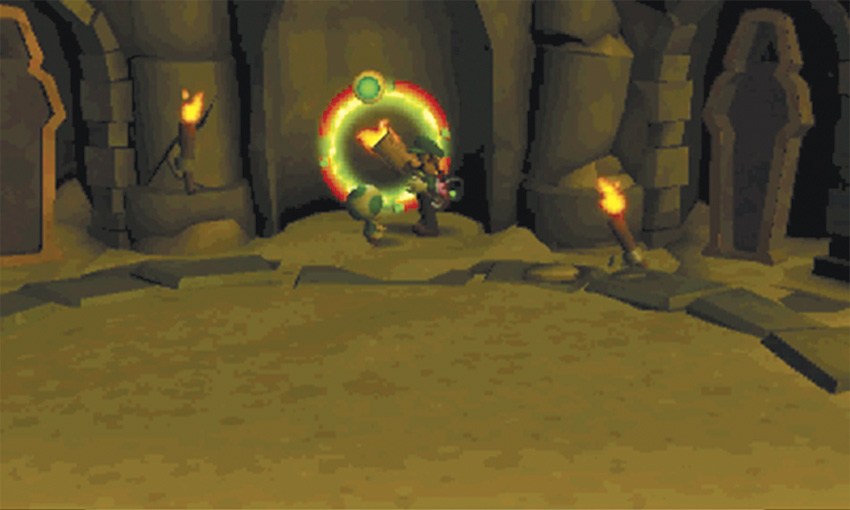
When you arrive in the Ancient Exhibit, use the nearby torch to ignite the log. Carry the flaming log back through the E-Gate. When you reach the Front Entrance, use the E-Gate just west of the steps to enter the Ice Age Exhibit.
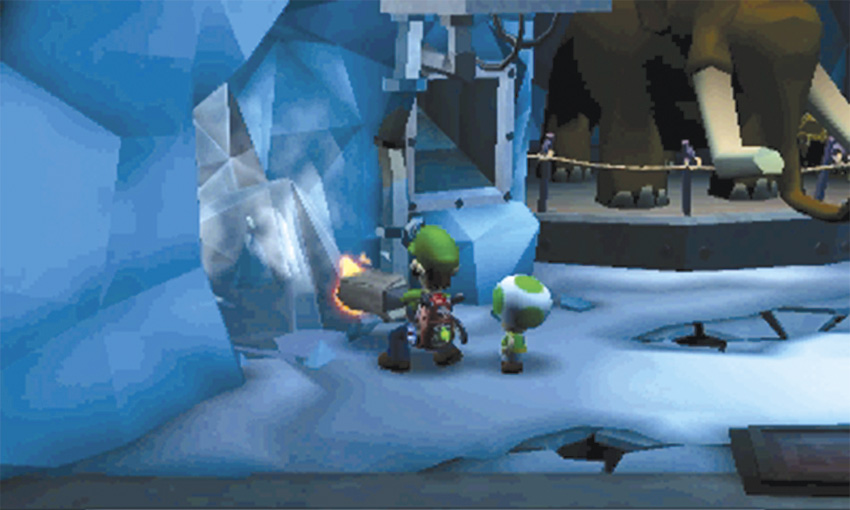
When you emerge in the Ice Age Exhibit, use the flaming log to melt the ice on the west side of the room.
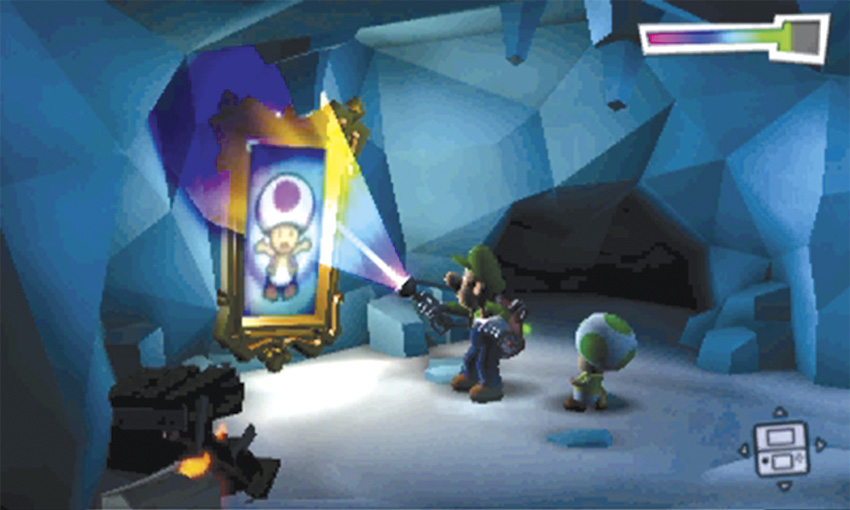
Step into the revealed alcove and melt the ice along the north wall. When you’re finished, drop the flaming log and use the Dark-Light Device to draw the Toad Assistant out of the framed sketch.
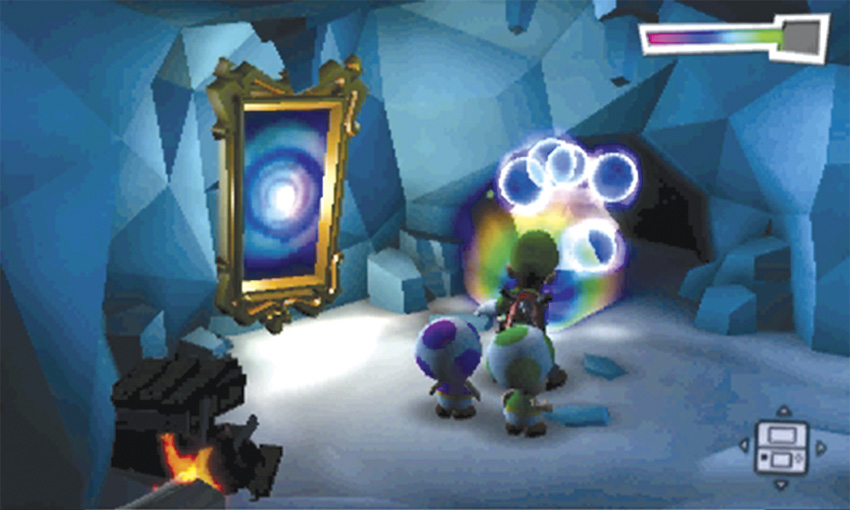
Once you free the second Toad, Professor E. Gadd calls with an update. Answer the Duel Scream, then use the Dark-Light Device to reveal the chest in the alcove’s north wall. After you capture the Spirit Balls, search the chest to find a nice stash of treasure. When you’re ready, lead the Toad Assistants out of the alcove.
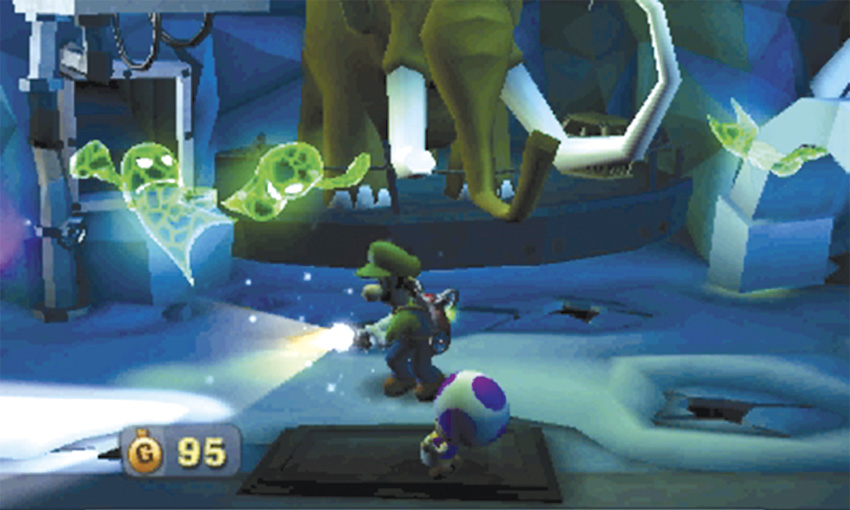
As you leave the alcove, three Strong Greenies appear in the Ice Age Exhibit. As you capture these ghosts, take care to avoid the fishing holes on the floor. Capture the Strong Greenies, then calm the panicked Toads. When you’re ready, use the door in the south wall to enter the Grand West.
Send the Toads to the Bunker
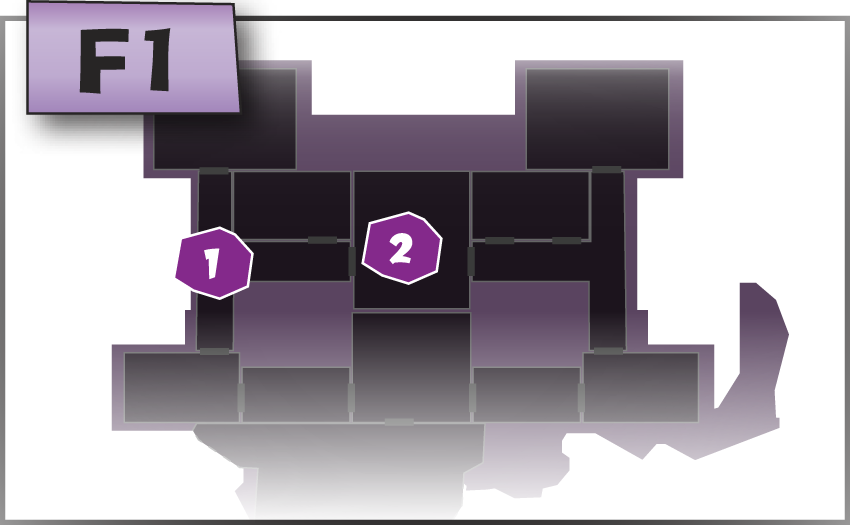
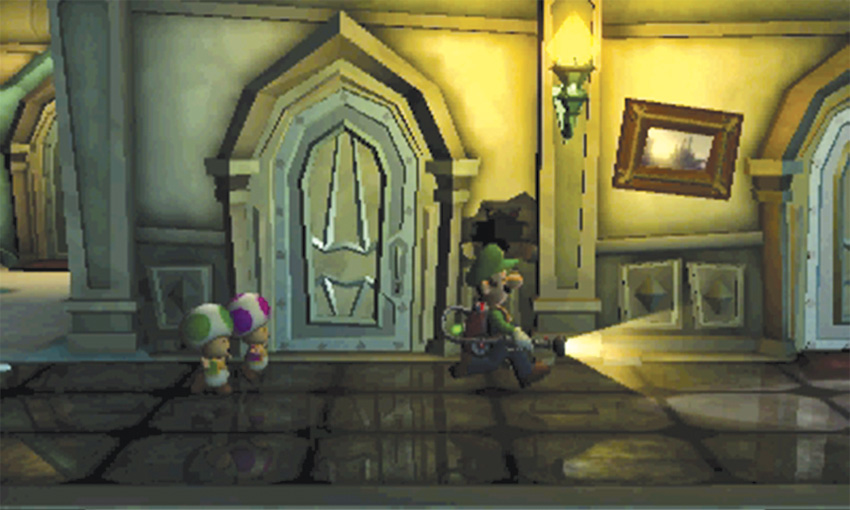
Move to the three-way intersection at the center of the Grand West, then head east. Open the door at the end of the path and lead the Toads into the Inner Courtyard.
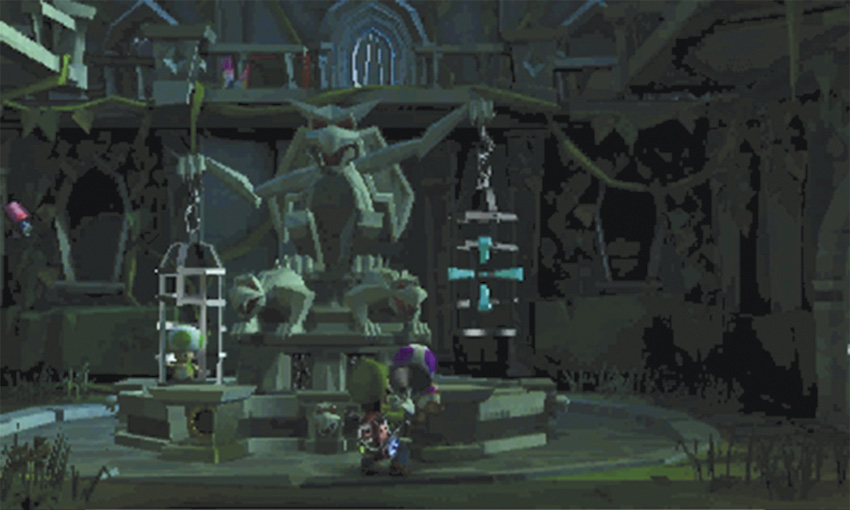
Move to the center of the Inner Courtyard and launch a Toad into each of the cages hanging from the statue. When both Toads are in place, a Boo appears at the base of the statue. Unfortunately, Boopa Troopa brings a few allies into battle.
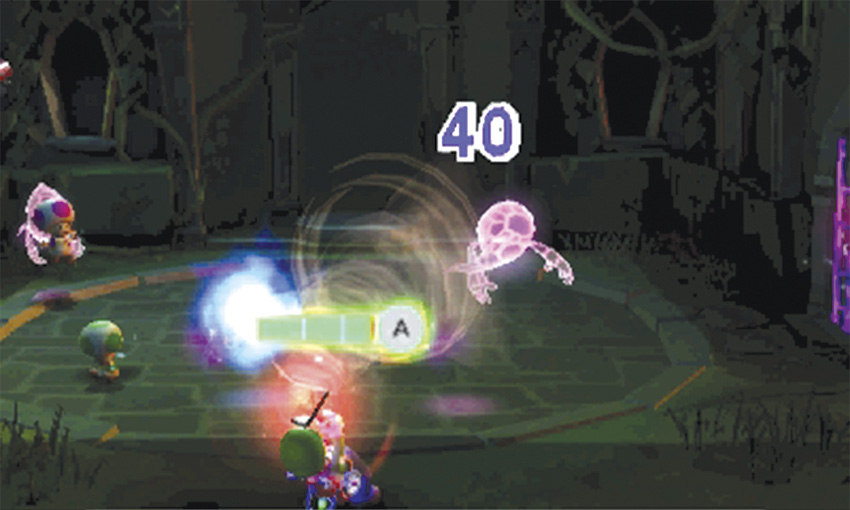
During this battle, you must defeat a Boo and two Strong Sneakers. It’s usually best to deal with at least one Strong Sneaker before you attack Boopa Troopa. However, this leaves Boopa Troopa free to fill the room with Spirit Balls and perform its extremely fast charge attacks. As you wear down the Strong Sneakers, allow your target to drag you out of dangerous areas.
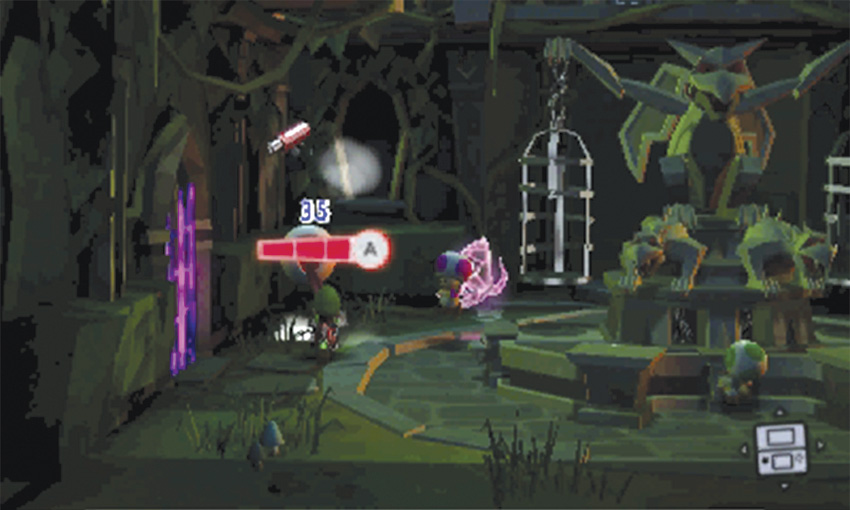
Once you’ve captured at least one of the Strong Sneakers, the battle becomes a little more manageable. Use the Dark-Light device to search for Boopa Troopa, any remaining Strong Sneakers, and any missing objects. If you manage to find Boopa Troopa before you capture both Sneakers, use the standard methods to weaken it—just make sure you keep an eye out for incoming attacks. Capture all three ghosts to end the battle.
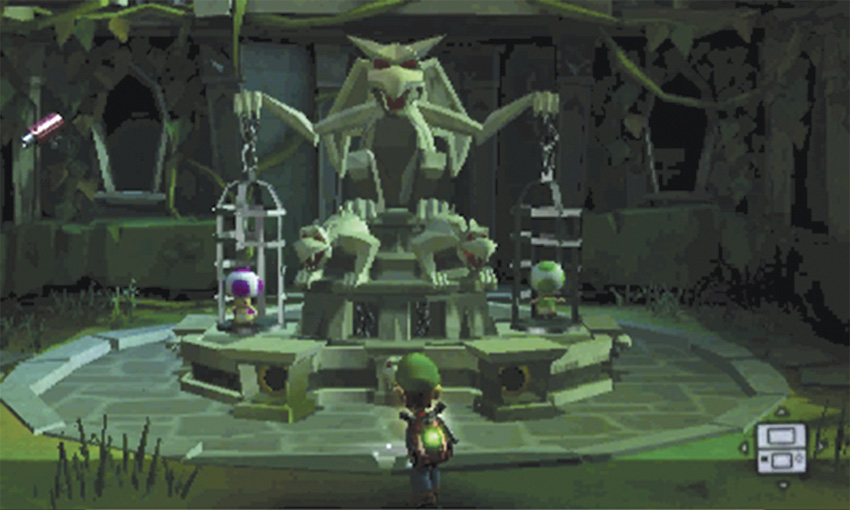
After you clear the room of ghosts, launch the Toads back into the cages. When both Toads are in place, two panels open on the base of the statue. Flash the revealed green circular panels with a single Strobulb flash to trigger a cutscene.
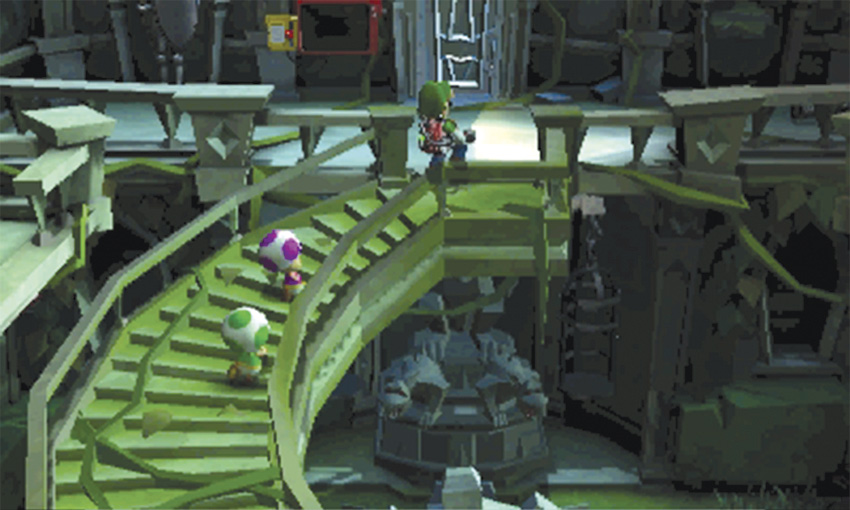
After the spiral staircase emerges from the ground, lead the Toads up the steps. When you reach level F2, activate the Pixelator on the north wall to transport both Toad Assistants out of the area. Once the Toads are gone, answer the Duel Scream to complete the mission and return to the Bunker.
E-3 A Train to Catch
Reach the Inner Courtyard
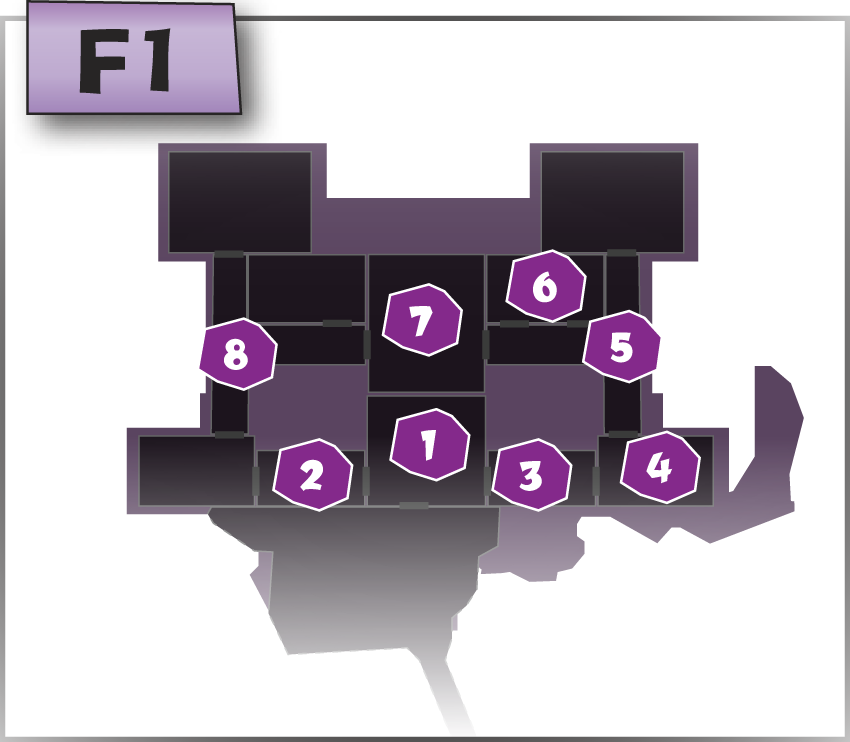
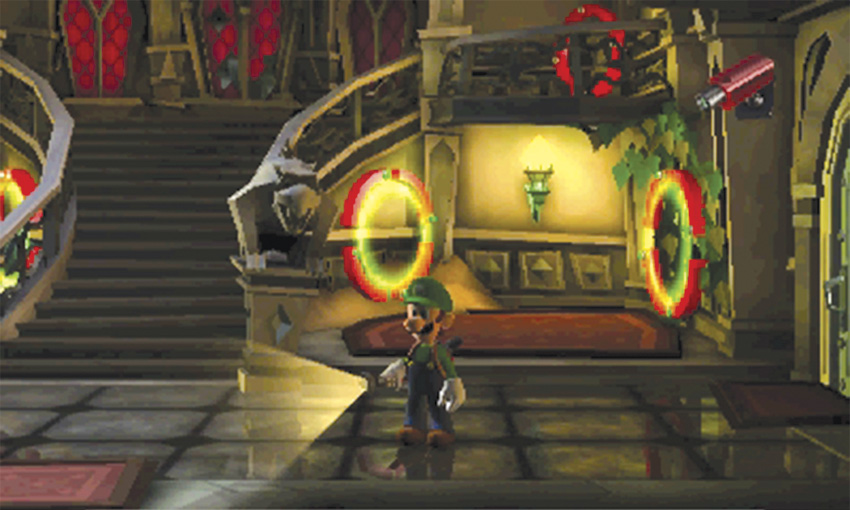
When the mission starts, you’re transported to the Front Entrance. The four E-Gates at the bottom of the stairs are active, but the E-Gates at the top of the stairs are not. Once you’ve activated the remaining E-Gates, the Front Entrance will once again serve as an important junction between the connected rooms.
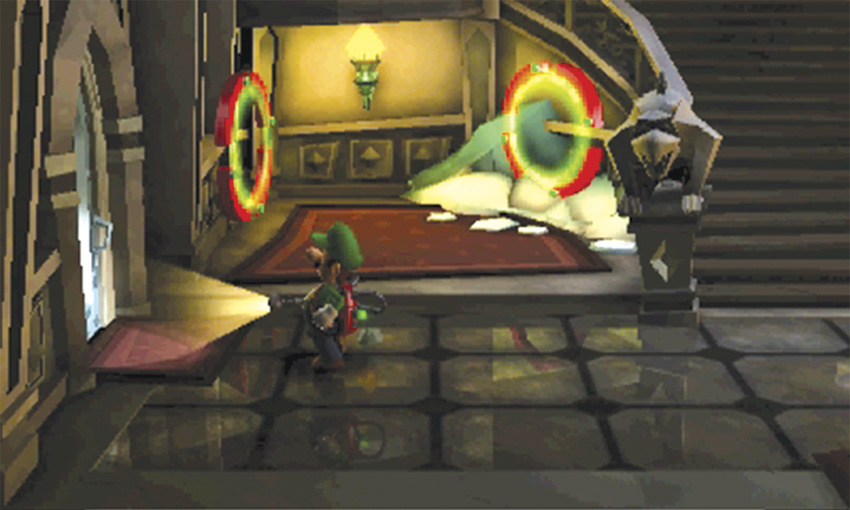
There are two relatively direct paths to your first objective, and both paths contain hidden treasure worth collecting. Use the door in the west wall to make a quick trip into the West Gallery.
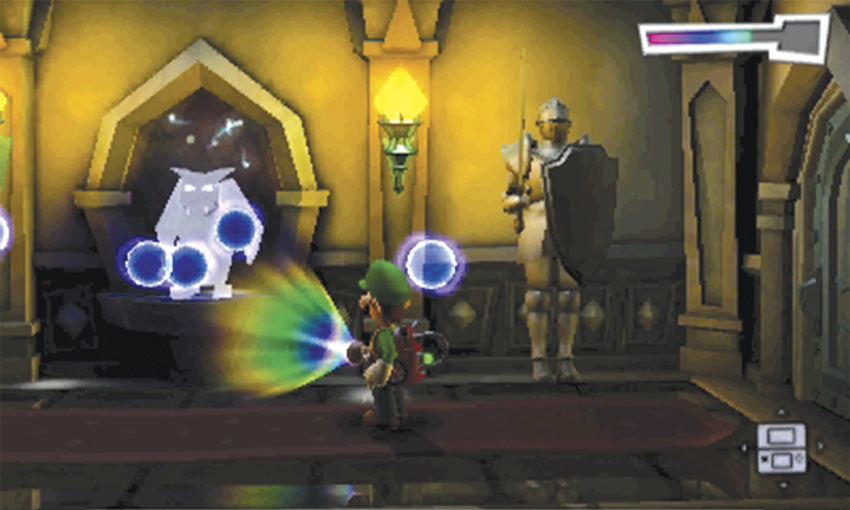
During this mission, the suits of armor in the West Galley react to your presence. When you step through the door, dash to the center of the area to avoid the suit of armor’s swinging sword. Use the Dark-Light Device to reveal the missing gargoyle on the north wall. After you capture the Spirit Balls, flash the gargoyle to earn some treasure. When you’re ready, dash back to the door in the east wall and return to the Front Entrance. Continue through to the door in the Front Entrance’s east wall to find the East Gallery.
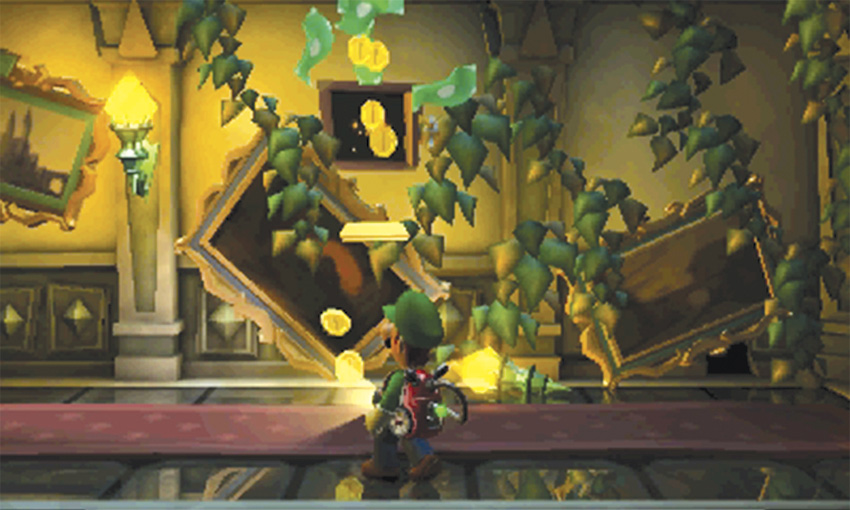
As you move through the East Gallery, flash the safe on the north wall and collect the treasure that spills to the floor. When you’re ready, use the door in the east wall to reach the Jungle Exhibit.
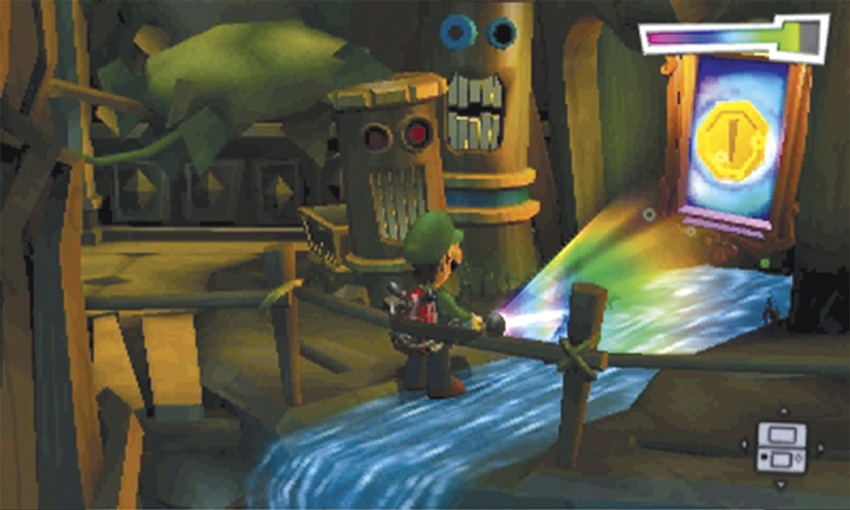
When you enter the Jungle room, follow the wooden walkway to the east. Use the Dark-Light Device to reveal the treasure in the framed sketch, then vacuum the coins as they come spilling out. When you’re ready, head through the door in the north wall and enter the Grand East.
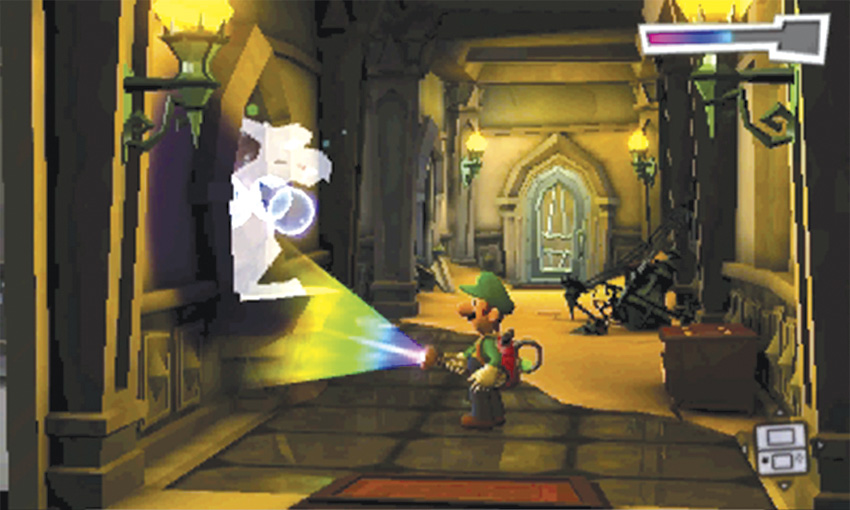
 Use the Dark-Light Device to reveal the missing gargoyle at the south end of the Grand East. Flash the gargoyle, then continue to the intersection at the center of the area. Slide a few steps to the west and enter the east half of the Restrooms.
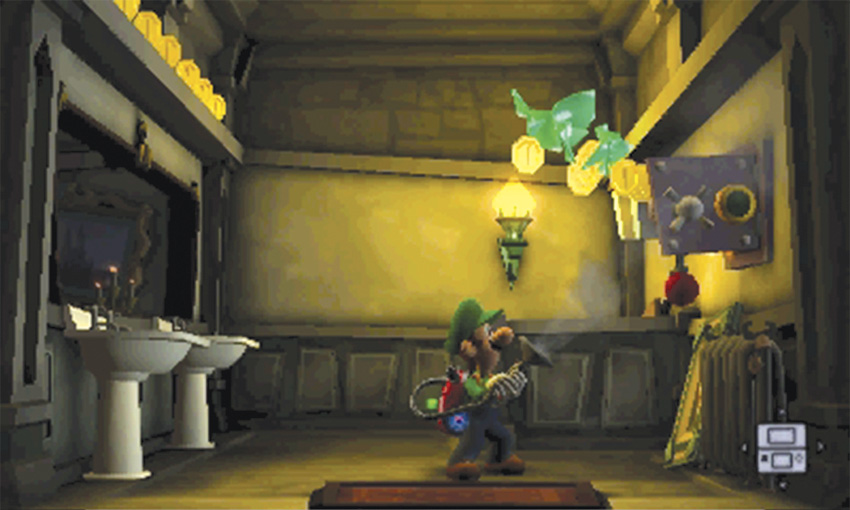
 Flash the safe in the east half of the Restrooms and collect the treasure that spills out. Vacuum the coins above the sinks, then head back out to the Grand East.
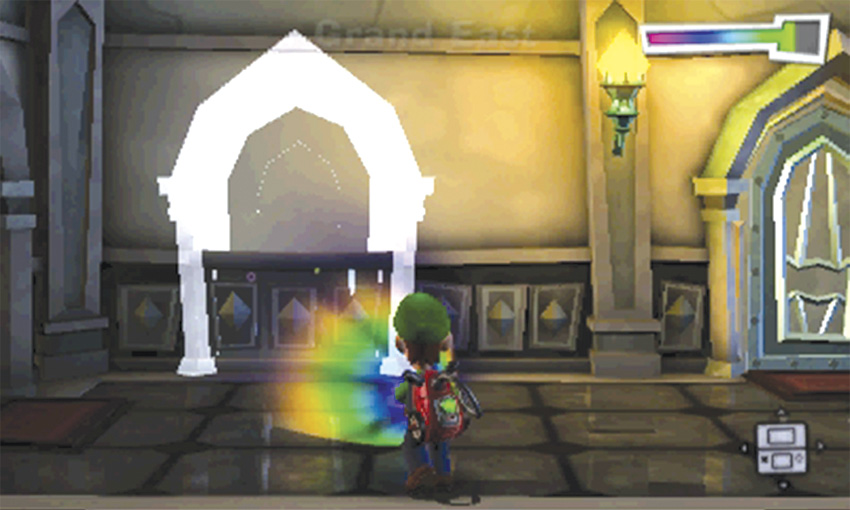
If you haven’t already collected the Drop Diamond, use the Dark-Light Device to reveal the missing door to the west half of the Restrooms. If you collected the Gem during the previous mission, use the door at the west end of the Grand East to enter the Inner Courtyard.
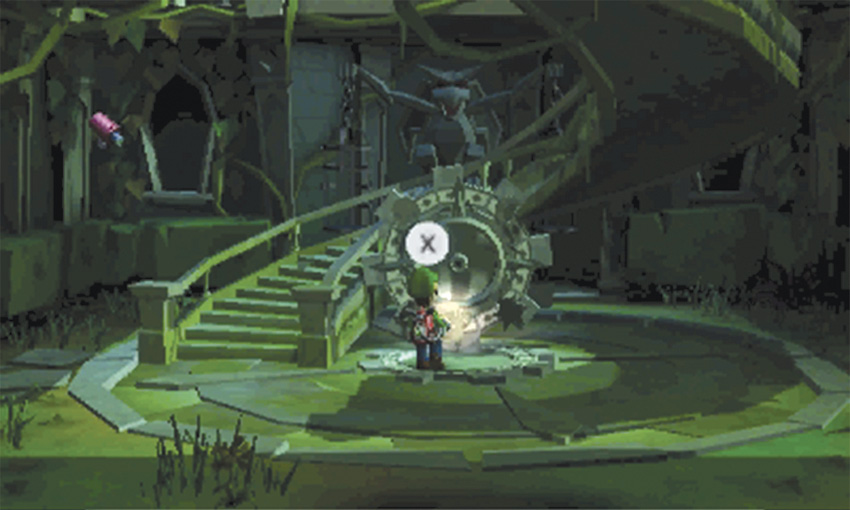
 Move to the center of the Inner Courtyard and place Professor E. Gadd’s makeshift rotor in the slot at the base of the spiral staircase. When the cutscene ends, answer the Duel Scream. You can now spin the rotor to rotate the spiral staircase. Before you head upstairs, however, take a moment to search the Grand West.
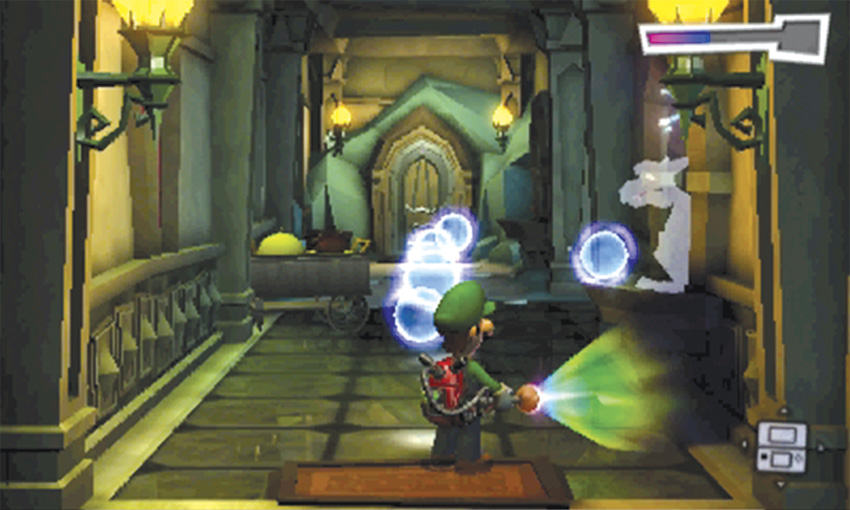
 Use the Dark-Light Device to revel the gargoyle at the south end of the Grand West. After you capture the Spirit Balls, flash the gargoyle to earn some treasure. Use the Dark-Light Device to reveal the chest along the west wall, then move north.
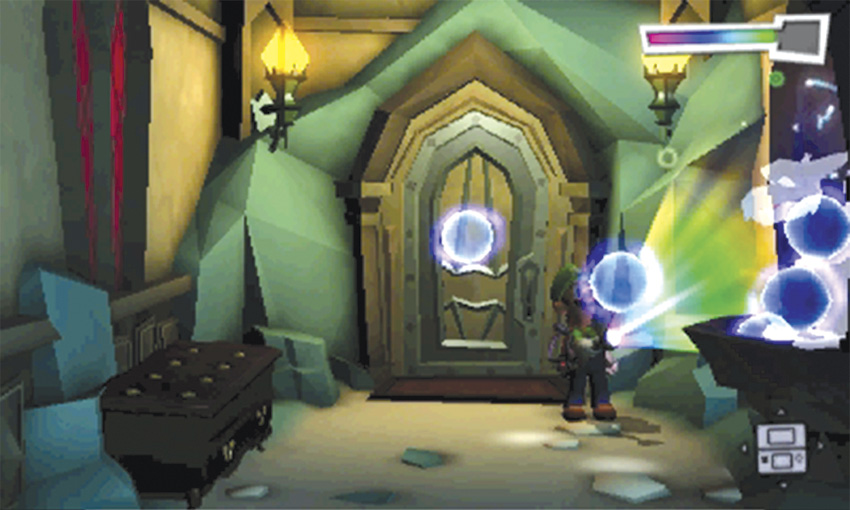
Use the Dark-Light Device to reveal the gargoyle just outside the Ice Age Exhibit. There’s no compelling reason to visit the Kitchen during this mission, and you’ll visit the Ice Age Exhibit and the Dark Age Exhibit as the mission progresses. When you’re ready, turn around and head back to the Inner Courtyard.
Check the Terrace
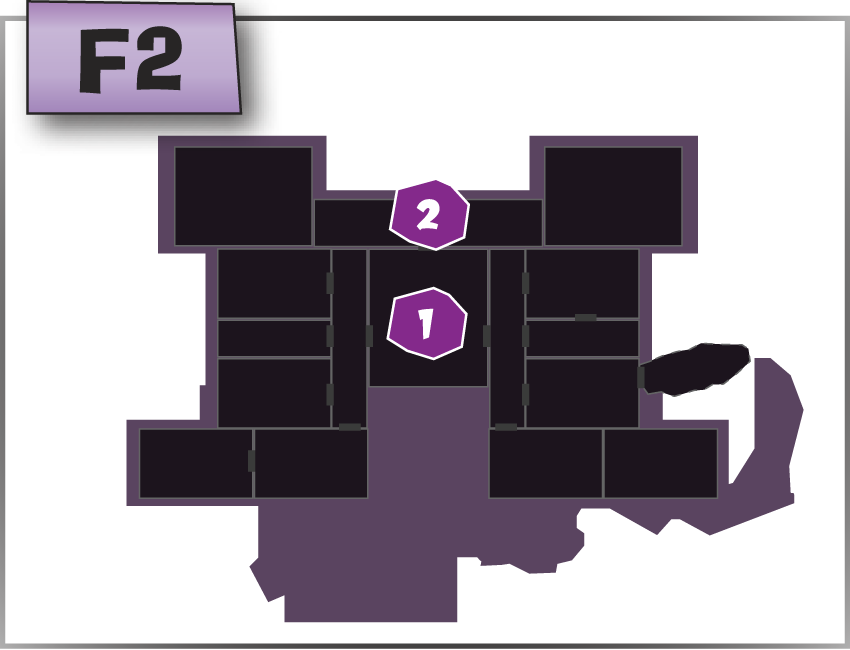
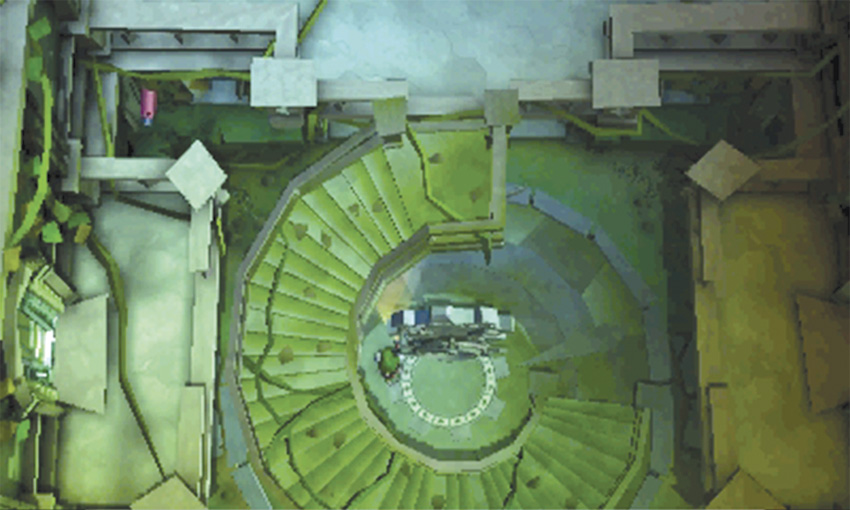
Use the Poltergust to spin the rotor until the spiral staircase connects to the north platform. When the stairs are in place, climb up to level F2.
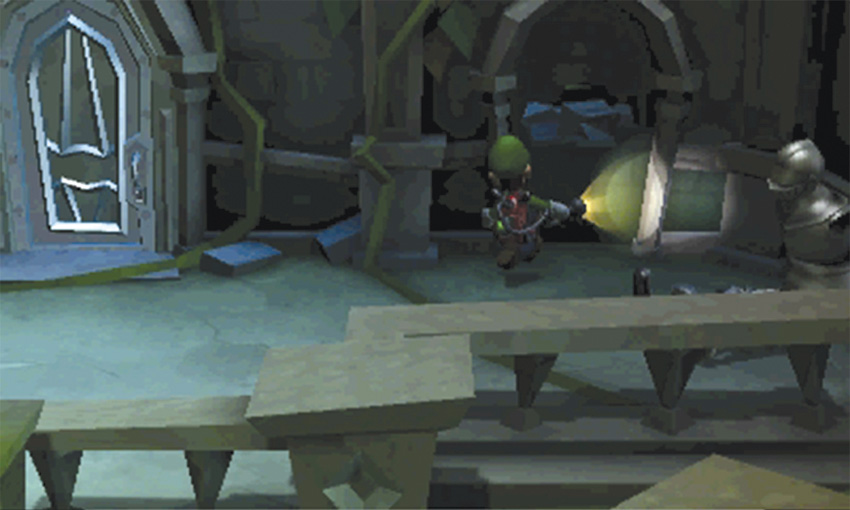
Search the nearby suits of armor, then use the hole in the Inner Courtyard’s northeast corner to peek out to the Terrace. When you’re ready, use the door in the north wall to head outside.
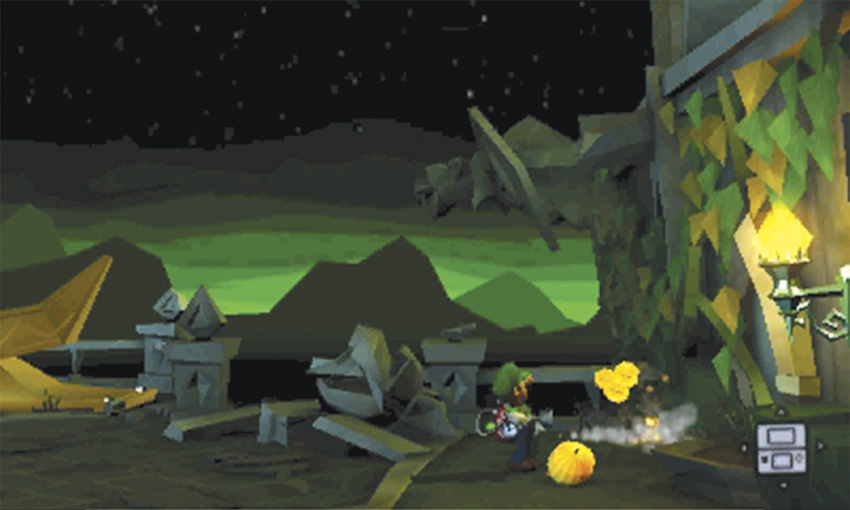
The ghosts you saw through the wall have vacated the area, but there’s a bit of treasure hidden in the pumpkins at either side of the Terrace. Vacuum each pumpkin and launch it into a wall to reveal a small amount of treasure. When you’re ready, leave the Terrace and head back down the spiral staircase.
Investigate the Nautical Exhibit
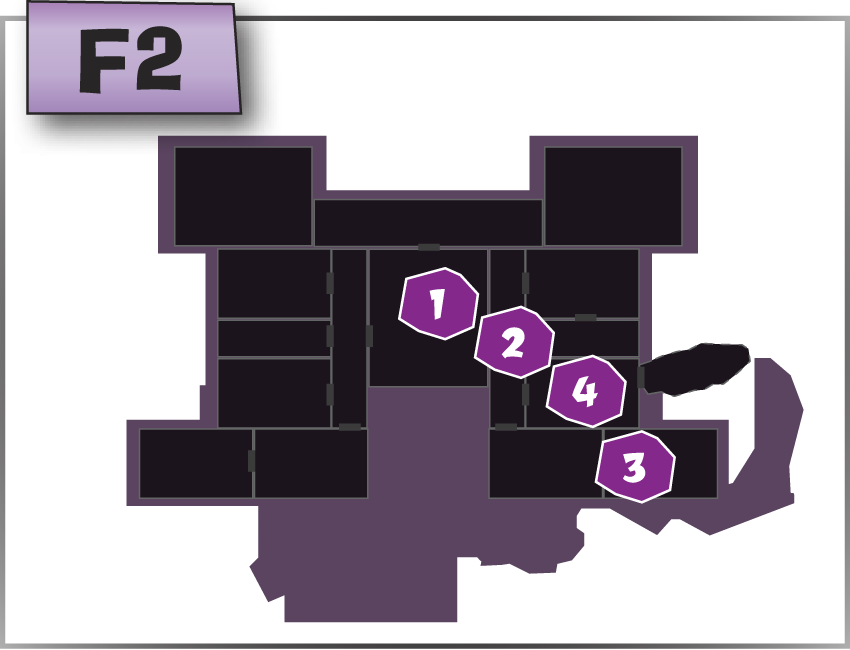
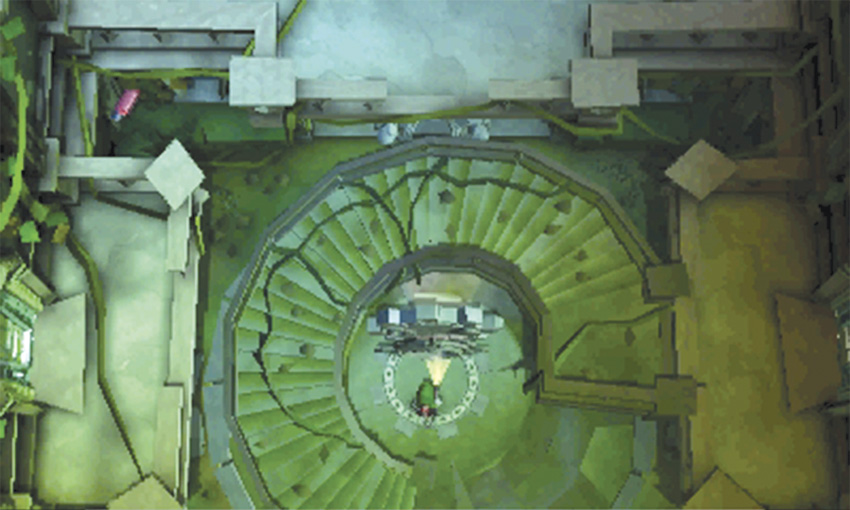
Spin the rotor in the Inner Courtyard until the spiral staircase connects to the east platform. Climb back up to level F2 and enter the East Corridor.
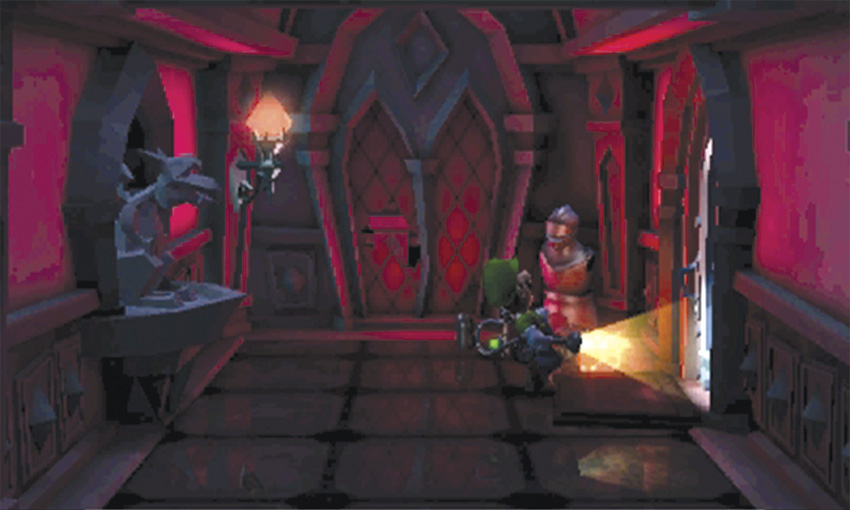
When you enter the East Corridor, there’s a trail of coins that appears to lead to your next objective. As you reach the end of the coins, the door near the area’s northeast corner slams shut—don’t be fooled by this false door! If you attempt to open it, the door slams you against the wall and some nearby ghosts come out of hiding. If you’d rather avoid this battle, skip the door and search the rest of the hall.
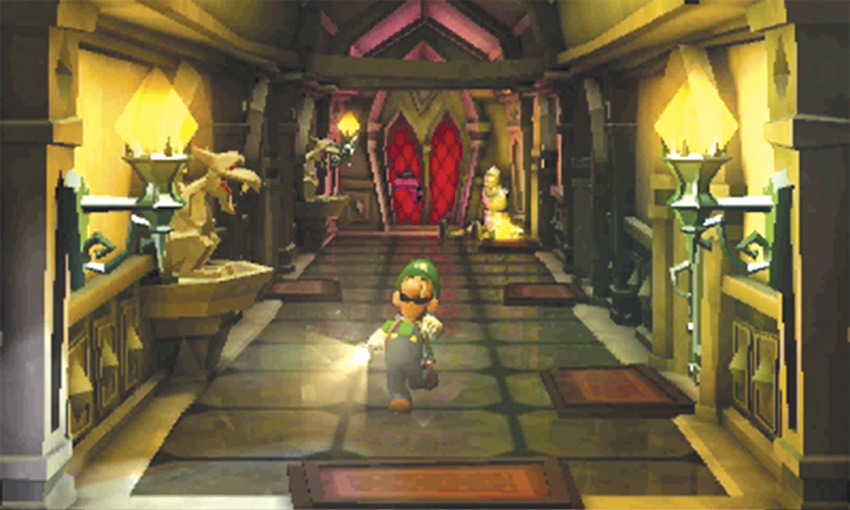
Peek through the window at the north end of the East Corridor and search the nearby suit of armor. Flash the gargoyles in the area, then use the door in the south wall to make a quick trip to the East Balcony.
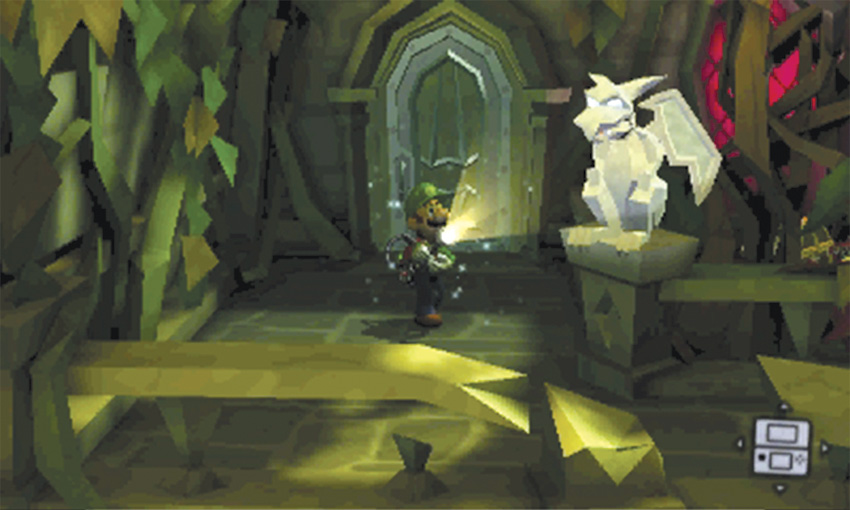
Flash the gargoyle on the East Balcony, but make sure the beam doesn’t hit the frogs in the nearby enclosure. When you’re ready, head back into the East Balcony.
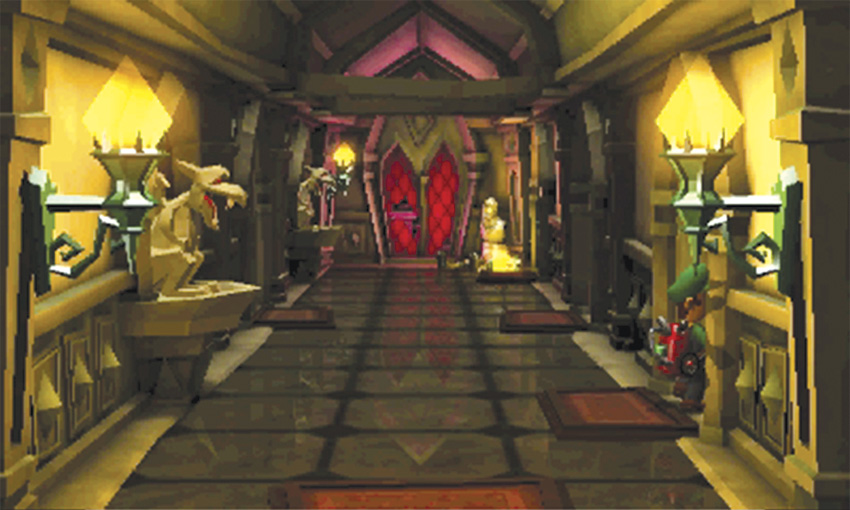
When you’re ready, use the door near the East Corridor’s southeast corner to find the Nautical Exhibit.
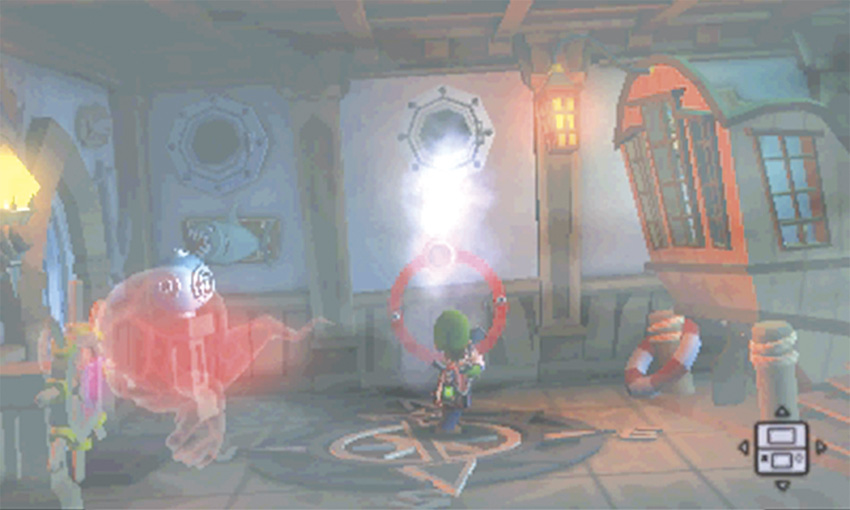
When you first enter the area, a Strong Slammer is using a ship’s wheel to flip an E-Gate between the Nautical Exhibit and the Study. The fog pouring into the room is so thick that your Strobulb flashes have no effect on the enemy. Use the Poltergust’s blower mode to close the porthole above the rotating E-Gate, then vacuum the fog from the room.
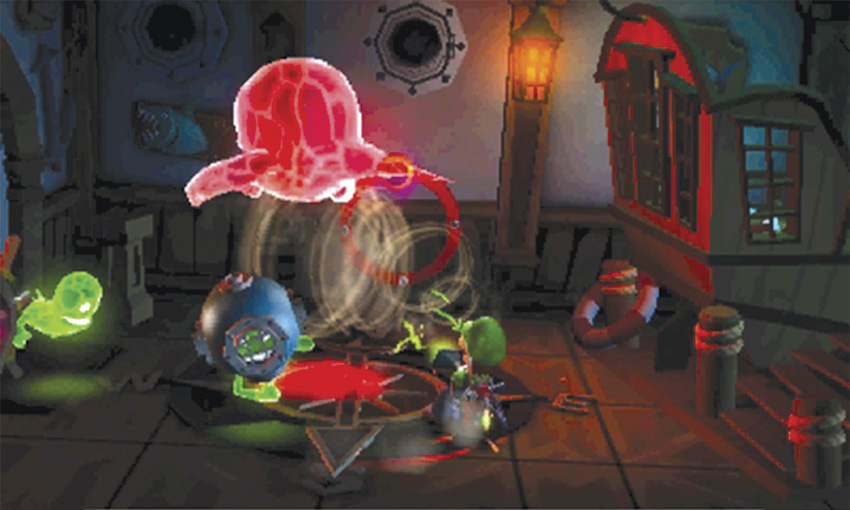
When you vacuum the last of the fog, flash the Strong Slammer and latch on with the Poltergust. When you do, two more ghosts appear in the room. As you wear down the Strong Slammer, dodge any incoming attacks from the Strong Greenie and the Greenie equipped with a diving helmet.
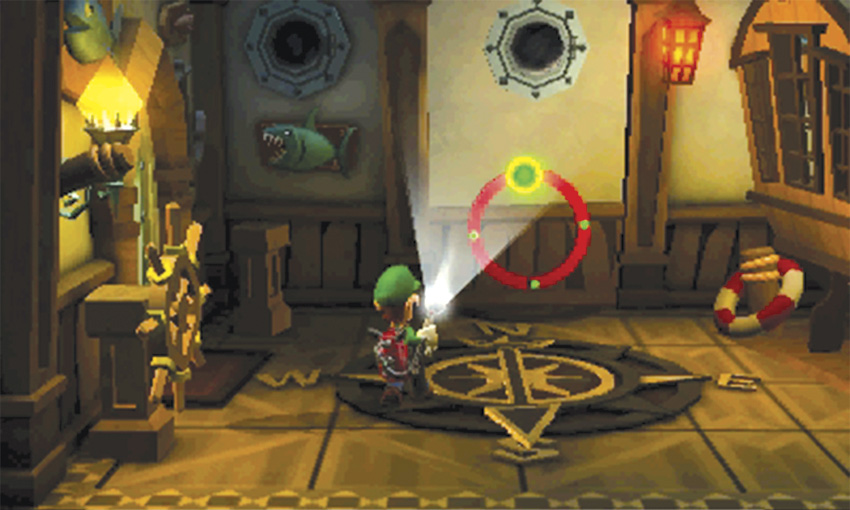
After you capture all three ghosts, it’s time to activate the E-Gate. If the E-Gate isn’t currently on the north wall, use the Poltergust to spin the wheel in the room’s southwest corner. When the E-Gate is in position, flash it with the Strobulb.
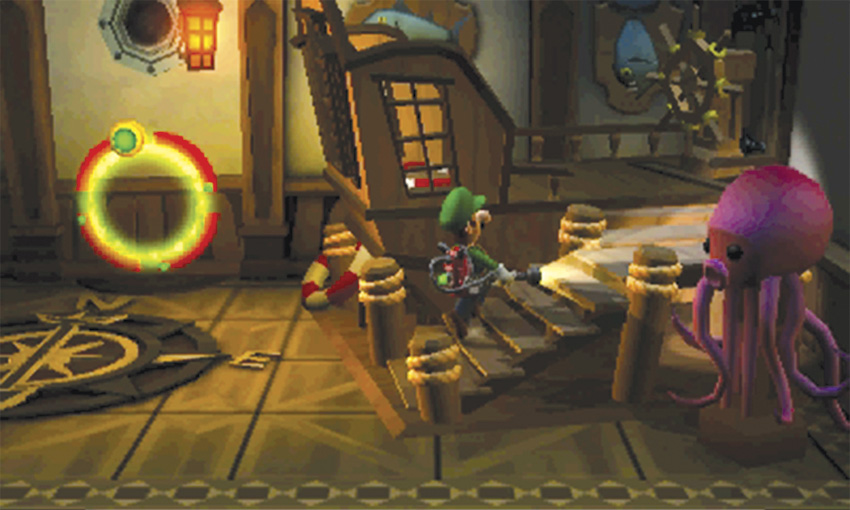
Investigate the pirate ship embedded in the east wall, but avoid the octopus near the steps. When you step on the life preserver on the ship’s deck, the nearby wheel drops out of sight. To follow the revealed path, however, you must find something heavy enough to take your place on the life preserver.
Search the Pirate Ship
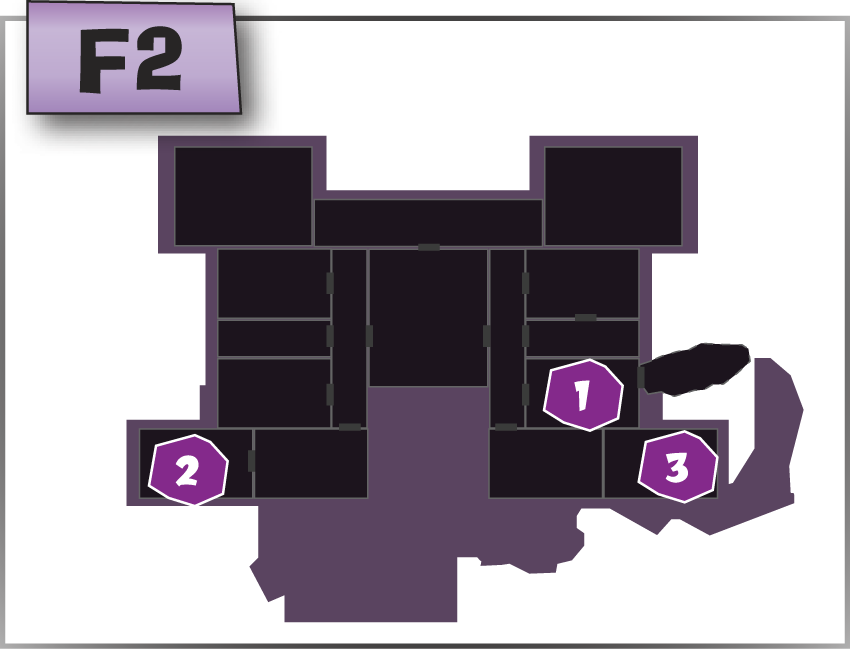
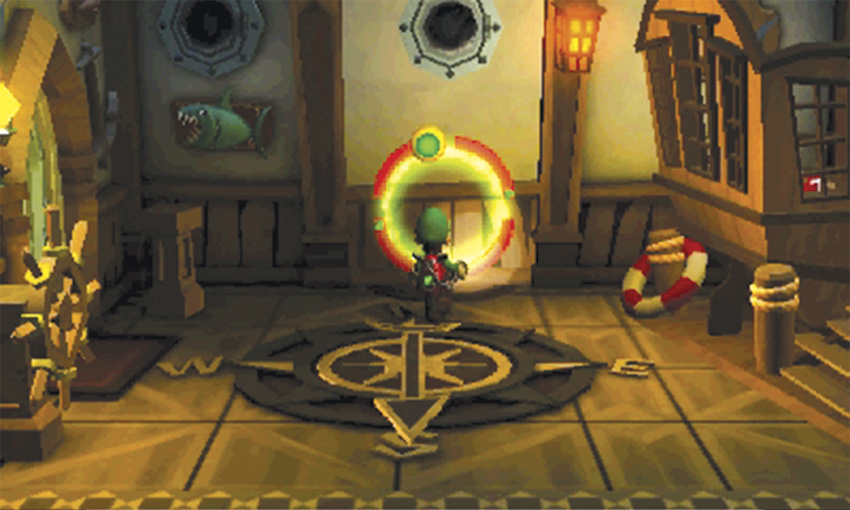
It takes a bit of preparation to get past the pirate ship’s wheel, and the first step involves a trip to the Dark Age Exhibit. Use the E-Gate currently in the Nautical Exhibit to return to the Front Entrance. Head down the stairs and use the E-Gate on the west wall to reach the Dark Age Exhibit.
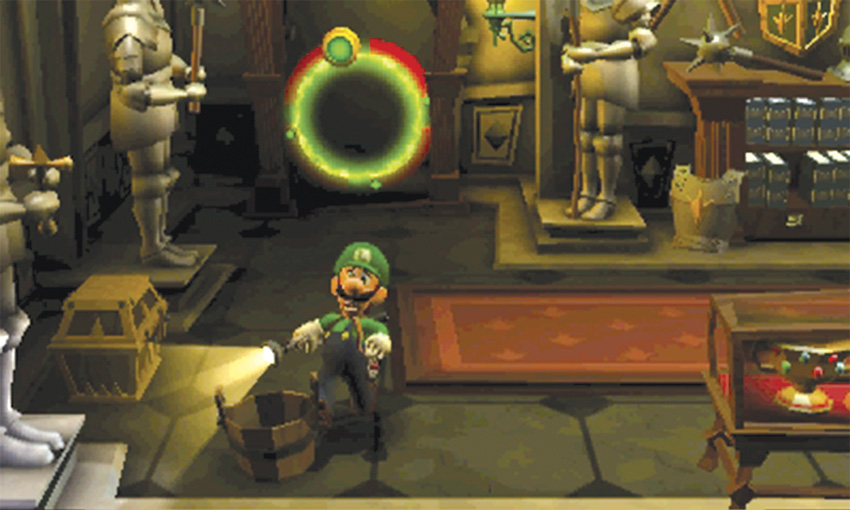
When you emerge in the Dark Age Exhibit, vacuum the bucket in the southwest corner and head back through the E-Gate. After you return to the Front Entrance, carry the bucket past the stairs and use the E-Gate on the east wall to reach the Jungle Exhibit.
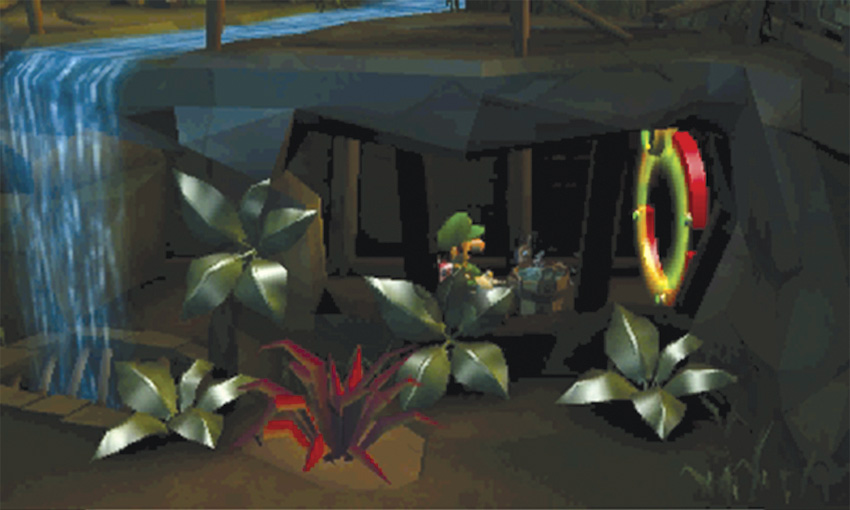
When you appear in the Jungle Exhibit, fill the bucket at the nearby waterfall, then turn around and carry it back through the E-Gate. Climb the stairs in the Front Entrance and use the E-Gate on the east wall to travel back to the Nautical Exhibit.
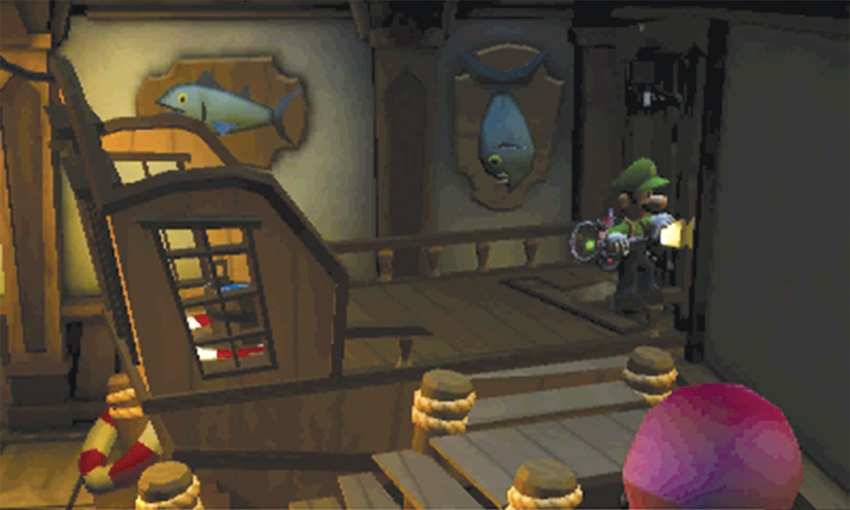
When you emerge in the Nautical Exhibit, climb back up to the pirate ship and drop the filled bucket on the life preserver. After the nearby wheel drops through the deck, open the door in the east wall to search the rest of the ship.
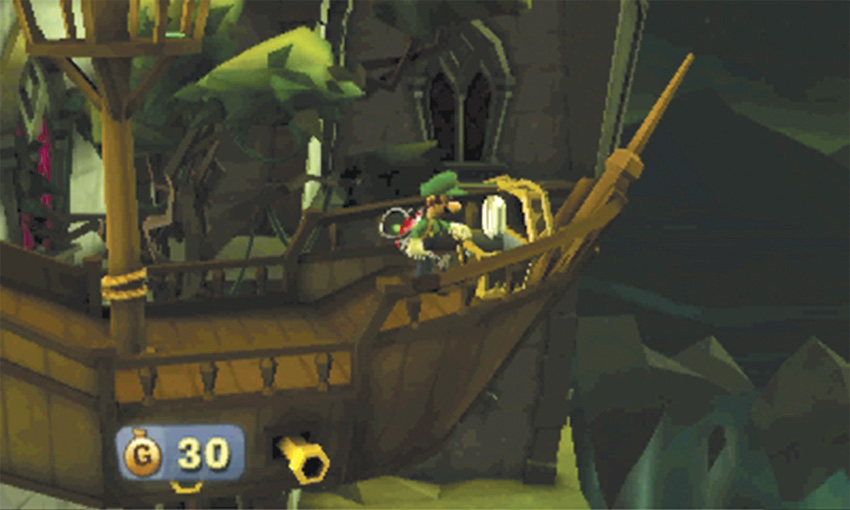
As you step outside, flash the crows perched high on the ship’s mast. Collect the treasure as it falls, then open the chest at the end of pirate ship to find the Octagon Diamond. Collect the Gem, then head back inside.
Find the Yellow Book
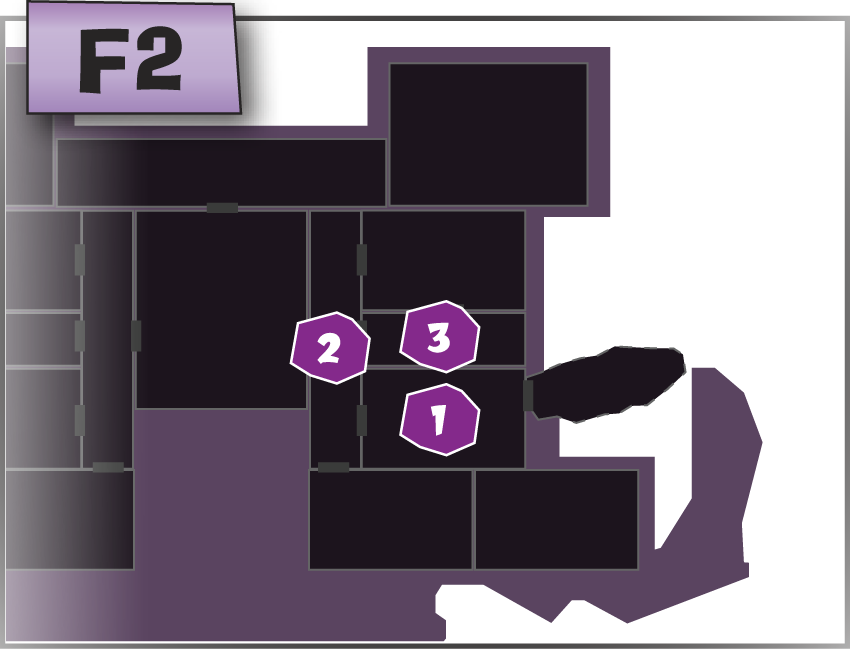
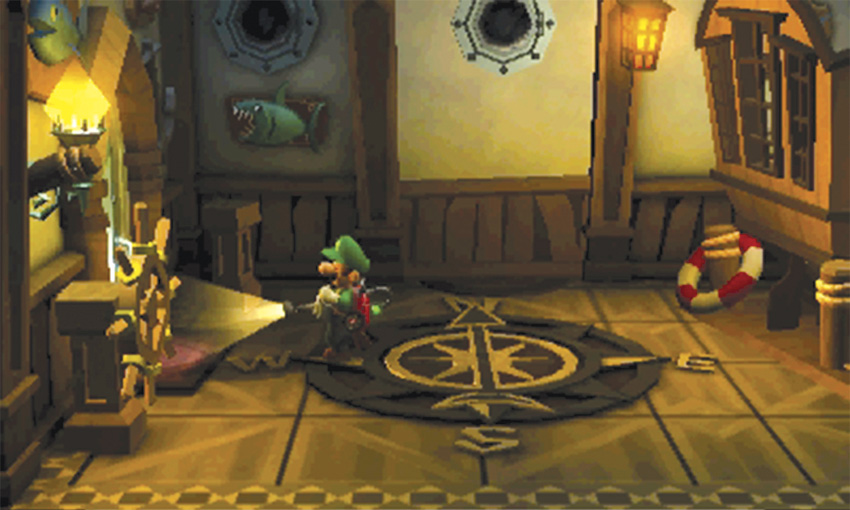
After you search the pirate ship, you should be finished with the Nautical Exhibit. Use the Poltergust to spin the wheel in the room’s southwest corner to move the E-Gate into the Study. Once the E-Gate’s in place, leave the Nautical Exhibit and return to the East Corridor.
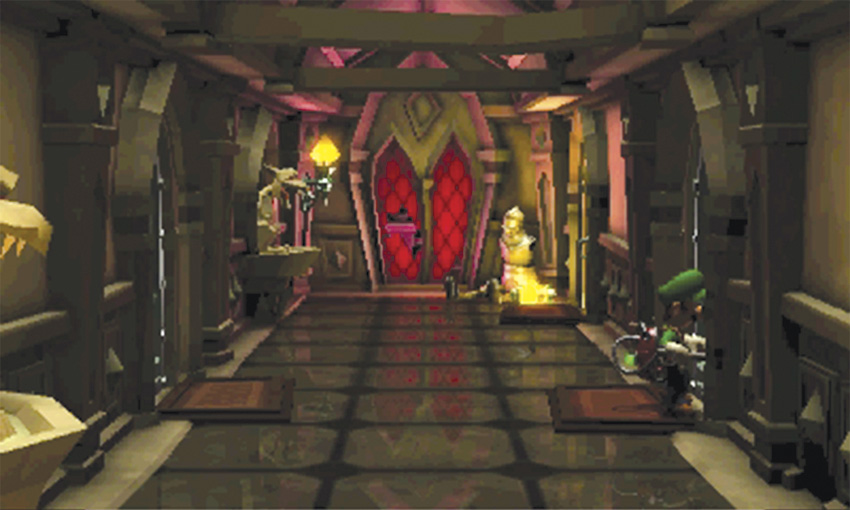
Move to the doors at the center of the East Corridor, then head through the door in the east wall to find the Study.
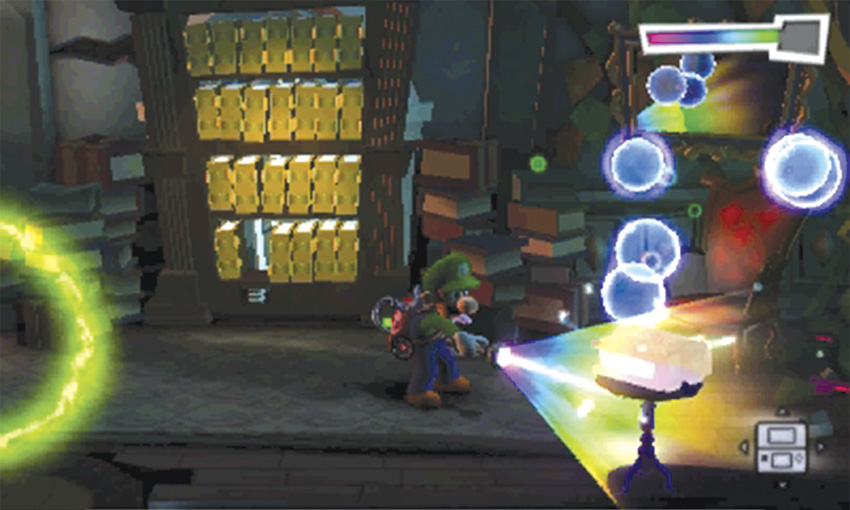
When you step into the Study, use the hole in the northwest corner to peek into the Train Exhibit. When you’re ready, cross the room and examine the mirror in the northeast corner—the reflection shows a yellow book on the nearby table. Use the Dark-Light Device to reveal the missing book. Capture the Spirit Balls, then vacuum the yellow book and place it in the empty slot on the nearby bookshelf.
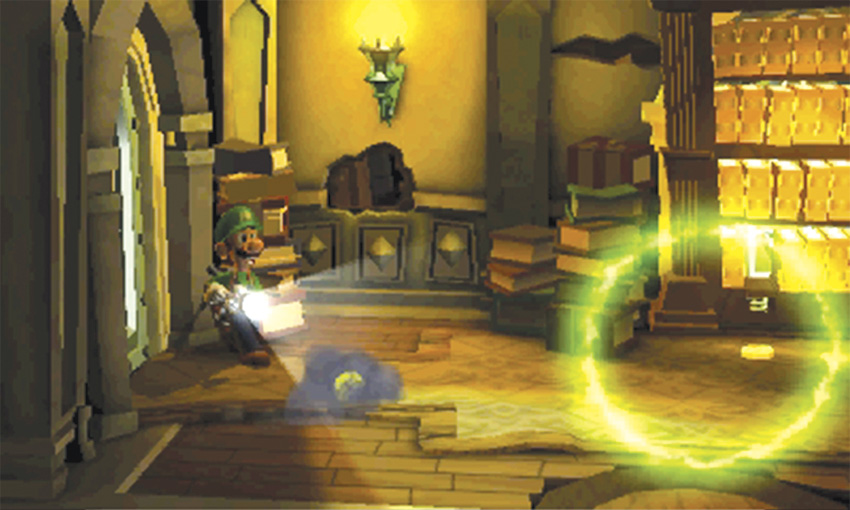
During a brief cinematic, a Strong Poltergeist snatches the book and flees the room. Answer the call on the Duel Scream, then cross to the west wall. When you reach the door, turn around and flash the mice that emerge from the room’s southwest corner. Vacuum each coin as it appears, then exit the Study, cut across the East Corridor, and return to the Inner Courtyard.
Retrieve the Yellow Book
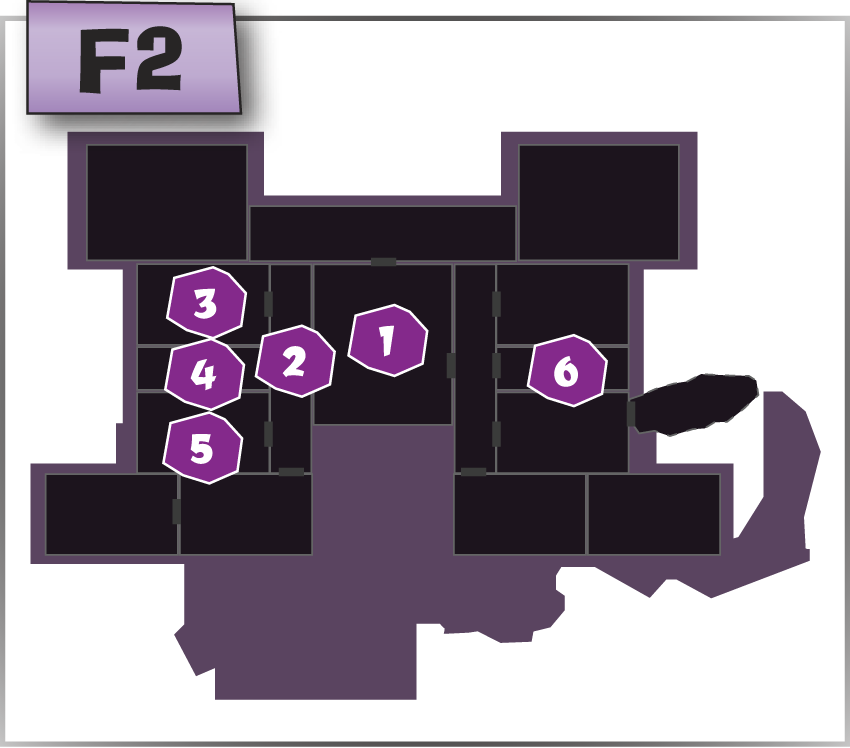
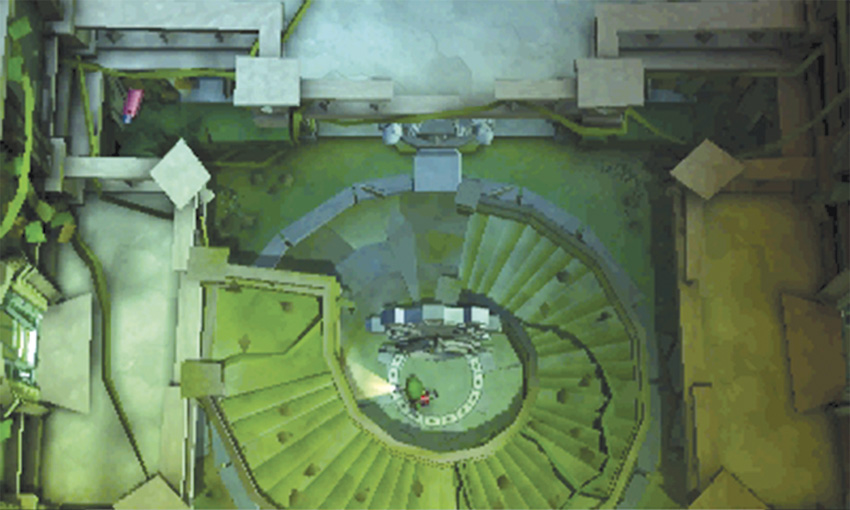
Professor E. Gadd believes the Strong Poltergeist is somewhere in the west half of level F2, but he can’t pinpoint a specific location. Head down to the rotor and connect the spiral staircase to the Inner Courtyard’s west platform. Climb back up to level F2 and continue into the West Corridor.
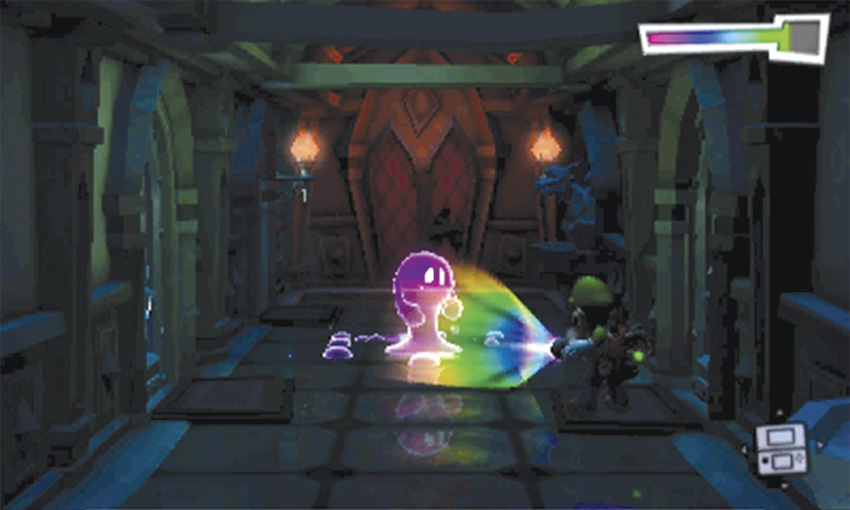
When you step into the West Corridor, a gold mouse scurries along the area’s north end. Try to flash this critter, but make sure you avoid the Creeper puddled on the floor. When you’re ready, use the Dark-Light Device to force the Creeper out of hiding, then capture the crafty Ghost.
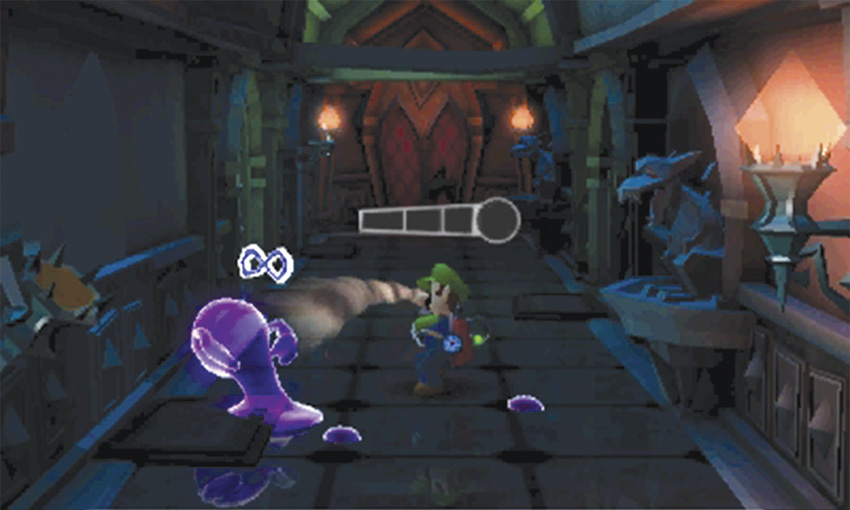
The West Corridor contains a total of three Creepers, so stay alert. As you search the ground for puddles, watch out for any Creepers that might drop down from the ceiling. Move slowly to avoid stumbling into a trap, and capture the ghosts one at a time.
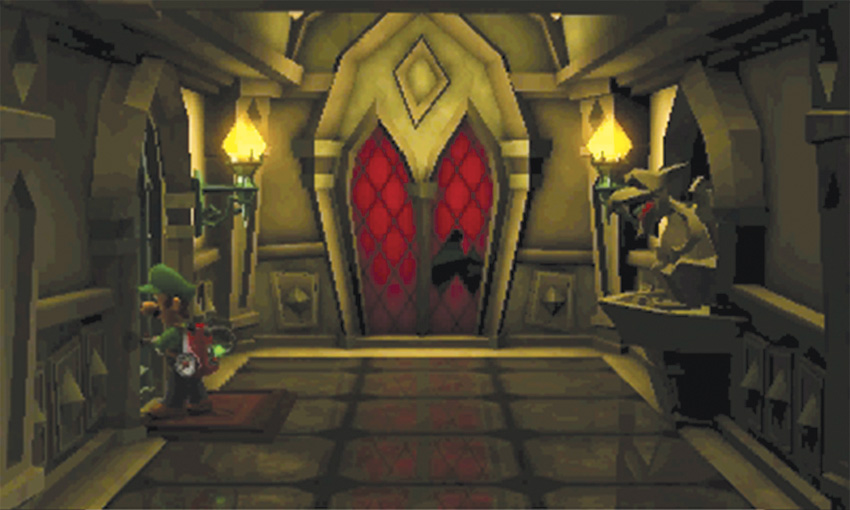
After you capture all three Creepers, look for the gold spiders that appear at the north end of the area. Run into range and flash the gold spiders before they escape, then flash the red spiders that drop down around you. Peek through the window in the north wall, then flash the nearby gargoyle. Head through the door near the northwest corner to find the Aviation Exhibit.
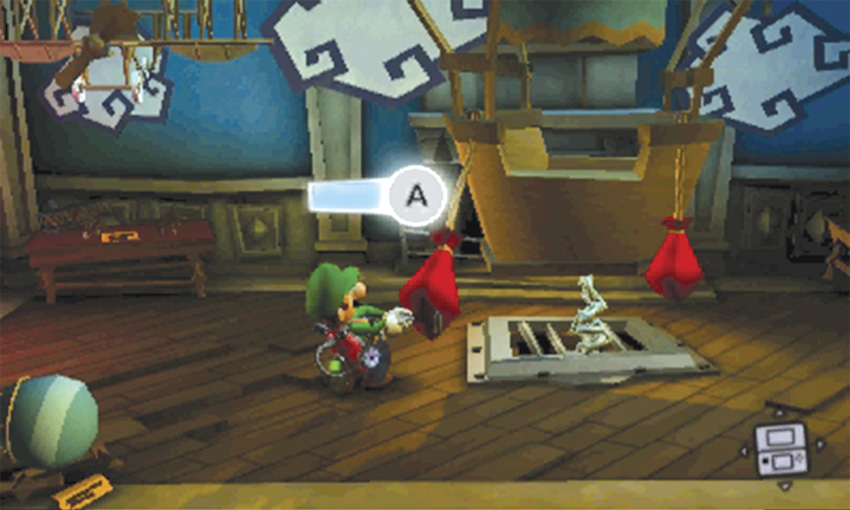
Search the objects scattered around the Aviation Exhibit, then approach the hot air balloon at the center of the room. A-Pull one of the sandbags hanging from the basket. When you do, a Strong Hider and two Strong Greenies appear in the room.
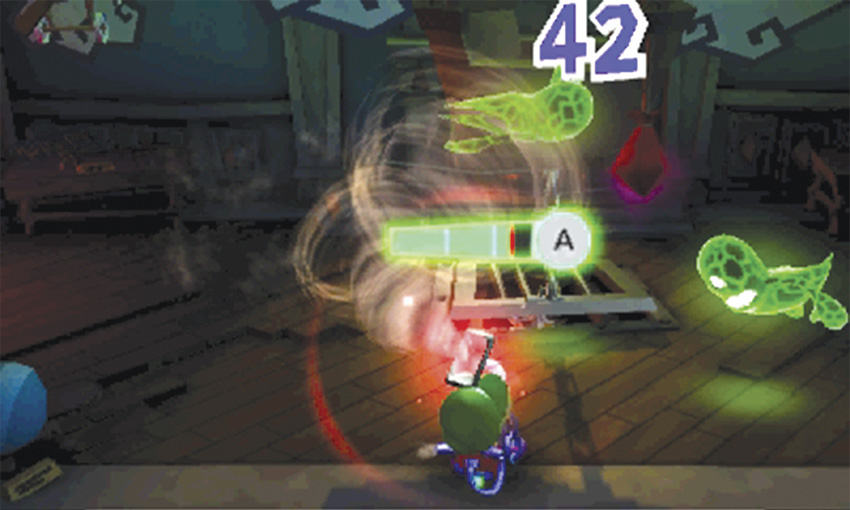
As you attempt to capture the Strong Greenies, watch out for any objects thrown by the unseen enemy. Once you get a bit of breathing room, search the surrounding objects until you find the Strong Hider.
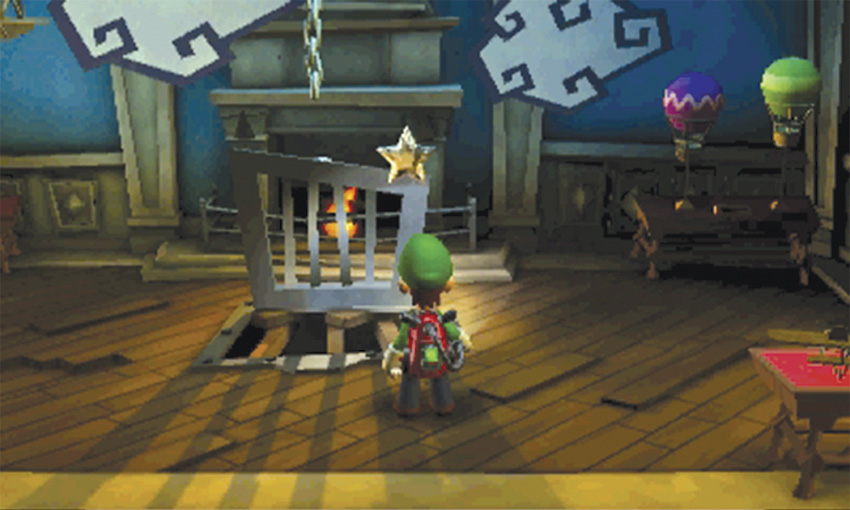
After you capture all three ghosts, A-Pull the remaining sandbag. As the balloon floats out of the room, the Star Diamond pops out of the nearby grate. Collect the Gem and return to the West Corridor.
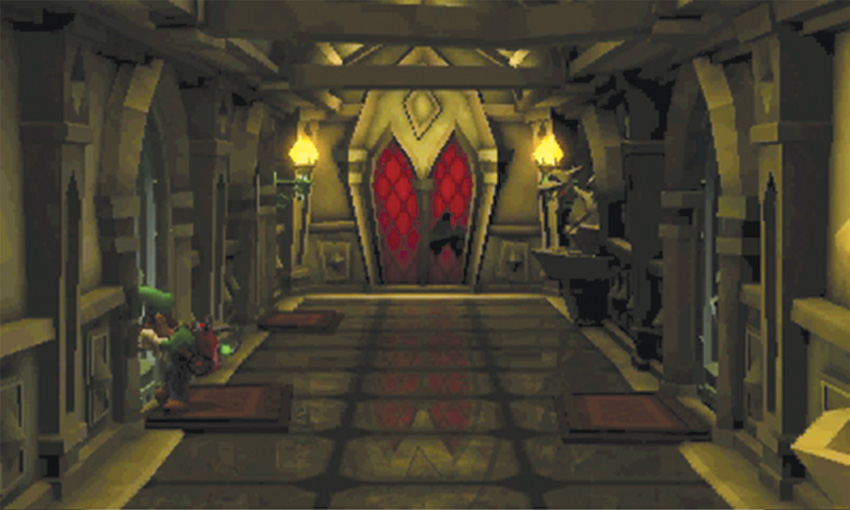
Slide down to the doors at the center of the West Corridor, then head through the door in the west wall to search the Archives.
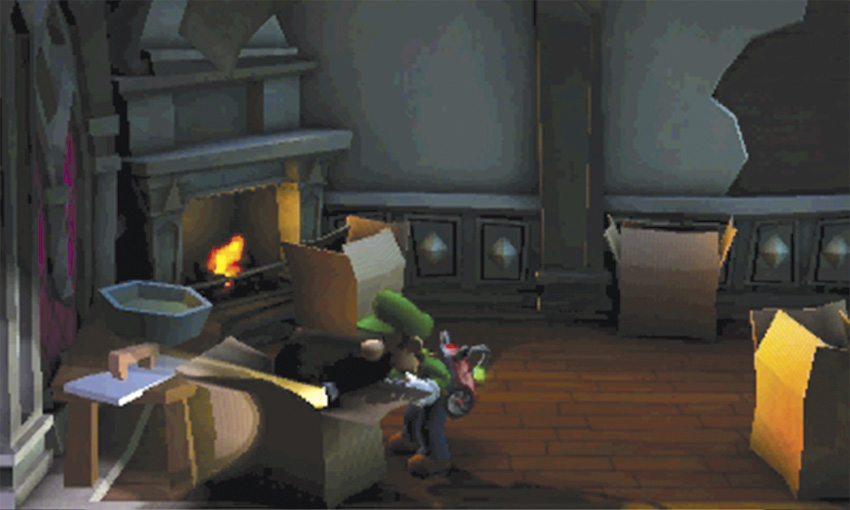
When you enter the Archives, move toward the west wall. As you pass between the cardboard boxes, an unseen ghost lets out a laugh. Watch as the flaps on each box move; you must open the boxes in that precise order to find the hidden ghost.
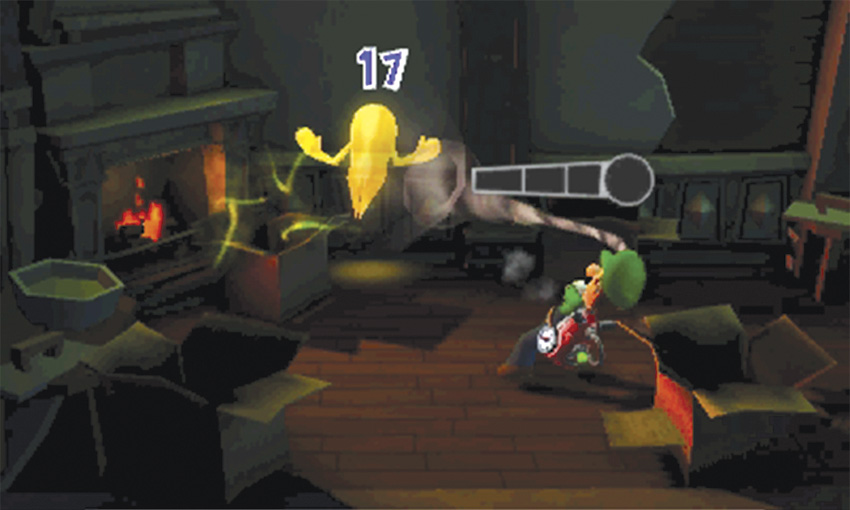
When you complete the proper sequence, a Gold Greenie emerges from the final box. Capture the ghost before it escapes and collect the resulting treasure. Leave the Archives and return to the West Corridor.
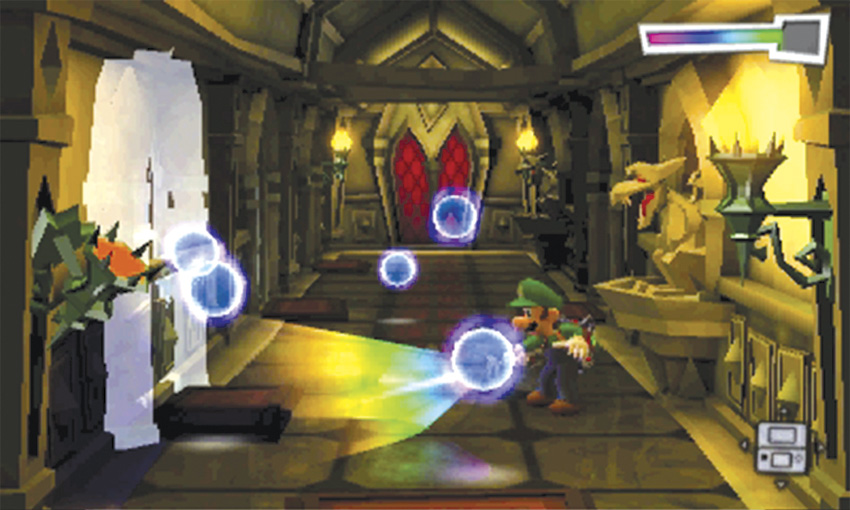
Move down to the south end of the West Corridor and use the Dark-Light Device to reveal the gargoyle on the east wall. Capture the Spirit Balls and flash the gargoyle, then use the Dark-Light Device to reveal the door on the west wall. After you capture the Spirit Balls, head through the door to find the Space Exhibit.
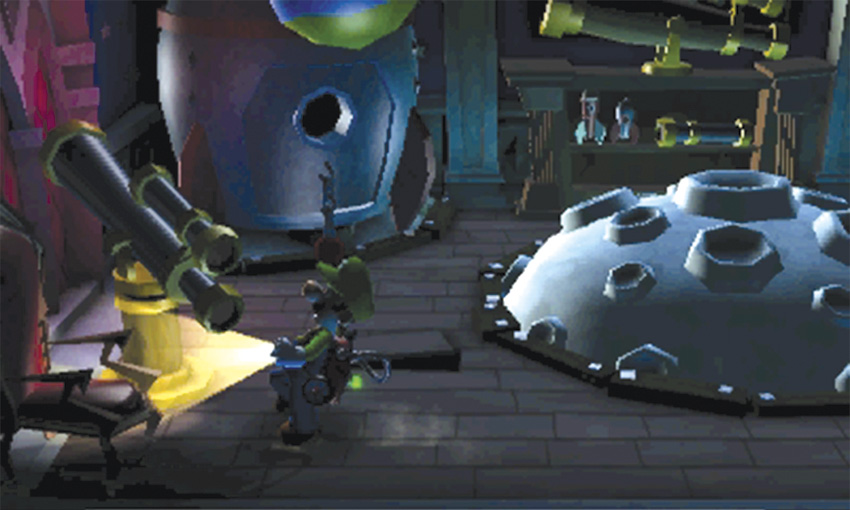
Cross to the Space Exhibit’s west wall and examine the telescope near the window. When you do, you can see the Strong Poltergeist floating near a moon. Press
 to back away from the telescope to find that you’ve somehow been transported to the very moon you were viewing!
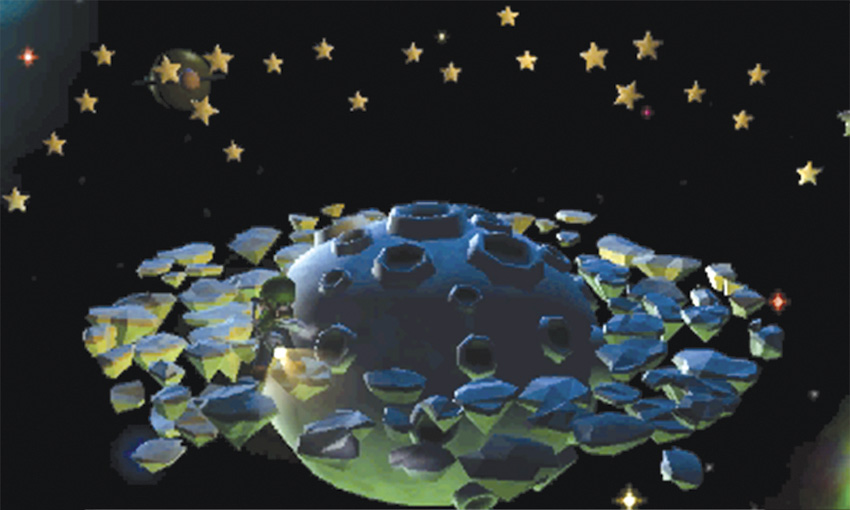
During this encounter, you must move along the moon’s spinning asteroid belt and as you look for the hidden enemy. As you do, you must also avoid a constant barrage of incoming attacks! While hidden, the Strong Poltergeist sneaks around the area and throws the surrounding stars at you.

When a cluster of stars glows purple, it means the Poltergeist is about to attack from that location. You can usually flash the glowing stars to interrupt the Poltergeist’s attack, but the ghost simply vanishes and moves to a new location. Instead, wait for the attack, then dodge the star and try to flash the ghost before it leaves the area.
If you flash the Strong Poltergeist without stunning it, fire off a second flash the instant the ghost vanishes. The moving asteroid belt makes it difficult to stay in range, but with a little luck, you might catch the ghost before it moves away.
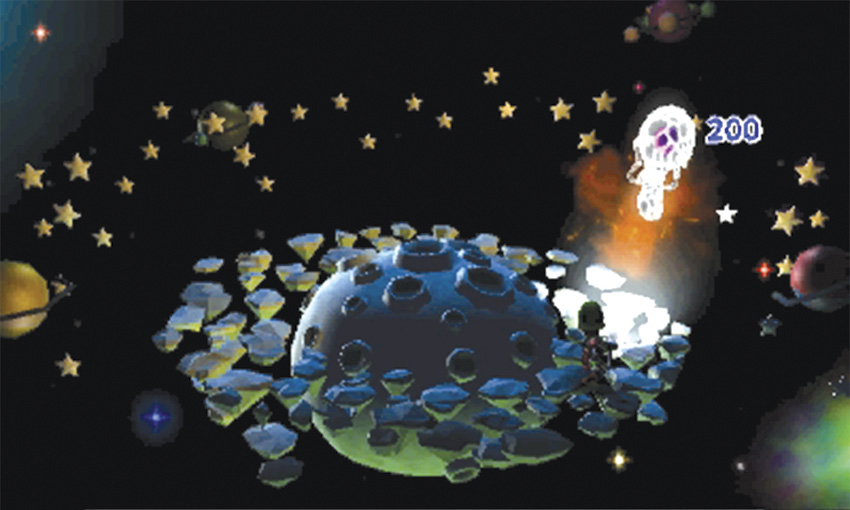
To flash the Strong Poltergeist just after its attack, you must be very close to the glowing stars. Use the asteroid belt to your advantage. When a cluster of stars begins to glow, time your approach so that the asteroids carry you to that location just as the attack occurs. Dodge the thrown star, then immediately flash the area.
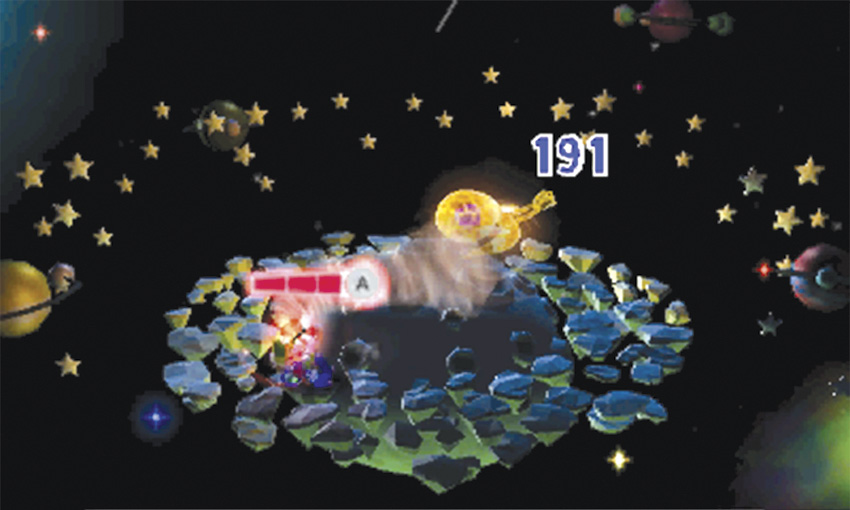
If you manage to stun the Strong Poltergeist, latch on and perform a fully charged A-Pull. As the ghost weakens, it shifts its focus to the asteroid belt. The asteroids gain a burst of speed, knocking you down and freeing the Strong Poltergeist. When the asteroids return to their regular speed, they rotate in the opposite direction.

When the Strong Poltergeist escapes, explosives erupt from one of the moon’s craters. Move to a spot away from the blasts, or use the Poltergust’s blower function to push away any nearby explosives. During this attack, several beetles appear in the area. When you find a safe spot, flash any pests within range.
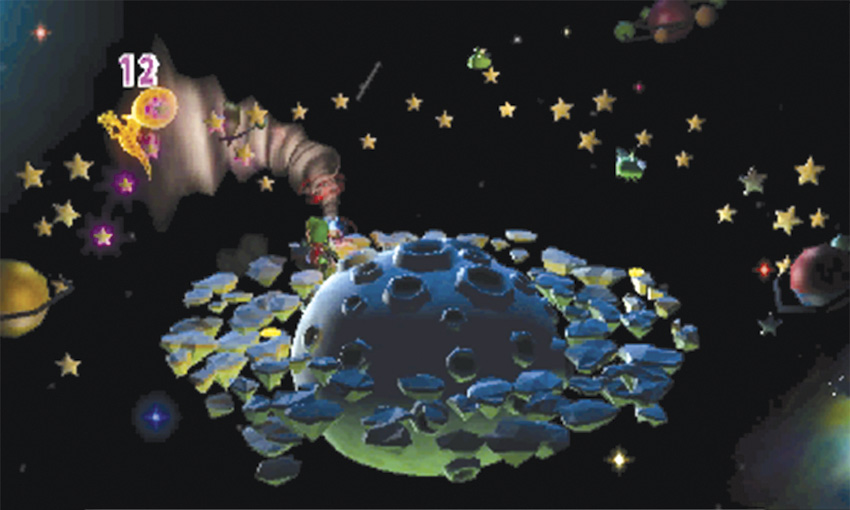
When the explosives stop appearing, resume your search for the hidden ghost. Use these tactics to weaken the Strong Poltergeist until you capture the ghost and end the encounter.
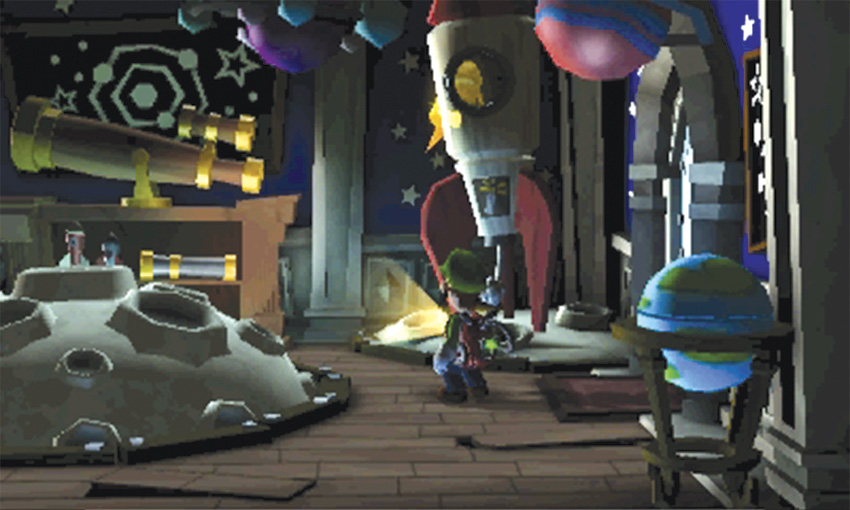
After you capture the Strong Poltergeist, you’re transported back to the telescope. The yellow book pops out of the moon at the center of the room and lands on the floor. Move to the room’s northeast corner to find a Gold Greenie hiding in a small rocket. The ghost cannot be captured at this time, so search the remaining objects and return to the book.
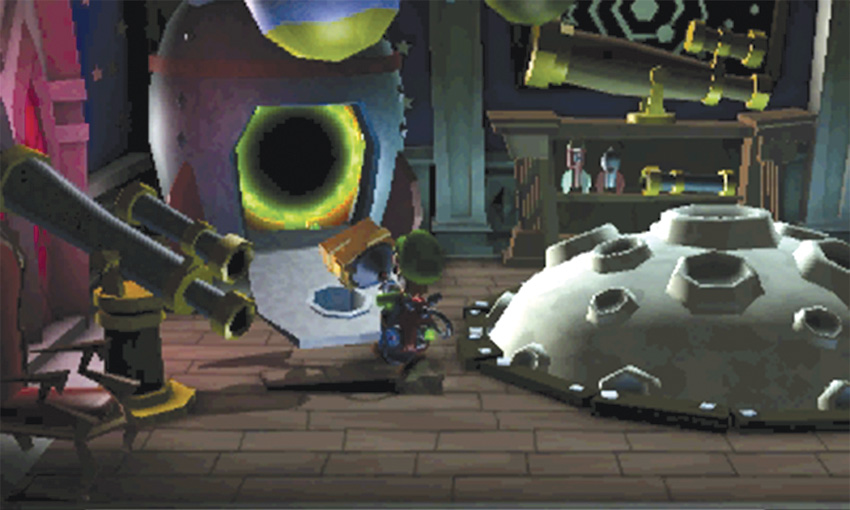
A-Pull the chain in the room’s northwest corner to reveal the active E-Gate in the large rocket’s hatch. When you’re ready, vacuum the yellow book and carry it through the E-Gate. When you emerge in the Front Entrance, move past the stairs and enter the E-Gate on the east wall to return to the Study.
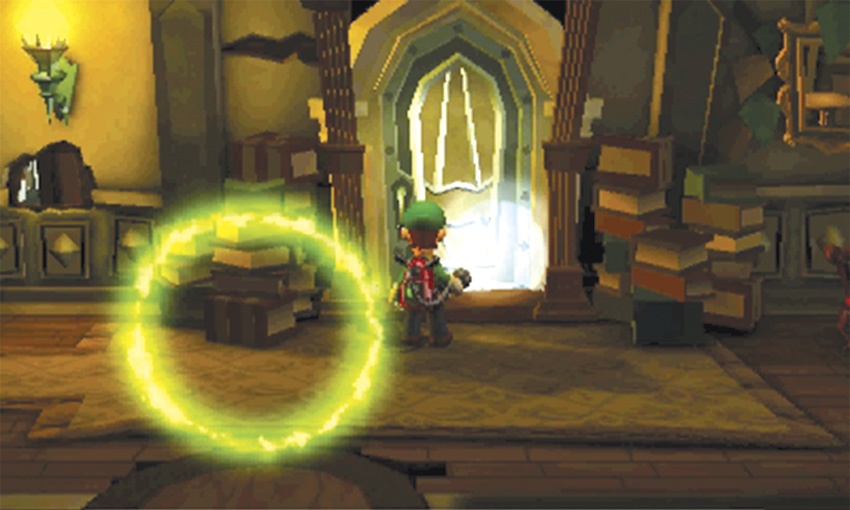
When you reach the Study, move to the bookcase directly ahead of you and place the yellow book in the empty slot. The bookcase drops down to reveal the door to the Train Exhibit. Although you’re free to head in and complete your final objective, the mansion still contains a great deal of unclaimed treasure. Before you enter the Train Exhibit, consider taking care of some unfinished business.
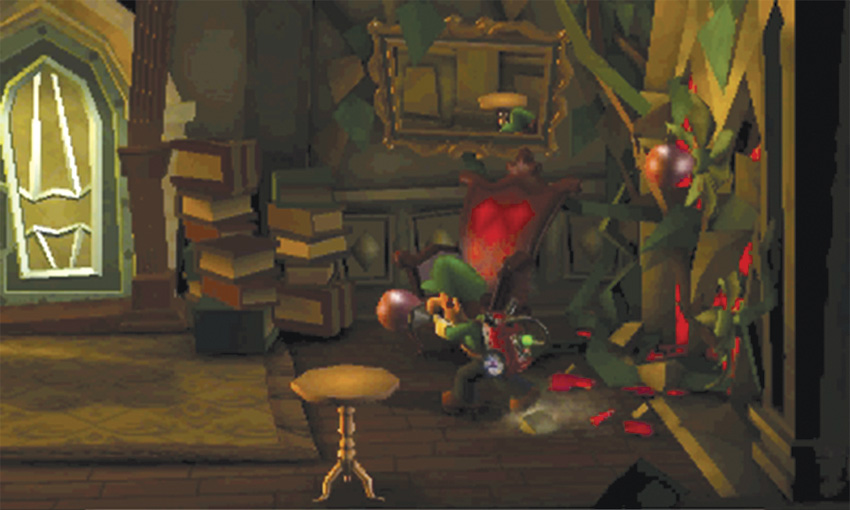
The bulbs on the Study’s east wall allow you to reach areas that would be otherwise inaccessible. Vacuum a bulb from the wall, then head through the E-Gate to return to the Front Entrance.
Find the Blue Book in the Front Entrance
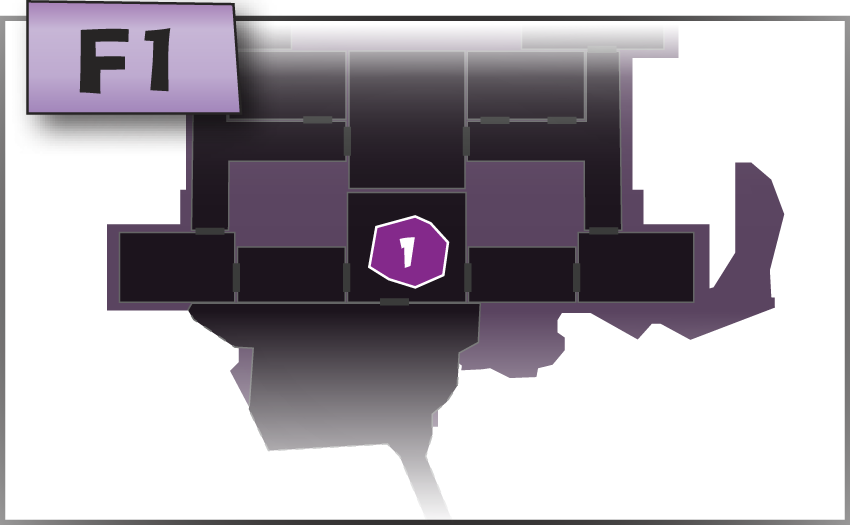
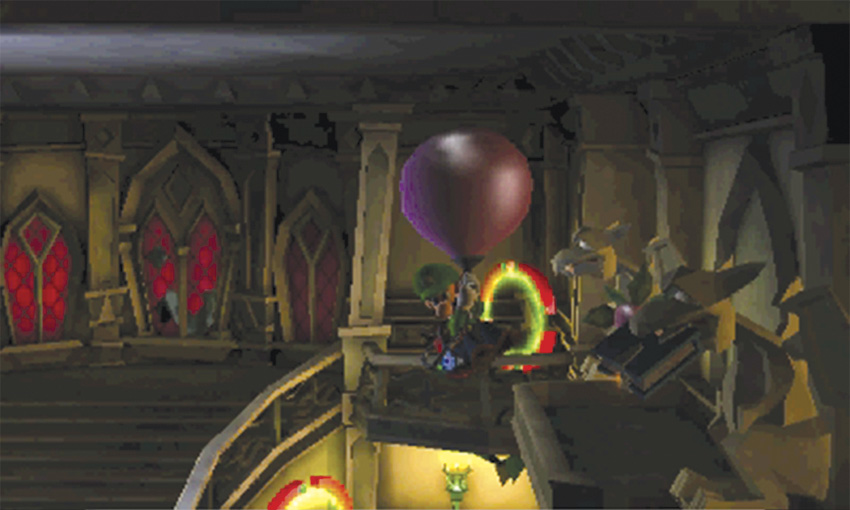
When you emerge in the Front Entrance, use the bulb from the Study to float up to the gargoyles in the room’s southeast corner. Land on the ledge, then flash the gargoyle in the foreground to drop the blue book to the floor. Vacuum a fresh bulb from between the gargoyles and float over to the west wall.
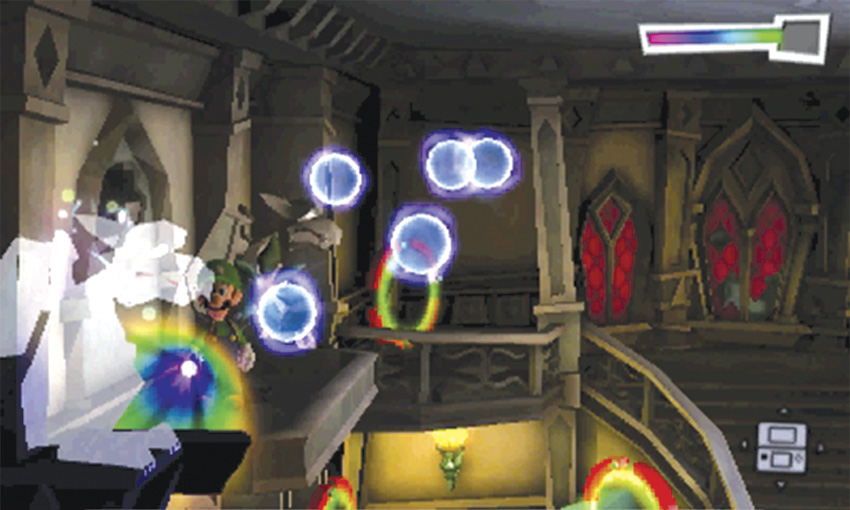
Land on the room’s west ledge, then use the Dark-Light Device to reveal the missing gargoyle in the foreground. After you capture the Spirit Balls, flash both gargoyles and vacuum the nearby bulb.
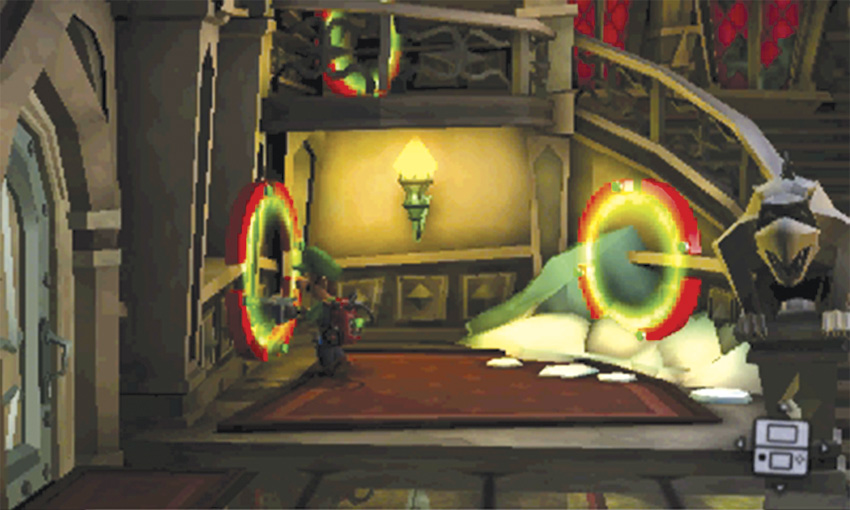
Float down to the floor and collect the treasure, then vacuum the blue book. When you’re ready, head through the E-Gate on the west wall to carry the book to the Dark Age Exhibit.
Search the Dark Age Exhibit
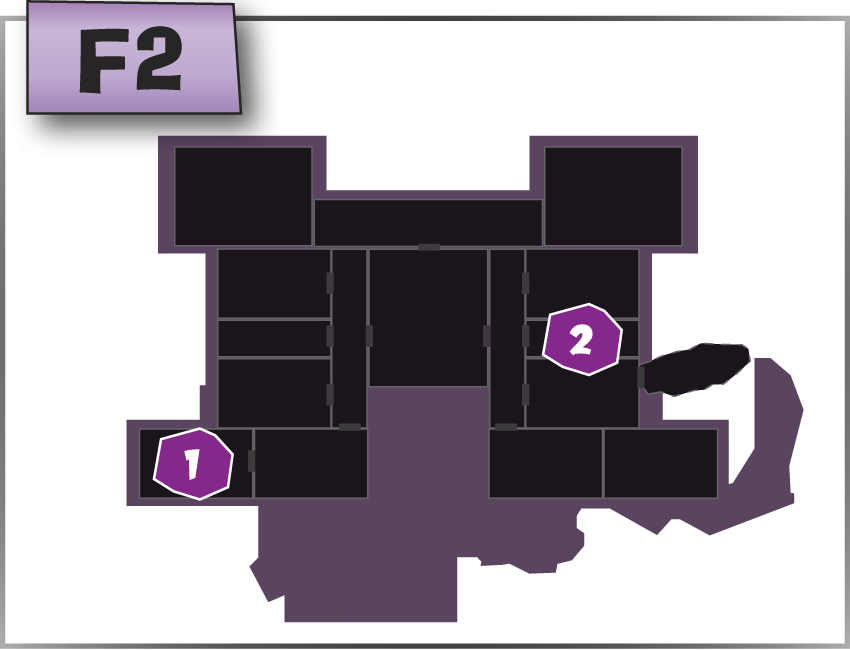
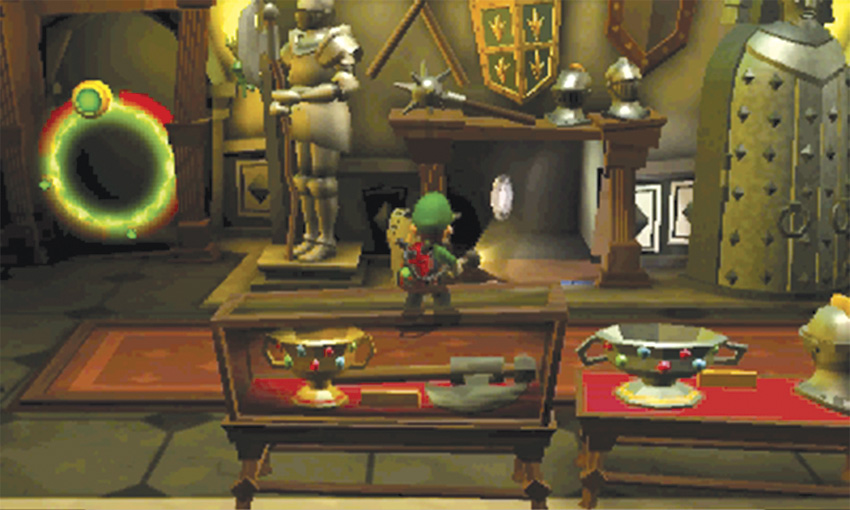
When you emerge in the Dark Age Exhibit, move to the short bookcase along the north wall. Place the blue book in the empty slot to reveal the Oval Diamond. After you collect the Gem, head back through the Dark Age Exhibit E-Gate. When you emerge in the Front Entrance, head up the stairs and use the E-Gate on the east wall to return to the Study.
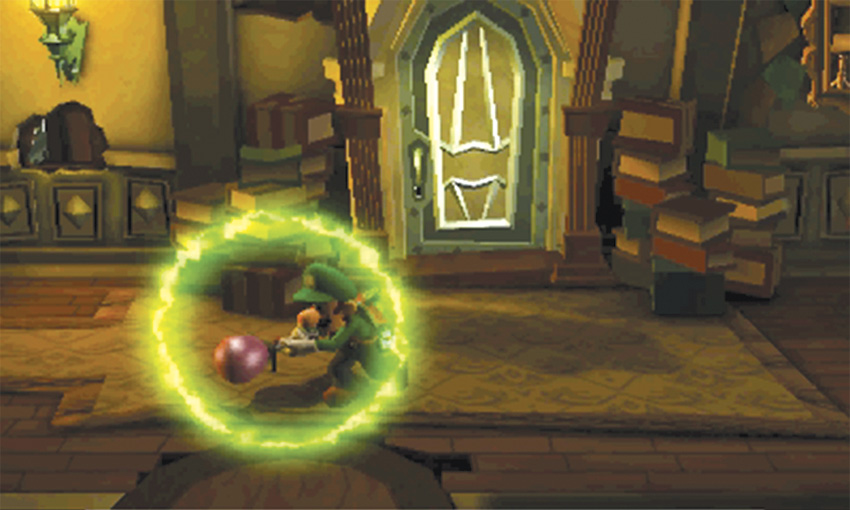
Grab a fresh bulb from the Study’s east wall, then retrace your steps to carry the bulb back to the Dark Age Exhibit.
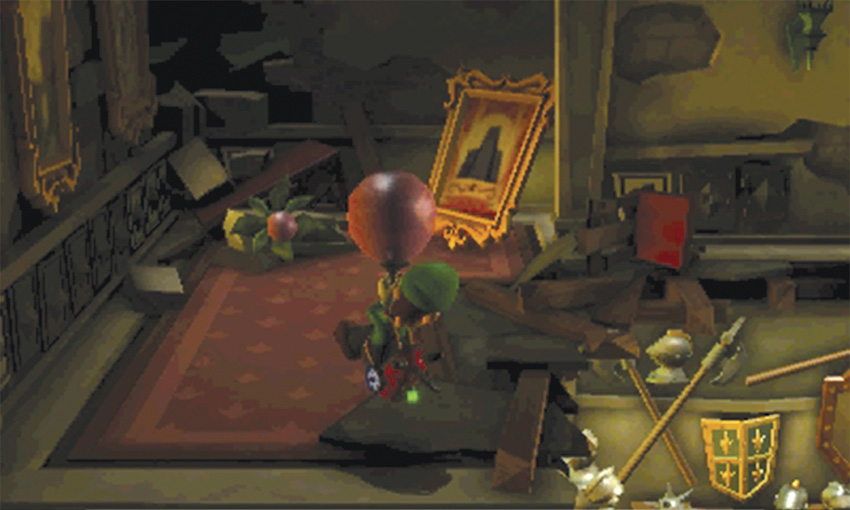
When you return to the Dark Age Exhibit, use the bulb to float up to the west edge of level F2. This area contains a framed sketch and two framed posters. Vacuum each poster to reveal the sketches beneath them, then use the Dark-Light Device to draw the treasure out of all three sketches. When you’re ready, vacuum the nearby bulb and float over to the room’s east wall.
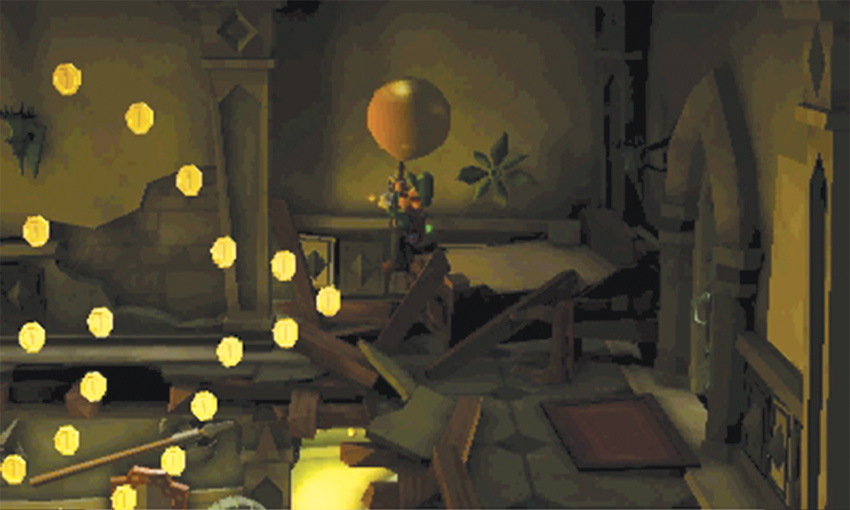
Land on the bed in the room’s northeast corner and clear the bulb from your nozzle. Vacuum the gold bulb on the wall, then use it to collect the coins that appear at the center of the room. Collect all of the coins before they vanish to reveal a chest down on level F1. Float down and open the chest to reveal a Boo. After you capture Booreaucrat, head through the E-Gate and grab a fresh bulb from the Study.
Search the Ice Age Exhibit
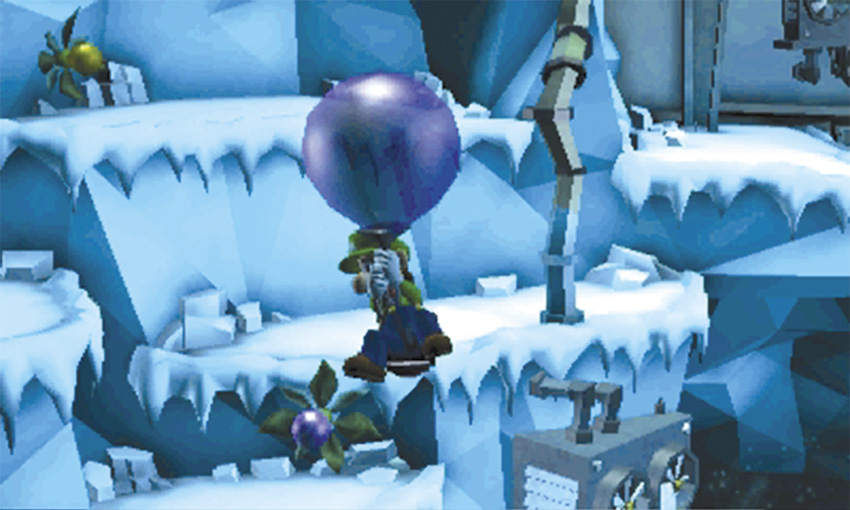
When you emerge in the Ice Age Exhibit, step out of the igloo and use the bulb to float up to level F2. Find the gold bulb on the west wall and land on the nearby ledge.
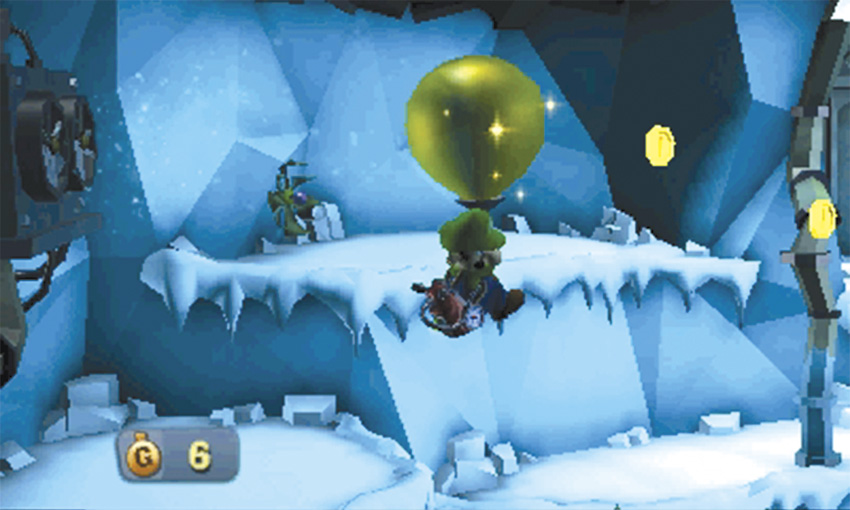
Vacuum the gold bulb, then use it to collect the coins that appear in the room. Float in front of the fans in the southwest corner, then follow the trail as it dips down and leads you across the room.
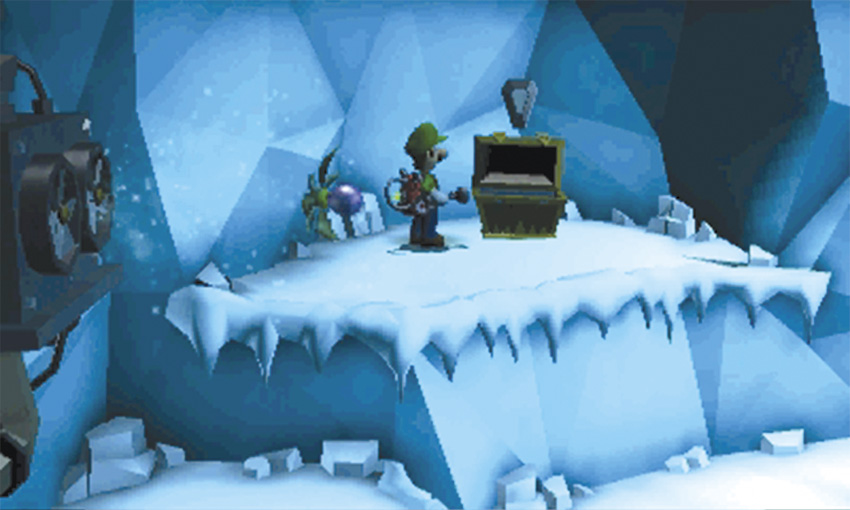
Collect all the coins before they vanish to reveal a chest near gold bulb’s original location. Float up to the ledge and open the chest to find the Coffin Diamond. When you’re ready, use the nearby bulb to float back down to the floor.
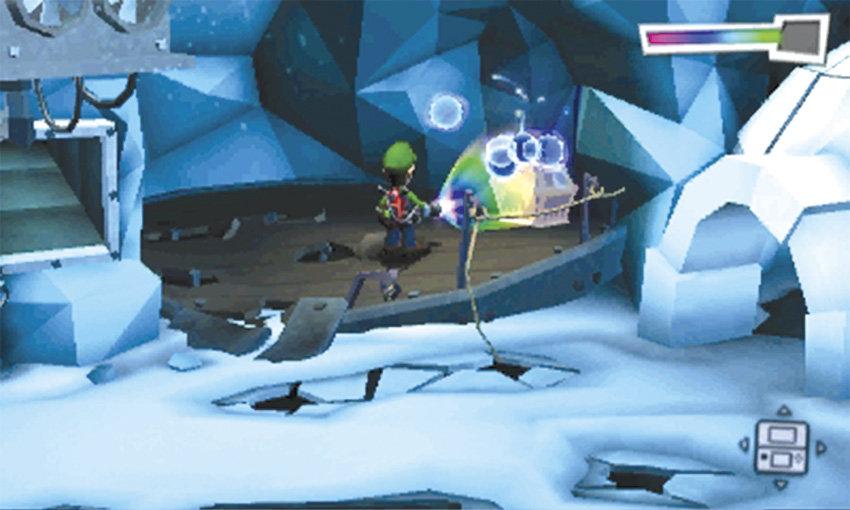
Before you leave, A-Pull the mammoth’s tail to earn some treasure, then use the Dark-Light Device to reveal the hidden chest on the wooden platform. After you capture the Spirit Balls, open the chest to find a nice stash of treasure. Use the E-Gate in the igloo to return to the Front Entrance. Make your way back to the Study and grab a fresh bulb.
Search the Ancient Exhibit
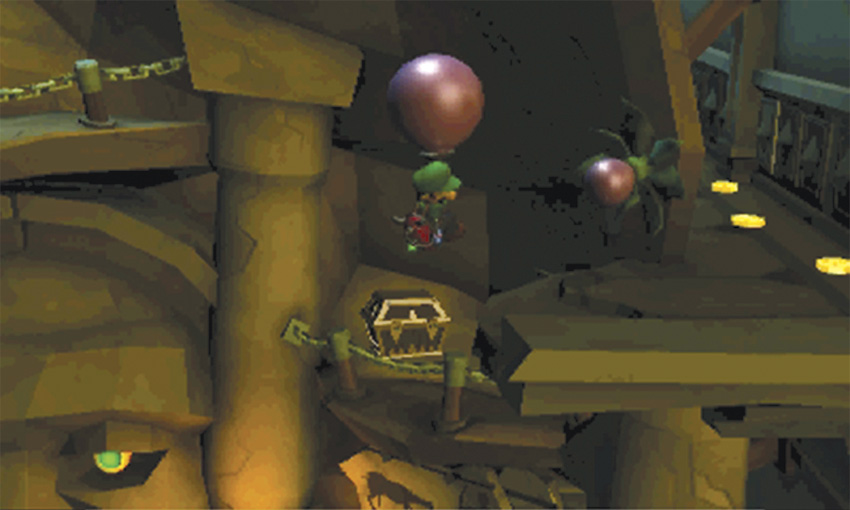
When you emerge in the Ancient Exhibit, use the bulb to float up to the room’s F2 level. Move over to the east wall and land on the upper ledge. Follow the trail of coins to find a treasure stash, then turn back and float down to the chest on the lower ledge. Open the chest and vacuum the treasure before it spills off the ledge, then use the nearby bulb to float up to the chains above the giant carving.
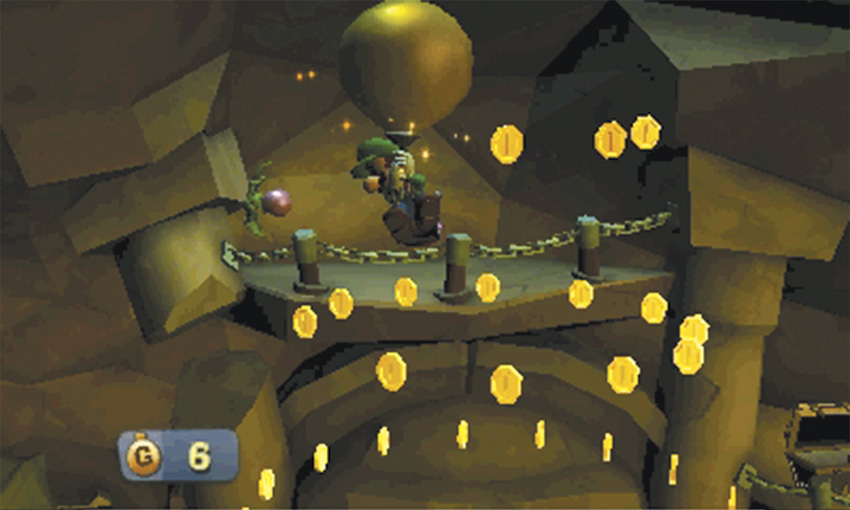
Vacuum the gold bulb behind the chains, then use it to collect the coins that appear. The coins are arranged in four spinning rings. Float into the path of the first ring, and collect the coins as they move toward you. Float in the opposite direction to speed up the process, then drop down and repeat the process on the remaining rings. Collect all of the coins before they vanish to reveal a chest.
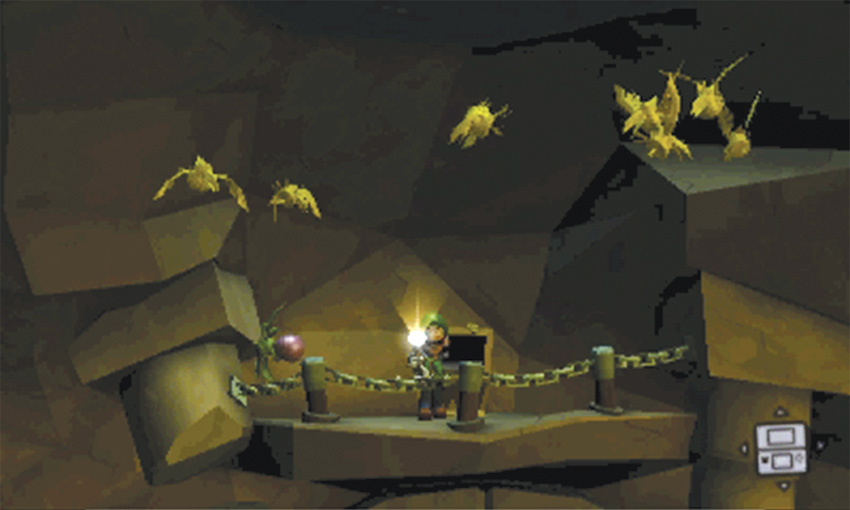
Float back up to the chains above the carving, and open the chest. Several gold crows fly out of the box and circle above you. Flash each crow as it passes over the ledge, then collect the resulting treasure.
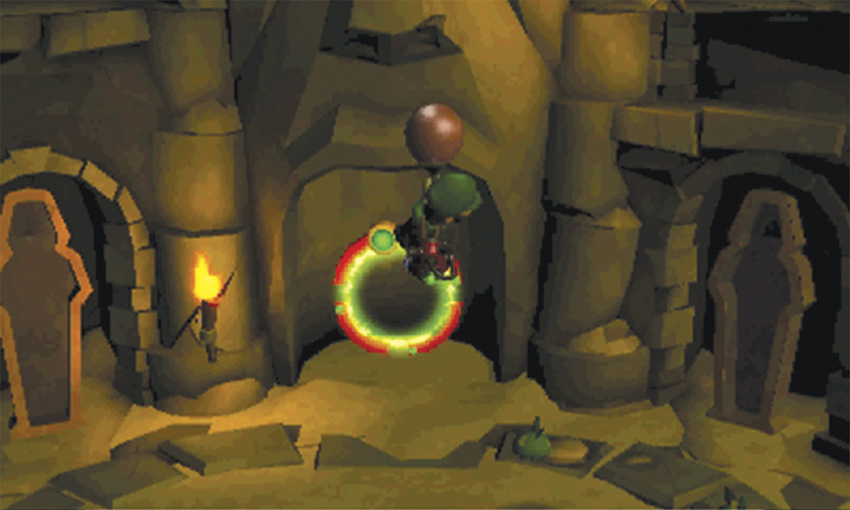
When you’re ready, grab a fresh bulb and float back down to the E-Gate at the base of the giant carving. Avoid the beetles that appear in the area, and use the E-Gate to return to the Front Entrance. If your bulb is still intact, you can proceed directly to the Jungle Exhibit. If not, head back to the study to acquire a fresh bulb.
Search the Jungle Exhibit
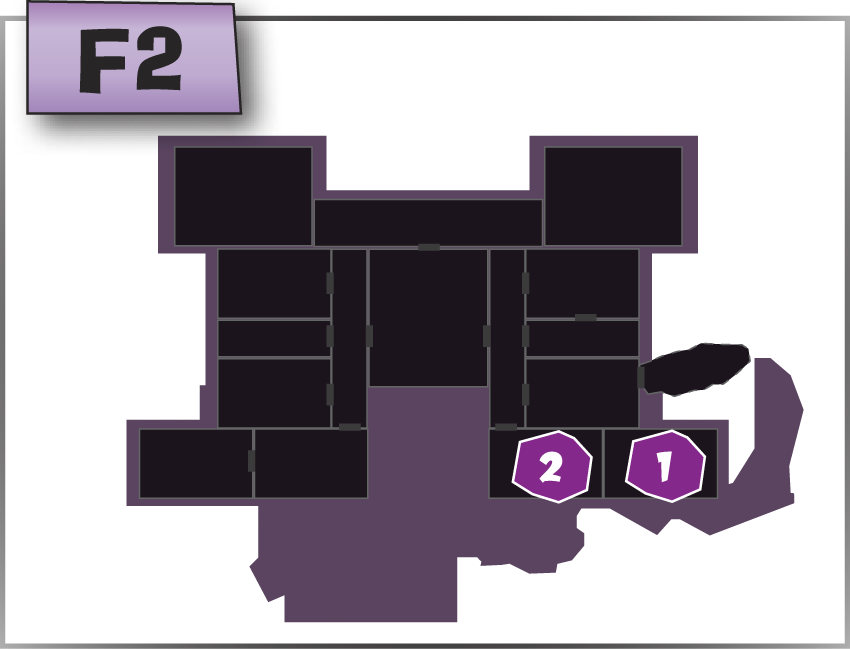
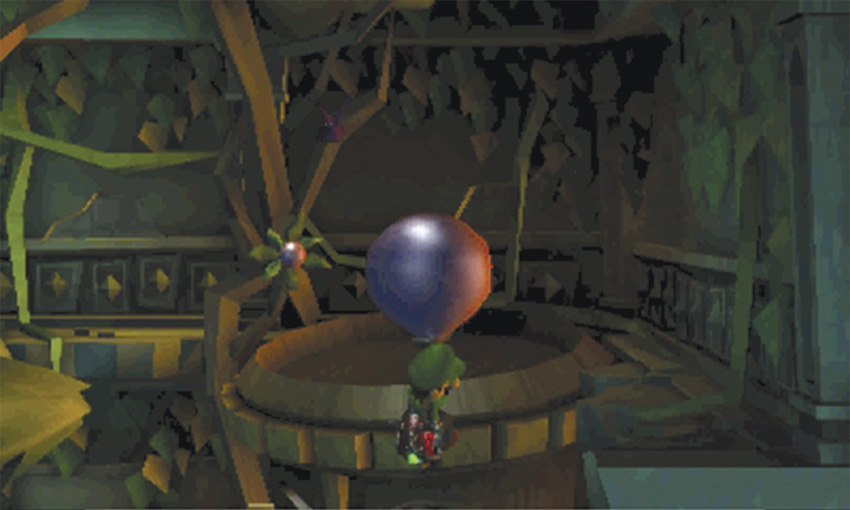
When you emerge in the Jungle Exhibit, step out from behind the waterfall and avoid the frogs on the ground. Use the bulb to float up to the F2 level, then land on the wooden platform in the northeast corner. Use the Strobulb to clear out any crows in the area, then use a fresh bulb to float over to the west ledge.
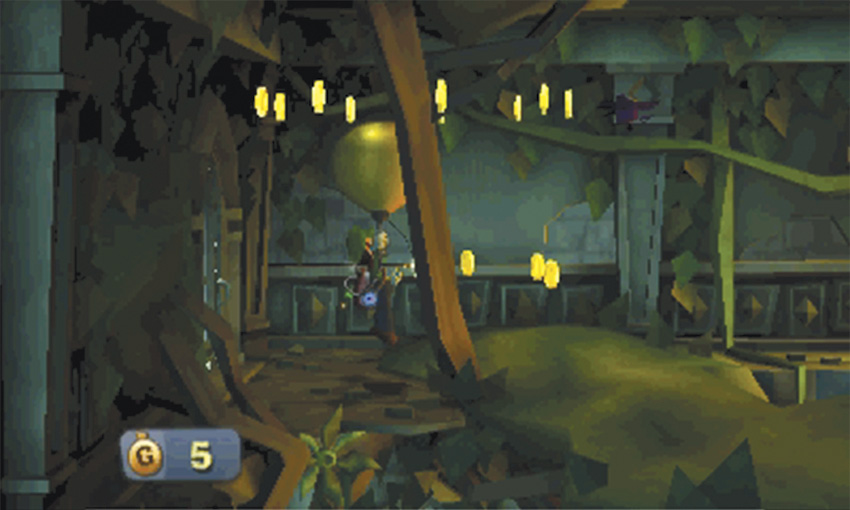
Locate the gold bulb growing along the ledge and use the Strobulb to clear out any remaining crows. Vacuum the gold bulb and use it to collect the coins that appear in the area. Once again, the coins are arranged in four spinning rings. Float into the path of ring and collect the coins as they move toward you. Collect all of the coins before they vanish to reveal a chest.
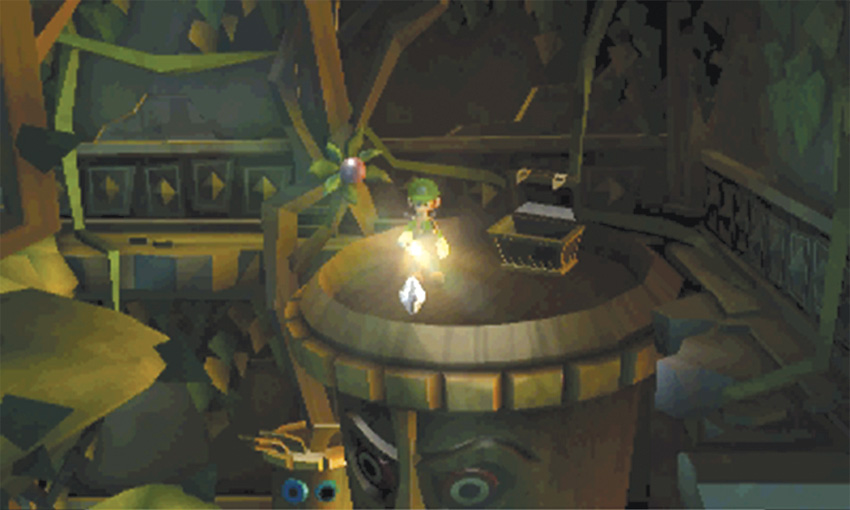
Return to the wooden platform and open the chest to find the Spindle Diamond. After you collect the Gem, use the nearby bulb to float back over to the west ledge. When you land, use the nearby door to enter the enclosure on the East Balcony.
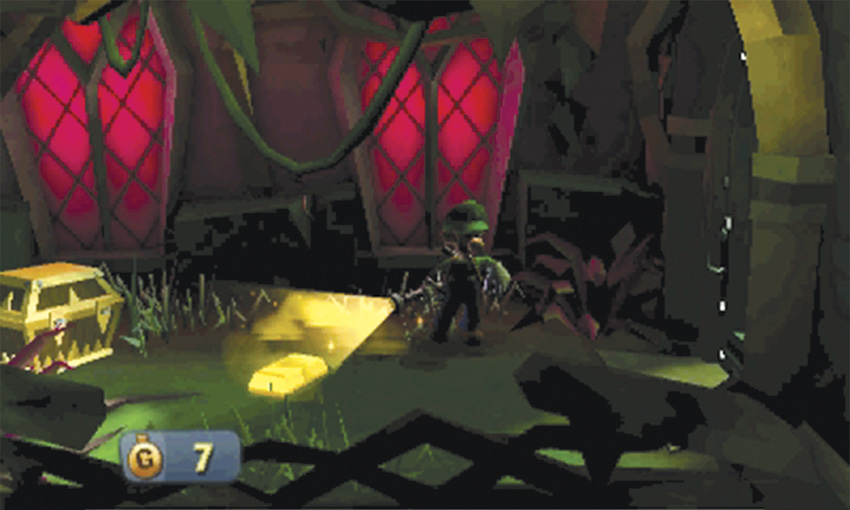
When you step into the East Balcony enclosure, flash the gold frogs on the ground. Open the nearby chest and collect the treasure that appears, then head back through the door and return to the Jungle Exhibit.
Launch the Rocket
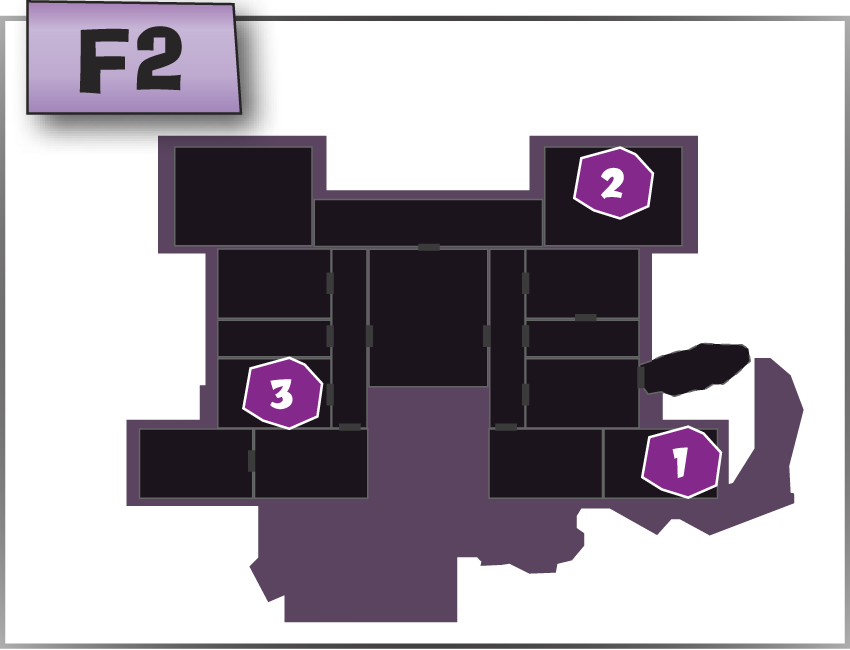
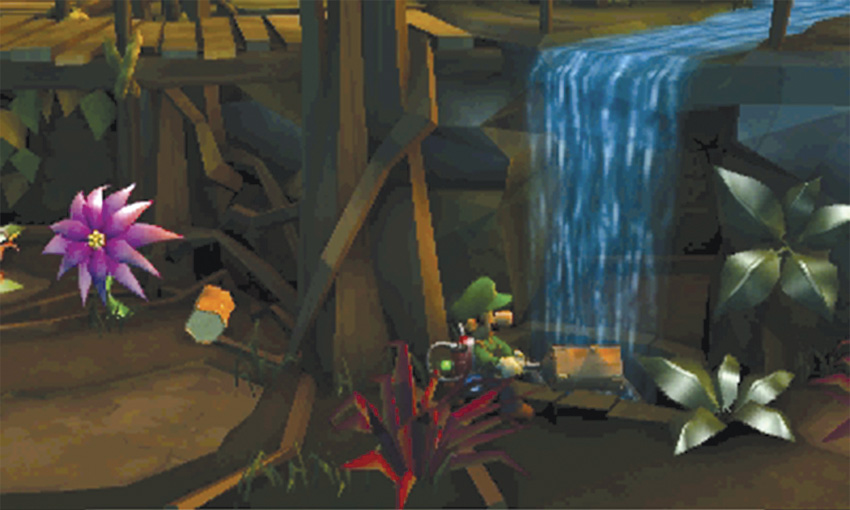
When you return to the Jungle Exhibit, use one of the bulbs on the west ledge to float all the way down to the floor. Flash the frogs in the area, then flash the nearby purple flowers. When you’re ready, vacuum one of the logs near the north wall and carry it under the waterfall and through the E-Gate. When you emerge in the Front Entrance, use the E-Gate directly in front of you to return to the Ancient Exhibit.
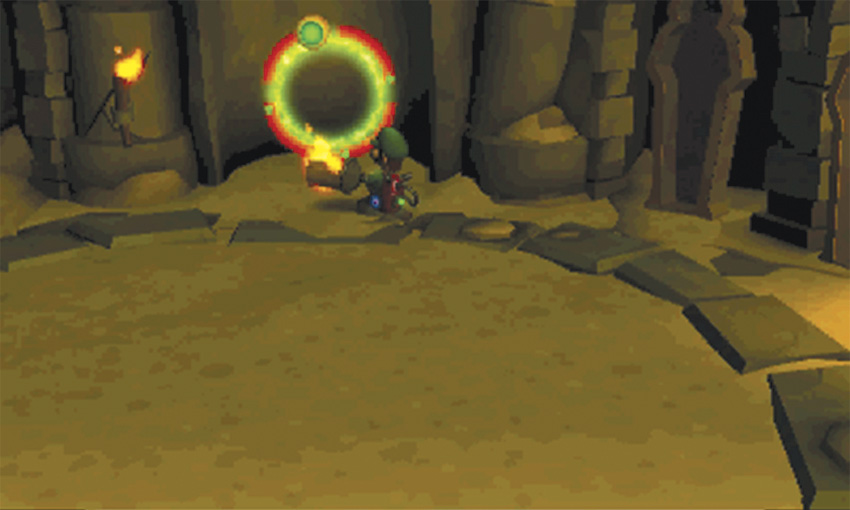
When you arrive in the Ancient Exhibit, clear out any beetles in the area. When it’s safe, use one of the nearby torches to ignite the log, then carry it back through the E-Gate. When you arrive in the Front Entrance, climb the stairs and use the E-Gate on the west wall to return to the Space Exhibit.
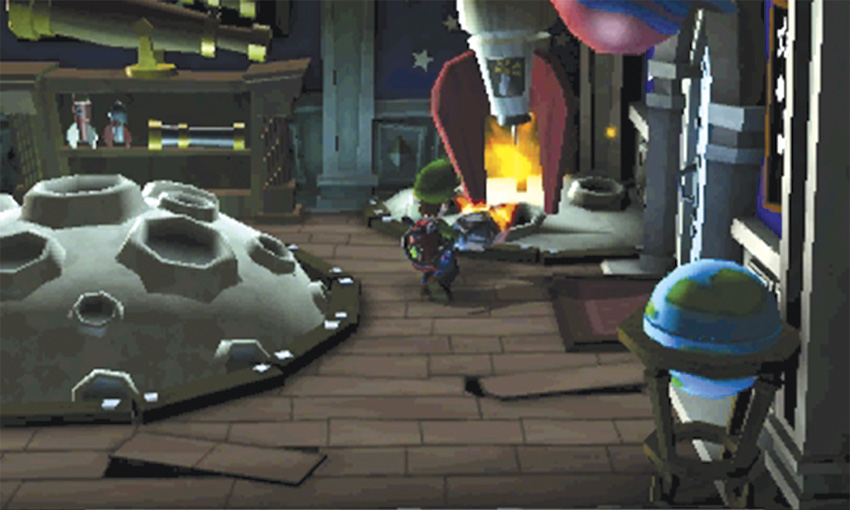
When you arrive in the Space Exhibit, move to the northeast corner and use the flaming log to light the small rocket’s fuse. When the rocket launches, step out of the room and wait for it to crash.
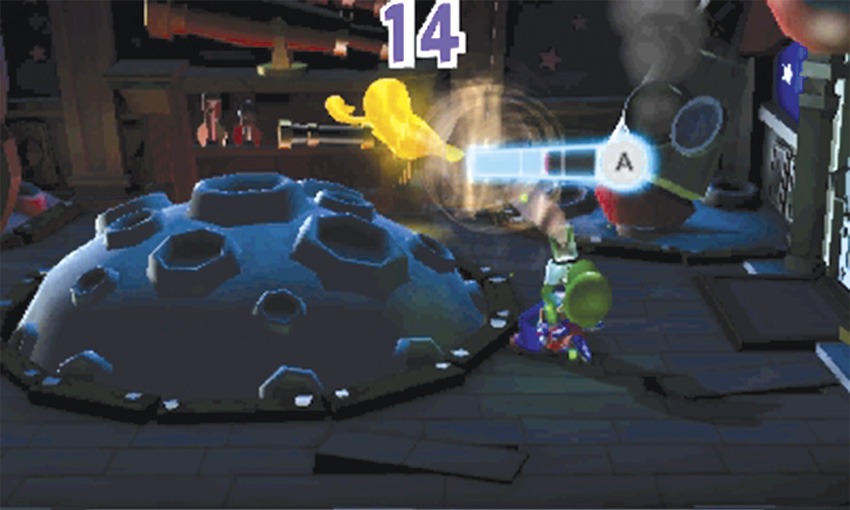
When the rocket lands, it shakes the whole mansion. Step back into the Space Exhibit to find the Gold Greenie near the crashed rocket. Capture the ghost before it escapes. When you’re ready, use the door to return to the West Corridor.
Complete Your Search
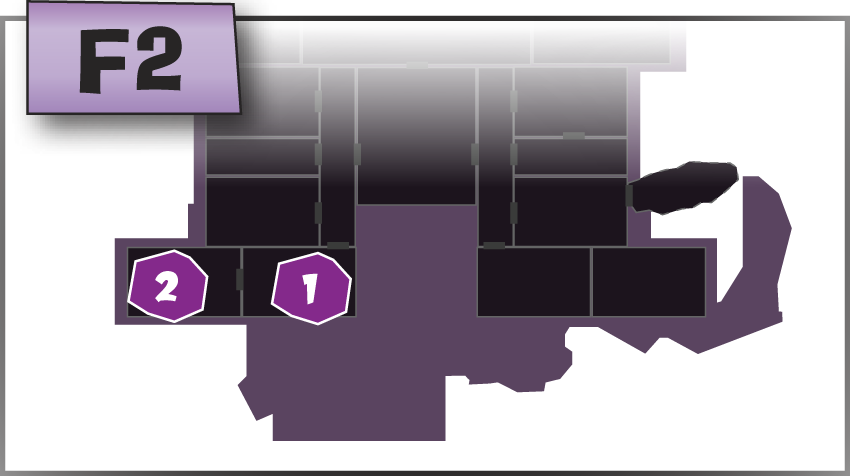
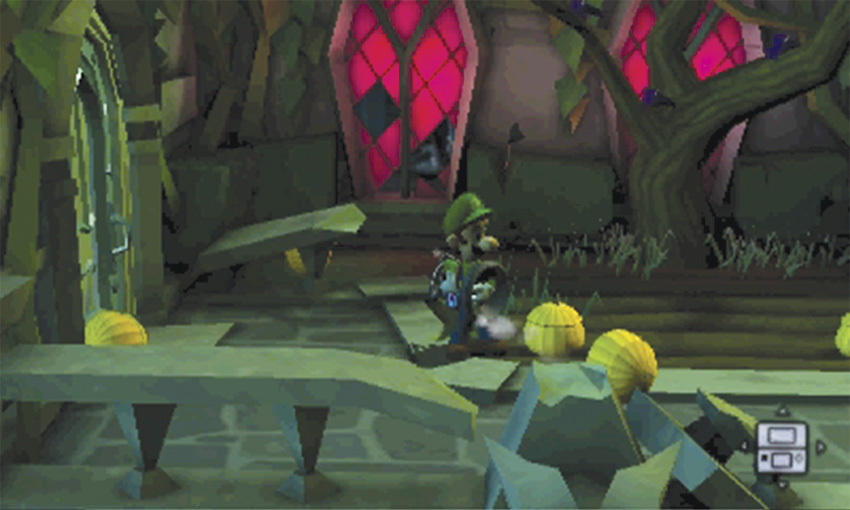
Use the door at the south end of the West Corridor to find the West Balcony. Flash the crows perched around the tree, then launch the pumpkins scattered around the area to collect the treasure hidden inside. Use the door in the west wall to return to the Dark Age Exhibit.
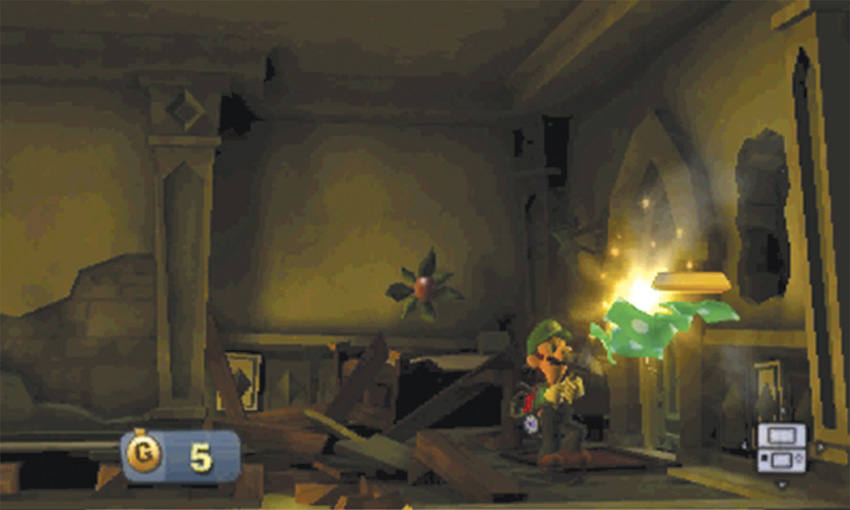
When you step into the Dark Age Exhibit, vacuum the wall in the southeast corner to find another treasure stash. When you’re ready, exit through the door and head back to the Space Exhibit. Use the E-Gates to return to the Study.
Search the Train Exhibit
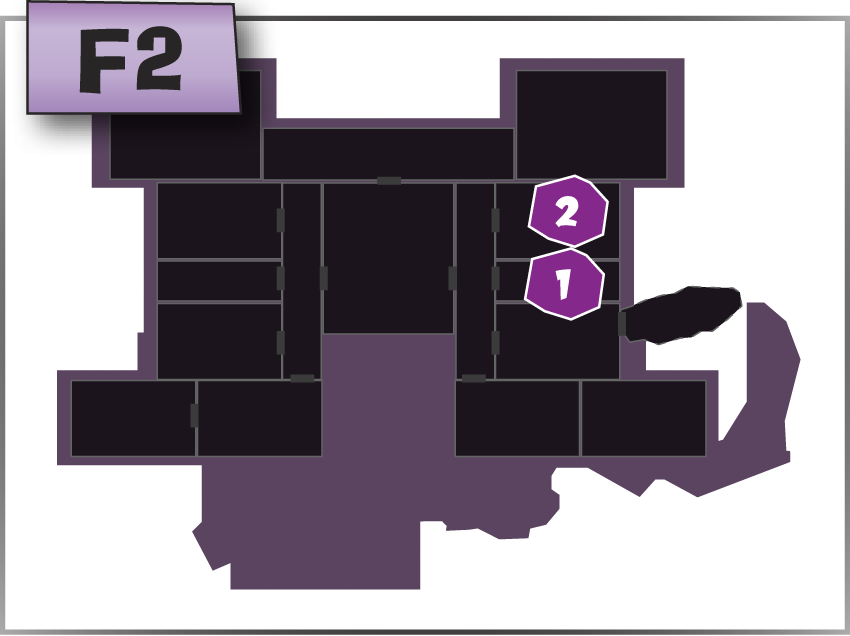
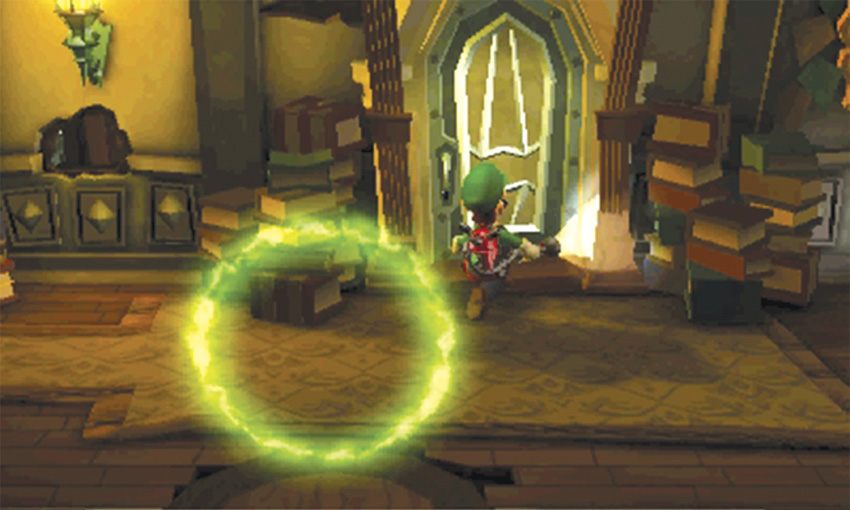
When you arrive in the Study, use the door in the north wall to enter the Train Exhibit.
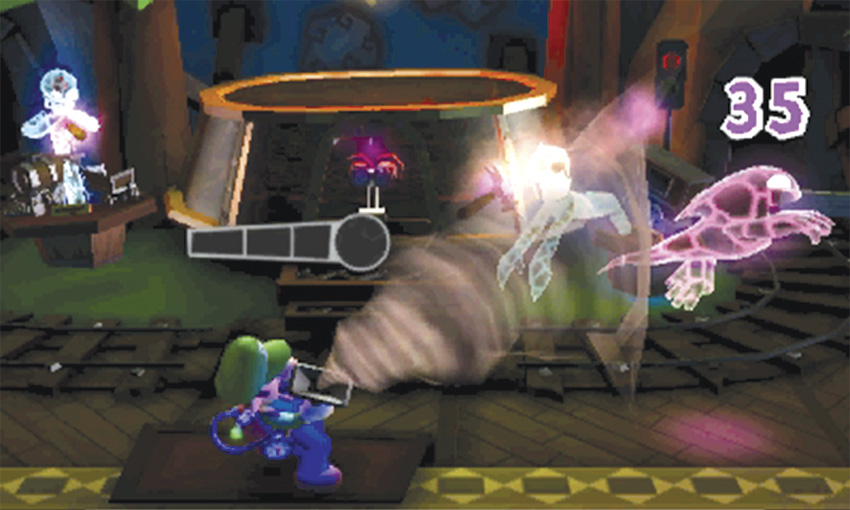
When you first enter the Train Exhibit, the room is occupied by a Strong Sneaker and two Strong Hiders. As you capture each ghost, take care to avoid incoming attacks.
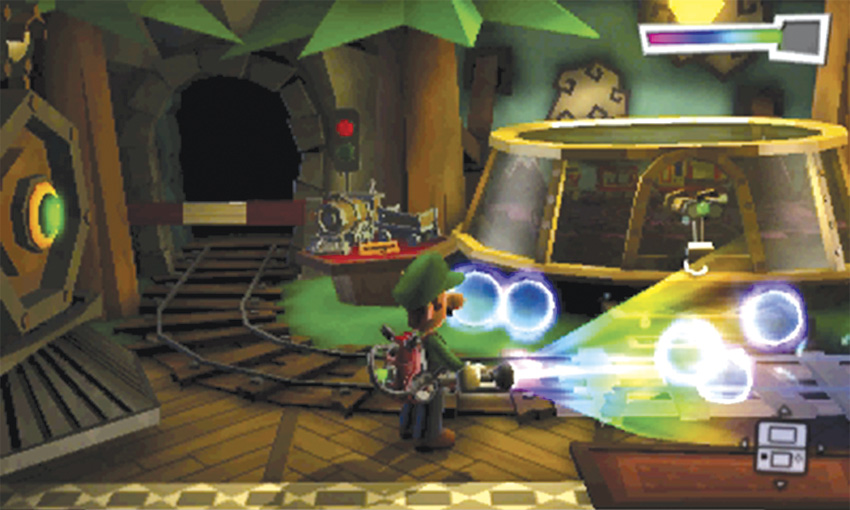
After you capture all three ghosts, flash the large train in the southwest corner, then use the Dark-Light Device to reveal the missing tracks near the center of the room.
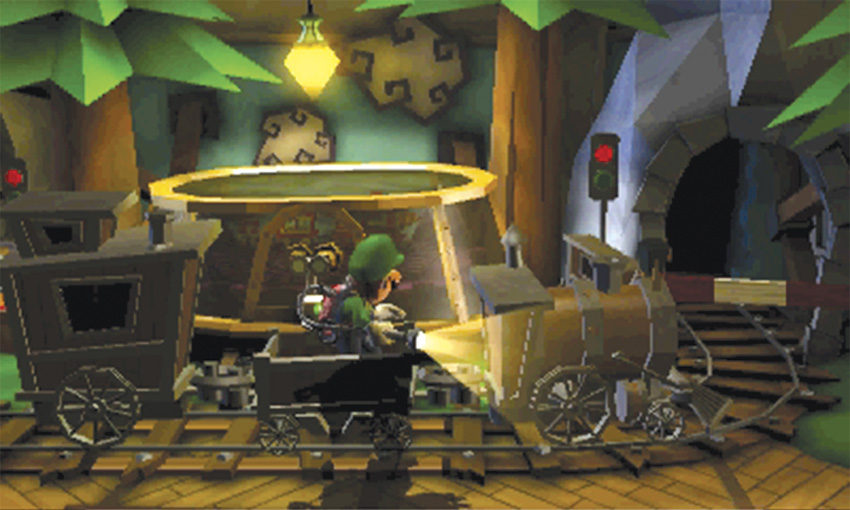
After you collect the Spirit Balls, a small train appears on the track. Climb into the empty car and ride the train through the room. When you emerge from the tunnel, you automatically collect the Mushroom Diamond.
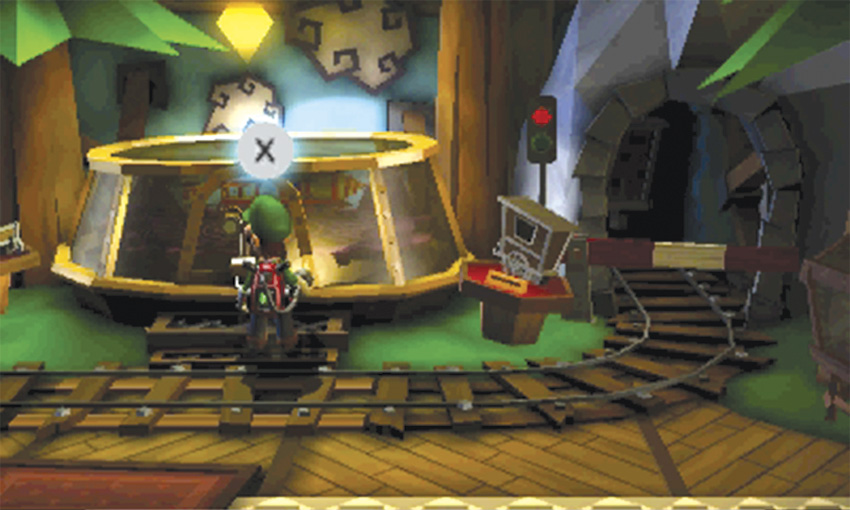
Search any remaining objects, then approach the round case at the center of the room. When you’re ready, investigate the case to view the model inside.
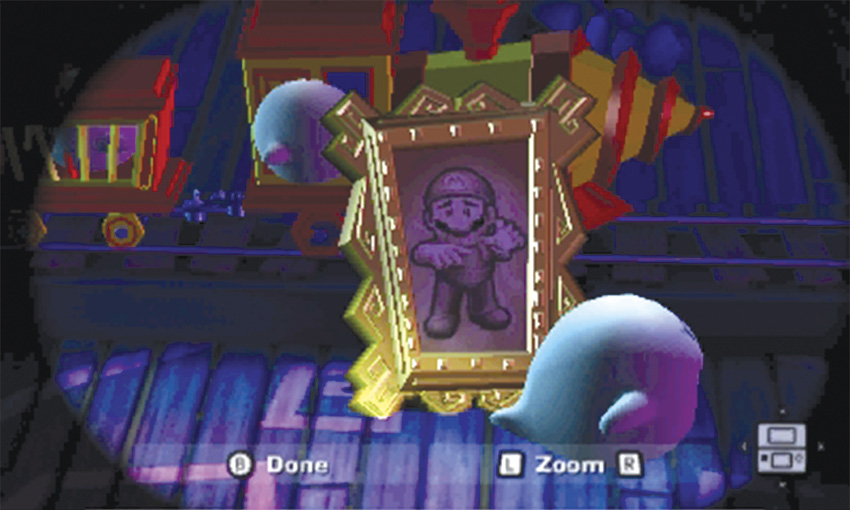
Locate the framed sketch of Mario, and wait for a Boo to scare you away from the case. When Professor E. Gadd calls, answer the Duel Scream to complete the mission and return to the Bunker.
E-4 Ambush Maneuver
Defeat the Big Boo
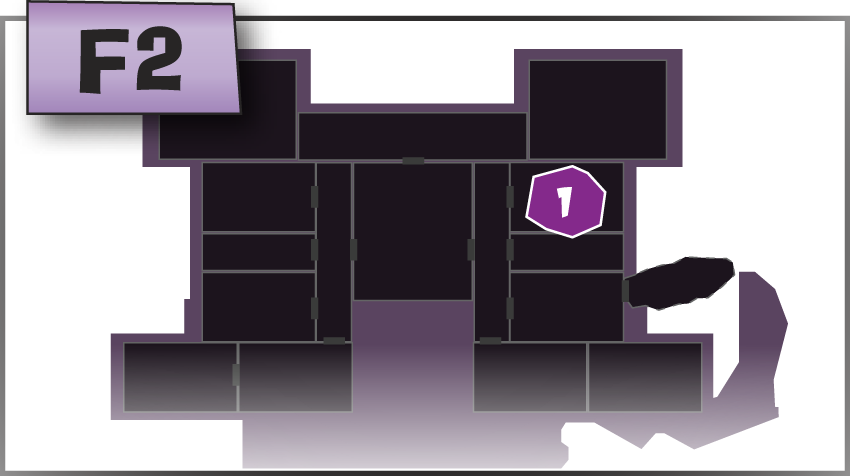
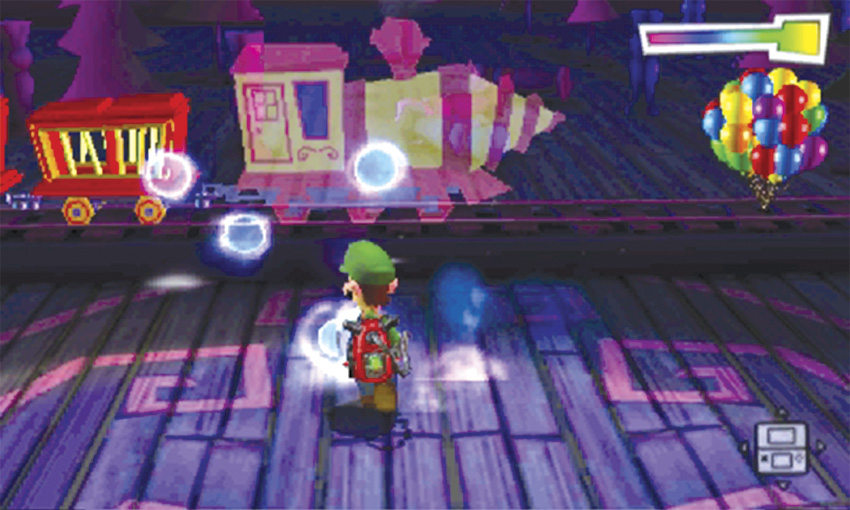
When the mission starts you’re transported directly into the model at the center of the Train Exhibit. Move toward the north edge of the tracks and use the Dark-Light Device to reveal the train’s engine. Capture the Spirit Balls to trigger a cinematic. Professor E. Gadd wanted you to ambush King Boo, but some particularly clever Boos have something else in mind.
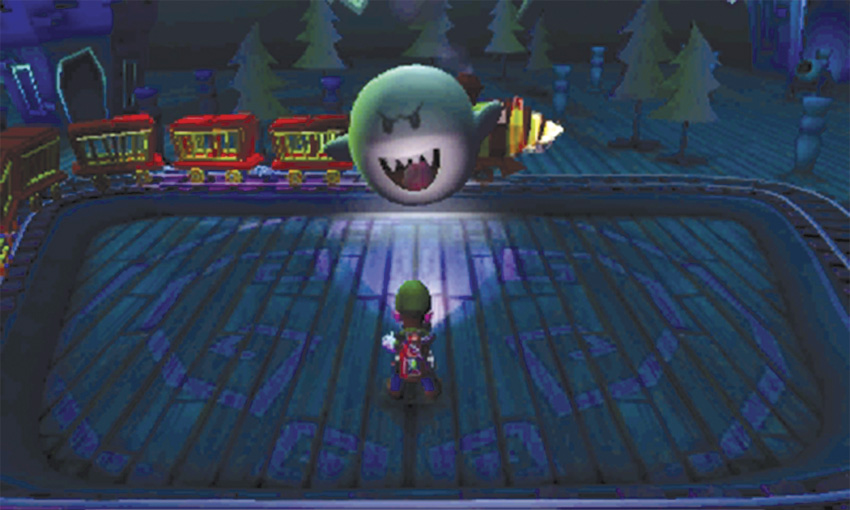
During the cinematic, 10 Boos join forces to form a Big Boo. To survive this encounter, you’ll have find a way to best this oversized enemy. The Big Boo uses two different attacks: a slam attack and a charge attack. You must learn to recognize each attack and react accordingly.
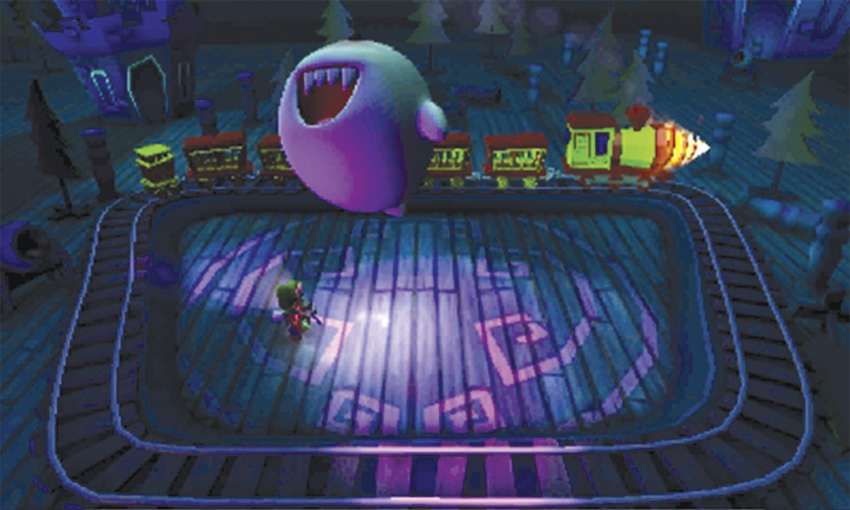
If the Big Boo soars into the air, it’s preparing to slam into the ground. When you see the this attack, move quickly to get clear of the impact. The attack consists of three separate slams, so keep moving!
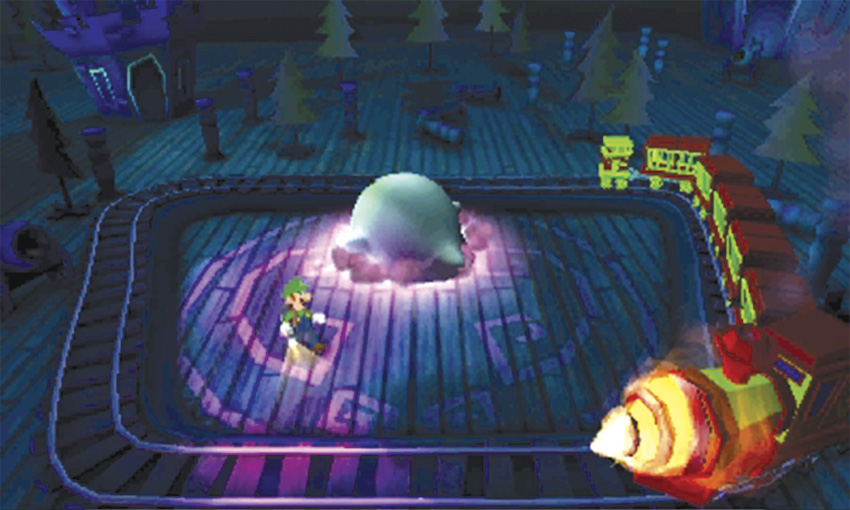
After three slams, the Big Boo stuns itself. Try to ensure the final slam lands near the center of the area. While the Big Boo is dazed, you must latch onto its tongue and perform an A-Pull to launch it into the circling train.
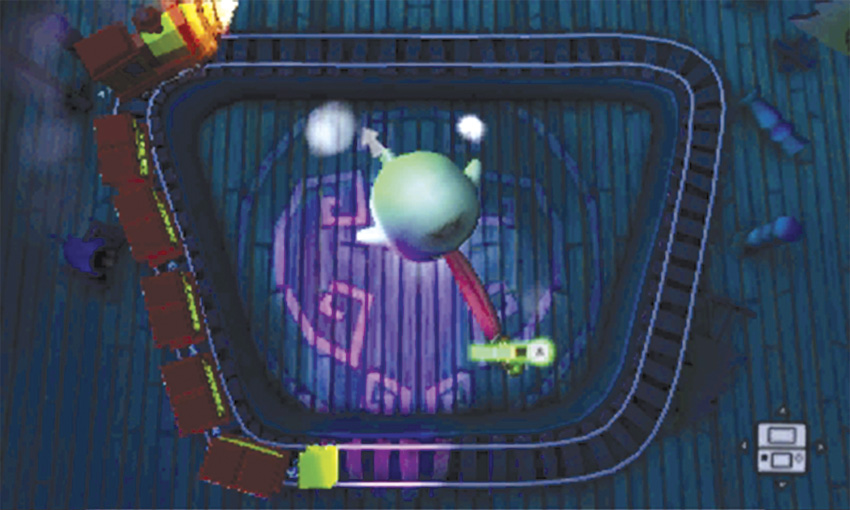
For your counterattack to have any effect, you must launch the Big Boo into the spinning drill on the front of the train. Try to line up a proper angle before you latch on. You must anticipate where the train will be within the next few seconds, then position yourself so that the Big Boo is directly between you and that location. Latch on with the Poltergust, then pull back to charge your Power Gauge. Release Big Boo just before the train reaches your chosen location to launch it right into the spinning drill.
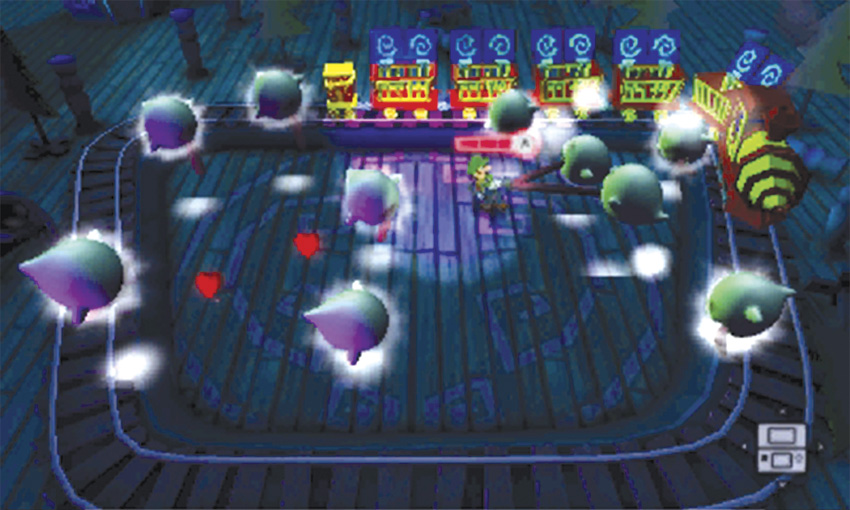
When the Big Boo hits the drill, the impact severs the bond between the Boos, scattering the smaller enemies around the area. While the Boos are separated, the train’s cages flip open to reveal the target painted on the underside of each lid. You only have a small amount of time before the Boos regroup, so move quickly to imprison as many as you can. Latch onto a Boo’s tongue, charge an A-Pull, and launch the dazed ghost into one of the open cages.
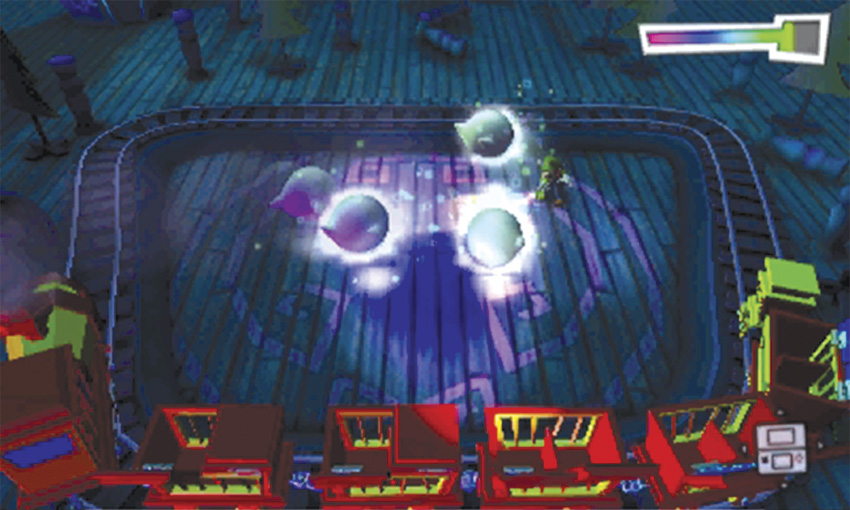
Toward the beginning of the battle, you can latch onto multiple Boos and launch them simultaneously. If you aim near the center of the cages, you stand a pretty good chance of imprisoning several Boos very quickly. As the Boos start to recover, they vanish from sight. Use the Dark-Light Device to reveal nearby enemies, but watch for signs of incoming attacks. When the Boos are fully recovered, they rejoin to form the Big Boo.
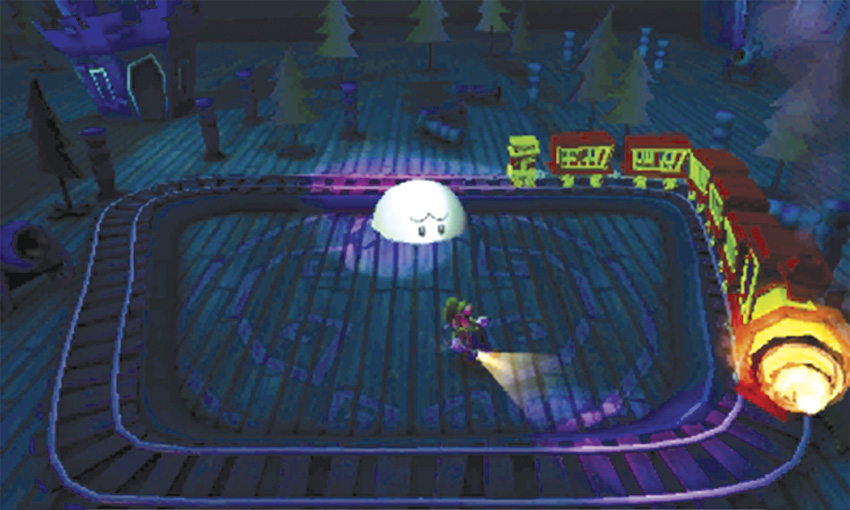
If the Big Boo sinks into the ground, it’s about to execute its charge attack. When this happens, you must bait the Big Boo into charging the train. Place yourself between the Big Boo and the moving train, then dash out of the way as the ghost charges you.
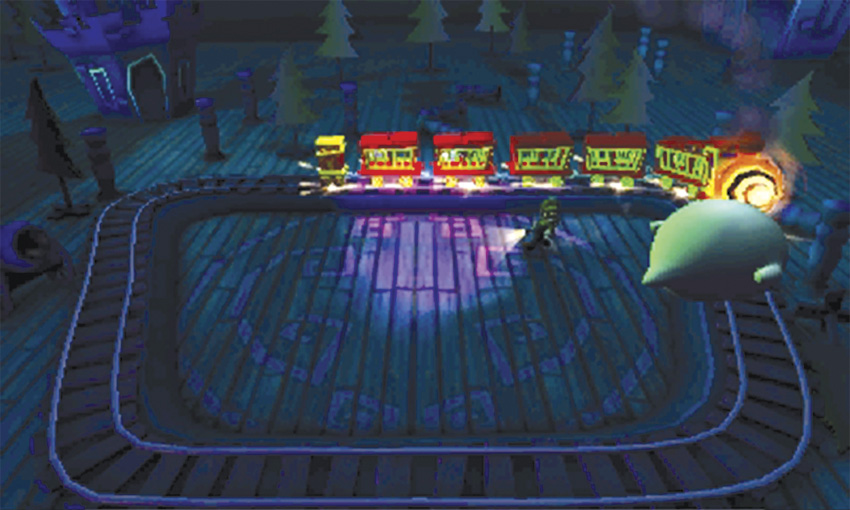
If the Big Boo hits one of the cages, it stuns itself just as it does at the end of a slam attack. If you bait the Big Boo into charging the drill, however, the smaller Boos are automatically scattered around the area. Either way, it’s essential that the Big Boo makes contact with the train. Without some kind of impact, the Big Boo’s charge ends well beyond the tracks, and you’ll lose valuable time as the enemy gets back into position.
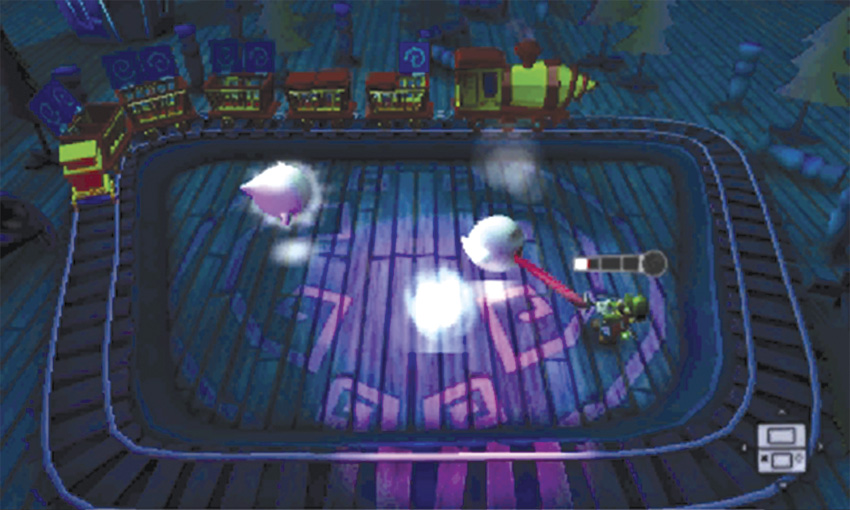
Avoid each of the Big Boo’s attacks, and send the ghost flying into the drill bit as often as possible. Each time the smaller Boos appear, try to launch a few more into the unoccupied cages. As the battle progresses, the Boos recover more and more quickly. Use the Dark-Light Device to reveal hidden Boos. Watch out for the glow that precedes each attack.
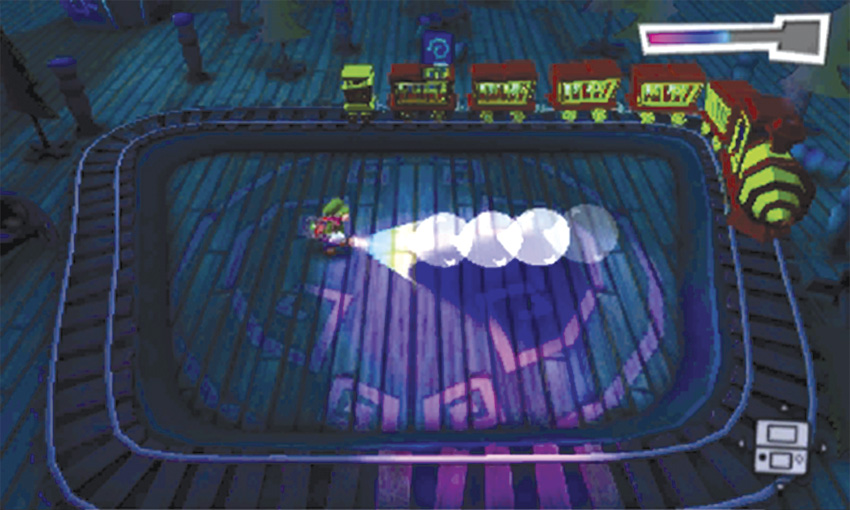
When you capture all but one Boo, the Big Boo no longer appears. To imprison the final enemy, you must daze it with the Dark-Light Device. Look for the trail indicating the Boo’s recent path, and find it before it executes its next charge attack.
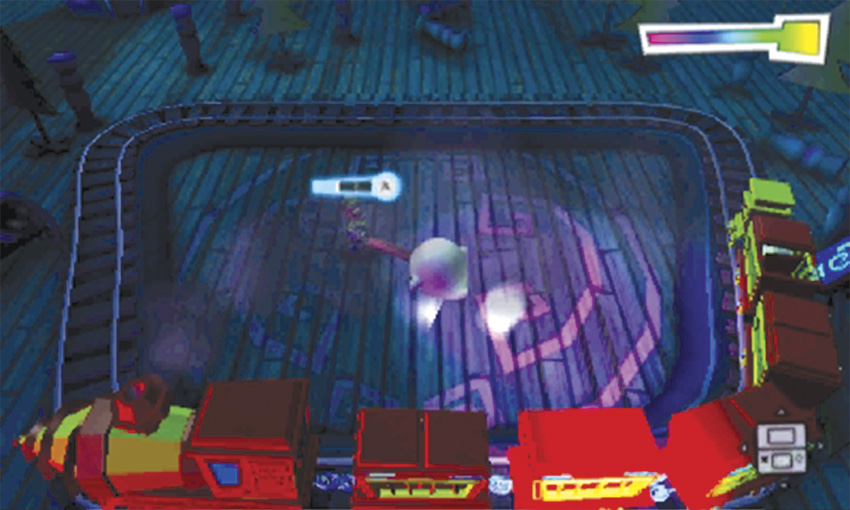
Launch all 10 of the Boos into the train’s cages to end the encounter. When you succeed, answer the Duel Scream to complete the mission and return to the Bunker.
E-5 Paranormal Chaos
Search the Aviation Exhibit
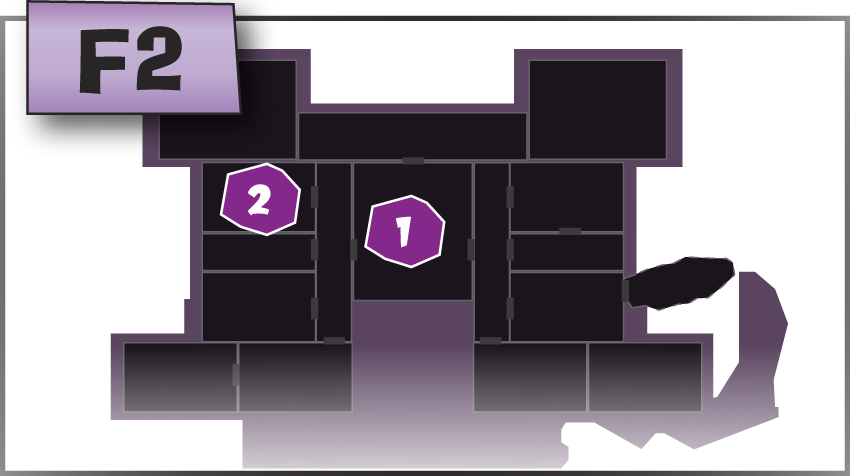
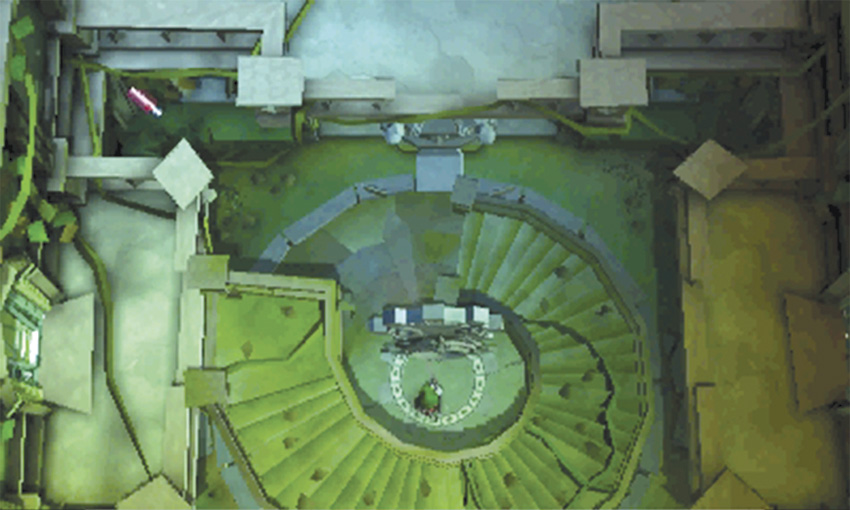
When the mission starts, you’re transported to the Inner Courtyard. Your first objective is on the Terrace, but visiting that area kicks of a series of time-sensitive objectives. Before that happens, take a moment to capture this mission’s Boo. The spiral staircase is already connected to the west platform. Climb up to level F2, continue through the West Corridor, and enter the Aviation Exhibit.
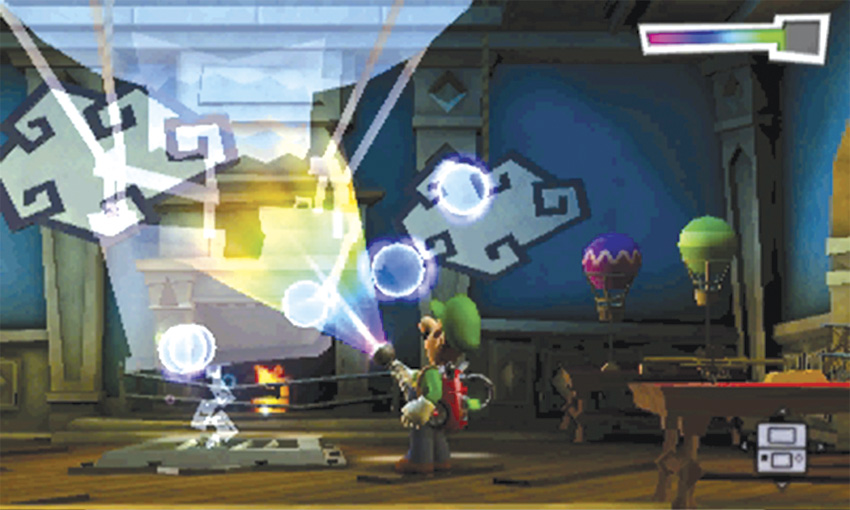
When you reach the Aviation Exhibit, use the Dark-Light Device to reveal the hot air balloon in the center of the room. After you collect the Spirit Balls, the Boo appears in the room. Capture the Boo, then return to the Inner Courtyard.
Inspect the Terrace
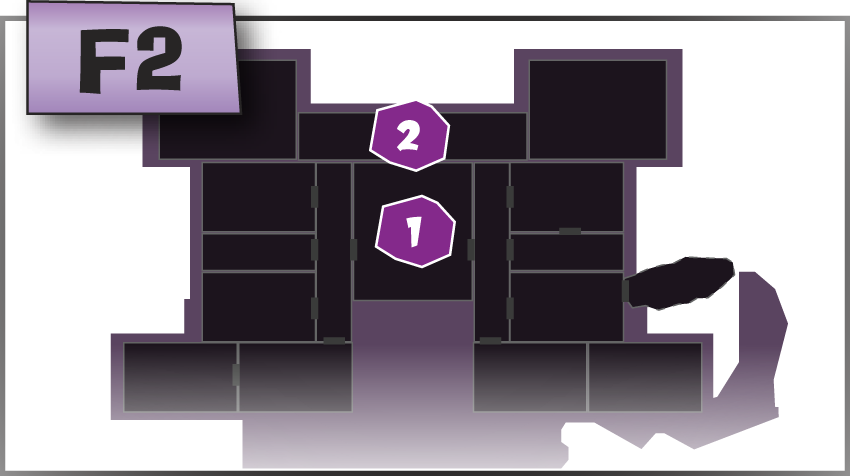
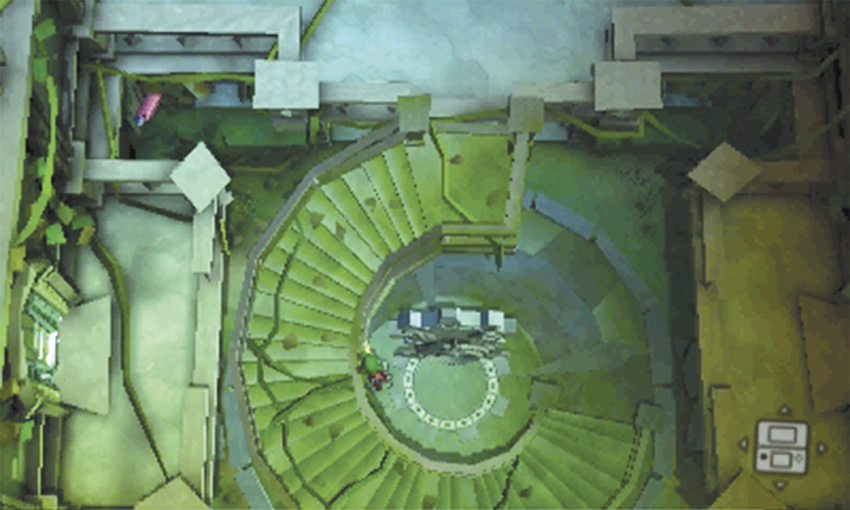
When you reach the Inner Courtyard, spin the rotor until the spiral staircase connects to the north platform. Climb back up and continue through the door to inspect the Terrace.
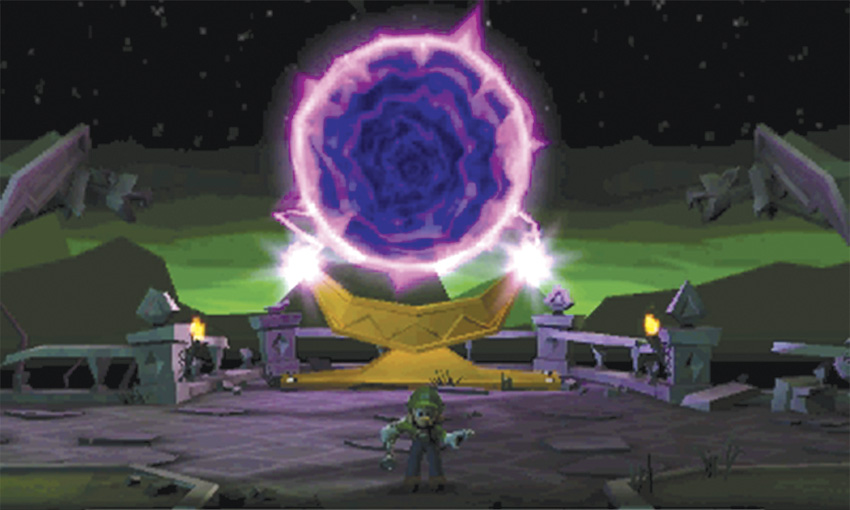
During a cinematic, King Boo activates the altar at the north end of the Terrace. Answer the call from Professor E. Gadd to receive your first set of objectives. Ghost infestations have appeared in the Space Exhibit and the Nautical Exhibit. You must clear these rooms as quickly as possible.
Clear the First Pair of Infestations
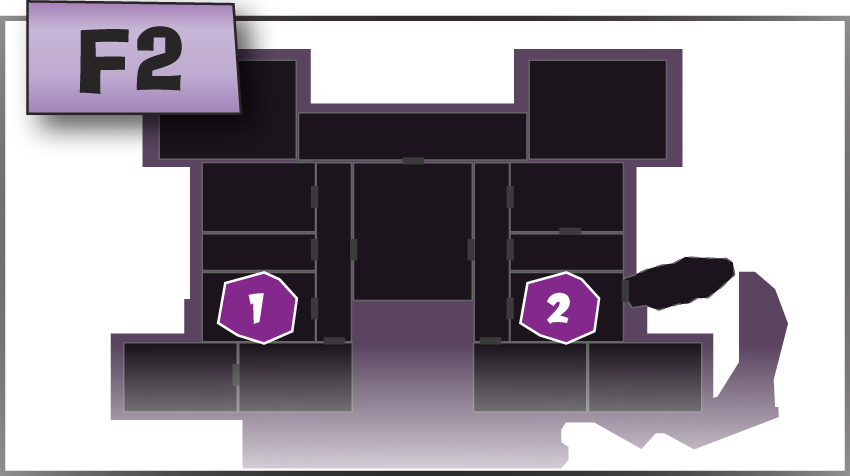
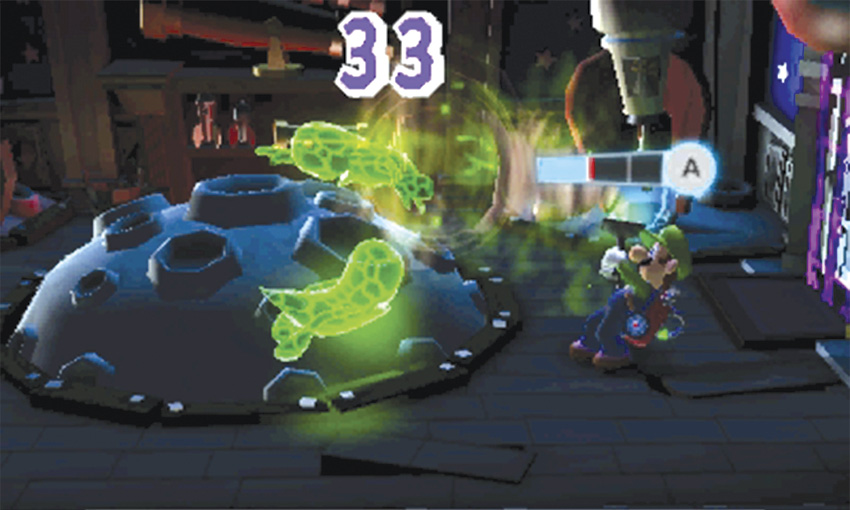
It’s usually best to address each objective in the order it appears. Rotate the Inner Courtyard’s spiral staircase until it connects to the west platform, then climb back up to level F2 and make your way to the Space Exhibit. The room is infested with Strong Greenies. Watch out for shielded enemies, and any enemies carrying special equipment.
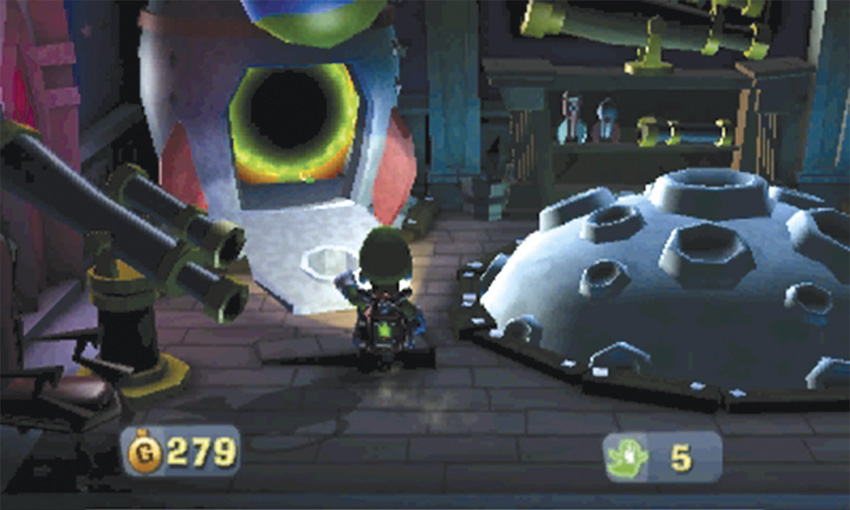
After you capture all the enemies in the Space Exhibit, use the E-Gate to head toward your next objective. When you emerge in the Front Entrance, move east and use the E-Gate in front of you to reach the Nautical Exhibit.
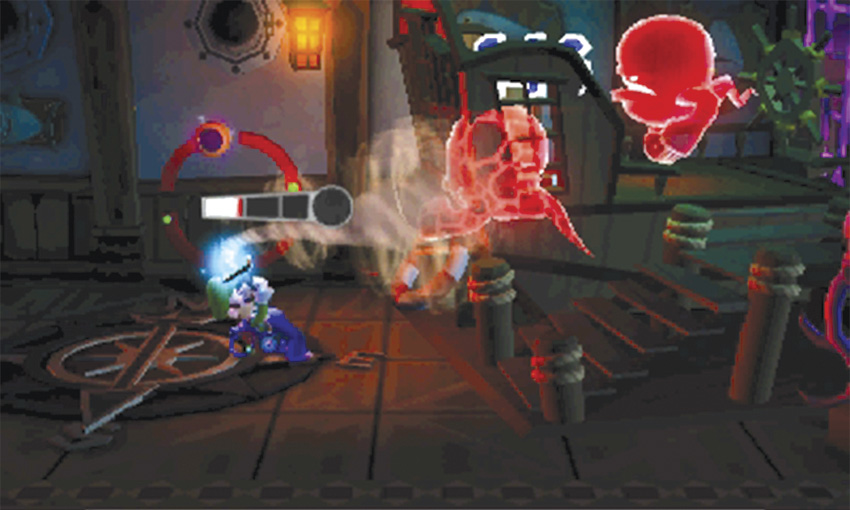
When you emerge in the Nautical Exhibit, the area contains at least one Slammer and one Strong Slammer. Capture the enemies as quickly as possible, then deal with any reinforcements that may have arrived. When the room is clear, Professor E. Gadd calls with the next set of objectives. Head through the E-Gate and return to the Front Entrance.
Clear the Second Pair of Infestations
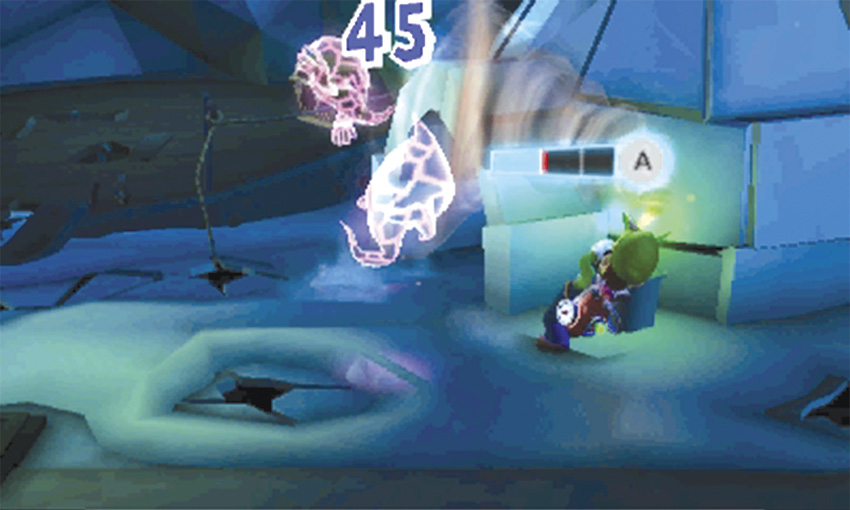
When you emerge in the Front Entrance, use the E-Gate mounted on the west side of the stairs to reach the Ice Age Exhibit. Step out of the igloo and check the snow-covered floor for signs of movement. The area contains at least two Strong Sneakers. Capture the ghosts, then capture any reinforcements that may have followed you into the room. When the room is clear, Professor E. Gadd notifies you of more infestations. Head through the E-Gate and return to the Front Entrance.
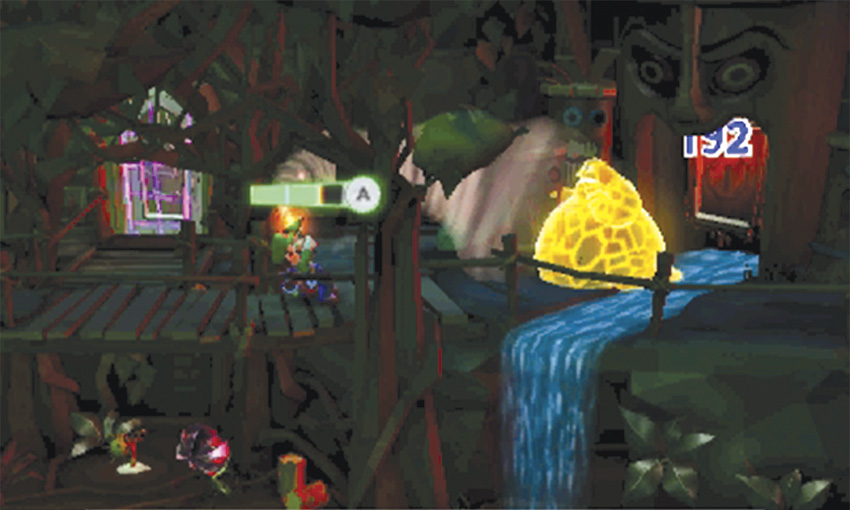
When you arrive in the Front Entrance, move past the stairs and use the E-Gate on the east wall to reach the Jungle Exhibit. Dash out from behind the waterfall and use the orange flower to launch yourself up to the walkway. Flash the Strong Gobber and latch on with the Poltergust. Dodge the ghost’s attacks and perform A-Pulls until you capture the Strong Gobber.
When the room is clear, Professor E. Gadd alerts you to even more infestations. Use the knotted vine to lower yourself down from the ledge, then run under the waterfall and through the E-Gate.
Clear the Third Pair of Infestations
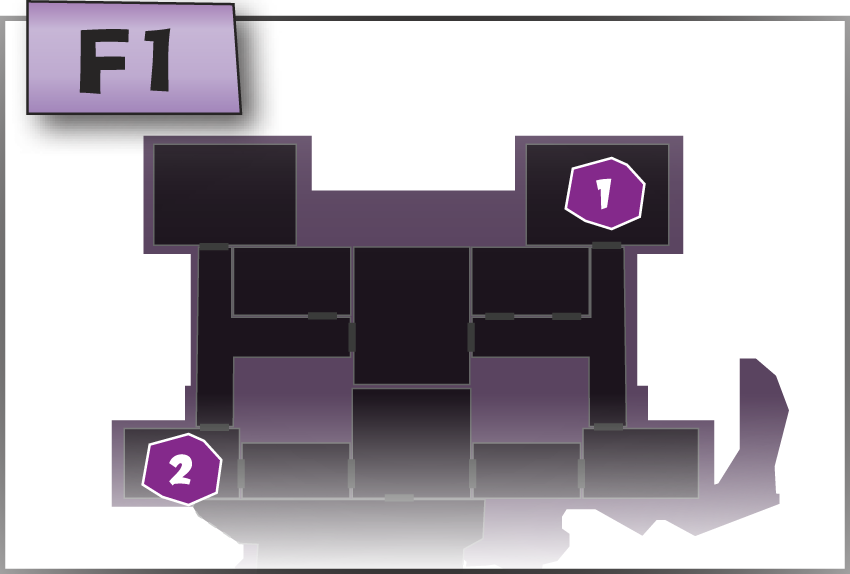
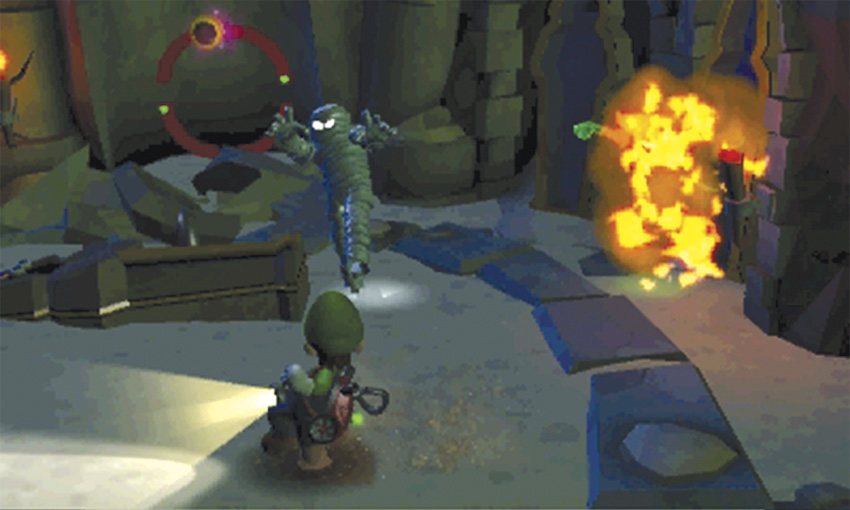
When you arrive in the Front Entrance, use the E-Gate directly in front of you to enter the Ancient Exhibit. This room should contain at least two bandaged Strong Greenies. Lure the ghosts to one of the mounted torches or bait them into charging a wall. Allow any flaming bandages to disintegrate, and A-Pull the bandages from any toppled ghosts.
As you capture the vulnerable Strong Greenies, watch for whirlwinds that emerge from the sand. Wait for the whirlwinds to die down, then capture any Strong Greenies that reveal themselves. When the room is clear, use the E-Gate to return to the Front Entrance.
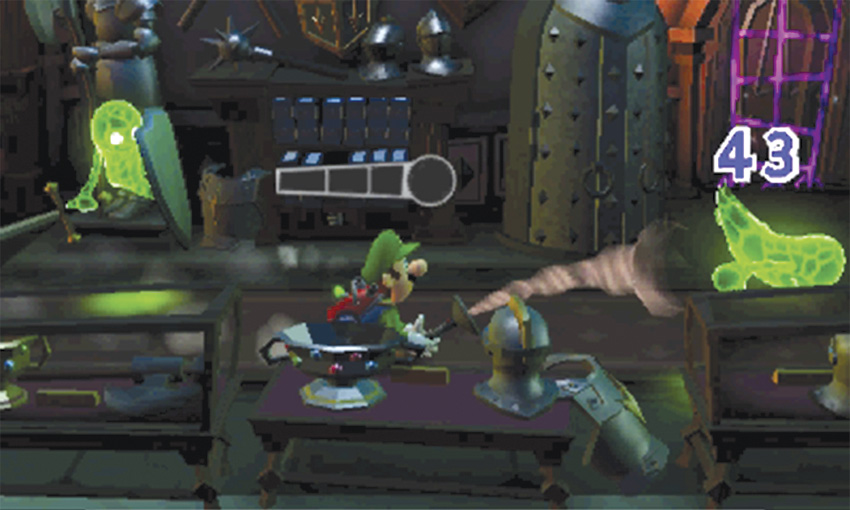
When you arrive in the Front Entrance, move past the stairs and enter the E-Gate on the west wall to reach the Dark Age Exhibit. Initially, this room contains at least two sword-wielding Strong Greenies. Wait for one of the ghosts to attack, then dash away and flash it while it’s vulnerable.
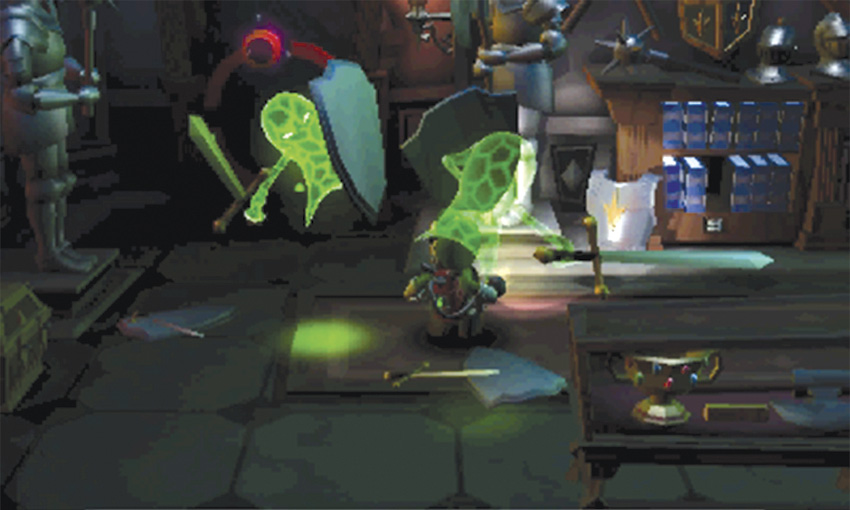
It doesn’t take long for more Strong Greenies to join the fight. Try to disarm each enemy as quickly as possible, then flash them while they’re clustered together. Clear all of the ghosts from the room, then use the door in the north wall to enter the Grand West.
Clear the Fourth Pair of Infestations
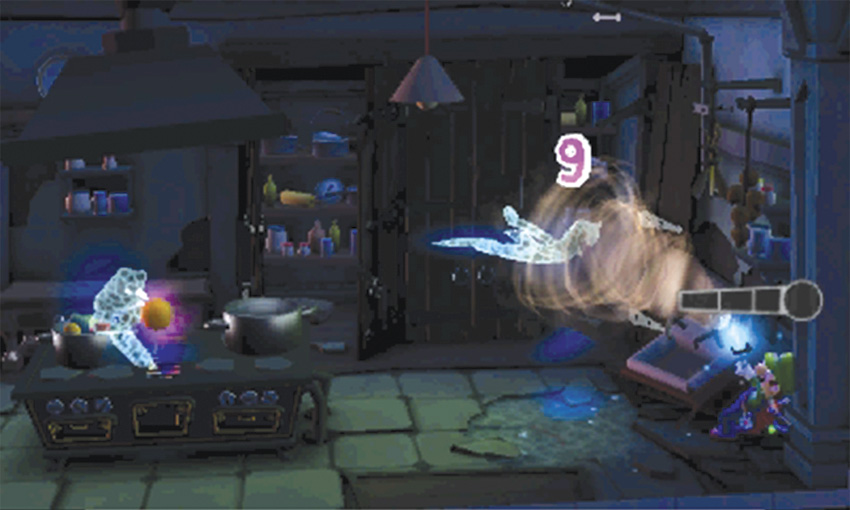
Avoid the false door in the Grand West and head into the Kitchen. This room is occupied by at least two Strong Hiders, so be very careful as you capture each enemy. Search the surrounding objects until you find a Strong Hider, then flash it and latch on. Dodge any thrown objects from nearby enemies, and repeat the process until you clear the room. Once you’ve cleared the Kitchen, use the door to return to the Grand West.
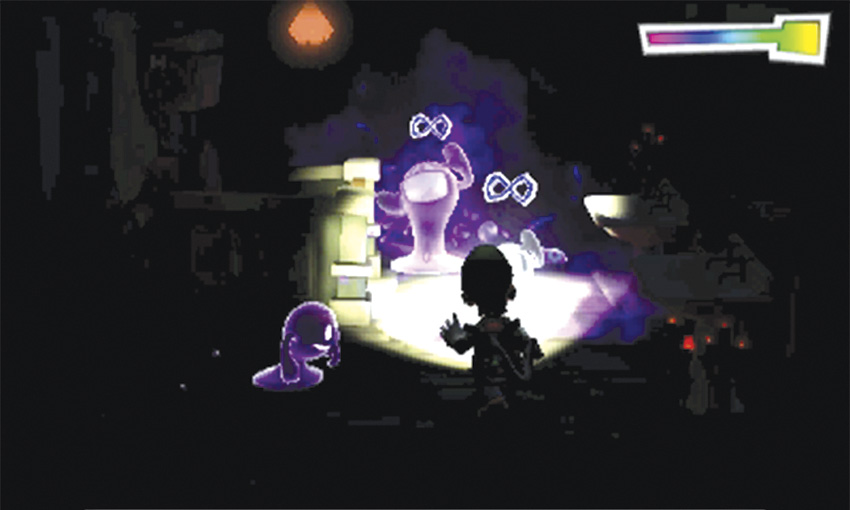
After you return to the Grand West, use the door in the east wall to enter the Inner Courtyard. Cross the room and use the next door to enter the Grand East, then head into the west half of the Restrooms. This area contains at least two small Creepers, but you’ll most likely find a large Creeper as well. Use the Dark-Light Device to reveal any puddled Creepers, then capture them as quickly as possible.
When you clear the Restrooms, Professor E. Gadd calls with one more objective. Exit the Restrooms and return to the Inner Courtyard.
Clear the Final Infestation
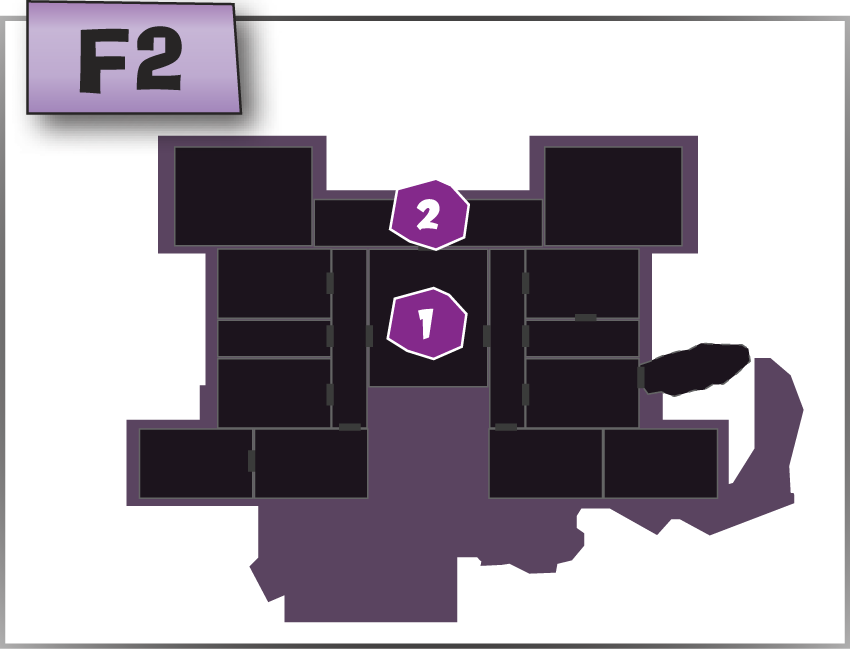
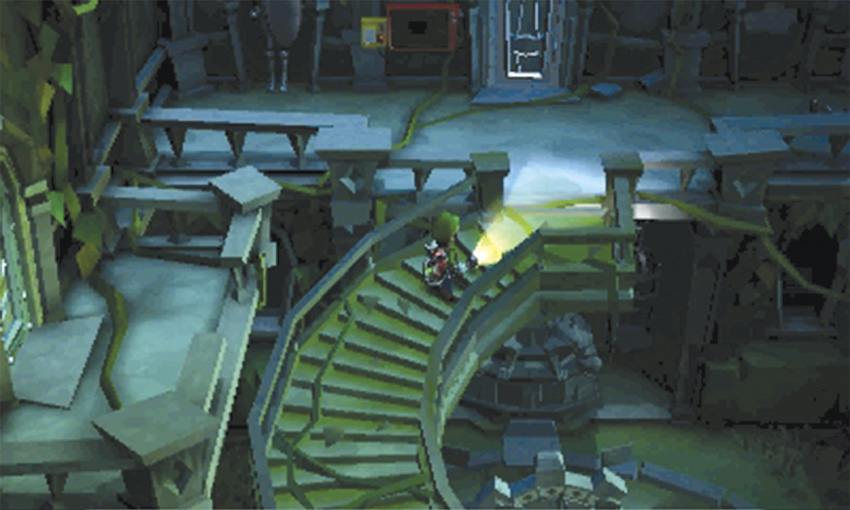
When you reach the Inner Courtyard, rotate the spiral staircase until it connects with the north platform. Climb back up to level F2 and return to the Terrace.
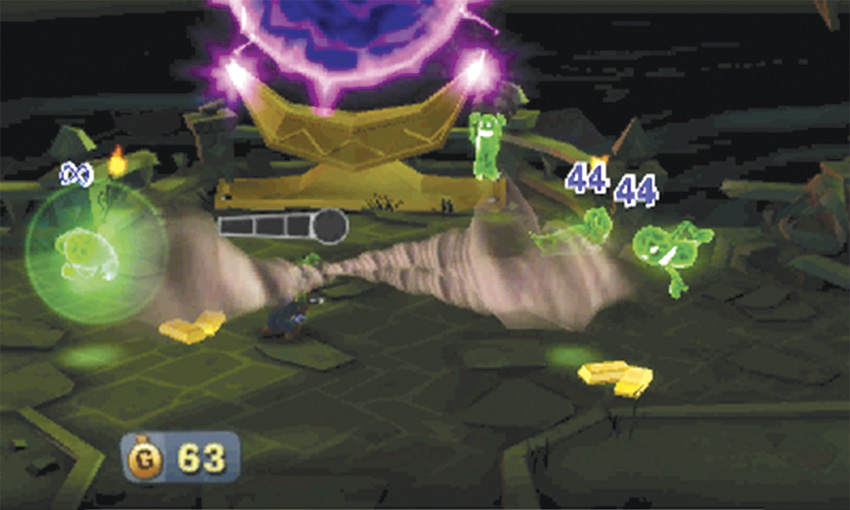
When you reach the Terrace, waves of ghosts begin spilling out from the portal above the altar. More ghosts are soon to follow, so move quickly to keep the population under control. It can be very rewarding to perform simultaneous captures when dealing with these common enemies, but it’s far more important to keep their numbers down. If you find a few Strong Greenies clustered together, by all means flash them all. If not, just take these common enemies down one at a time. As more ghosts emerge from the portal, you can expect to see most of the varieties you encountered earlier in the mission.
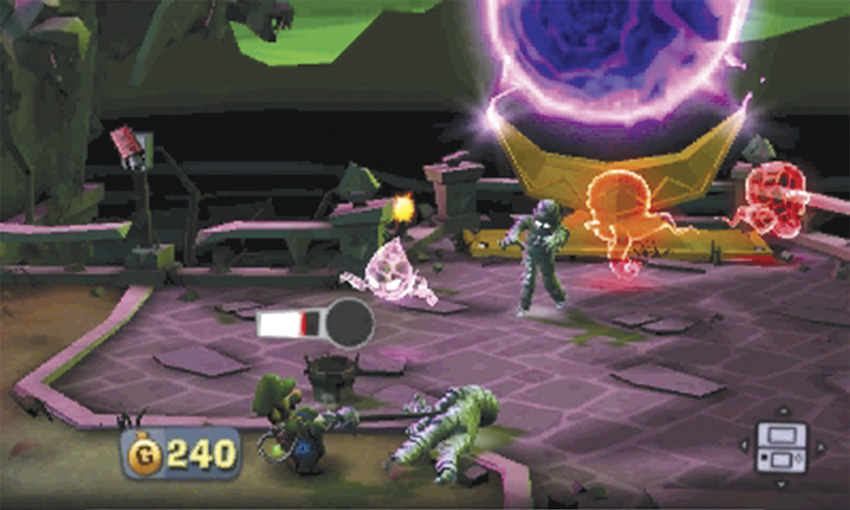
Don’t stray too far from the portal—it’s much harder for a Strong Sneaker to surprise you if you’re able to see it arrive. Each time a Strong Sneaker enters the area, keep one eye on it. If you see it vanish, stop whatever you’re doing and use the Strobulb to flash its likely location. If the Strong Sneaker stays visible, however, you’re free to finish off your current target.
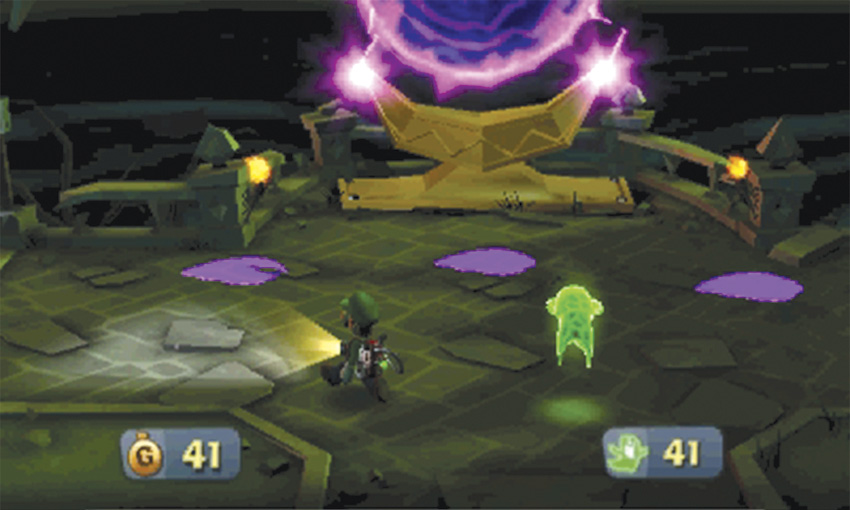
Take the small Creepers out as soon as they appear. These enemies take very little time to capture, but they can be a real nuisance if you ignore them. Make sure the ground is clear of Creeper puddles before you risk struggling with a stronger enemy.
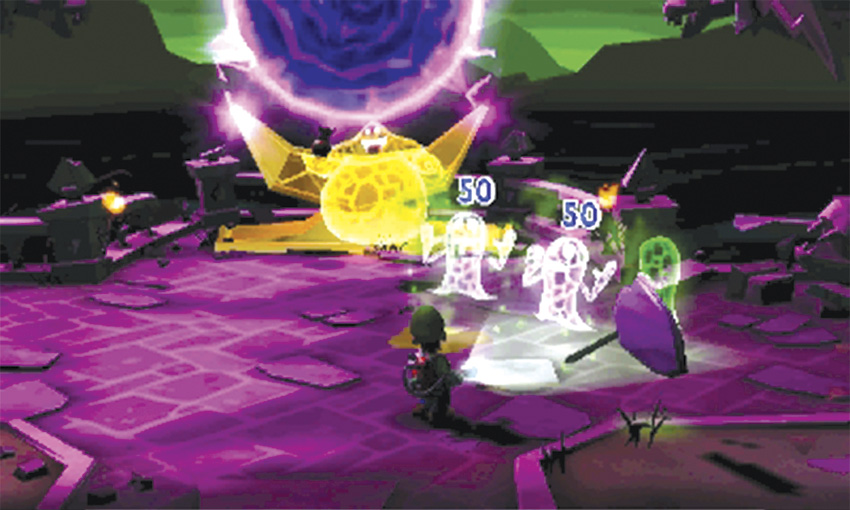
When the Strong Gobber appears, it’s best to simply stay out of its attack range. Allow the gluttonous ghost to lob its sludge while you draw more mobile enemies to safer ground. When the Strong Gobber is the only ghost left in the area, move in and capture it. Clear all of the ghosts to end the infestation, then answer the Duel Scream to complete the mission and return to the Bunker.
 Stop the Knightmare
Collect the Dark Moon Piece
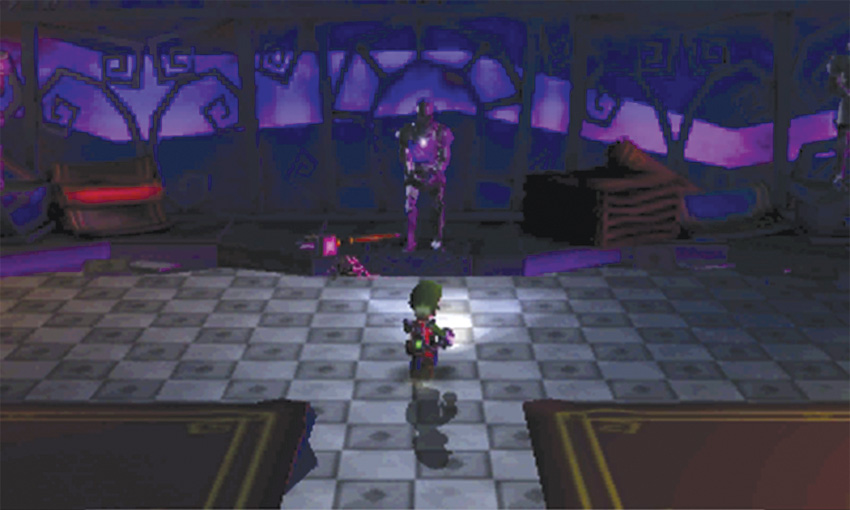
When the mission starts, you’re transported to the Terrace. During a cinematic, however, you are sucked into the open portal and transported to a mysterious room. When you recover, attempt to collect the Dark Moon piece from the suit of armor near the north wall. When you do, the Tough Possessor knocks you to the ground, splits in half, and takes control of two suits of armor.
Phase 1
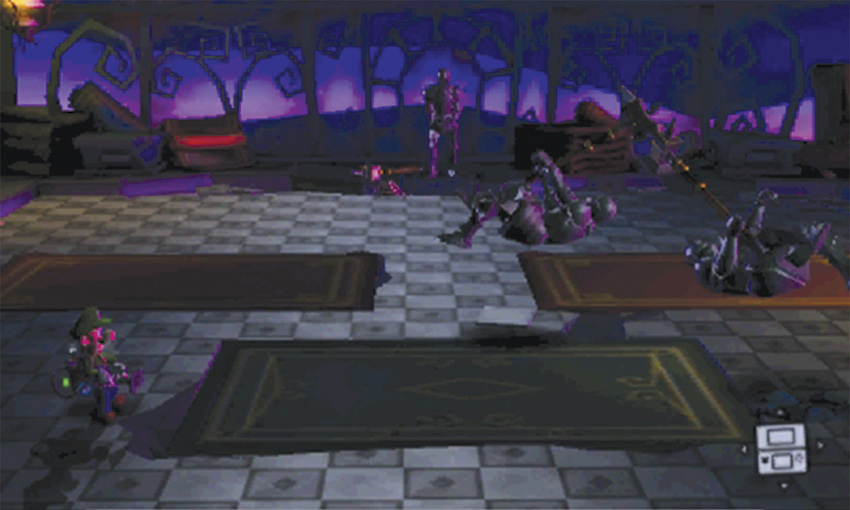
When the battle begins, move to the center of the room and lure both suits of armor onto a single rug. If one of the enemies is lagging behind, bait the closer enemy into attacking and dodge the blow. This allows the slower enemy to catch up while the attacker recovers. When both enemies are in place, A-Pull the corner of the rug to send them crashing to the ground.
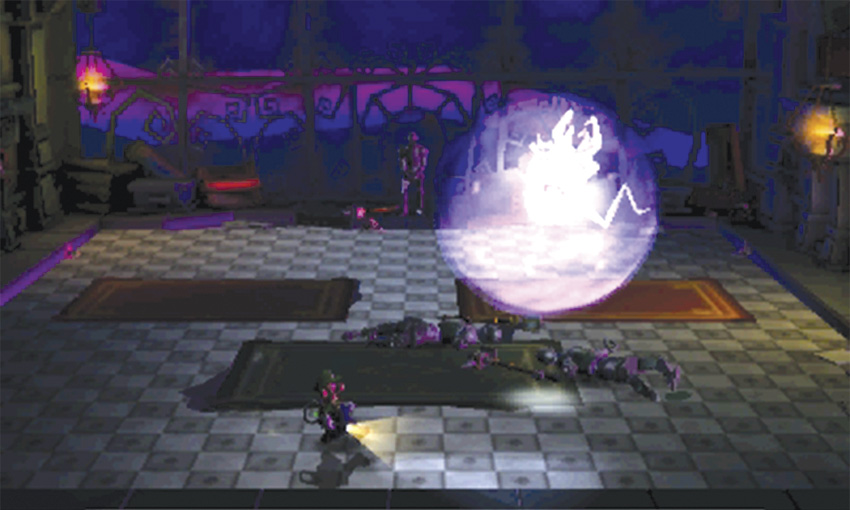
When both suits of armor fall apart, the Tough Possessor emerges, and prepares a charge attack. Step out of its path and wait for the ghost to dash across the room.
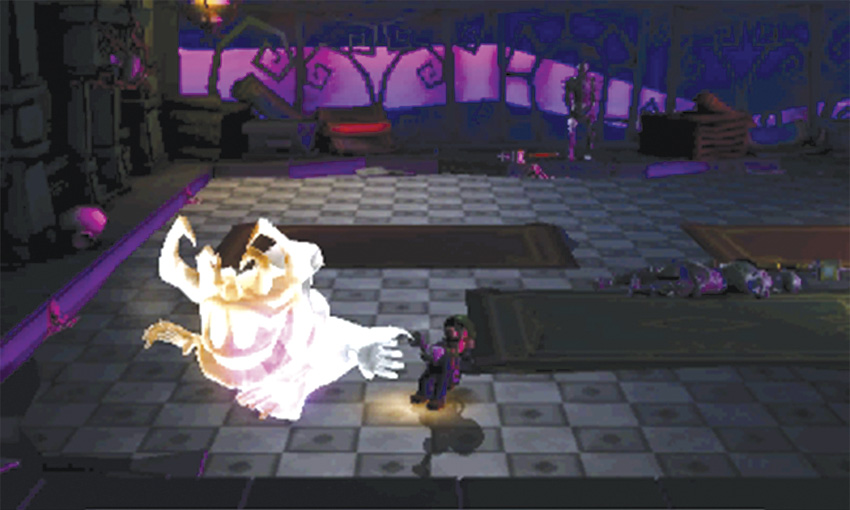
Follow the Tough Possessor, and note the trail it leaves along the floor. When the enemy crashes into the wall, flash the Tough Possessor, latch on with the Poltergust, and perform an A-Pull to peel its first layer. When the ghost recovers, it splits apart and takes control of three suits of armor.
Phase 2
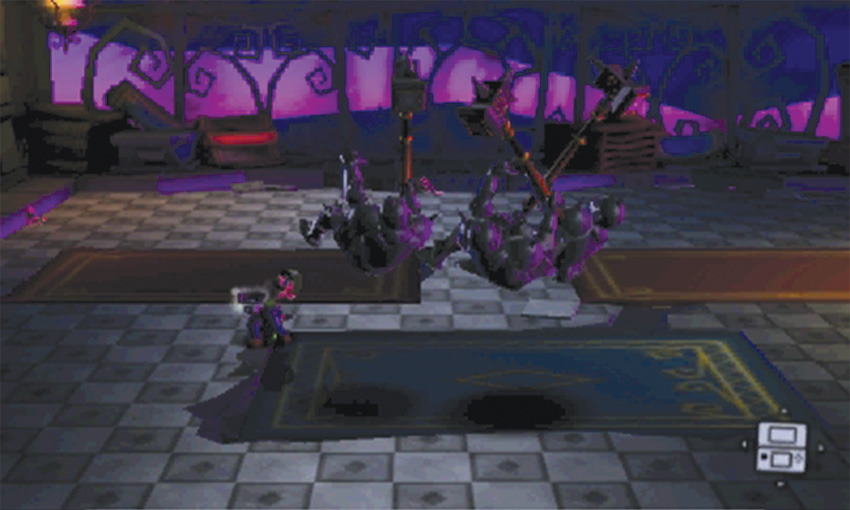
As the suits of armor spring to life, move to the center of the room and lure all three enemies to a single rug. Once they’re in place, A-Pull the corner of the rug to knock them all to the ground. The Tough Possessor emerges and prepares another charge attack.
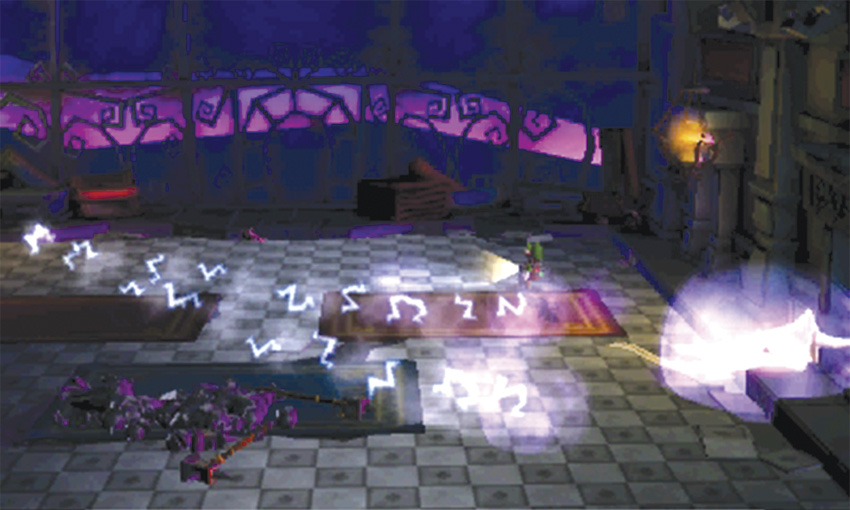
During this phase of the battle, the Tough Possessor uses two energy orbs to increase the width of its path. Give the ghost plenty of room to charge past you. Use the trail left by each orb to determine when it’s safely past you, then hook back and run after the enemy.
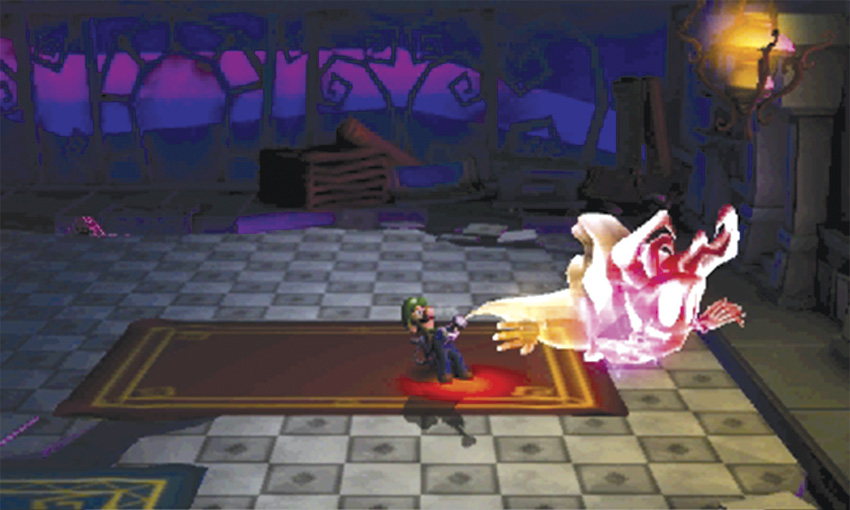
Flash the Tough Possessor with your Strobulb, then latch on and peel its second layer. When you do, the enemy retreats to the north side of the room, splits into four pieces, and vanishes through the window.
Phase 3
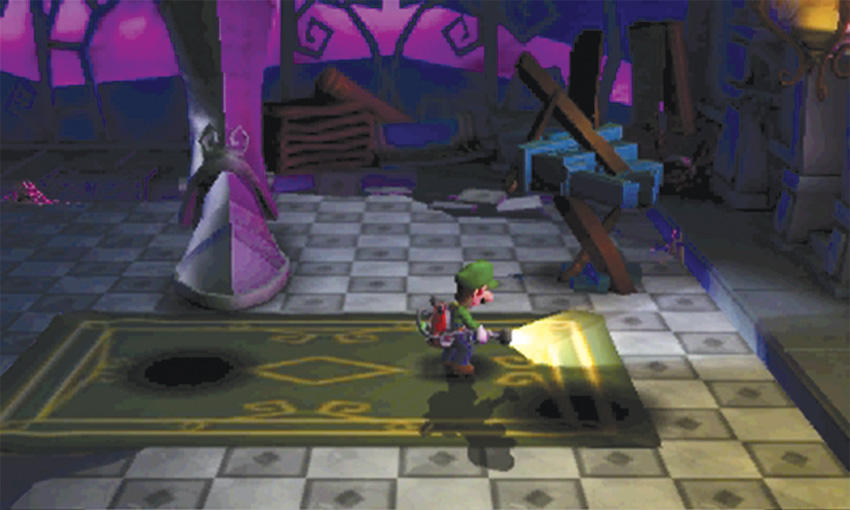
During a brief cinematic, a giant knight smashes through the window and stomps into the room. While in this form, the Tough Possessor has a variety of new attacks. Move to the two rugs nearest the north side of the room, and dodge the falling debris. Each time a shadow appears on the ground, move away to avoid the chunks of wood and stone that drop down from the ceiling.
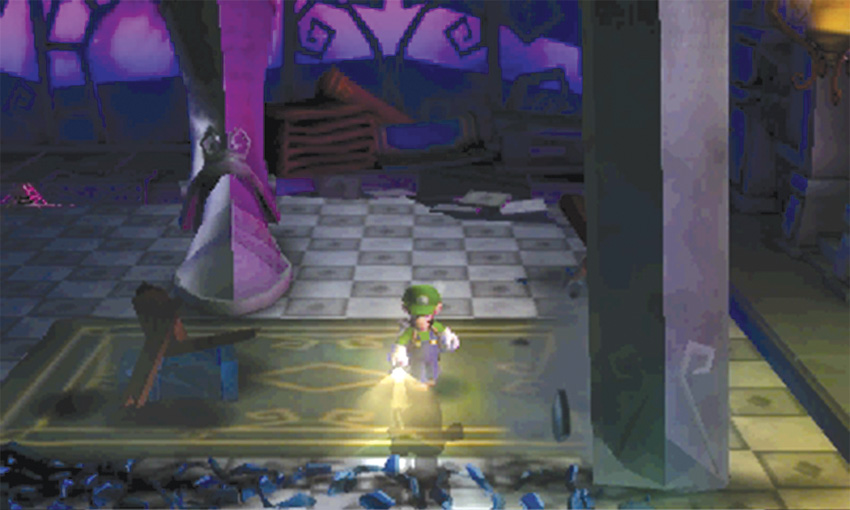
It’s important to keep moving, but try to stay on one of the rugs—the knight’s massive sword occasionally slices through the tiles along the north and south edges of the rugs.
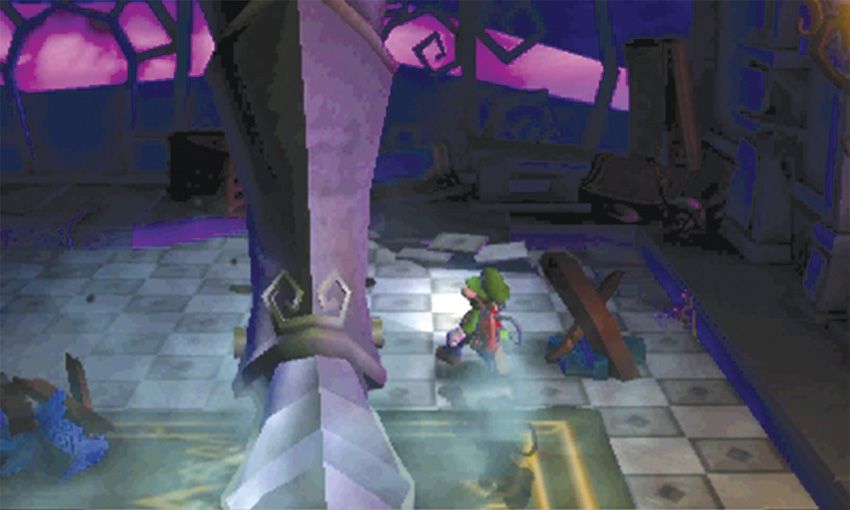
When the knight attempts to stomp on you, bait it into slamming its foot onto one of the northernmost rugs. The knight can stomp several times before it plants its foot on the ground, so keep moving until you’re sure the attack has ended. Once the first foot is in place, slide over to the rug near the knight’s other foot and attempt to accomplish the same task.
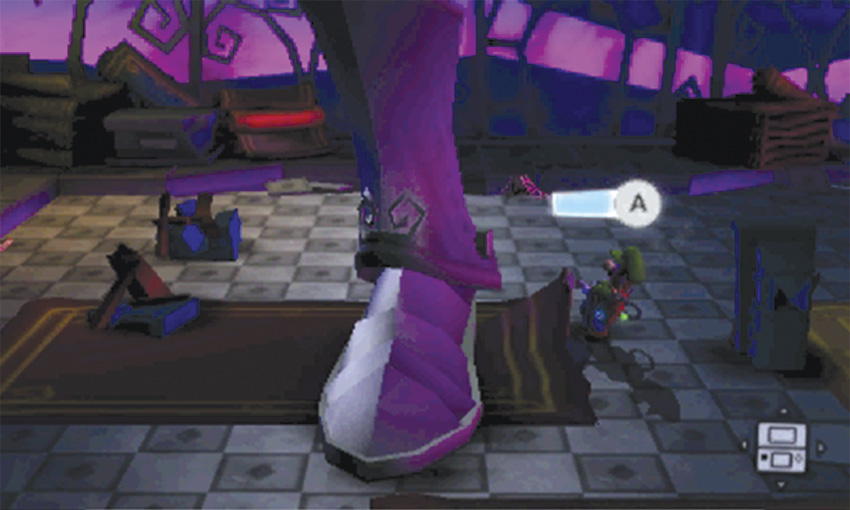
When the knight has one foot on each of the northernmost rugs, stand in the gap between them. A-Pull one rug to throw the knight off balance, then A-Pull the other rug before the enemy recovers. The giant knight comes crashing down. The Tough Possessor prepares another charge attack.
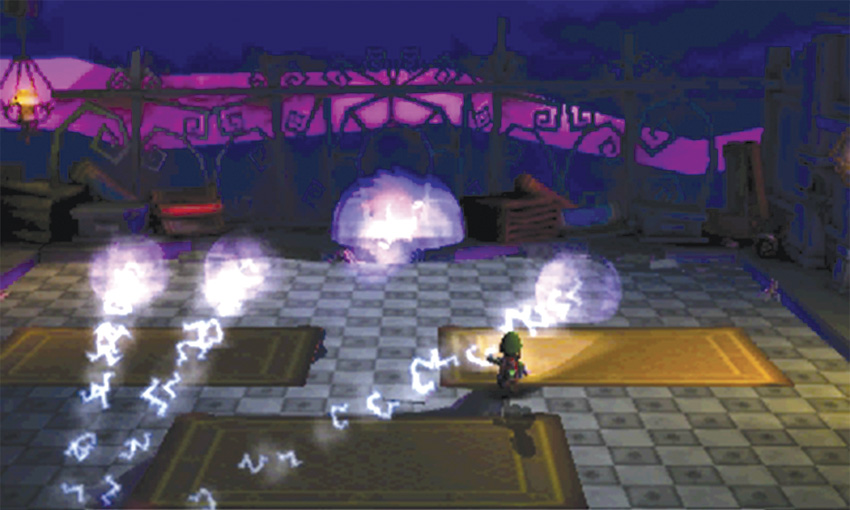
During this phase of the battle, the Tough Possessor uses three energy orbs to greatly increase the width of its path. Give the ghost plenty of room, then slip behind the orbs and follow it across the room.
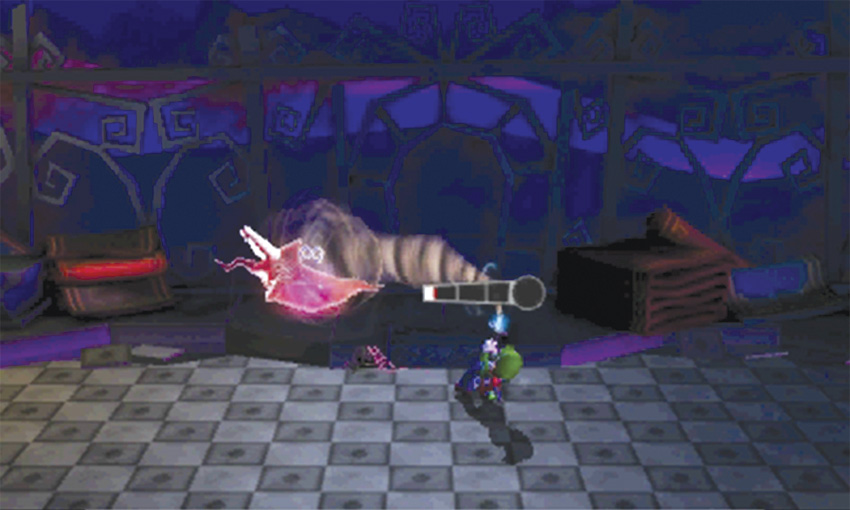
After the impact, flash the dazed enemy, then latch on and perform an A-Pull to capture the Tough Possessor. Collect the Dark Moon piece that pops out of your Poltergust, then answer the Duel Scream to complete the mission. When Professor E. Gadd attempts to bring you back to the Bunker, you’re somehow transported to another mysterious area beyond the portal.
 Terrifying Invasion
Like all invasion-based missions, groups of ghosts appear in random locations. Your task is to move from objective to objective, capturing all ghosts as quickly as possible.
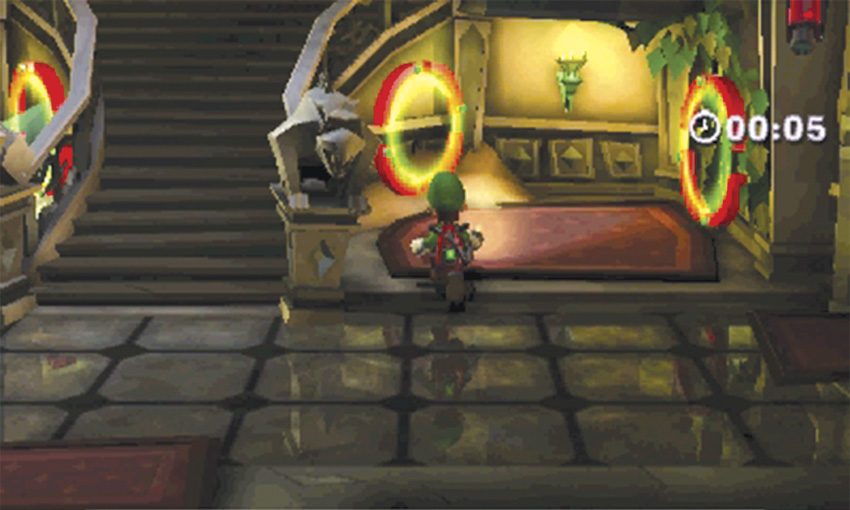
When the mission starts, you’re transported to the Front Entrance. Wait for Professor E. Gadd to give you your first objective, then plot the fastest possible route to the marked location. Luckily, the nearby E-Gates make this an easy task! By now, you should be very familiar with every room of the Treacherous Mansion. Use the E-Gates to jump between objectives in record time.
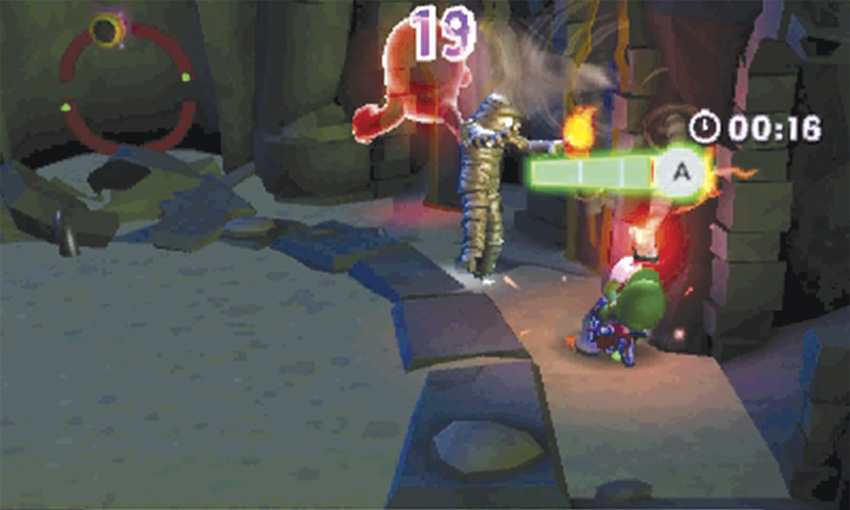
Infested exhibits usually contain specially equipped Greenies. From the diving helmets of the Nautical Exhibit to the bandages in the Ancient Exhibit, even standard Greenies can put up quite a fight. Since the E-Gates allow you to zip around the mansion, how quickly you manage to disarm these ghosts will probably be the single biggest factor in how quickly you complete the mission.
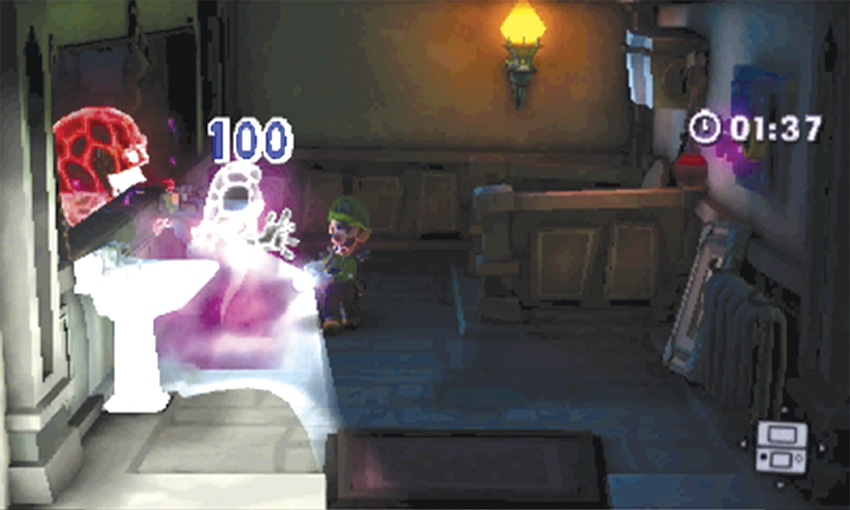
While most infestations will occur within the mansion’s exhibits, that won’t always be the case. You might find yourself battling large groups of ghosts in areas that never contained more than one or two enemies in previous missions.
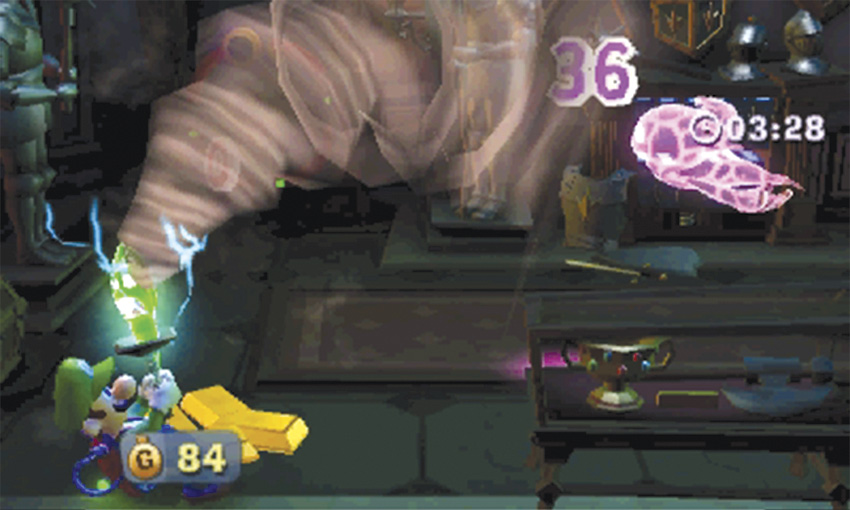
Since the E-Gates make navigating the mansion very simple, and you’re bound to earn loads of treasure from each capture, staying healthy should probably be your top priority. You’re sure to face some very large groups, and it’s easy to get overwhelmed. Prioritize your targets and keep an eye out for enemy reinforcements. After you clear all of the infestations, answer the Duel Scream to complete the mission and return to the Bunker.