
Luigi's Mansion: Dark Moon Guide Walkthrough Walkthrough
Gloomy Manor
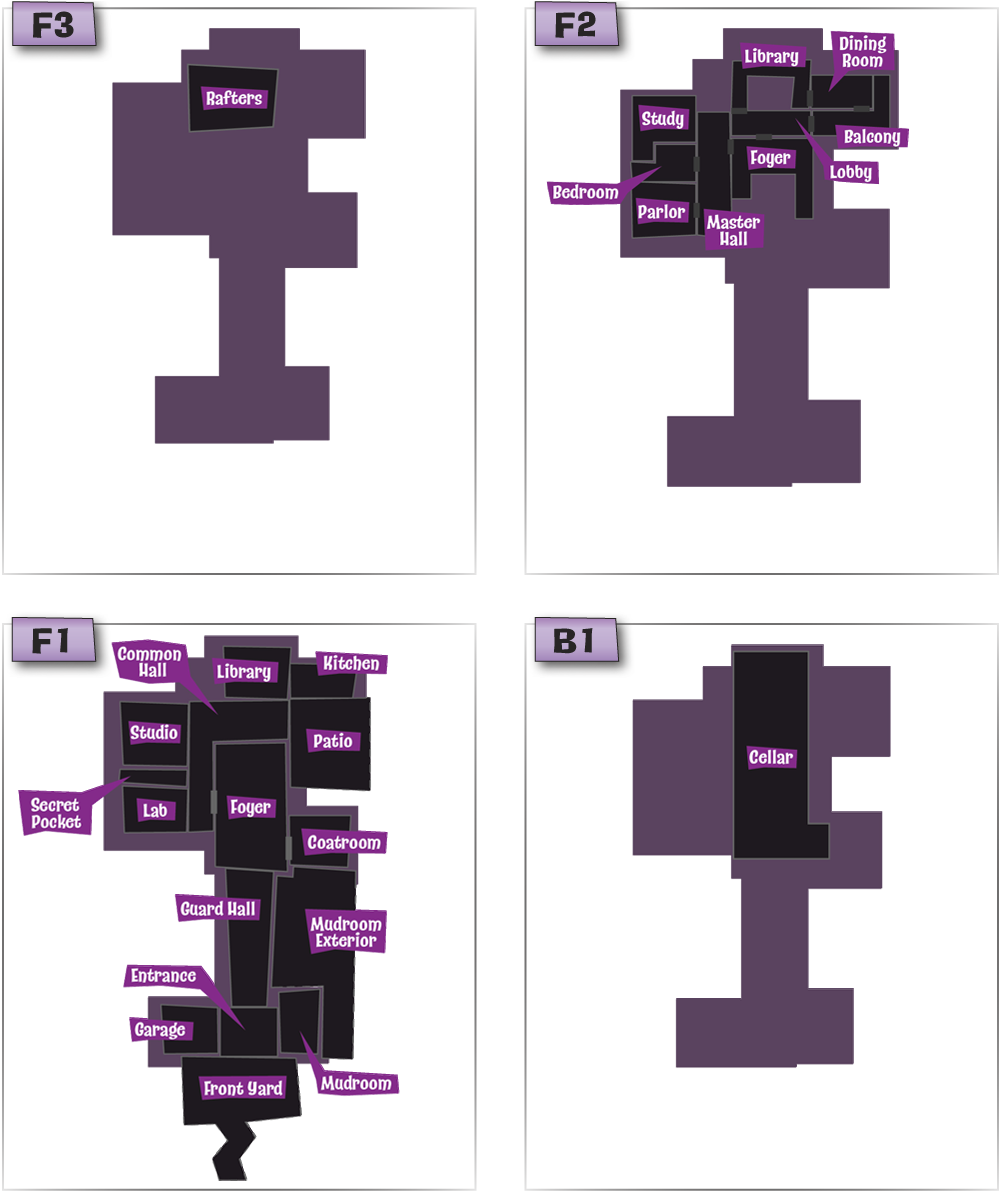
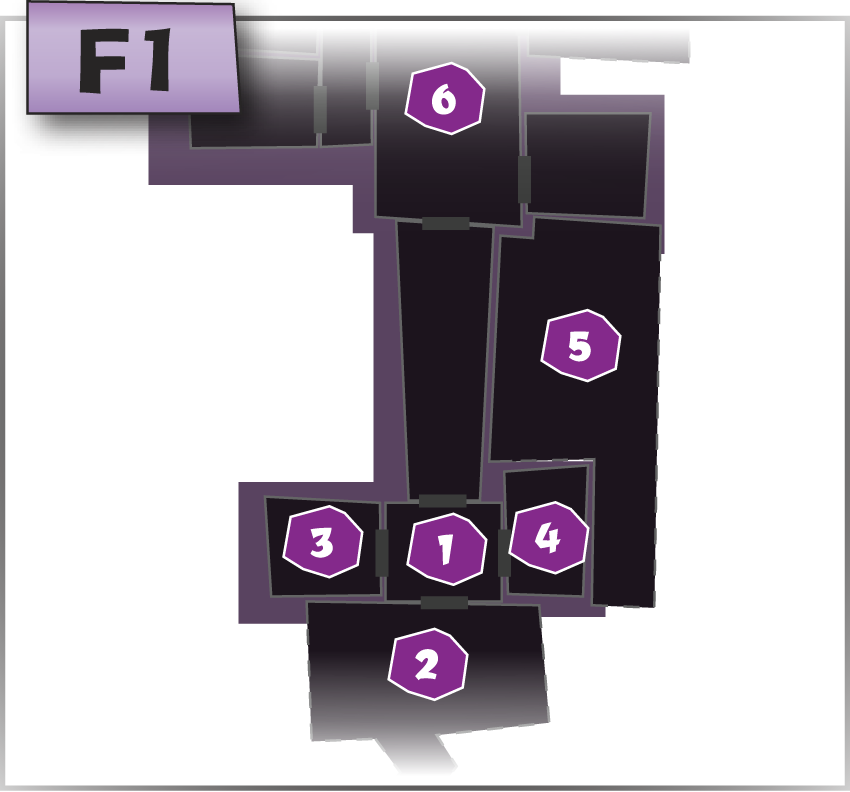
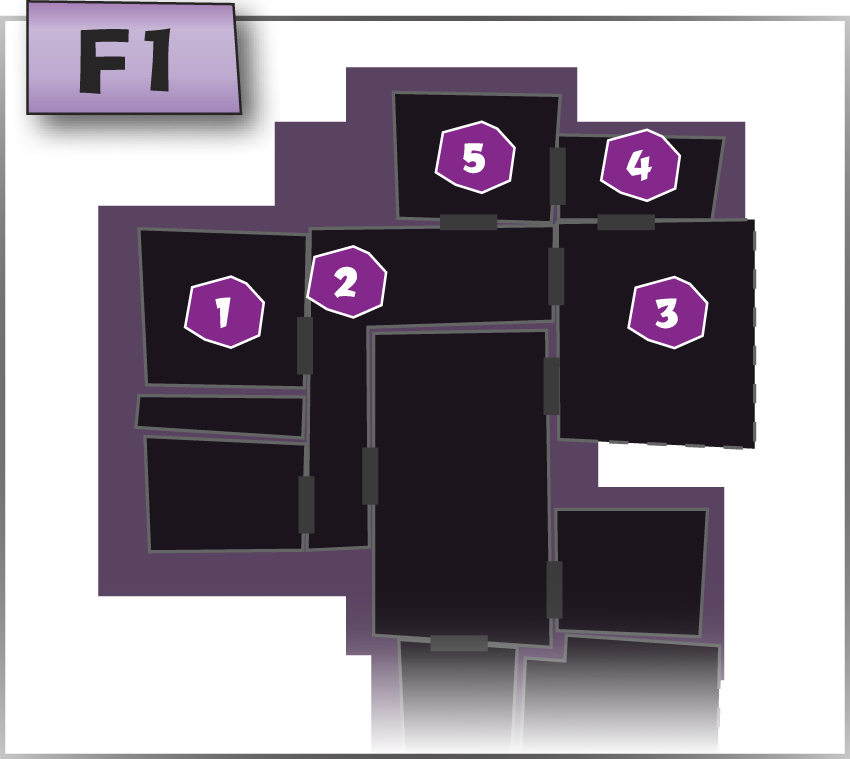
Mansion Overview
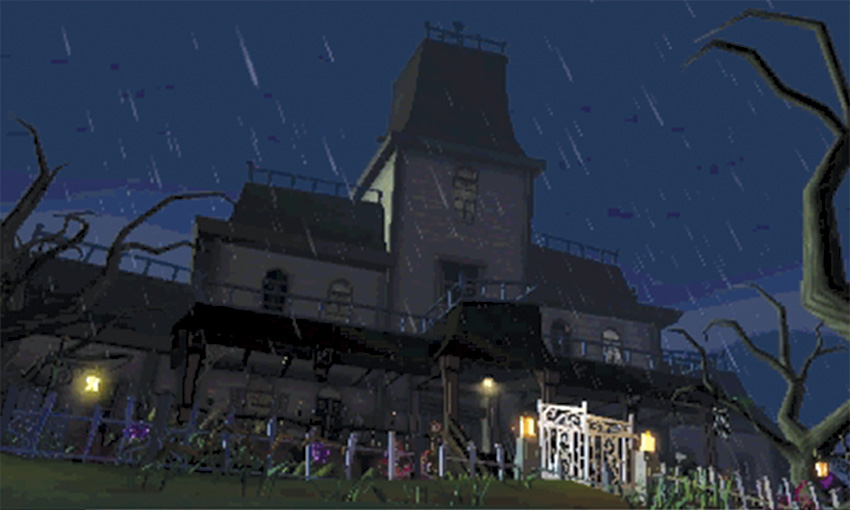
Gloomy Manor is a classic haunted house, complete with dusty antiques, peeling wallpaper, and its fair share of secret passages. As you play through the Gloomy Manor missions, you’ll face Greenies, Hiders, Slammers, Poltergeists, Boos, and the powerful Grouchy Possessor. Pay attention each time you encounter a new enemy—the tactics you learn in Gloomy Manor will serve you well. This mansion also contains Professor E. Gadd’s most important inventions.
A-1 Poltergust 5000
Find the Poltergust 5000
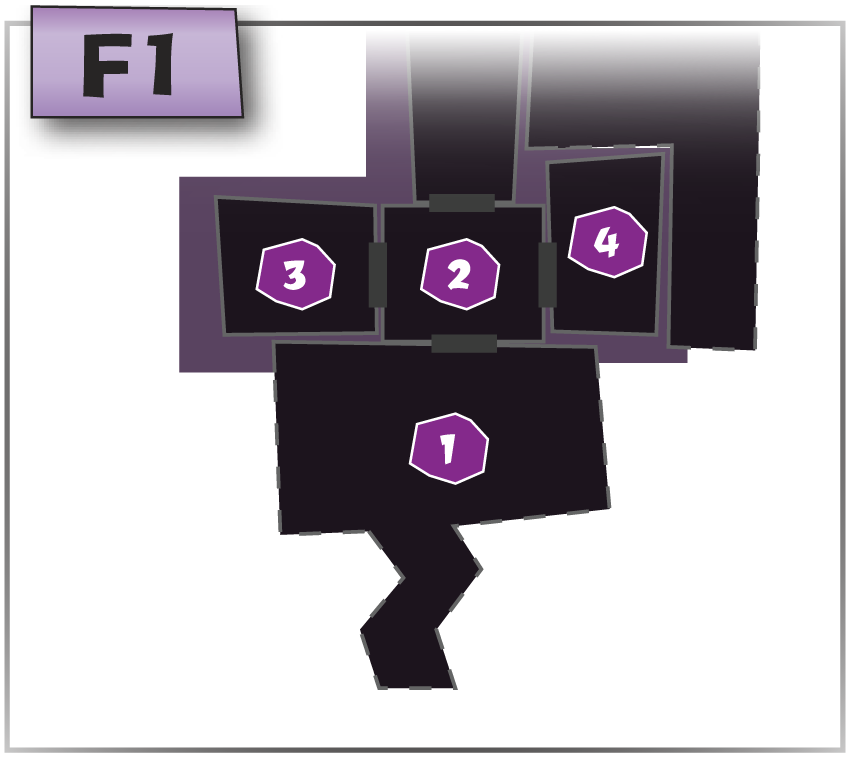
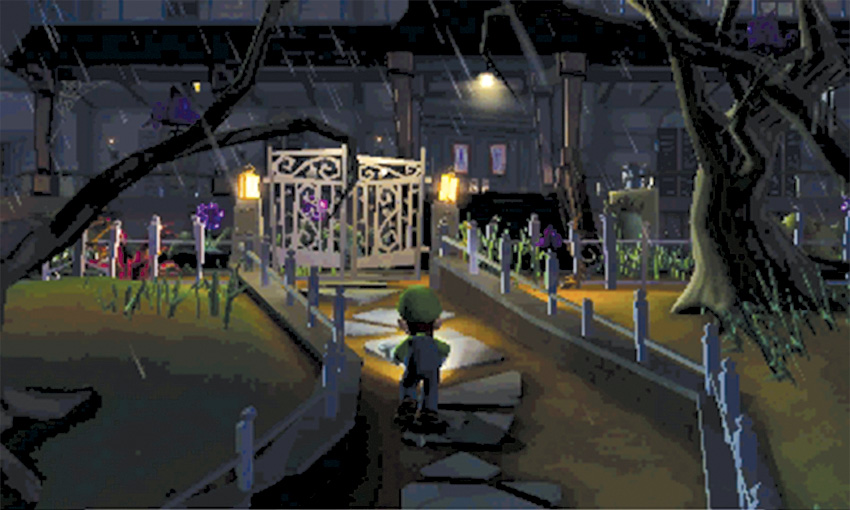
 When the mission starts, Luigi’s abilities are very limited. Follow the path toward the mansion until you pass through the gate. After the gate slams shut, Professor E. Gadd calls you on the Duel Scream. Use the Touch Screen to answer the call and gain the ability to run.
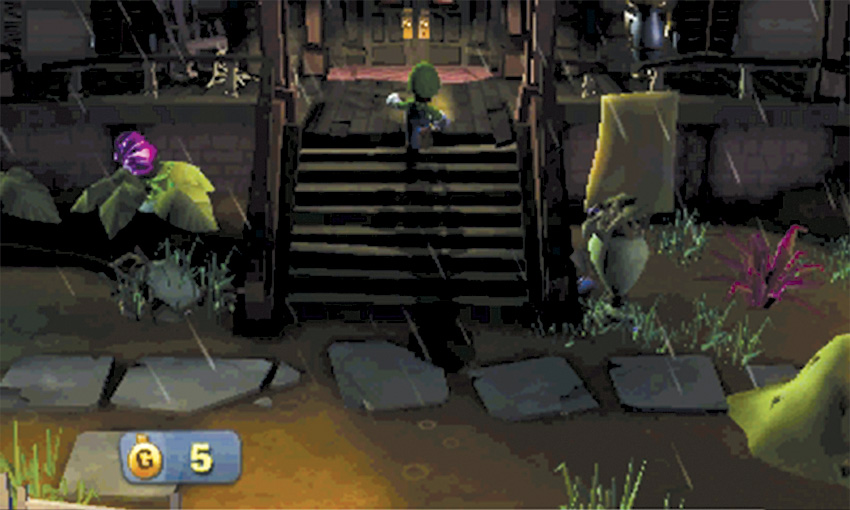
During this mission, the Front Yard contains a good deal of hidden treasure—unfortunately, most of it is inaccessible at the moment. Rather than waste time exploring the area now, it’s best to conduct a thorough search of the Front Yard after you’ve recovered the Poltergust 5000 and the Strobulb attachment. For now, run up the steps and attempt to open the front doors.
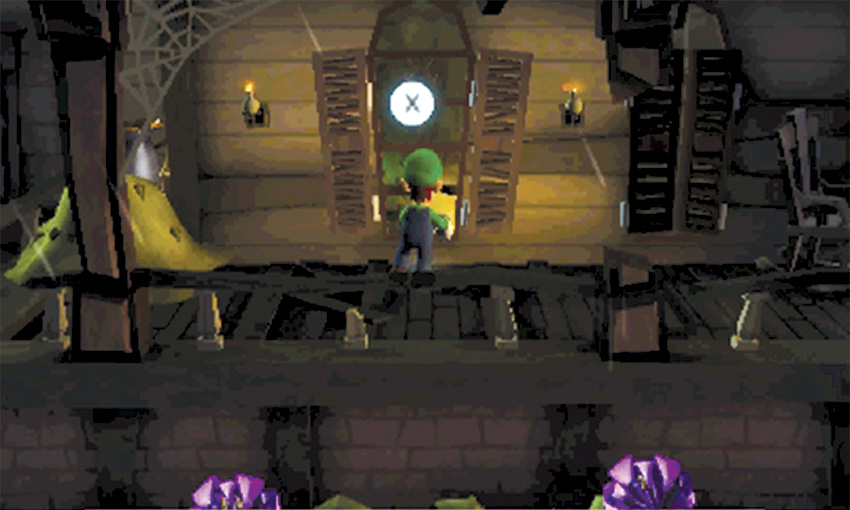
After you check the doors, follow the porch to the left. Approach the window just past the rocking chair, then press
 to peek into the Garage. Tilt your Nintendo 3DS system or slide the Circle Pad to aim the camera at the parked car. Wait for the Greenies to leave the area, then press
 to back away from the window.
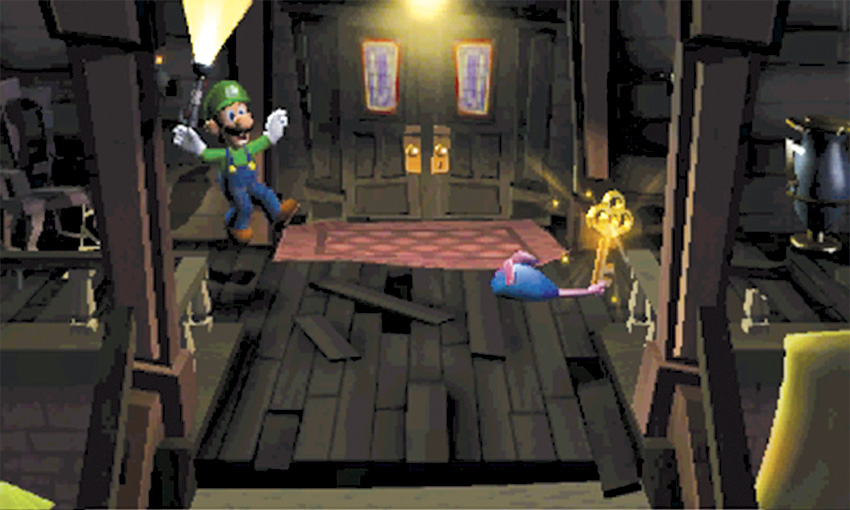
Move back to the right to find a mouse with a Key wrapped in its tail. After Luigi recovers, follow the mouse down the steps and chase it around the Front Yard. The mouse tries hard to evade you, but you have a slight speed advantage. Catch the mouse to collect the Key, then climb back up the steps and unlock the front doors.
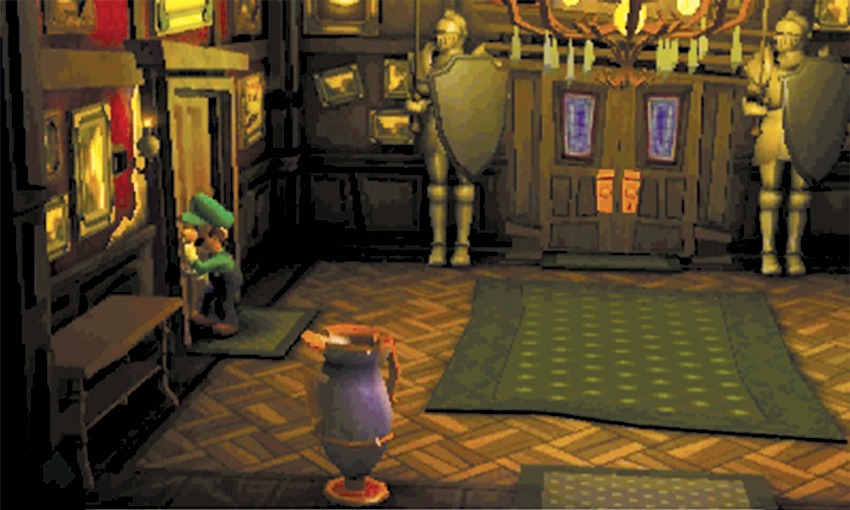
 Like the Front Yard, the Entrance contains some hidden treasure. Once again, it’s best to search the area after you collect the required equipment. For now, use the door on the west wall to enter the Garage.
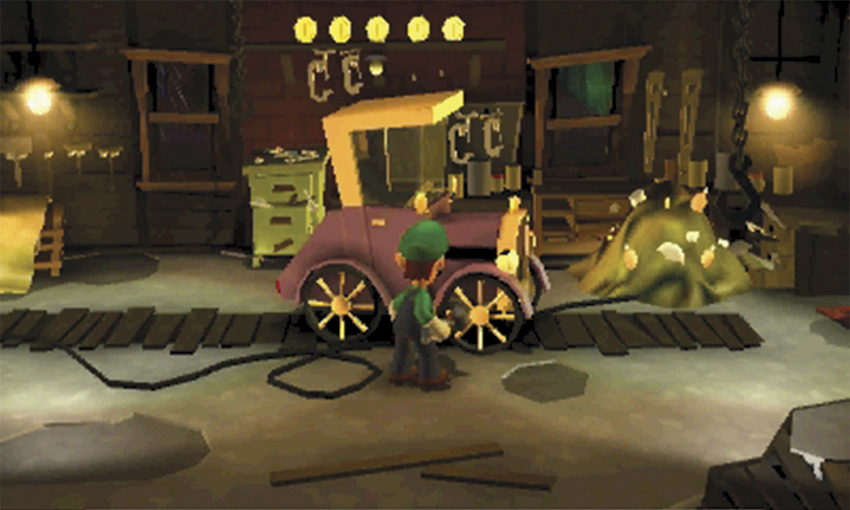
 Move to the center of the Garage and inspect the parked car to find the Poltergust 5000. When the cinematic ends, a pile of trash falls to the floor, blocking the door to the Entrance.
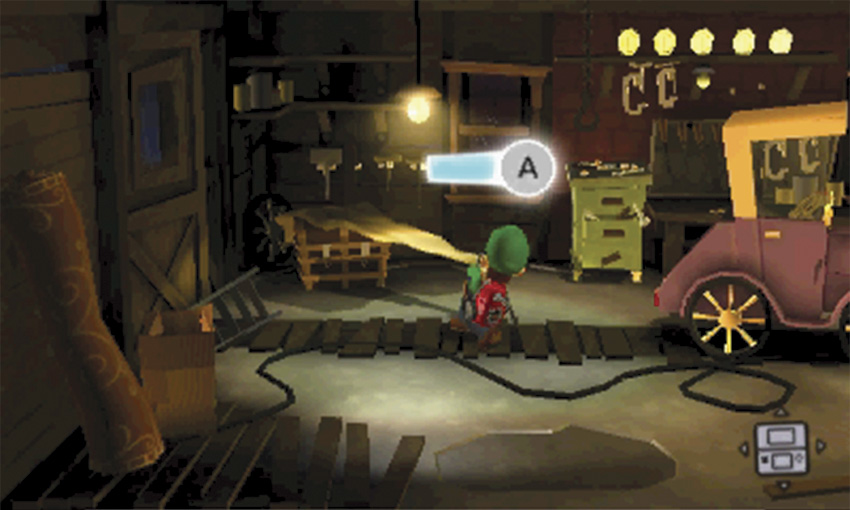
After you answer Professor E. Gadd’s call, use your new equipment to vacuum the trash blocking the door. Move to the room’s northwest corner and use the Poltergust 5000 to A-Pull the cloth covering the chest. Press and hold
 to latch onto the cloth, then move away from the chest. When prompted, press
 to rip the cloth free. Open the chest and collect the revealed Key, then search the rest of the Garage. Use the Poltergust to vacuum all the treasure at the top of the room.
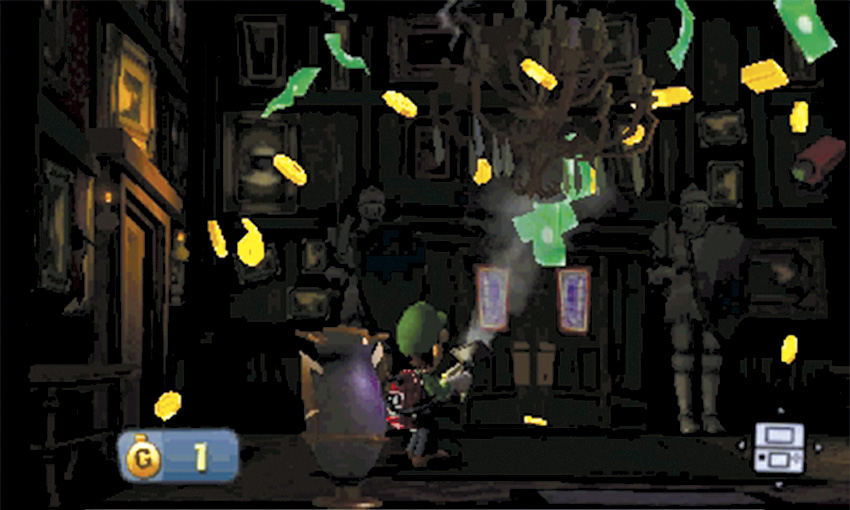
When you’re ready, leave the Garage and return to the Entrance. Use the Poltergust to vacuum the chandelier to temporarily darken the room. During this mission, extinguishing this chandelier produces a significant amount of treasure! Move quickly to collect it before it vanishes.
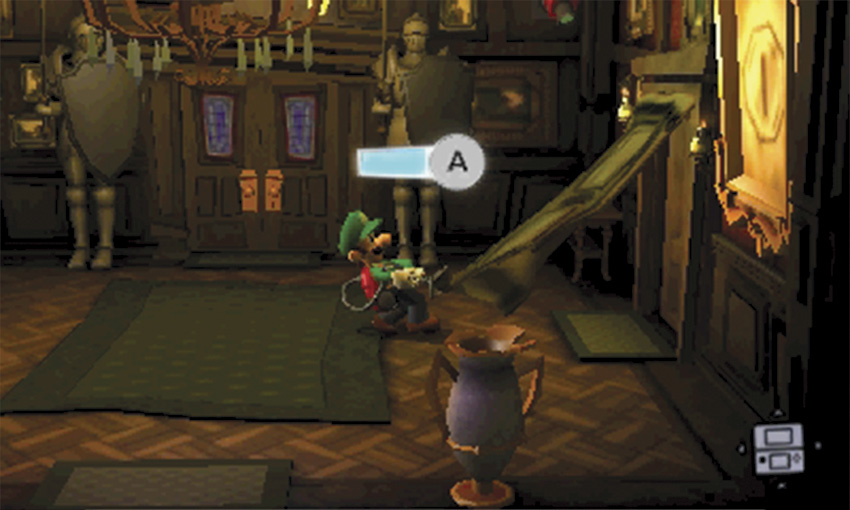
Move to the right and A-Pull the tapestry blocking the door.Search the room, then use the door on the east wall to enter the Mudroom.
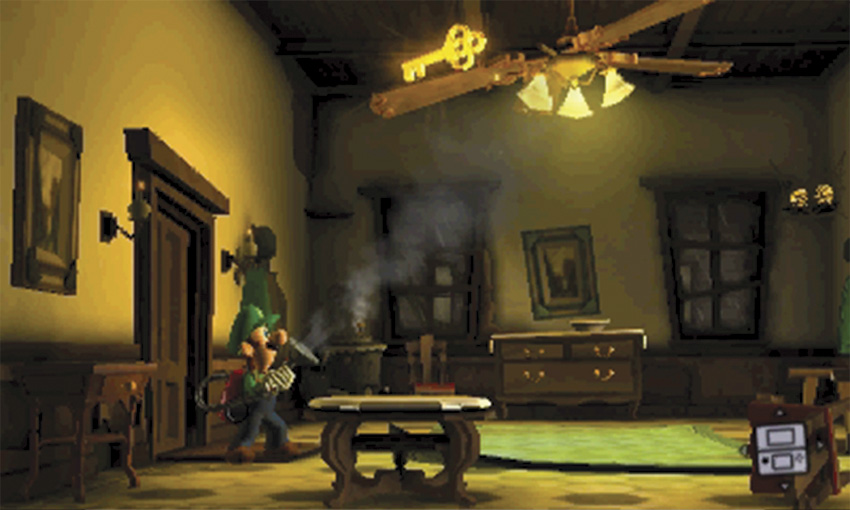
 Once inside the Mudroom, look up to find the ceiling fan above you. Use the Poltergust to spin the fan until the attached Key falls to the ground.
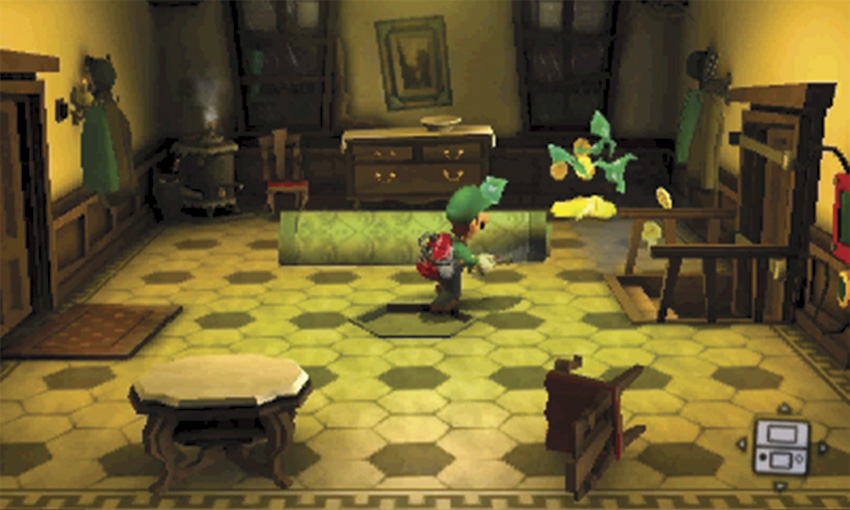
Use the Poltergust to roll up the rug on the Mudroom floor. Stand on the rug and vacuum it toward the back wall, or stand in the foreground and blow the rug toward the back wall. Step on the revealed switch to open a secret panel on the back wall. During this mission, the panel contains a nice stash of treasure!
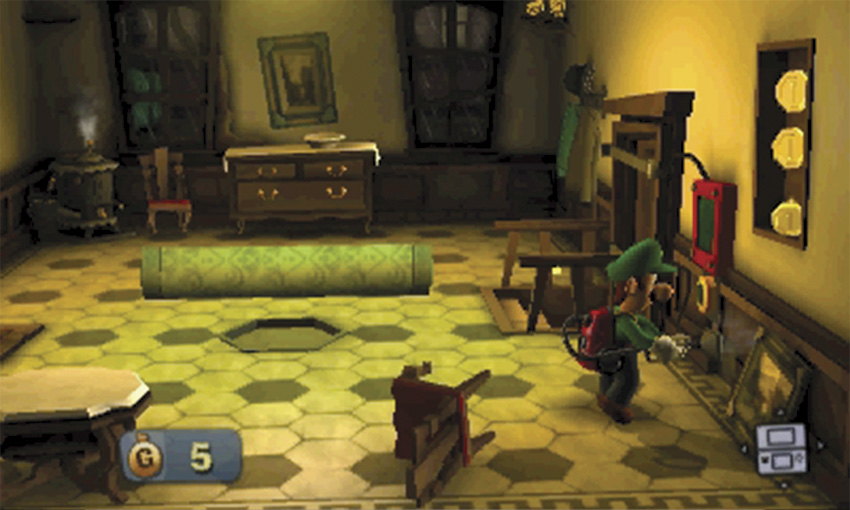
The green circular panel on the east wall unlocks the nearby door. To reach the Mudroom Exterior, you must return to this panel after you acquire the Strobulb. Search the items in the Mudroom, then return to the Entrance.
Find the Strobulb
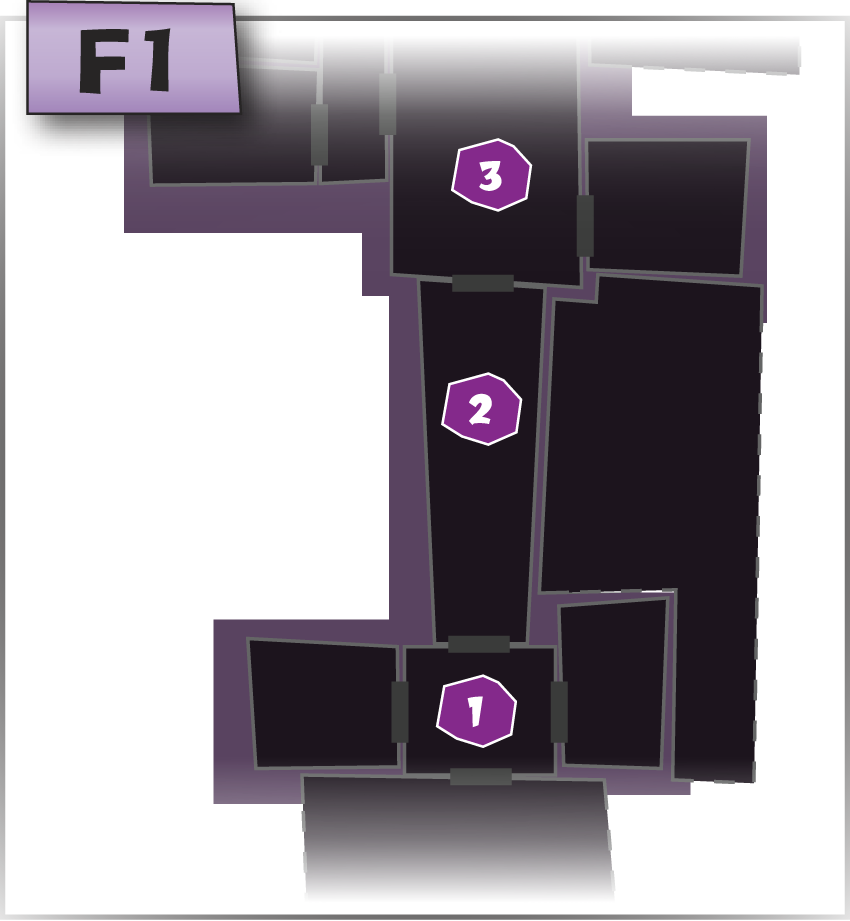
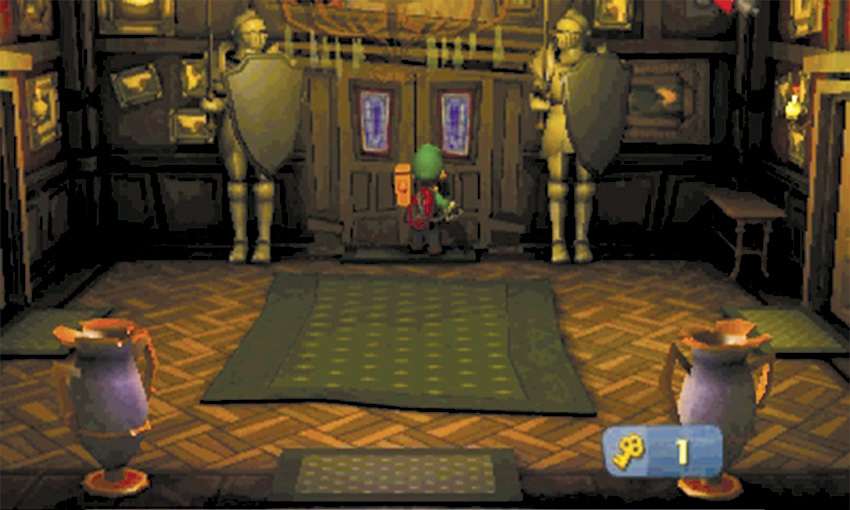
When you’re ready, use one of the two Keys in your possession to unlock the doors on the back wall and enter the Guard Hall.
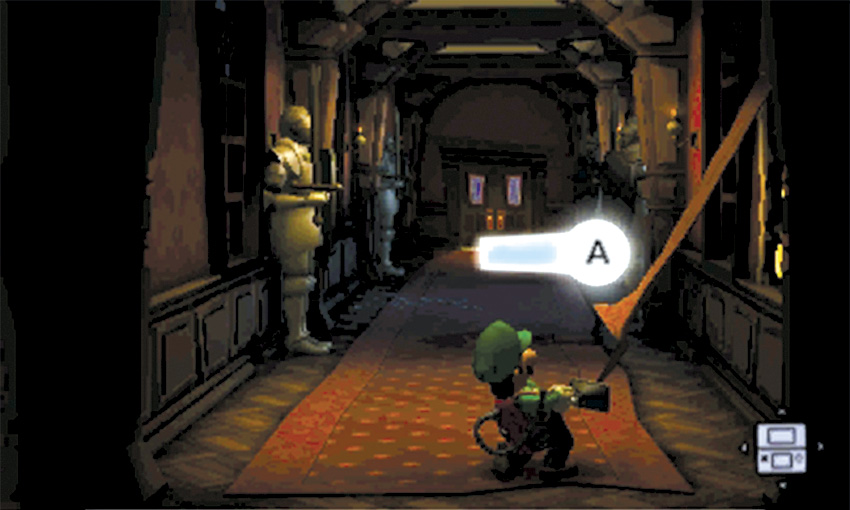
When the cinematic ends, use the Poltergust to A-Pull the wallpaper to the right. During this mission, doing so reveals a treasure stash. When you’re ready, run to the far end of the Guard Hall.
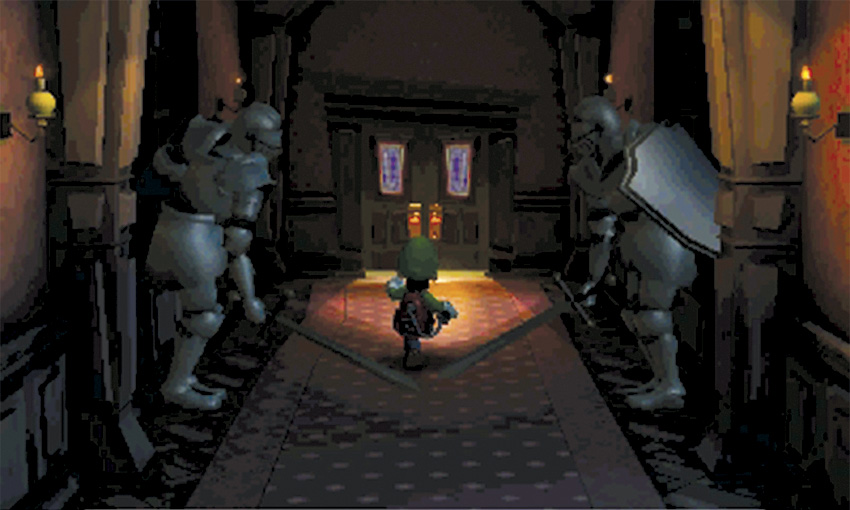
When you reach the next door, use your remaining Key to open the path to the Foyer.
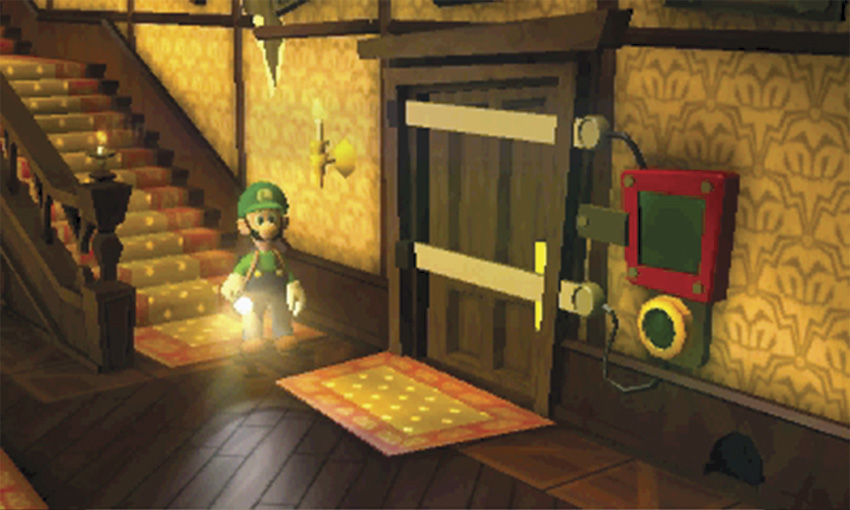
After stashing the Strobulb on the Foyer chandelier, the Greenies escape to the Coatroom. Like the door to the Mudroom Exterior, the Coatroom door is located near a green circular panel. Approach the stairs to trigger a call from Professor E. Gadd.
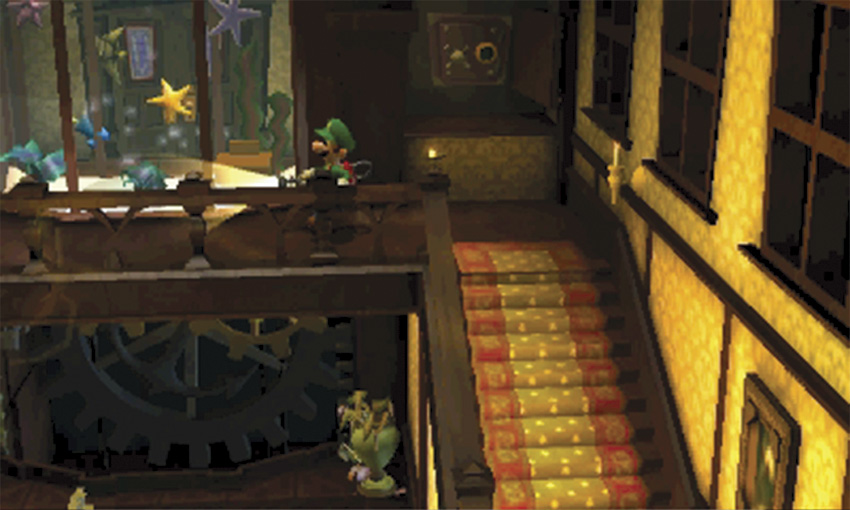
When the call ends, continue up the stairs to find another green circular panel attached to a wall safe. Move left and follow the walkway around the perimeter of the room.
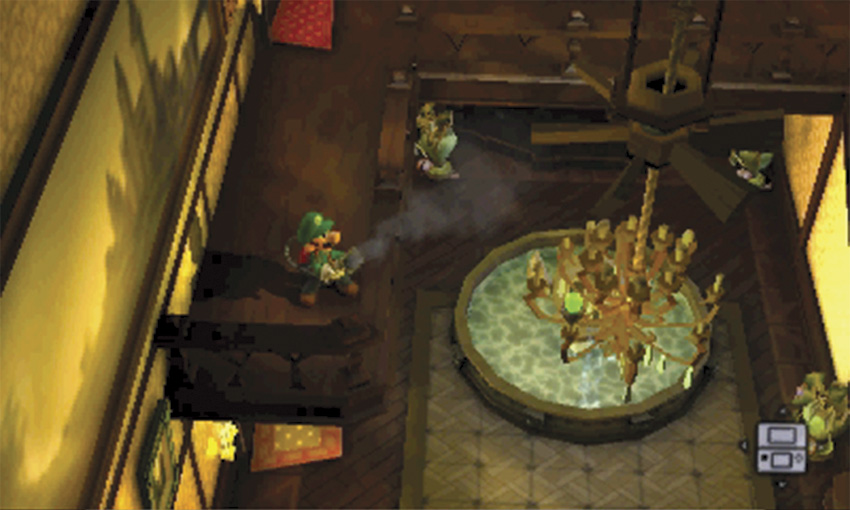
When you reach the end of the walkway, vacuum the rotor above the chandelier. As the rotor spins, the chandelier lowers. When it reaches the floor, race down the stairs and grab the Strobulb before the chandelier returns to its original position.
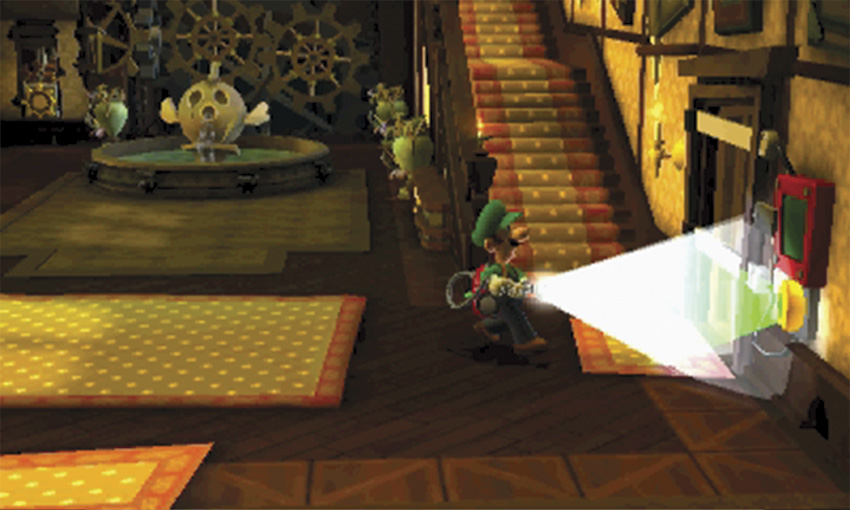
After you answer the Duel Scream, use the Strobulb to unlock the door to the Coatroom. Aim your Flashlight at the green circular panel on the east wall, then press
to activate the Strobulb. This not only unlocks the door, it triggers another call from Professor E. Gadd.
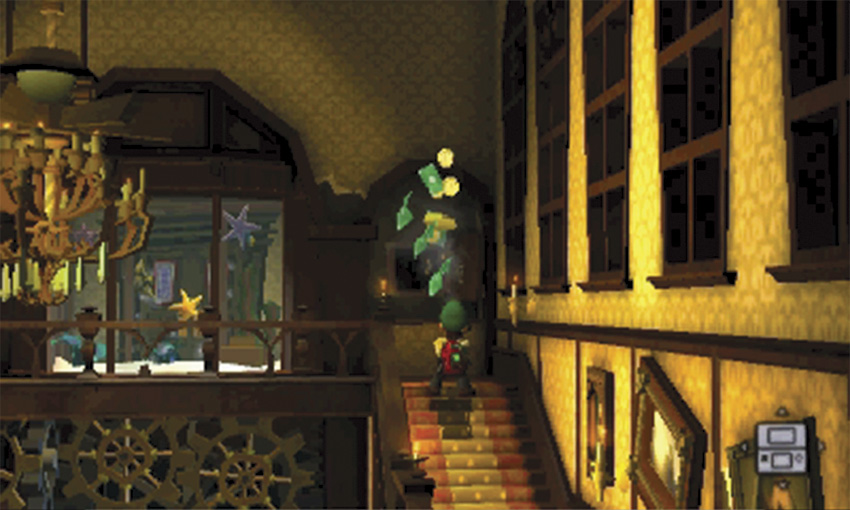
Before you investigate the Coatroom, consider using your new equipment to collect some of the items you were forced to pass up earlier in the mission. During this mission, the safe at the top of the stairs contains a nice treasure stash—use the Strobulb to collect it! Search the vases and drawers in the Foyer, then return to the Guard Hall and follow the path back to the Mudroom, just east of the Entrance.
Revisit Unfinished Business
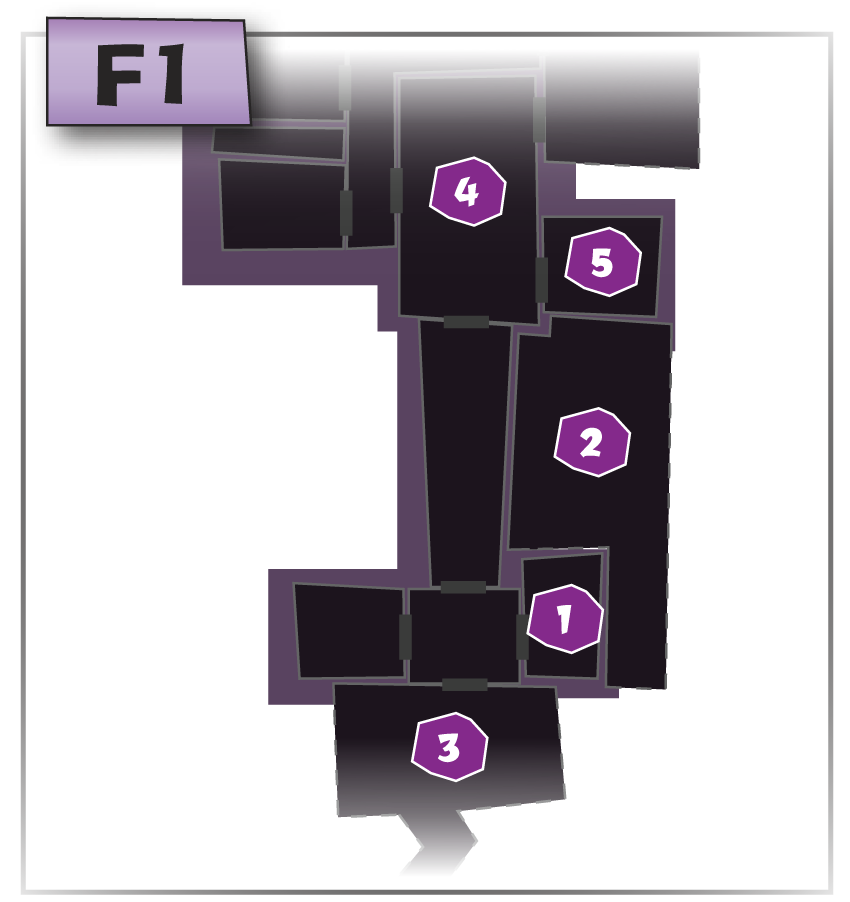
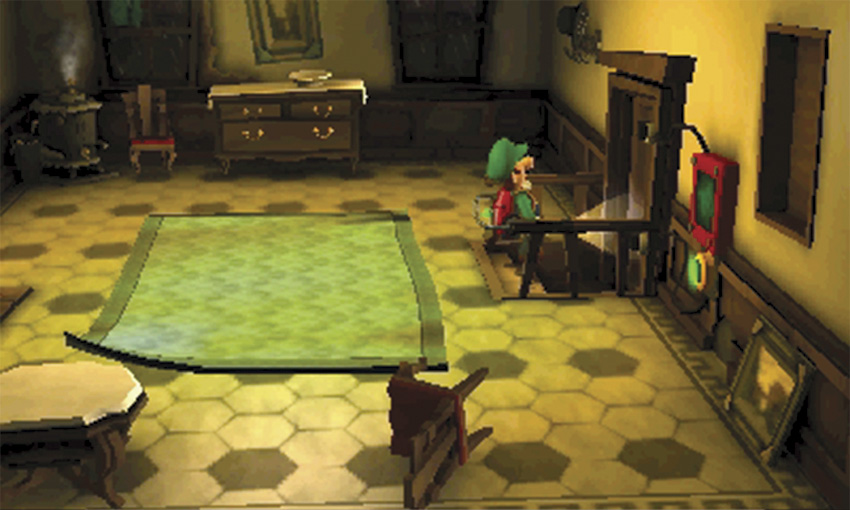
When you return to the Mudroom, use the Strobulb to activate the panel on the east wall. Pass through the unlocked door to reach the Mudroom Exterior.
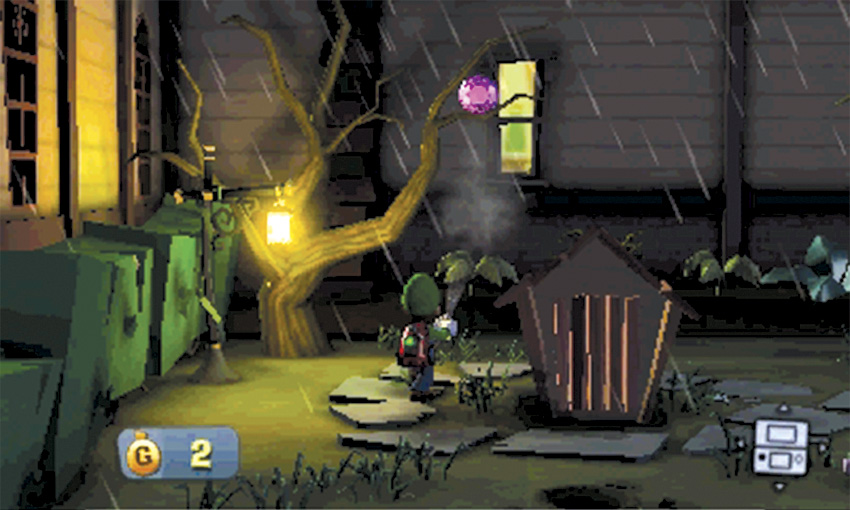
As you approach the doghouse in the center of the Mudroom Exterior, avoid the mice scurrying through the grass. Flash these critters with the Strobulb, then use the Poltergust to vacuum the Round Amethyst from the tree in the northwest corner.
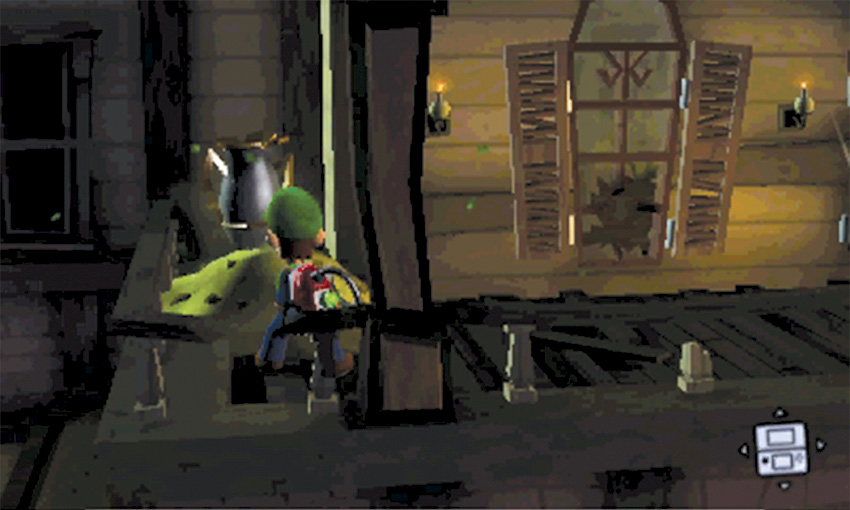
After you collect the Gem from the Mudroom Exterior, follow the path back to the Front Yard. During this mission, the Front Yard has plenty of treasure to collect! Vacuum the trash at the west edge of the porch, then search the vase in the corner. As you explore the rest of the area, make sure you check the remaining vases.
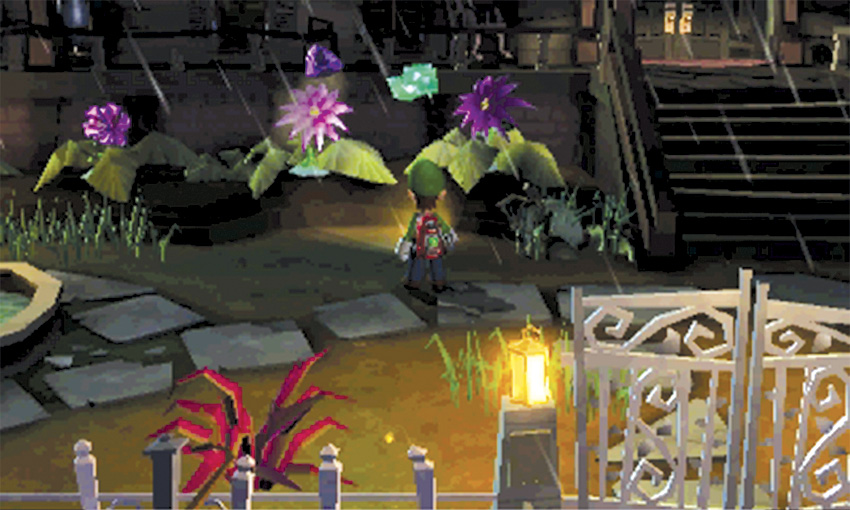
Use the Strobulb to flash the four purple flowers just west of the steps. Three of the flowers contain treasure, but one flower contains the Trillion Amethyst.
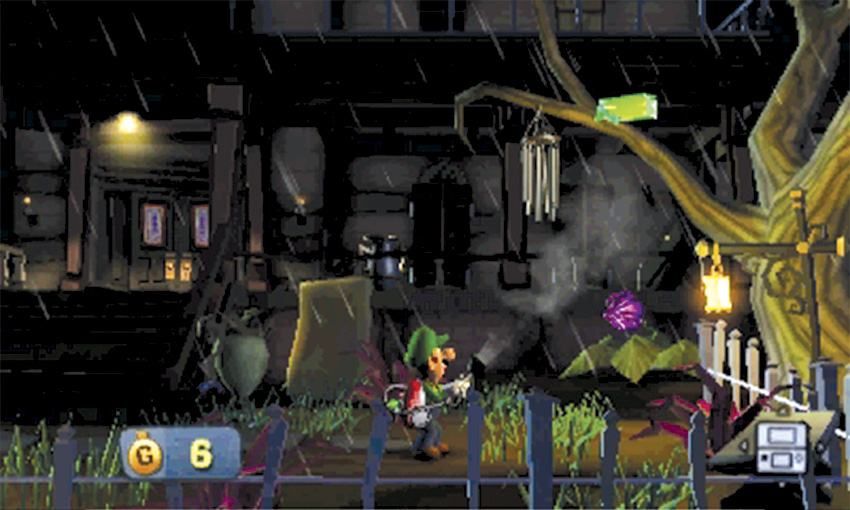
Circle the area and vacuum the trash piles and purple weeds to collect some hidden coins. When you reach the east half of the Front Yard, aim the Poltergust at the hanging wind chime and vacuum the bills down from the tree. Use the Strobulb to flash the purple flower in the corner, then A-Pull the cloth hanging just east of the steps to reveal an impressive treasure stash. When you’re ready, head back inside.
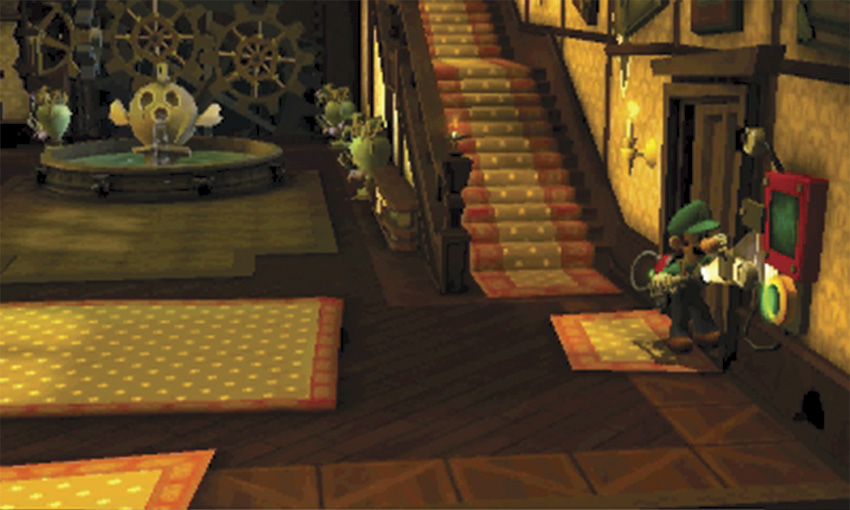
Pass through the Guard Hall and return to the Foyer. Head through the door at the base of the stairs to enter the Coatroom.
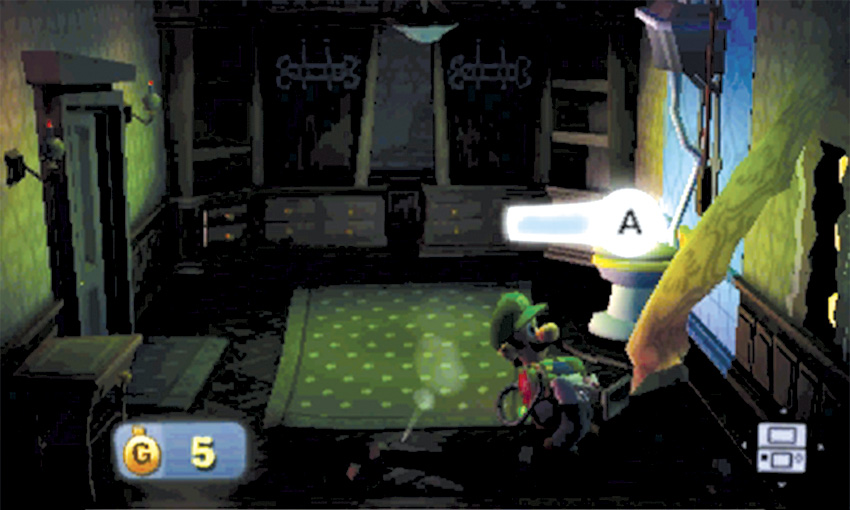
 When you first enter the Coatroom, the lights are turned off. This usually indicates that enemies are hiding in the area. A-Pull the coats on the back wall, then A-Pull the peeling wallpaper in the area’s southeast corner. Collect the revealed treasure, then investigate the toilet to activate the secret passage in the east wall.
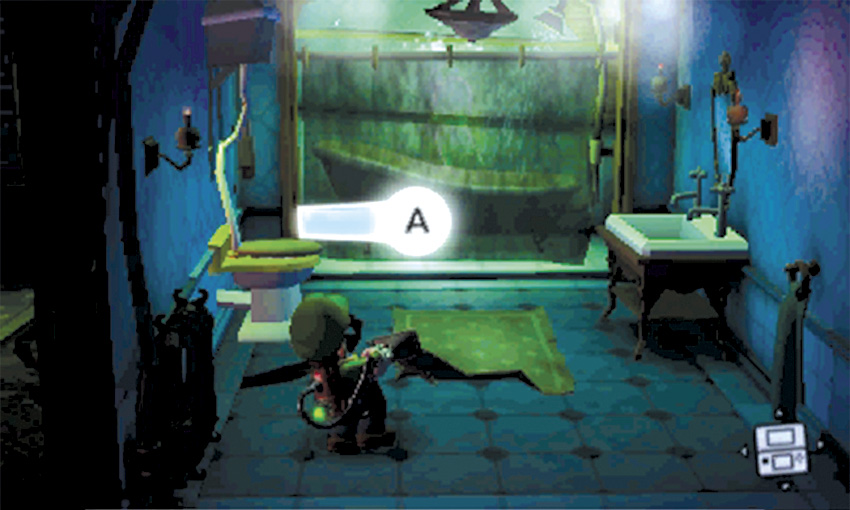
One of the Greenies is taking a shower in the east half of the Coatroom.Before you confront this ghost, search the rest of the hidden area. A-Pull the rug on the ground to reveal some treasure, then A-Pull the towel in the southeast corner to find another stash.
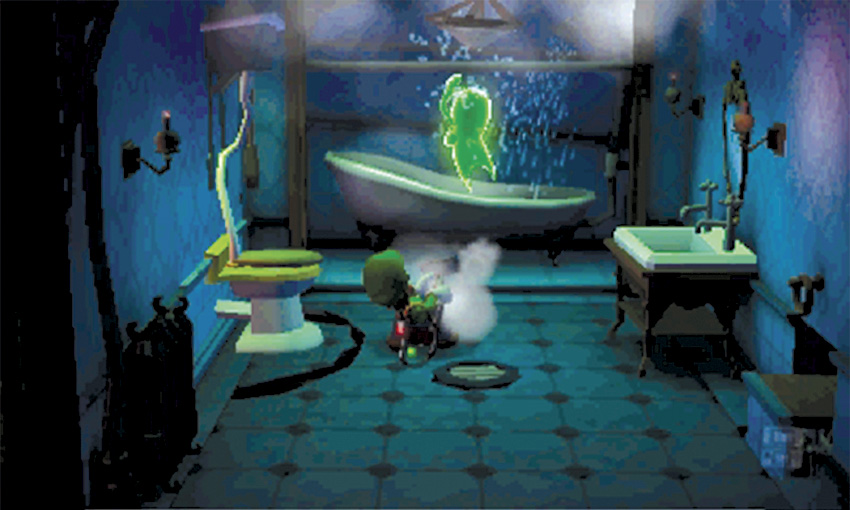
When you’re ready, A-Pull the shower curtain to reveal a Greenie. After the ghost flees, activate the toilet to return to the other half of the Coatroom.
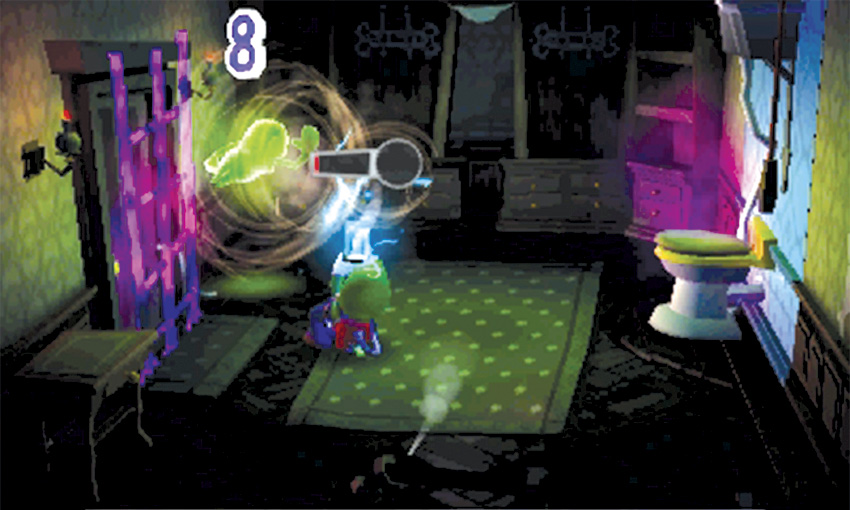
To coax the enemy out of hiding, simply attempt to leave the Coatroom. When the Greenie appears, press
to flash it with the Strobulb, then hold
to latch onto the enemy before it recovers. Maintain suction until you can A-Pull the Greenie, or until the struggling ghost is too weak to avoid capture.
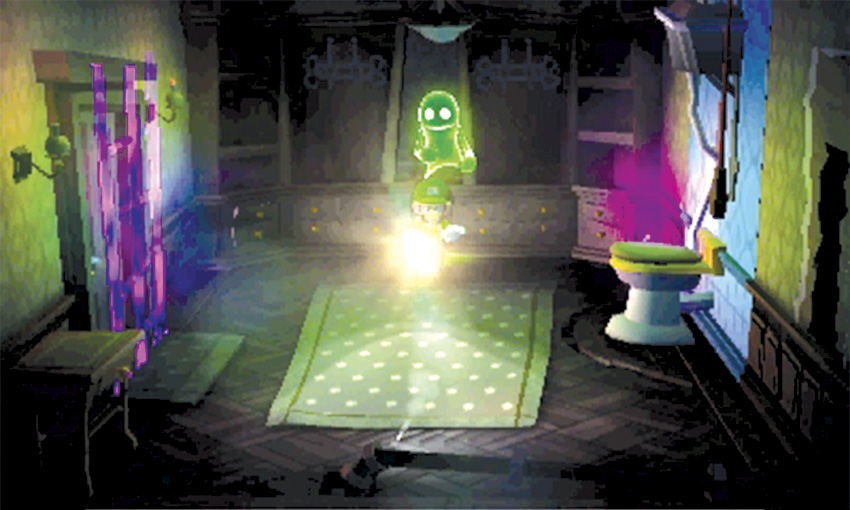
The second Greenie is hiding in the back of the room. When it emerges, capture the ghost to open the path out of the Coatroom.
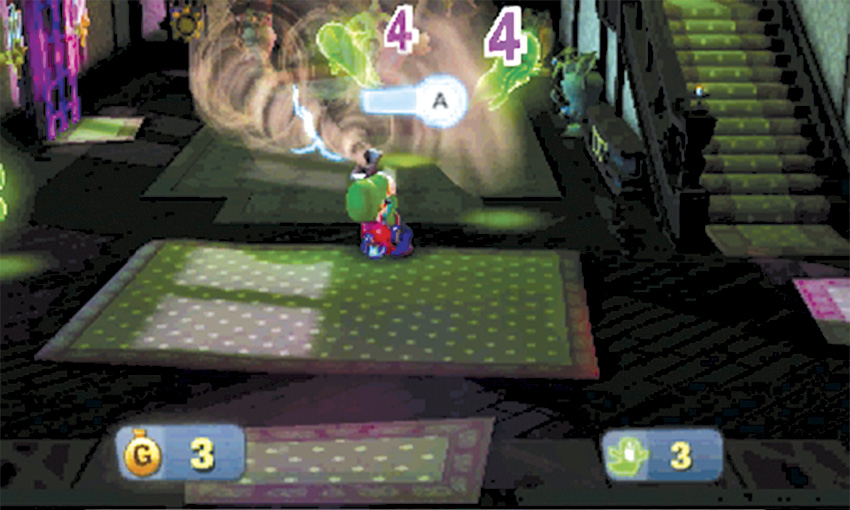
Return to the Foyer to find four more Greenies playing in the fountain. When they notice you, most of the enemies vanish. Drop back and charge the Strobulb to increase your chances of stunning multiple targets. Capture all four Greenies to trigger another call, then answer the Duel Scream to end the mission and return to the Bunker.
A-2 Gear Up
Search for Treasure
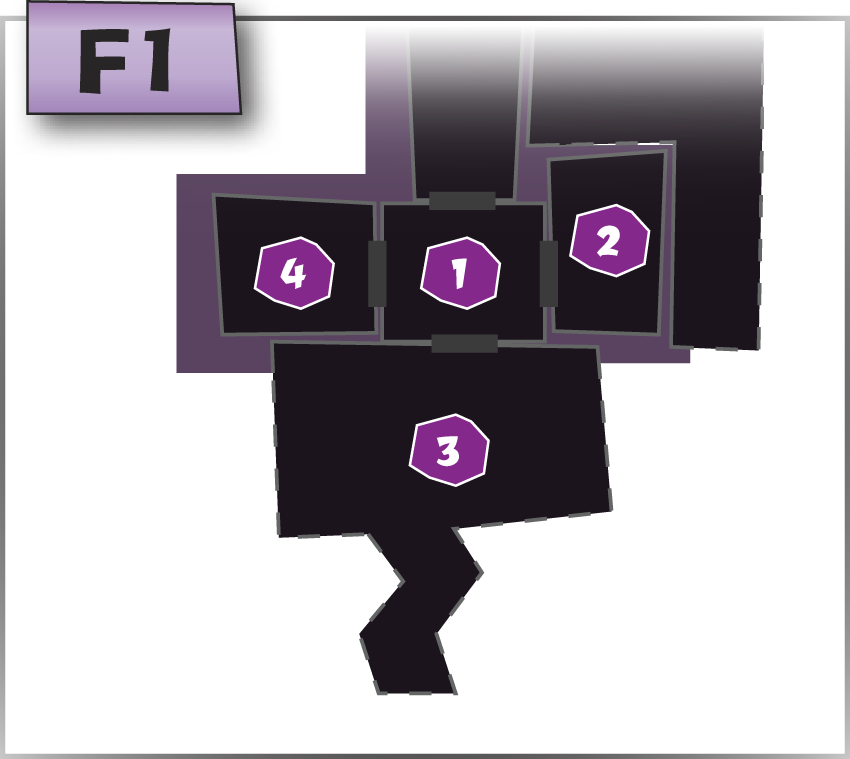
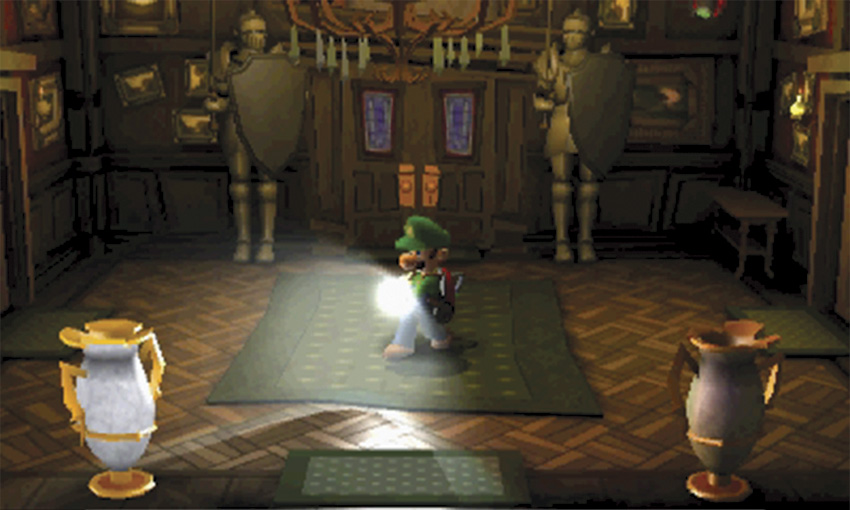
The mission begins in the Entrance, and you have a clear path to your first objective. Before you head to the Foyer, however, consider searching the surrounding area for treasure. Use the door on the east wall to enter the Mudroom.
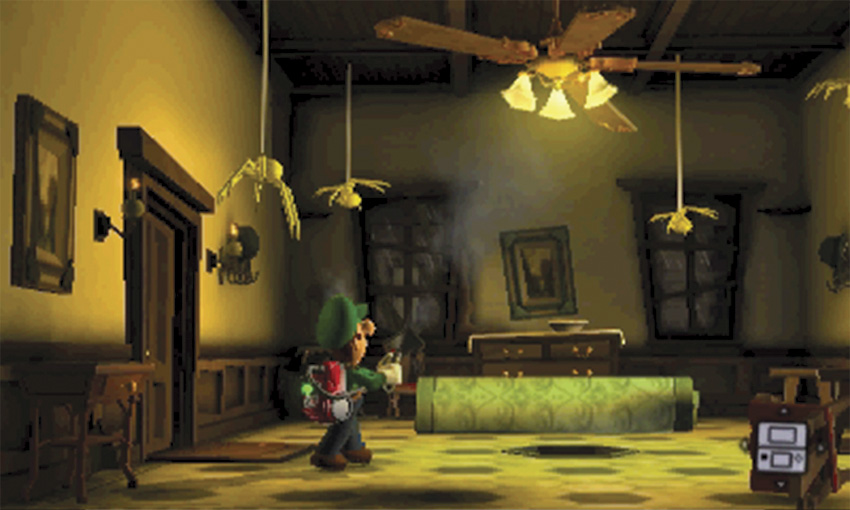
Trigger the switch under the rug to reveal a small amount of treasure, and search the various drawers and containers. Vacuum the ceiling fan until four gold spiders lower into
view. Use the Strobulb on the spiders before they vanish.
Each spider you flash will transform into a gold bar. When you’re ready, return to the Entrance and move down to the Front Yard.
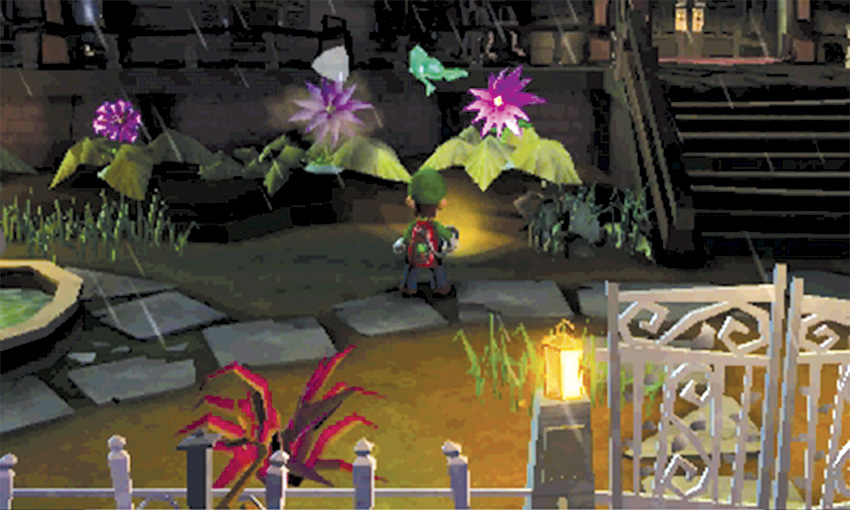
The Front Yard doesn’t contain anywhere near as much treasure as it did during A-1 Poltergust 5000, but it’s still worth visiting. Check the vases, use the Strobulb to flash the purple flowers, and vacuum the weeds scattered around the area. When you’re ready, head back inside.
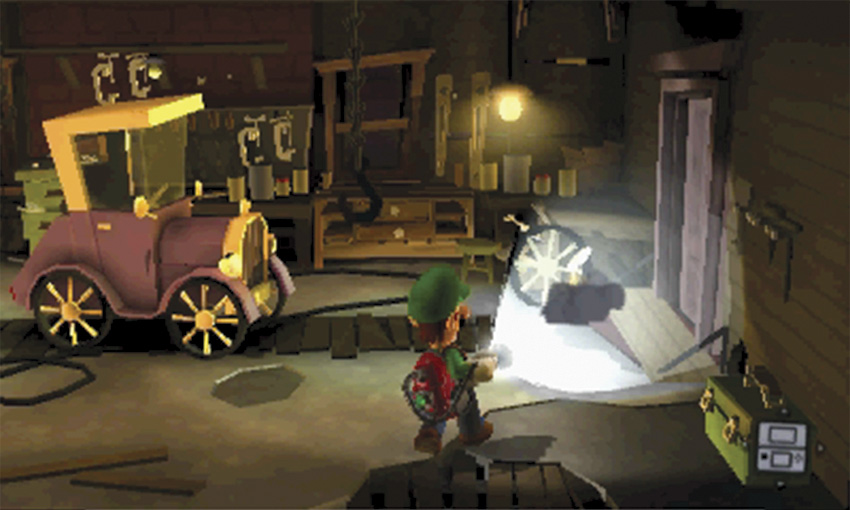
During this mission, the Garage doesn’t contain much of value. However, you can earn a few coins if you make the effort. Use the Strobulb to flash the mice scurrying along the floor, then check the various drawers and containers placed throughout the room. When you’re ready, leave the Garage and head for your first objective.
Investigate the Foyer
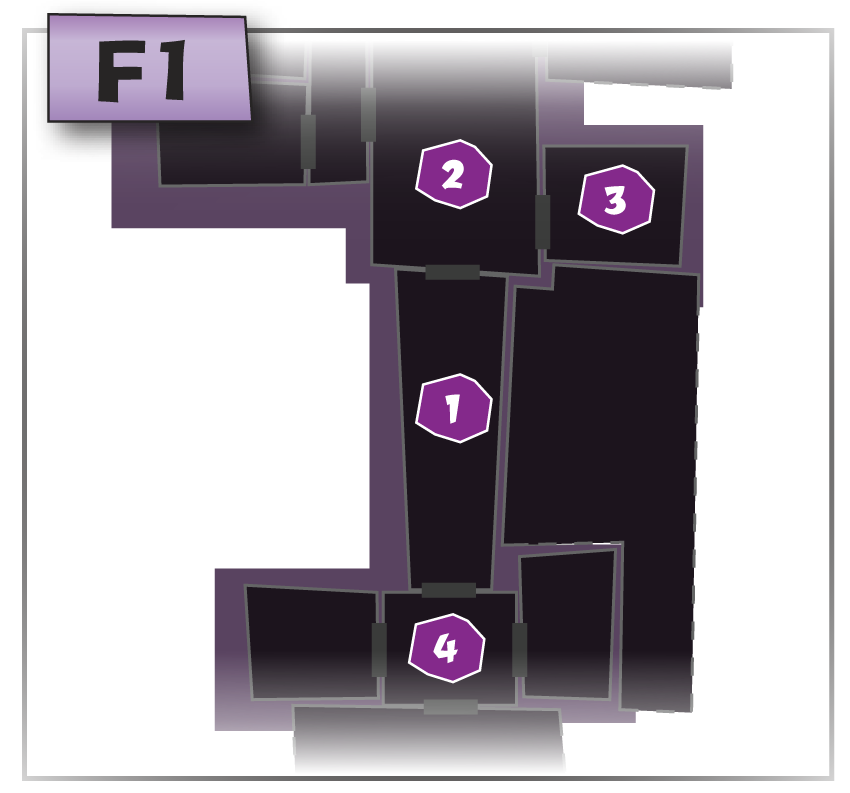
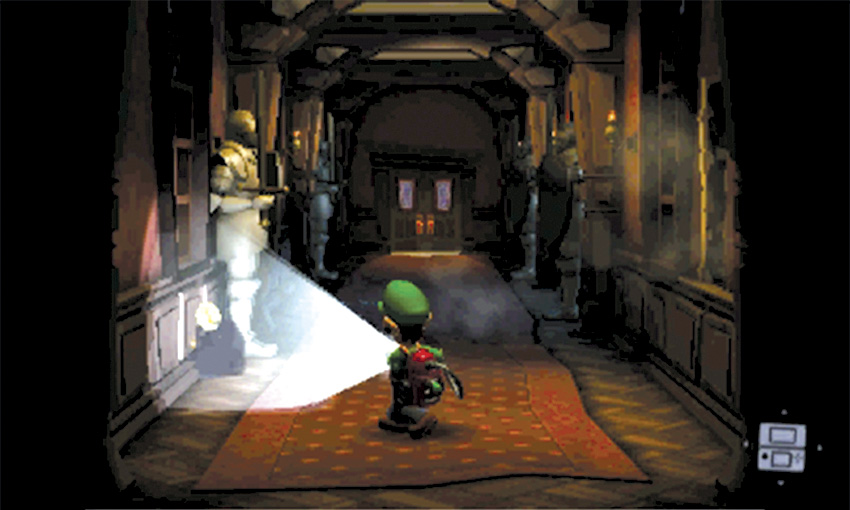
Professor E. Gadd wants you to activate a mechanism in the Foyer. As you move through the Guard Hall, use the Strobulb to flash the mice scurrying along the baseboards.
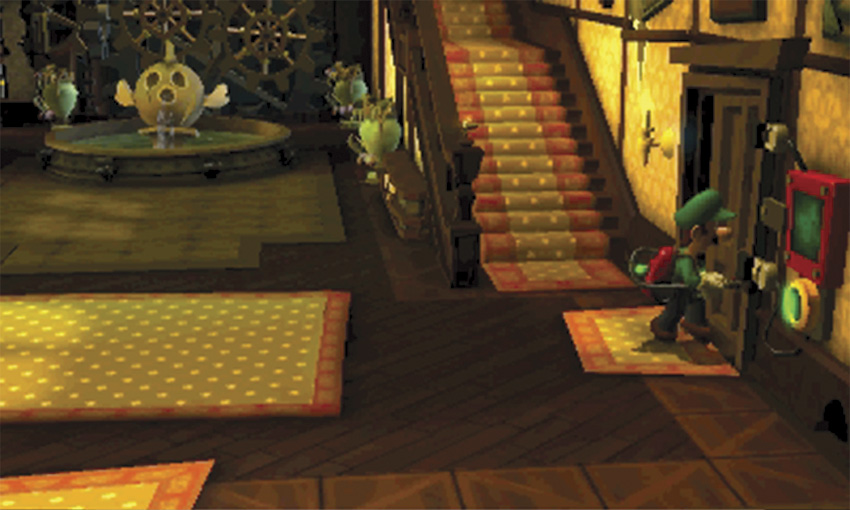
You reach the Foyer just in time to see a group of Slammers swipe the mechanism’s gears. When they spot you, the brutes split up and flee the area. Answer the call on your Duel Scream to receive your next objective. Professor E. Gadd wants you to track down the Slammers and recover all four stolen gears. Before you begin your hunt, use the door on the east wall to enter the Coatroom.
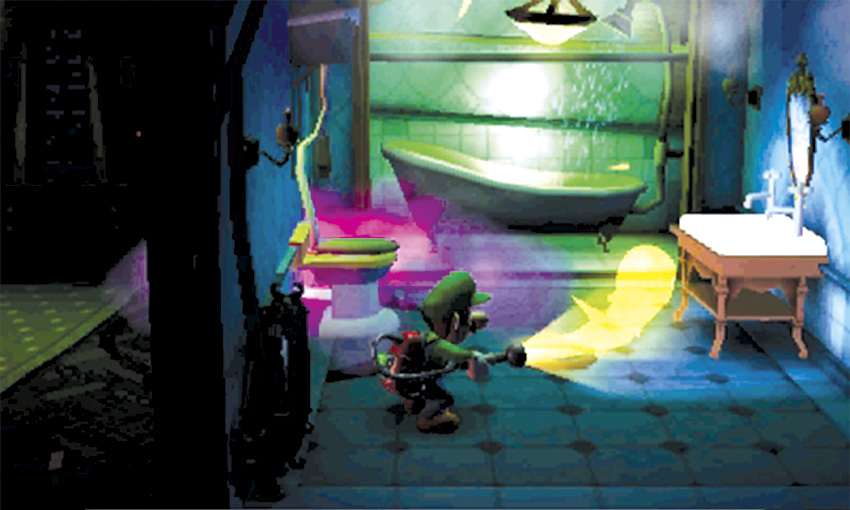
A-Pull the coats and the loose wallpaper, then inspect the toilet to activate the secret passage. A-Pull the rug on the floor to reveal a Gold Greenie. Gold Greenies are very elusive, so flash this enemy as soon as it appears! Latch on with the Poltergust, then perform an A-Pull to capture the Gold Greenie before it escapes the area. Collect the resulting treasure, then cross back through the Coatroom and return to the Foyer.
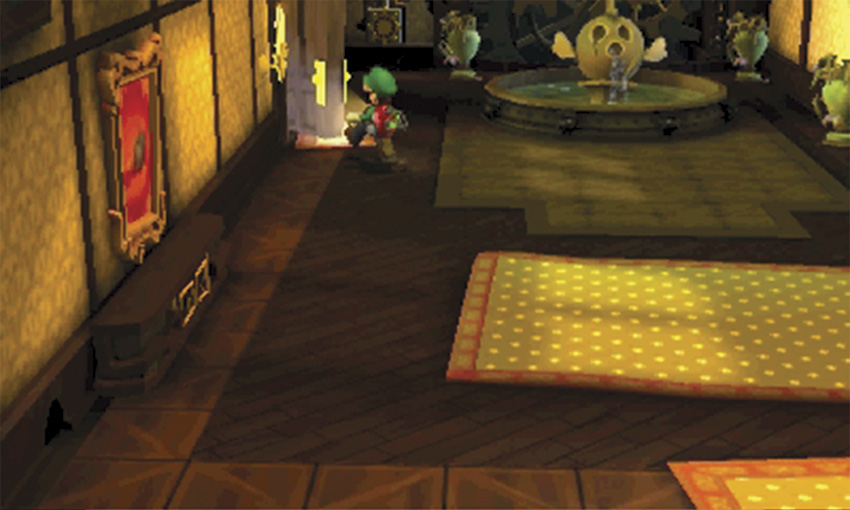
When you’re ready, approach the door in the northwest corner. The door slams shut and a Key-carrying Greenie flees to the south.
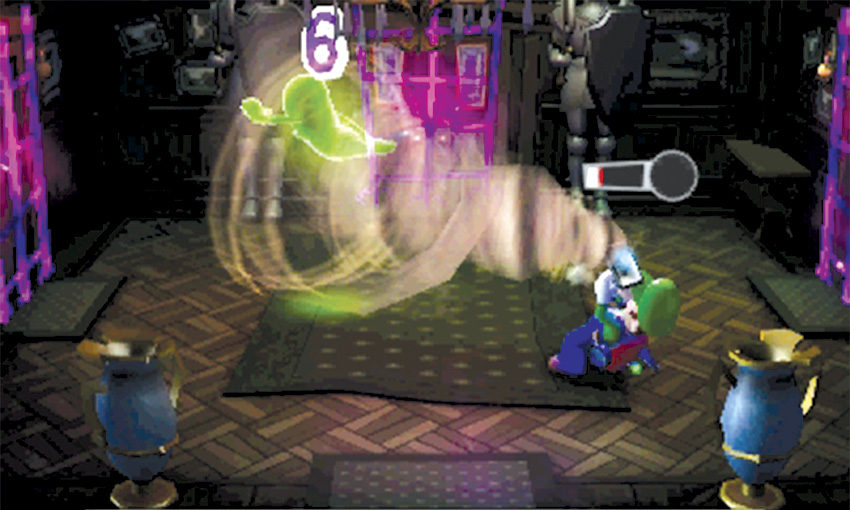
Follow the Greenie down through the Guard Hall and into the Entrance. Wait for the Greenie to spring its trap, then capture this lone ghost and collect the Key it leaves behind.
Recover the Gear from the Lab
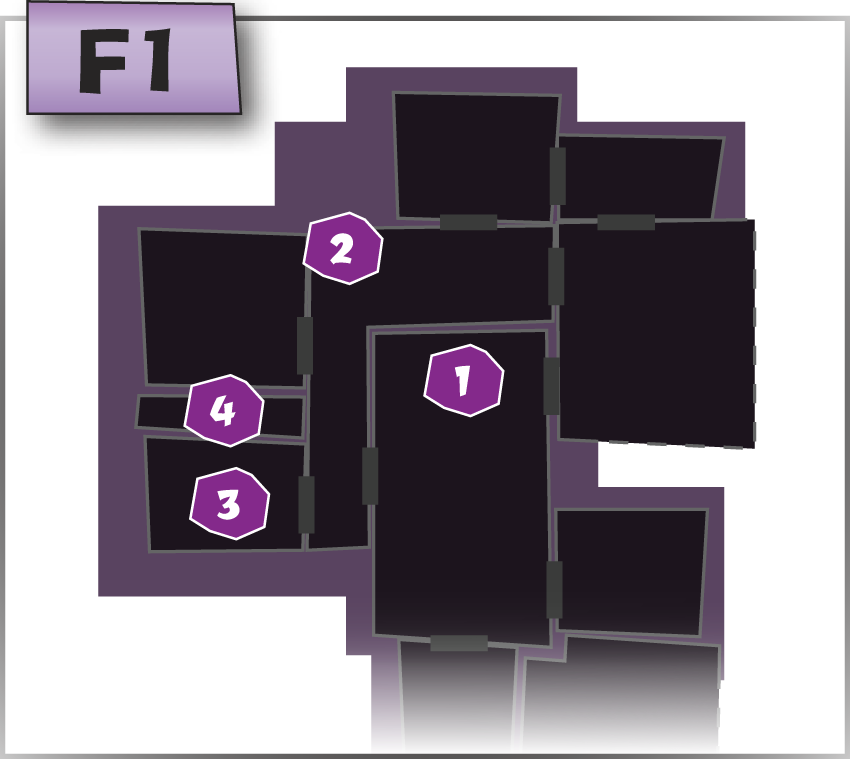
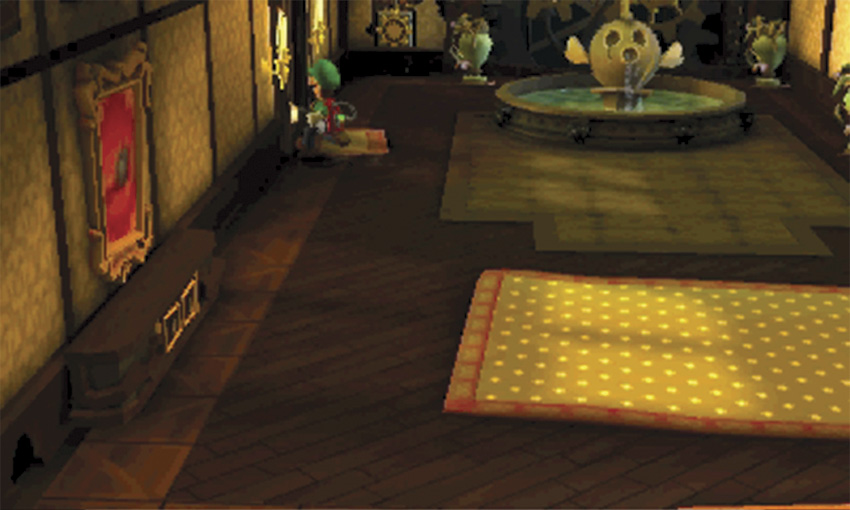
After you recover the Greenie’s Key, return to the Foyer. Search the drawers and vases around the room, then move to the west wall and unlock the door to the Common Hall.
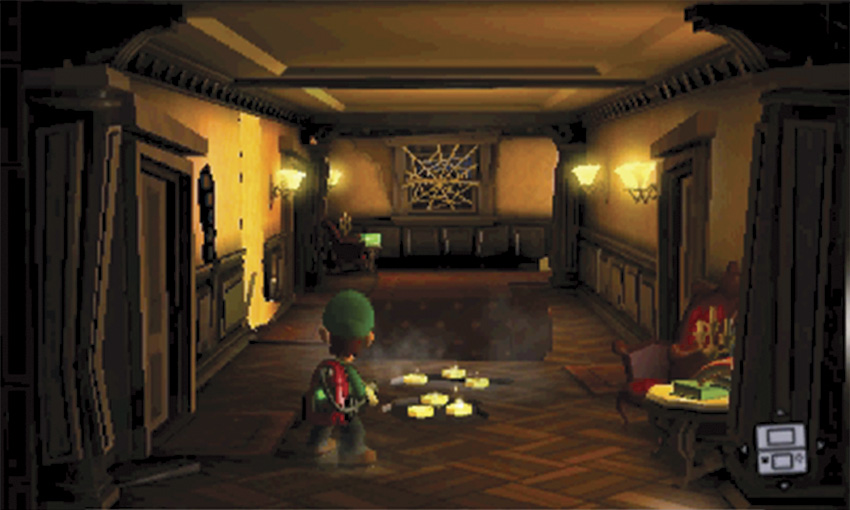
During this mission, the Common Hall contains a bit of treasure. Before you enter the Lab, consider having a look around the area. Use the Poltergust to roll the rug toward the background, then collect the exposed coins.
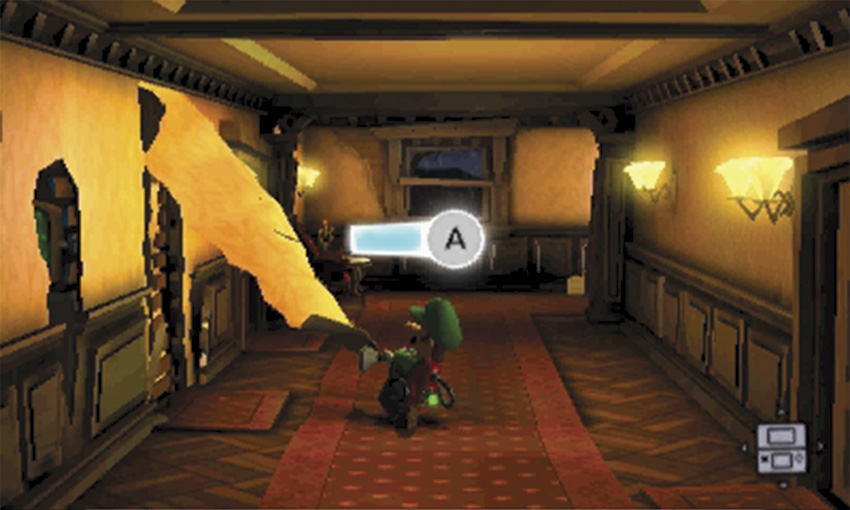
Locate the loose patch of wallpaper on the west wall. A-Pull the wallpaper to open the path to the Secret Pocket between the Lab and the Studio. Follow the path north to explore the rest of the Common Hall.
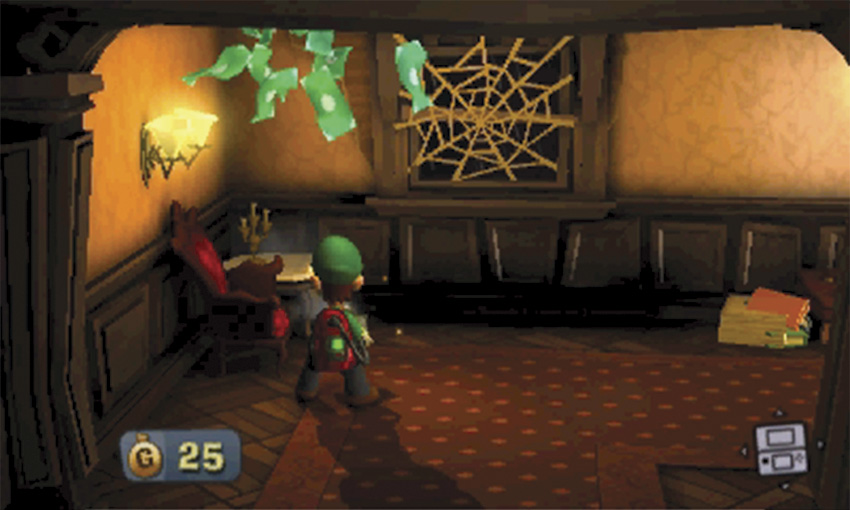
When you reach the bend in the Common Hall, use the Poltergust to collect the bills on the table. Vacuum the web covering the window, then dash away to avoid the bats that fly in through the opening. Flash these flying pests with the Strobulb, then explore the rest of the Common Hall.
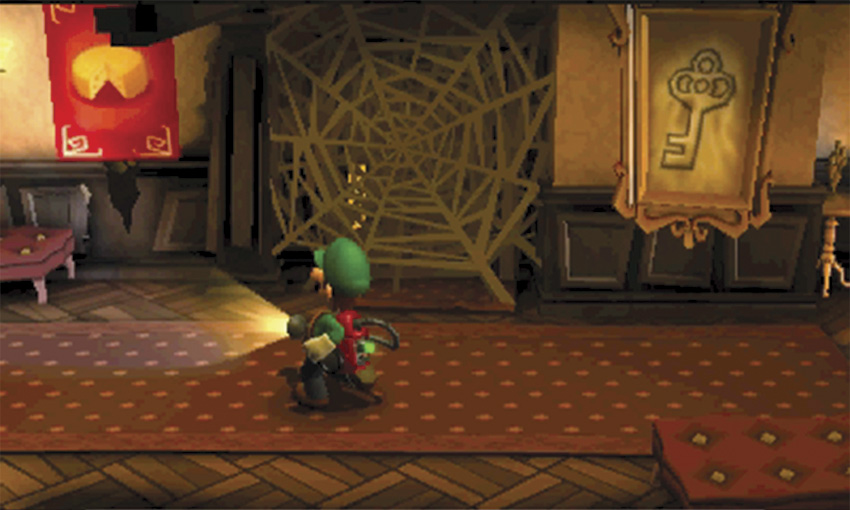
The Library door is blocked during this mission, but you can vacuum the nearby posters and peek through the exposed crack. After you gain the Dark-Light Device, you can retrieve the Key from the framed sketch and reveal the path to the Patio. For now, however, return to the Lab door on south end of the Common Hall.
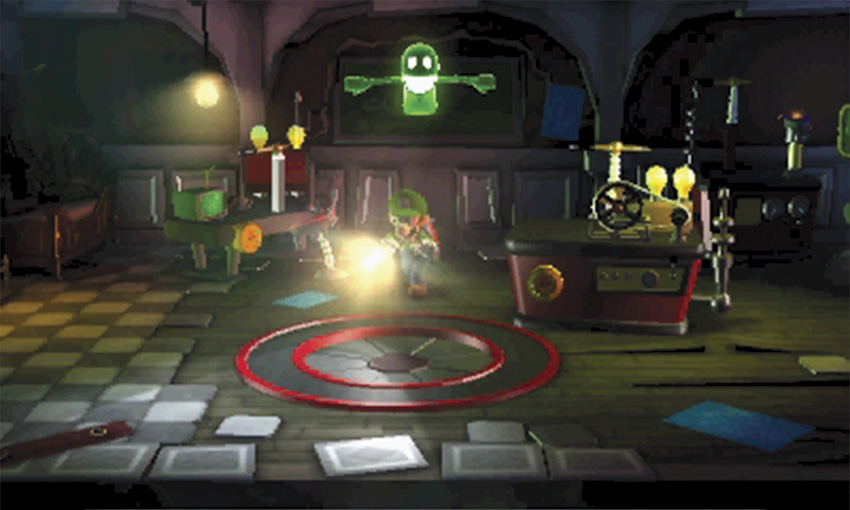
Enter the Lab and approach the chalkboard on the back wall to reveal a hiding Greenie. Once the first enemy is exposed, a second Greenie appears in the area. Capture both of the weaker enemies to coax the first Slammer out of hiding.
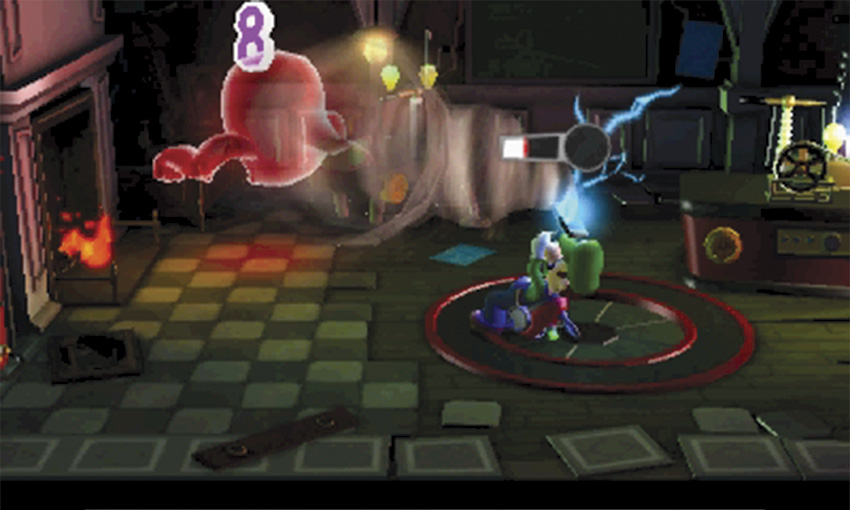
Flash the Slammer with the Strobulb, then latch on with the Poltergust and wear the brute down. Until you upgrade the Poltergust, a single A-Pull isn’t enough to capture a Slammer. Hang on tight, and try to execute a second A-Pull. When you capture the Slammer, it drops the first gear on the workspace. Vacuum the gear, and search the objects in the room. When you’re ready, return to the Common Hall and enter the Secret Pocket.
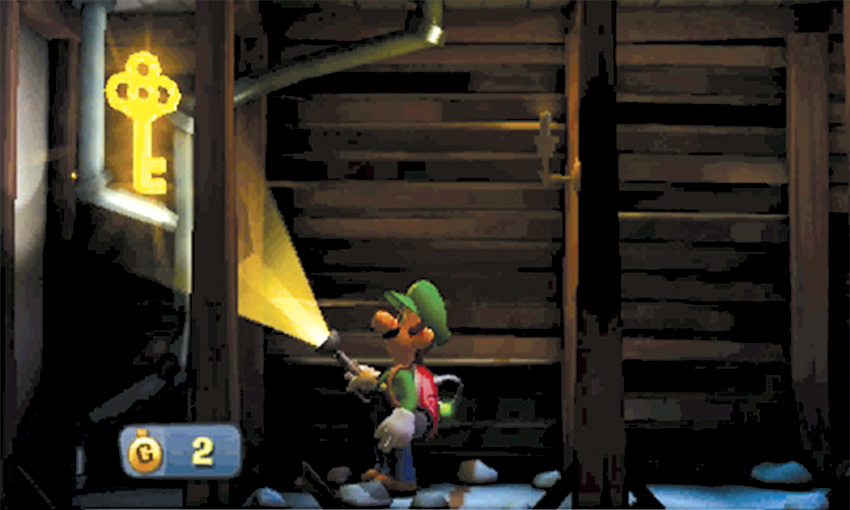
Vacuum the trash pile in the middle of the Secret Pocket, then use the peephole to peer into the Studio. Continue to the left, and use the Poltergust to collect the Key in the corner. The Studio is blocked from the inside, so you’ll have to find another way into the room. For now, turn your attention to the two gears upstairs. Leave the Secret Pocket, then return to the Foyer and climb the stairs.
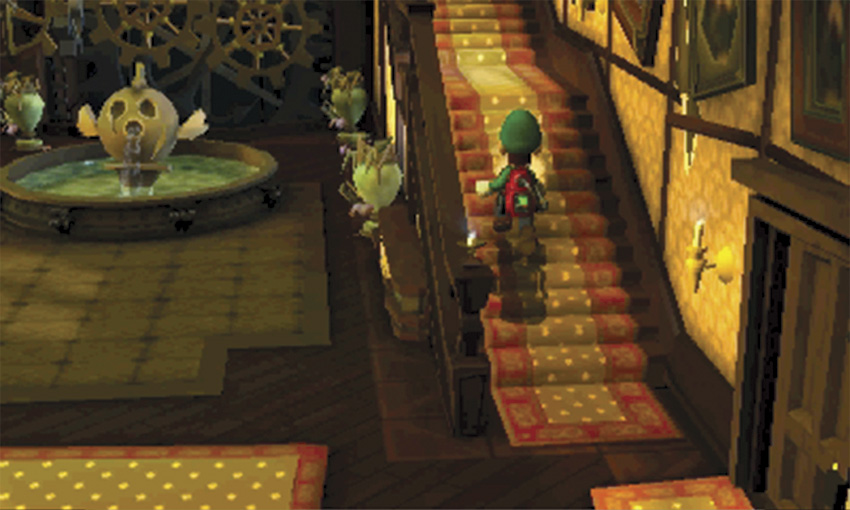
As you make your way up to level F2, note the blue candle flames along the stairs. This is another sign of a nearby ghost. As you approach the landing, the stairs give way, dropping you back down to level F1. When you land, a Hider taunts you and disappears into a nearby container.
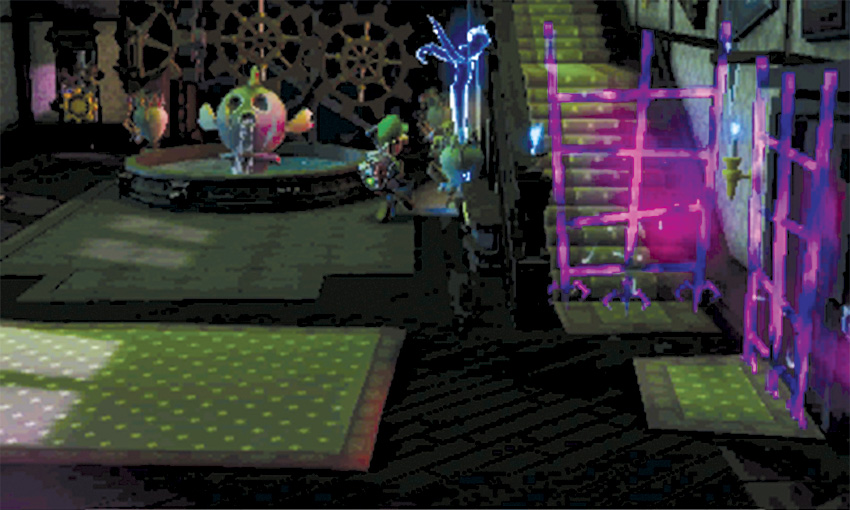
As you approach the ghost, watch out for any objects it might throw at you. Investigate the vase or drawer that contains the Hider, then flash the Strobulb when the ghost shows itself. If you stun the Hider, latch on with the Poltergust and charge an A-Pull. If you miss the ghost, it flees to another object. Repeat the process until you capture the Hider, then climb the stairs up to level F2.
Find the Gears on F2
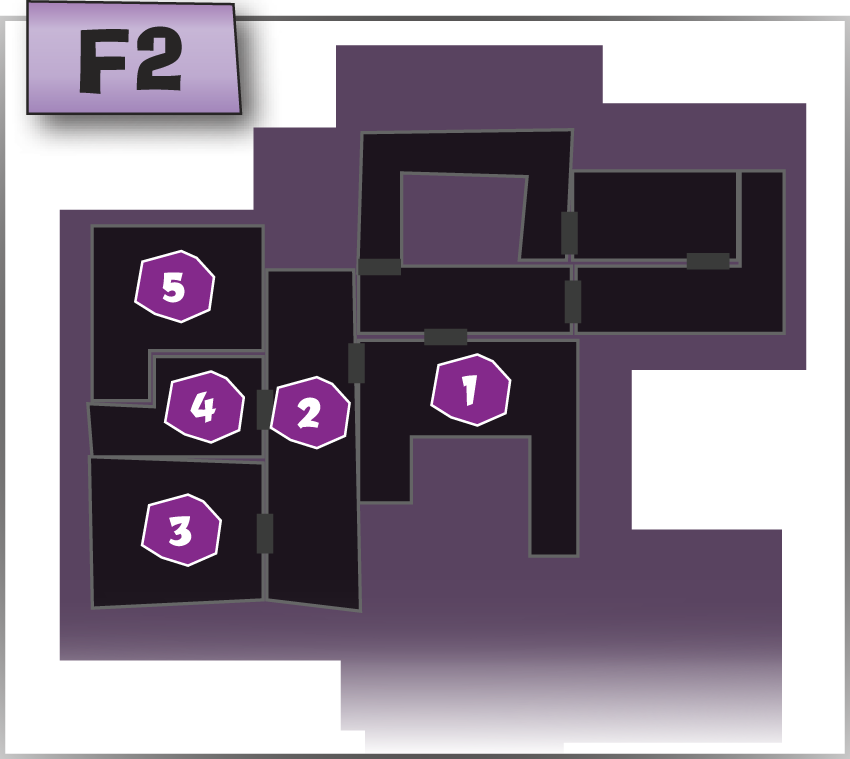
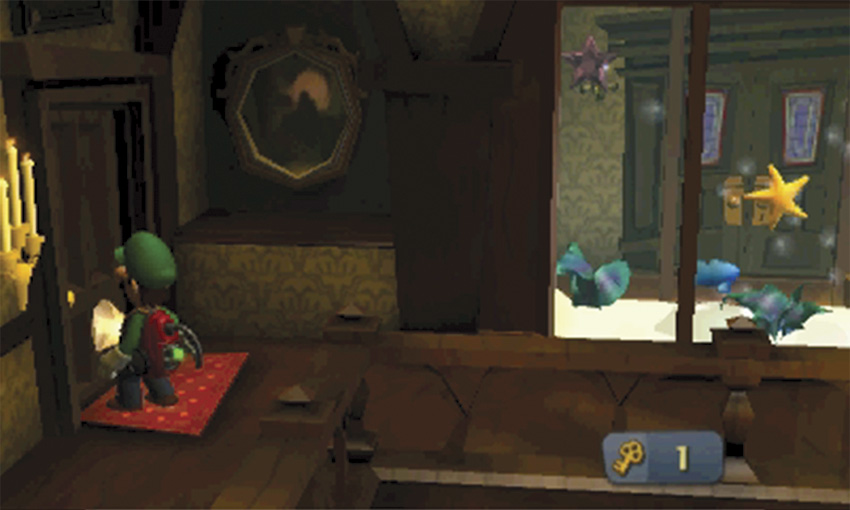
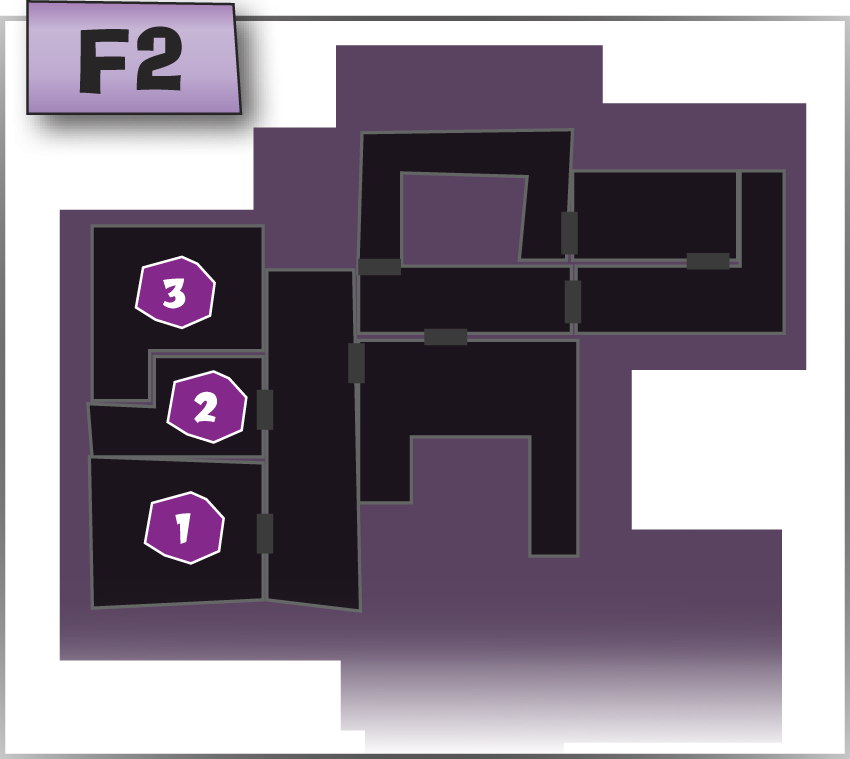
If you’ve lost any health, use the Strobulb to open safe at
the top of the stairs. Follow the walkway to the left, then use the Key from the Secret Pocket to unlock the door to the Master Hall.
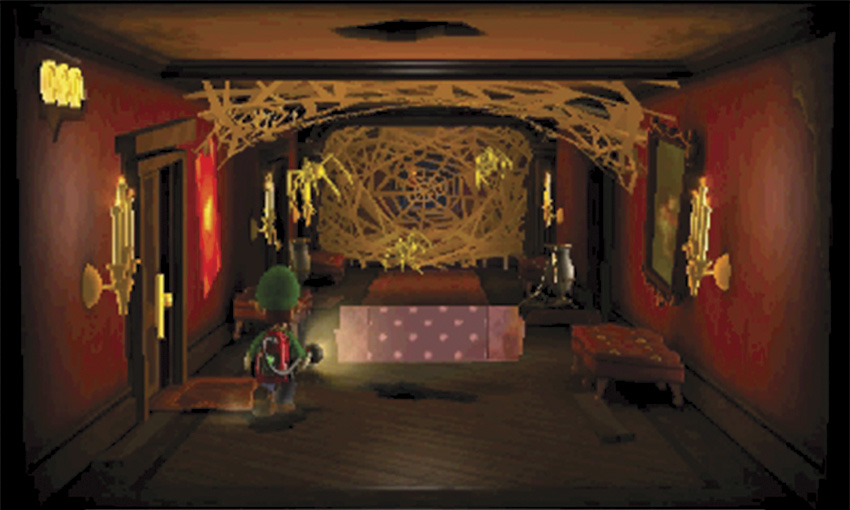
Move to the south end of the Master Hall, then use the Poltergust to roll up the edge of the rug. Three gold spiders spring out from a hole in the floor. Flash them with the Strobulb, then flash the red spiders that drop down with the ceiling. Collect the resulting treasure, search the rest of the area, then enter the Parlor through the door in the Master Hall’s southwest corner.
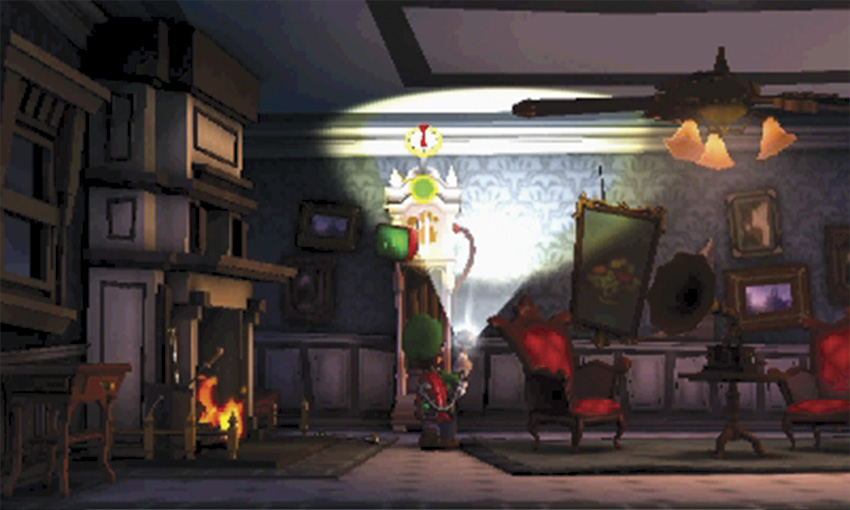
During this mission, the Parlor not only contains some ghosts, it’s full of stashed treasure. The ghosts are hiding in the gramophone at the center of the room. Before you chase them from their hiding spot, search the objects in the area. Use the Strobulb to flash the clock along the back wall, then collect the Baguette Amethyst that drops to the ground.
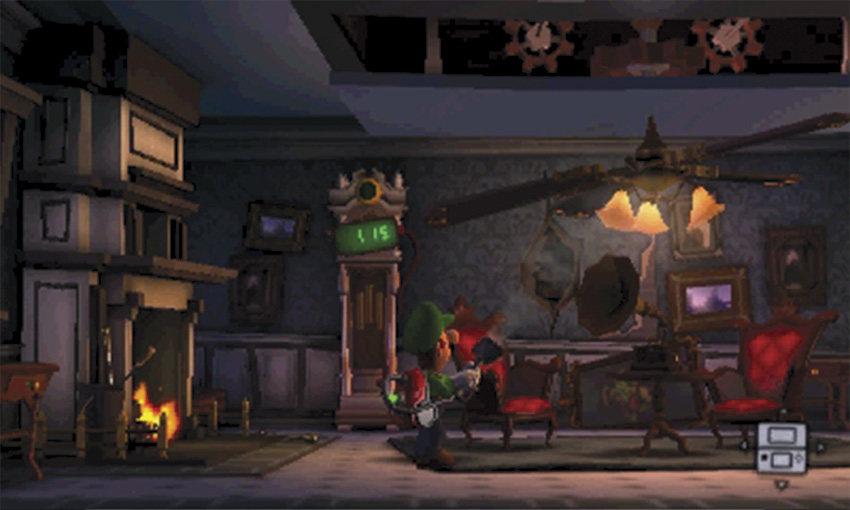
Inspect the painting just east of the clock, then collect the treasure that spills out from the wall. Use the Poltergust to vacuum the ceiling fan. As the blades pick up speed, a large panel opens to drop even more treasure to the floor.
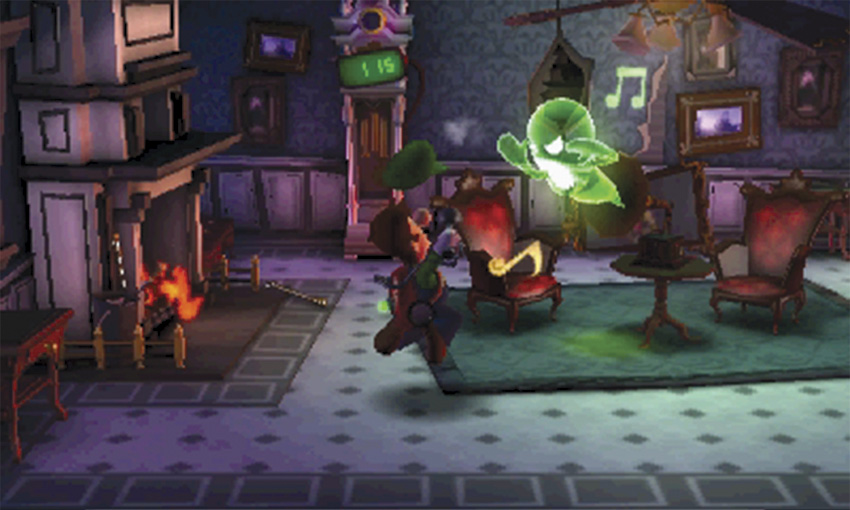
When you’re ready, vacuum the gramophone to play a short tune. After a moment two Greenies emerge from the device. Capture both enemies to coax the Slammer out of hiding, then capture the Slammer and collect the second gear. Search any remaining objects, then exit the Parlor and return to the Master Hall.
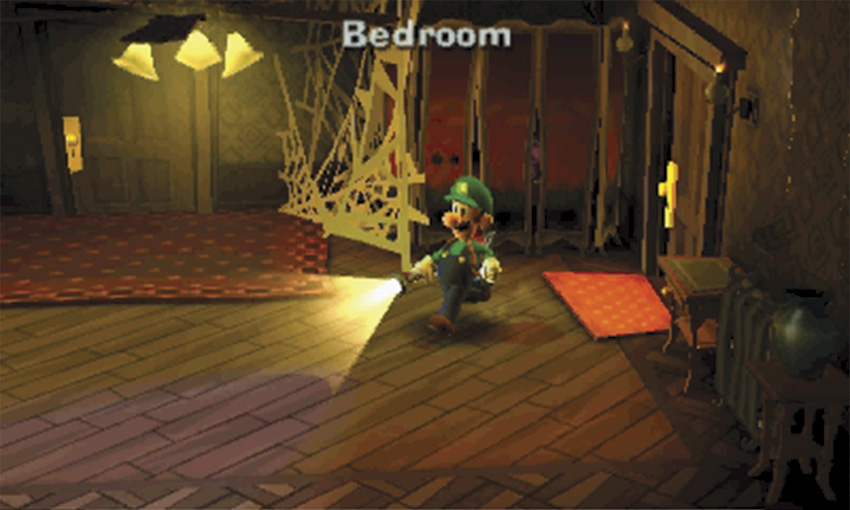
Follow the Master Hall north and head through the Bedroom door. As you search the area for treasure, stay clear of the north wall. A-Pull the loose wallpaper in the southeast corner, then A-Pull the hanging coats to the left. Peek through the exposed opening for a view of the Study.
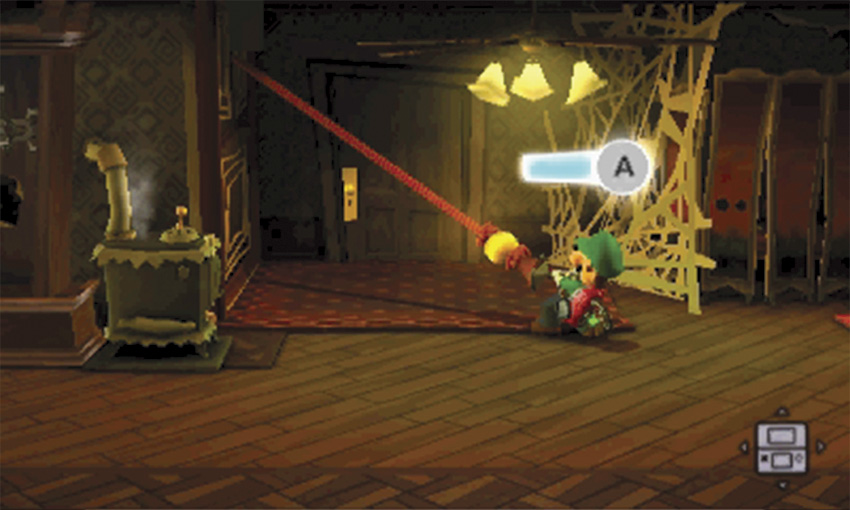
Check the remaining objects and pick up any loose treasure. When you’re ready to move on, latch onto the pull cord hanging near the stove. Perform an A-Pull, then hop onto the revealed bed to use the secret passage to the Study.
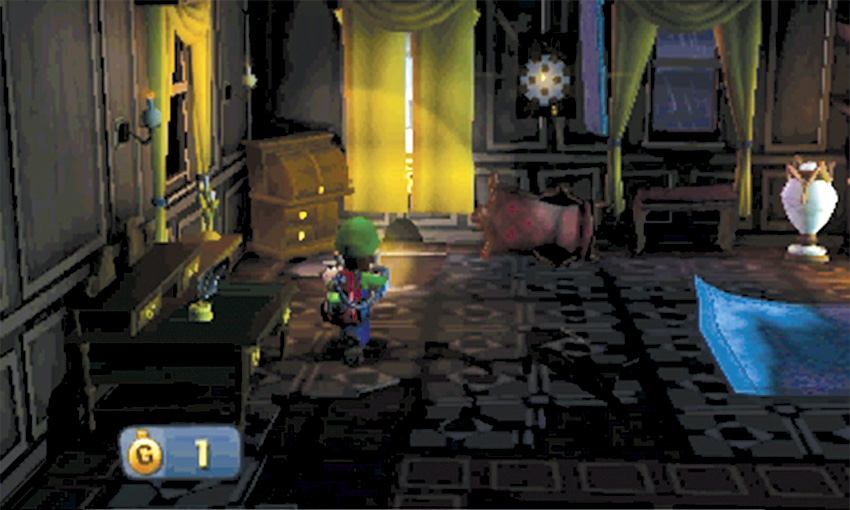
When you reach the Study, approach the gear on the rear wall. The first of four Greenies locks the gear behind a hinged painting. Back away from the visible enemy, and charge a Strobulb flash to stun any nearby ghosts.
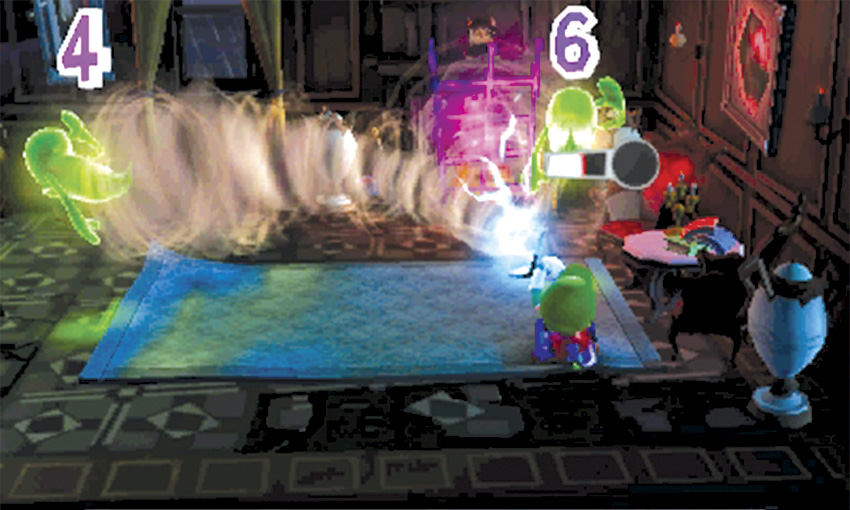
As you deal with the Greenies, watch out for the mice scurrying around the Study. If you find yourself being pulled toward one of the critters (or an untethered Greenie), press
to hop up and avoid a collision.
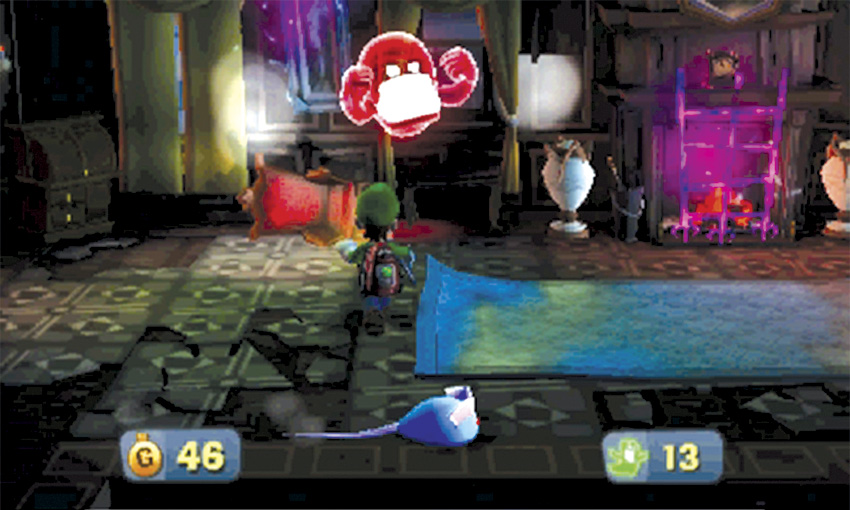
Capture all four Greenies, then capture the Slammer to reveal the gear. The mice are still a concern, but Slammers are much too dangerous to leave unattended. Take care of the enraged ghost before you deal with the skittering pests.
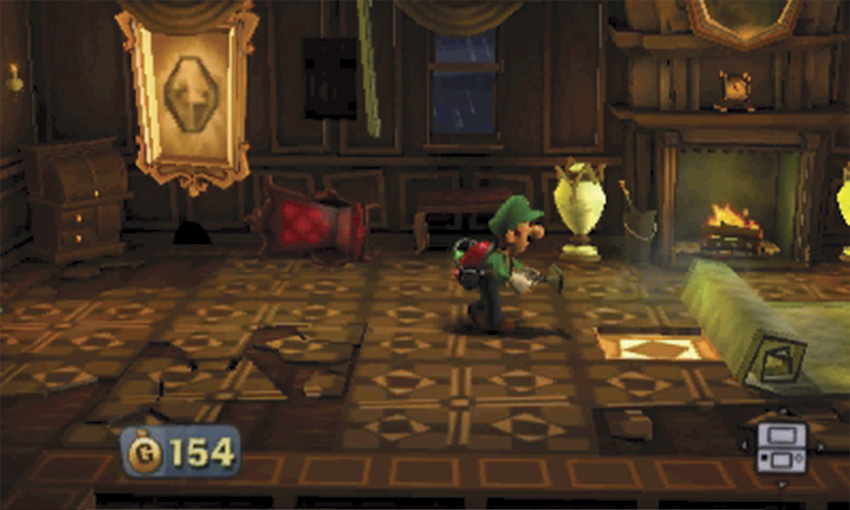
Vacuum the gear down from the wall, then search all the vases and drawers in the area. A-Pull all six of the Study’s curtains to reveal a nice stash of treasure, then use Poltergust to roll the rug toward the east wall. When you’re ready, step on the revealed switch, then investigate the fireplace to drop down to the Studio.
Collect the Last Gear
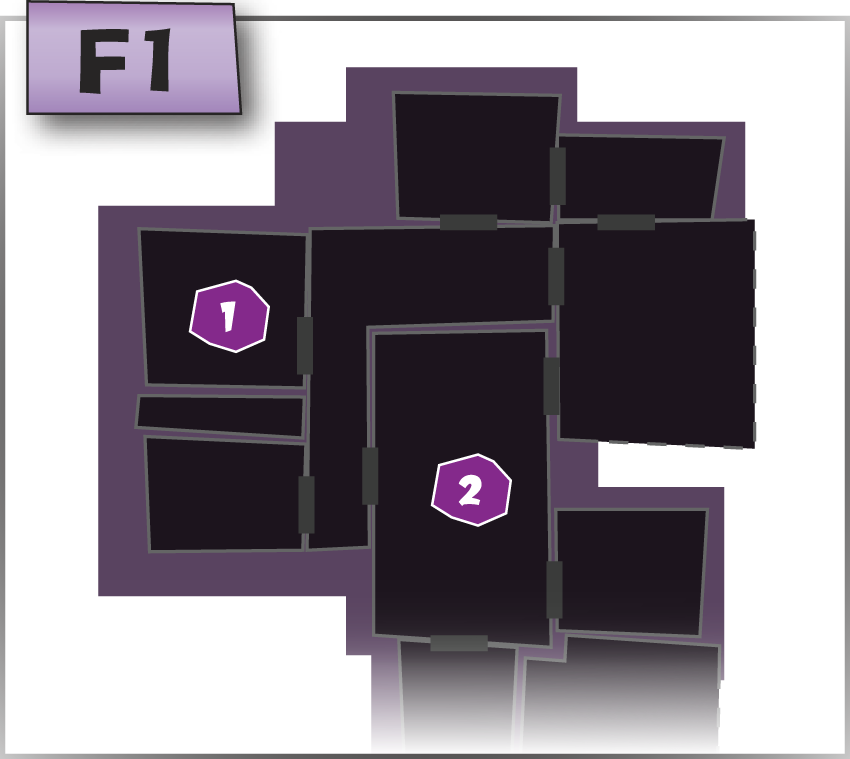
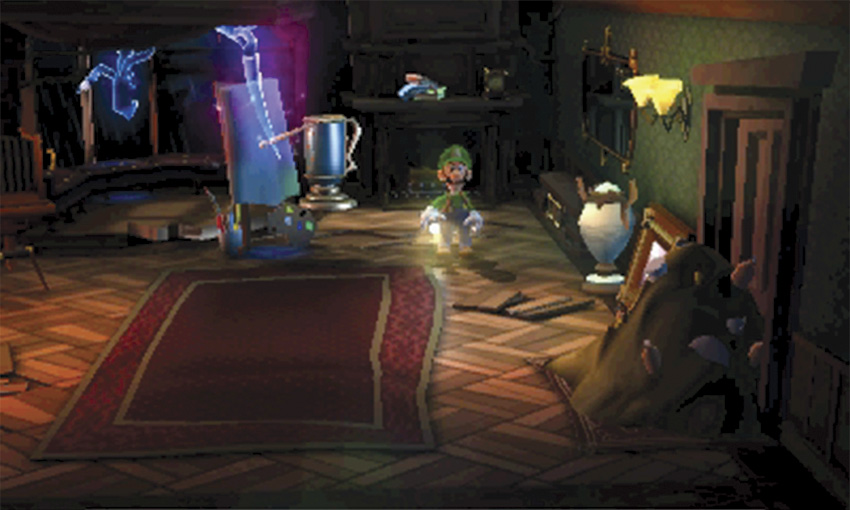
When you tumble into the Studio, two Hiders dart out of sight. Search the surrounding objects until you discover one of the ghosts. As you capture the first Hider, watch out for incoming attacks from its partner. The tight space doesn’t offer much room to dodge thrown objects.
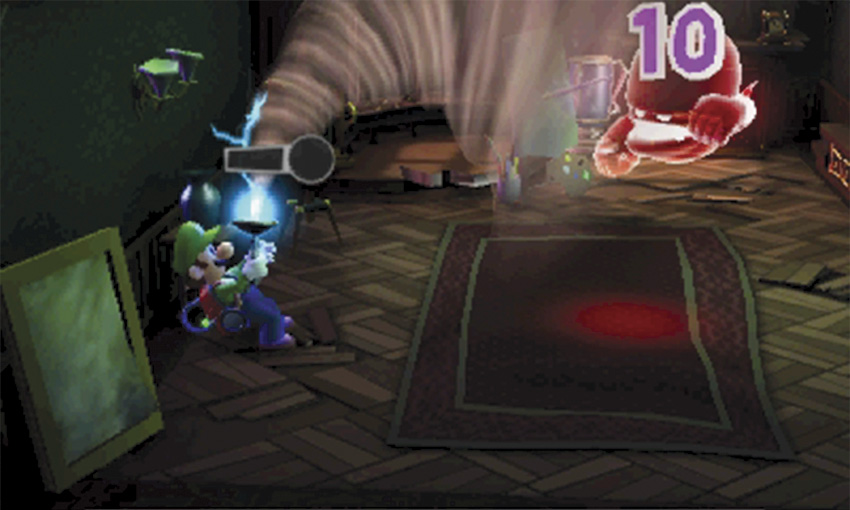
Capture both Hiders to reveal the Studio’s Slammer. After you capture the bully, collect the gear it leaves behind. Answer the call on the Duel Scream, then search the Studio’s various objects.
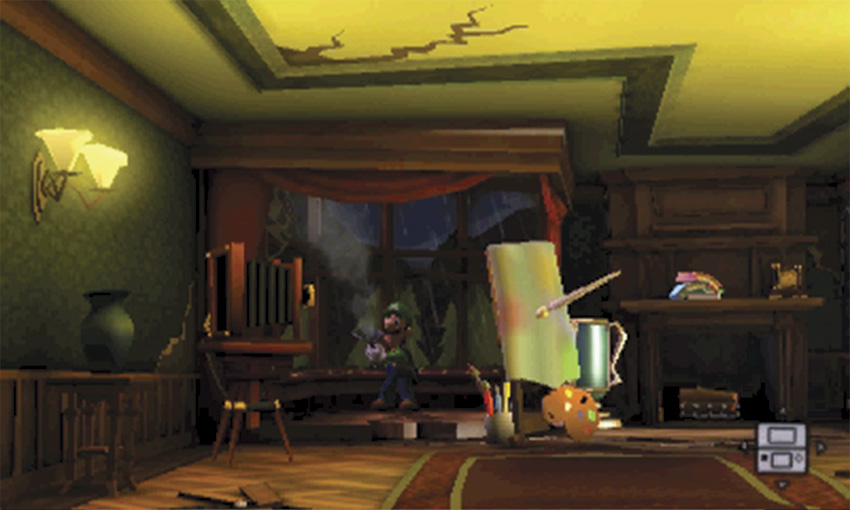
Look through the camera to locate the Football Amethyst, then move to the bay window. Aim the Poltergust at the ceiling, just behind the left curtain. Vacuum the web holding the Gem in place—the suction should draw the Football Amethyst right into your arms.
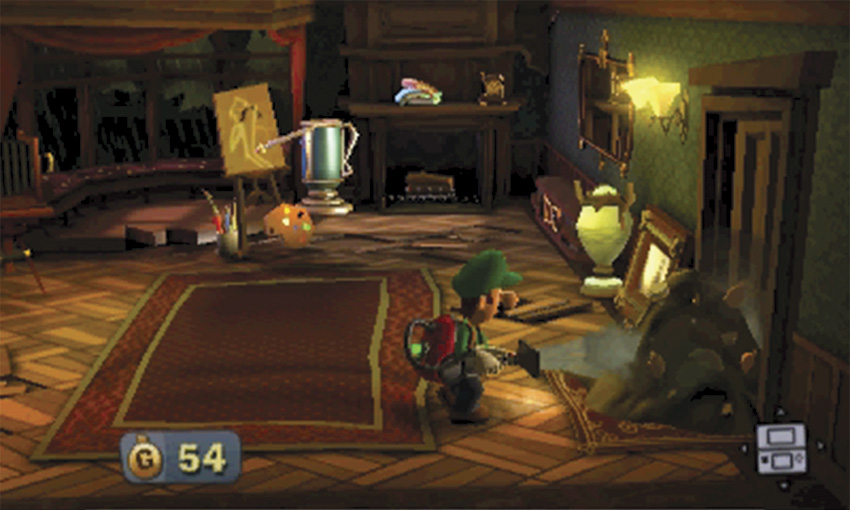
During this mission, the canvas in the Studio’s southwest corner is hiding a fair amount of treasure. A-Pull the canvas to reveal some gold bars, then vacuum the trash pile blocking the door on the east wall. A-Pull the cloth from the easel, then search any remaining vases and drawers. When you’re ready, leave the Studio and head back to the Foyer.
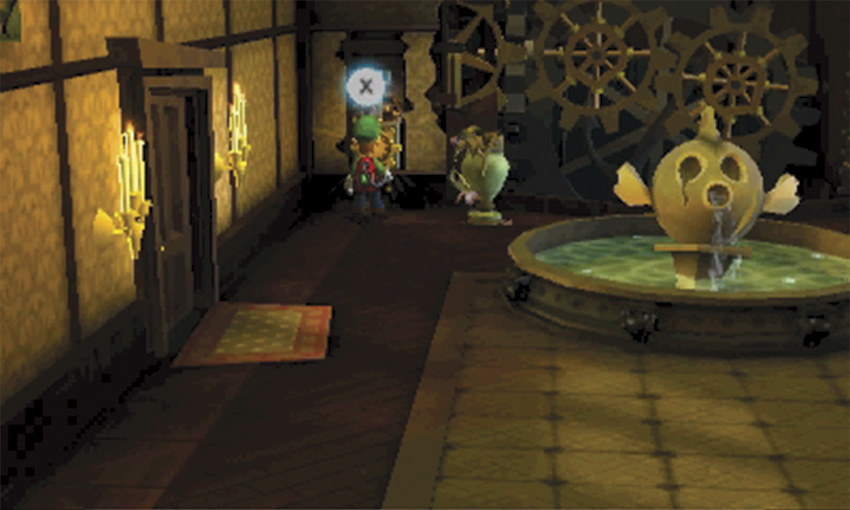
When you reach the Foyer, move to the room’s northwest corner. Investigate the disabled mechanism, then answer the Duel Scream to complete the mission and return to the Bunker.
A-3 Quiet Please!
Use the Crank in the Foyer
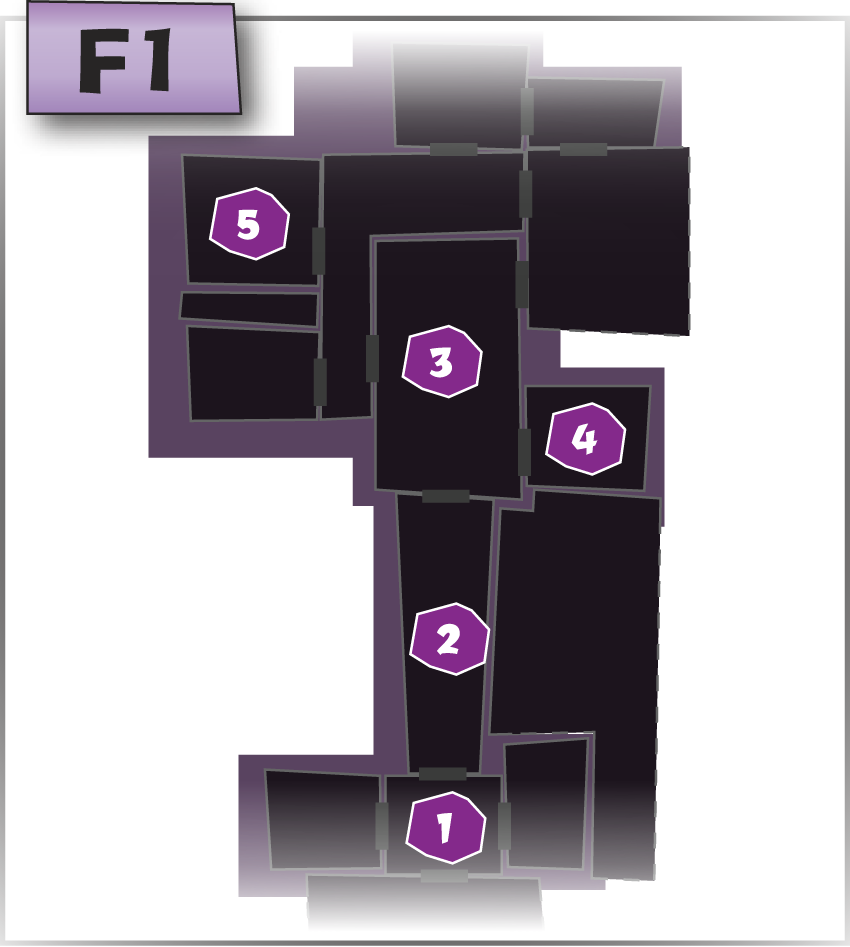
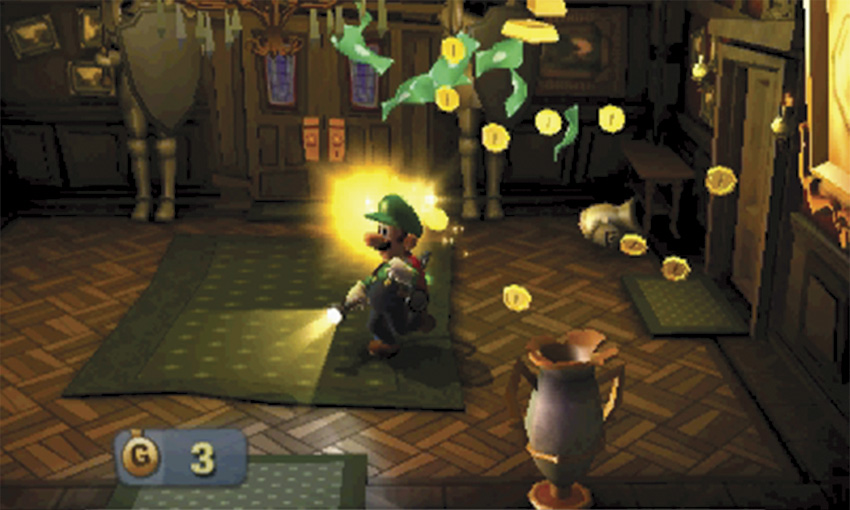
When the mission starts, you’re transported to the Entrance. As you search the room’s objects, make sure you check the suit of armor just east of Guard Hall door. When you do, its helmet falls to the floor and treasure shoots into the air.
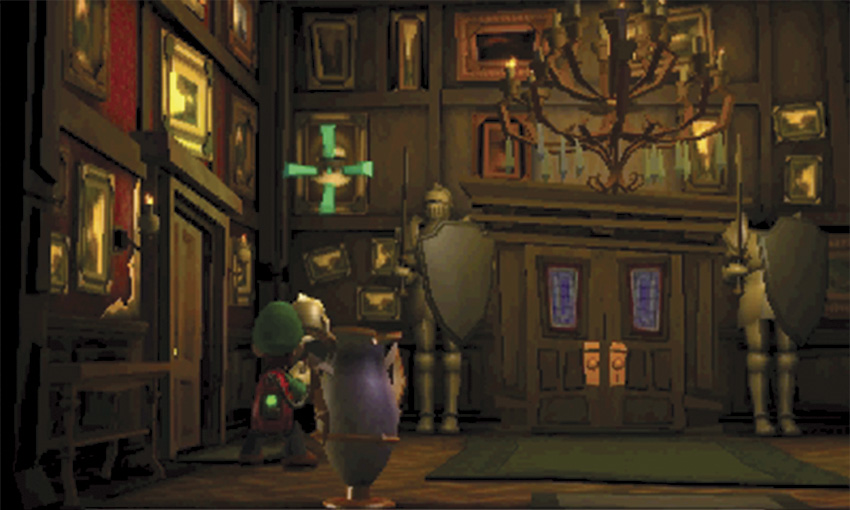
Collect the treasure, then vacuum the helmet into the Poltergust’s nozzle. Move near the painting in the northwest corner. Aim the Poltergust at the painting until a targeting reticle appears. Once it does, hold
 to shoot the helmet at the painting to reveal the Drop Amethyst.
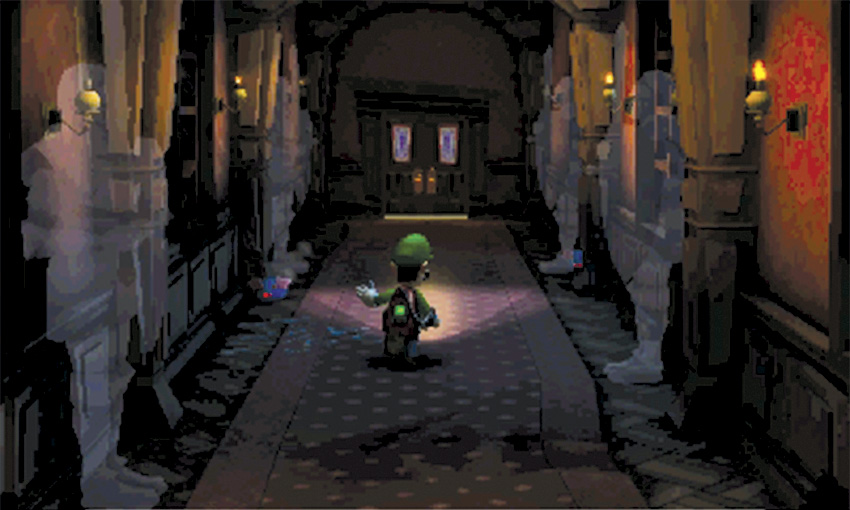
When you’re ready, enter the Guard Hall and follow the path to the Foyer. During this mission, the suits of armor that normally line the area seem to have disappeared.
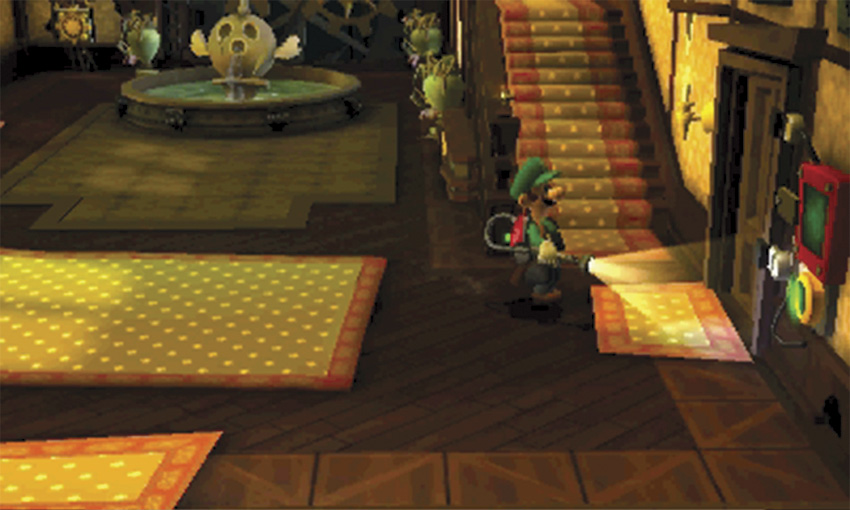
Before you activate the mechanism in the Foyer’s northwest corner, take a moment to search the Coatroom.
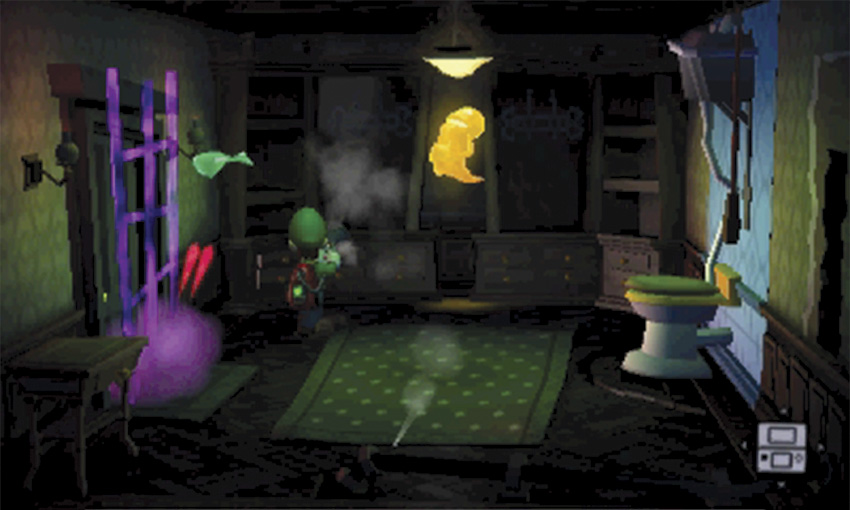
During this mission, there’s a Gold Greenie hiding in the Coatroom. Search the various objects scattered around the room, then A-Pull each of the coats hanging on the north wall. Remove all four coats to reveal the Gold Greenie, then capture the ghost for a nice boost to your treasure-count.
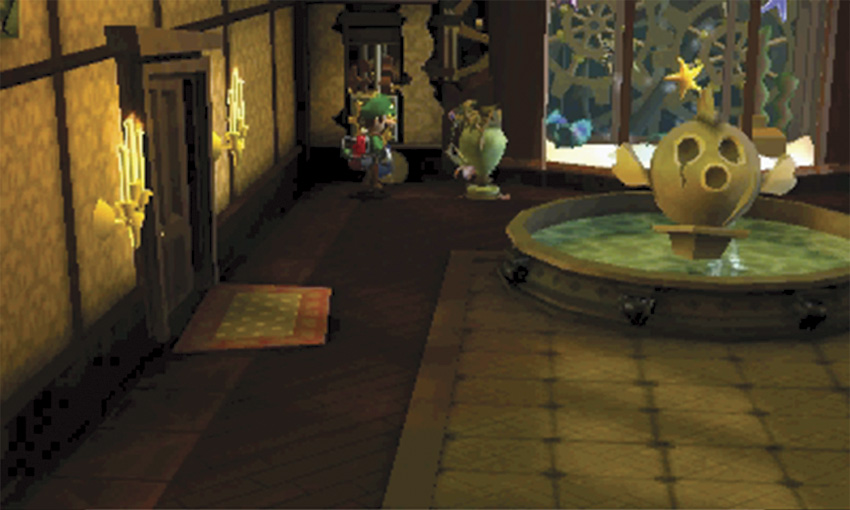
Return to the Foyer and activate the mechanism in the northwest corner. The crank Professor E. Gadd created allows you to move the aquarium on level F2. This opens a new path just up the stairs. The commotion stirs some mice from their hiding places. Flash each critter with the Strobulb, but make sure you catch the elusive gold mouse.
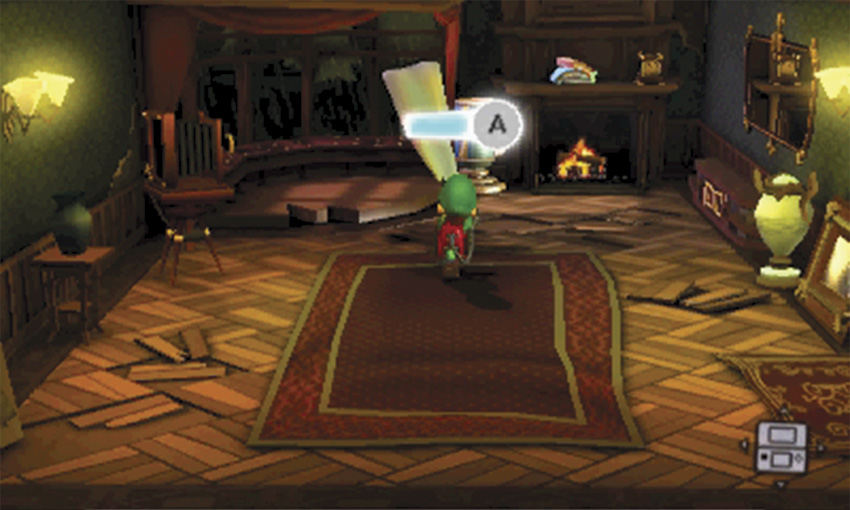
When you replay this mission, make sure you find the hiding Boo before you head upstairs. After you lower the aquarium, pass through the nearby door and follow the Common Hall to the Studio. A-Pull the cloth draped over the easel to find the underlying structure has disappeared. Use the Dark-Light Device to reveal the easel, then capture the Boo that appears.
Reach the Dining Room
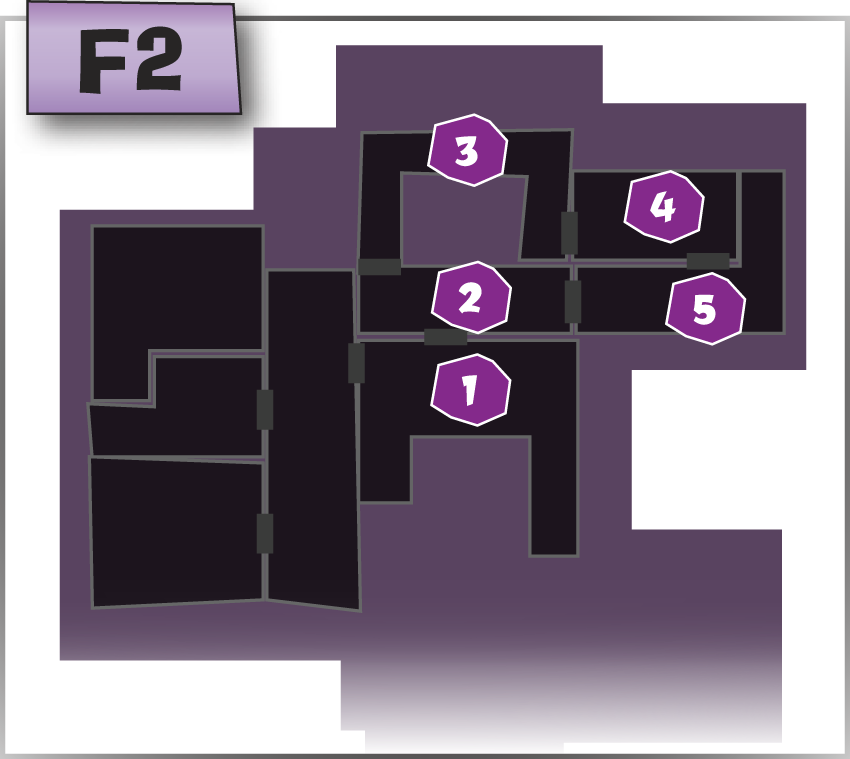
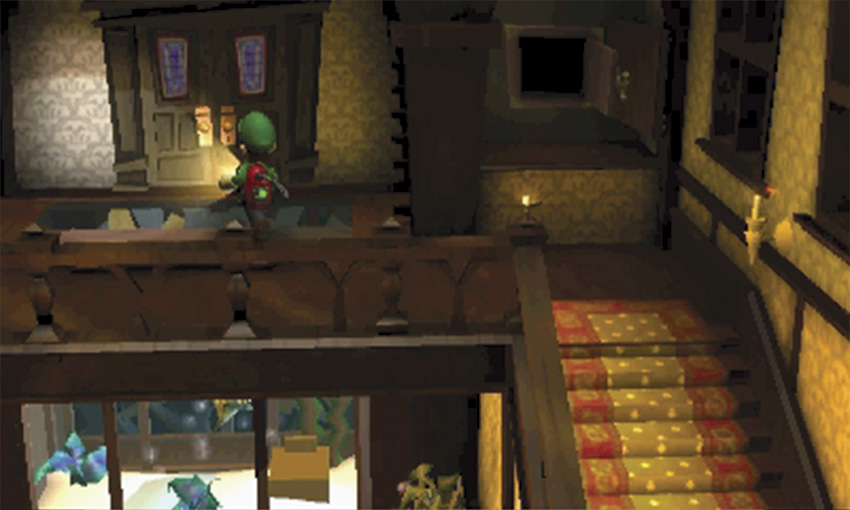
The door that leads from the Common Hall to the Library is still blocked by a large web. To reach your next objective, you’ll have to find an alternate route into the Library. Climb the Foyer stairs, then head through the door on the north wall to enter the Lobby.
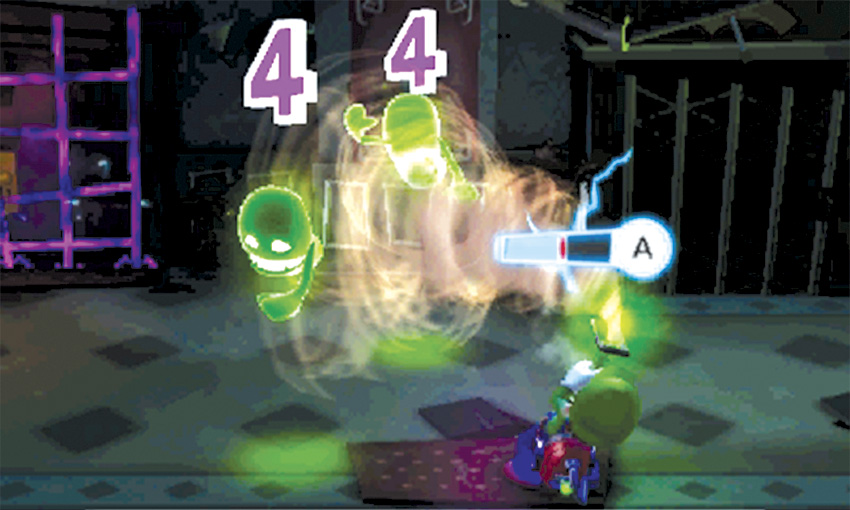
When you first reach the Lobby, you walk in on two very surprised Greenies. Capture these two ghosts, then face the elevator and charge the Strobulb.
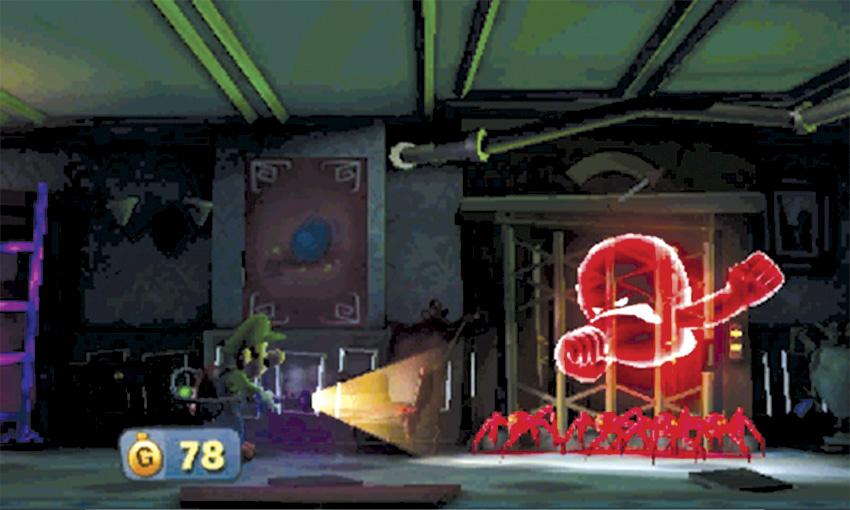
When the elevator arrives, it drops off a Slammer and several spiders. Try to flash the entire group with your charged Strobulb, then latch onto the Slammer before it recovers.
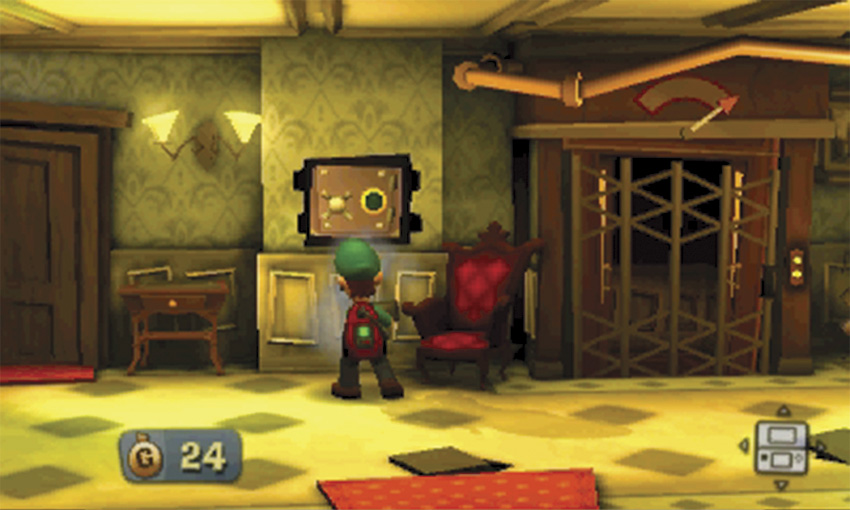
Once you clear all of the hostiles from the Lobby, search the objects scattered around the area. Vacuum the poster from the north wall, then flash the revealed safe with the Strobulb. When you’re ready, use the door in the northwest corner to enter the Library’s F2 level.
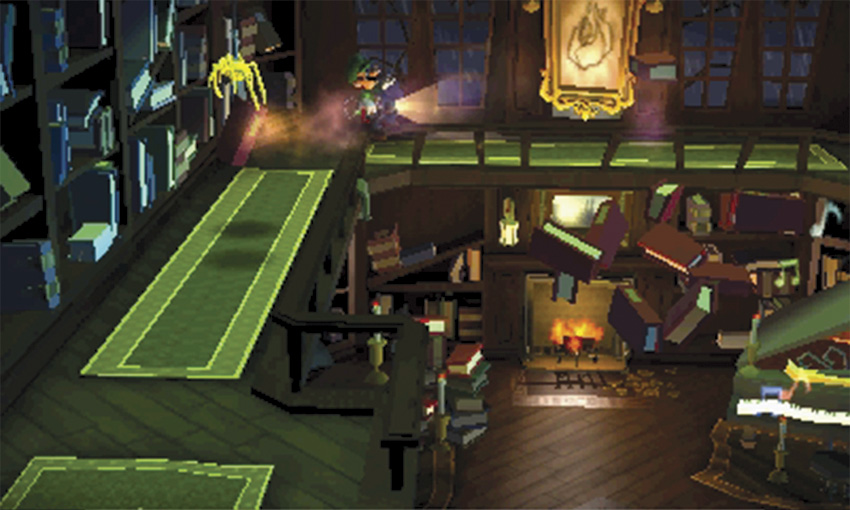
The Library’s F2 level consists of a walkway that leads to the Dining Room. As you follow the path around the room’s perimeter, watch out for the incoming books thrown by unseen enemies. Whenever possible, use the Strobulb to flash the golden critters that appear in the area.
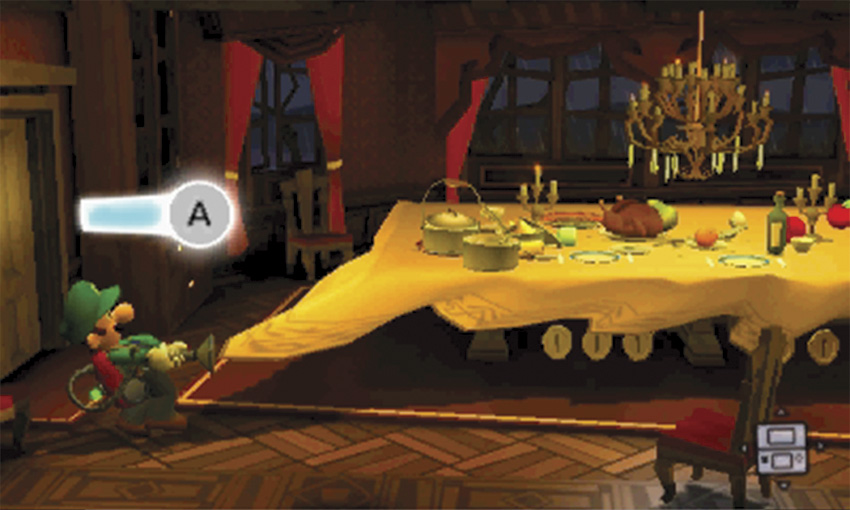
During this mission, the Dining Room is filled with treasure! A-Pull the tablecloth and vacuum the treasure from the floor, then vacuum the chandelier to create a shower of treasure. Collect your reward, then A-Pull all of the curtains along the north wall to reveal yet another stash.
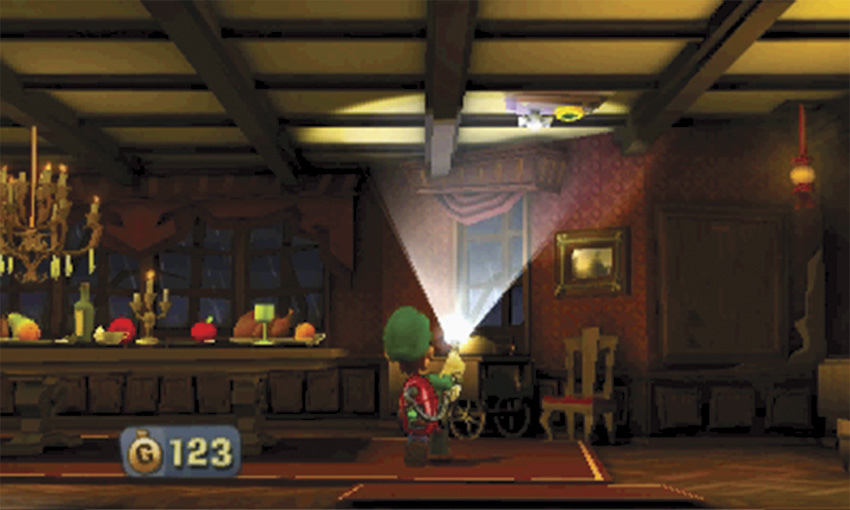
Locate the dumbwaiter in the room’s northeast corner, then look up to find the safe embedded in the ceiling. Use the Strobulb to flash the safe, then collect the Pebble Amethyst that drops to the floor.
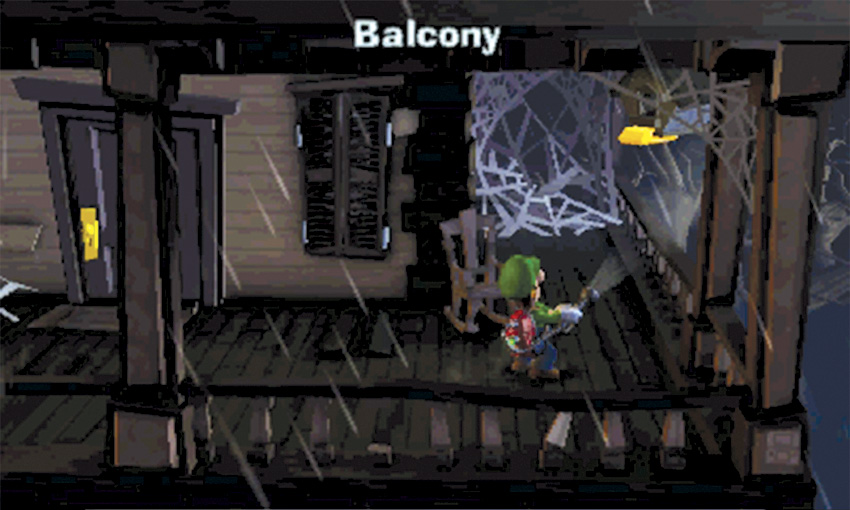
The Dining Room’s dumbwaiter serves as a secret passage to the kitchen. Before you head back to level F1, however, use the door in the foreground to reach the Balcony. Locate the gold brick poking out of the birdhouse, then use a charged Strobulb flash to clear out the bats in the area. Use the Poltergust to vacuum the bills before they flutter out of reach, then vacuum the gold brick. When you’re ready, leave the Balcony and return to the Dining Room.
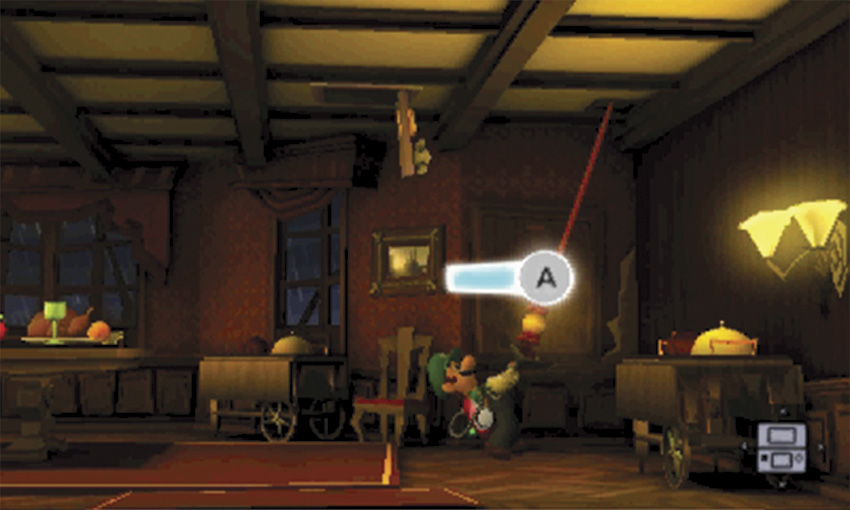
When you’re ready, A-Pull the cord hanging near the room’s east wall. Climb into the open dumbwaiter and drop down to the Kitchen.
Clear the Library
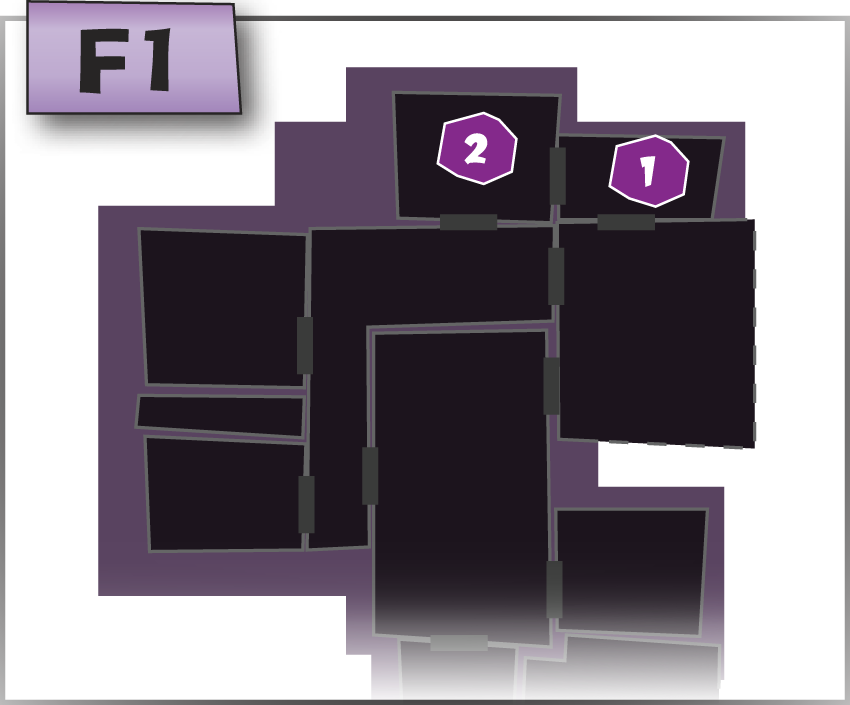
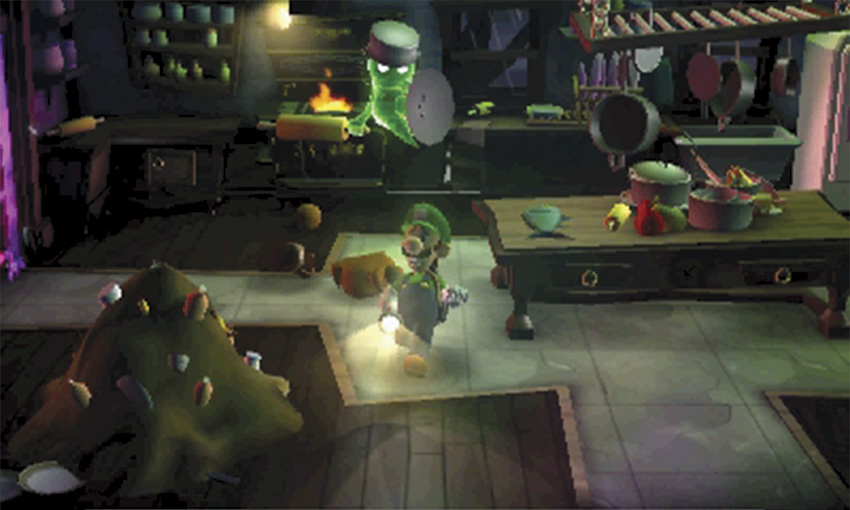
Two of the three Greenies hiding in the Kitchen use extra equipment to enhance their offensive and defensive capabilities. The makeshift armor protects them from Strobulb flashes, and the rolling pins they wield deliver devastating spinning attacks. Approach the stove to reveal the first Greenie, then retreat to dodge its first spinning attack.
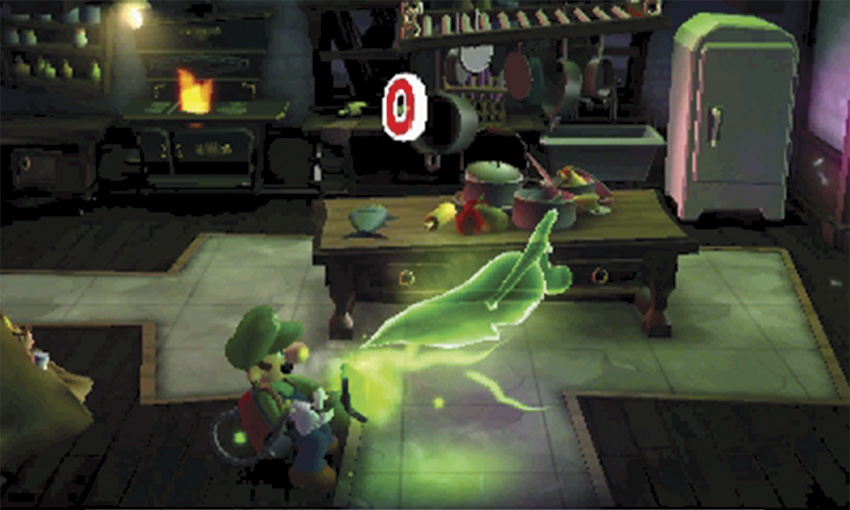
The spinning attack temporarily dazes the Greenie—this is your chance to counter! Flash the Greenie while its guard is down and latch on with the Poltergust. Capture the first Greenie to draw two more out of hiding. Capture all three Greenies, then search the drawers and cabinets located throughout the room.
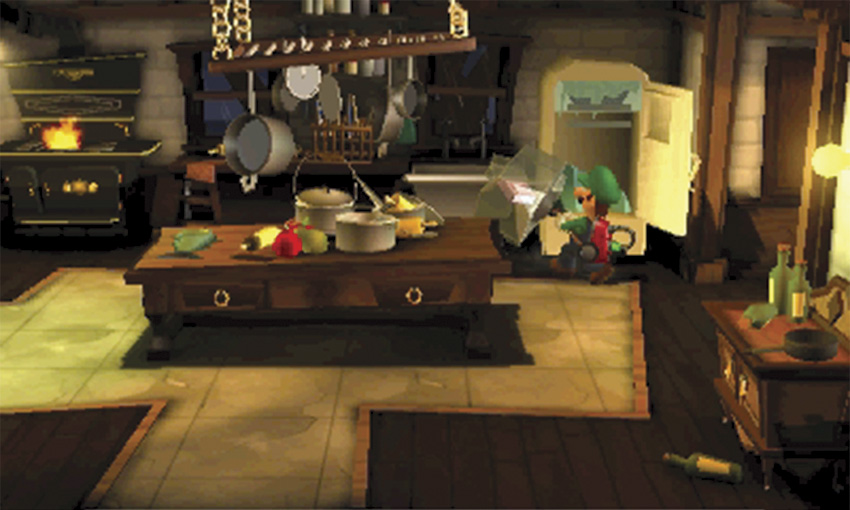
Open the refrigerator to reveal a Gem encased in ice. Use the Poltergust to suck the ice out of the fridge, then carry it to the left. Melt the ice over the stove then collect the Rhombus Amethyst that falls on the floor. When you’re ready, use the door on the west wall to enter the Library.
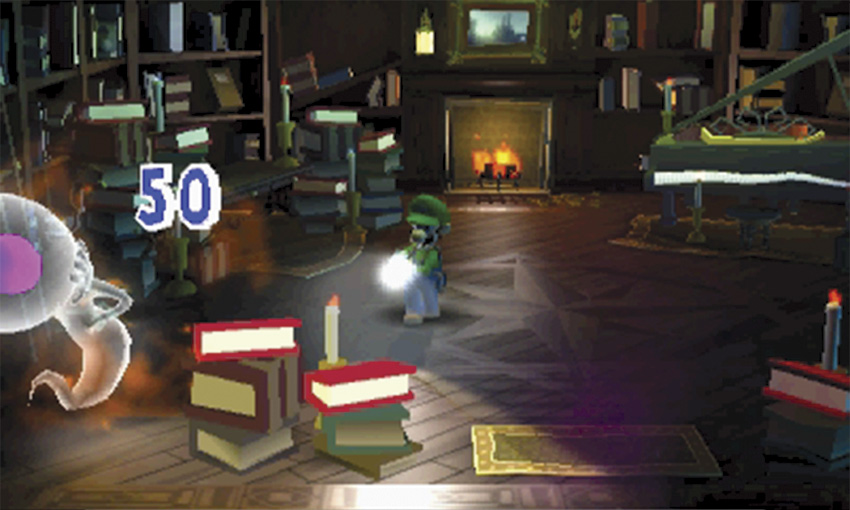
When you enter the Library’s F1 level, the piano-playing Poltergeist vanishes. This powerful ghost uses a combination of stealth and telekinesis to launch a series of surprise attacks. The room contains five stacks of books; during the battle, the Poltergeist moves between them, stopping only long enough to throw a book. Watch the stacks for any signs of movement, then flash the Strobulb to stun the unsuspecting Poltergeist.
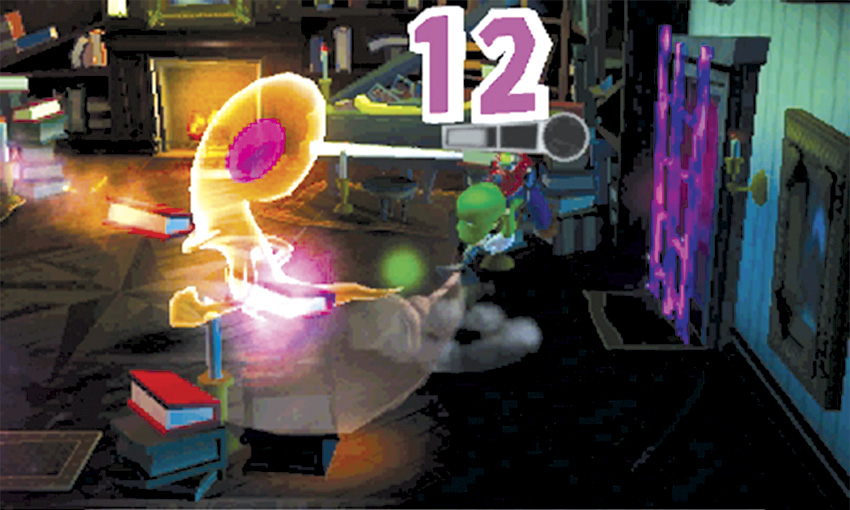
Once you stun the Poltergeist, latch on and wear it down. The ghost continues its attacks during the struggle, so watch out for incoming books. Dodge each attack, and perform an A-Pull whenever you manage to fill your Power Gauge. If needed, release your hold on the Poltergeist and stun it again to resume the struggle.
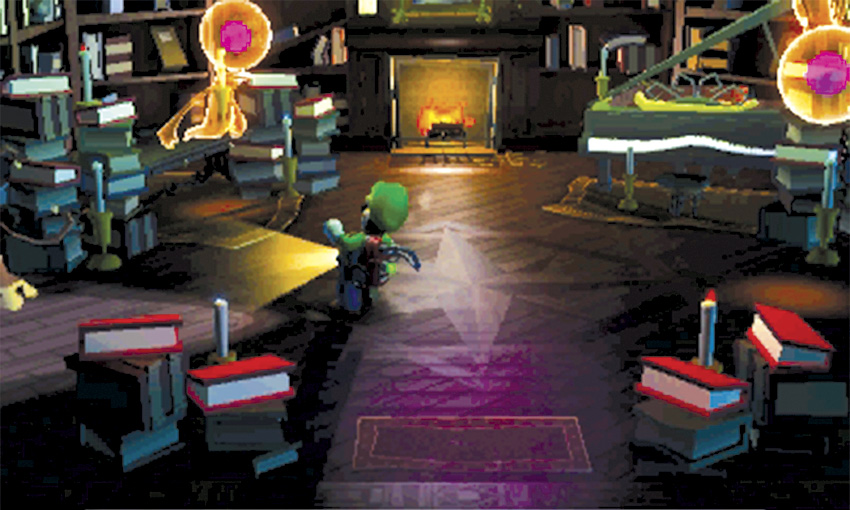
When you capture the enemy, two more Poltergeists join the fight. Use the established tactics to engage each ghost separately, and be sure to dodge incoming attacks during each struggle. After you capture all three Poltergeists, answer the Duel Scream to complete the mission and return to the Bunker.
A-4 Visual Tricks
Head to the Lab
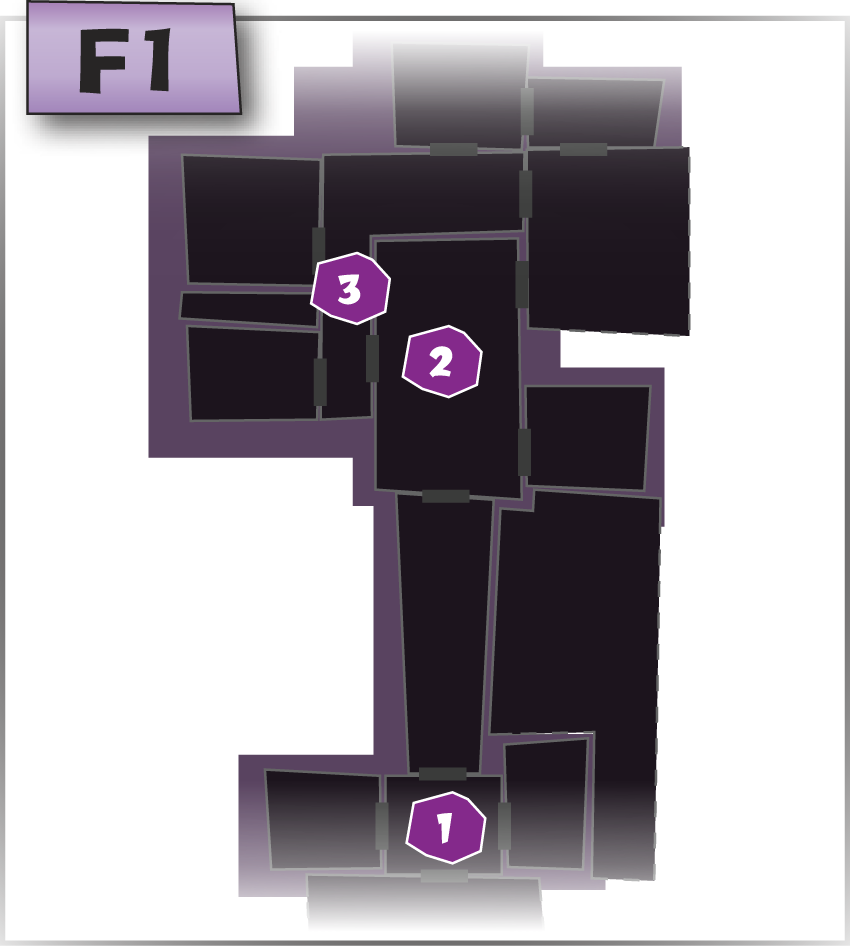
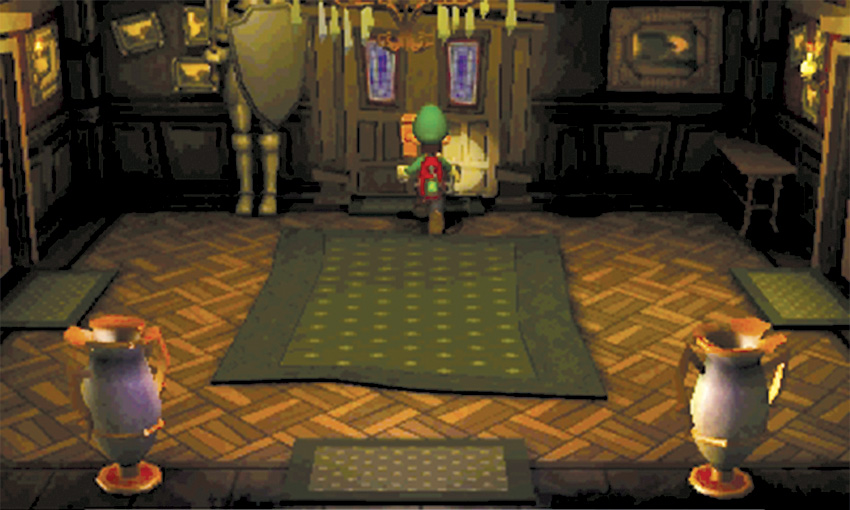
When you arrive in the Entrance, one of the suits of armor seems to be missing. To reveal it, you’ll need to acquire the Dark-Light Device. Luckily, Professor E. Gadd wants you to do just that. To make the most of your time in the mansion, head to the Lab and collect the Dark-Light Device before you search individual areas.
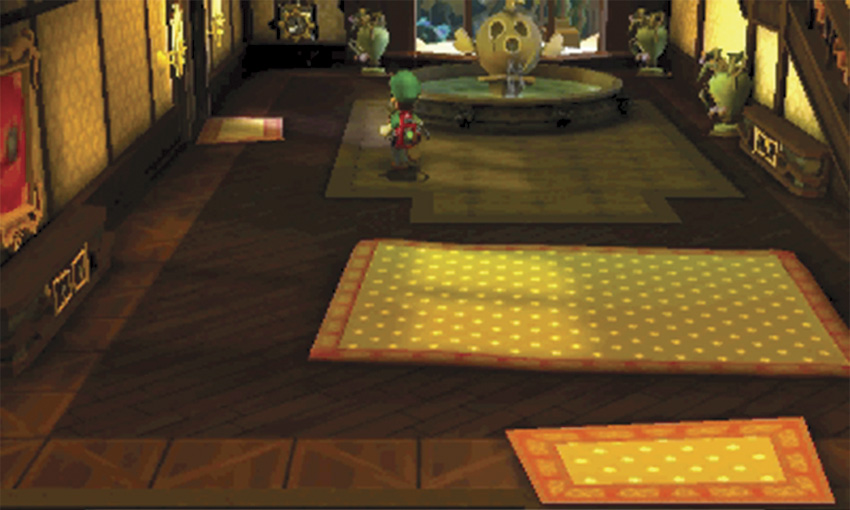
By this time, you shouldn’t have any trouble finding the Lab. Run through the Guard Hall and across the Foyer, then enter the door near the fountain.
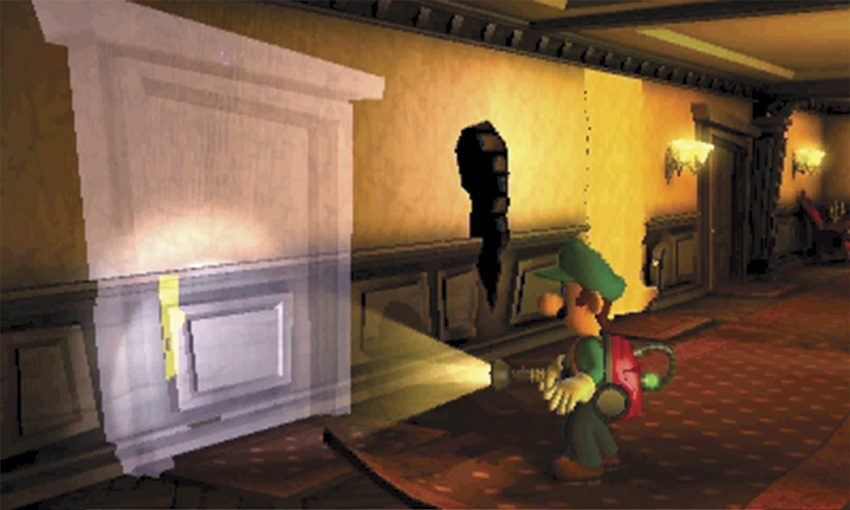
When you reach the Common Hall, the Lab door vanishes. To retrieve the Dark-Light Device, you’ll need to find another way into the room. Answer the Duel Scream, then return to the Foyer.
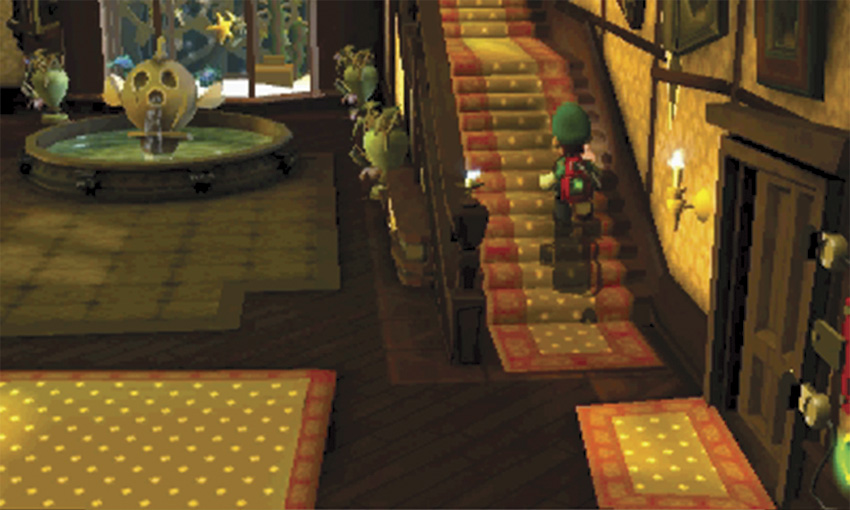
Cross the Foyer and climb the stairs up toward level F2. The blue flames along the path indicate the presence of another hidden ghost.
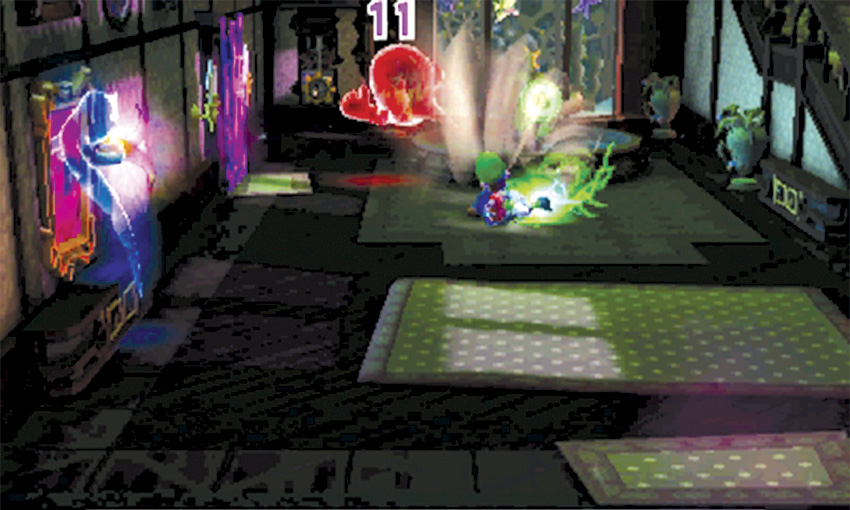
Once again, the stairs give way before you reach the next floor. A Hider taunts you and vanishes into a nearby object, and a Slammer emerges from the fountain. Capture both ghosts, then capture the two Hiders that join the battle. Once you clear all four enemies from the area, head back up the stairs to reach level F2.
Find the Secret Passage
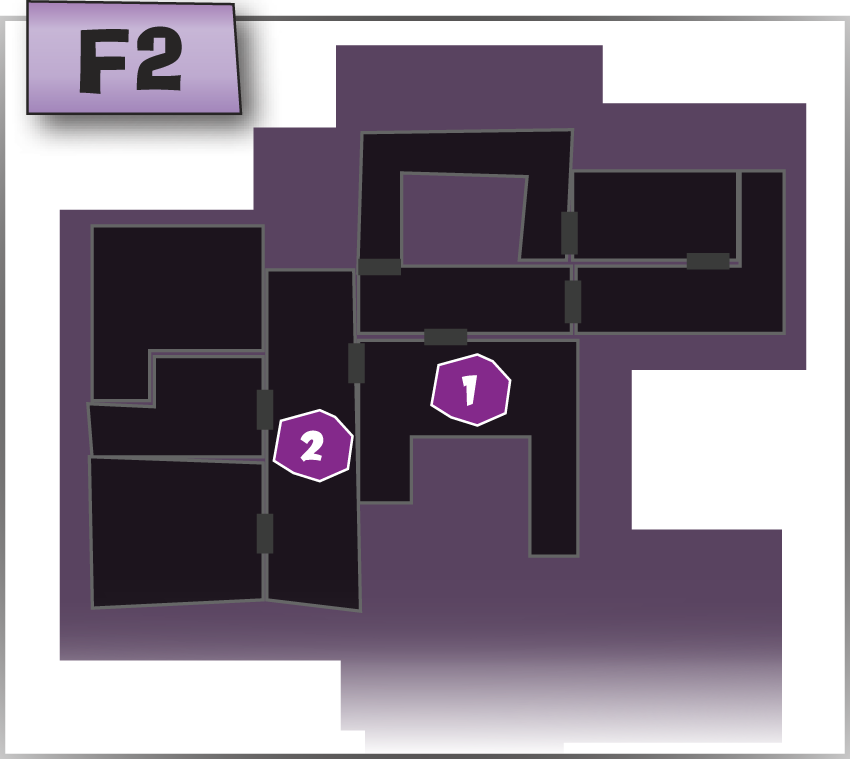
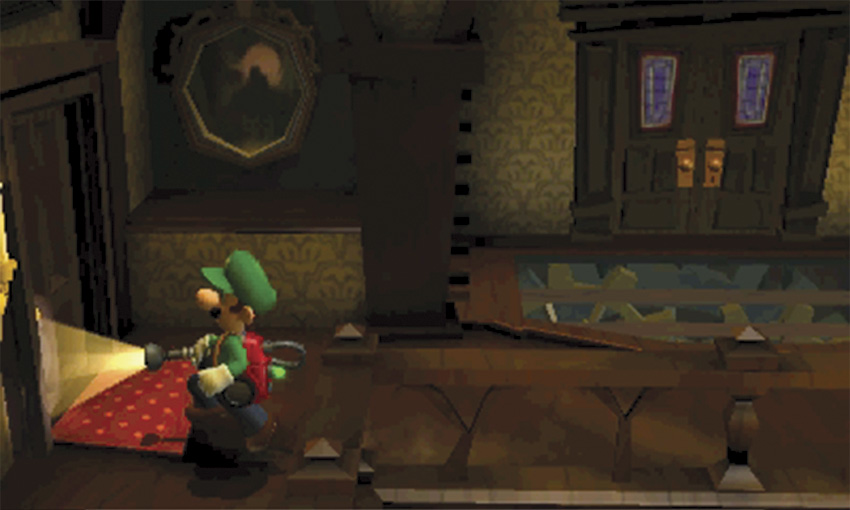
The Parlor is directly above the Lab, making it the most likely location for a secret passage. Leave the Foyer through the western door and follow the Master Hall to the Parlor.
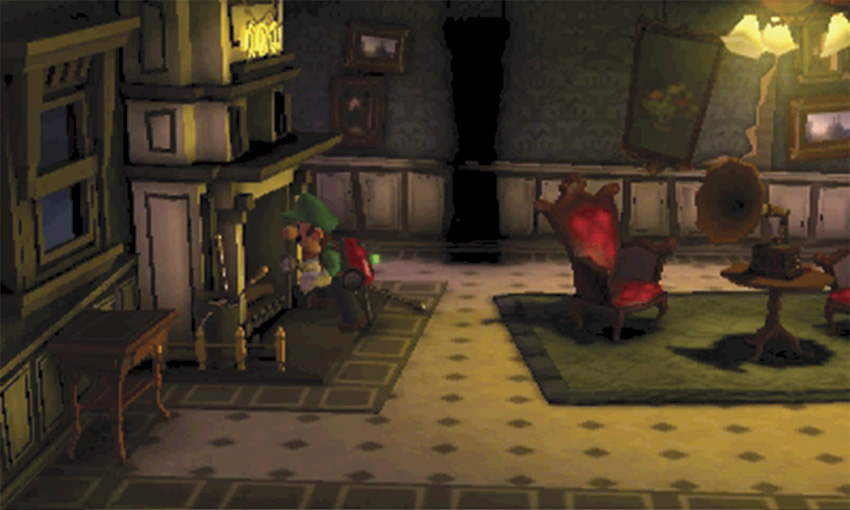
When you reach the Parlor, cross the room to trigger a short cinematic. Some Spirit Balls emerge from the fireplace and cause the nearby clock to vanish. Inspect the now-extinguished fireplace to drop down to the Lab.
Use the Dark-Light Device
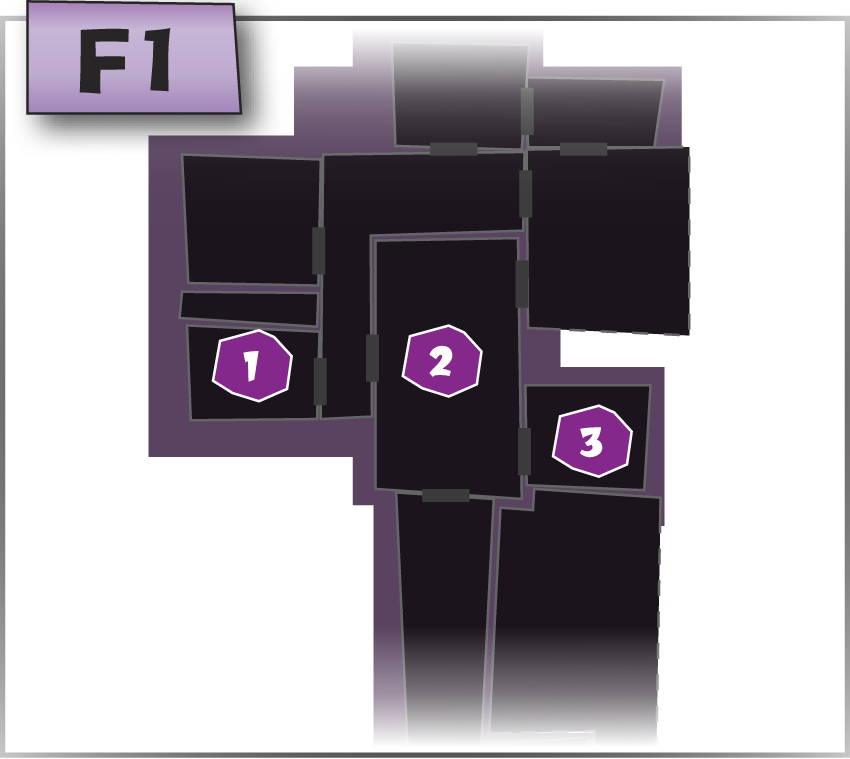
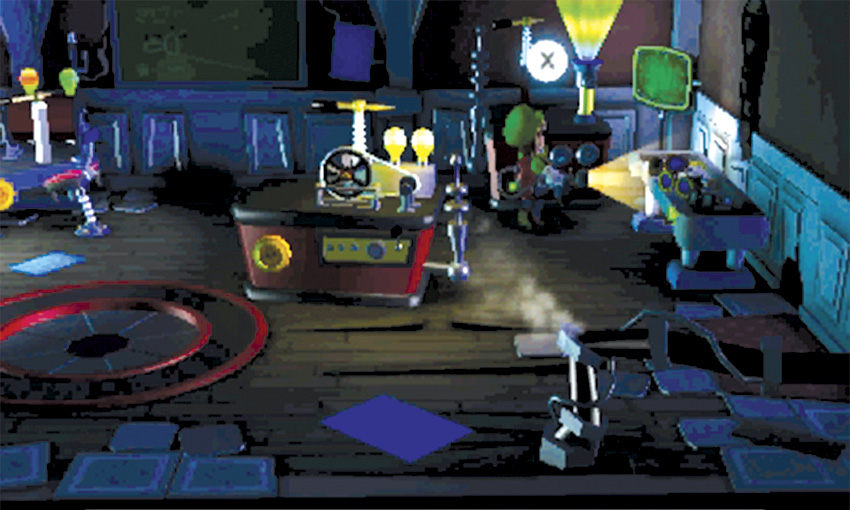
The Dark-Light Device is on the workspace in the Lab’s northeast corner. When you attempt to collect it, a Greenie grabs the gadget and disappears through the spinning chalkboard.
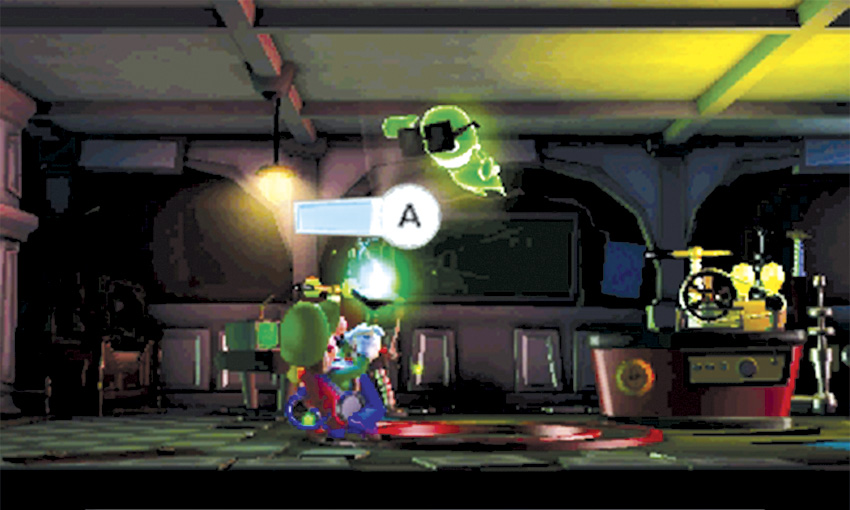
Vacuum the chalkboard and pull the Greenie back into the Lab. This enemy uses sunglasses to protect itself from Strobulb flashes. Before you attempt to stun this target, A-Pull the sunglasses off of its face. Once the Greenie is vulnerable, flash it and capture it. When you do, two more Greenies appear. Repeat the process to capture the new additions, then collect the Dark-Light Device they leave behind.
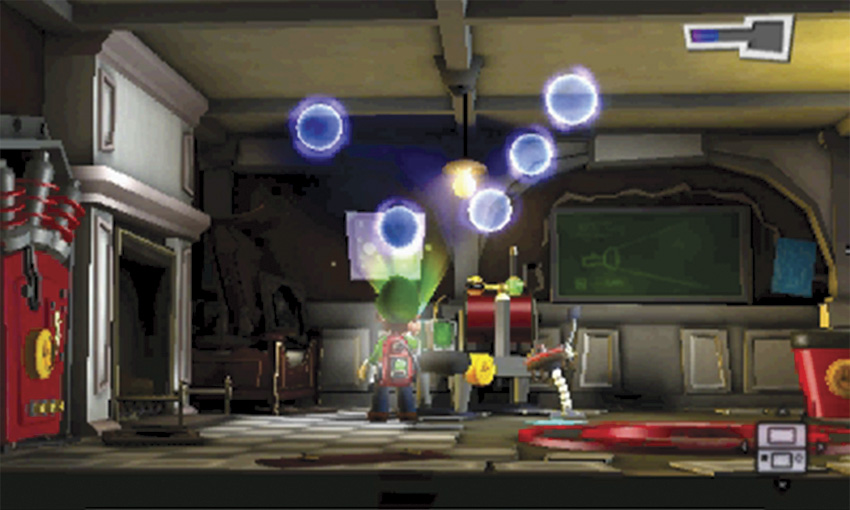
After you answer the Duel Scream, use the Dark-Light Device to reveal the hidden objects in the area. Move to the Lab’s northwest corner and aim your Flashlight at the dark patch on the wall. Hold
 to bathe the area in Dark Light until the Spirit Balls appear.
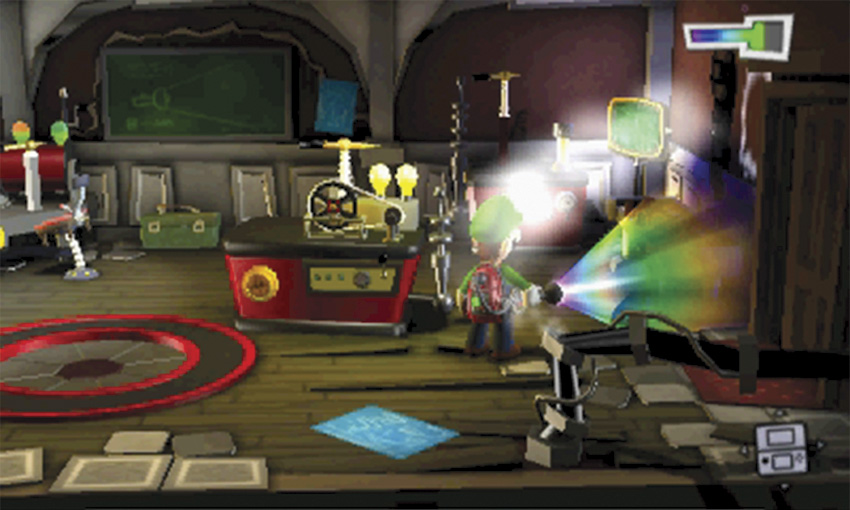
When you capture all of the Spirit Balls, a safe appears on the wall. Repeat the process to reveal the toolbox hidden directly under the chalkboard and the Lab’s missing door. Use the Strobulb to open the safe, then check any of the Lab’s remaining objects. Before you leave, use the Dark-Light Device to see the hidden trail left by the ghost responsible for these illusions.
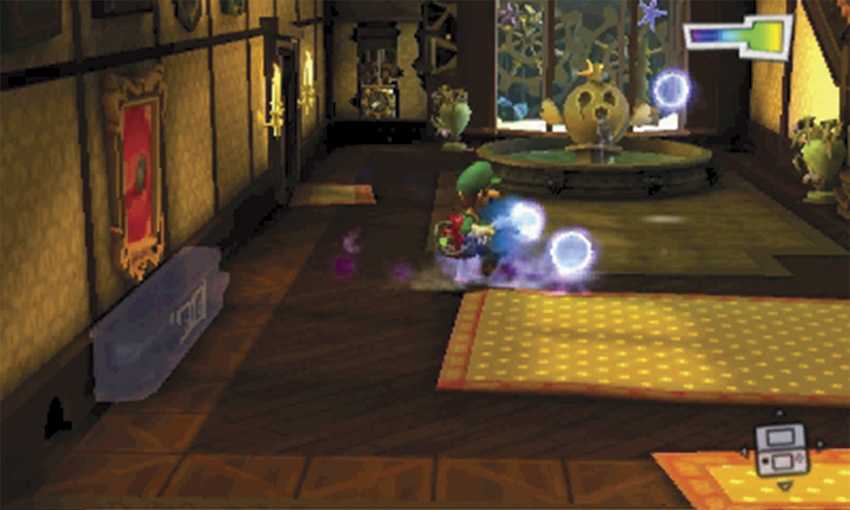
The trail leads out of the Lab, across the Common Hall, and through the Foyer. Before you pursue this mysterious ghost, however, use the Dark-Light Device to reveal the missing objects in the areas you skipped when the mission started. The Foyer’s fountain, the vase in the northeast corner, and the drawers in the southwest corner have all vanished.
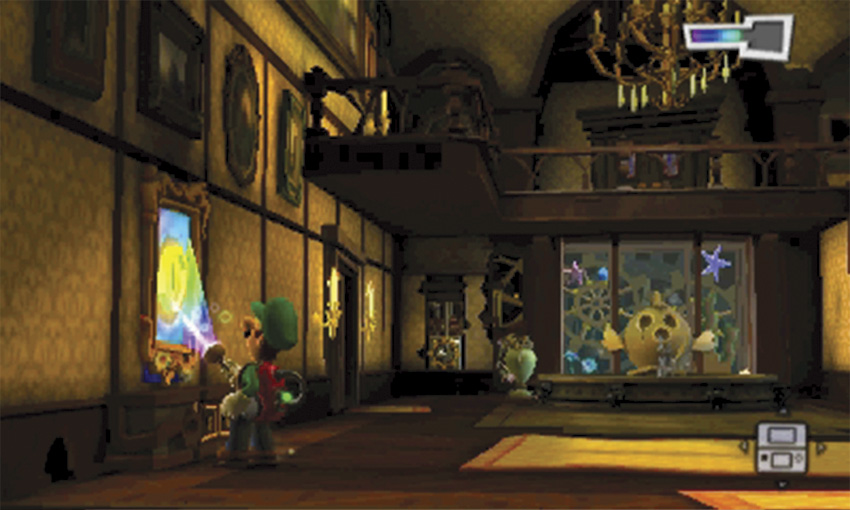
In addition to breaking Spirit Ball illusions, the Dark-Light Device can affect the framed sketches located throughout the mansion. Vacuum the painting in the Foyer’s southwest corner, then bathe the revealed sketch in Dark Light. Hold the beam in place until the hidden treasure spills out of the sketch.
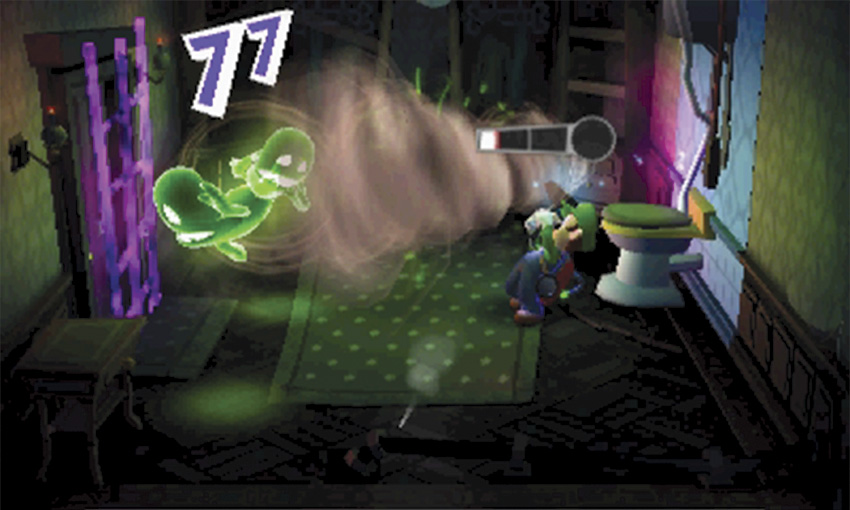
Before you head back toward the Entrance, take a moment to search the Coatroom to the east. Move across the room until two Greenies spring their trap. Both enemies appear at the door leading to the Foyer; react quickly to catch both Greenies with a single Strobulb flash. Capture both enemies with a single attack earn a nice treasure reward, then deal with the Greenie that emerges from the north wall. Search the objects located throughout the room, then make your way back to the Entrance.
Hunt for Treasure
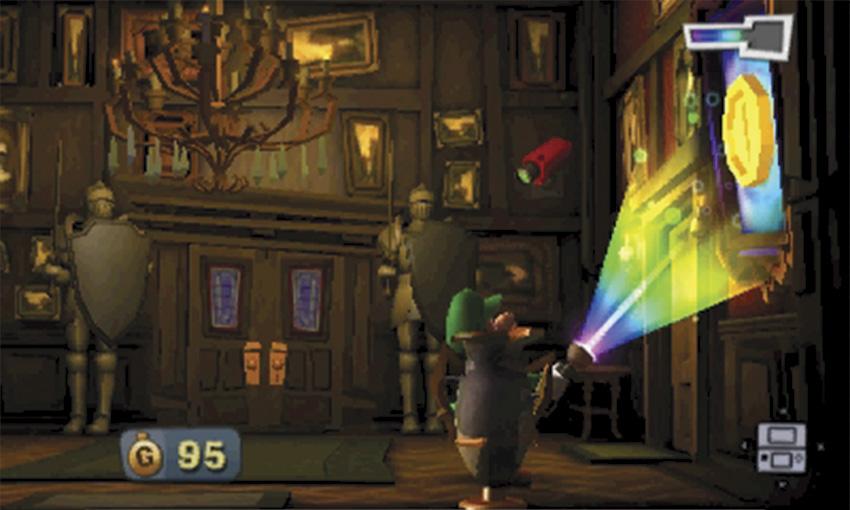
When you reach the Entrance, use the Dark-Light Device to reveal the missing suit of armor, then use it to pull the treasure out of the framed sketch. Search the room’s remaining objects, then head through the door in the foreground to search the Front Yard.
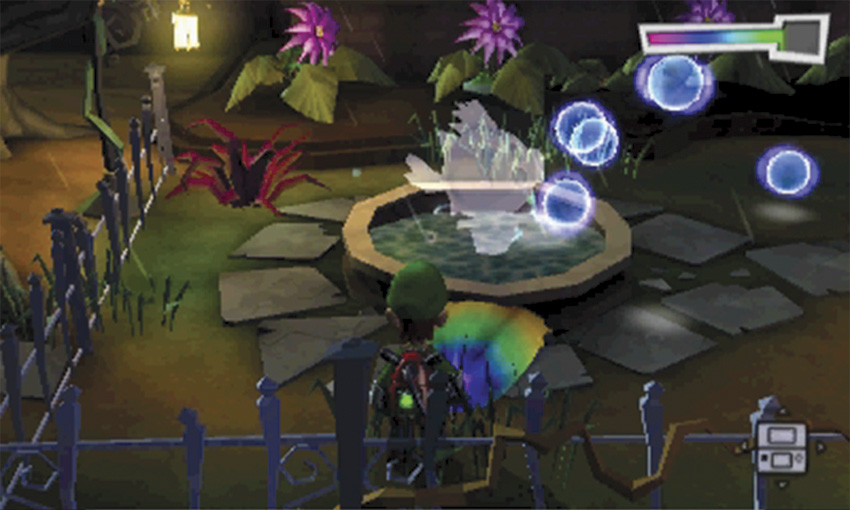
Interact with the standard objects as you search the Front Yard. Use the Strobulb to flash the purple flowers, vacuum the weeds, and check the vases placed around the area. During this mission, the Front Yard’s fountain is missing. Use the Dark-Light Device to reveal the fountain in the west half of the area.
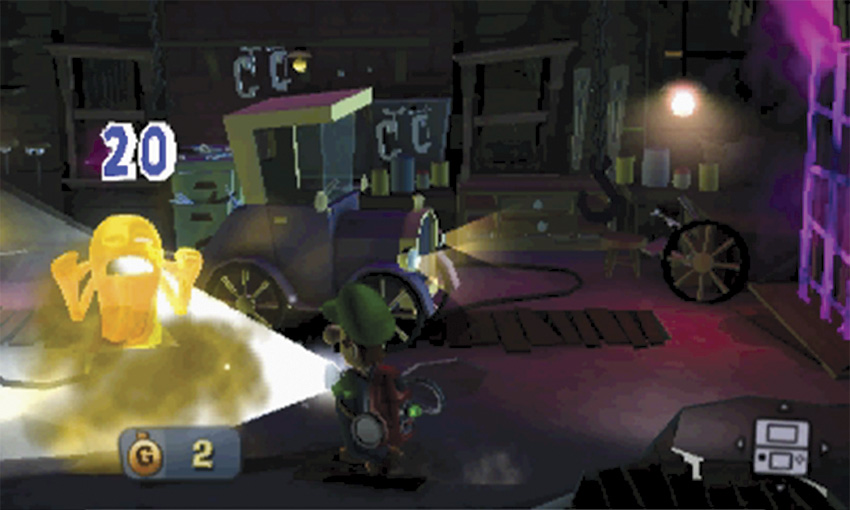
When you’re ready, head back inside and enter the Garage. Search all of the objects in the room, and use the Strobulb to flash the mice skittering across the floor. When you’re ready, move back toward the door to draw a Gold Greenie out of hiding. Capture the elusive enemy, collect the resulting reward, and head back through the door.
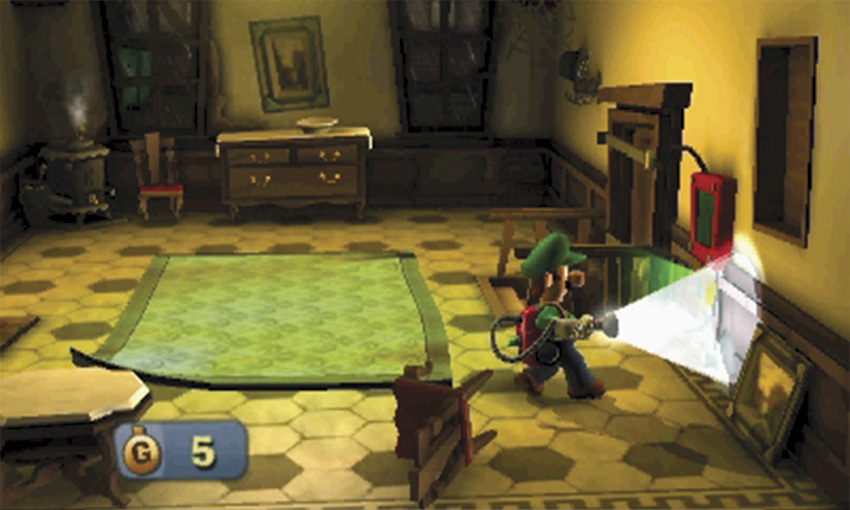
Move across the Entrance and head into the Mudroom. As you search the objects around the room, peek out of the window to find the doghouse has disappeared from the Mudroom Exterior. When you’re ready, use the Strobulb to open the locked door and head out to the Mudroom Exterior.
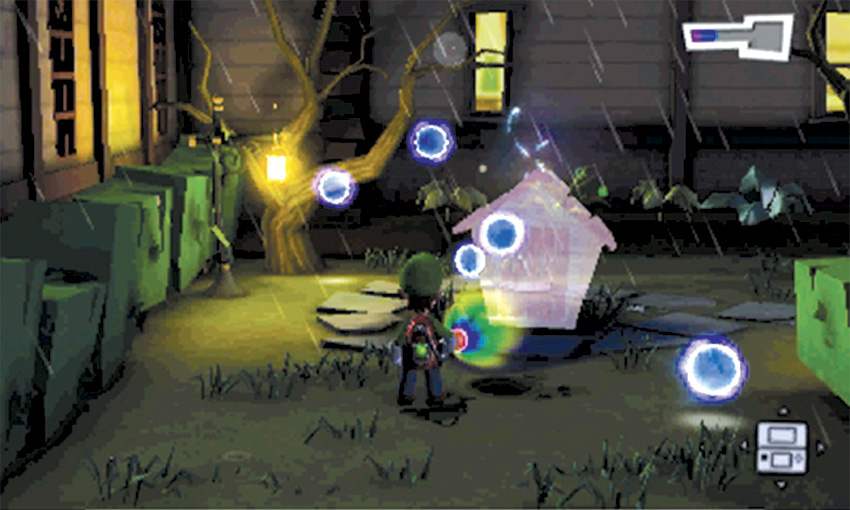
Use the Dark-Light Device to reveal the missing doghouse. After you capture all of the Spirit Balls, open the doghouse to find a bonus challenge. Complete the challenge to earn a substantial treasure reward.
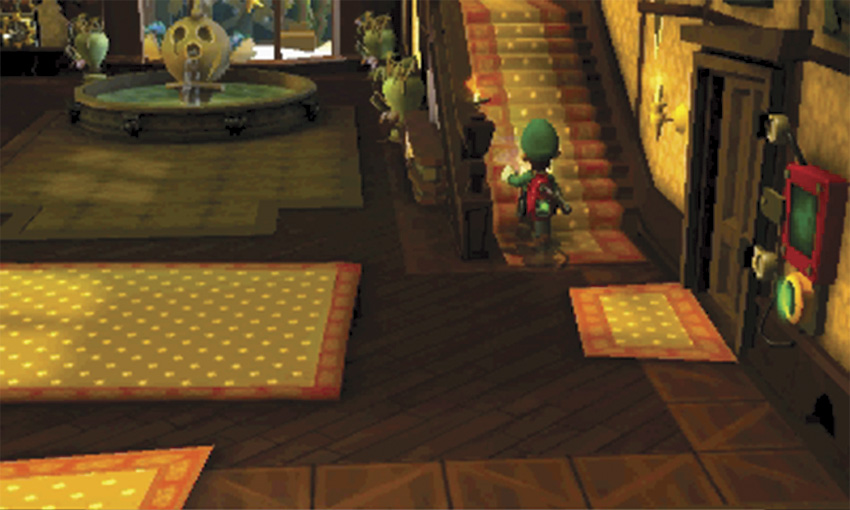
 When you’re finished searching the areas around the Entrance, return to the Foyer and head upstairs.
Pursue the Mysterious Ghost
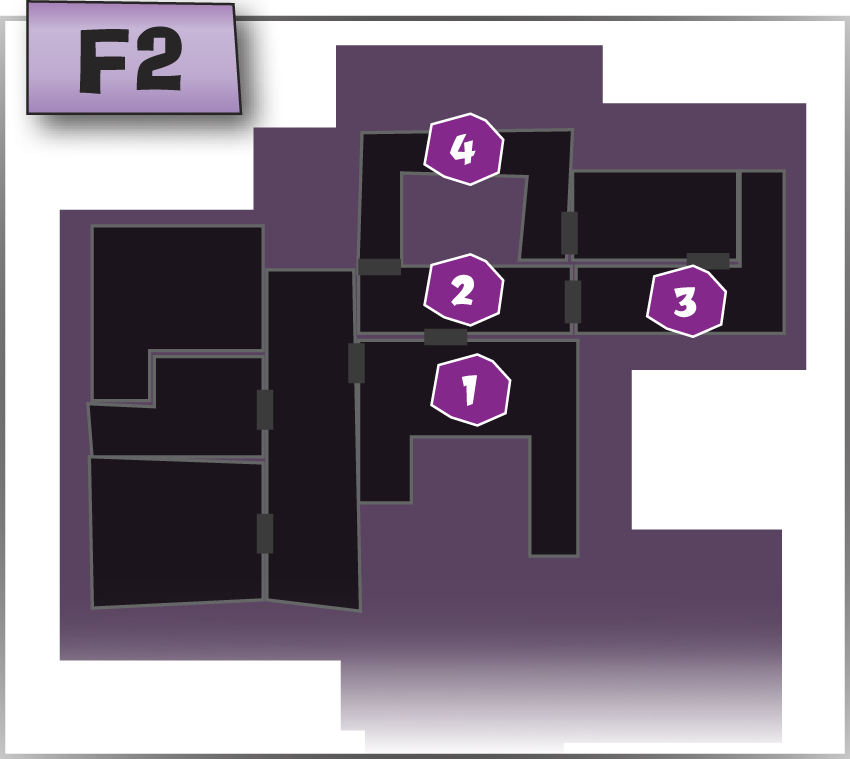
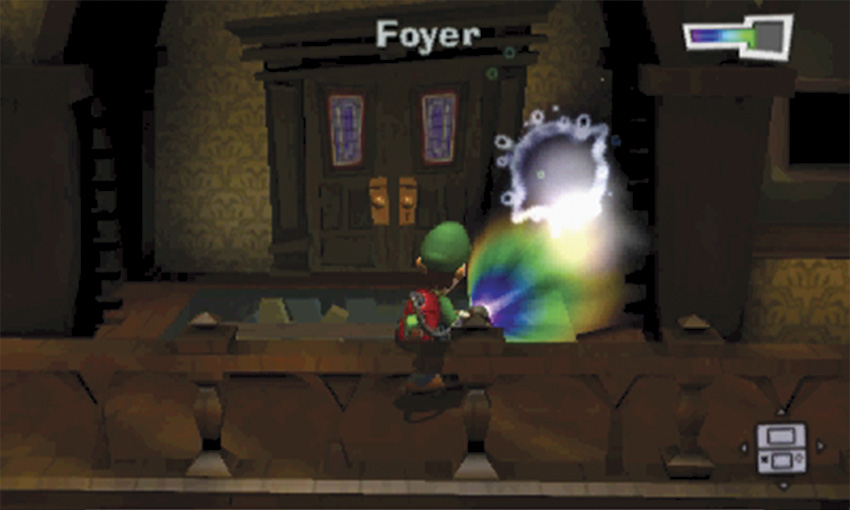
Use the Dark-Light Device to follow the hidden trail as it moves through the Foyer, then follow it into the Lobby.
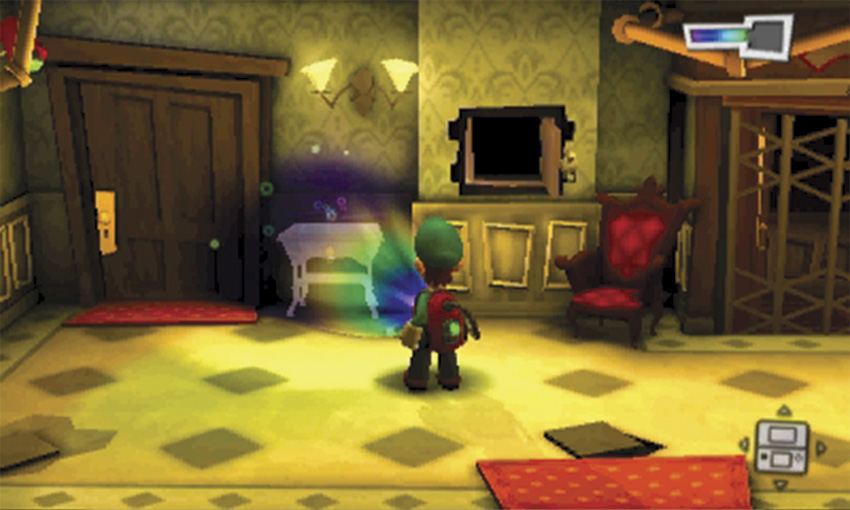
As you search the Lobby, use remember to use the Dark-Light Device. Reveal the missing table near the northwest corner and the missing vase in the southwest corner. Search both objects to receive some treasure.
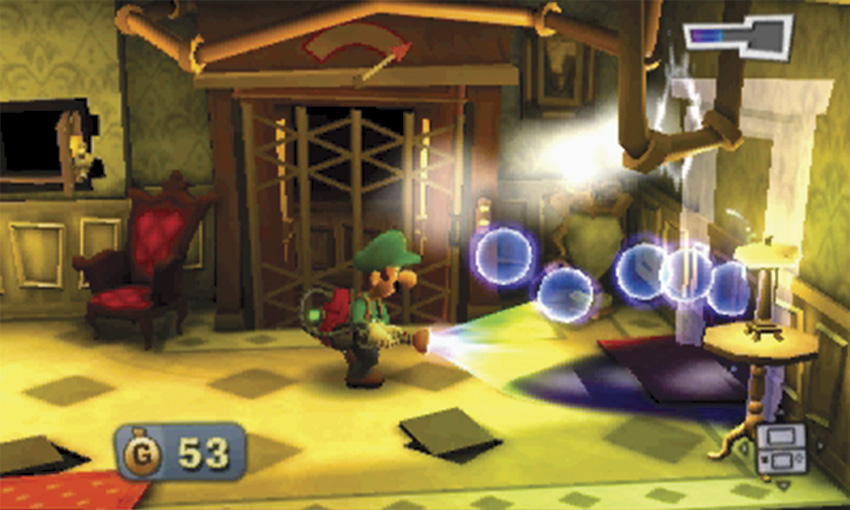
Follow the hidden trail to the east wall. Use the Dark-Light Device to reveal the missing door, then head out to the Balcony.
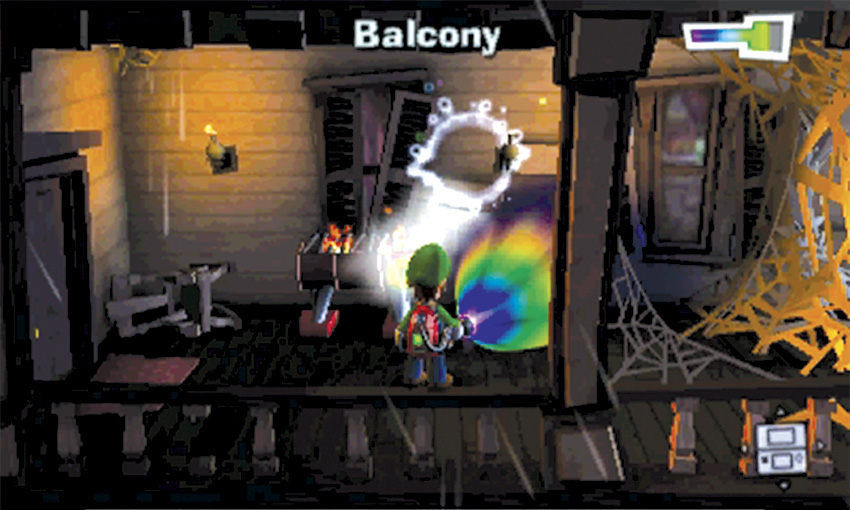
The trail leads to the Dining Room, but the path is blocked by a large web. Vacuum the treasure hidden high in the northwest corner, just under the overhang. Look through the window for signs of the ghost, then leave the Balcony and return to the Lobby.
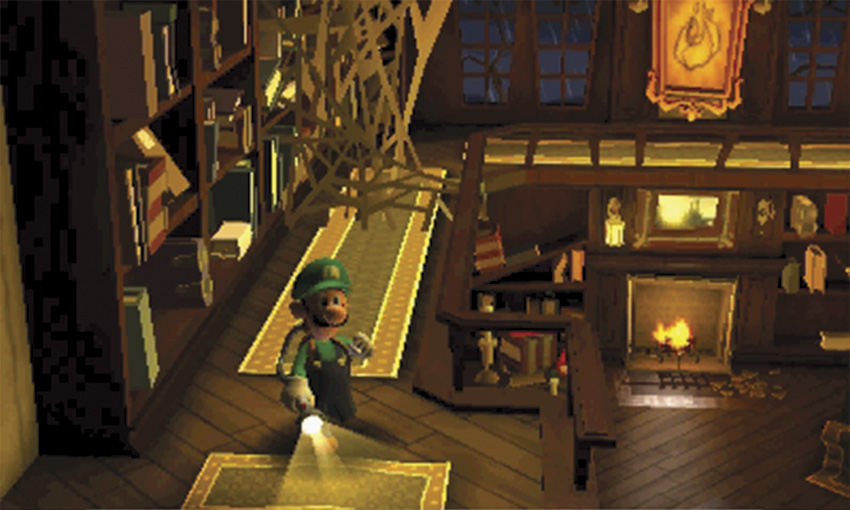
During this mission, the F2 level of the Library is blocked by a large web. To get into the Dining Room, you must use the Kitchen’s dumbwaiter. Before you head back downstairs, however, continue your search of level F2.
Resume the Treasure Hunt
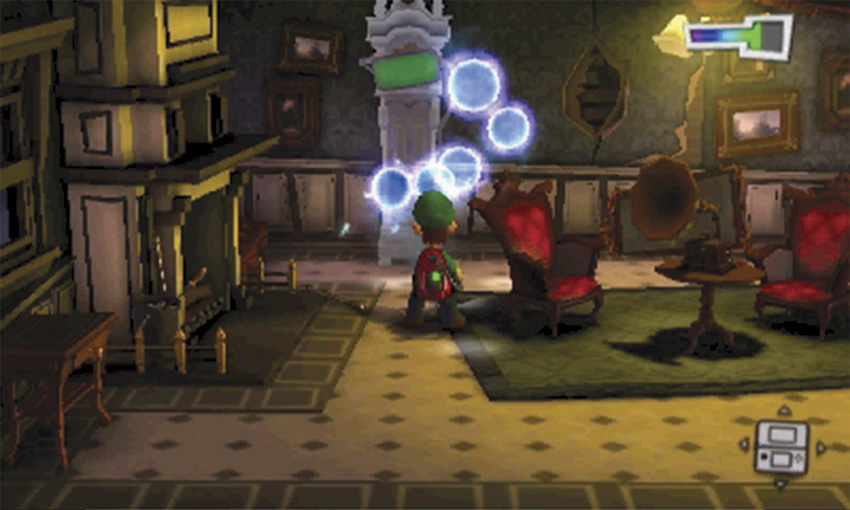
Return to the Foyer and continue to the Master Hall. Pop into the Parlor and use the Dark-Light Device to reveal the missing clock. Collect any loose treasure and search any objects you skipped during your previous visit. When you’re ready, return to the Master Hall and continue your search in the Bedroom.
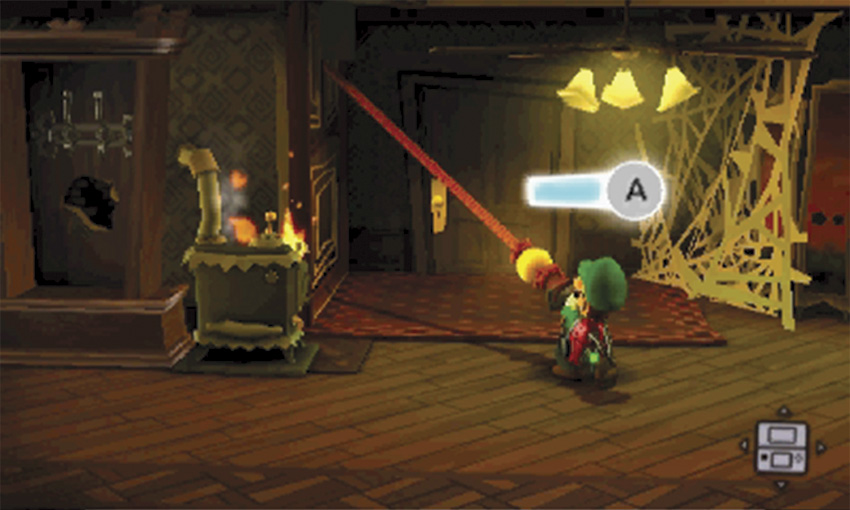
Search the objects around the Bedroom, then A-Pull the hanging cord and use the secret passage to move to the Study.
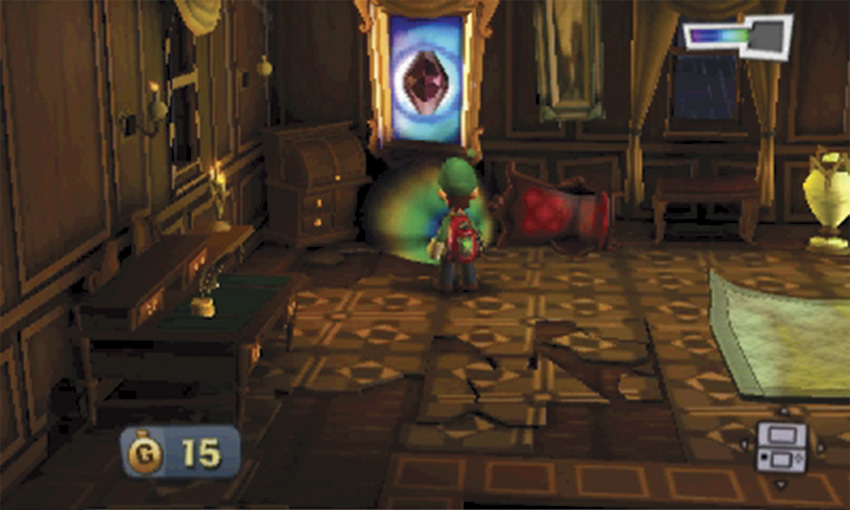
Now that you have the Dark-Light Device, you can collect the Spindle Amethyst from the Study. A-Pull the curtains blocking the framed sketch, flash the bats that swoop down from the ceiling, then use the Dark-Light Device to pull the Gem out of the sketch. Use the Poltergust to roll the carpet, step on the switch, and inspect the fireplace to drop down to the Studio.
Reach the Dining Room
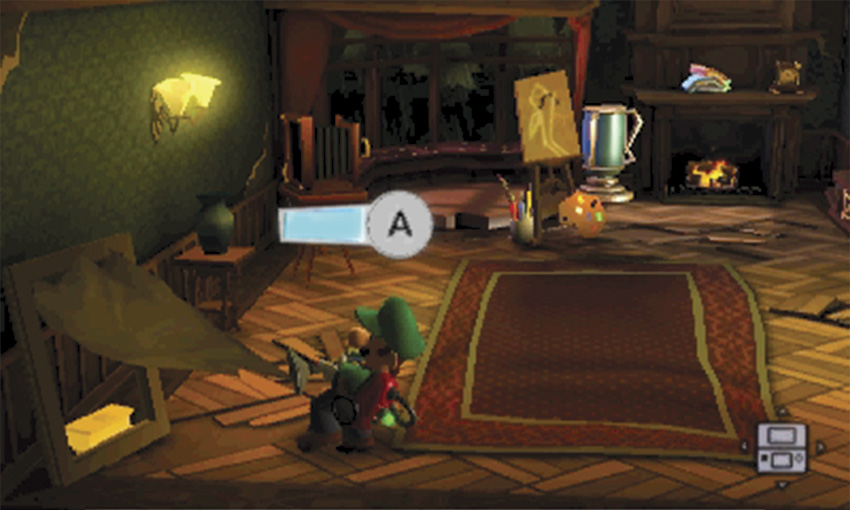
Search the objects in the Studio, then A-Pull the loose canvas in the southwest corner to find some treasure. When you’re ready, step out of the Studio and into the Common Hall.
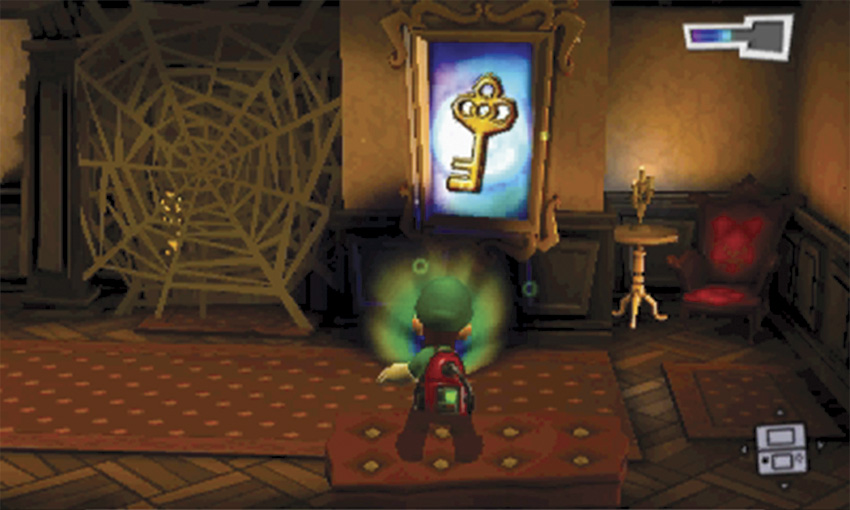
Follow the Common Hall north and continue around the bend. The Library is still blocked, but you now have the tools needed to reach the Patio. First, use the Dark-Light Device to pull the Key out of the framed sketch just past the Library Door.
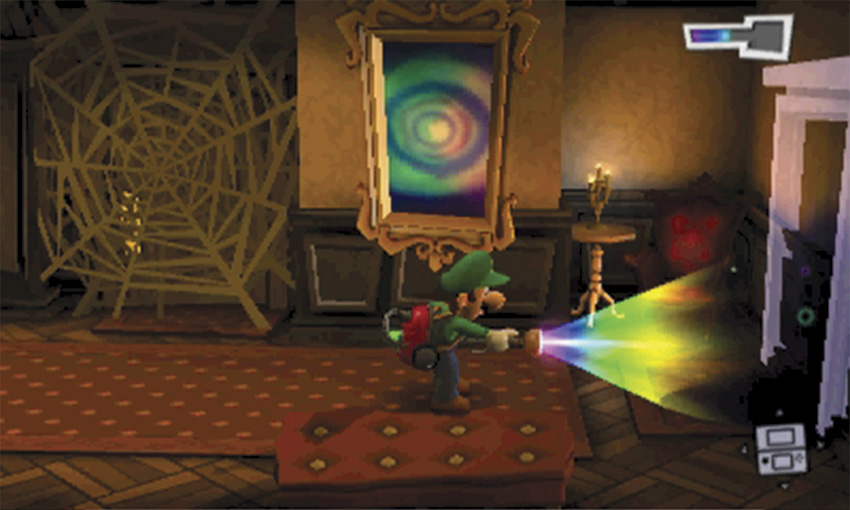
Aim the Dark-Light Device at the end of the Common Hall to reveal a missing door. Collect the Spirit Balls to break the illusion, then head through the door to find the Patio.
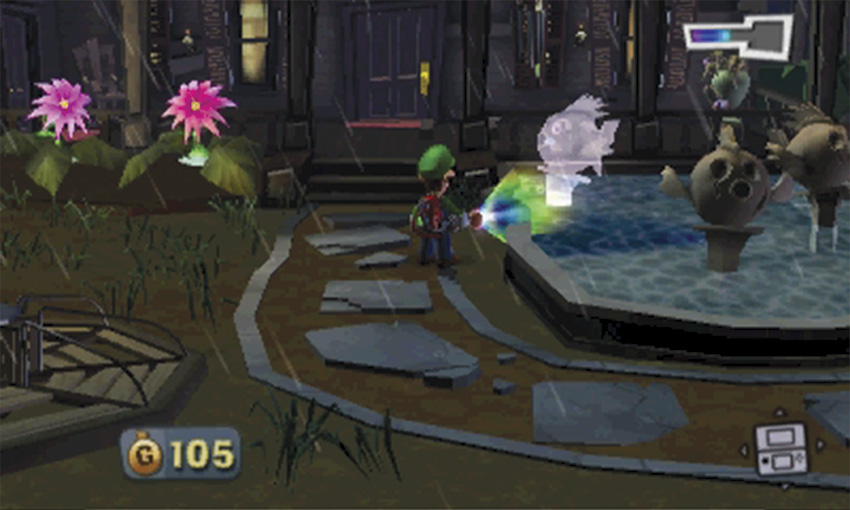
The Patio is full of hidden treasure, so take your time exploring the area. Flash the bats hanging above the porch, then flash the purple flowers at the edge of the grass. Use the Poltergust to vacuum the merry-go-round until it stops producing treasure. Move to the water and use the Dark-Light Device to reveal the missing fountain. When you capture all of the Spirit Balls, the fountain spits the Octagon Amethyst onto the grass.
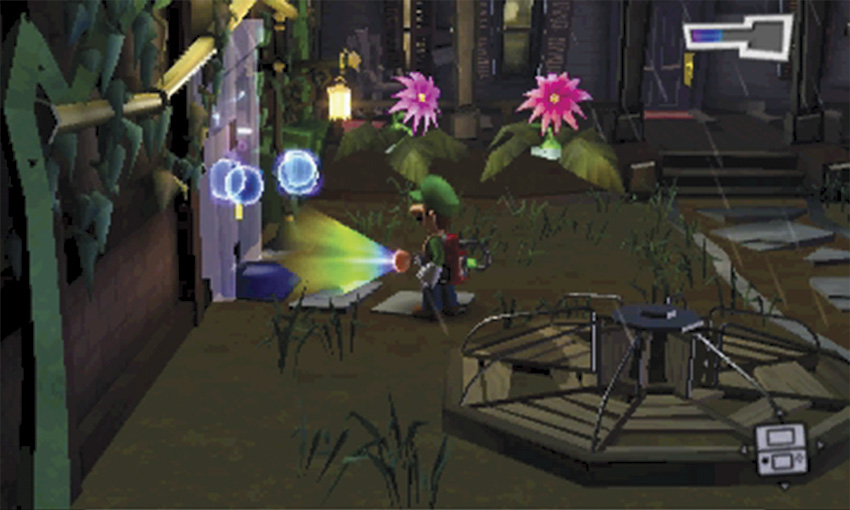
Use the Dark-Light Device to reveal the hidden door near the Gem’s landing spot. Once the door is in place, head inside the small area Under the Stairs.
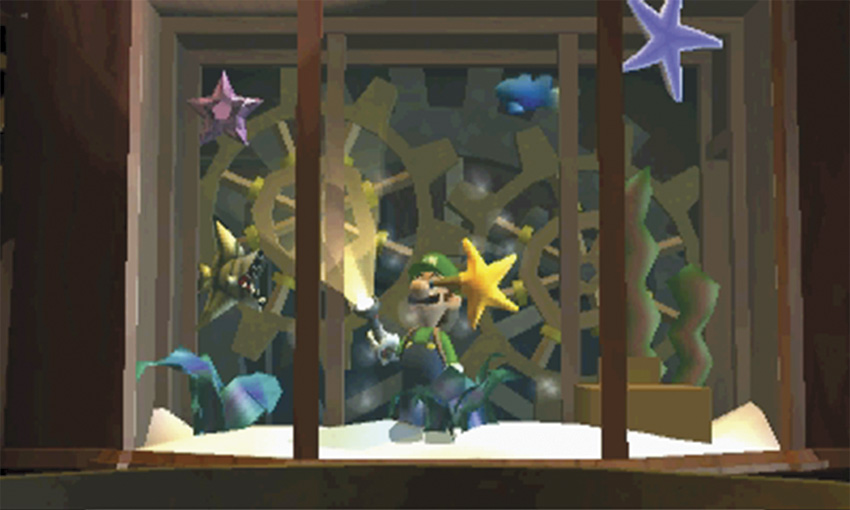
Flash the gold spiders just through the door and collect the resulting treasure. Move use the door in the northwest corner to find the small space behind the Foyer aquarium. Vacuum the Star Amethyst down from the glass, then make your way back out to the Patio.
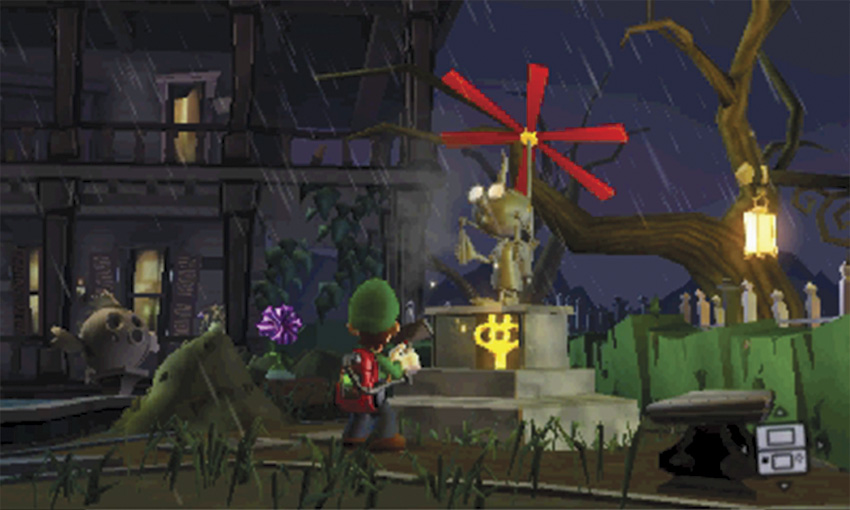
When you leave the area Under the Stairs, resume your search of the Patio. Move to the dark spot along the Patio’s east edge and use the Dark-Light Device to reveal the statue of Professor E. Gadd. Vacuum the rotor above the statue to reveal a Key hidden in its base. When you finish your search of the area, use the Key to unlock the Kitchen door to the north.
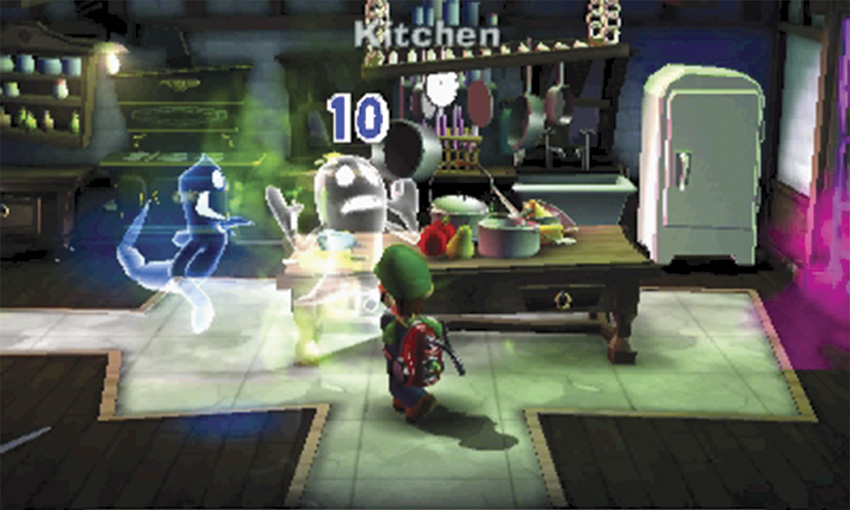
As soon as you enter the Kitchen, surprise the nearby ghosts with a Strobulb Flash. There are four ghosts hiding in the area—two Greenies and two Hiders. Clear the room of enemies and search the surrounding objects. Before you head up to the Dining Room, use the door to the left and enter the Library.
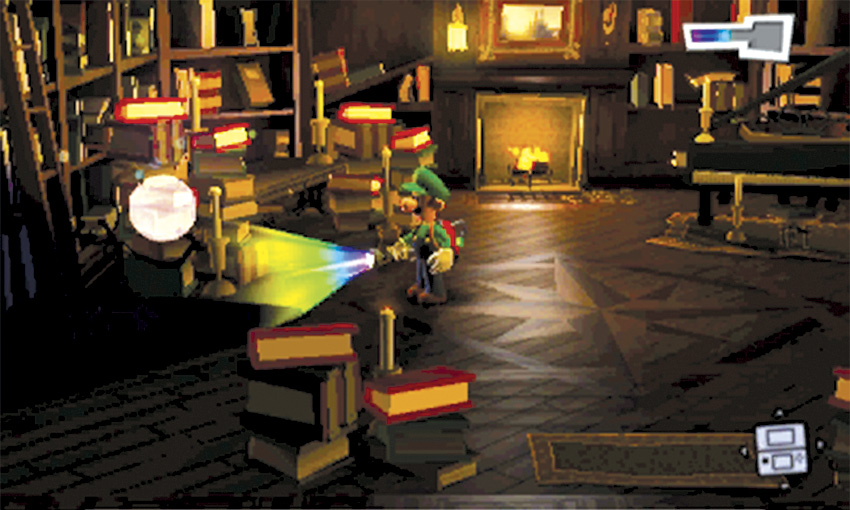
Cross the Library and use the Dark-Light Device to reveal the globe near the room’s west edge. Capture all of the Spirit Balls, then use the Poltergust to pull the globe from its stand. Shoot the globe into a nearby object to reveal the Oval Amethyst. After you collect the Gem, leave the Library and return to the Kitchen.
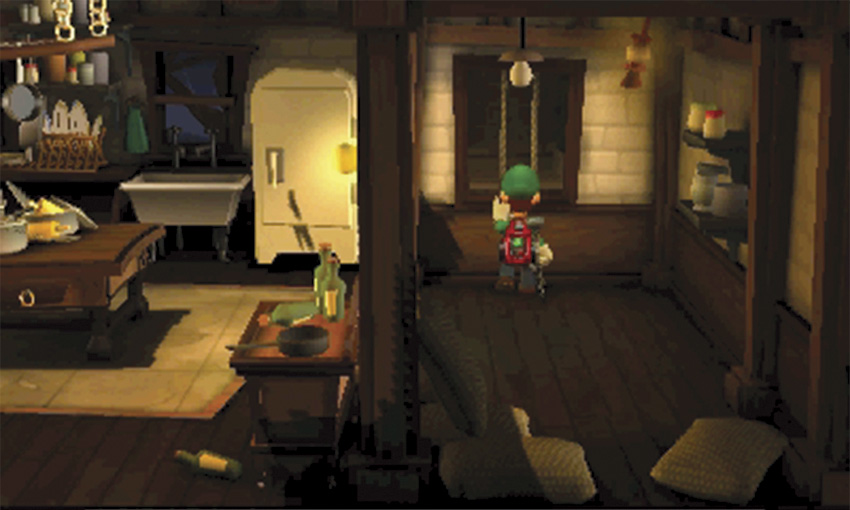
When you’re ready, A-Pull the cord in the Kitchen’s northeast corner and climb into the open dumbwaiter.
Defeat the Boo
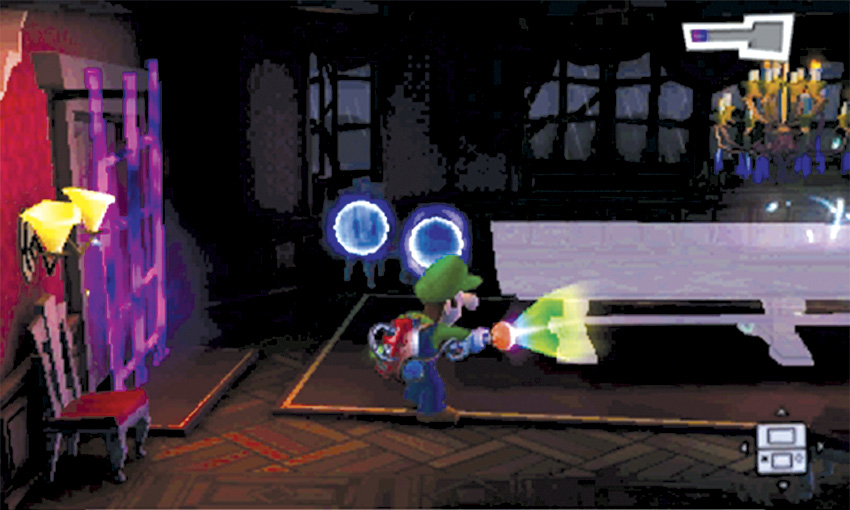
You reach the Dining Room just in time to see a Boo use Spirit Balls to hide a large table. Search the room’s remaining objects and A-Pull the curtains along the north wall, then use the Dark-Light Device to reveal the missing table. When you collect all of the Spirit Balls, the Boo returns to find you’ve undone its work. When the Boo vanishes, use the Dark-Light Device to find its hiding spot. Look for the faded images that indicate the Boo’s recent locations, and listen for the sounds of discomfort the Boo makes when it comes in contact with Dark Light.
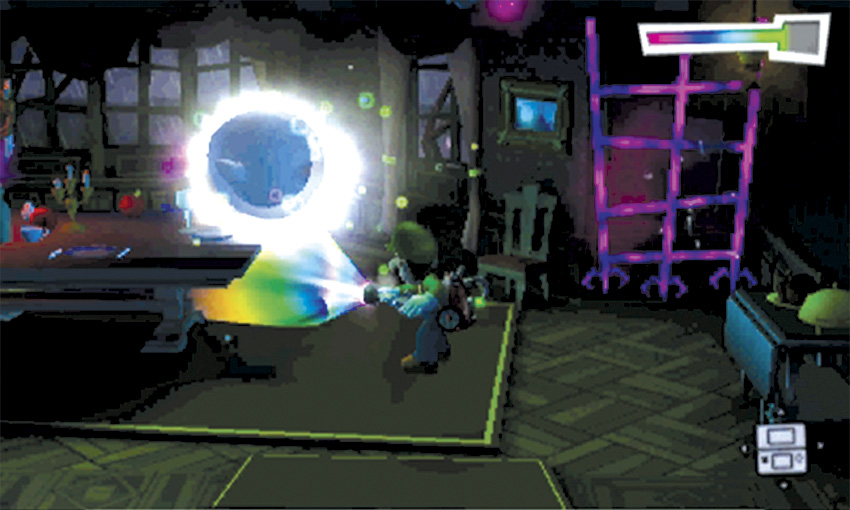
When you pinpoint the Boo’s location, use the Dark-Light Device to hold it in place. When the Boo becomes dazed, use the Poltergust to vacuum its tongue. Once you latch on, move away from the ghost to charge an A-Pull. When the Power Gauge is full, press
to send the Boo ricocheting around the room. Try to collect the treasure it drops, but make sure you capture the weakened enemy before it recovers. Move in and hold
until you’ve crammed the Boo through the Poltergust nozzle.
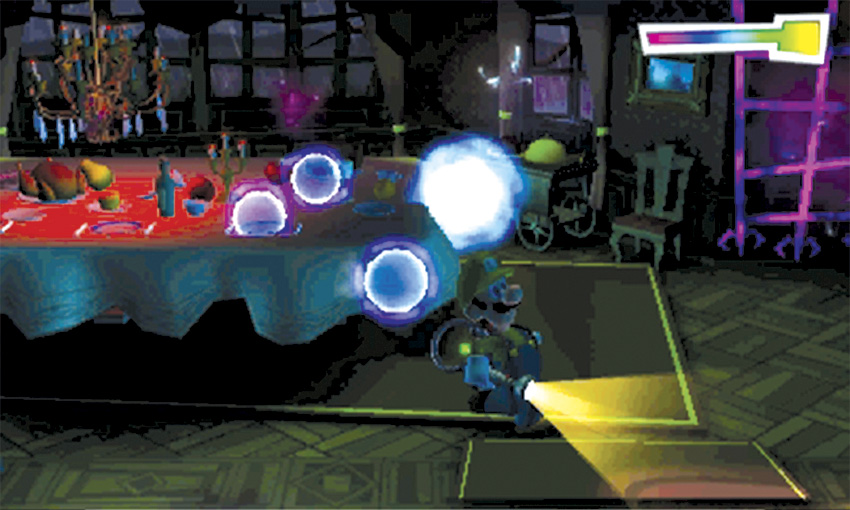
If you fail to find the Boo or capture it before it recovers, the enemy attacks from the shadows. Watch out for the bright glow that proceeds each attack—such a glow means that the Boo is about to charge, or that a burst of Spirit Balls is about to be released. Stay clear of the Boo and vacuum any Spirit Balls that appear, then make another attempt to stun the Boo with the Dark-Light Device. After you capture the Boo, answer the Duel Scream to complete the mission and return to the Bunker.
A-5 Sticky Situation
Clear Webs Near the Guard Hall
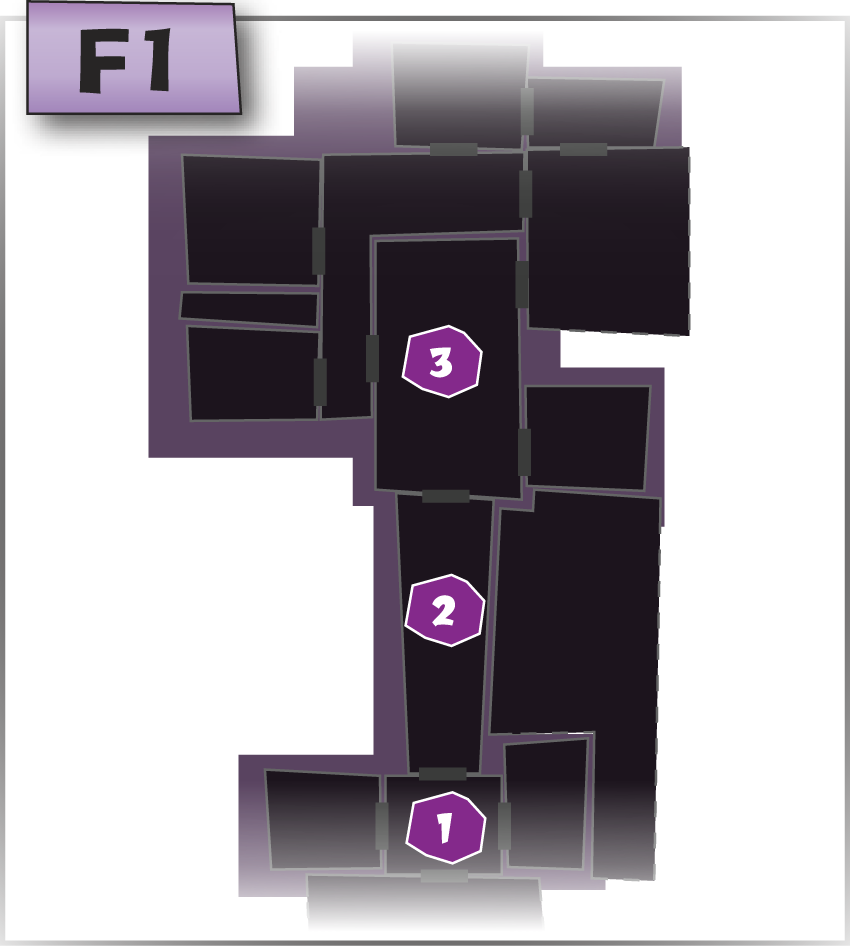
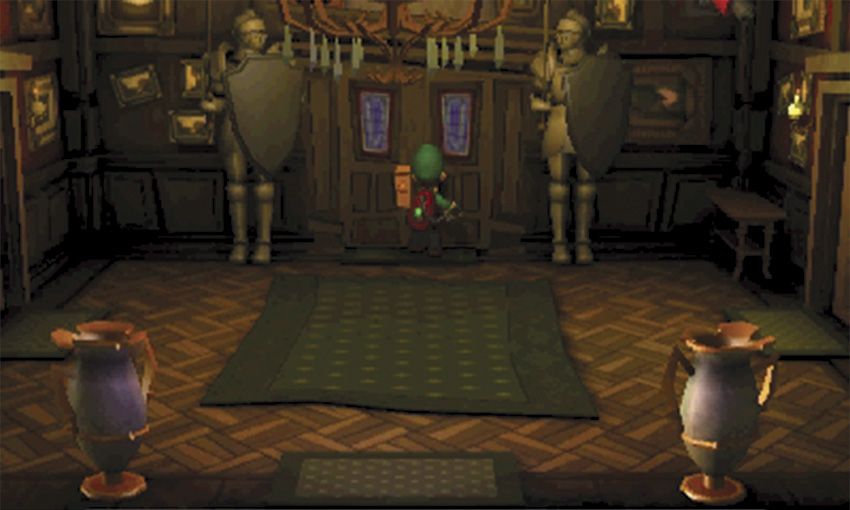
When the mission starts, you’re transported to the Entrance. Check the Touch Screen map to determine if any of the surrounding rooms contain webs. If the Front Yard, Mudroom, and Garage are all clear, consider moving directly to the Guard Hall.
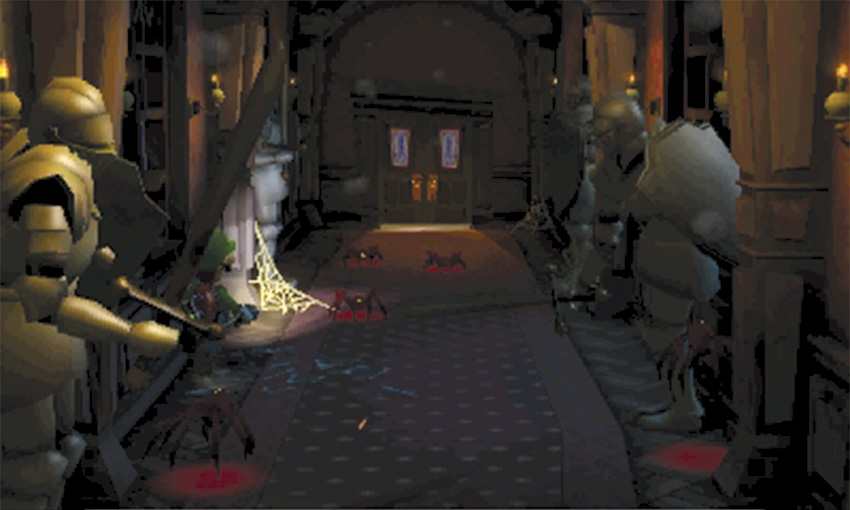
The Guard Hall should contain only a few webs, but they can be fairly difficult to spot. Check each suit of armor from head to toe and vacuum any webs you see. As you deal with the aggressive spiders, remember to stay clear of the swinging swords. Once the Guard Hall is clean, continue to the Foyer.
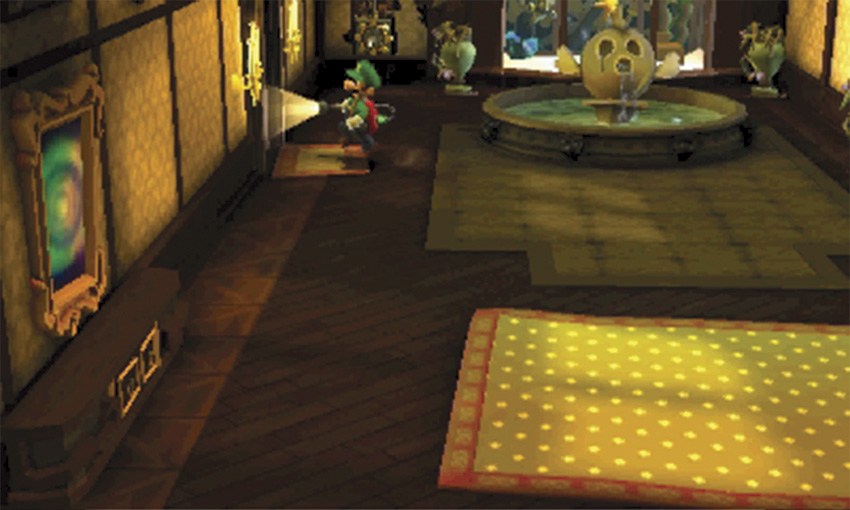
Once you reach the Foyer, use the Touch Screen map to see if the Coatroom has been infested. If so, take care of it now; if not, move on to the Common Hall.
Clear Webs Near the Common Hall
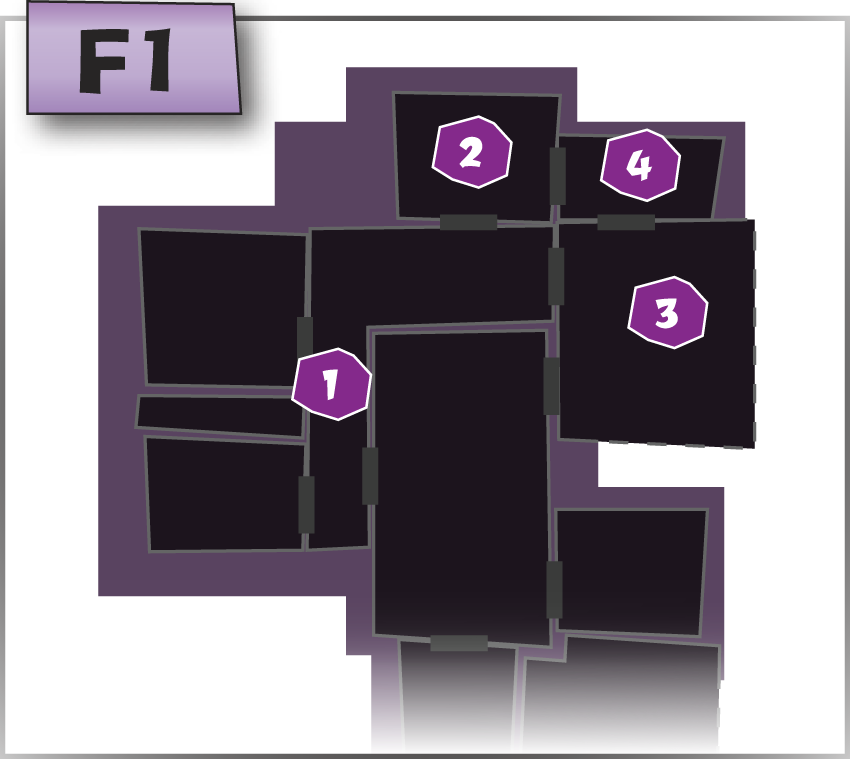
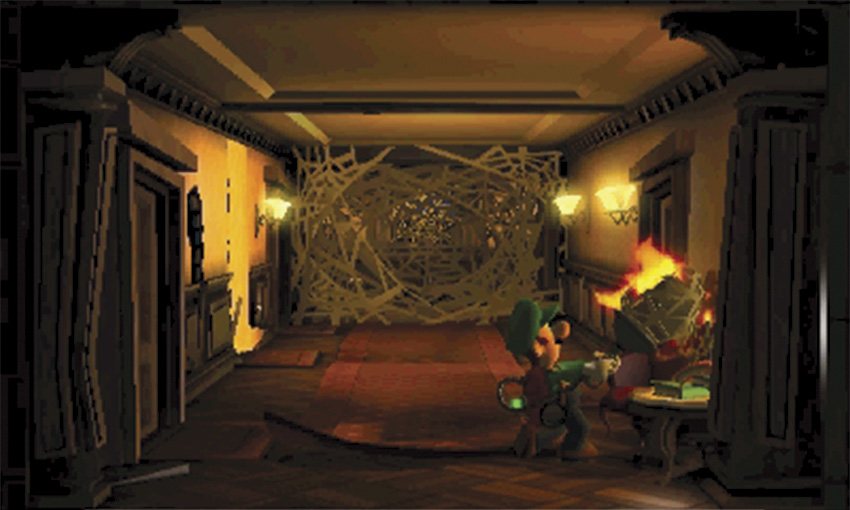
When you reach the Common Hall, check the map to see if the Lab, Secret Pocket, or Studio are infested. If so, take care of those areas first. If they’re clear, vacuum the ball of webbing lying on the floor. Use the Poltergust to carry the ball to the nearby candle, then use the flaming ball to destroy the large web to the north.
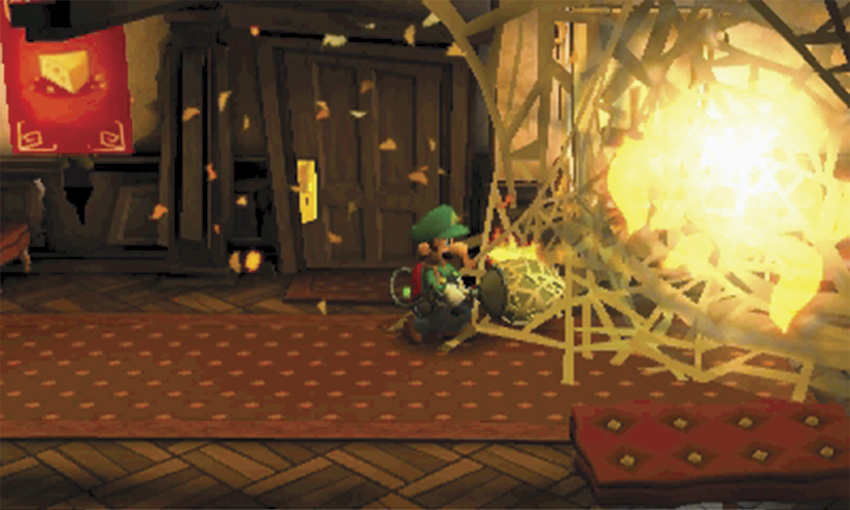
As you follow the path around the bend, burn any webs you see. Move quickly to ensure you clear the large webs near the Library door before the flaming ball burns out. Vacuum the posters from the wall and peek into the Library, then use the Dark-Light Device to pull the treasure from the nearby framed poster. When you’re finished in the Common Hall, use the newly cleared door to enter the Library.
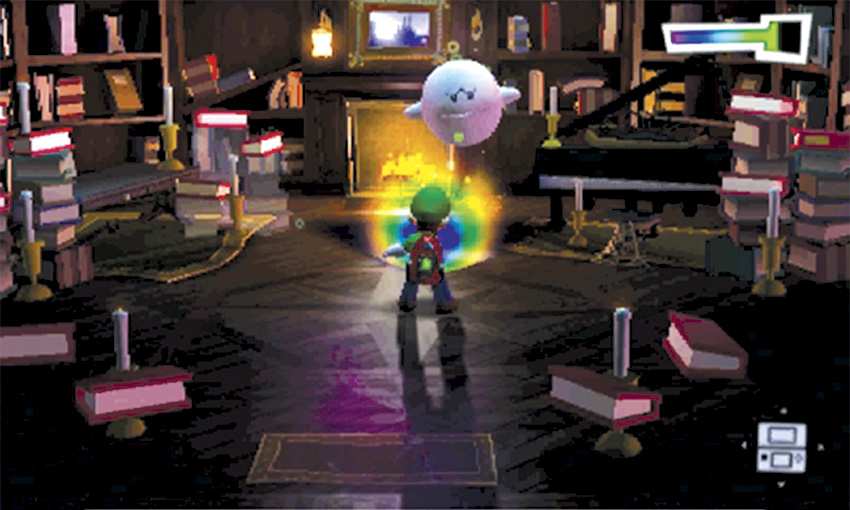
When you enter the Library, the piano and several stacks of books seem to have disappeared. Use the Dark-Light Device to reveal the piano, then capture all of the Spirit Balls to summon the Boo responsible. After you capture Ooga Booga, clear webs left in the room. Check the map for other nearby infestations, then leave the Library and return to the Common Hall.
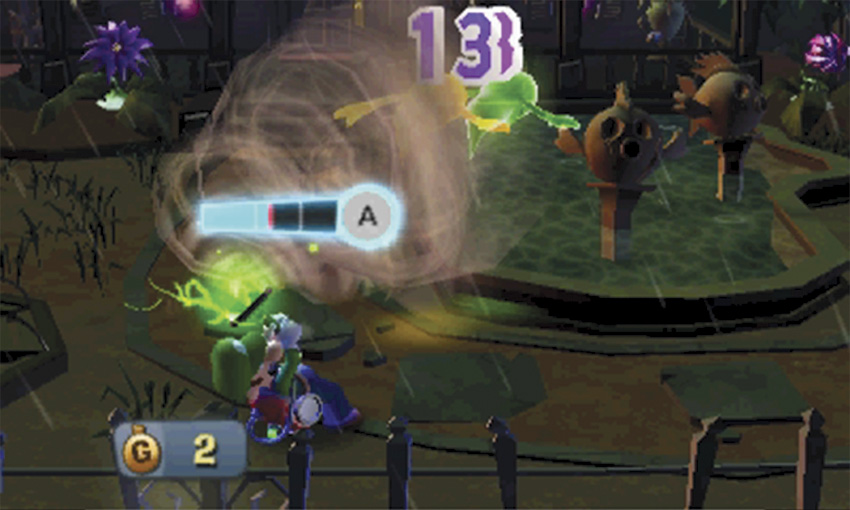
After you return to the Common Hall, head through the door on the east wall. Move to the center of the Patio to find a Greenie and a Gold Greenie playing near the southern edge of the water. Capture both enemies, then search the rest of the area. Flash the purple flowers, spin the merry-go-round, and reveal the door to the area Under the Stairs. When you’re ready, use the door to the north to enter the kitchen.
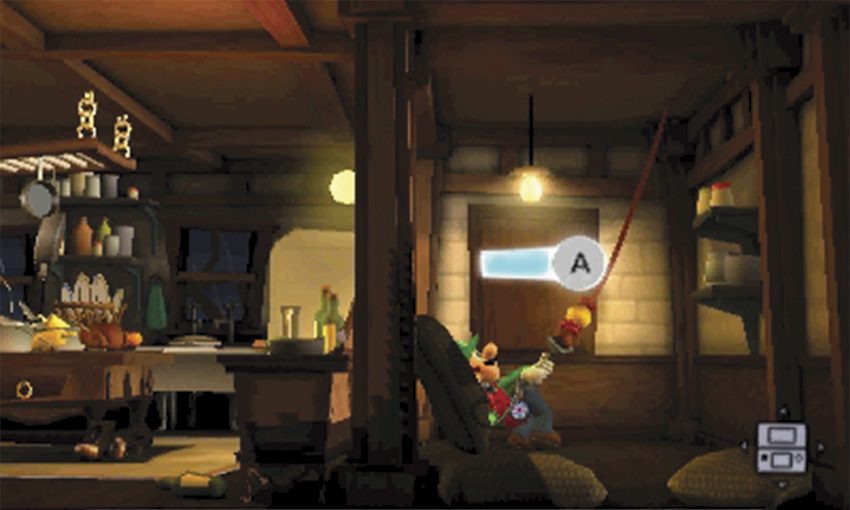
Ensure the Kitchen is clear of webs and enemies, then use the dumbwaiter to travel up to the Dining Room.
Clear the Webs Near the Lobby
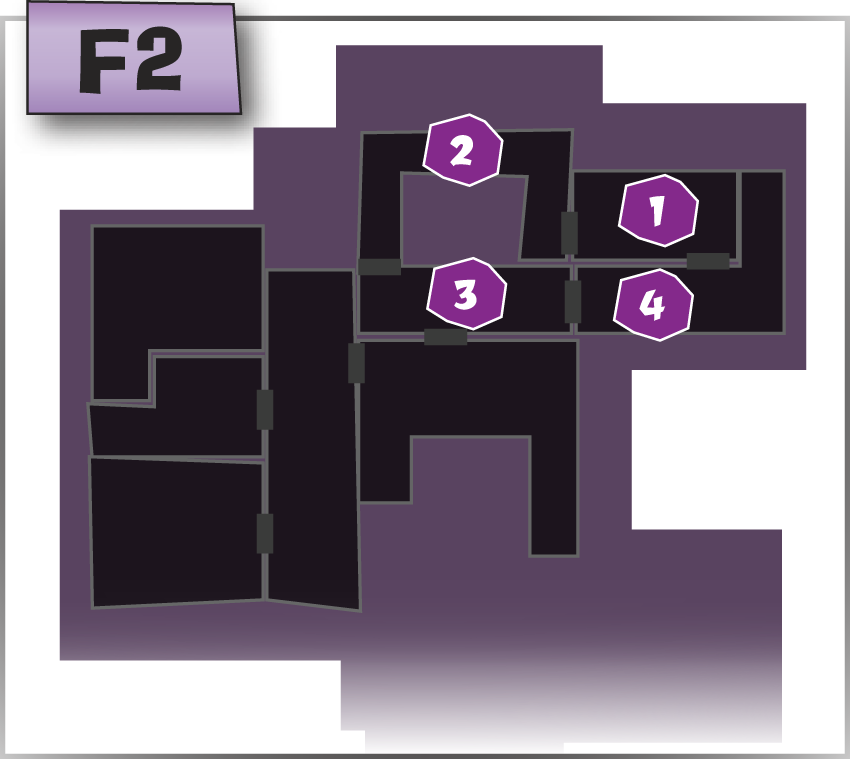
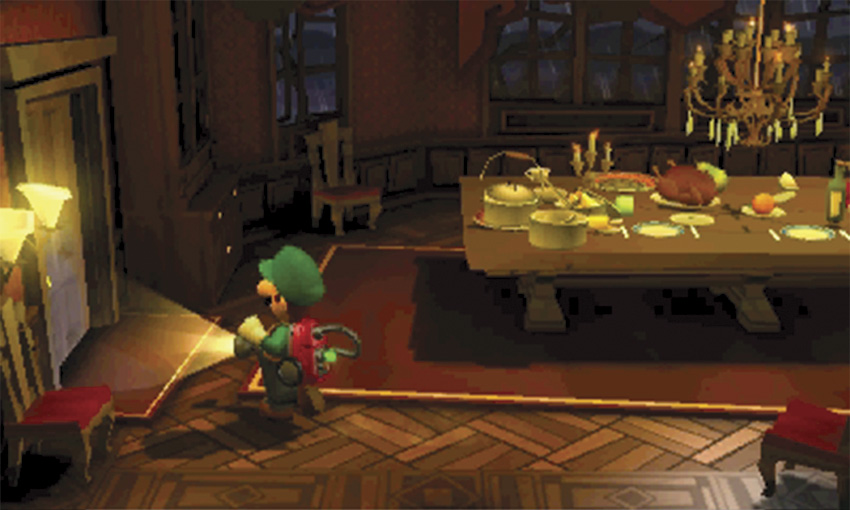
When you reach the Dining Room, clear out any ghosts, critters, or webs that might be in the area. When you’re ready, leave through the door to the left to enter the F2 level of the Library.
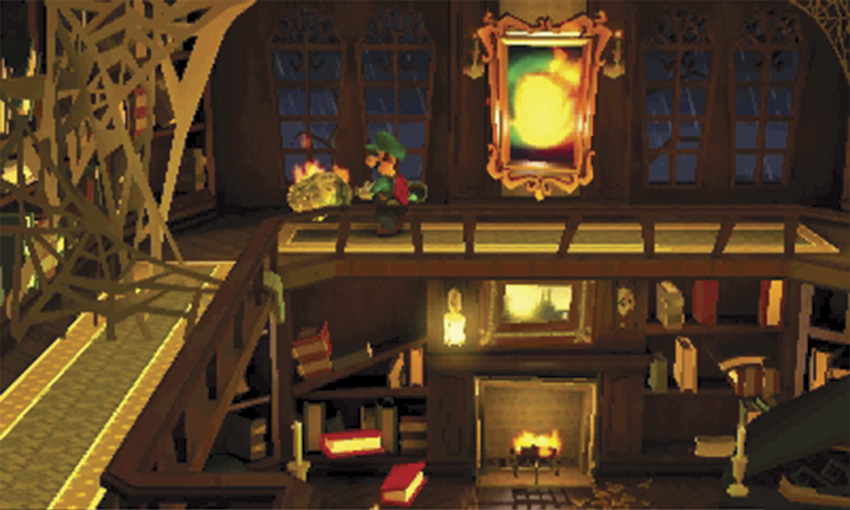
As you follow the walkway around the Library’s perimeter, use the Dark-Light Device to activate the framed sketch on the north wall. Vacuum the nearby ball of webbing, and carry it to the sketch before the flame vanishes. Once the ball is burning, use it to clear the large webs out of your path. Clear any remaining webs from the room, then follow the path to the Lobby.
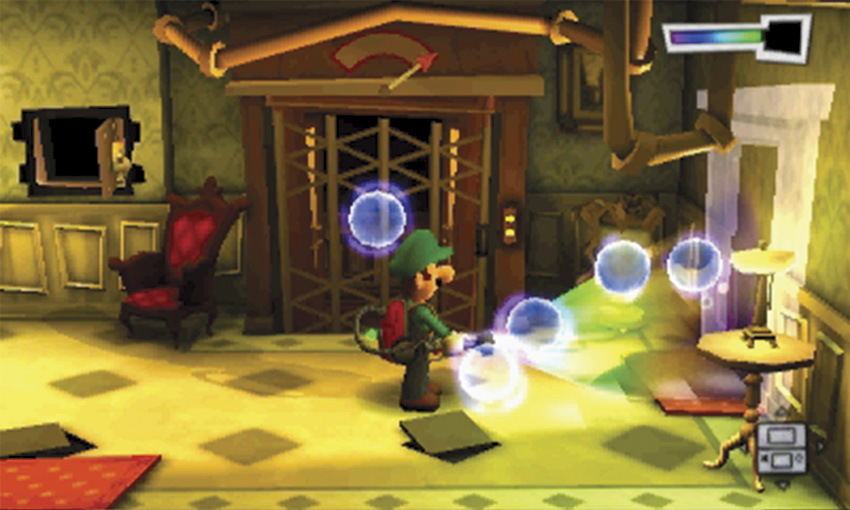
Ensure the Lobby is clear of ghosts and webs, then use the Dark-Light Device to reveal the door to the right. When you’re ready, use the door to reach the Balcony.
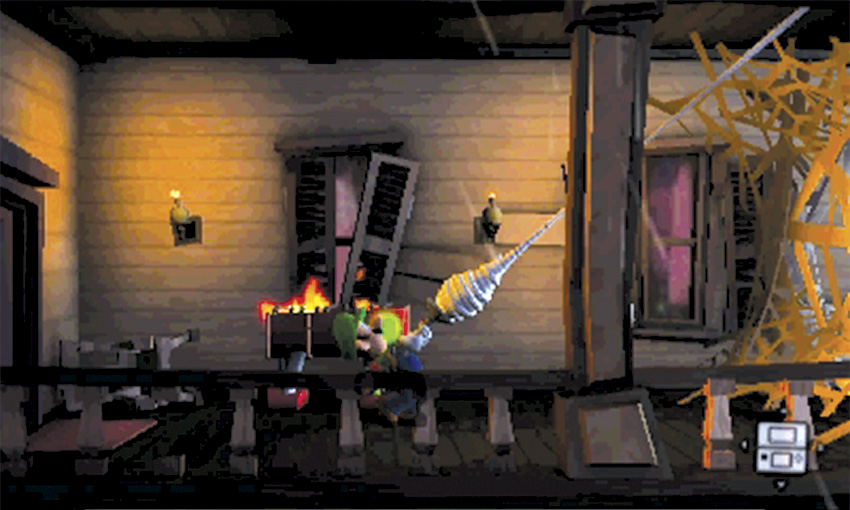
When you step onto the Balcony, use the Strobulb to flash the bats hiding above you. Once the area’s safe, vacuum the web high in the northwest corner, just below the overhang. Use the Strobulb to ignite the grill, then vacuum the loose bundle of webbing to the right. Pull the webbing over to the grill, ignite it, then release it to destroy the nearby web.
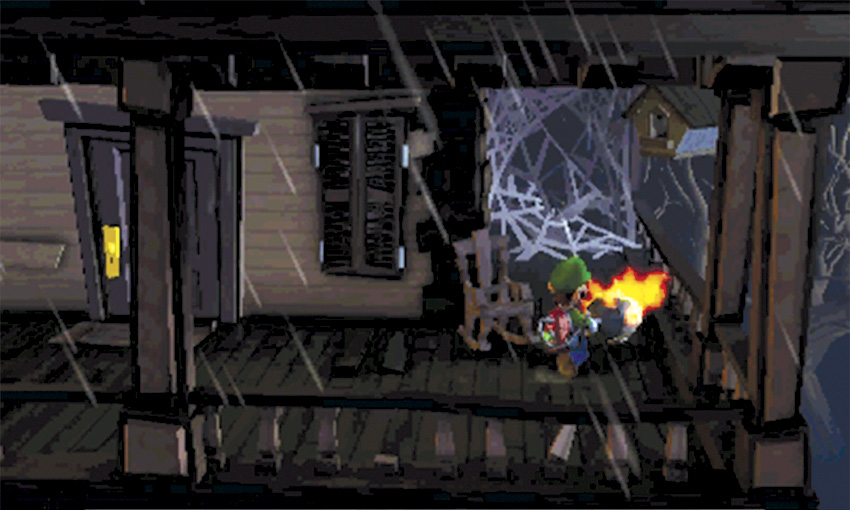
After the web burns, flash the bats hiding above the Balcony’s east half. Vacuum the web-ball, then carry it over to the grill and light it on fire. Use the burning ball to destroy the large web at the Balcony’s northeast corner, then clear out any remaining small webs. When you’re ready, return to the Lobby and continue to the Foyer.
Clear Webs Near the Master Hall
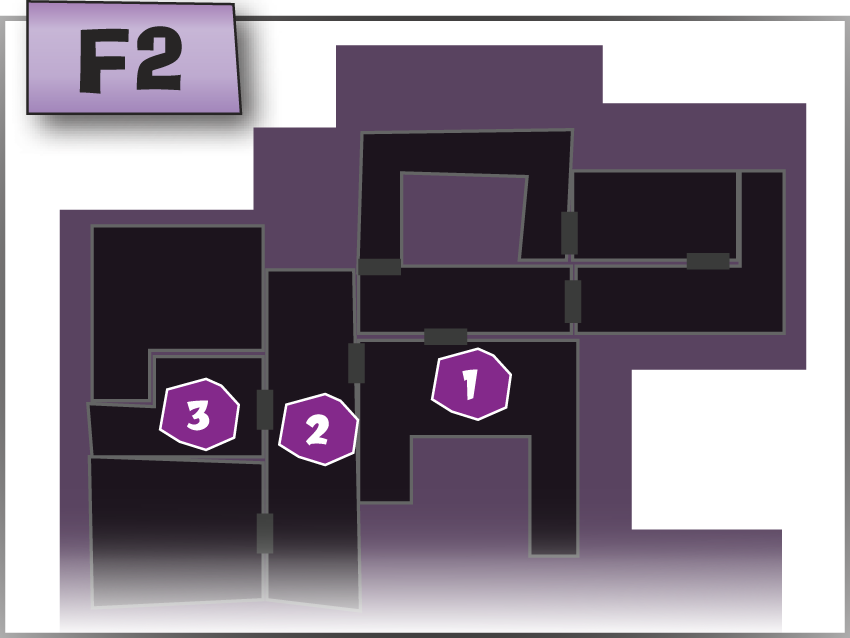
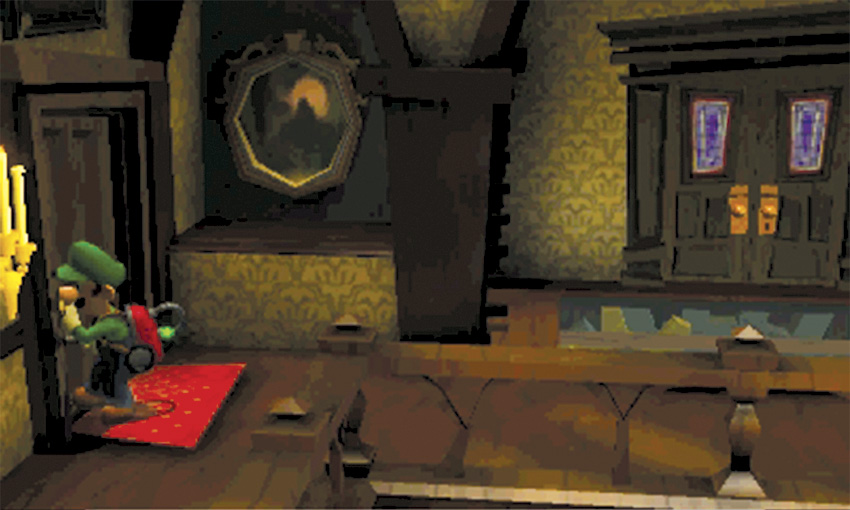
At this point, level F1 should be clear of webs. Now you must complete your search of level F2 and find a way to reach level F3. When you return to the Foyer, head through the door to the left to search the Master Hall.
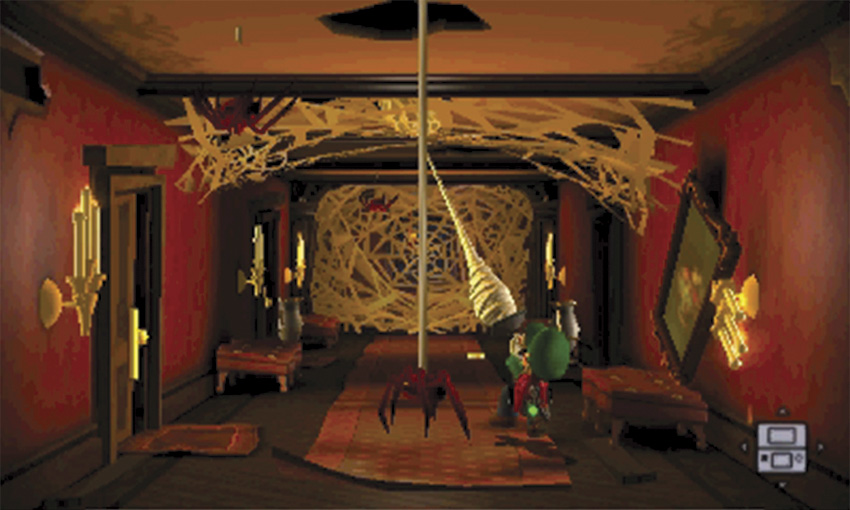
There’s a gold spider hiding in the large web on the Master Hall’s ceiling. Flash it and collect the treasure, then vacuum the web on the nearby painting. When the painting tips over, it knocks a candle sconce askew. Clear out a few of the spiders that appear, then vacuum the bundled webbing from the ceiling. As you drag the bundle over to the flame, avoid any spiders in your path.
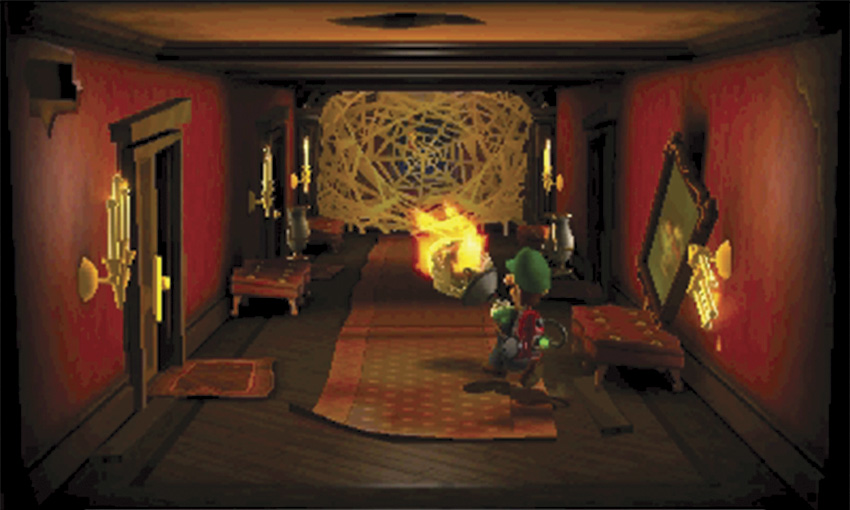
After the web burns, a ball of webbing falls to the ground. Vacuum the ball, then use the candles to ignite it. Carry the flaming ball to the Master Hall’s north end and use it to destroy the remaining web. When the web burns, it reveals a pull cord. This cord provides access to the Rafters on level F3. Before you head up, however, clear out the rest of level F2.
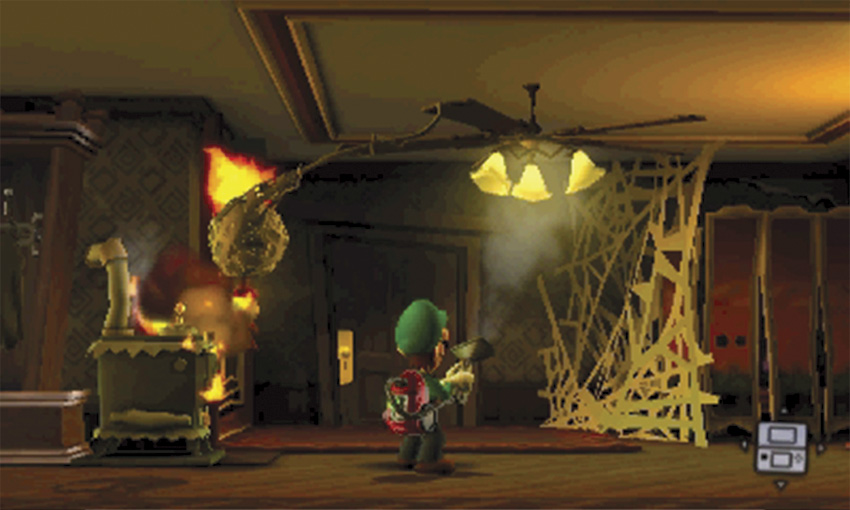
Check the map to ensure the Parlor is free of webs, then enter the Bedroom. Search the stove to stoke the fire, then vacuum the ceiling fan. When the blades spin fast enough, the webbing bundle attached to the fan passes through the stove’s flame and ignites the large web blocking the dressing area.
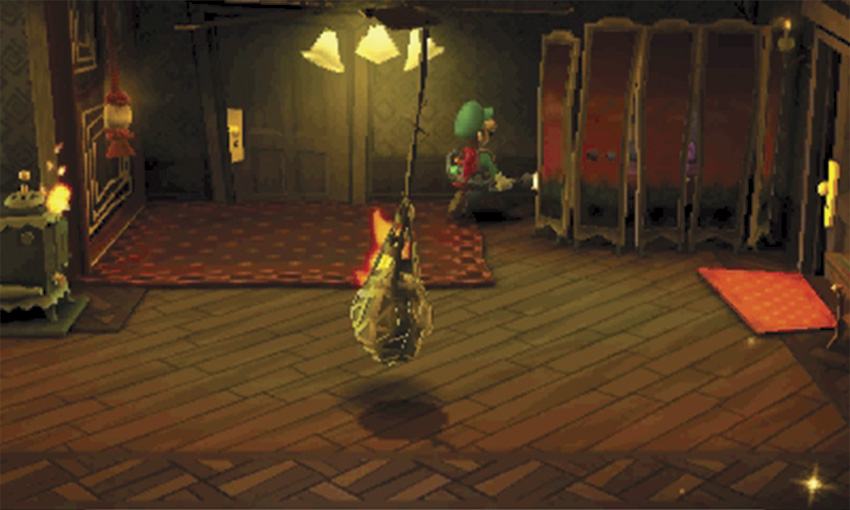
After the web burns, move behind the dressing screen and vacuum the area to collect the Mushroom Amethyst. Use the map to check for nearby objectives. If the Study is infested, use the Bedroom’s secret passage. If not, leave the bedroom and return to the Master Hall.
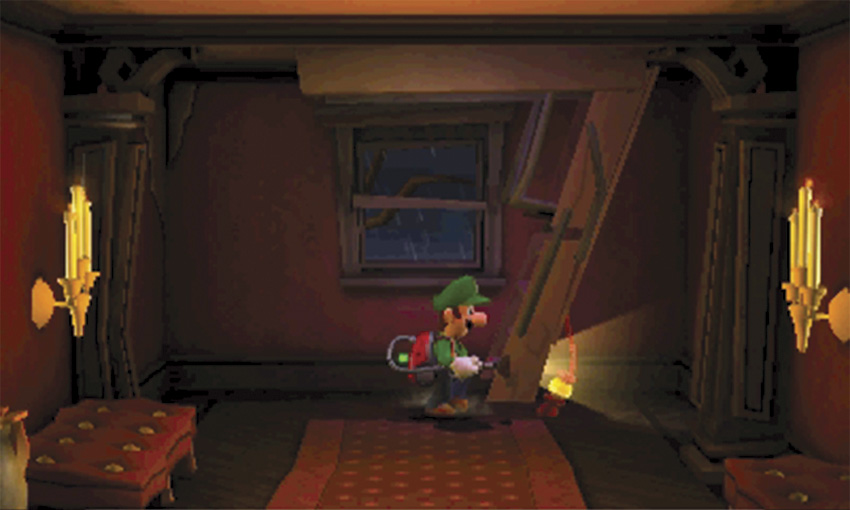
After you clear all of the webs on level F1 and level F2, return to the Master Hall’s north end. A-Pull the cord hanging from the ceiling to reveal a drop-down ladder, then climb up to level F3.
Clear Webs in the Rafters

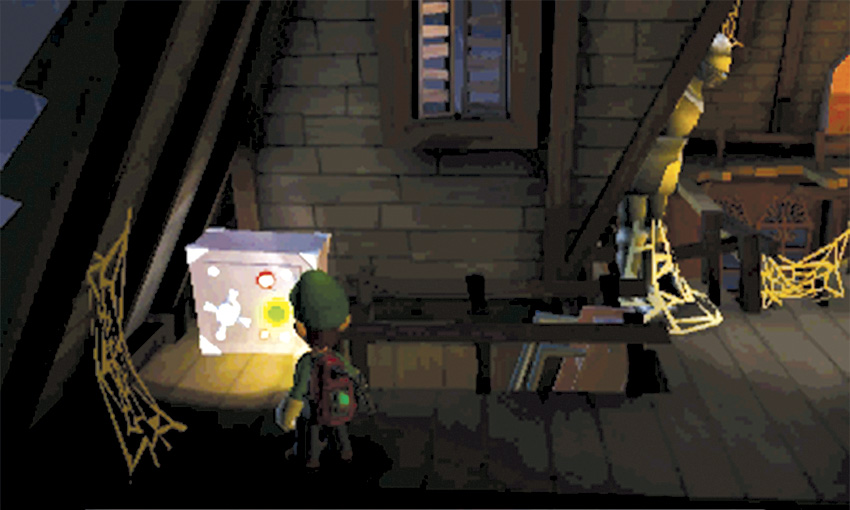
When you reach the Rafters, hook back to the left to find a safe near the wall. Use the Strobulb to flash the safe, then vacuum any nearby webs.
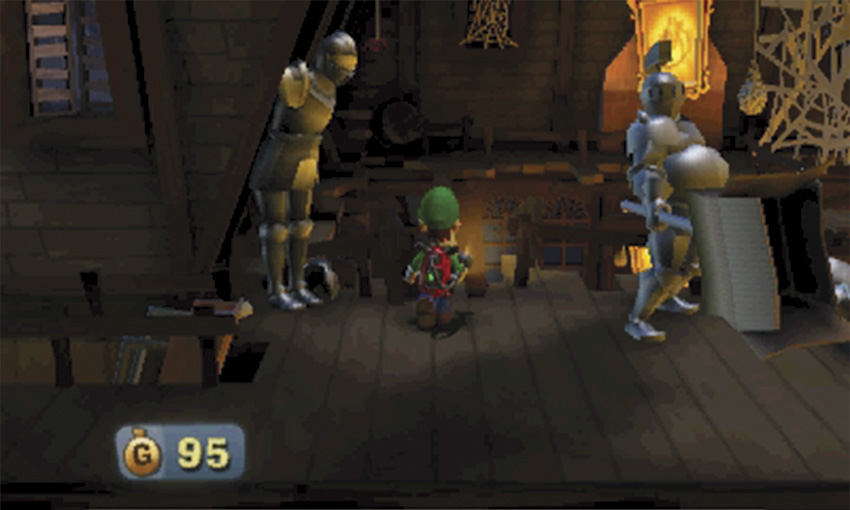
Stand between the suits of armor to the right, then press
to step onto the narrow beam.
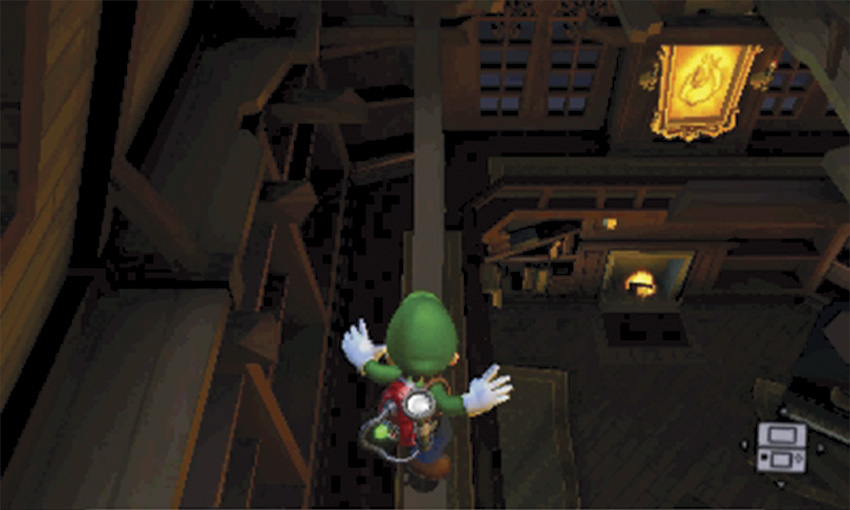
Use the Circle Pad to control your movement while on the beam, and tilt the Nintendo 3DS system to steady yourself if you start to lose your balance. Make your way across the beam and continue your search of the area.
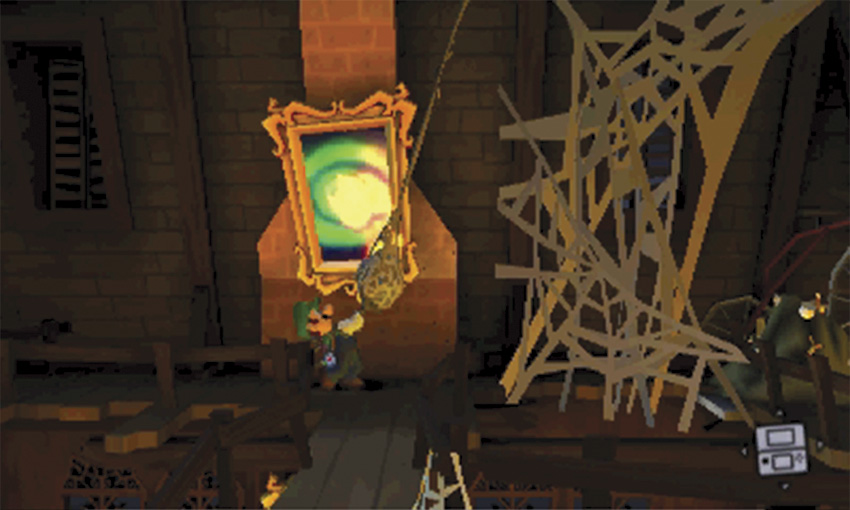
After you cross the beam, clear out any webs along the north wall. Use the Dark-Light Device to activate the framed sketch, then vacuum the nearby bundle of webbing and drag it to the flame. As you continue through the area, clear out the other webs along the path.
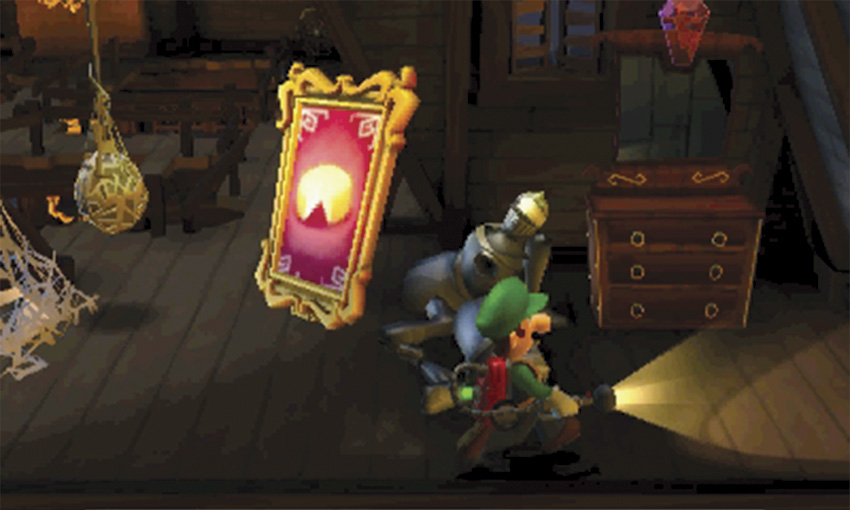
When you reach southeast corner of the area, use the Touch Screen to check your mission progress. If you’ve been thorough, the large web near the hanging bundle should be the last web in the mansion. Before you destroy it, search the nearby dresser and vacuum the Coffin Amethyst attached to the its mirror.
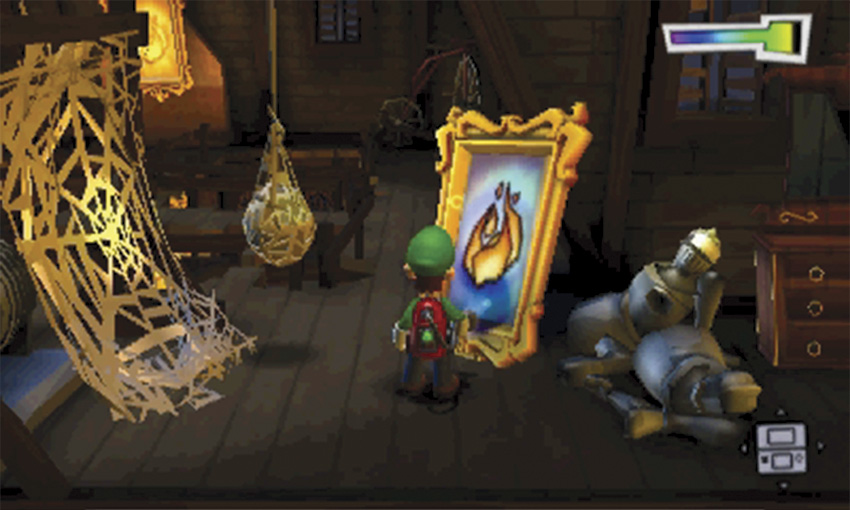
When you’re ready, vacuum the framed poster to reveal the sketch beneath it. Use the Dark-Light Device to activate the sketch, then use the Poltergust to vacuum the bundled web. Use the bundle to ignite the last web, then answer the Duel Scream to complete the mission and return to the Bunker.
 Confront the Source
Locate the Source
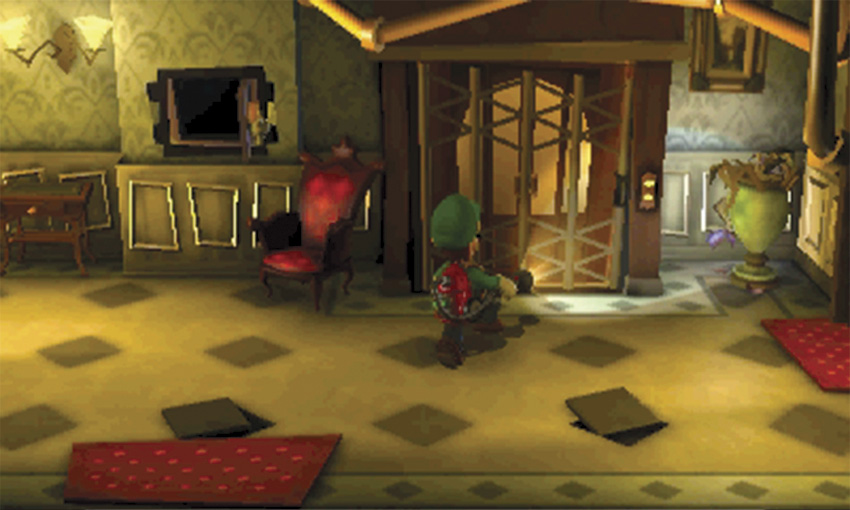
When the mission starts, you’re transported to the Lobby. Open the safe and search the surrounding objects, then use the elevator to reach level B1.
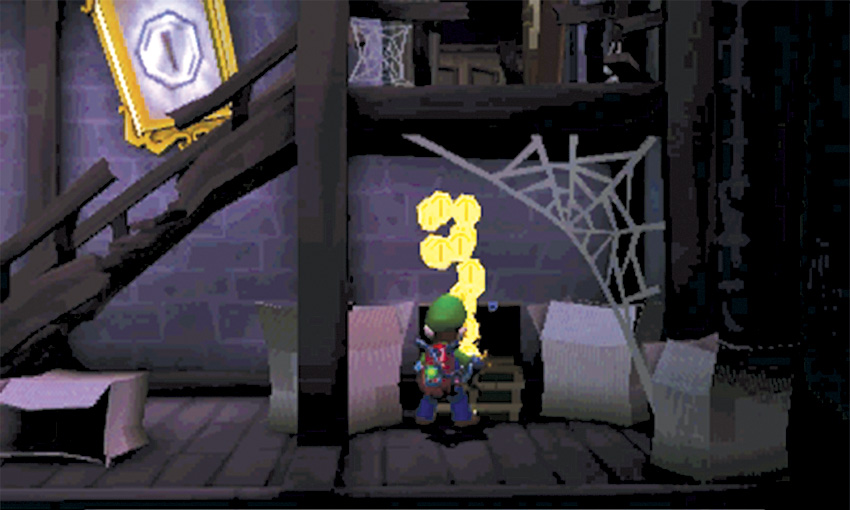
When you reach the Cellar, walk down the steps and hook back to the right. Open the chest below the landing, then use the Dark-Light Device to reveal the treasure in the nearby framed sketch.
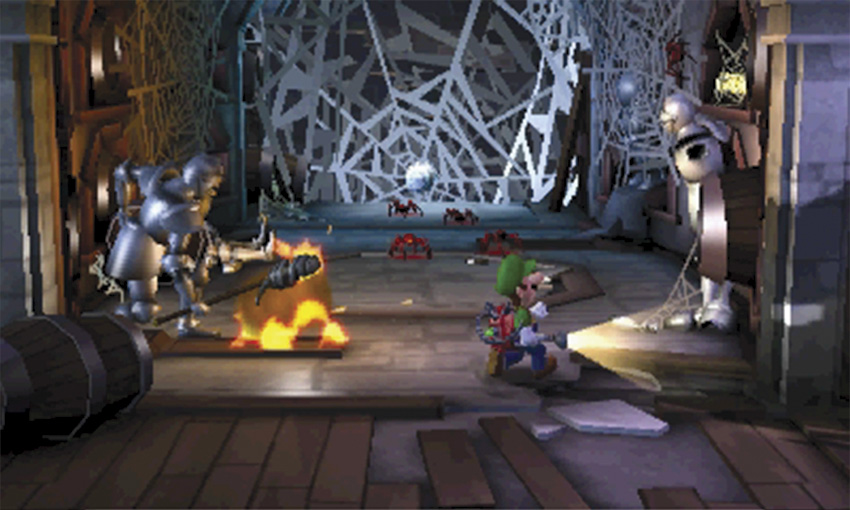
After you collect the available treasure, follow the cellar north. As you approach the two closest suits of armor, the figure on the left slams a torch to the ground—keep your distance, or move quickly to avoid being struck.
As you pass the torch, look for the treasure high on the wall to the right. To free the coins, vacuum the web holding them in place.
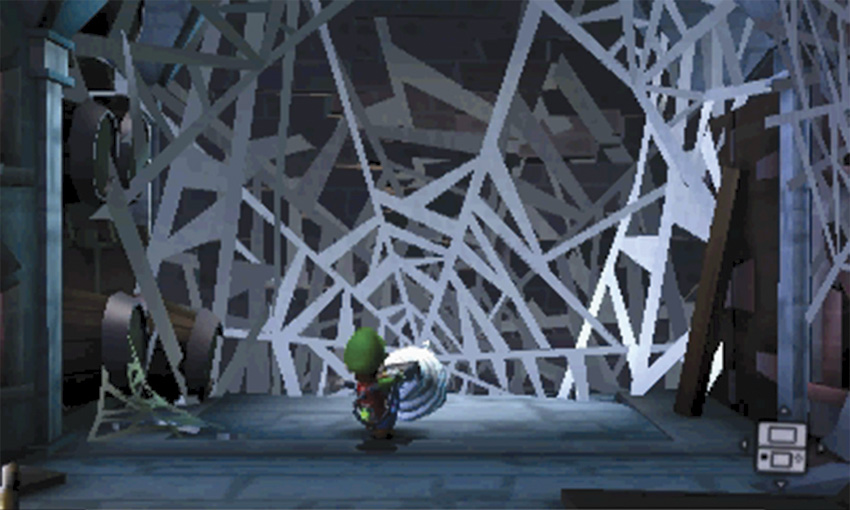
When you reach the large web blocking your path, vacuum the loose bundle and pull it until you trigger a cinematic.
Phase 1
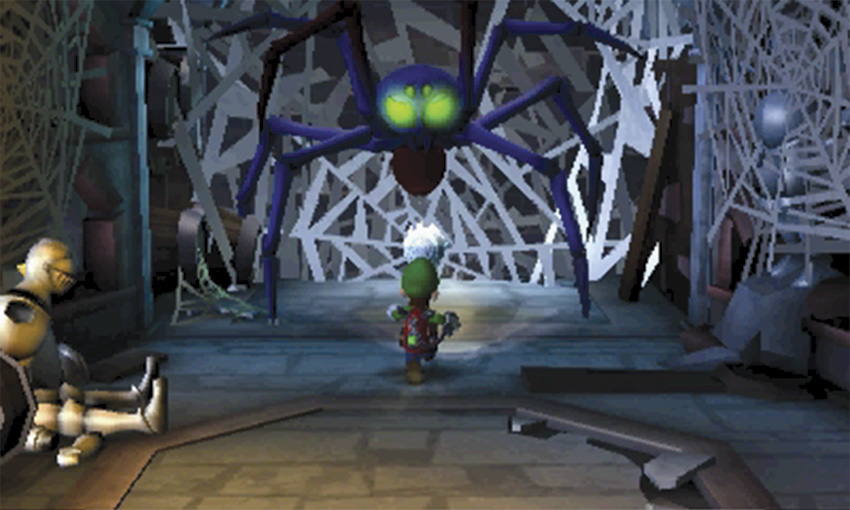
A giant spider appears, knocking you away from the bundled webbing. When you recover, approach the spider until it rears back. Flash its green glowing eyes with the Strobulb, then run in and vacuum the bundle before the spider recovers.
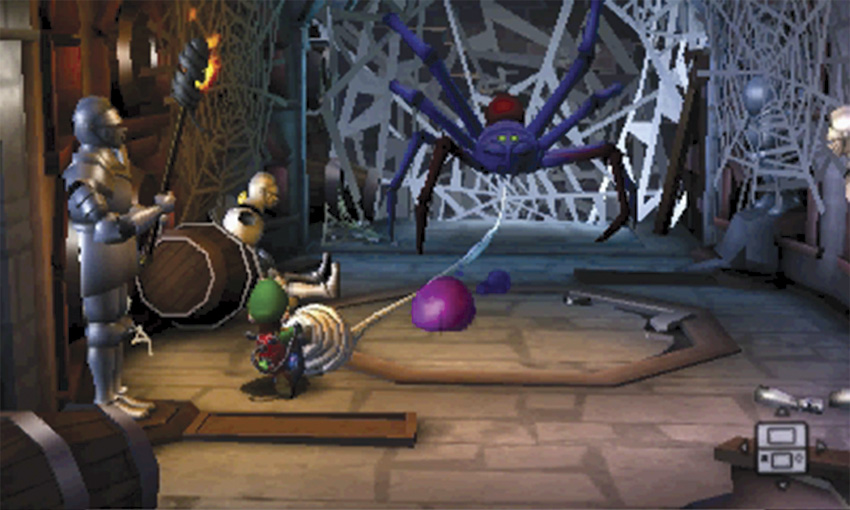
Pull the bundle back to the torch-bearing suit of armor. As you move, watch out for the giant spider’s toxic blobs. Each time a blob hits the ground, move out of its path without releasing the bundle.
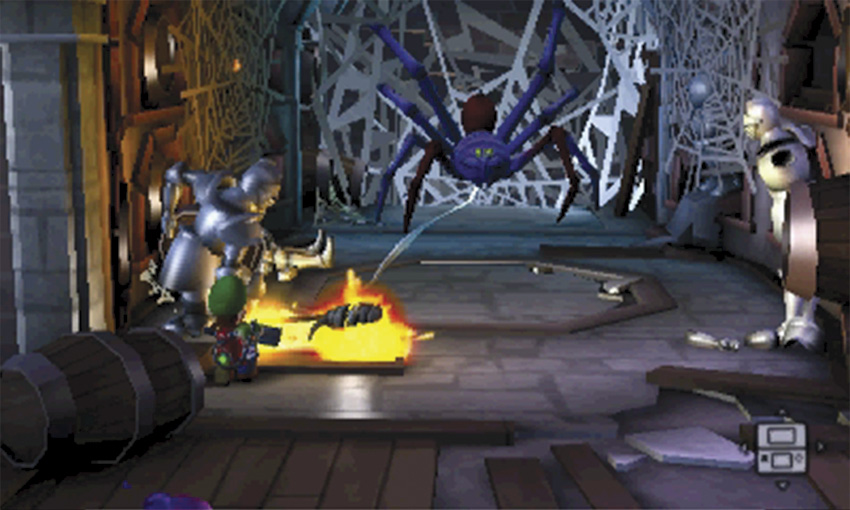
Pull the bundle onto the board at the base of the armor. When the torch slams down, the flame follows the webbing back toward the giant spider. As the fire spreads, the spider is thrown to the ground, jarring the hidden Grouchy Possessor into the open.
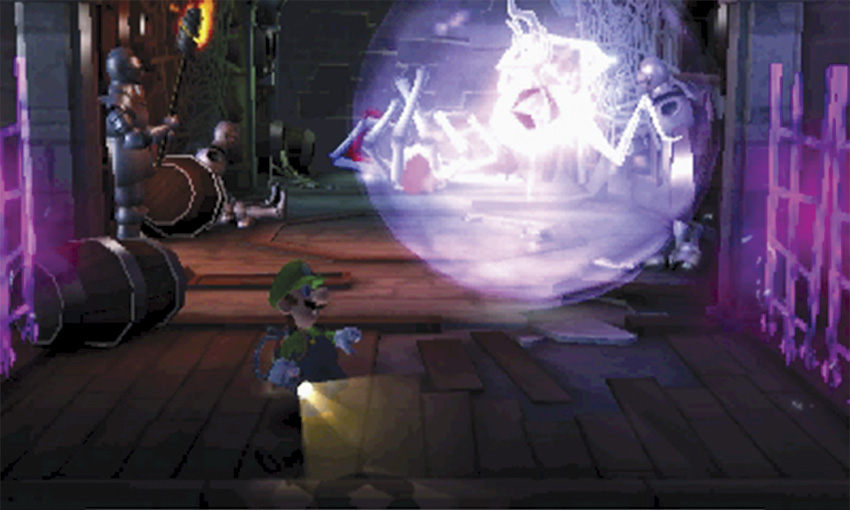
When the cinematic ends, the Grouchy Possessor raises a protective shield and prepares a charge attack. Move out of the ghost’s path to avoid being hit.
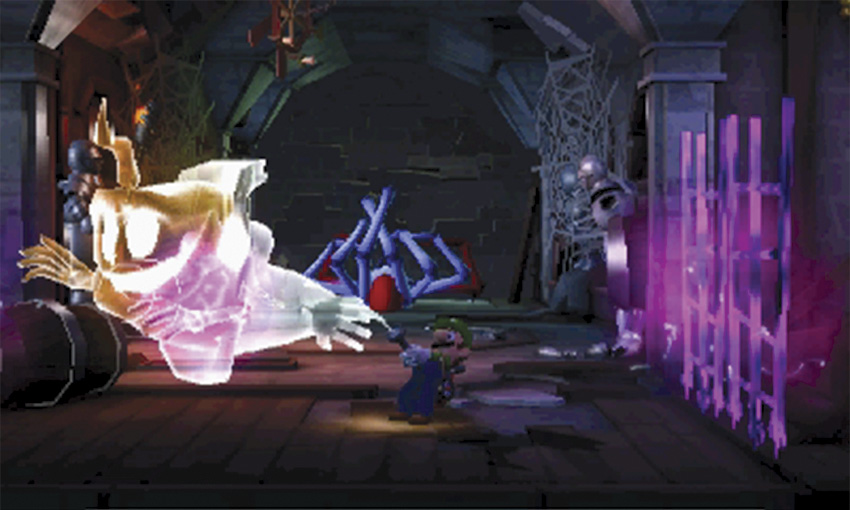
When the Grouchy Possessor collides with a wall, the shield dissipates. Flash the ghost with the Strobulb and latch on with the Poltergust. Fill the Power Gauge and perform an A-Pull to peel away the Grouchy Possessor’s first layer. The weakened ghost flies away and regains control of the giant spider.
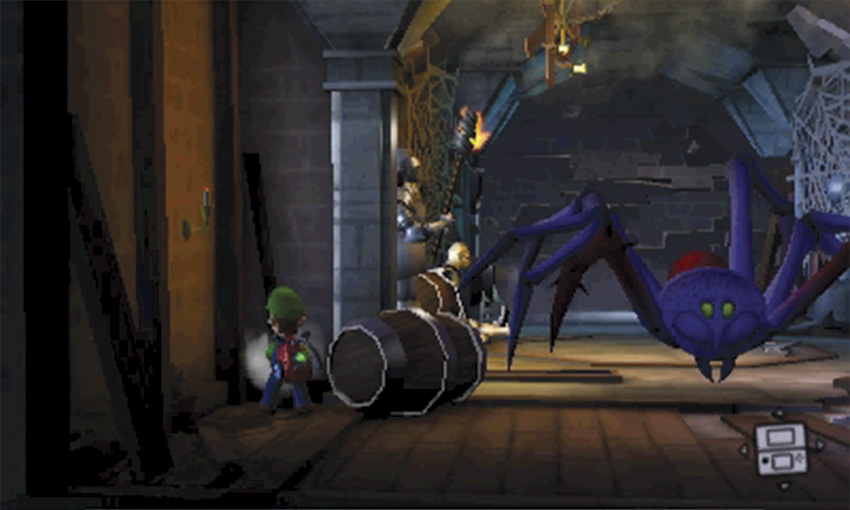
As the Grouchy Possessor retreats, take cover near a wall to avoid the spider’s impending charge. Wait for the spider dash past you and skitter back to its starting point. When the spider crashes through the newly revealed bricks, the battle’s second phase begins.
Phase 2
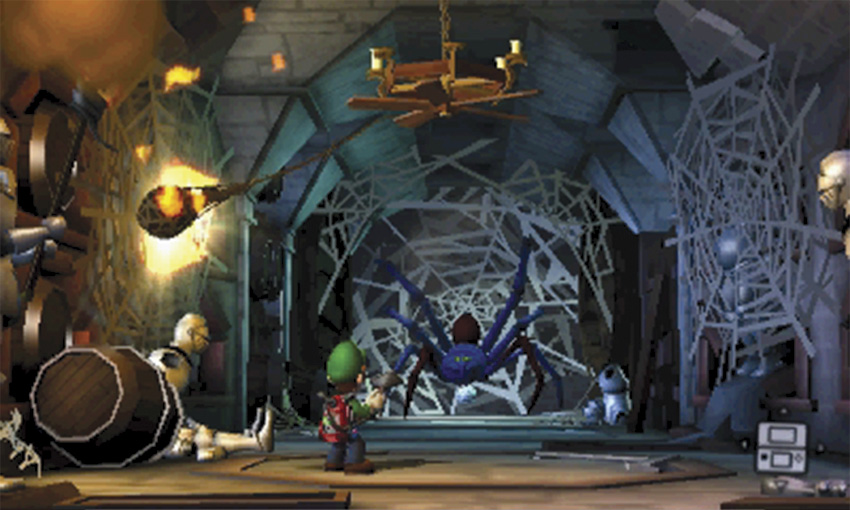
Clear out the red spiders that appear and watch for incoming toxic blobs. Stand below the chandelier and aim the Poltergust toward the ceiling. Press and hold
to spin the chandelier until the attached bundle passes through the torch and ignites the nearby webs, freeing a pike-wielding suit of armor.
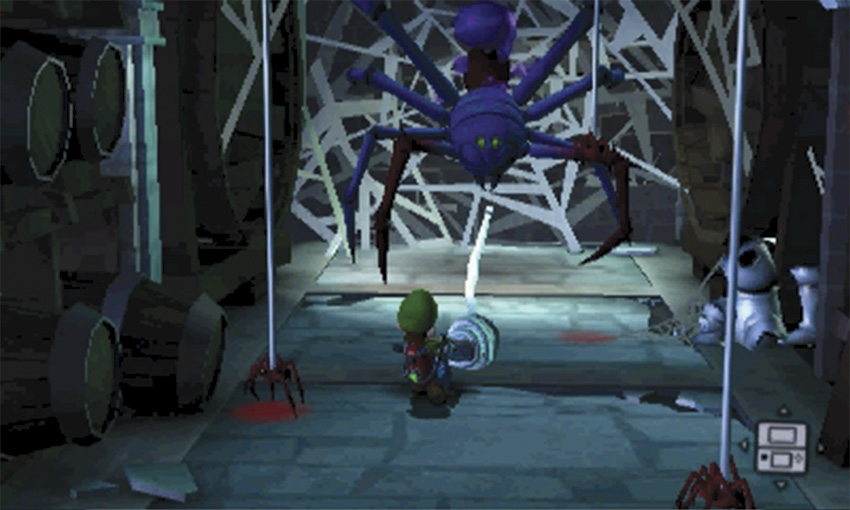
Approach the giant spider and wait for it to rear back. Use the Strobulb to flash its eyes, then vacuum the nearby bundle and pull it back to the pike-wielding suit of armor. During this phase, you must dodge the giant spider’s attacks and avoid the red spiders that drop down in your path. Watch for the red shadows that appear on the ground and adjust your path accordingly.
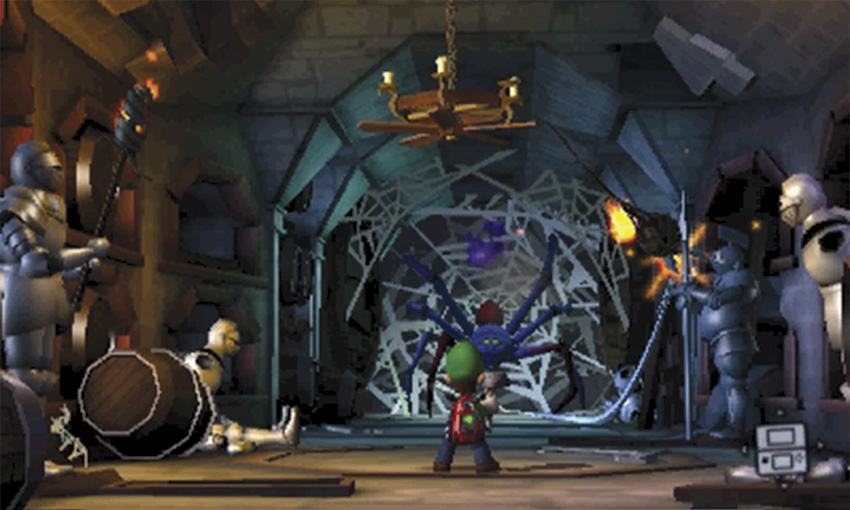
Drag the bundle onto the board near the pike-wielding suit of armor. When the pike skewers the bundle, return to the chandelier and use the Poltergust’s blower function to spin it up to speed. Dodge the incoming toxic blobs until the bundle attached to the chandelier ignites the bundle at the end of the pike. Keep your distance to avoid being caught in the resulting flare-up.
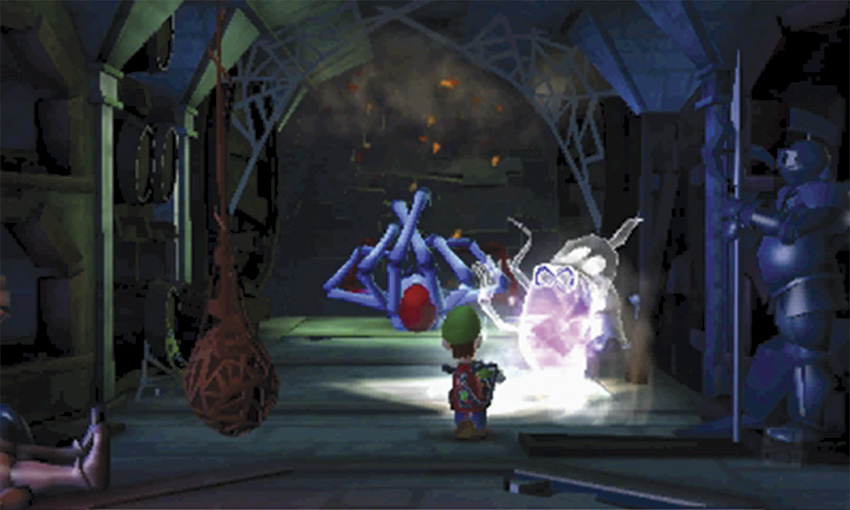
When the Grouchy Possessor is thrown to the ground, run in and flash it with the Strobulb—if you’re fast enough, you can stun the ghost before it has a chance to raise its shield. If you fail to stun the Grouchy Possessor, dodge its charge attacks until it lowers its shield. Once you catch the ghost with a Strobulb flash, latch on and perform an A-Pull to remove another layer.
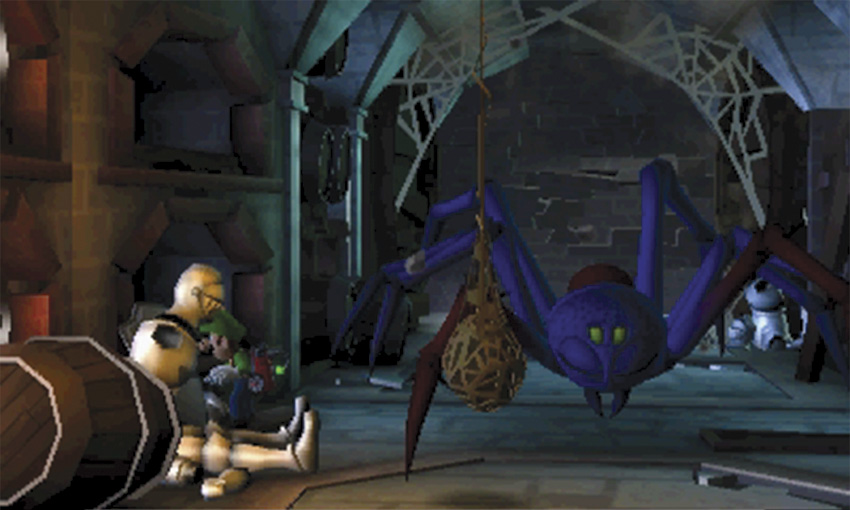
As the Grouchy Possessor returns to the giant spider, take cover to avoid its charge attack.
Phase 3
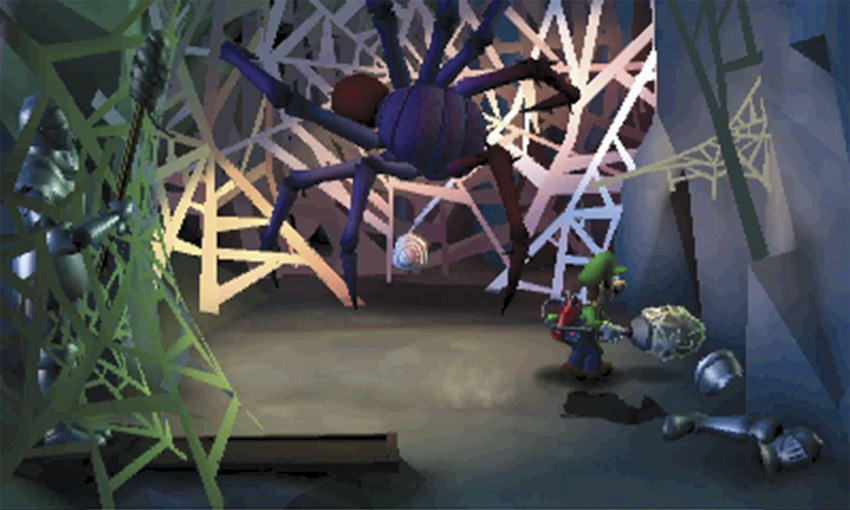
After the giant spider crashes through the next brick wall, run in to begin the battle’s third phase. Dodge the incoming toxic blobs, and flash any red spiders that drop into your path. Approach the giant spider until it rears back, then use the Strobulb to flash its eyes. While it reacts, vacuum the web-ball near the east wall—for now, ignore the bundle of webbing directly below the giant spider.
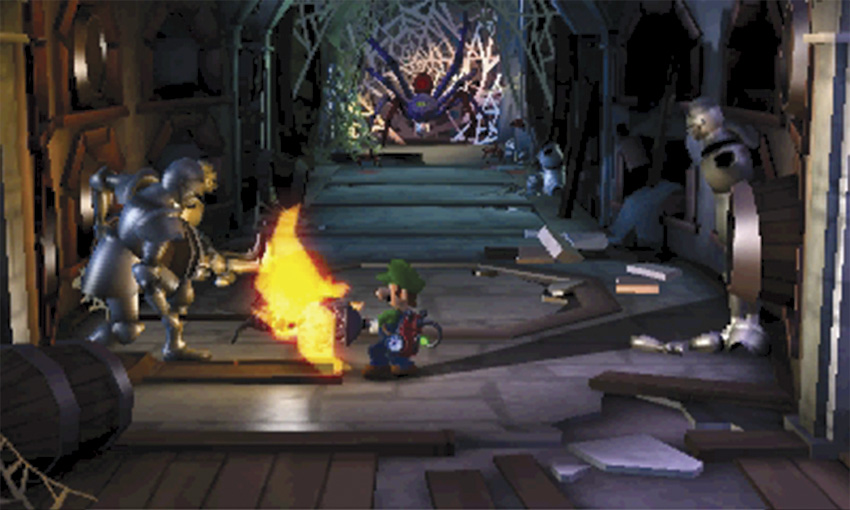
Carry the web-ball all the way back to the Cellar’s south end. During the trip, you must dodge incoming toxic blobs and an endless supply of red spiders. Your speed is severely limited, but it’s best to keep moving. When you reach the torch-bearing suit of armor, hold the web-ball over the board until the torch slams down.
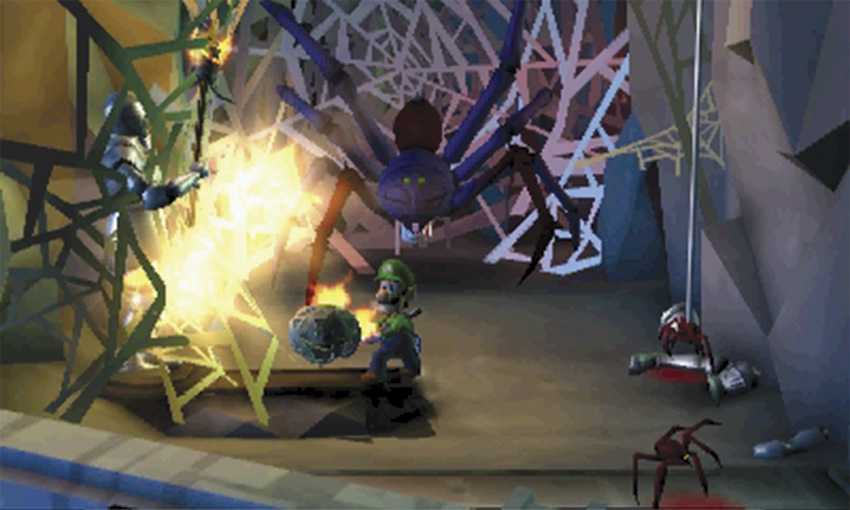
Carry the flaming ball all the way back the length of the Cellar. The fire can clear any red spiders in your path, but you must still dodge the toxic blobs. Walk around the pillars that topple away from the walls, and use the flaming ball to free the suit of armor near the giant spider.
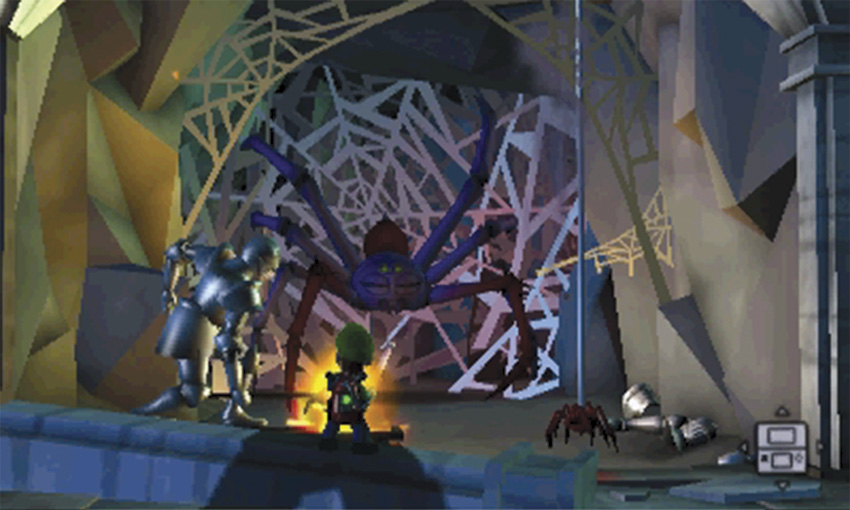
Hold
to free the flaming ball from the Poltergust’s nozzle, then approach the giant spider. When the spider rears back, use the Strobulb to flash its eyes, then vacuum the bundled webbing beneath it. Drag the bundle to the nearby suit of armor, and hold it above the board until the torch slams down.
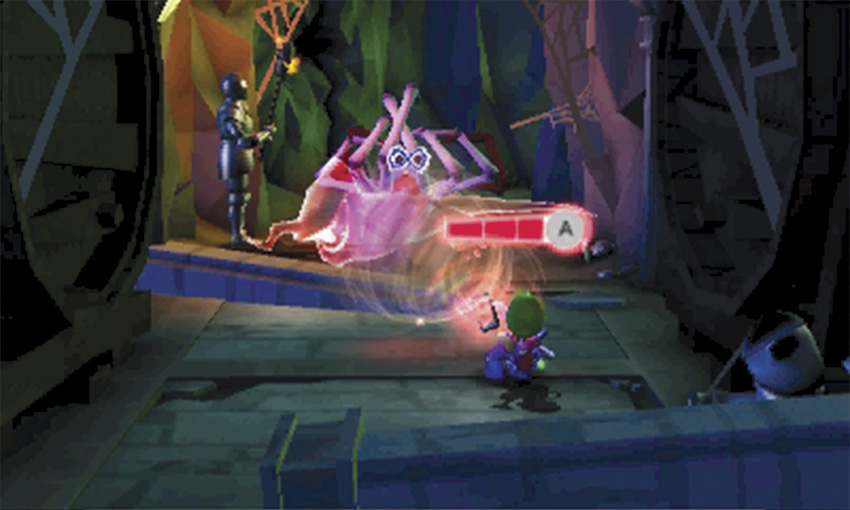
As the flame burns toward the spider, move quickly to get clear of the flare-up. When the Grouchy Possessor is thrown to the ground, flash it with the Strobulb and latch on with the Poltergust. Fill the Power Gauge and perform an A-Pull to capture the ghost and reveal a Dark Moon piece.
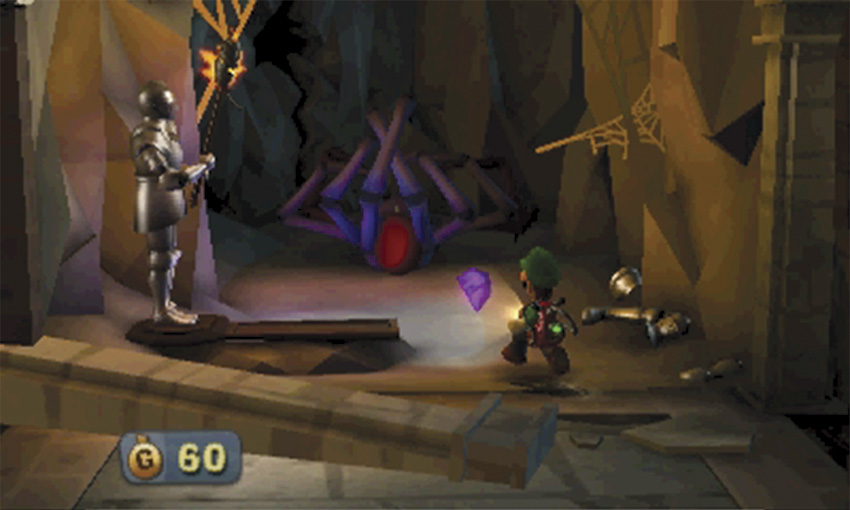
When you’re ready, approach the Dark Moon piece to trigger a cinematic. When it ends, answer the Duel Scream to complete the mission and return to the Bunker.
 Gradual Infiltration
Like all invasion-based missions, groups of ghosts appear in random locations. Your task is to move from objective to objective, capturing all ghosts as quickly as possible.
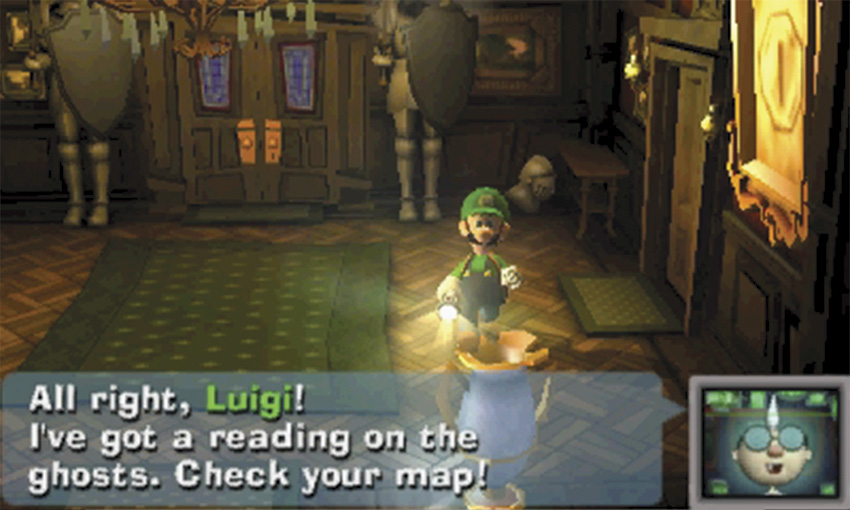
When the mission starts, wait for Professor E. Gadd to spot the first objective. At this point, only a single room is infested. Use the Touch Screen map to identify the effected area, then get to that location as quickly as possible. The marked room can contain any combination of Greenies, Hiders, and Slammers.
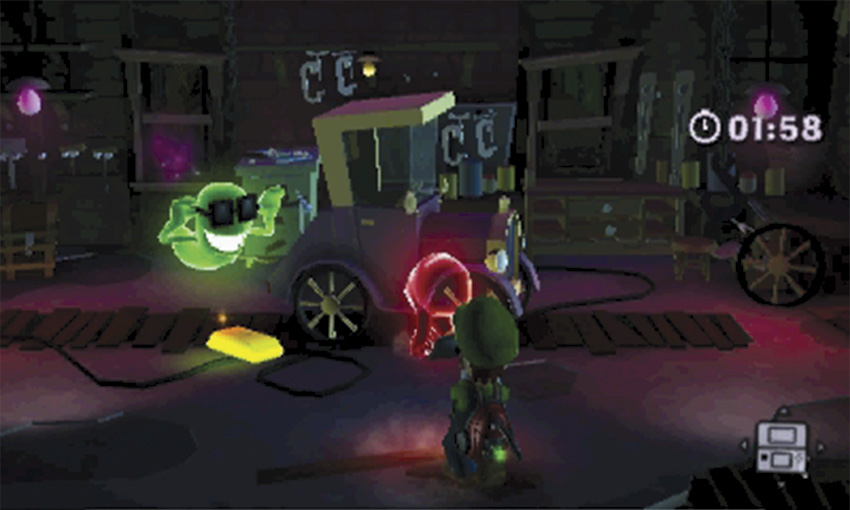
Clear the room to receive new objectives from Professor E. Gadd. Once you do, ghosts appear in two separate rooms at the same time. Clear both rooms to receive your last round of objectives. Professor E. Gadd identifies three simultaneous infestation sights. Tackle them each, one by one. Clear the mansion of all ghosts, then answer the Duel Scream to complete the mission and return to the Bunker.
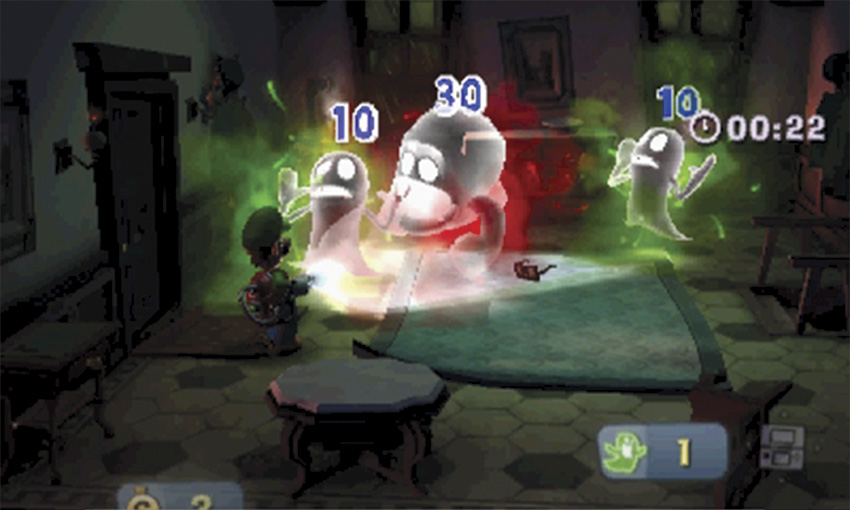
A single room can contain several ghosts, but they’ll generally attack in small groups. It’s much easier to earn a 3-star rating if your Poltergust is fully upgraded, so consider postponing your first attempt until your equipment is up to snuff. During invasion-type missions, it’s more important than ever that you capture multiple ghosts with each attack. Doing so greatly reduces your completion time and serves as your primary source of treasure.
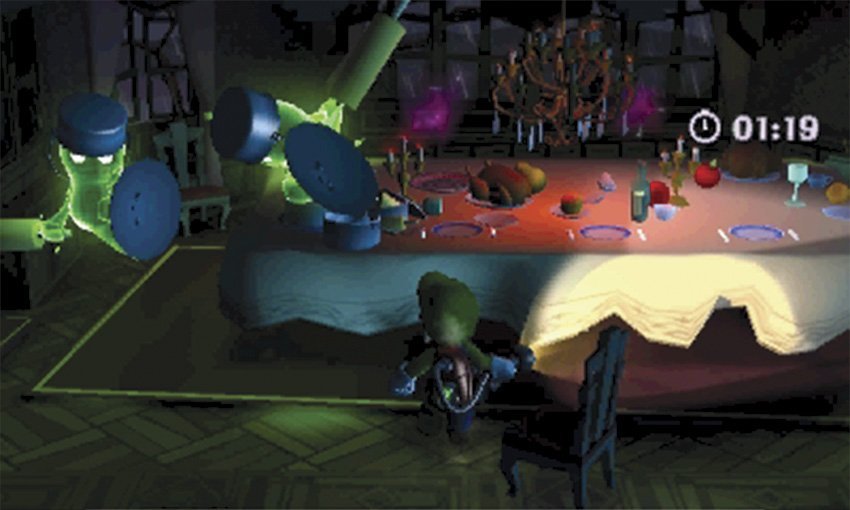
Slammers and Hiders can be a handful, but specially equipped Greenies are the enemies most likely to cost you precious seconds. If a Greenie is wearing sunglasses, A-Pull them off as quickly as possible. If a Greenie is sporting a makeshift shield, make sure you disarm it at the first opportunity.
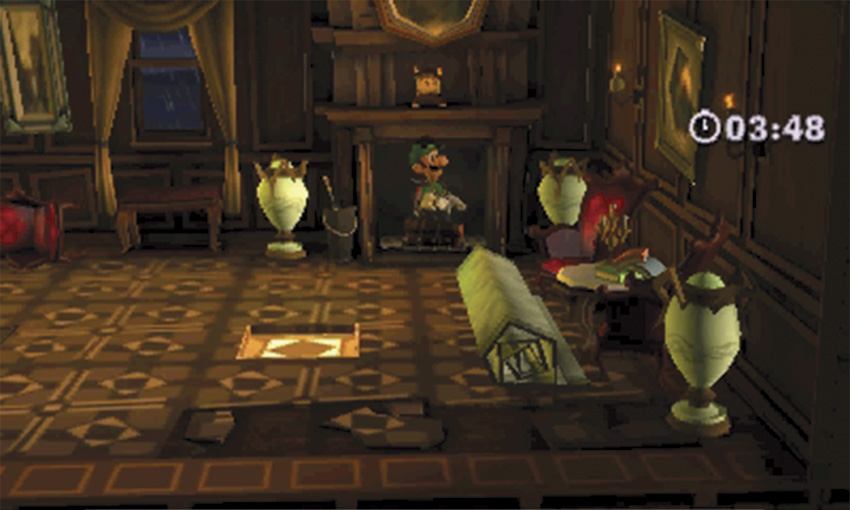
When dealing with multiple infestations, it’s usually best to deal with the closest objective first. In Gloomy Manor, the Study serves as the major exception to this rule. Once you enter the Study, the secret passage to the Studio serves as your only exit. Consider this when you plan a route through the mansion—if you must enter the Study, try to take care of any infestations on level F2 beforehand. As with any mission, a high rating depends on moving quickly, avoiding damage, and collecting the bulk of the available treasure.