
Luigi's Mansion: Dark Moon Guide Essentials Cast of Characters
Cast of Characters
Allies
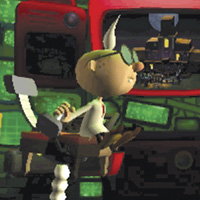
Professor E. Gadd
From the safety of the Bunker, Professor E. Gadd monitors the paranormal activity throughout Evershade Valley. As new information becomes available, he calls you with updated objectives and helpful tips.
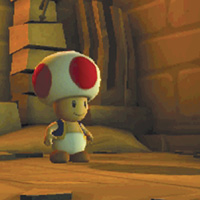
Toad Assistant
These Toad Assistants aren’t much good in a fight, but they’re more than happy to help you solve puzzles and collect items. Free these imprisoned Toads and see them safely to the Bunker.
Ghosts
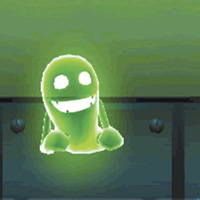
Greenie
Greenies aren’t particularly strong, but they often make up for this by wielding everything from rolling pins to antique swords. If a Greenie is equipped with a weapon or a piece of armor, you must choose just the right moment to flash it with the Strobulb. Once you stun a Greenie, latch on with the Poltergust and reel it in.
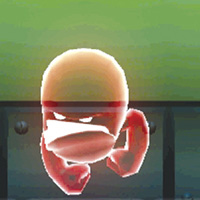
Slammer
Slammers are fairly tough, and their attacks are surprisingly difficult to dodge. Don’t take any chances with these brutes—flash a Slammer before it has a chance to attack, then capture it before it recovers.
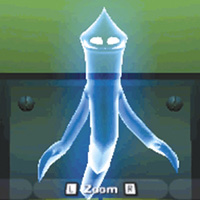
Hider
Rather than charge into battle, Hiders prefer to attack from cover. When a Hider vanishes from sight, search the surrounding containers until you find it. Flash the revealed ghost and capture it while it’s stunned. Be quick! Hiders throw objects at you if you take too long to find them.
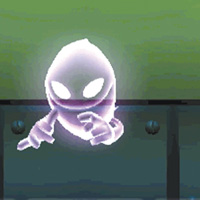
Sneaker
Sneakers are quick and clever. Once a Sneaker turns invisible, you won’t usually see it again until it attacks. Use the Dark-Light Device to reveal these ghosts, or flash them before they have a chance to slip behind you. Once you stun a Sneaker, use the Poltergust to capture it.
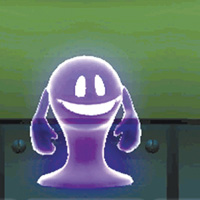
Creeper
Creepers transform into puddles and wait for you to stroll by. Once you’re caught it a Creeper’s trap, you must struggle to break free. Look for these ghosts on floors and ceilings. When you find one, use the Dark-Light Device to agitate the puddle. When the Creeper springs back to its proper ghost form, flash the Strobulb and perform an A-Pull to capture it.
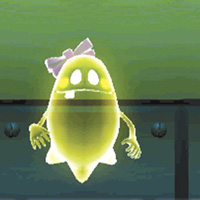
Sister Lucinda
Sister Lucinda is one of the Three Sisters that appear in B-3 Graveyard Shift. Her hand mirror protects her from the Strobulb. Wait for this ghost to sneak a peek at you, then flash her and latch on—just make sure you avoid her protective sisters!
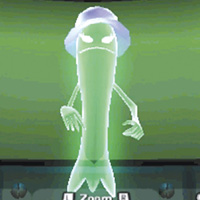
Sister Belinda
Sister Belinda is another of the Three Sisters. She behaves just like Lucinda, so use the same methods to catch her off guard. Once you’ve latched on, dodge her sisters and wear her down.
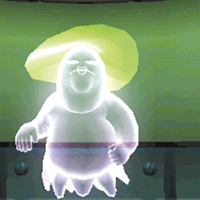
Sister Herlinda
Sister Herlinda is the last member of the Three Sisters. Like Lucinda and Belinda, she spends most of her time staring at her own reflection. Flash her whenever she moves the mirror, then latch on and dodge her sisters’ attacks as you gradually weaken her.
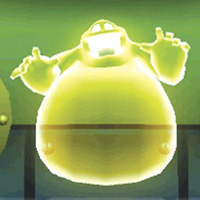
Gobber
Gobbers are stationary ghosts that attack by spitting sludge. Flash a Gobber to stun it, then latch on with the Poltergust and wear it down. As you struggle with this immovable ghost, it continues its attacks. Dodge the sludge flying through the air and avoid the sludge puddles on the ground.
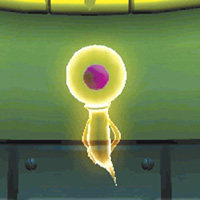
Poltergeist
Poltergeists appear in A-3 Quiet Please. This ghost’s highly developed brain grants it telekinetic powers. Poltergeists stay out of sight, preferring to attack from a distance. Watch for trembling objects that indicate an impending attack, then flash the area to catch the Poltergeist off guard. The Poltergeist continues its attacks during the struggle, so you’ll have to dodge incoming objects to maintain your hold on the ghost.
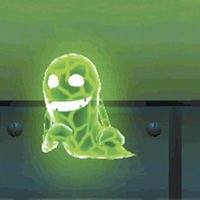
Strong Greenie
Strong Greenies are much tougher than the standard variety, but they exhibit the same behaviors. Flash these ghosts, then capture them with the Poltergust.
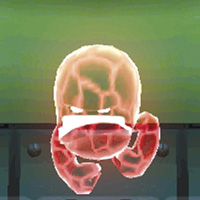
Strong Slammer
Slammers are formidable, but Strong Slammers are downright nasty! Flash these ghosts and latch on to wear them down. Unless you’ve upgraded your equipment, you can expect a Strong Slammer to put up quite a struggle.
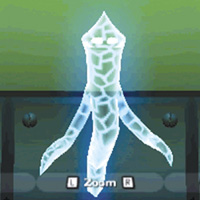
Strong Hider
Strong Hiders behave just like the standard variety, but they’re much more durable. When you find a Strong Hider, flash it before it dashes away, then use the Poltergust to capture it.
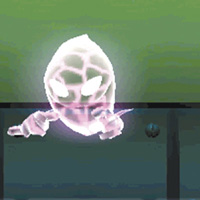
Strong Sneaker
Strong Sneakers are even more troublesome than the normal variety. Flash them and latch on, then wear them down as they struggle to break free.
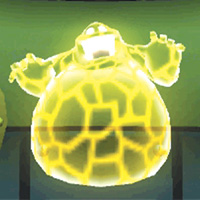
Strong Gobber
Strong Gobbers can absorb an impressive amount of damage. Other than their increased toughness, they act just like normal Gobbers. Flash this ghost, then dodge its attacks as you wear it down with the Poltergust.
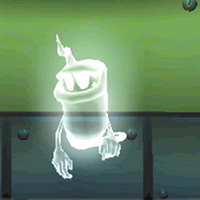
Grouchy Possessor
The Grouchy Possessor appears in the Gloomy Manor boss encounter. During the mission, this powerful ghost takes control of a giant spider. You must defeat the Grouchy Possessor to recover one of the Dark Moon pieces.
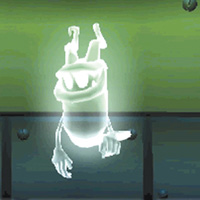
Harsh Possessor
The Harsh Possessor appears in the Haunted Towers boss encounter. During the mission, this powerful ghost takes control of a staircase. You must defeat the Harsh Possessor to recover one of the Dark Moon pieces.
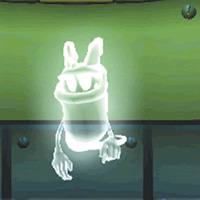
Overset Possessor
The Overset Possessor appears in the Old Clockworks boss encounter. During the mission, this powerful ghost takes control the Belfry Clock. You must defeat the Overset Possessor to recover one of the Dark Moon pieces.
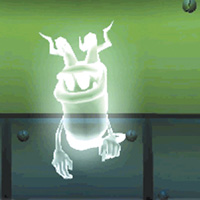
Shrewd Possessor
The Shrewd Possessor appears in the Secret Mine boss encounter. During the mission, this powerful ghost uses chunks of ice to create a giant monster. You must defeat the Shrewd Possessor to recover one of the Dark Moon pieces.
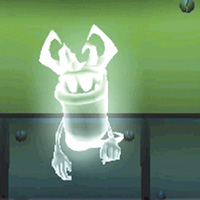
Tough Possessor
The Tough Possessor appears in the Treacherous Mansion boss encounter. During the mission, this powerful ghost splits apart and takes control of various suits of armor. You must defeat the Tough Possessor to recover one of the Dark Moon pieces.
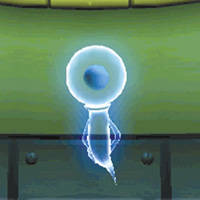
Ancient Poltergeist
The Ancient Poltergeist appears in C-3 Roundhouse Brawl. It has the same telekinetic powers as a standard Poltergeist, but the Ancient Poltergeist uses them much more effectively. Once you manage to stun the ghost, latch on and wear it down. He’s sure to break free more than once, so stay at it until you capture the fiend.
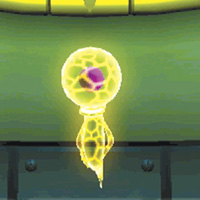
Strong Poltergeist
The Strong Poltergeist appears in E-3 A Train to Catch. It has the same telekinetic powers as other Poltergeist variants, but it puts up a much tougher fight. Once you determine the Strong Poltergeist’s location, flash it with the Strobulb and use the Poltergust to wear it down. The Strong Poltergeist is sure to break free, so repeat the process until you capture it.
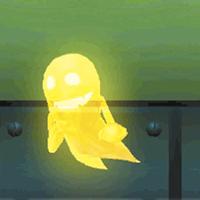
Gold Greenie
Gold Greenies don’t mind causing a bit of mischief, but they’ll flee at the first sign of trouble. When you spot a Gold Greenie, flash it and capture it before it escapes. Your efforts will be rewarded with a sizable amount of treasure.
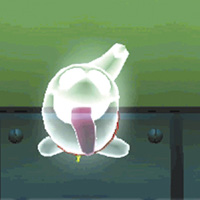
Polterpup
The Polterpup isn’t an enemy, but it causes you more than its share of trouble. This playful ghost snatches important objects, causing you to chase it from room to room. Use the Dark-Light Device to reveal the Polterpup’s spectral trail, then follow the ghost to its various hiding places. When you finally corner the Polterpup, flash it and latch on before it escapes.

Boo
Each of the game’s standard missions contains a Boo. These ghosts create illusions that make it seem as if various objects have vanished from the mansion. A mission’s Boo is almost always hiding near one of these illusions. Use the Dark-Light Device to reveal the missing objects until you draw the Boo out of hiding. Rather than flashing a Boo, you must use the Dark-Light Device to daze it. Once you do, latch onto its tongue and perform an A-Pull to send it bouncing around the room. When the Boo is weak enough, use the Poltergust to capture it.