
Luigi's Mansion: Dark Moon Guide Walkthrough Walkthrough
Haunted Towers
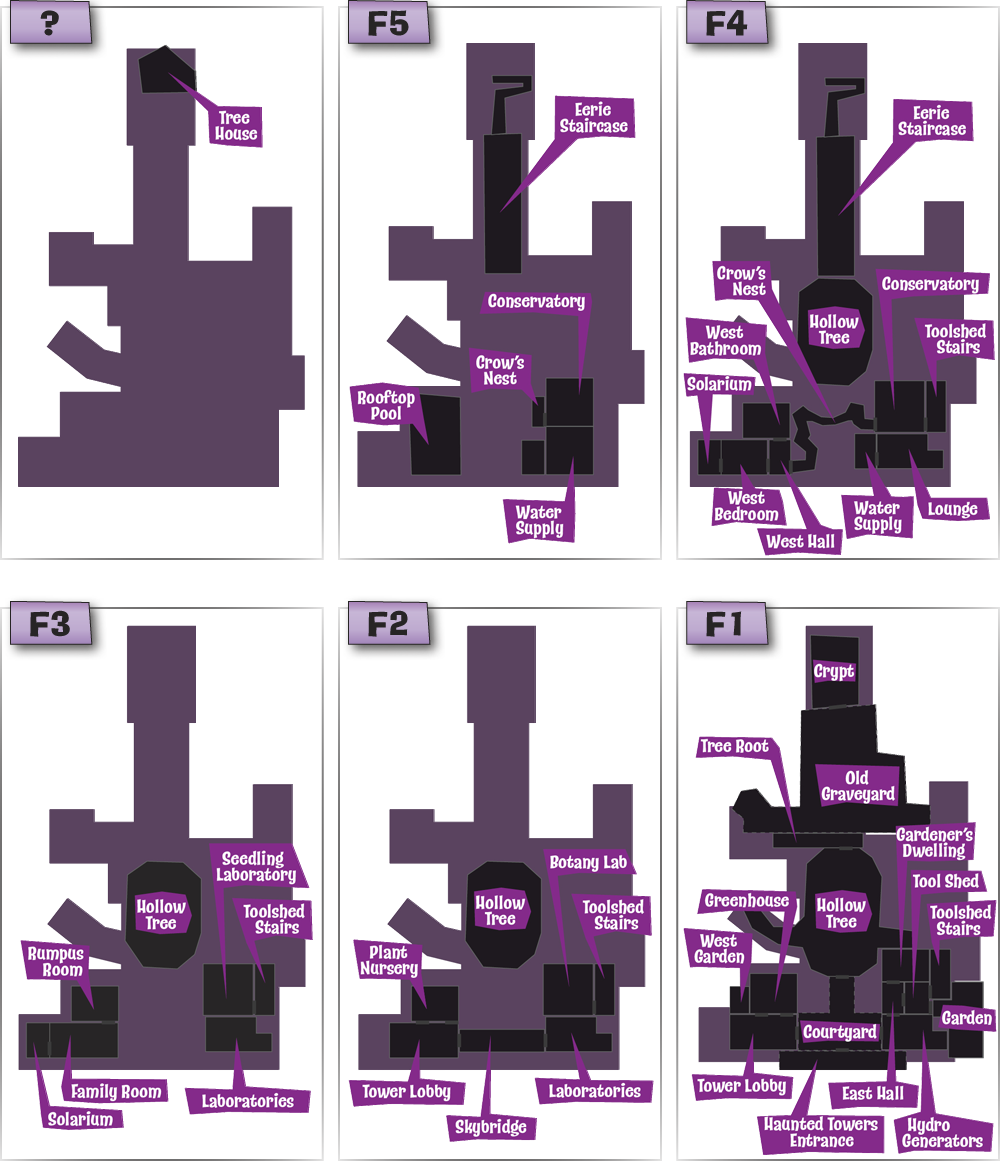
Mansion Overview
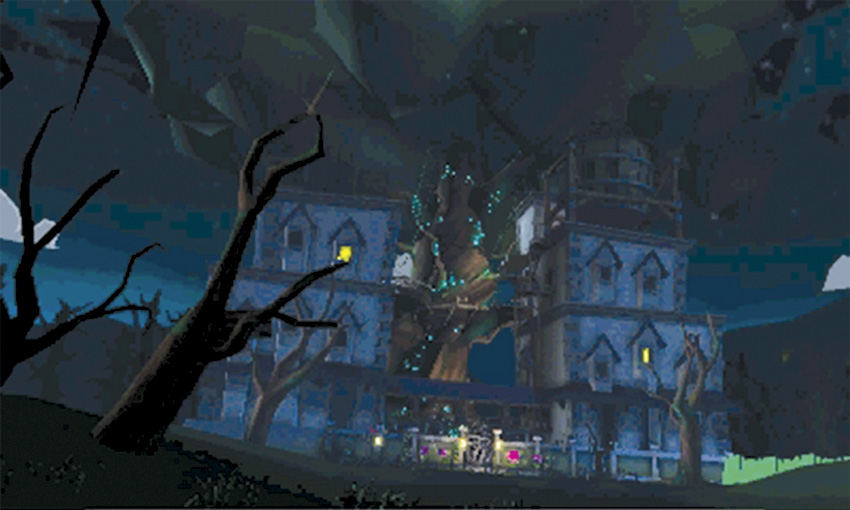
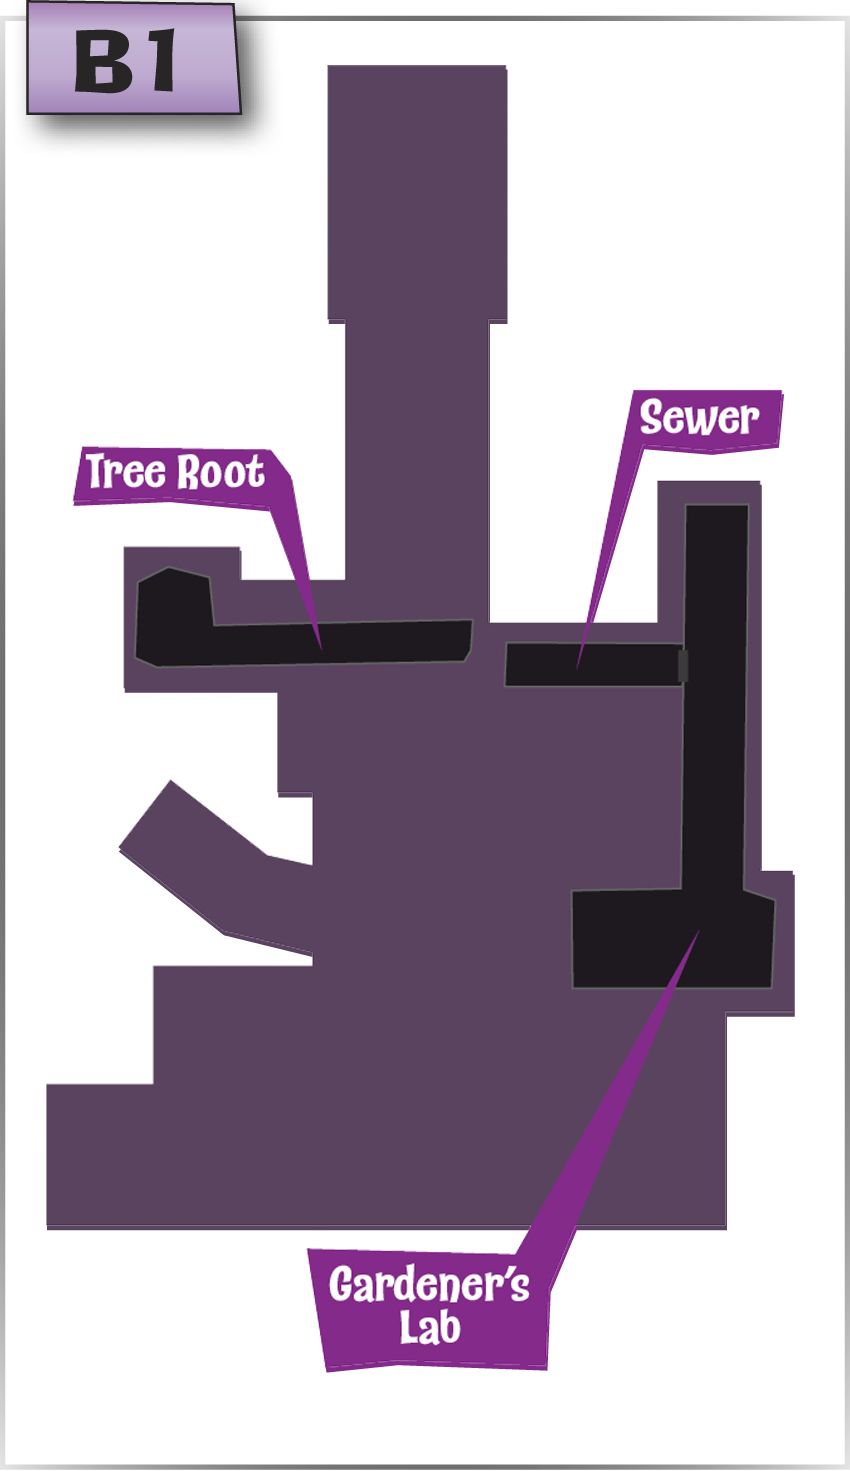
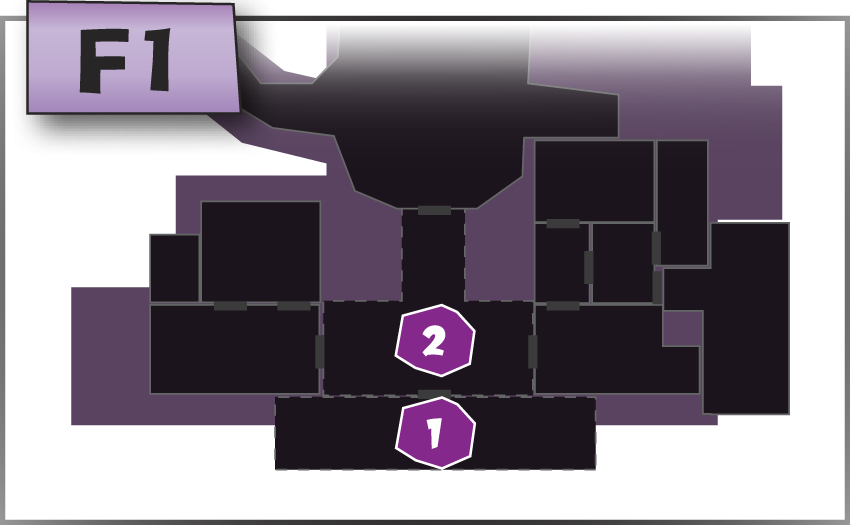
Built flanking a giant tree, the Haunted Towers contain an odd mix of spaces. There are plenty of residential areas, but much of this mansion is dedicated to horticultural equipment. Between the abandoned botanical experiments, the variety of water-powered equipment, and the mysterious tree at the center of the property, nature’s influence can be seen throughout the Haunted Towers—unfortunately, nature’s usually working against you. You’ll find twisting vines blocking your path, carnivorous plants snapping at your heels, and some surprisingly aggressive critters striking when you least expect it. Of course, the ghosts are also determined to hinder you every step of the way. In addition to familiar enemies, you’ll face devious Sneakers and Creepers—not to mention a playful Polterpup that has a knack for derailing important business.
B-1 A Job for a Plumber
Investigate the Hydro Generator
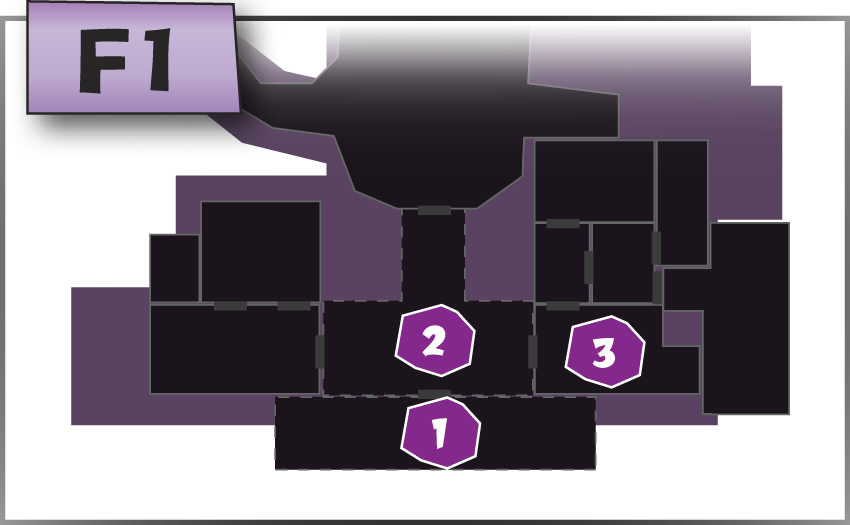
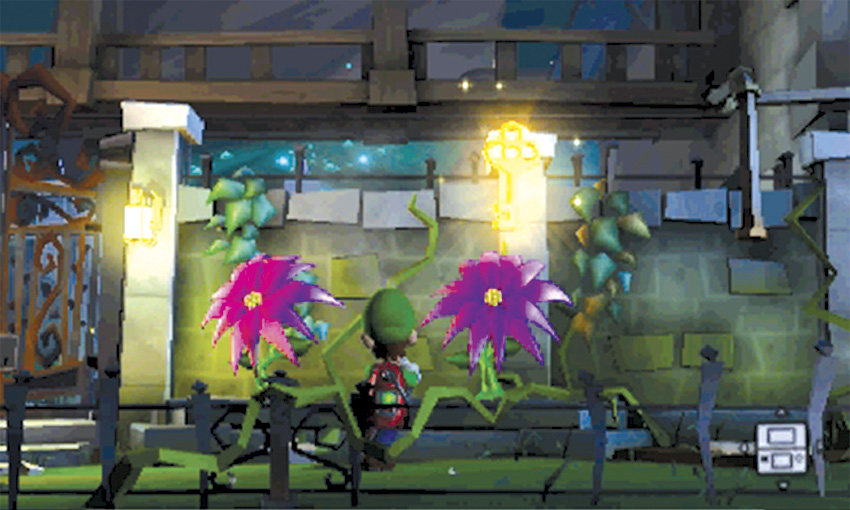
 When the mission starts, you’re transported to the Haunted Towers Entrance. Use the Strobulb to flash the purple flowers along the area. The first two buds contain treasure; the third bud contains a Key.
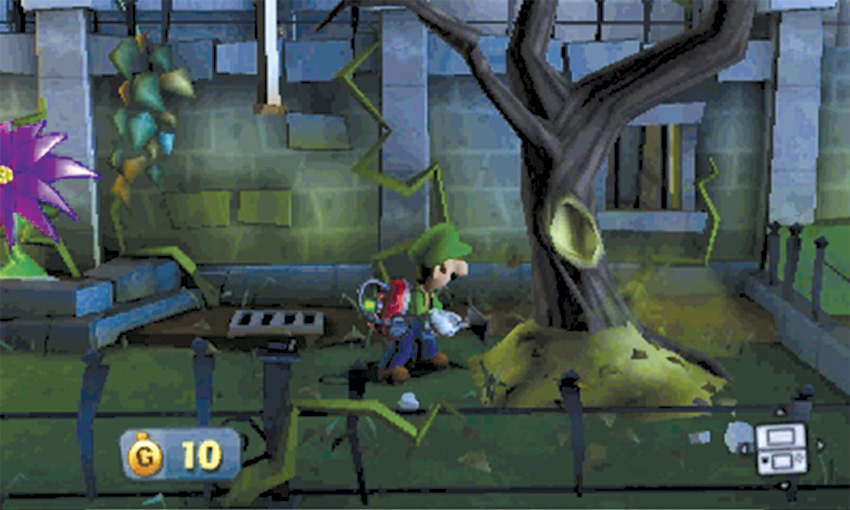
As you approach the tree on the area’s east edge, flash the crows in the branches before they fly off. Vacuum the trash around the tree’s base, then search the tree hole to find a nice treasure stash. Use the nearby window to peek into the Hydro Generator, then unlock the gate at the center of the north wall and head into the Courtyard.
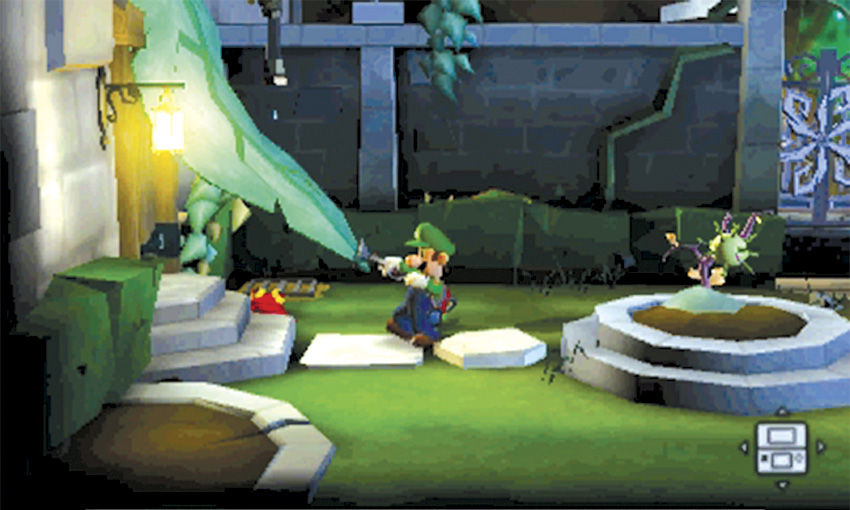
 During this mission, the Courtyard is full of suspicious objects. When you enter the area, move to the left and deal with the area’s west half. Vacuum the trash pile to reveal a pressure switch, then A-Pull the pipe blockage, the small weeds, and the giant leaf blocking the Tower Lobby door. Retrieve the seed pod (or grab a replacement from the gnarled plant) and repeat the process with the pressure switch on the Courtyard’s east half.
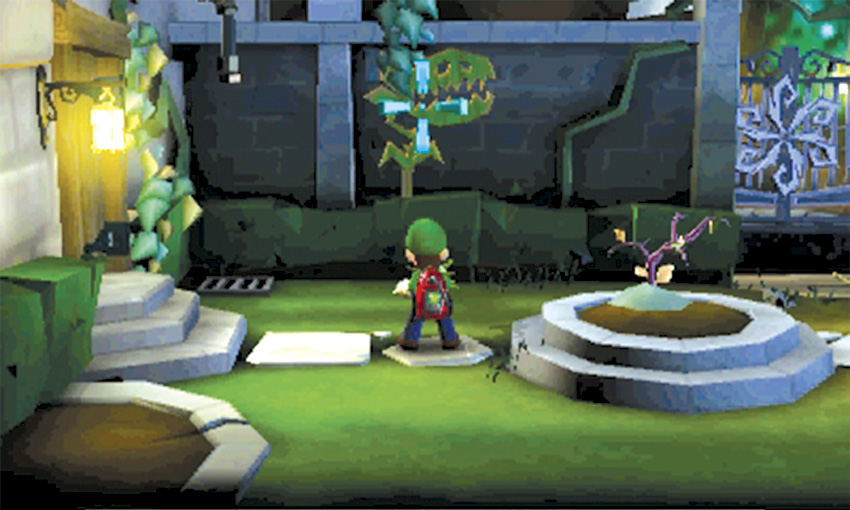
Vacuum the spiked seed pod hanging from the gnarled plant and stand on the pressure switch to reveal a cardboard flytrap. Aim the Poltergust at the flytrap until the reticle appears, then hold
 to shoot the seed pod at the target.
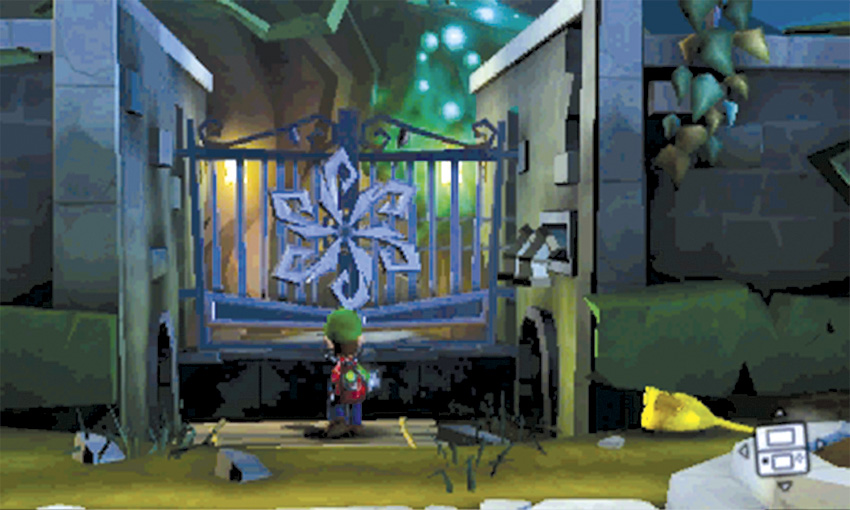
Move to the gate at the Courtyard’s north edge. Vacuum the pinwheel mechanism mounted on the bars. As the camera zooms in on your location, watch the for the gold mouse that skitters across the foreground. Turn around and flash the mouse before it vanishes, then resume spinning the pinwheel. When the gate opens, treasure spills into the trench. Collect the treasure and move to the east half of the Courtyard.
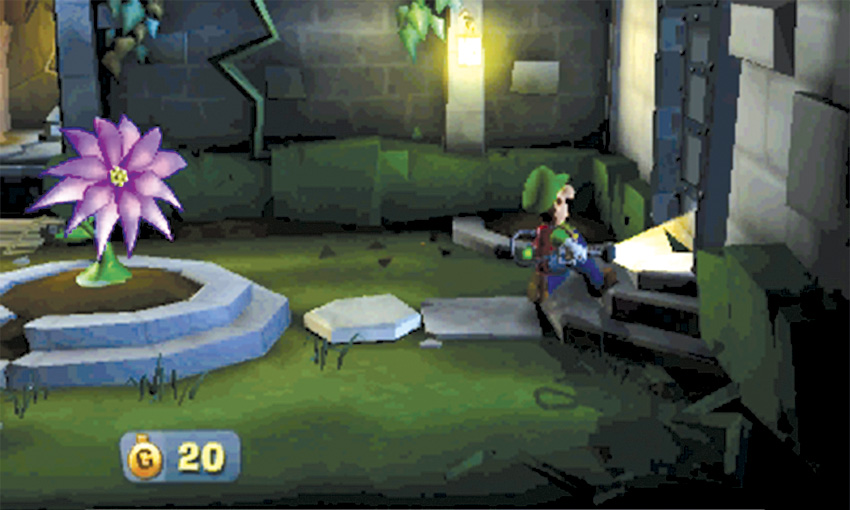
Complete your search of the Courtyard; flash the purple flower, vacuum the remaining trash pile, and A-Pull any weeds left in the area. When you’re ready, enter the Hydro Generator area through the door to the right.
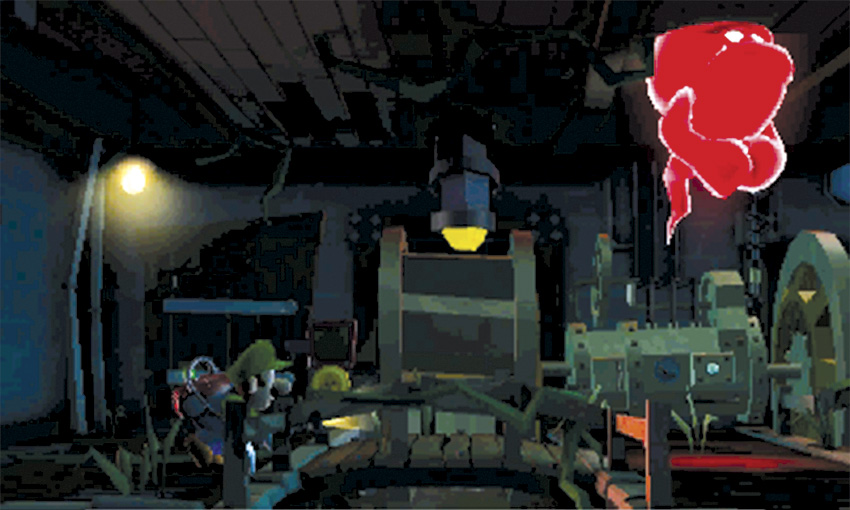
 When you enter the area a Slammer flees through the ceiling. Check the nearby barrel, then cross the first bridge and inspect the machinery near the center of the room.
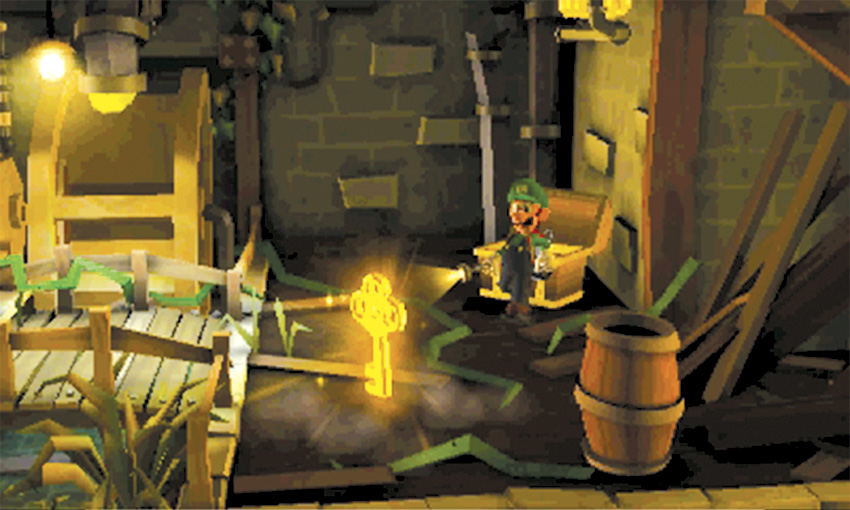
Answer the Duel Scream, then cross the second bridge and search the remaining objects. Open the chest near the room’s northeast corner to reveal a Key.
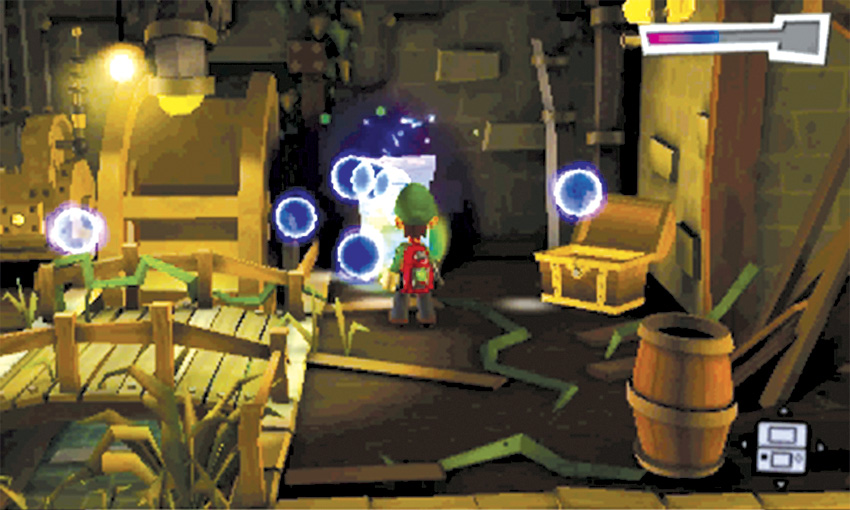
After you collect the Key, use the Dark-Light Device to reveal the nearby toolbox. Capture the Spirit Balls, then search the tool box to reveal this mission’s Boo.
Reach the Plant Nursery
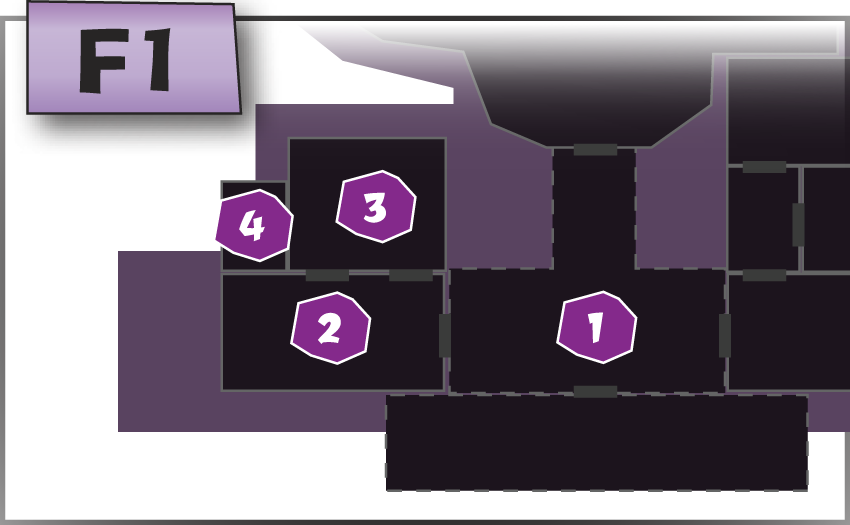
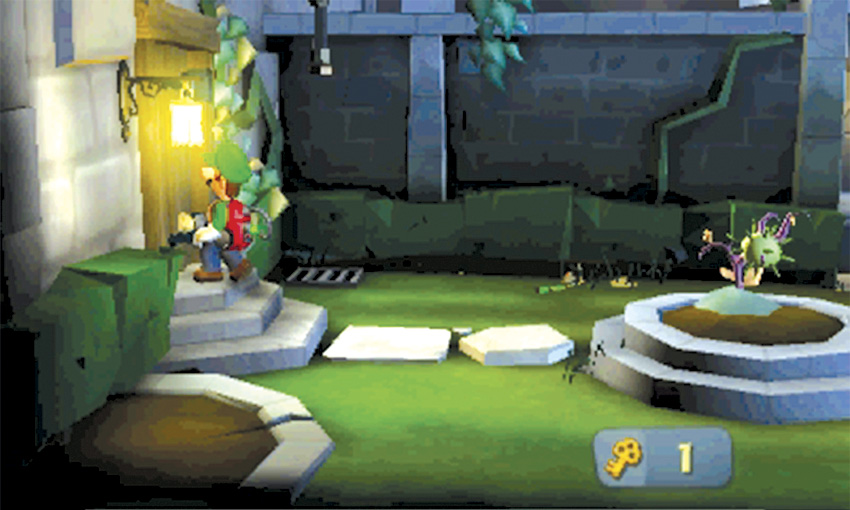
Professor E. Gadd wants you to check the Water Supply at the top of the east tower, but it can be difficult to find an open path. Cross the Courtyard and use the Key you found in the Hydro Generator to unlock the Tower Lobby.
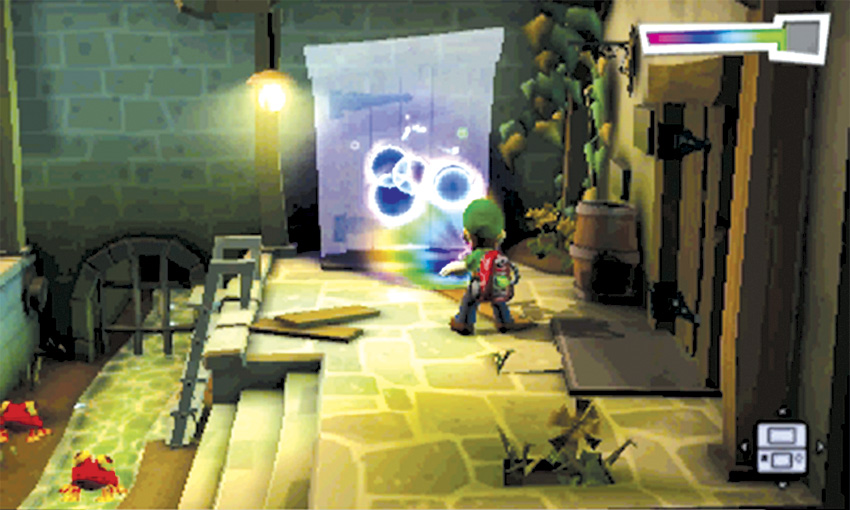
After you enter the Tower Lobby, face the north wall and use the Dark-Light Device to reveal a door. Before you leave the Tower Lobby, drop down and flash the frogs in the trench, then move to the foreground and vacuum the coins to the left. Use the ladder to climb back up to the area’s east half, then head through the newly revealed door to find the Greenhouse.
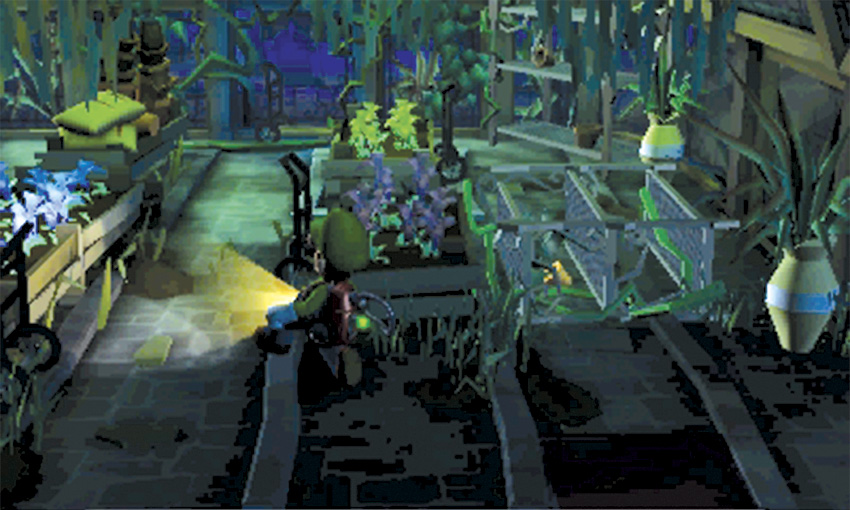
As you attempt to move through the Greenhouse, an unseen Greenie knocks obstacles in your path. Follow the available route and search the vases and hand-trucks along the way.
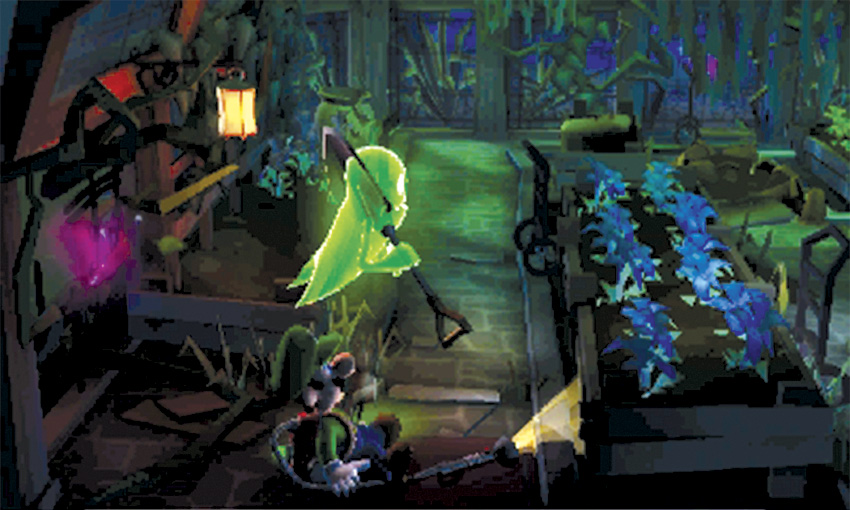
When you reach the end of the path, a shovel-wielding Greenie emerges from the broken window to the left. Dodge its lunging attack, then flash it with the Strobulb before it turns to face you. After you capture this enemy, repeat the process with the two shovel-wielding Greenies that approach from the right. When it’s safe, vacuum all the moss in the area to earn some treasure. Peek through the window in the southwest corner, then use the nearby door to reach the Tower Lobby’s west half.
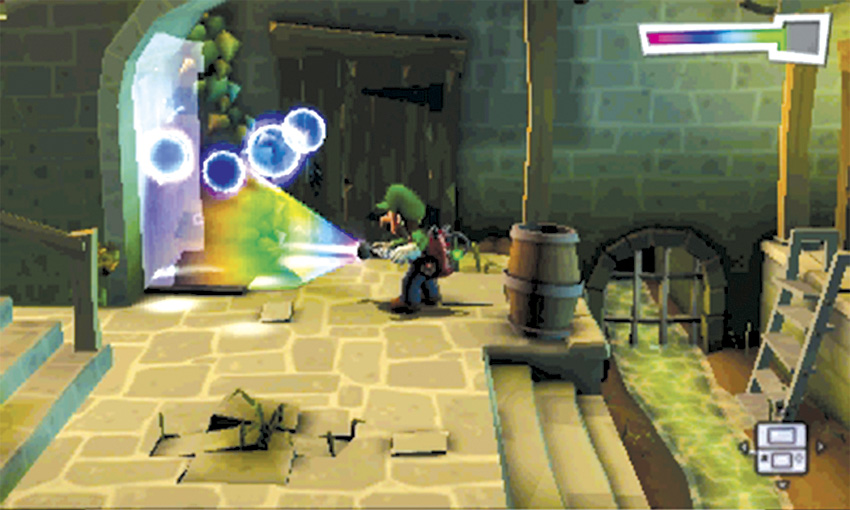
When you step back into the Tower Lobby, face the wall to the left. Use the Dark-Light Device to reveal a hidden door. Head through the door to find a tiny Maintenance area connected to the West Garden you viewed from the Greenhouse.
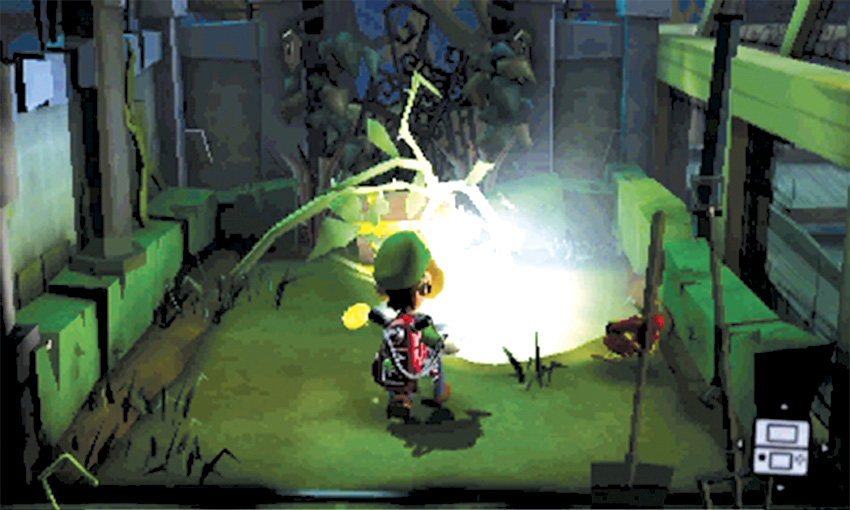
 During this mission, the West Garden doesn’t offer much of value. Flash the frogs in the area, then return to the Tower Lobby.
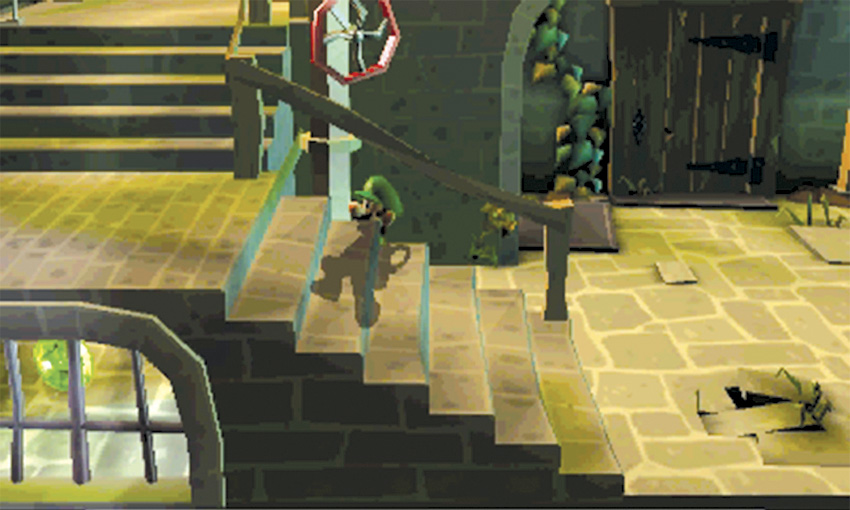
Before you climb to level F2, collect the Round Emerald from the small area below the steps. Move between the pipe and the first guardrail to find the hidden opening.
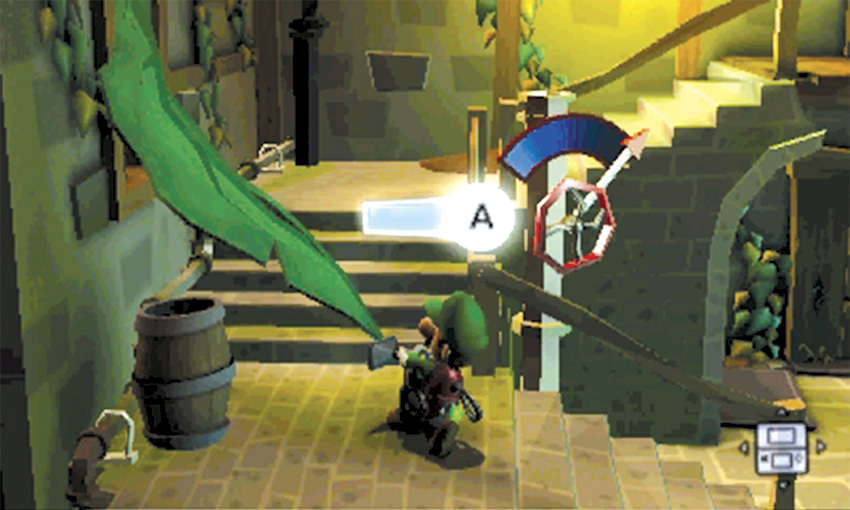
As you move up the steps, search the barrel in the corner and A-Pull the leaf on the wall. Flash the gold bat that flies out of the opening, and watch out for additional bats that might fly down from the ceiling. Vacuum the nearby valve to reveal the Hearts stashed in the pipe, then continue up the steps and enter the Plant Nursery.
Reach the Laboratories
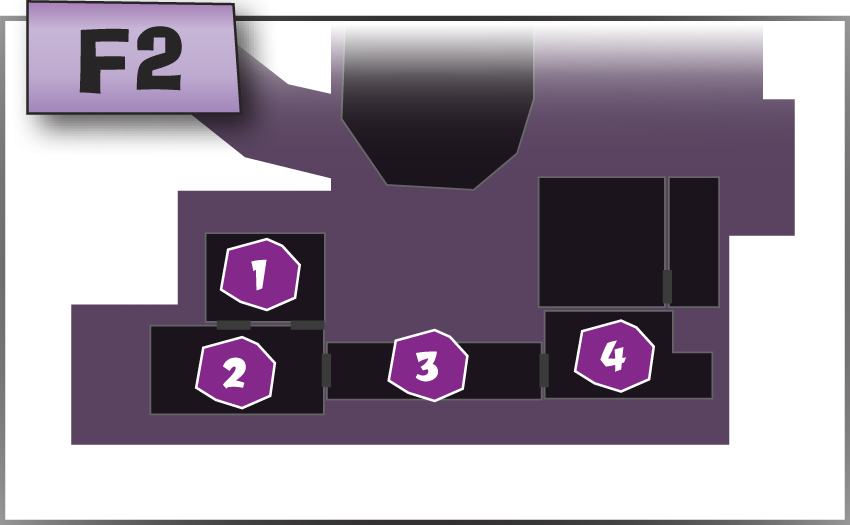
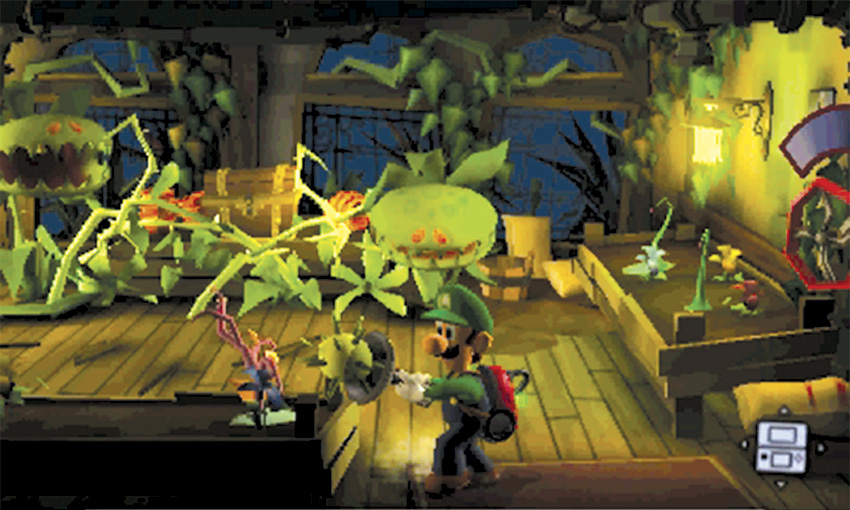
When you enter the Plant Nursery, two flytraps are snapping at anything that moves. As you cross the room, move along the room’s south edge to stay clear of the carnivorous plants. When you reach the room’s southeast corner, vacuum the seed pod hanging from the gnarled plant. Aim the Poltergust at the nearest flytrap; when the reticle appears, hold
to shoot the seed at your target.
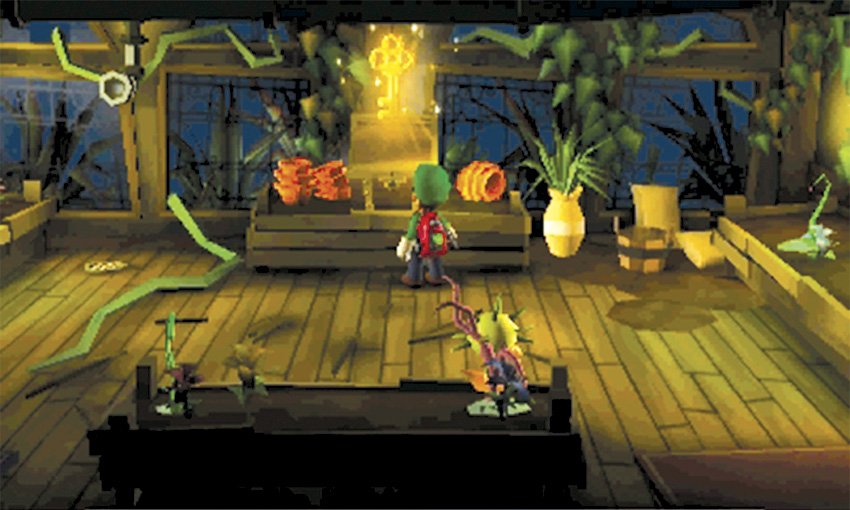
The flytrap swallows the seed pod, chokes, and shrivels away. Repeat the process with the remaining flytrap. When the room is clear, open the chest near the north wall to find a Key. When you’re ready, head through the door in the room’s southeast corner.
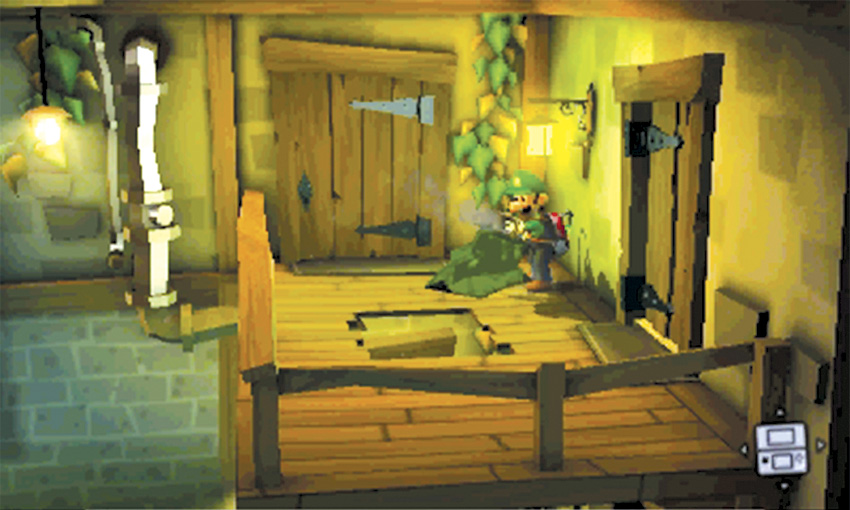
The rug in the Tower Lobby’s F2 level is covering a hole in
the floor. Avoid stepping on the rug when you leave the Plant Nursery. Continue through the door to the right to find the Skybridge.
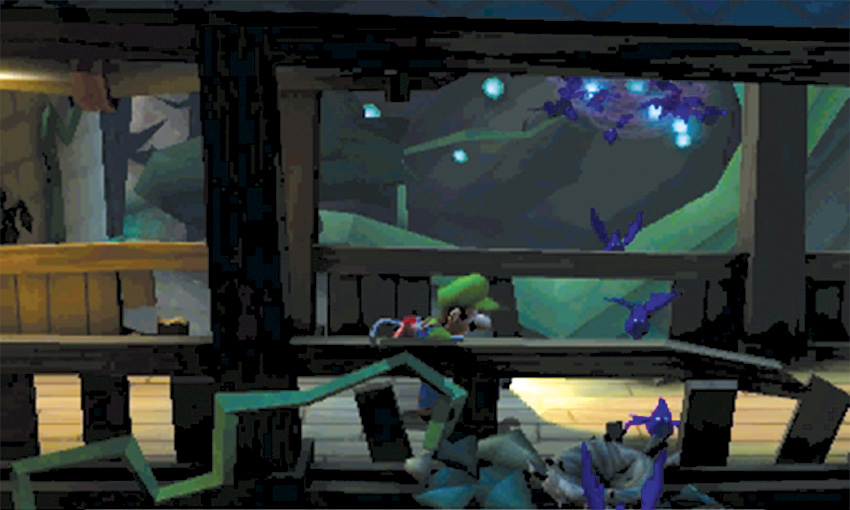
As you move across the Skybridge, you must dodge the crows flying across your path. Wait for a large group of crows to fly past, then slip through the gap before the next crow arrives. Repeat the process to move past the second flight path, then use the Key to unlock the door to the Laboratories.
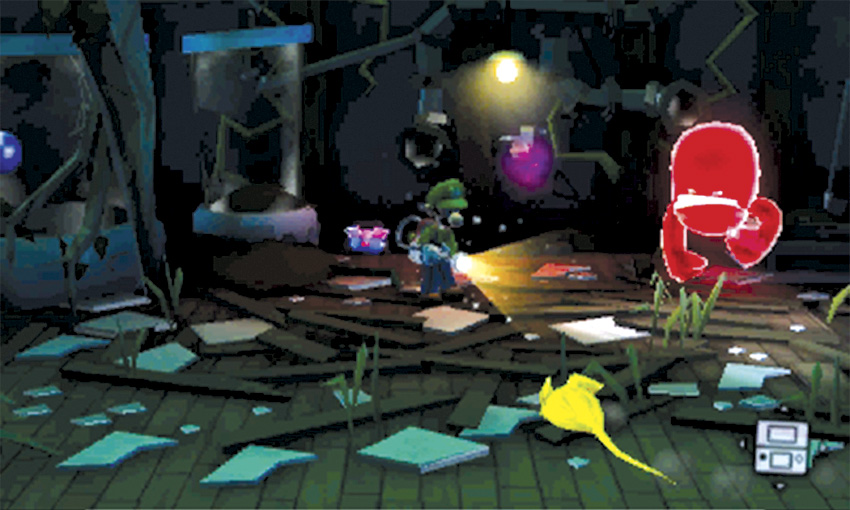
When you first enter the Laboratories, the room contains a Slammer and some mice. It’s best to flash nearby pests before you attempt to capture the ghost. Use the Strobulb to interrupt the Slammer’s attacks until you have enough room to work.
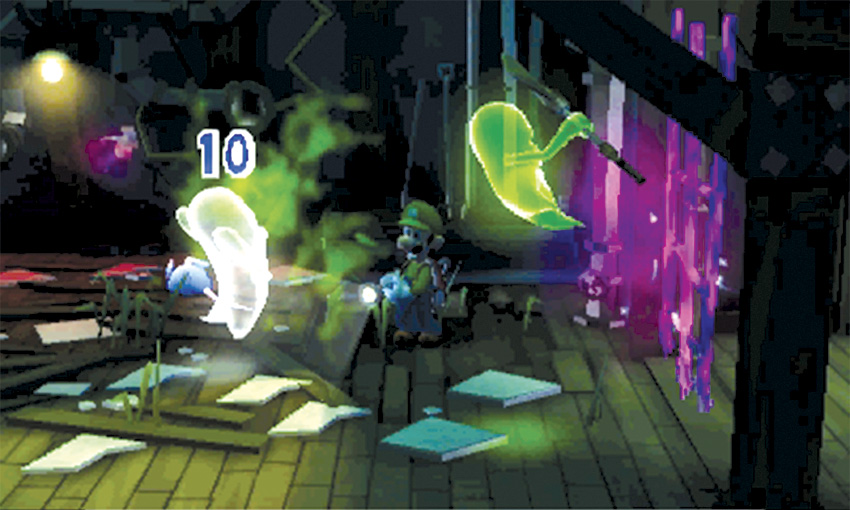
After you capture the Slammer, you must face a group of Greenies, followed by a pair of fresh Slammers. More mice appear throughout the battle, so try to keep the floor clear. Prioritize your targets, and capture multiple ghosts whenever possible.
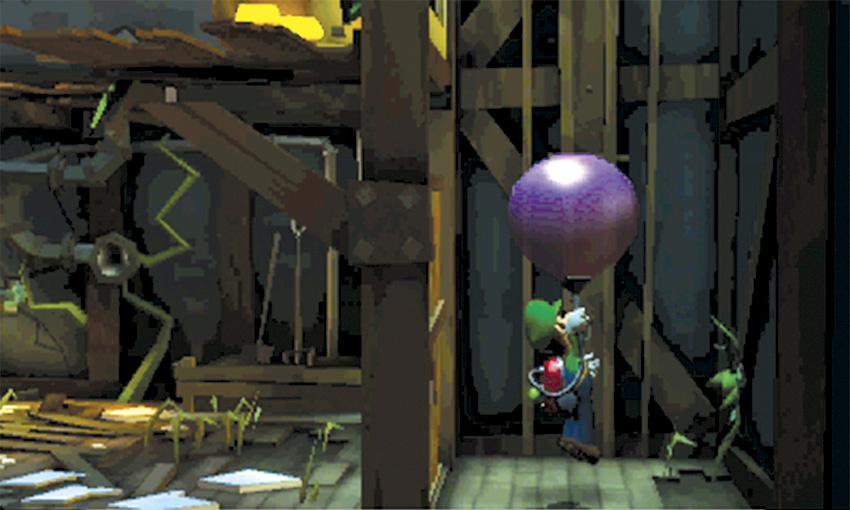
Peek through the hole in the north wall to see the Botany Lab. Use the Dark-Light Device to reveal the weeds in the room’s northeast corner, then A-Pull them to earn some treasure. When you’re ready, step into the shaft in the room’s southeast corner. Vacuum the purple bulb on the wall, but release
 before it vanishes into the Poltergust. Press and hold
to inflate the bulb and float into the air.
before it vanishes into the Poltergust. Press and hold
to inflate the bulb and float into the air.
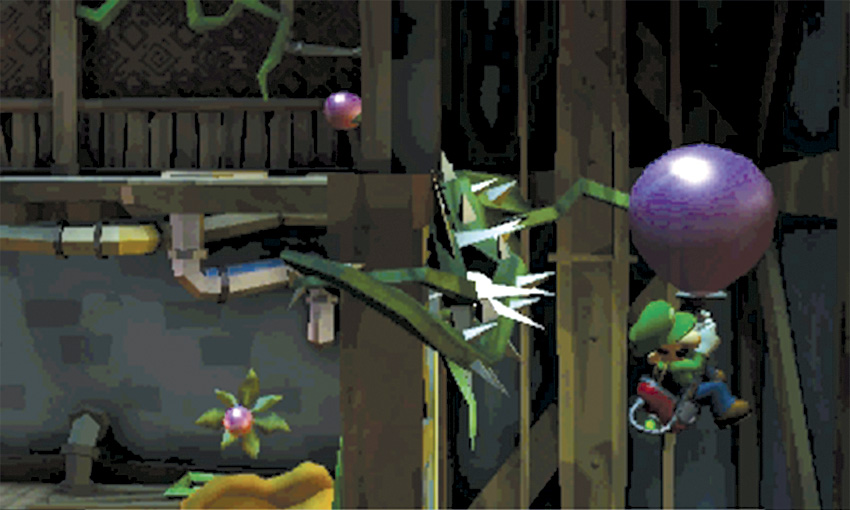
You lift off from level F2. As you approach level F4, move to the right and release
to stop your ascent. Tap
to inflate the bulb in short bursts, and carefully slip between the thorns at the top of the shaft.
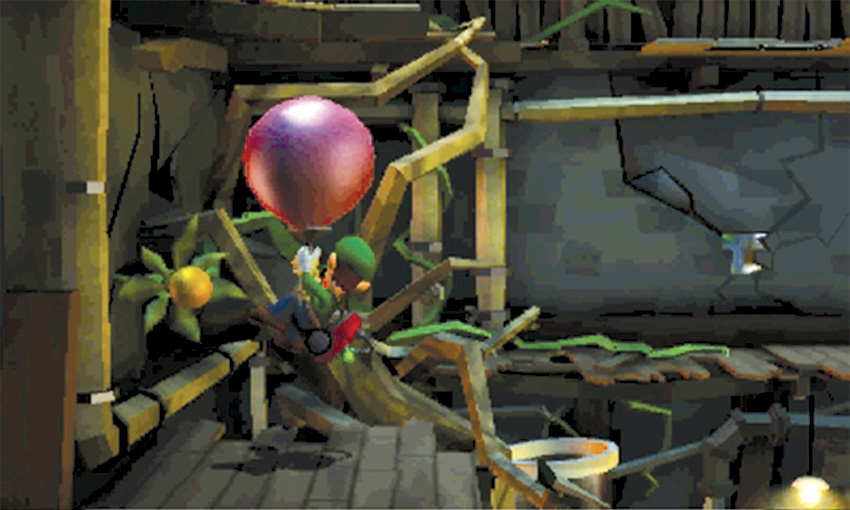
When you reach level F4, drop down from the ledge and use the bulb to control your fall. Touch down on level F3 to find a pile of treasure. Float across the room and use the bulb to lower yourself into the glass tank near the west wall. Hold
to clear the bulb from the nozzle, then vacuum the web inside the tank to collect the Trillion Emerald. When you’re ready, use the bulb growing in the tank to float back into the room.
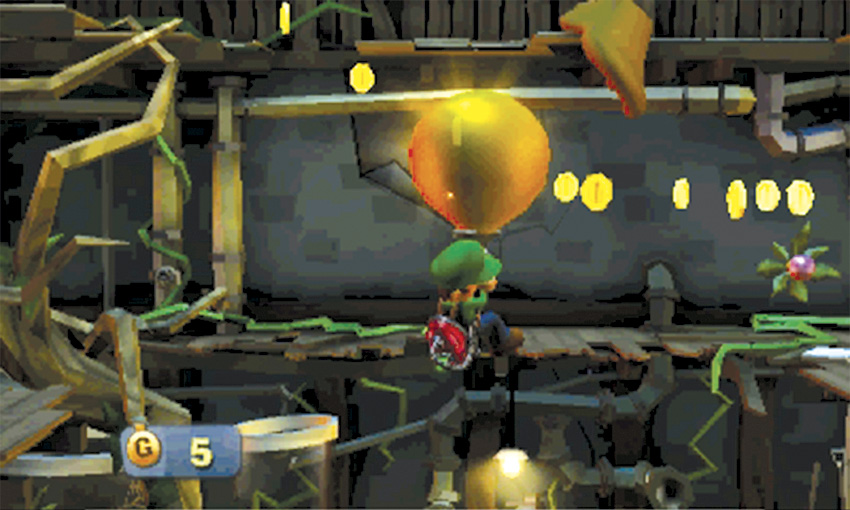
Float up to the southwest corner of level F3, to find a gold bulb growing on the wall. Land on the platform and clear the Poltergust’s nozzle, then vacuum the gold bulb to reveal a trail of floating coins. Use the gold bulb to follow the trail as it spirals around the room. Collect all of the coins before they vanish to reveal a treasure stash on level F4.
Check the Water Supply
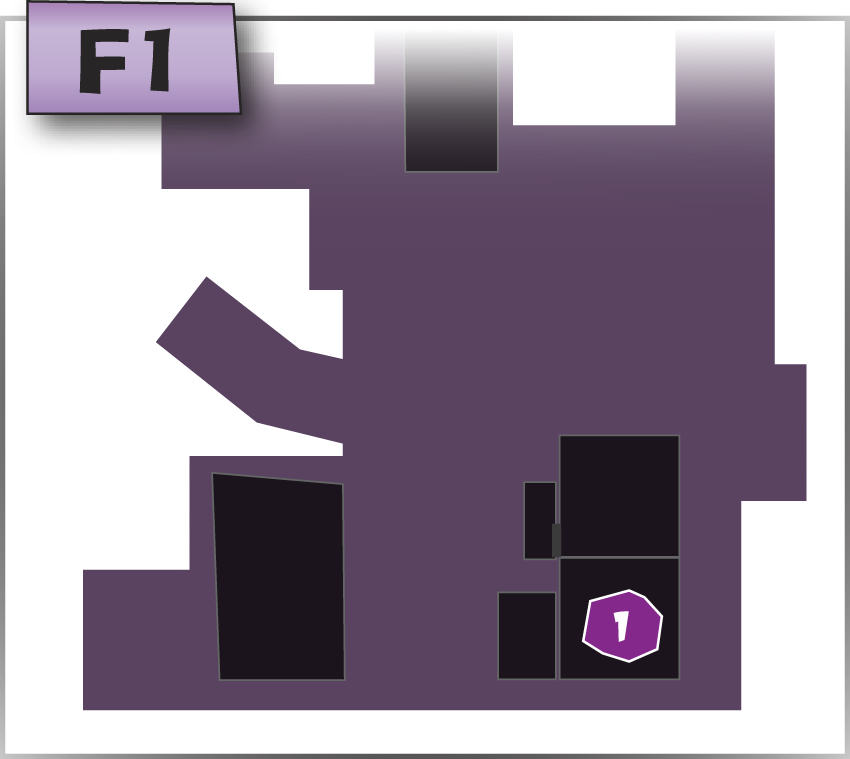
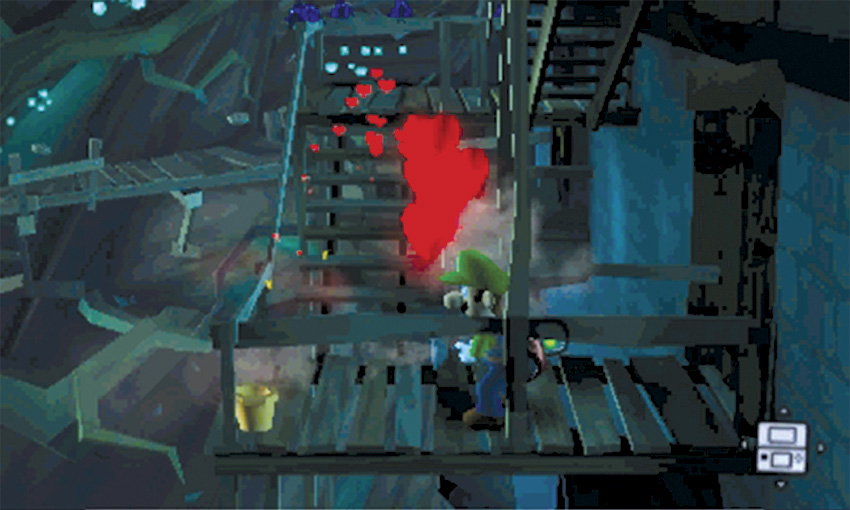
When you’re ready, leave through the door on level F4 to find the Water Supply. A-Pull the potted plant to reveal several Hearts, then climb the steps up to the pump.
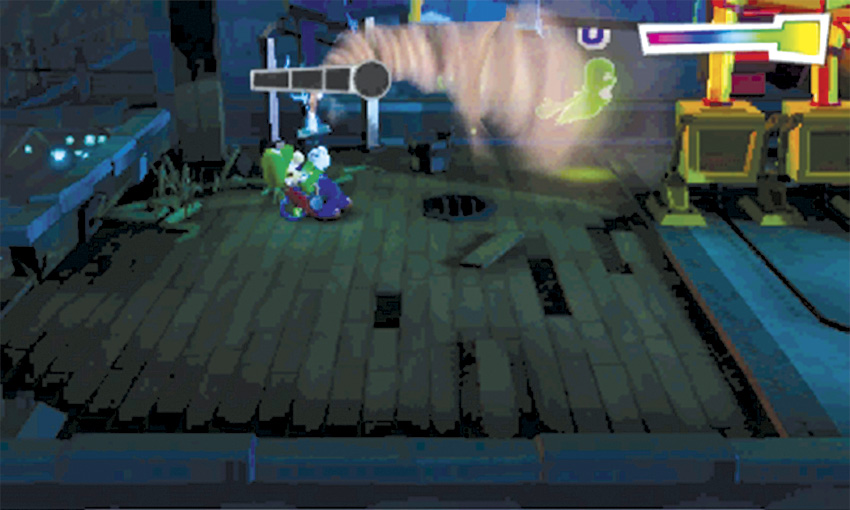
Approach the bucket near the pump to reveal another Greenie. This ghost uses the bucket to shield itself from your Strobulb flashes. Wait for the Greenie to lift the bucket off of its head, then flash the Strobulb and capture the ghost. As you do, take care to avoid the sludge dropping into the drain.
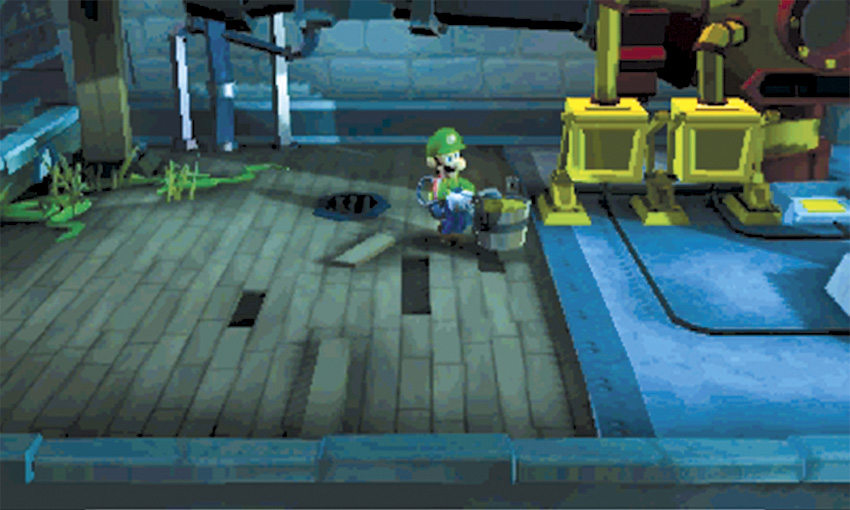
Search the area behind the pump to find some hidden treasure, then vacuum the bucket and carry it over to the drain. Wait for some sludge to drop into the bucket, then carry it over to the right.
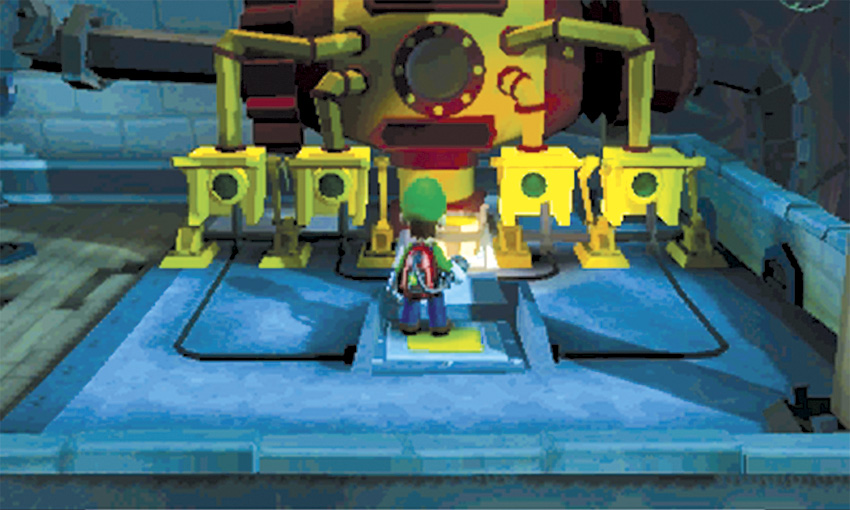
There are two pressure switches in front of the pump. Place the filled bucket on the switch near the pump, then move onto the switch in the foreground. While both switches are triggered, four green circular panels are exposed. Charge the Strobulb and flash all four panels with the wide beam.
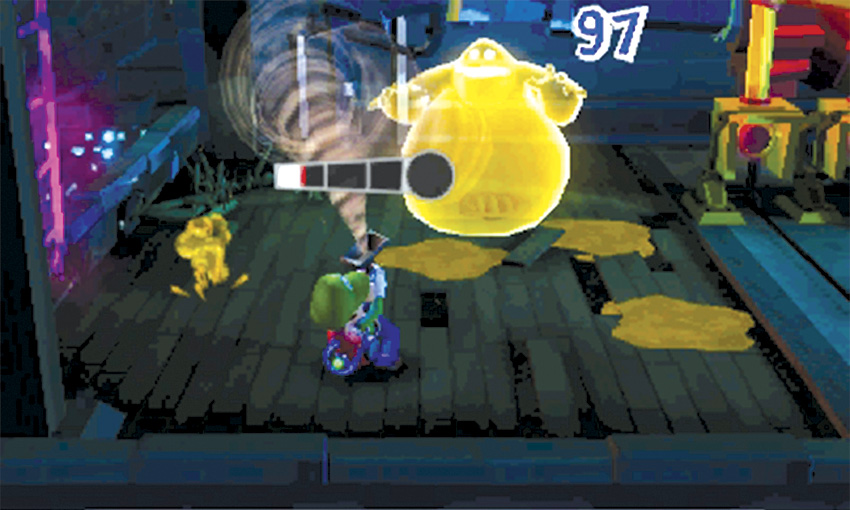
After you fix the pump, Professor E. Gadd calls you on the Duel Scream. After the call, a Gobber emerges from the nearby pipe. As you approach the enemy, take care to avoid the sludge puddles scattered around the area. Hit the Gobber with a Strobulb flash, then latch on and pull away to charge your Power Gauge.
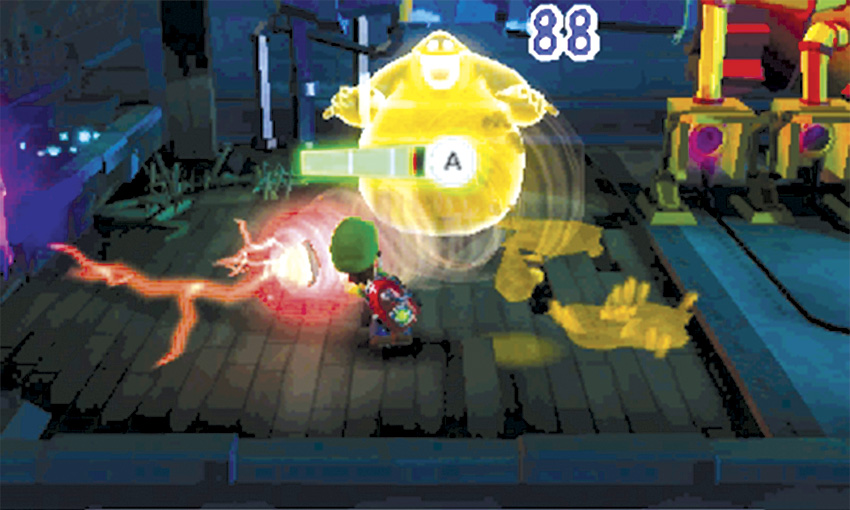
Each sludge puddle only lasts a short time, but the Gobber replaces them by spitting fresh sludge directly at you. As the Power Gauge fills, you must avoid both the sludge in the air and the sludge on the ground. The Gobber performs a powerful belly-bump if you get too close, so it’s essential to keep your distance. If needed, release your hold on the gluttonous enemy and wait for some of the sludge to vanish.
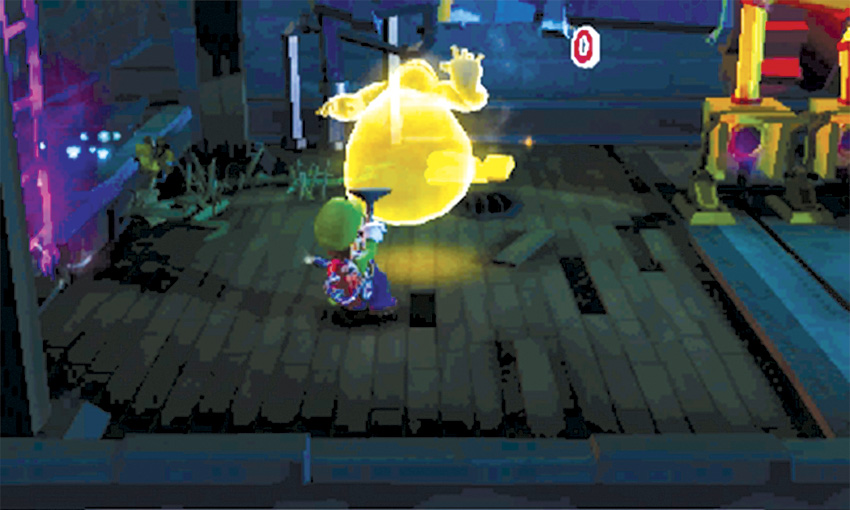
Dodge the Gobber’s sludge, and perform an A-Pull each time the Power Gauge fills. Wear down the ghost until it succumbs. After you capture the Gobber, answer the Duel Scream to complete the mission and return to the Bunker.
B-2 The Pinwheel Gate
Reach the Pinwheel Gate
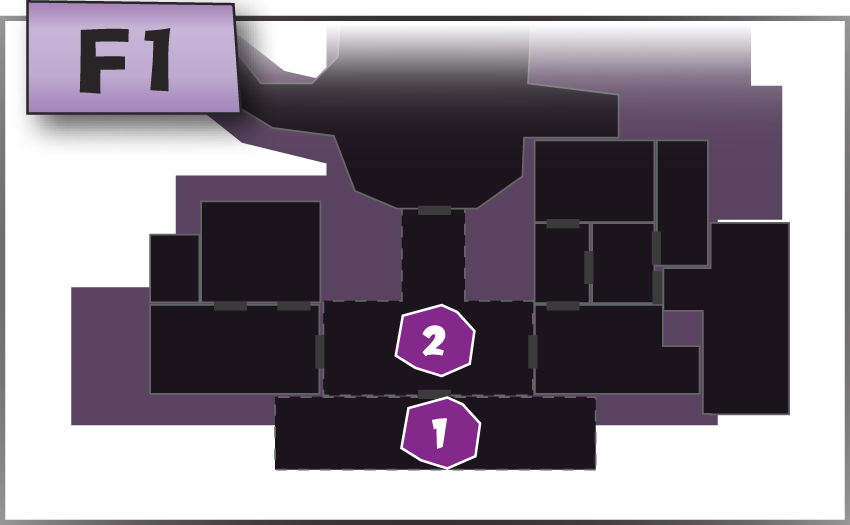
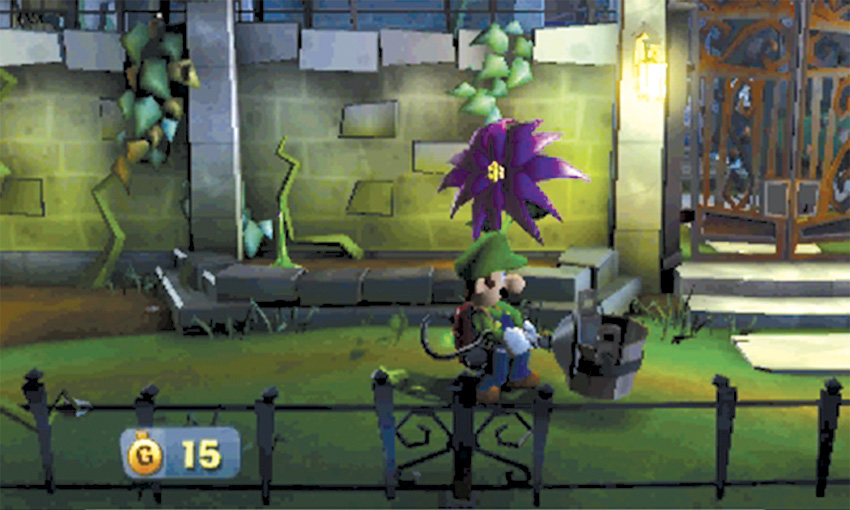
When the mission begins, you’re transported to the Haunted Towers Entrance. Vacuum the bucket from the nearby flower bed and carry it to the right.
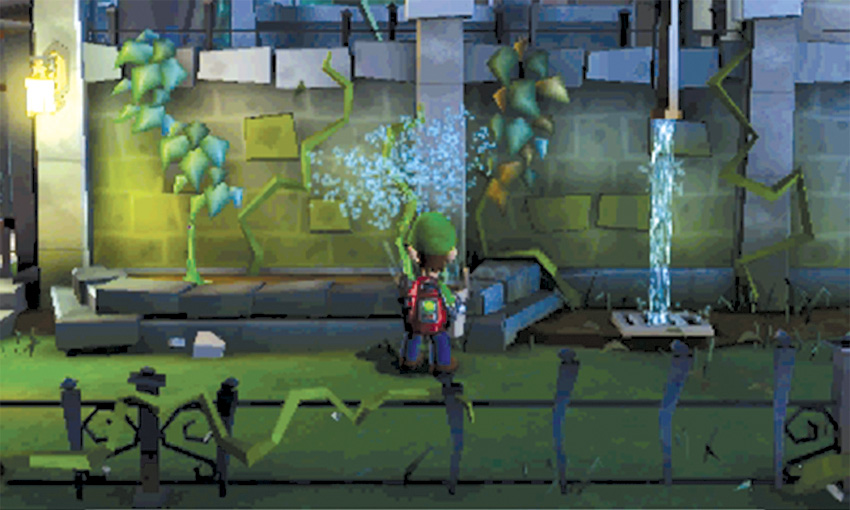
Locate the pipe just past the second flower bed and pass the bucket through the water stream. After you fill the bucket, use it to water the sprouts in each flower bed. Flash all four of the purple flowers, search the area’s remaining objects, then head through the gate and enter the Courtyard.
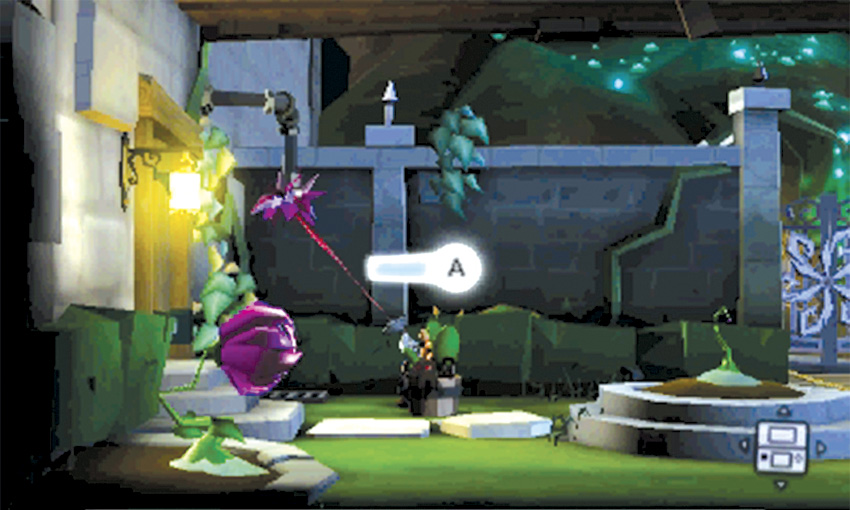
Like the Haunted Towers Entrance, the Courtyard contains some undernourished sprouts. Move to the Courtyard’s northwest corner and A-Pull the blockage from the pipe. Once the pipe is clear, vacuum the nearby bucket and pass it under the water. Water the sprout in each of the two flower beds, then move to the Courtyard’s northeast corner.
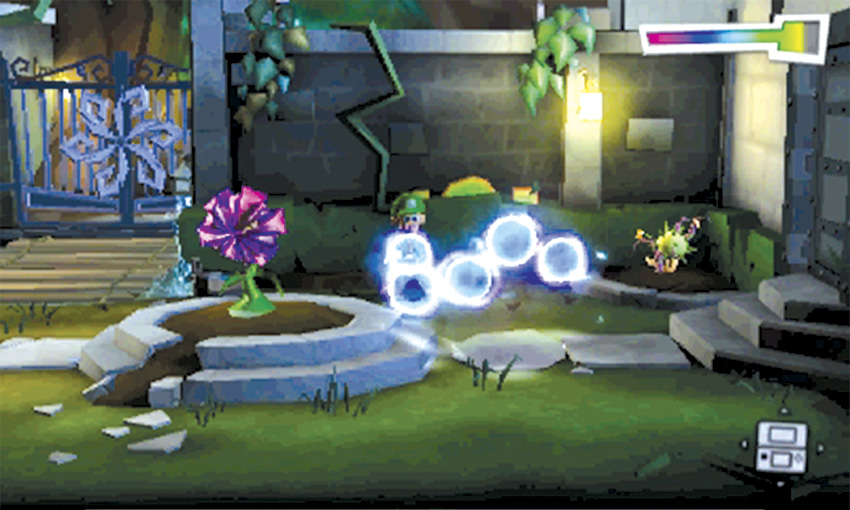
Vacuum the trash pile in the northeast corner to expose another sprout, then use the bucket to water it. The first two sprouts bloom into purple flowers, but the third sprout grows into a gnarled plant. Use the Dark-Light to reveal the missing pressure switch, then grab a spiked seed pod from the gnarled plant.
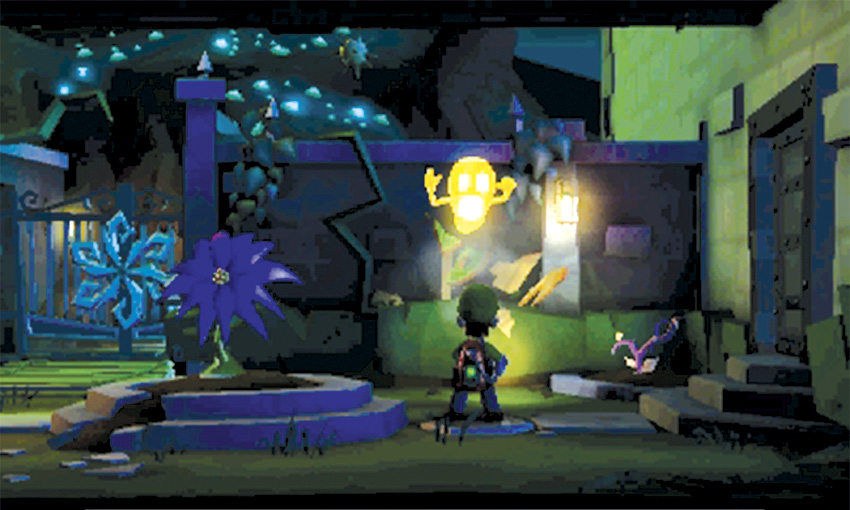
Step on the newly revealed pressure switch to reveal a cardboard ghost. Shoot the seed pod at the target to reveal a Gold Greenie. Capture the ghost before it escapes, then collect the resulting treasure.
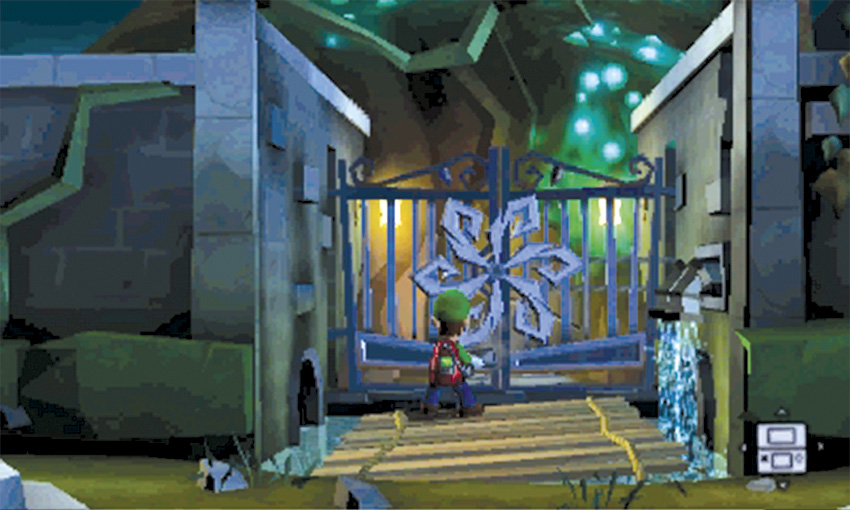
Search the Courtyard for any remaining treasure. Carry a seed pod to the western pressure switch and shoot the cardboard flytrap, then flash any remaining purple flowers. When you’re ready, vacuum the pinwheel gate to trigger a cinematic.
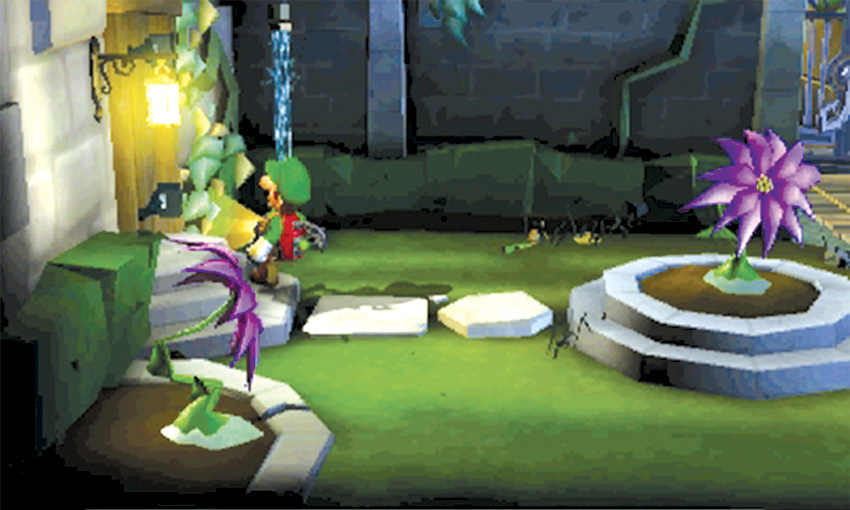
After the Hiders abscond with the pinwheel vanes, you receive a call from Professor E. Gadd. Answer the Duel Scream to receive some new objectives. Before you pursue the Hiders, however, consider a brief visit to the west tower. Use the door to the left to enter the Tower Lobby.
Check the West Garden

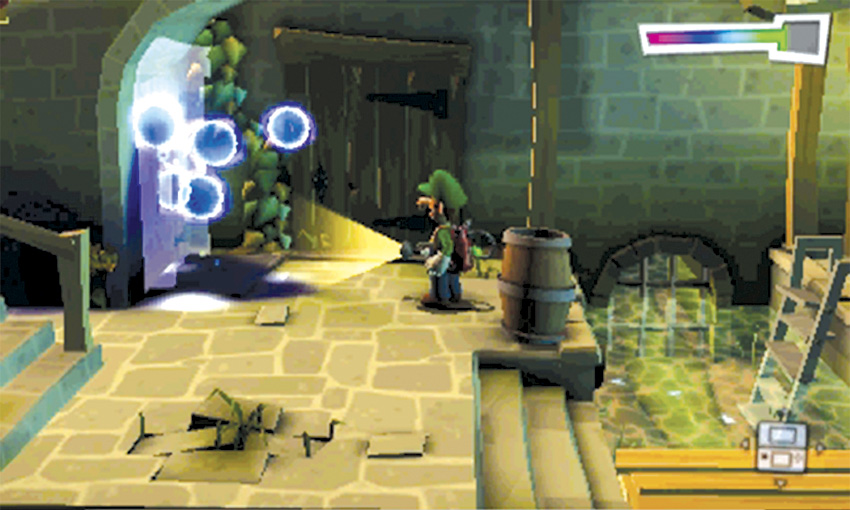
Cross the Tower Lobby and use the Dark-Light Device to reveal the hidden door to the Maintenance and West Garden areas. Go up the nearby steps.
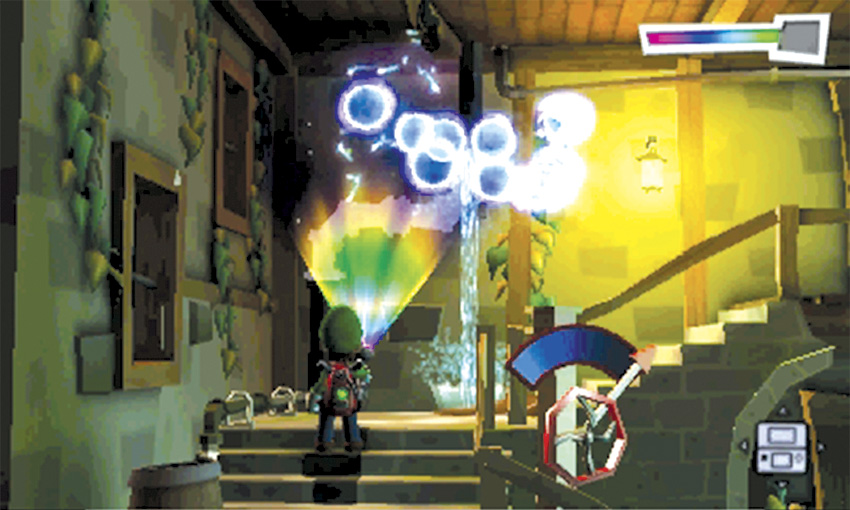
Use the Dark-Light Device to reveal the missing pipe sections halfway up the steps in northwest corner. Once the pipes are in place, the stream of water is redirected to the Maintenance area. Flash the bats on the ceiling and search the nearby objects. Move back down the steps and enter the Maintenance area.
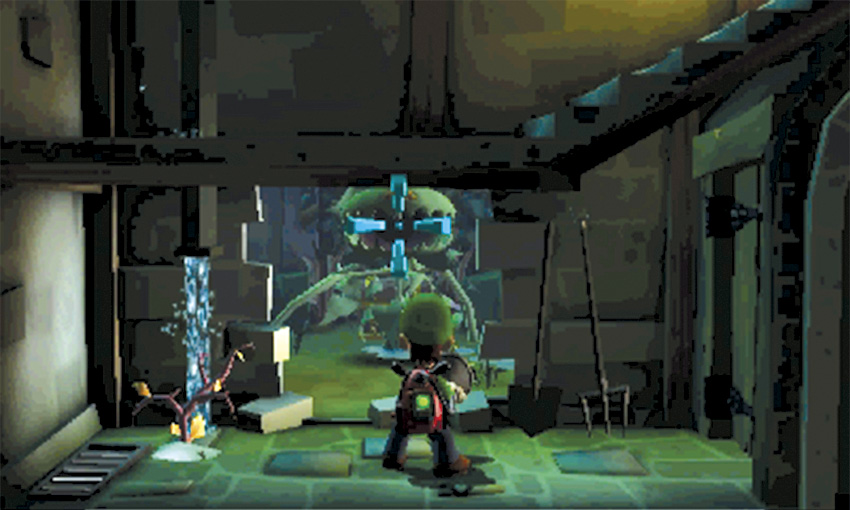
Grab a seed pod from the gnarled plant, and shoot it at the flytrap in the West Garden. After the plant withers, open the chest in the West Garden to collect the Pebble Emerald.
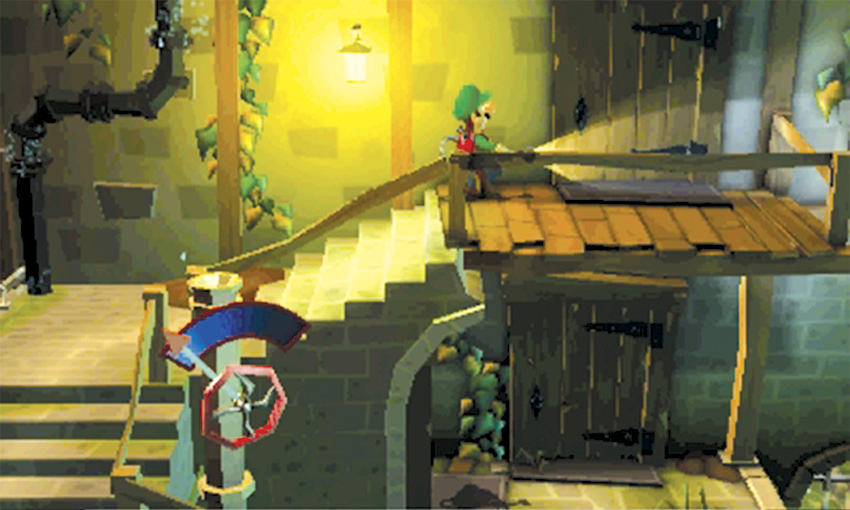
During this mission, the Greenhouse doesn’t contain much of value. However, the Plant Nursery has good amount of hidden treasure. Return to the Tower Lobby and enter the door at the top of the stairs.
Check the Plant Nursery

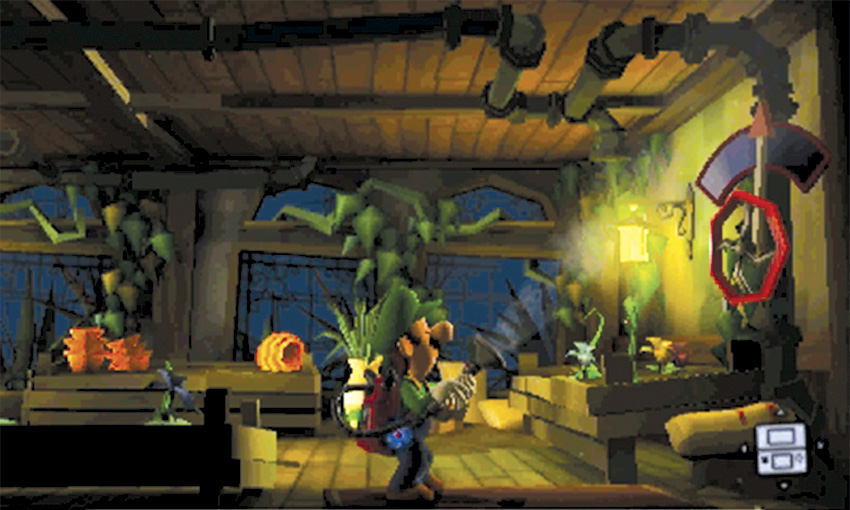
The Plant Nursery’s flowers are underdeveloped. Vacuum the valve in the southeast corner to bring water into the area.
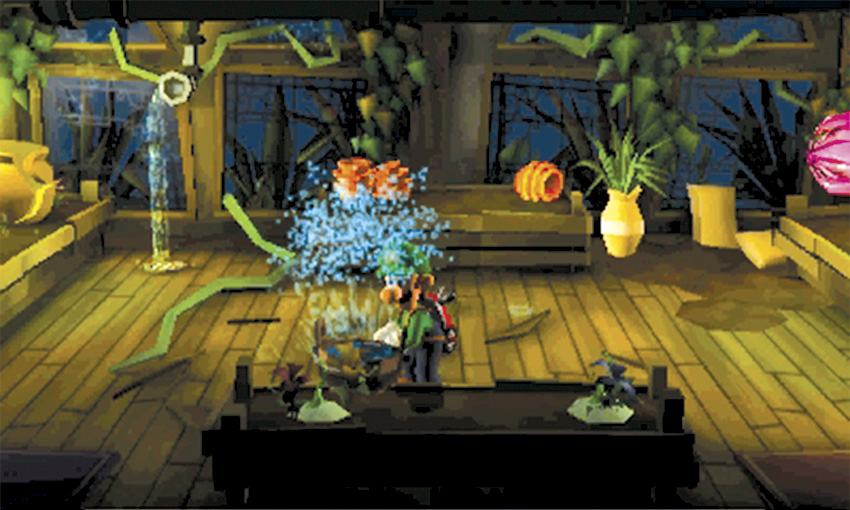
A pipe automatically waters the flower bed along the east wall, but the flower bed in the foreground remains dry. Grab the bucket from the northeast corner, fill it in the northwest corner, and use it to water the sprouts along the room’s south edge. Use the Strobulb to flash all four flowers, then collect the resulting treasure. When you’re ready, turn back and follow the path through the Tower Lobby and back to the Courtyard.
Begin the Ghost Hunt
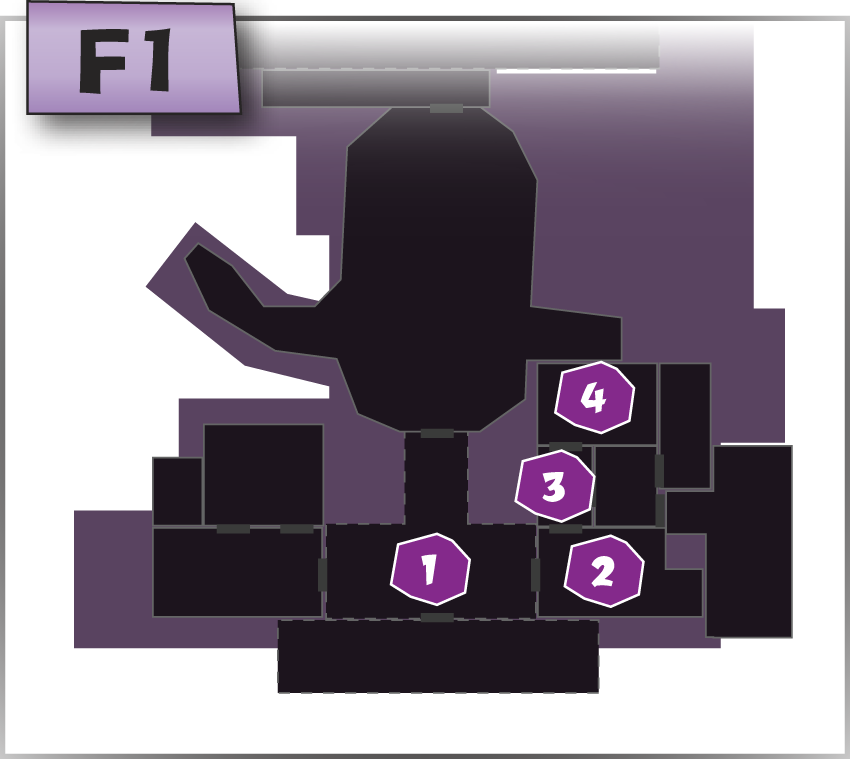
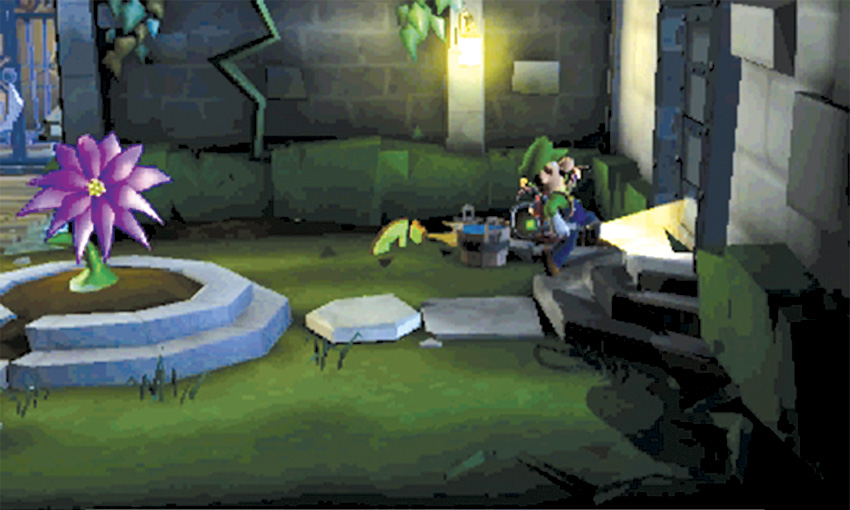
Once you’re finished in the west tower, it’s time to track down the missing pinwheel vanes. Cross the Courtyard and enter the Hydro Generator area.
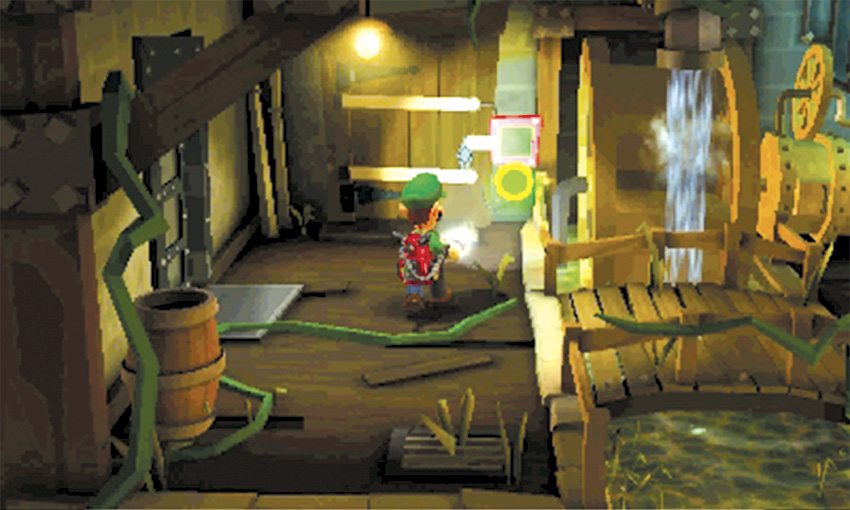
Use the Strobulb to flash the green circular panel in the room’s northwest corner, but search the rest of the area before you head through the door.
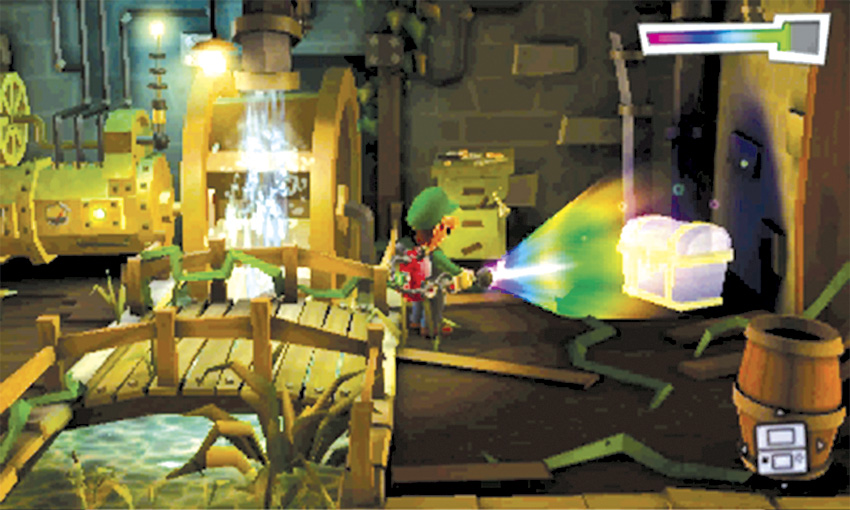
Use the Dark-Light Device to reveal the missing chest in the northeast corner. Search the area’s remaining objects, then use the door in the northwest corner to enter the East Hall.
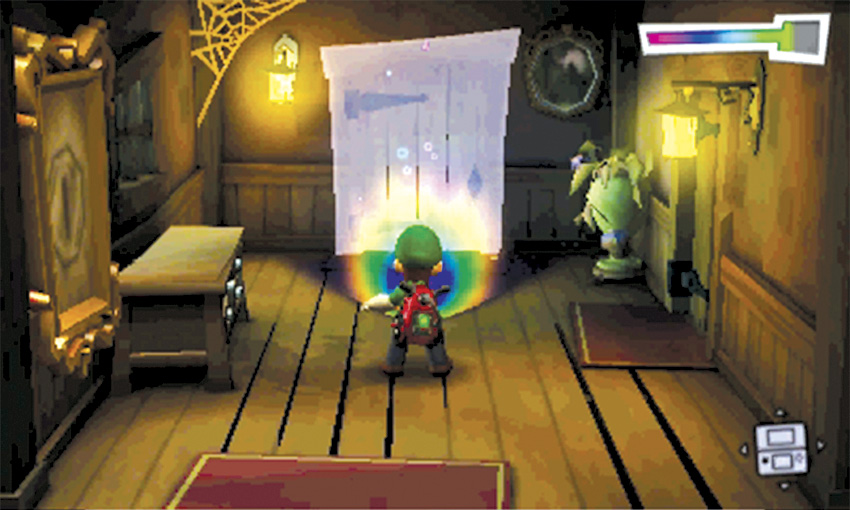
When you arrive in the East Hall, three Hiders flee the area. Before you pursue the Hiders heading east, track down the Hider to the north. Use the Dark-Light Device to reveal the door hidden on the north wall. After you capture the Spirit Balls, use the Dark-Light Device to reveal the treasure in the framed sketch. Vacuum the wallpaper in the southeast corner, then use the door on the north wall to enter the Gardener’s Dwelling.
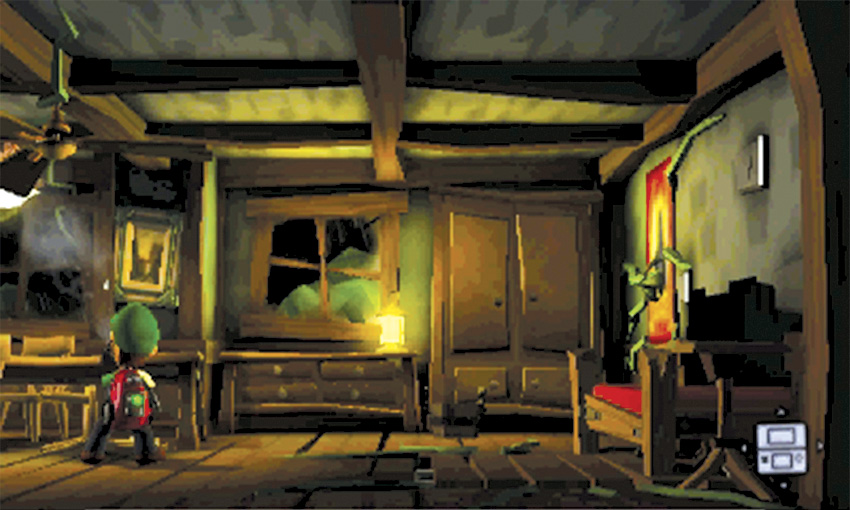
Circle the Gardener’s Dwelling and search each of the objects in the room. When you reach the cabinets in the northeast corner, a Hider dives through the nearby bed. Vacuum the ceiling fan until the bed retracts into the wall, exposing a hidden panel.
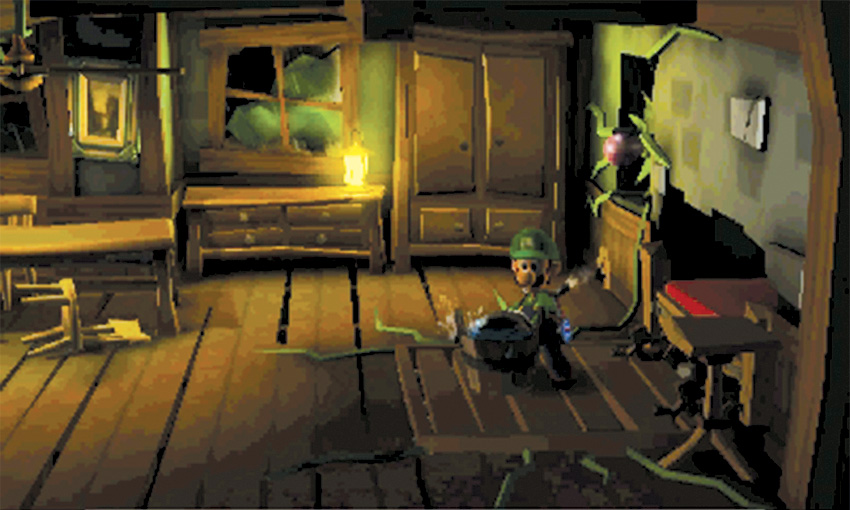
Vacuum the nearby poster to reveal a bulb growing out of the wall, then grab the bucket from the ground. When you carry the bucket onto the floor panel, the extra weight activates a hidden mechanism; guardrails pop out of the floor and the panel carries you down to the Gardener’s Lab.
Recover the Vane from the Gardener’s Lab
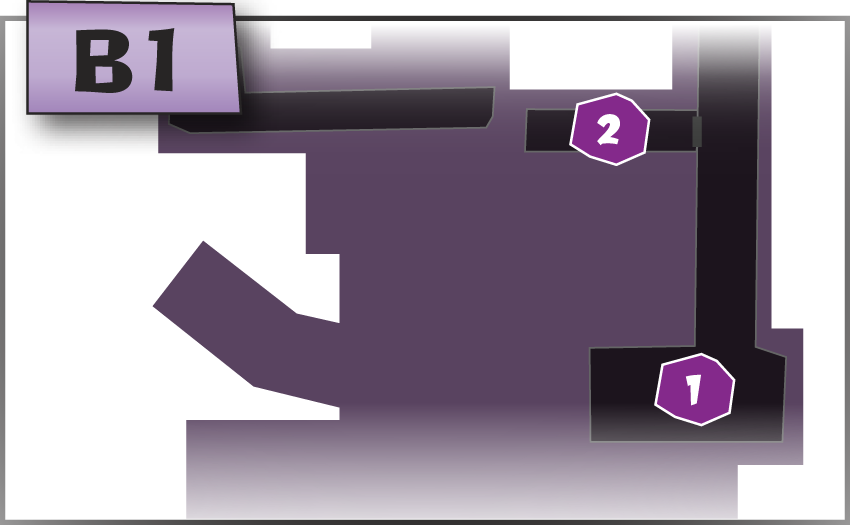
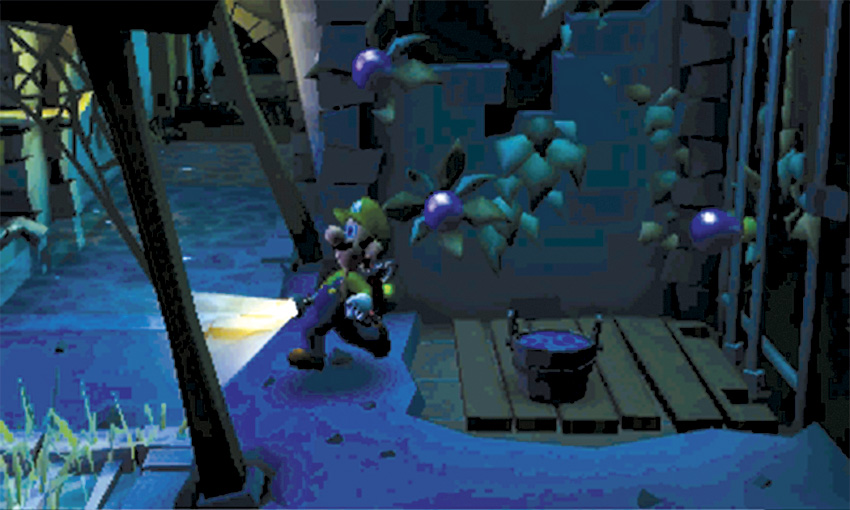
When you reach the Gardener’s Lab, the lift deactivates. To return to level F1, you must use one of the bulbs growing near the shaft. There are a few ghosts nearby, so be careful as you move through the area.
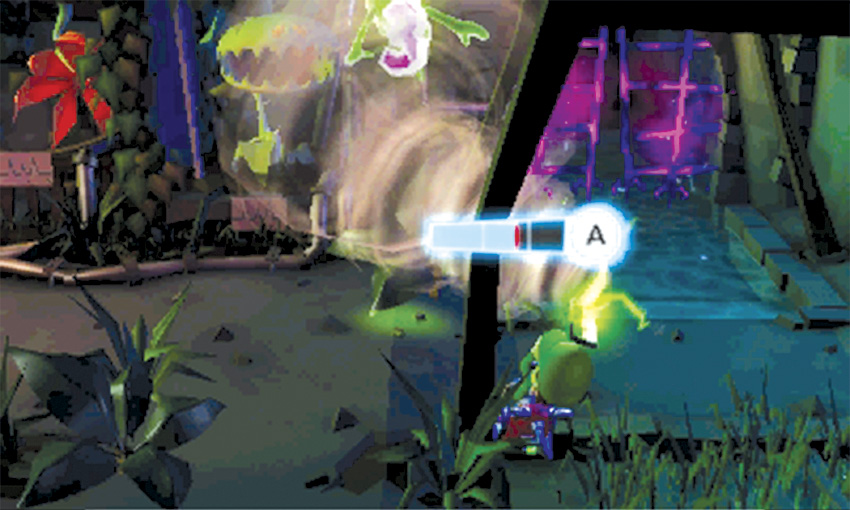
When you capture the Greenie leaning against the tank, the flytrap smashes through the glass. As you capture the Greenie that tumbles into the room, take care to stay out of the flytrap’s range.
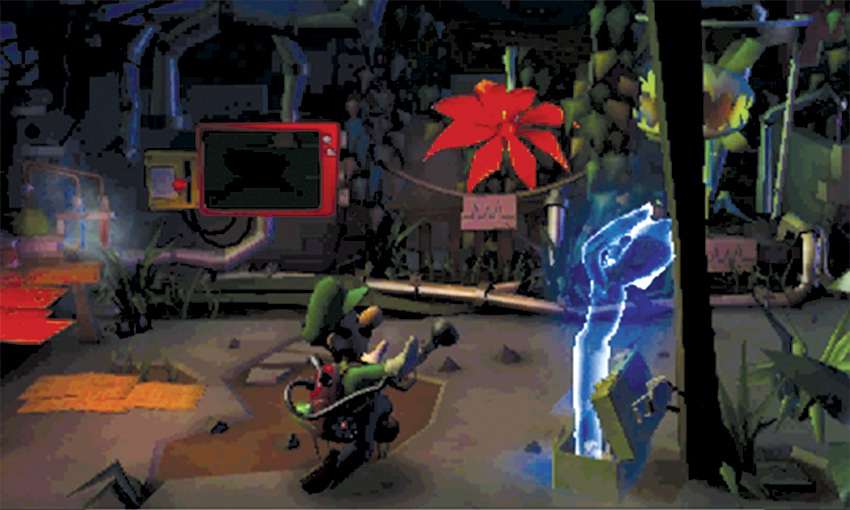
Search the desk and toolbox in the west half of the area. When you find the Hider, capture it to reveal the first pinwheel vane.
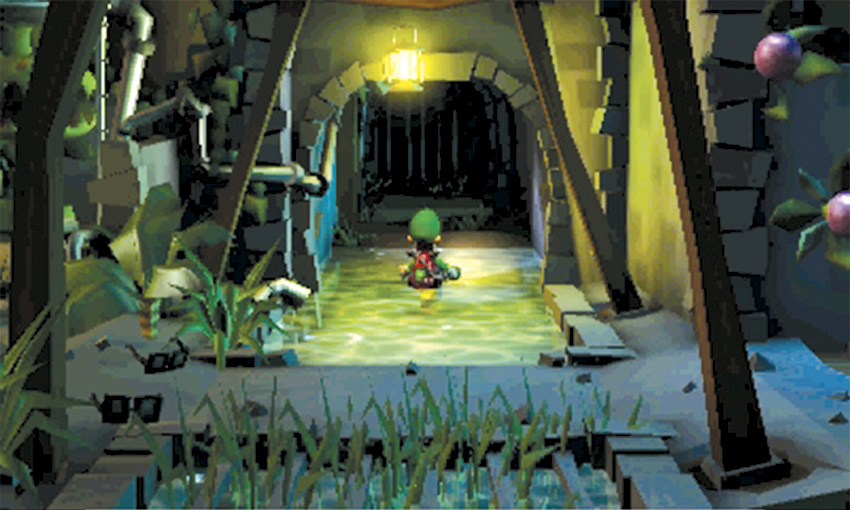
Before you return to level F1, follow the water toward the bars to the north. When you reach the patch of dry dirt, open the door to the left and enter the Sewer.
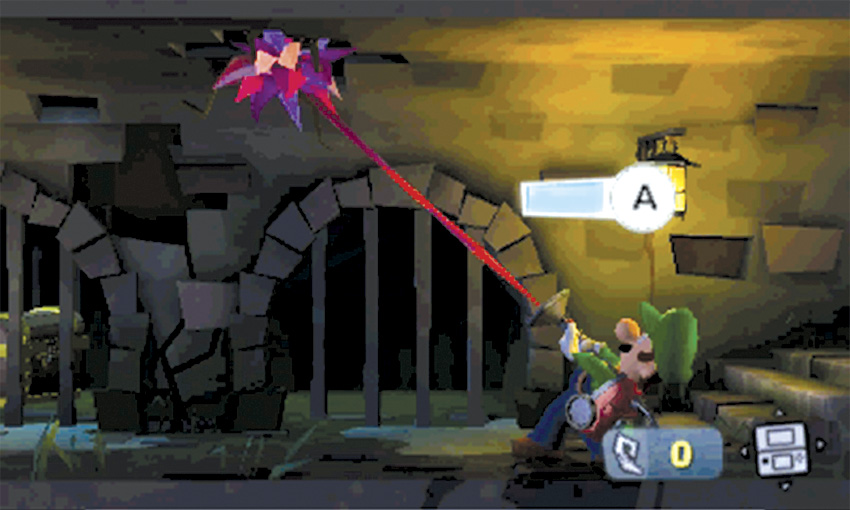
In addition to some hidden treasure, the Sewer contains this mission’s Boo. Move to the bottom of the steps and A-Pull the purple roots poking out of the ceiling. After the Boo emerges from the opening, capture it and resume your
search of the area.
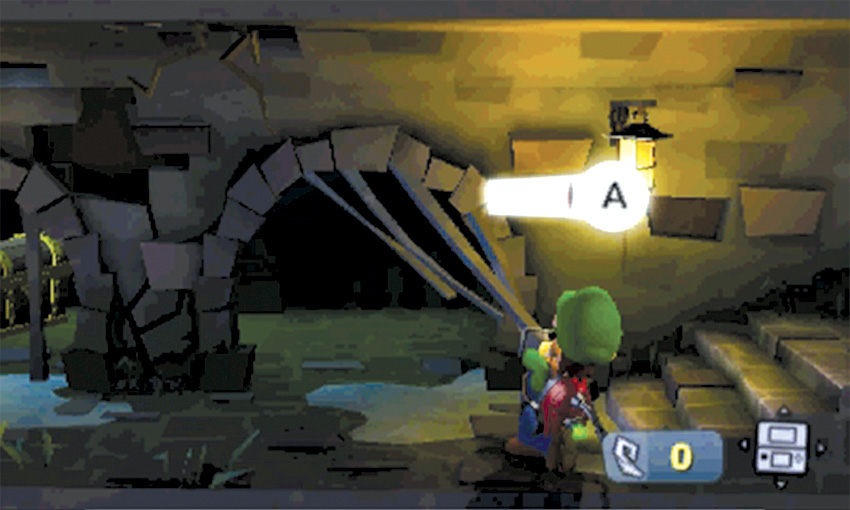
The bars near the steps are fake. A-Pull them out of the arch, or simply walk through them and collect the treasure from the nearby chest.
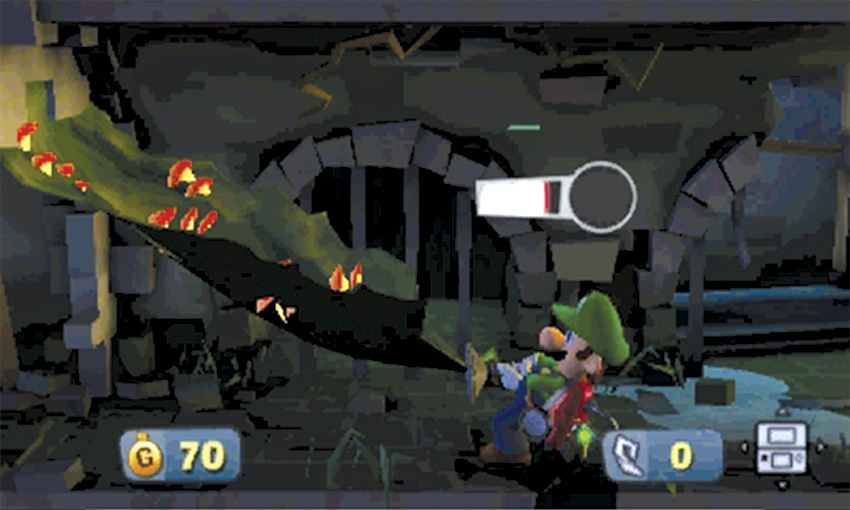
Follow the Sewer to the left to find another cluster of purple roots hanging from the ceiling. A-Pull the roots to reveal more treasure, then A-Pull the nearby wall of mushrooms. Search the rest of the Sewer, then turn around and head back to the Gardener’s Lab.
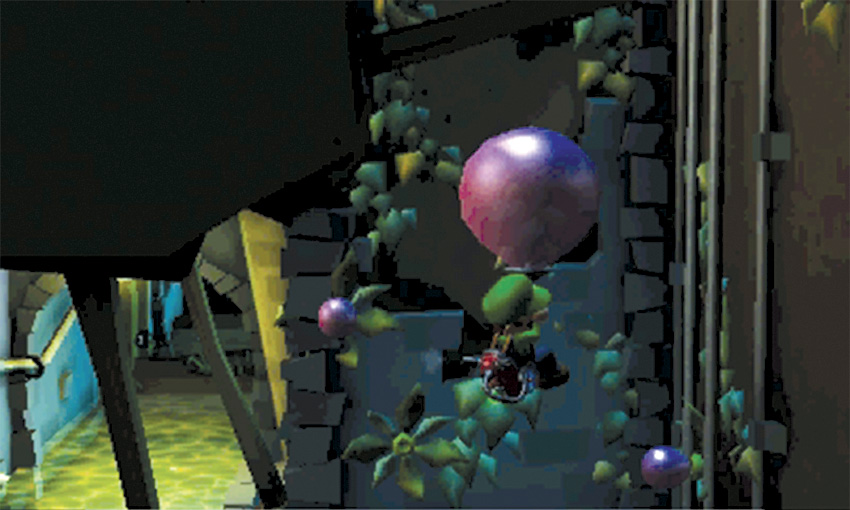
When you’re ready to return to level F1, go to the east edge of the Gardener’s Lab. Use one of the nearby bulbs to float back up to the Gardener’s Dwelling.
Recover the Vane from the Tool Shed
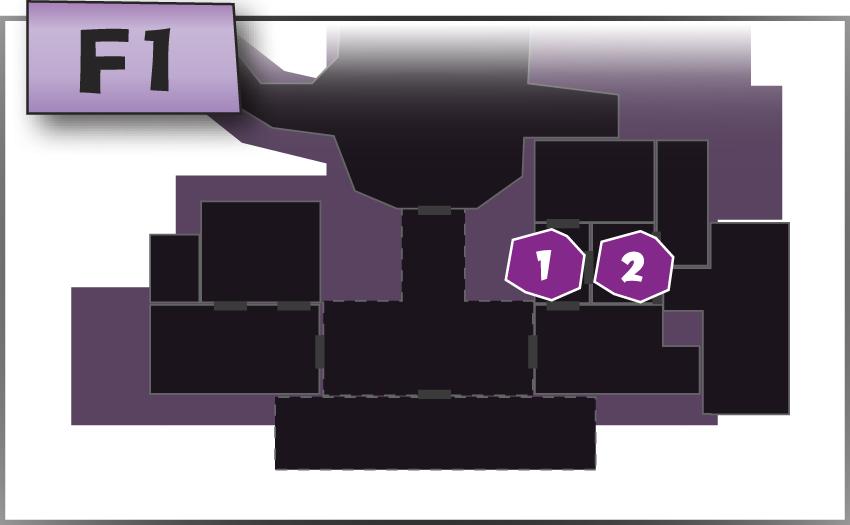
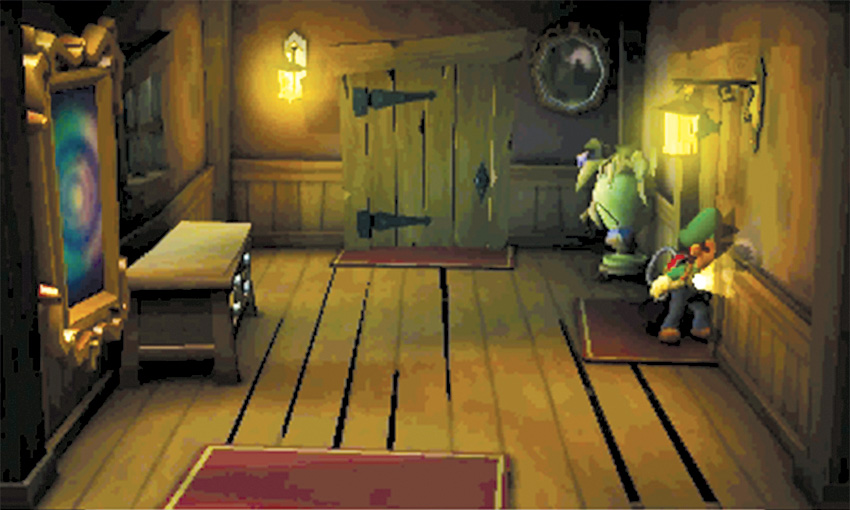
Leave the Gardener’s Dwelling and return to the East Hall. Head through the door to the right and clear the ghosts out of the Tool Shed.
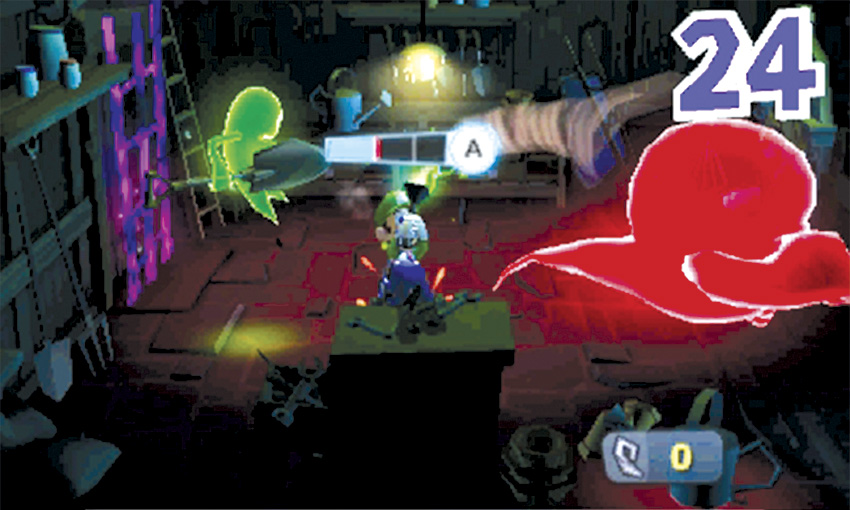
When you enter the Tool Shed, you have the opportunity to sneak up on a distracted Slammer. As you engage this ghost, however, a shovel-wielding Greenie attempts to sneak up on you! As you struggle with the Slammer, make sure you dodge the Greenie’s lunging attacks.
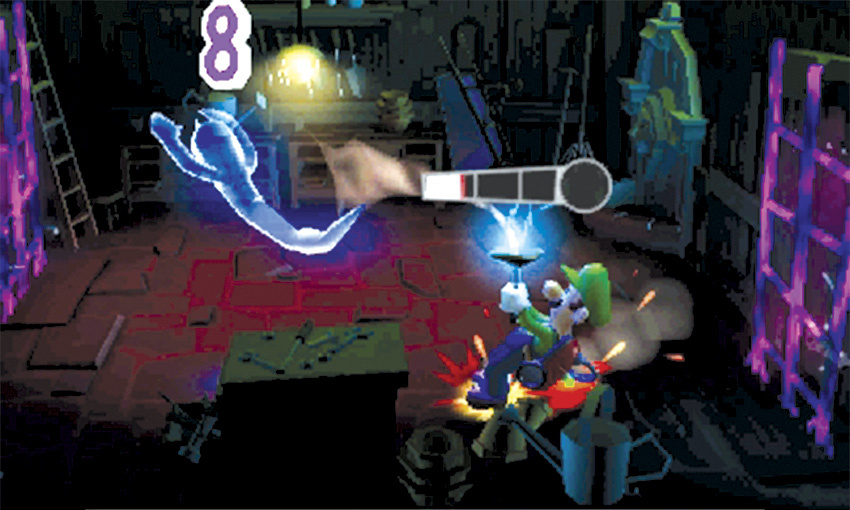
When you capture the Slammer, another Greenie arrives. Clear out all of your attackers, then search the objects around the Tool Shed to find the next Hider. Capture the Hider and collect the pinwheel vane it leaves behind.
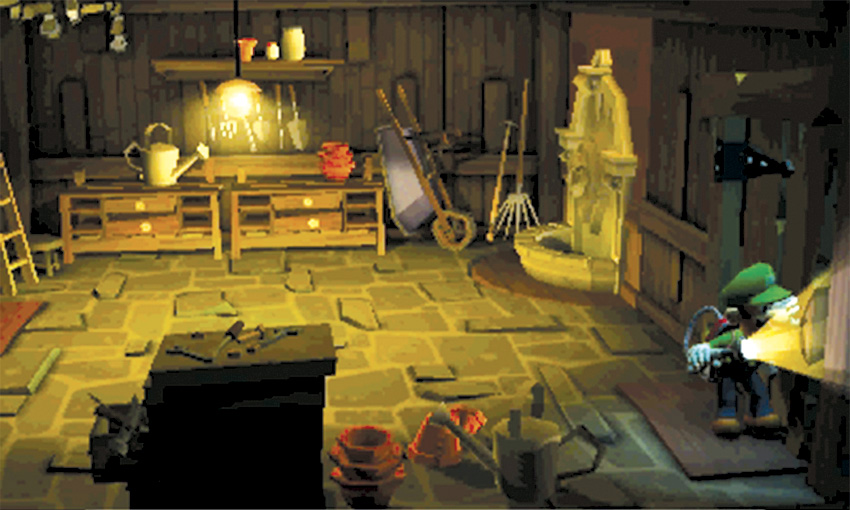
The fountain in the northeast corner serves as a secret passage to the Toolshed Stairs. Before you examine the fountain, head through the door at the southeast corner and search the Garden.
Recover the Vane from the Garden
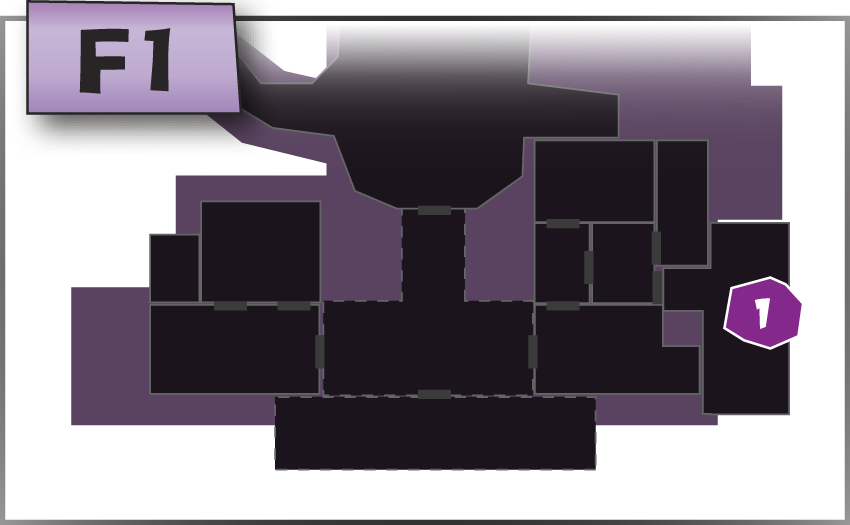
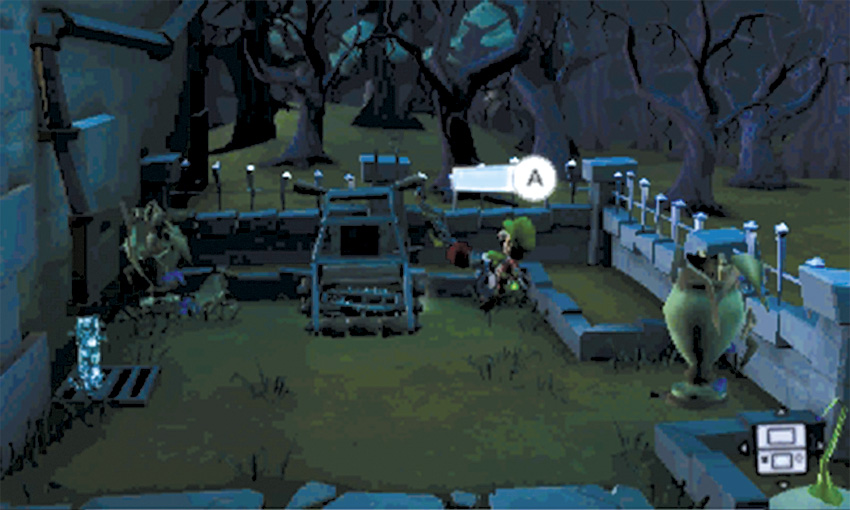
When you enter the Garden, a Hider vanishes into the foreground. Move to the Garden’s northeast corner and A-Pull the chain dangling from the mower. As the mower moves through the area, it clears a path through the hedge.
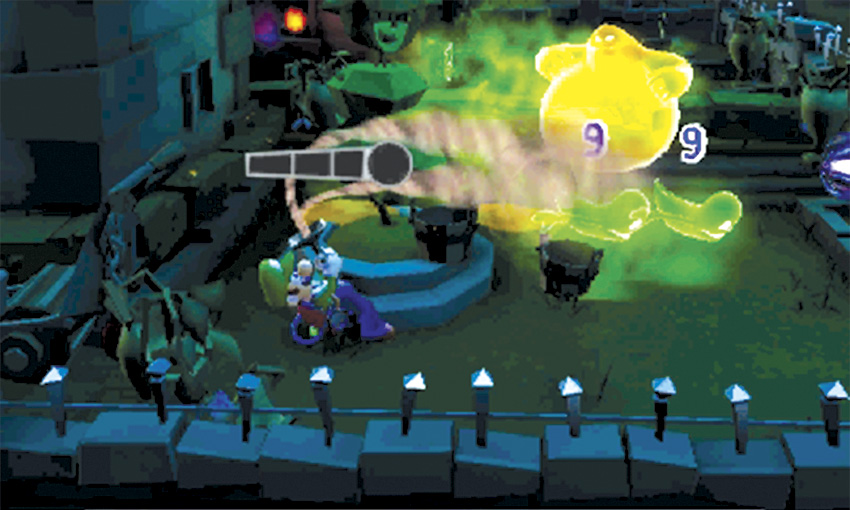
Follow the mower to the south and scoop up the trail of coins it leaves behind. After you pass through the hedge, a Gobber and two bucket-wearing Greenies appear behind you. Take cover behind the tree sculpture and wait for the Greenies to approach. Wait for a Greenie to lift its bucket, then flash it and capture it before it recovers.
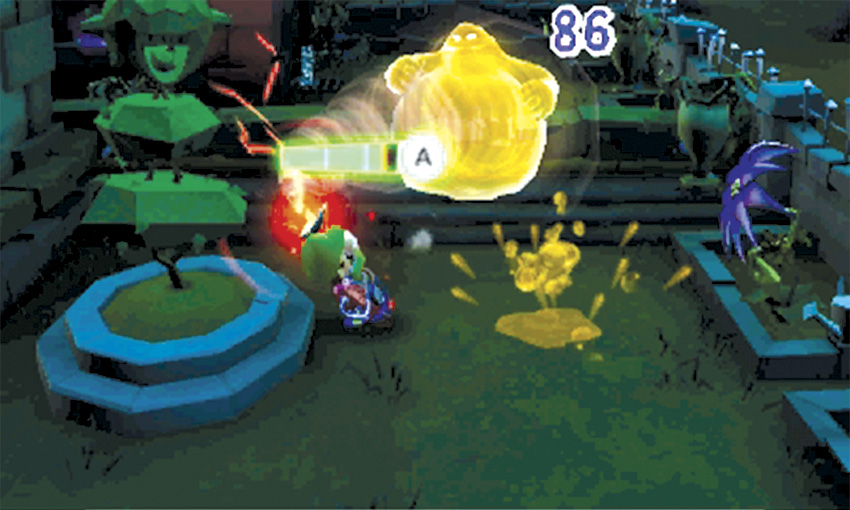
When you capture both Greenies, move the buckets off to the side and deal with the Gobber. Stay behind the tree until the ground is relatively clear of sludge puddles, then run in and flash the enemy. Latch on, and dodge the Gobber’s attacks until it succumbs to the Poltergust.
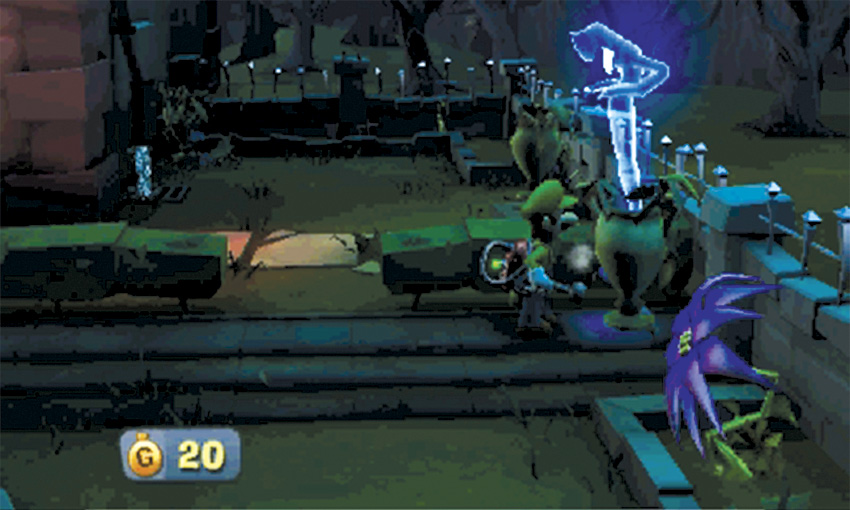
After you deal with the Gobber, search the nearby vases to find the Hider. Capture the Hider, then collect the pinwheel vane it leaves behind.
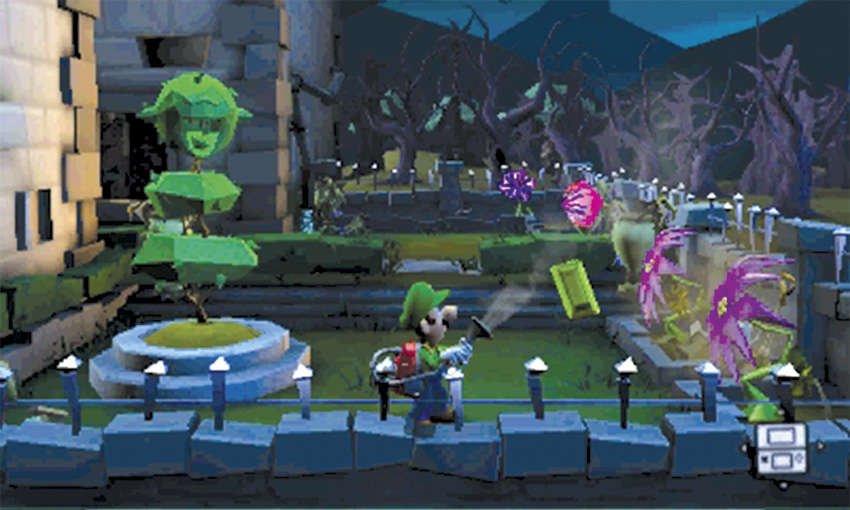
When the area is clear, grab one of the buckets left by the Greenies and fill it at the pipe to the north. Water the sprouts along the Garden’s perimeter, then use the Strobulb to flash the resulting purple flowers. Most of the flowers contain treasure, but the flower in the Garden’s southeast corner contains the Baguette Emerald. When you’re ready, move back into the Tool Shed.
Find the Botany Lab
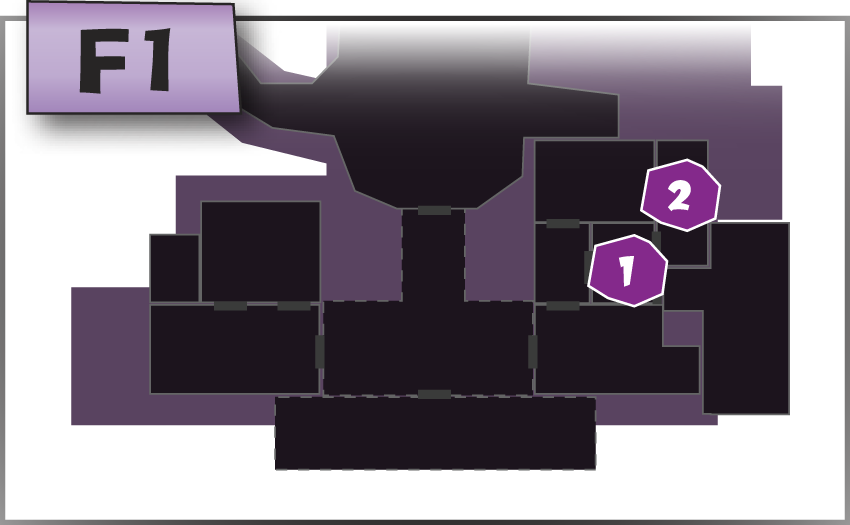
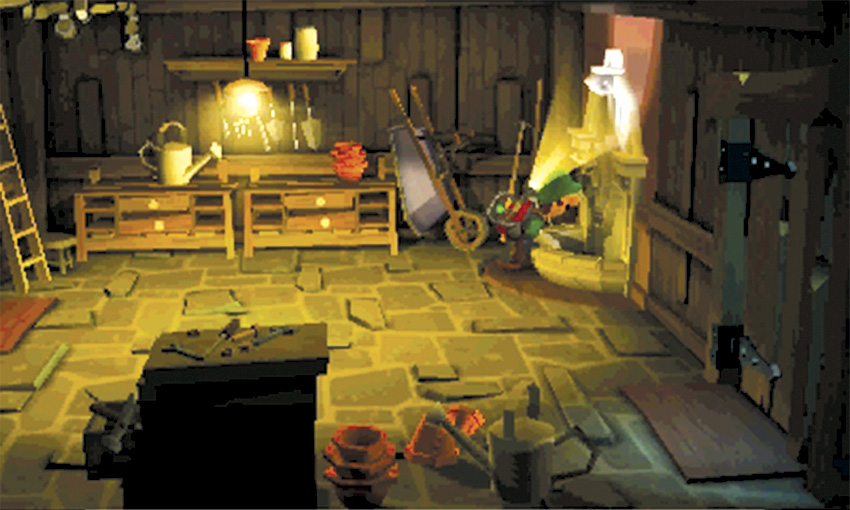
Investigate the fountain in the Tool Shed’s northeast corner to find the secret passage to the Toolshed Stairs.
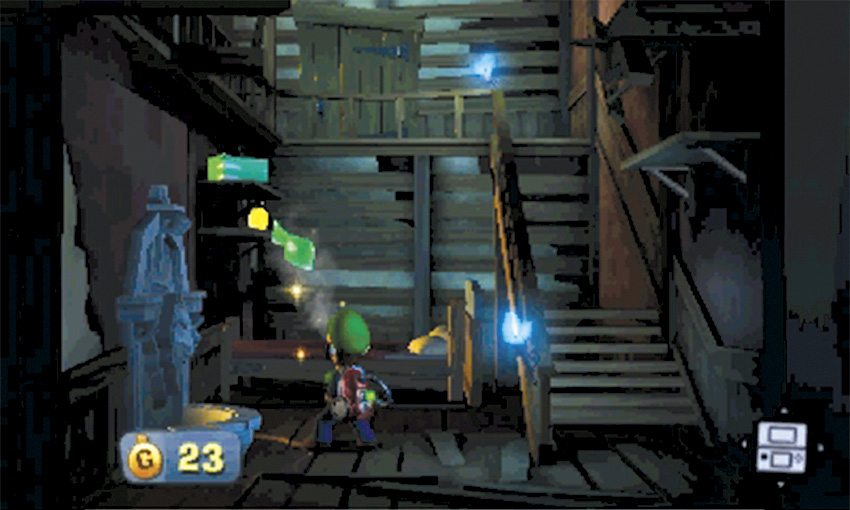
When you first enter the Toolshed Stairs, a ghost is manipulating the steps. Vacuum the treasure down from the shelves, then stand at the base of the stairs. Wait for the clustered steps to approach, then hop on and walk up toward level F2. As you do, adjust your pace to keep from falling off the moving steps.
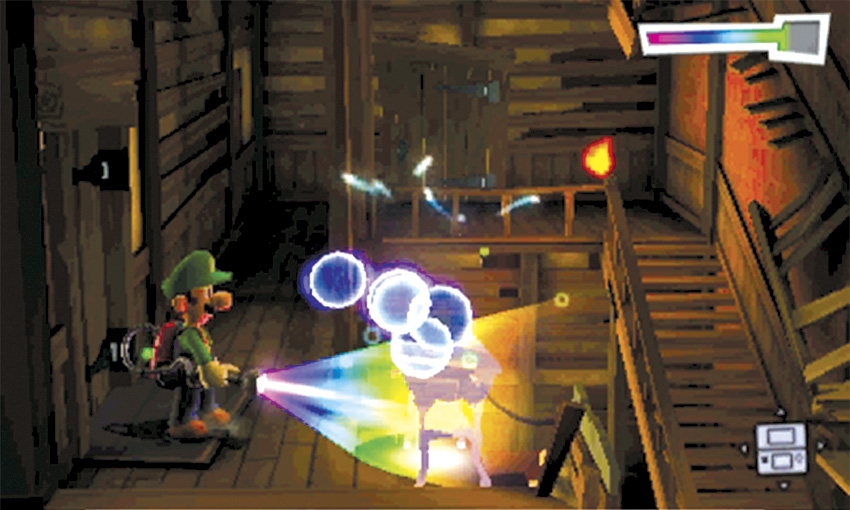
When you reach the top of the steps, a Greenie reveals itself. Capture the ghost, and follow the walkway as it circles the room, then use the Dark-Light Device to reveal a small table at the end of the path. When you’re ready, enter the door to the left to find the Botany Lab
Find the Seedling Laboratory

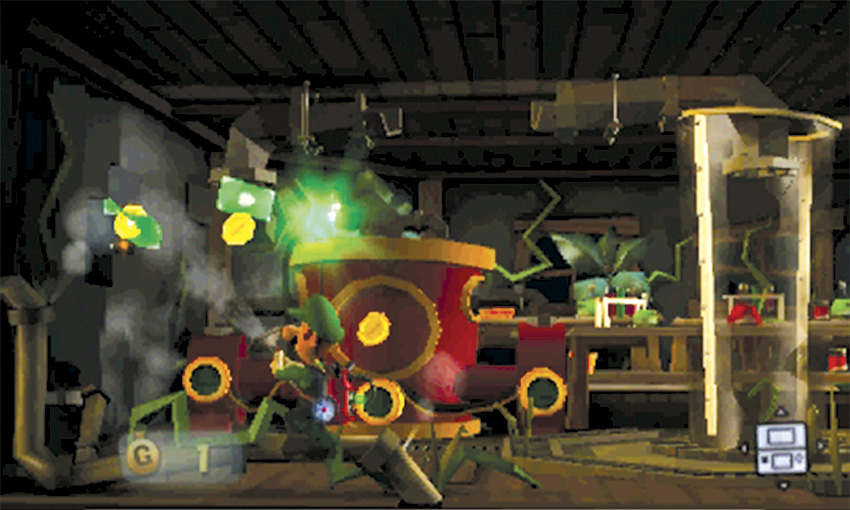
Cross the Botany Lab and stand in front of the room’s water pump. Vacuum the nearby poster to reveal a stash of treasure. When you’re ready, move back to the right and vacuum the bucket from the shelves behind the glass tank.
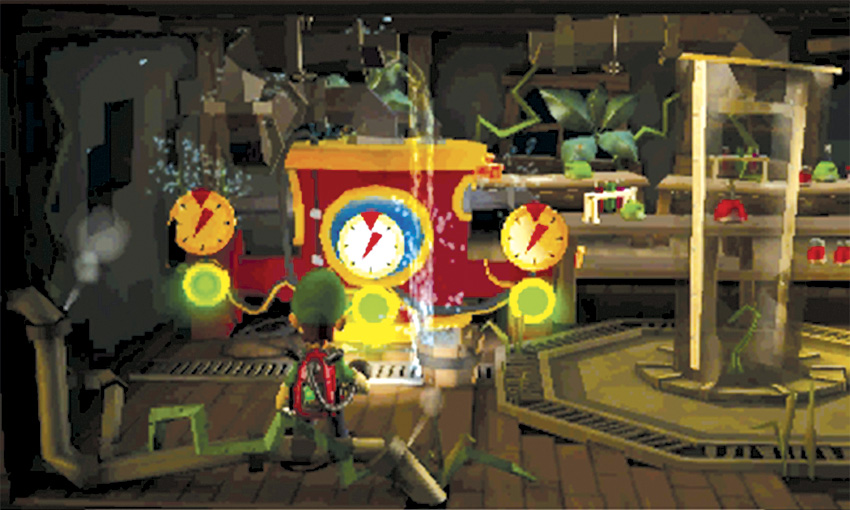
Move back in front of the water pump and look for the gap in the pipe above you. Place the bucket under gap, just to the right of the water pump’s central circular panel. Use the Strobulb to flash all three green circular panels. The water spills out of the gap and drops into the bucket.
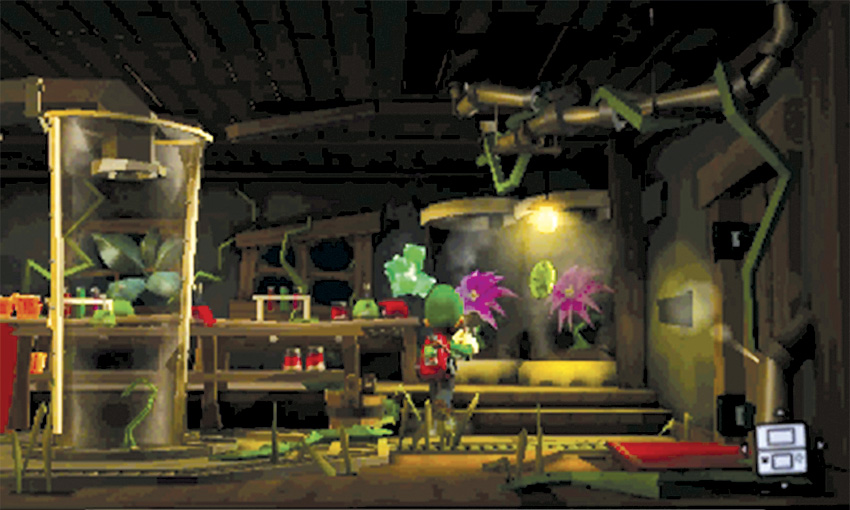
Carry the bucket to the Botany Lab’s northeast corner and water the sprout near the purple flower. When the bud appears, flash both flowers with the Strobulb to reveal some treasure and the Football Emerald.
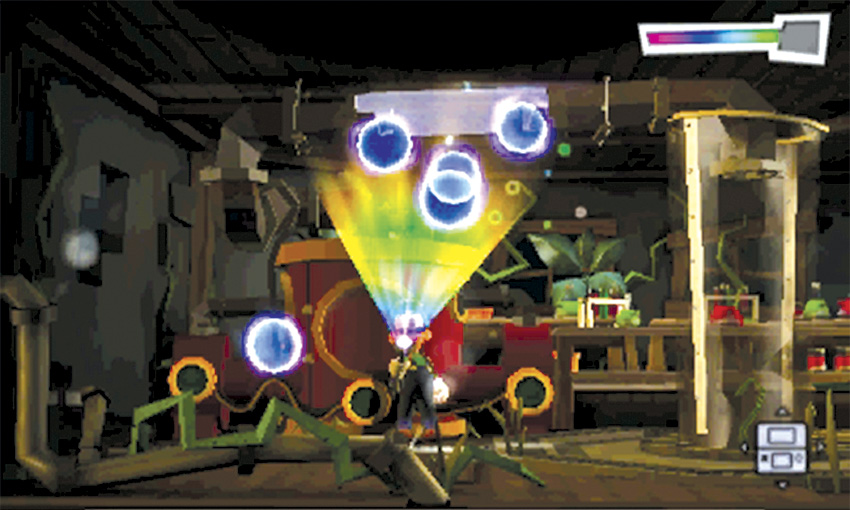
Check the area behind the water pump to find a hidden treasure stash, then search the room’s remaining objects. Use the Dark-Light to complete the pipe above the water pump, then flash the three green circular panels to fill the nearby tank with water.
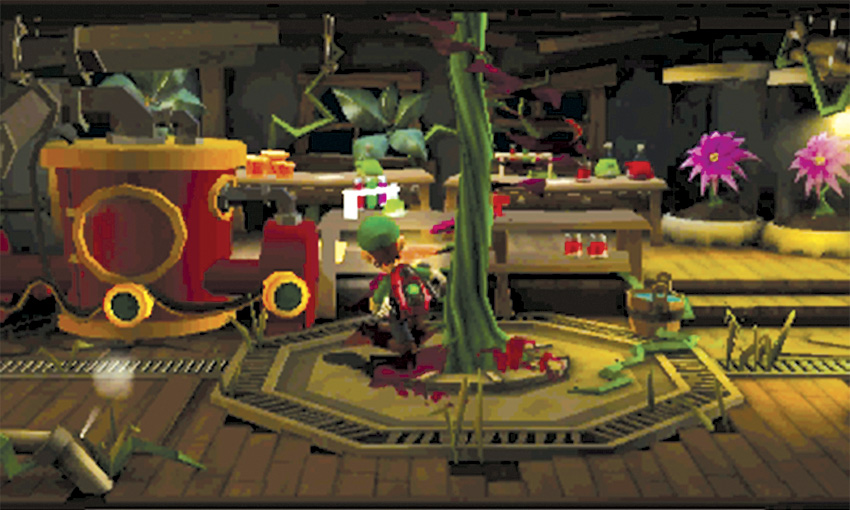
Wait for the plant to burst out of the tank and through the ceiling, then climb its leaves up to the Seedling Laboratory.
Recover the Vane from the Seedling Laboratory
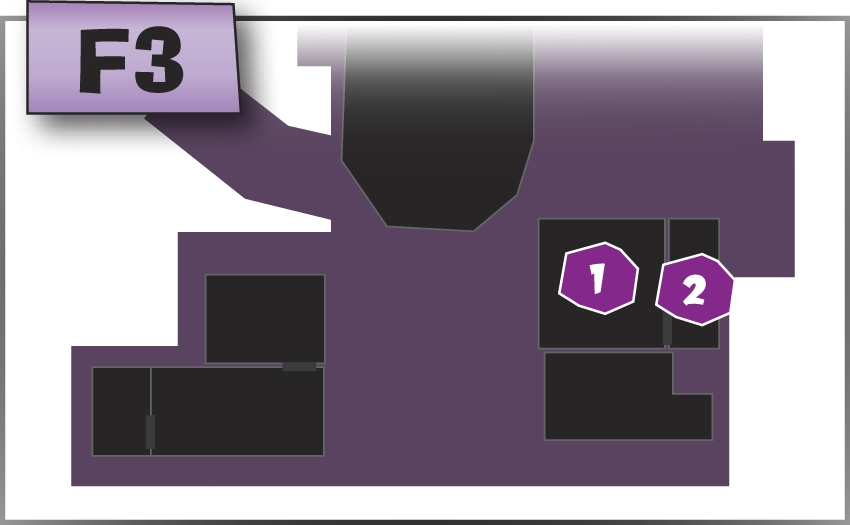
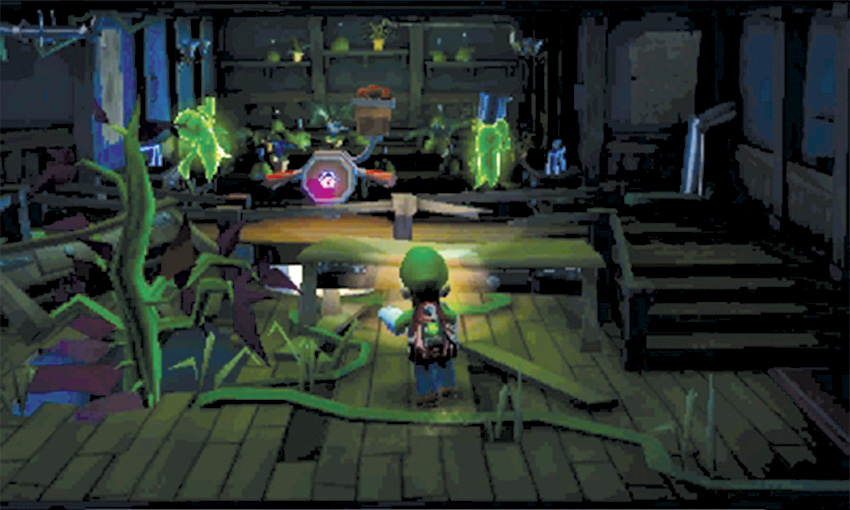
When you reach the Seedling Laboratory, two Greenies are ransacking the area. Both Greenies are equipped with special gear. A-Pull the equipment away from each enemy, then capture them both.
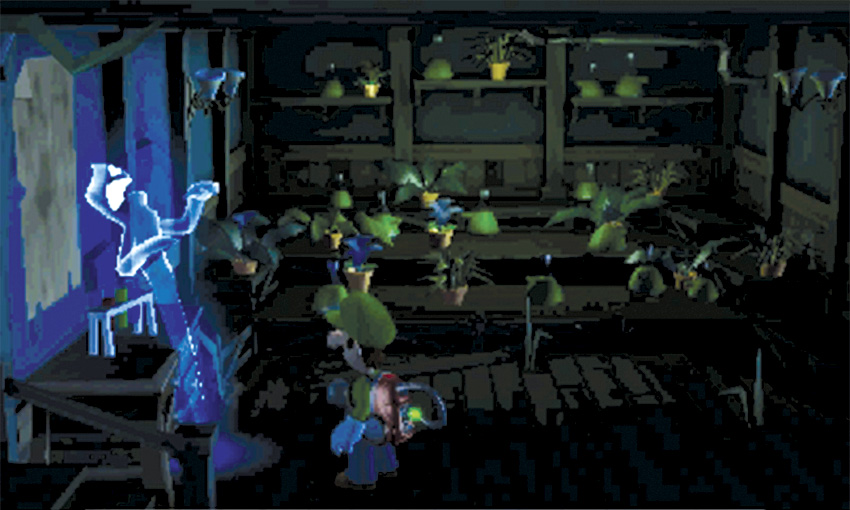
Once you’ve dealt with the Greenies, search the surrounding objects until you find the next Hider. Capture the Hider, then collect the pinwheel vane it leaves behind.
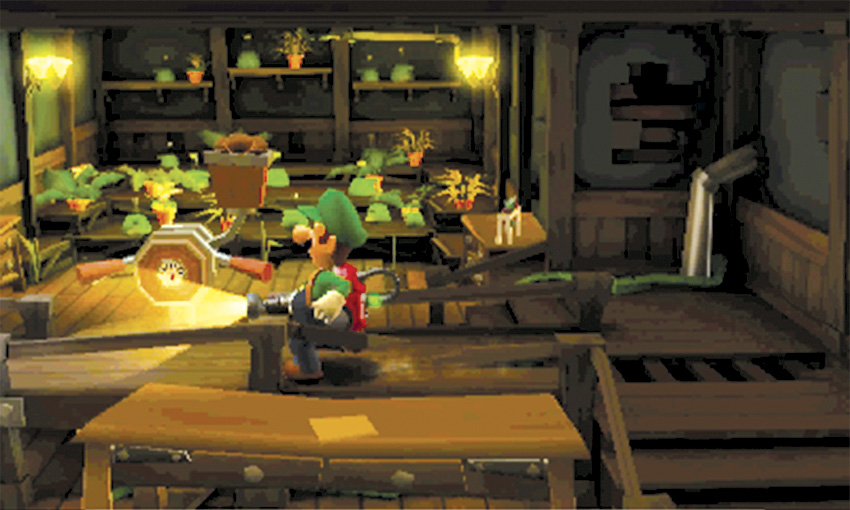
Search any remaining objects and vacuum the posters from the walls. Use the device mounted near the center of the room to shoot seeds toward the room’s north wall. Fire a seed at the mouse that skitters along the shelves. When you succeed, the mouse tosses the Drop Emerald to the to the floor. Shoot all of the seedlings on the shelves, then head over to collect the Gem.
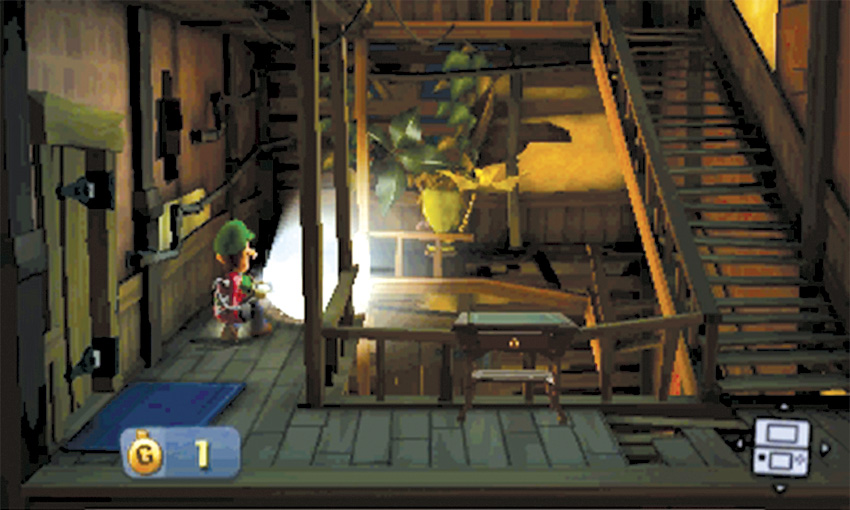
Leave the Seedling Laboratory through the door in the southeast corner. Search the table and the vase on the F3 level of the Toolshed Stairs. Your activity might attract some nearby pests. Watch out for any bats that might fly into the area. When you’re ready, climb to level F4.
Recover the Vane from the Conservatory
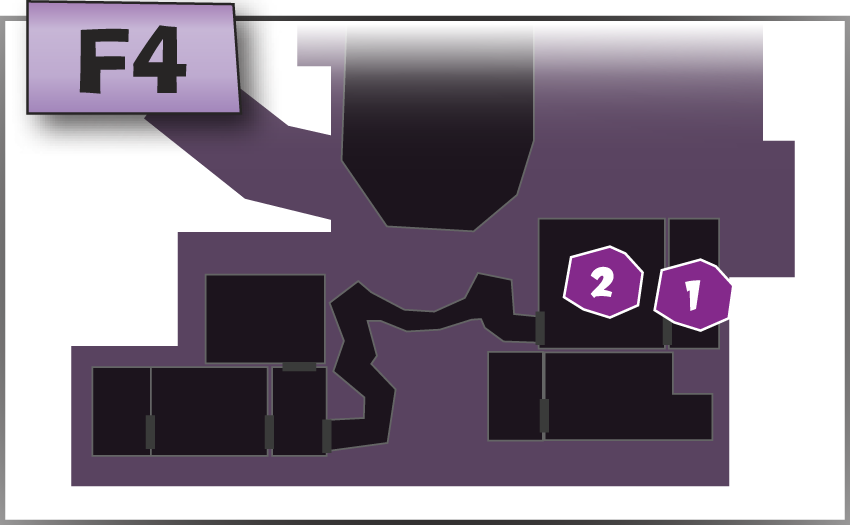
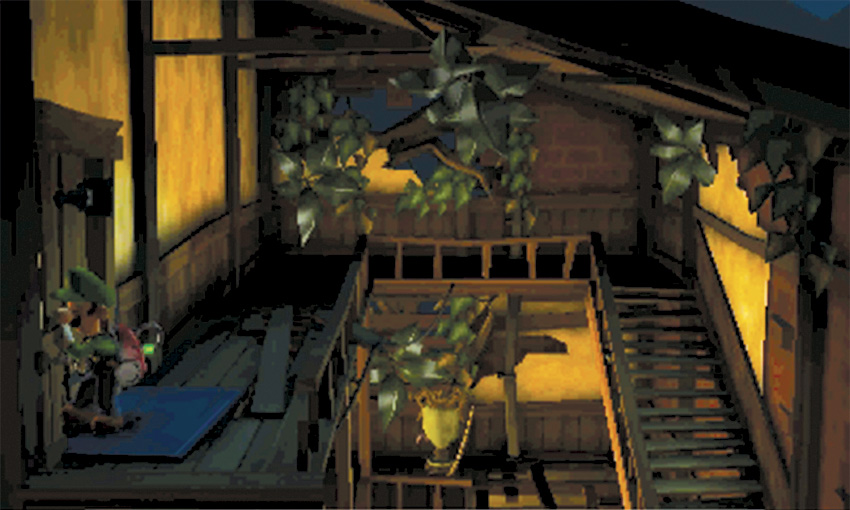
When you reach the top of the Toolshed Stairs, flash the bats clinging to the ceiling. Vacuum the leaves on the north wall to reveal a gold bat. Flash the pest, then use the door on the west wall to enter the Conservatory.
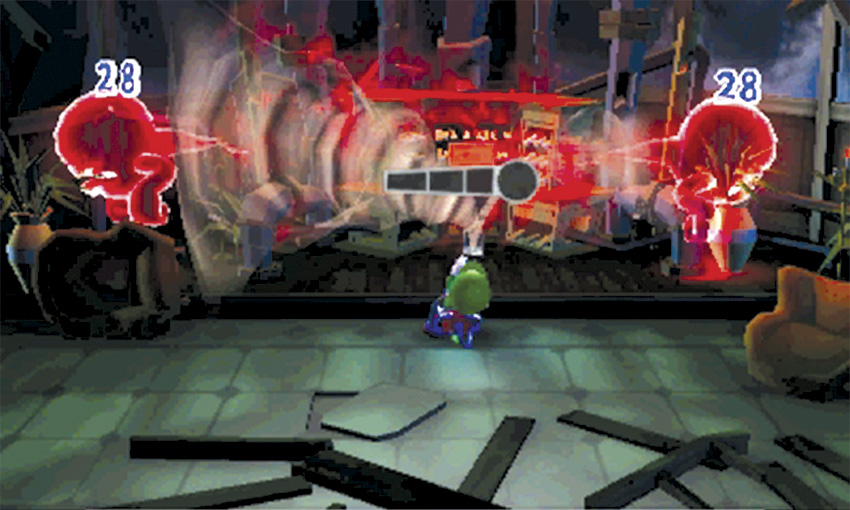
When you enter the Conservatory, a Slammer is floating near the pipe organ. This enemy is not alone, however. There are two more Slammers hiding nearby. Try to catch at least two Slammers in a single flash. As you attempt to capture any stunned opponents, dodge incoming attacks from any untethered enemies.
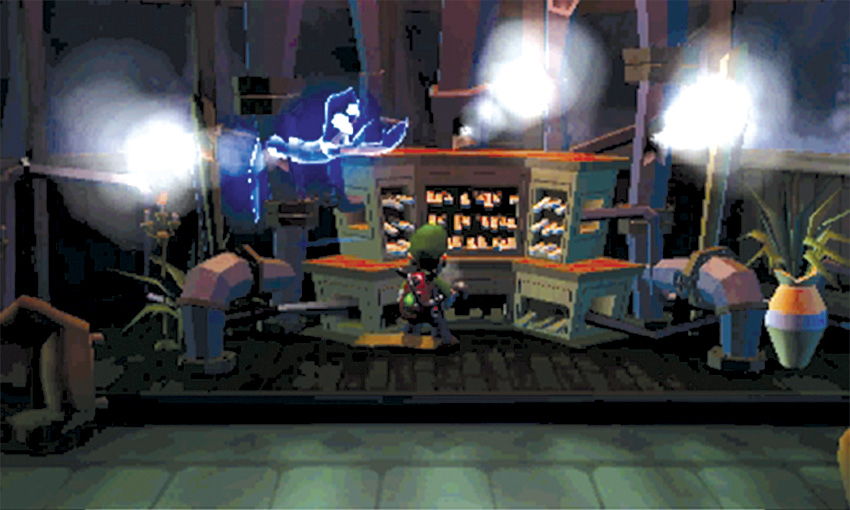
After you capture all three Slammers, vacuum the sheet music from the pipe organ and search the objects within the Conservatory. Play the organ to force the last Hider into the open. Capture the ghost to reveal the last pinwheel vane. Collect the vane from the floor, then answer the Duel Scream to complete the mission and return to the Bunker.
B-3 Graveyard Shift
Repair the Pinwheel Gate
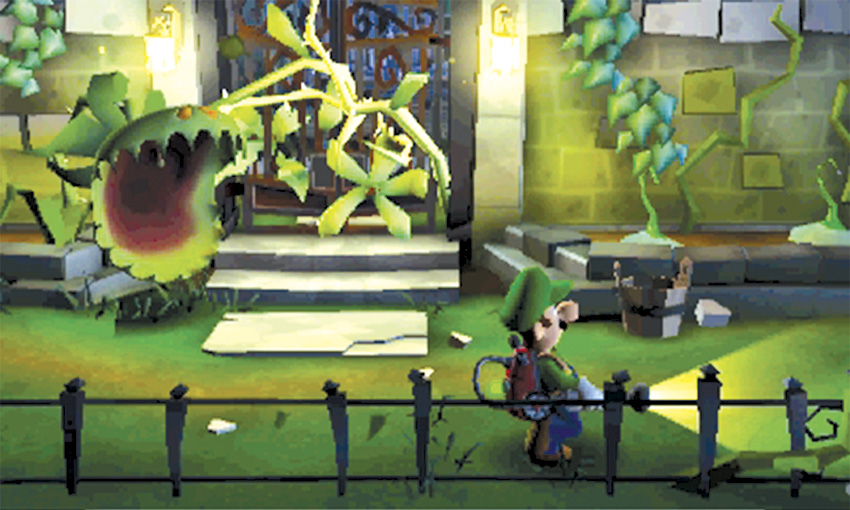
When the mission starts, you’re transported back to the Haunted Towers Entrance. The nearby flower bed contains a flytrap. As you move through the area, make sure you stay clear of the snapping plant. Move past the eastern flower bed and A-Pull the blockage from the pipe. Grab the nearby bucket, pass it under the water, then water the sprouts in the eastern flower bed.
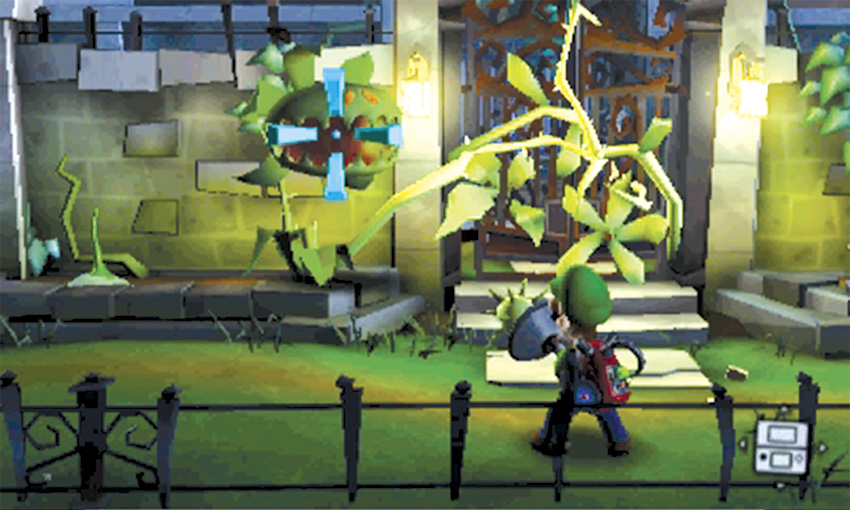
One of the sprouts grows into a gnarled plant. Shoot a spiked seed pod at the flytrap; as the flytrap withers, so do the vines holding the gate shut. Use the bucket to water the sprout in the western flower bed, then flash the budding flowers. Collect the resulting treasure and search the area to the right.
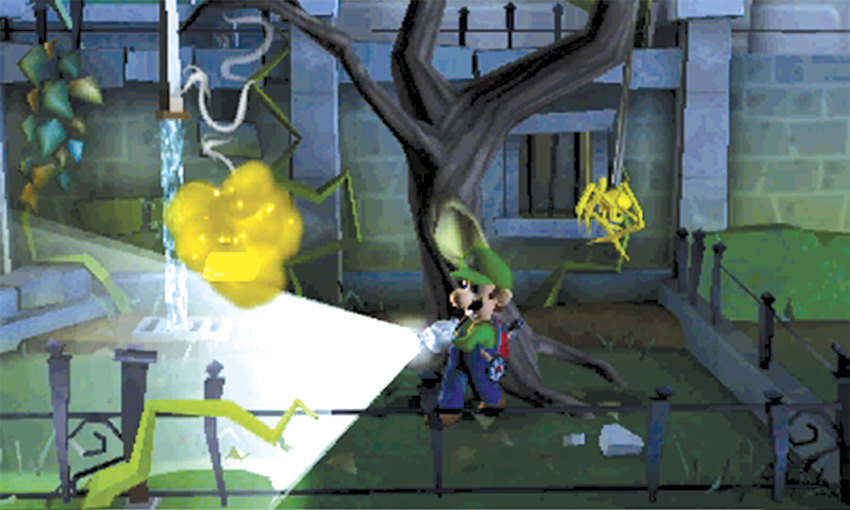
Vacuum the web from the tree hole, then search the tree to reveal two gold spiders. Flash both pests to earn some treasure, then use the nearby window to peek into the Hydro Generator. When you’re ready, continue through the gate and into the Courtyard.
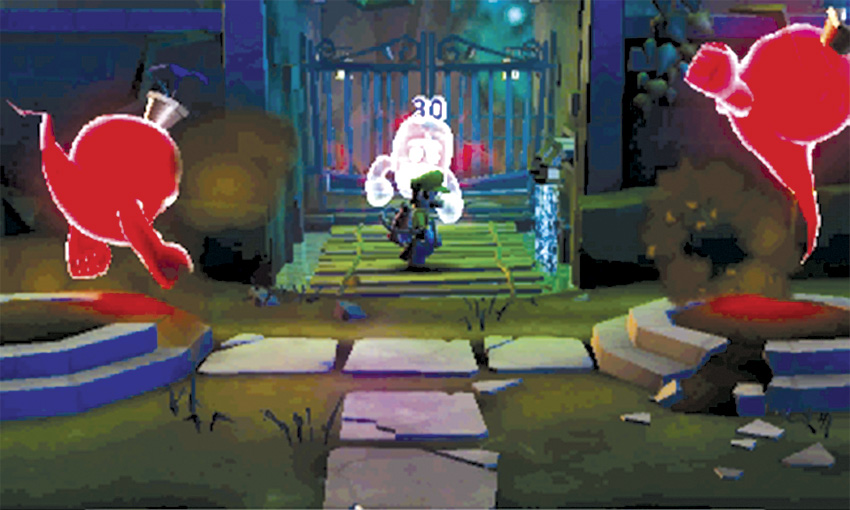
When the cinematic ends, there’s a single Slammer by the pinwheel gate. As you approach this enemy two more Slammers appear behind you. After you capture all three Slammers, a Greenie appears in the area.
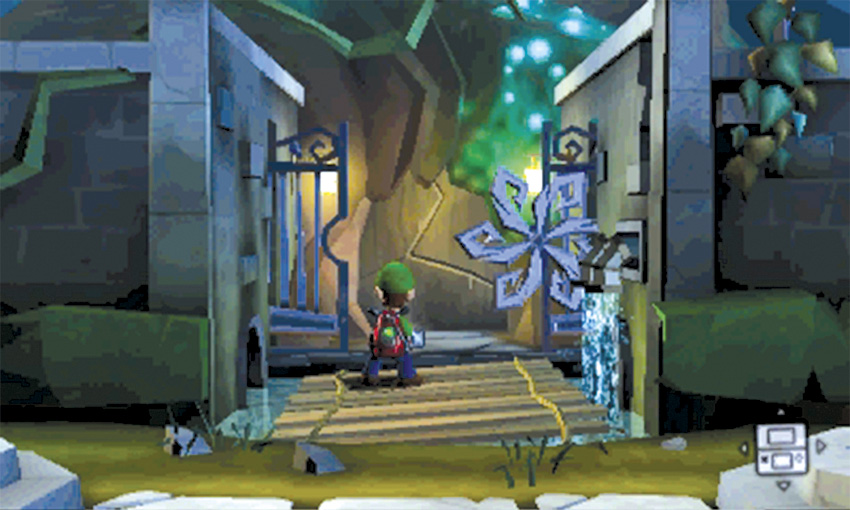
Clear the Courtyard of enemies, then approach the pinwheel gate to initiate repairs. After the cinematic, use the Poltergust to spin the pinwheel until the gate slides open.
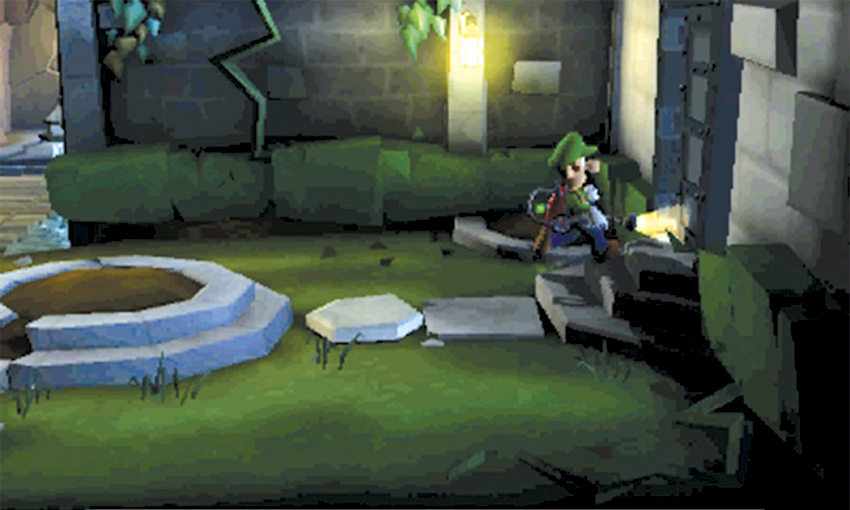
Before you head into the Hollow Tree, make a quick trip into the east tower.
Hunt for Treasure
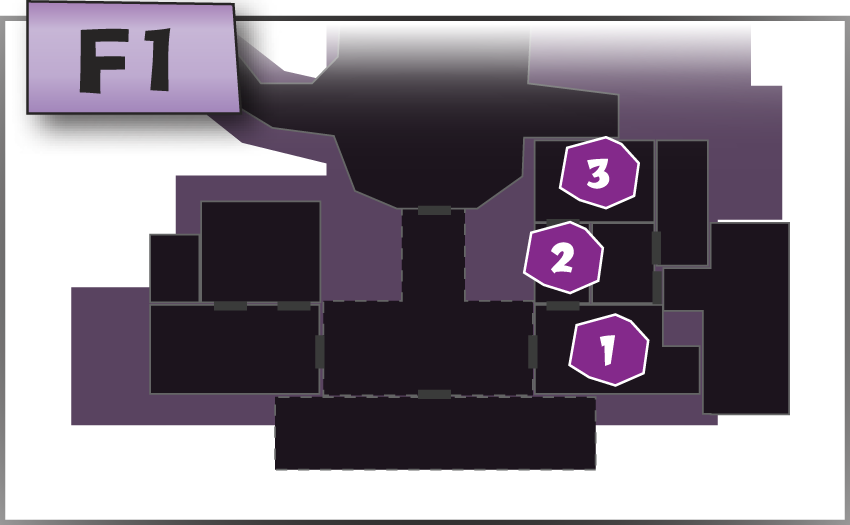
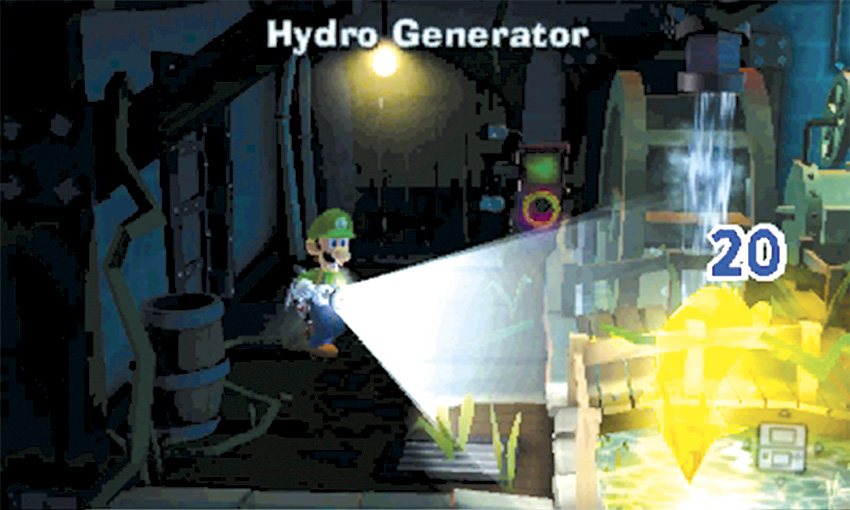
As you step into the Hydro Generator room, look for the Gold Greenie playing in the water; capture the ghost before it escapes to earn a substantial treasure reward. Search the objects located throughout the room and continue to the East Hall.
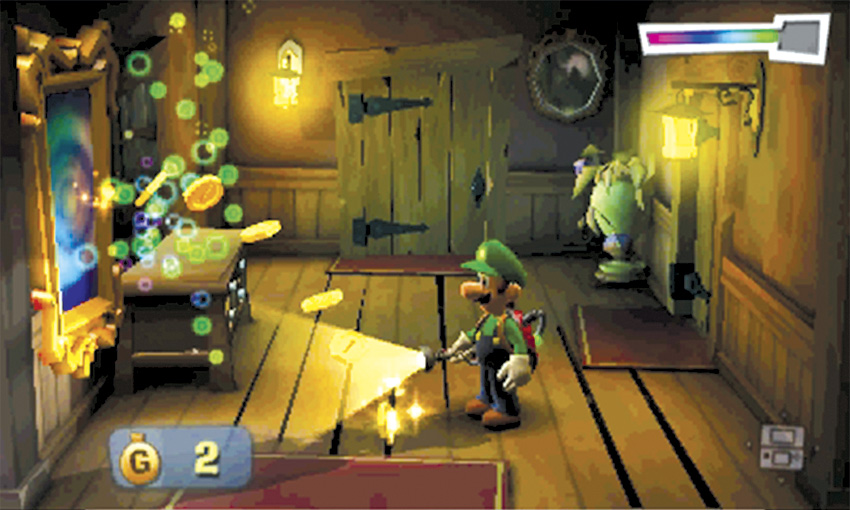
Use the Dark-Light Device to reveal the treasure hidden in the framed sketch. Search the remaining objects, then use the door to the north to enter the Gardener’s Dwelling.
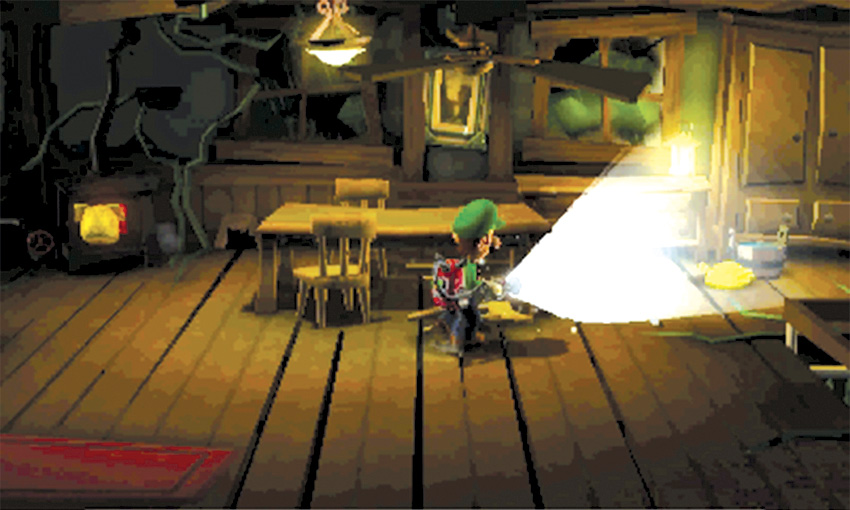
Search the Gardener’s Dwelling until some gold mice appear in the area. Flash the mice and collect the resulting treasure. When you finish searching the room, turn around and follow the path back out to the Courtyard.
Climb the Hollow Tree
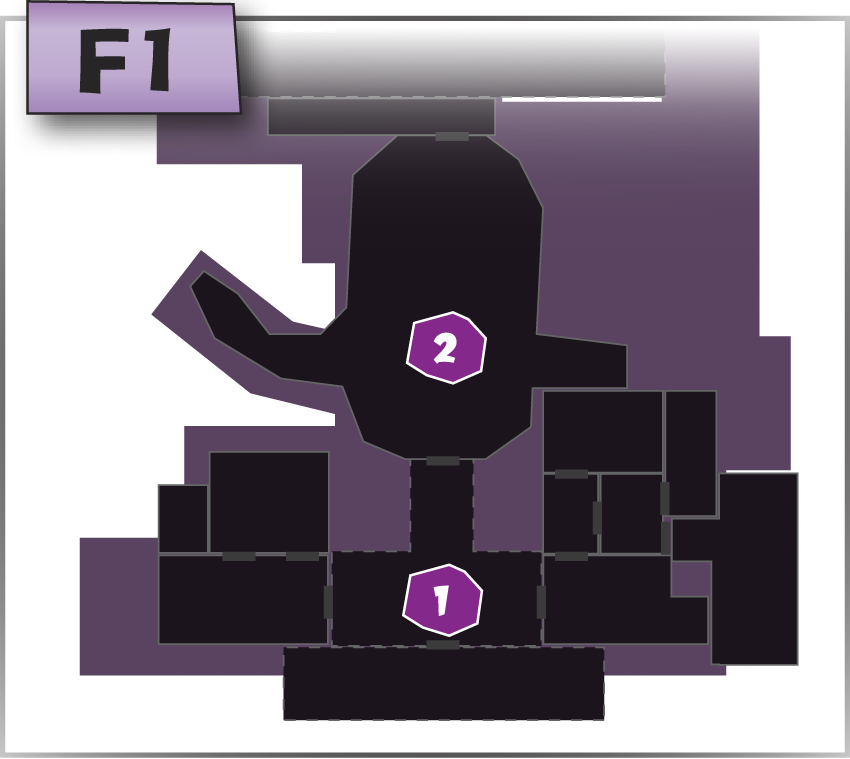
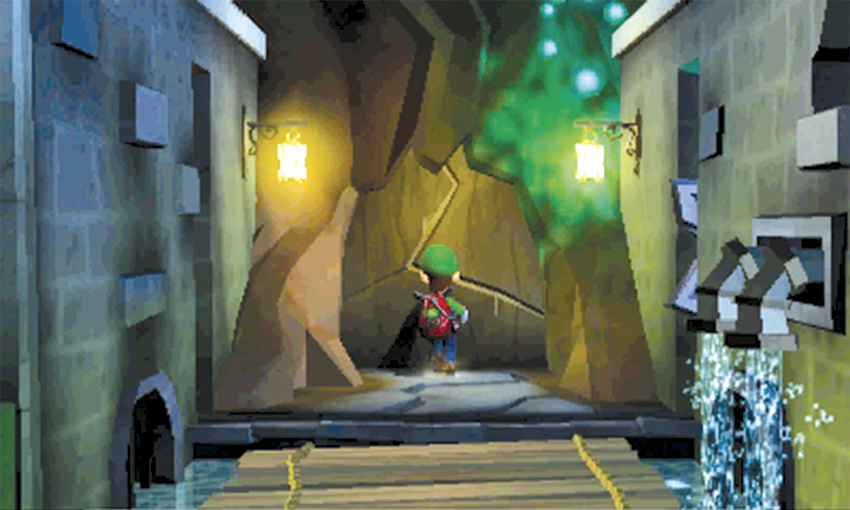
When you reach the Courtyard, return to the pinwheel gate and inspect the cracked bark to enter the Hollow Tree.
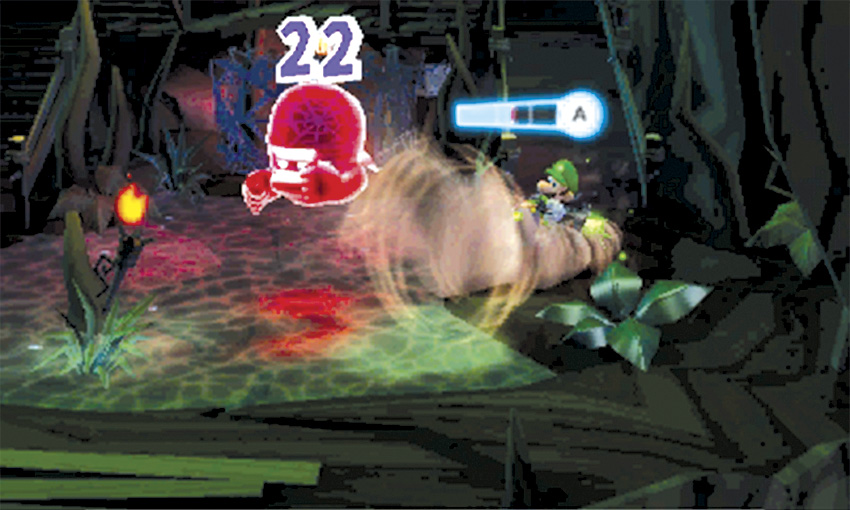
The alcove along the Hollow Tree’s east edge contains a sprout. There’s a bucket in the alcove to the west, but it’s blocked by a web. For now, focus on climbing the Hollow Tree. There are two sets of stairs along the area’s north edge, and one of them contains a hidden Slammer. Choose a path and climb to the top of the steps. If the path you choose is clear, the nearby torch turns orange. If you choose the path containing the Slammer, however, the ghost shows itself and you must capture it before you can continue.
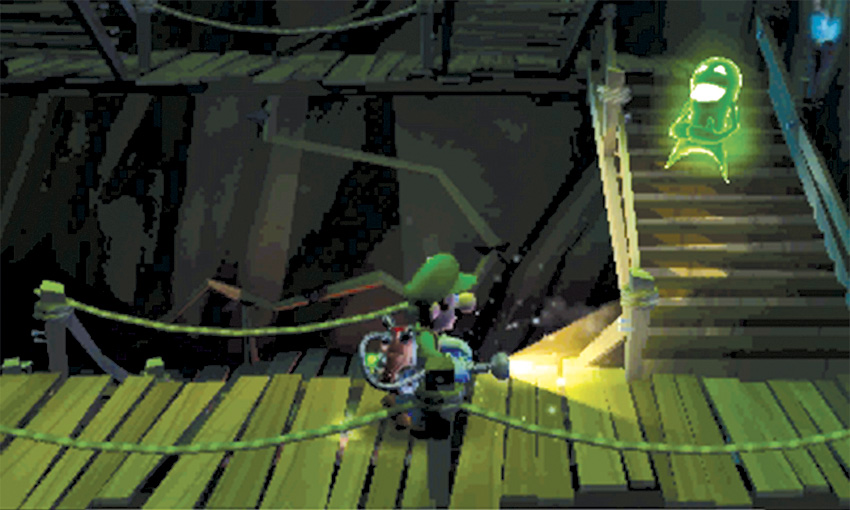
When you reach level F2, you must select between two more sets of stairs. If the path you choose contains a ghost, the stairs start spinning like a treadmill, preventing you from reaching the next floor. If this happens, move to the bottom of the stairs and capture the Greenie that appears and taunts you.
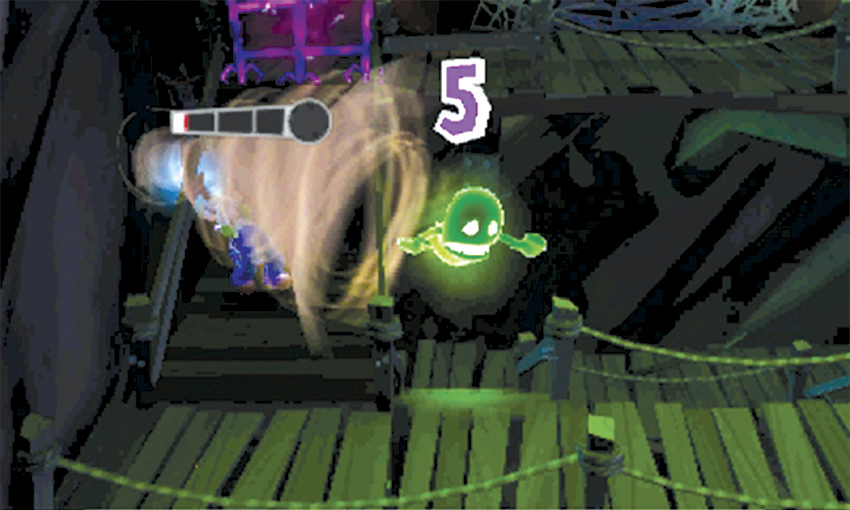
When you reach level F3, you must choose between two more sets of stairs. If the path you choose contains a ghost, the stairs collapse and a Greenie comes out of hiding. If this happens, capture the ghost and climb to the top of the staircase.
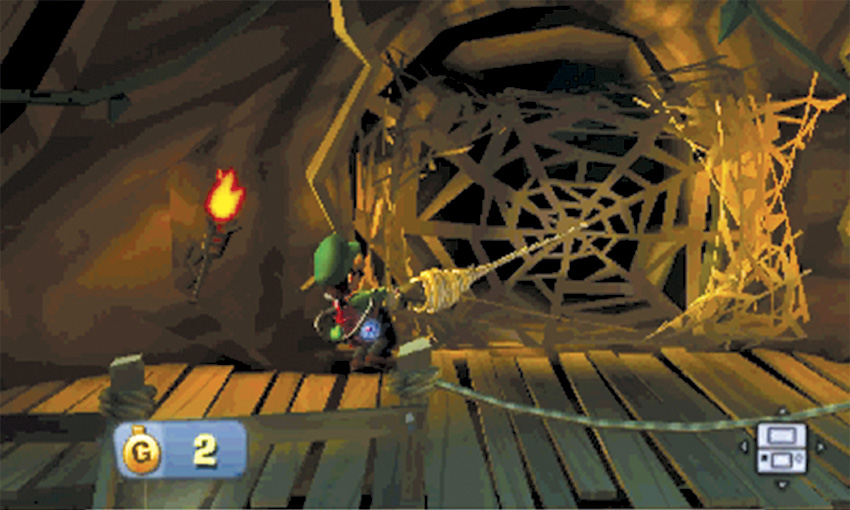
The passage at the top of the Hollow Tree is blocked by a large web. Vacuum the bundle at the center of the web and drag it to one of the nearby torches. After the web burns, approach the passage to trigger a short cinematic.
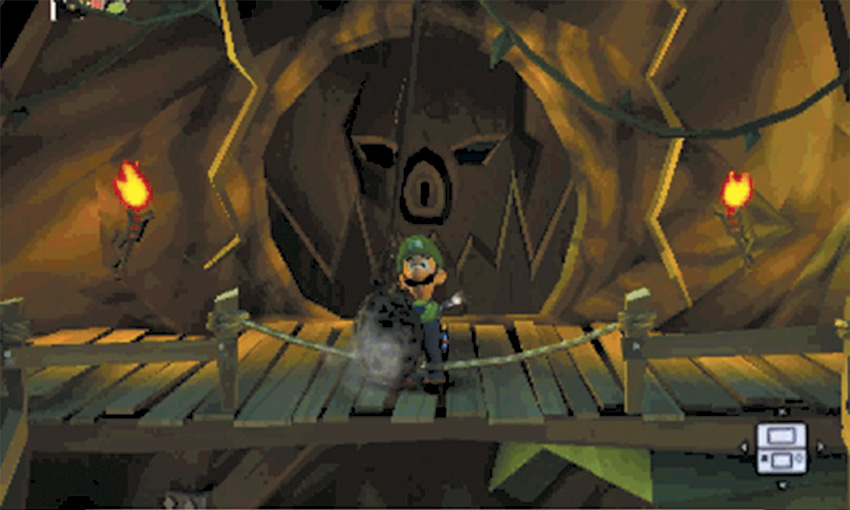
A giant door slams shut, blocking the passage at the top of the Hollow Tree. Answer the Duel Scream, then move south and vacuum the bundled webbing hanging just past the guardrail. During a short cinematic, you’re lowered back to level F1 of the Hollow Tree.
Reach the Crypt
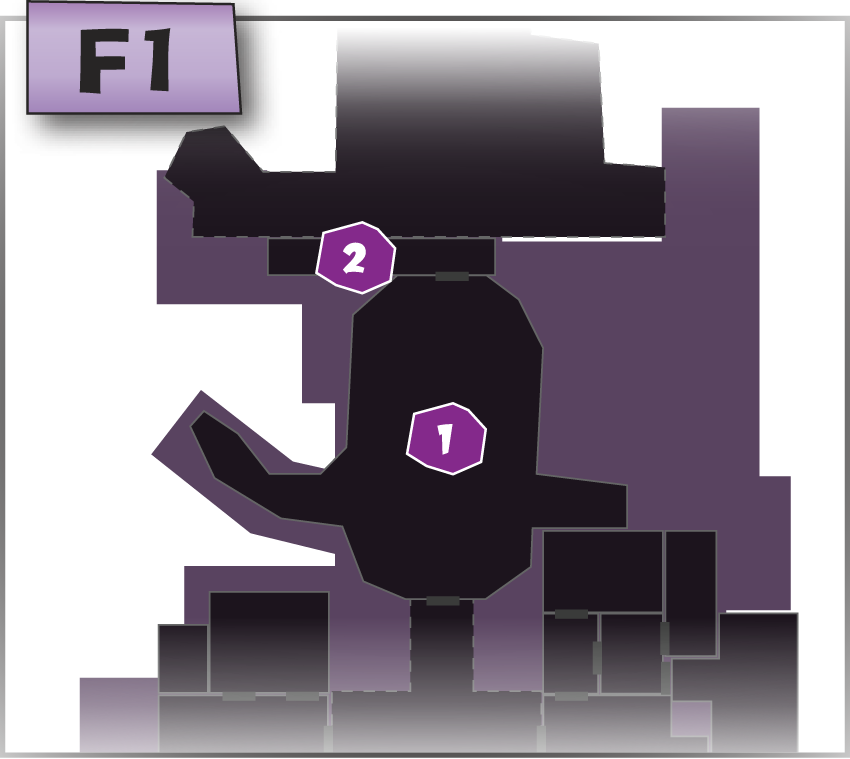
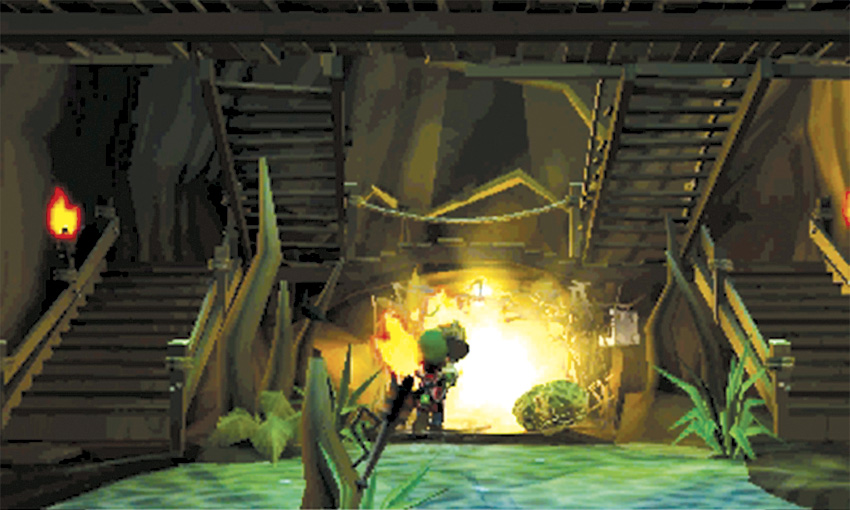
Professor E. Gadd wants you to retrieve a Special Key from the crypt. Vacuum one of the web-balls that shook loose when the door slammed shut and carry it to the torch near the waters edge. Once the ball ignites, use it to clear the web from the door to the north.
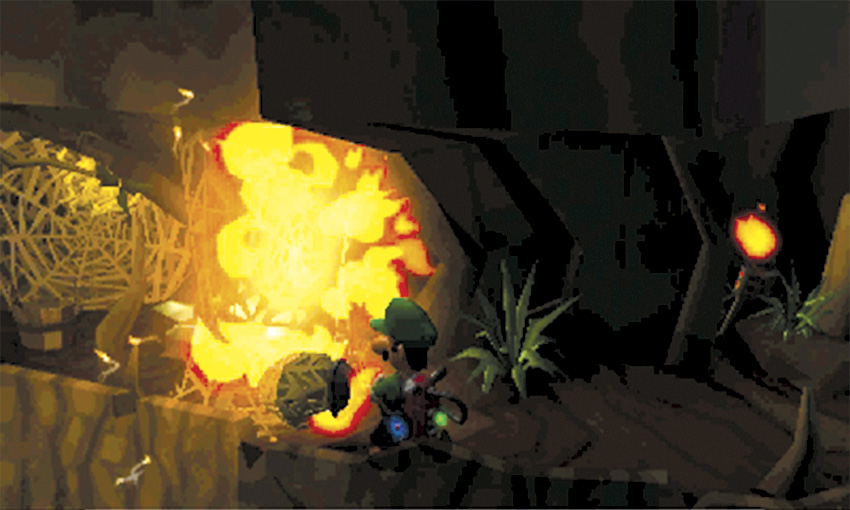
Before you leave the Hollow Tree, use the flaming ball to burn the web blocking the west alcove. Hold
to drop the web-ball, then flash the gold spiders and vacuum the bucket.
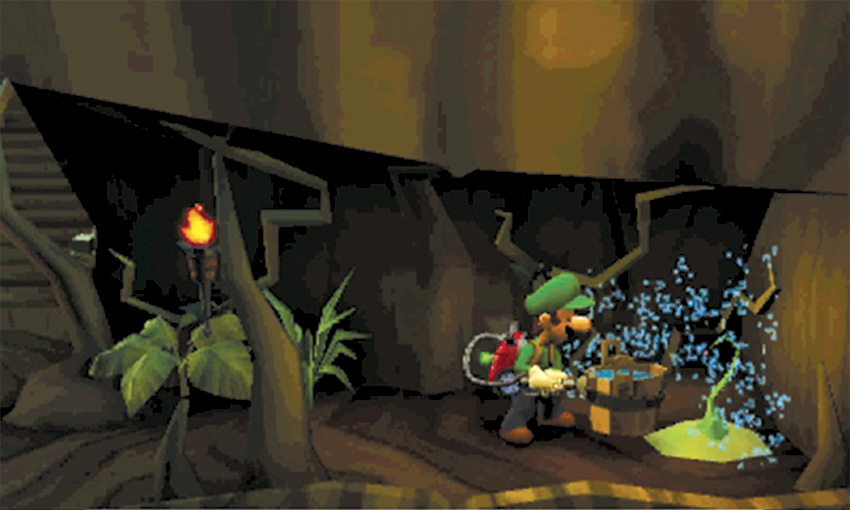
Carry the bucket into the water. When the bucket is full, use it to water the sprout in the east alcove. When a purple flower appears, flash it with the Strobulb to reveal the Rhombus Emerald.
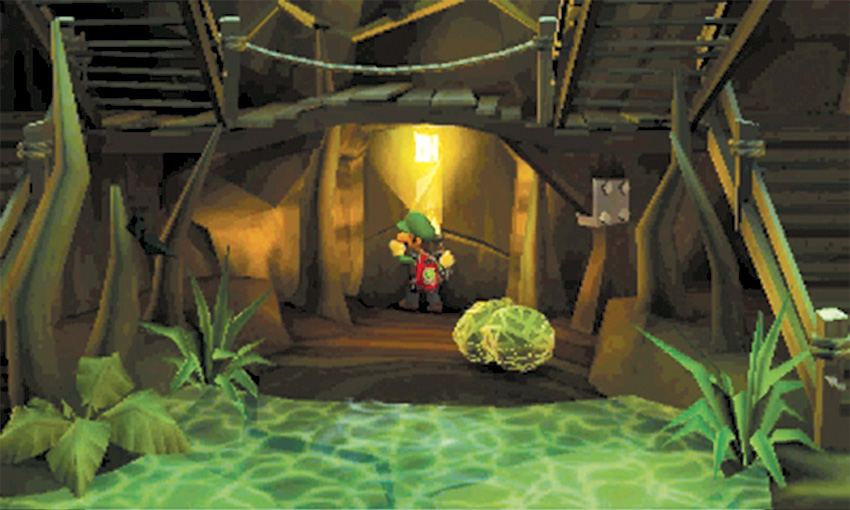
When you’re ready, open the door just north of the water and head into the Tree Root.
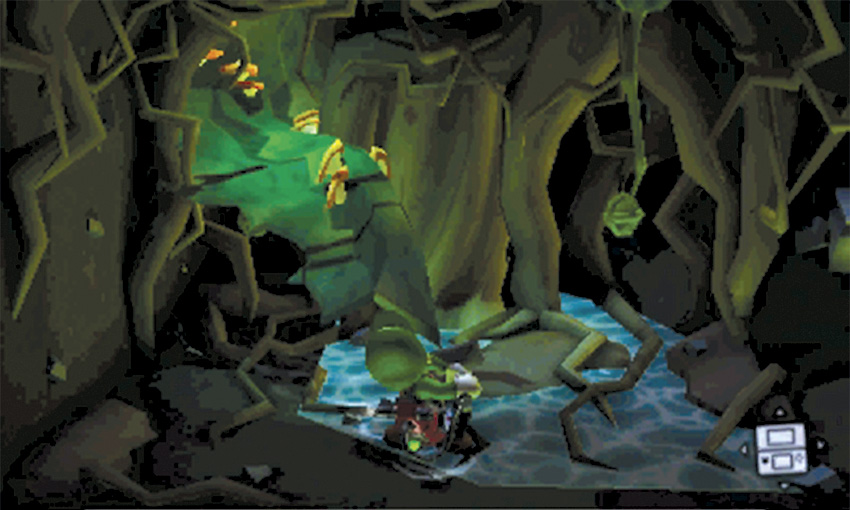
After you enter the Tree Root, move left until you reach the end of the path. A-Pull the wall of mushrooms, then A-Pull the knotted vine hidden behind it. When you do, a secret passage to the Old Graveyard slides open. A-Pull the remaining knotted vine, flash the spider that appears, and climb into the secret passage.
Search the Crypt
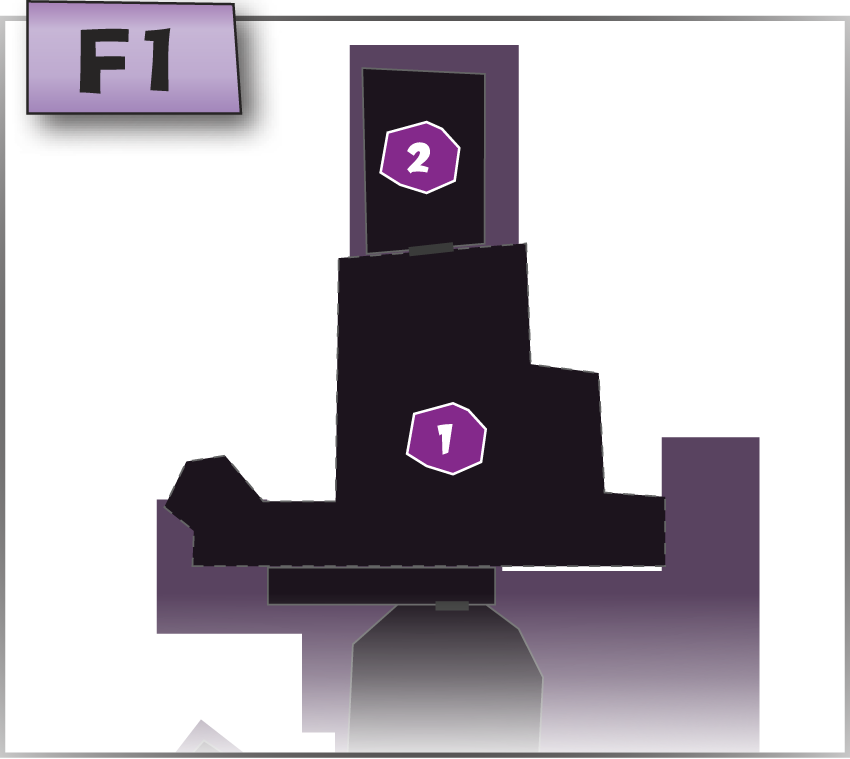
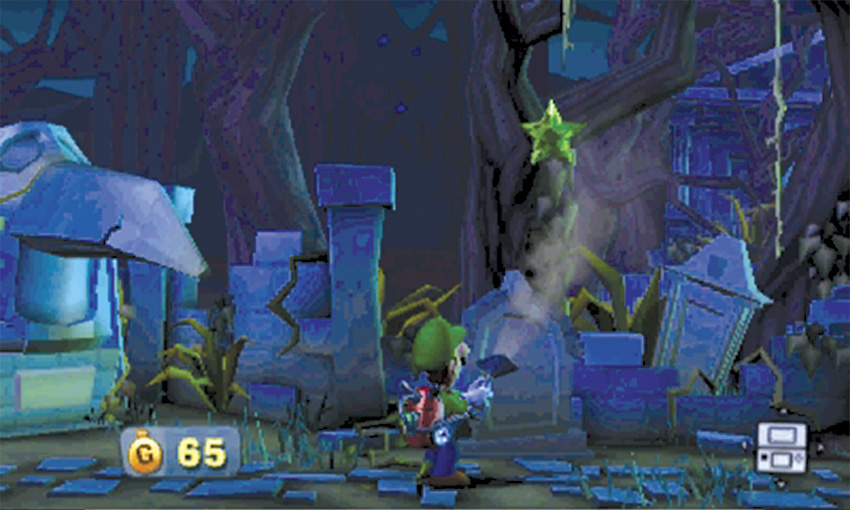
You emerge in the Old Graveyard’s southwest corner. When you topple to the ground, the secret passage seals behind you. Flash the nearby crows before they fly away, then search behind the large statue to find a hidden treasure stash. The Star Emerald is hanging just to the right. Vacuum the Gem, then follow the path toward the center of the area.
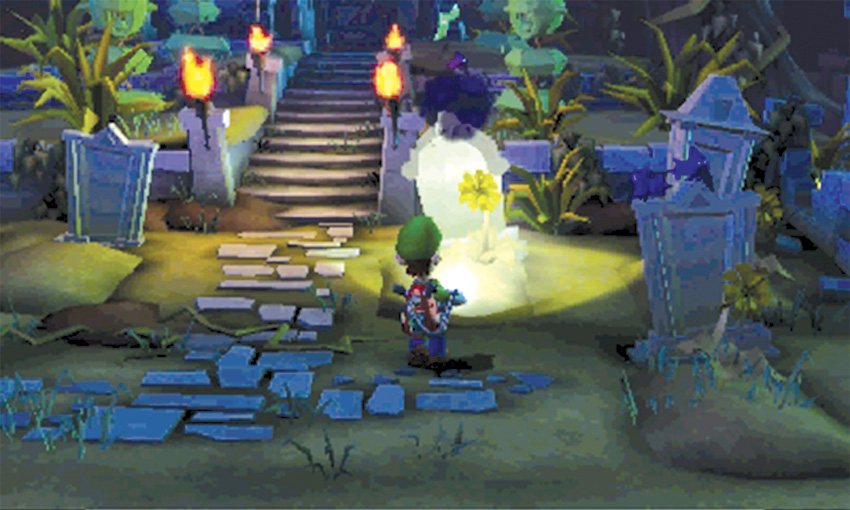
Flash the crows scattered throughout the Old Graveyard and A-Pull the weeds on the ground. When you’re ready, climb the steps to the Crypt at the area’s north edge.
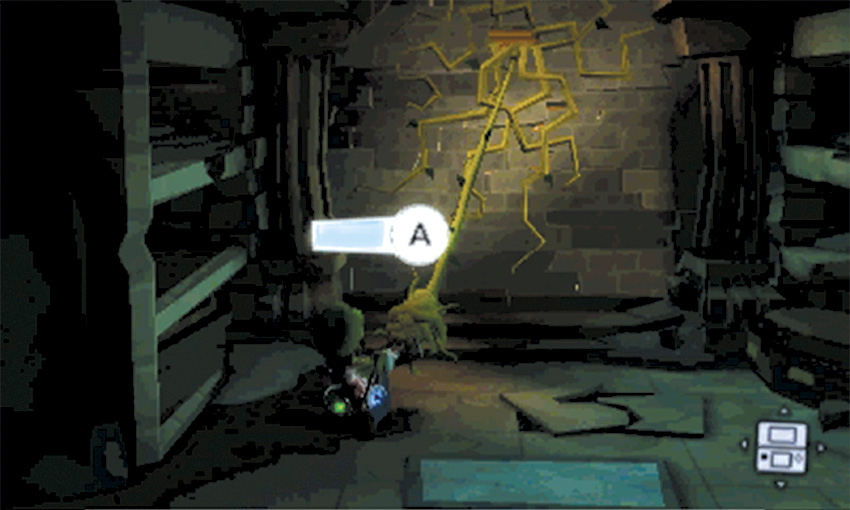
Search the coffin just inside the Crypt, then approach the brick wall to the north. A-Pull the knotted vine to knock a few bricks loose. Perform additional A-Pulls until the wall crumbles, exposing a hidden area.
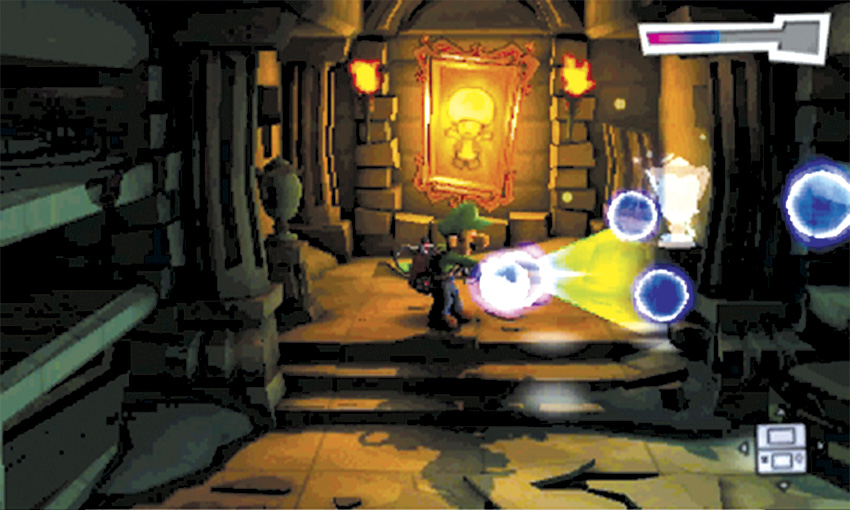
A-Pull the tattered cloth hanging near the northwest corner and collect the treasure that spills to the floor. Move to the urn near the steps, then face east and use the Dark-Light Device to reveal a second urn. After you capture the Spirit Balls, search the urn to find Booluga.
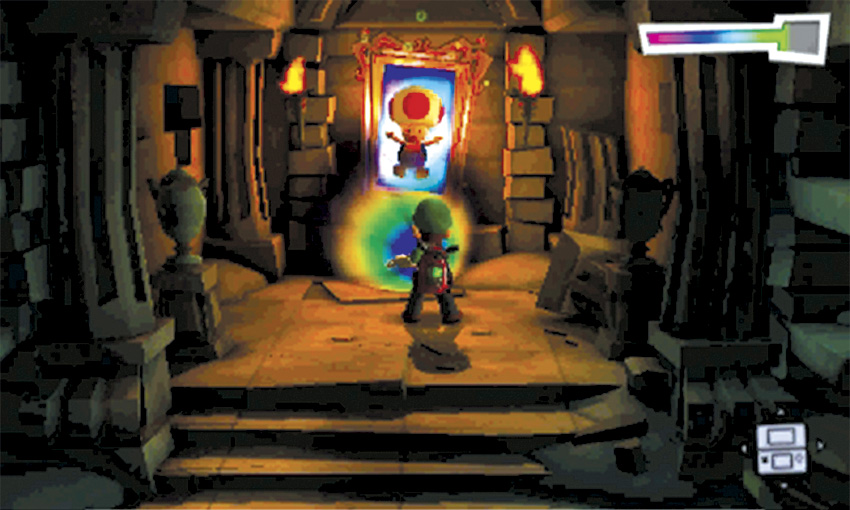
When the area is clear, use the Dark-Light Device to free the Toad Assistant from the framed sketch. Answer the Duel Scream and complete your search of the Crypt. As you move down the steps, some bats burst out of the coffin near the west wall.
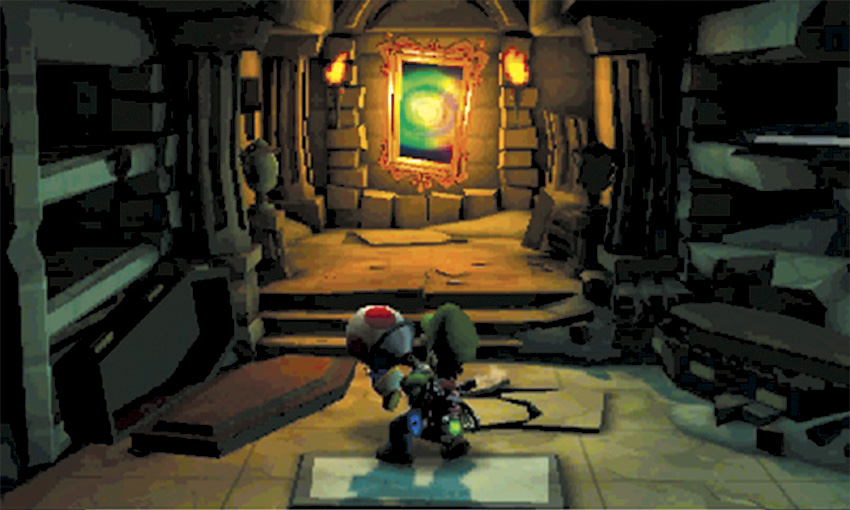
After you deal with the pests,calm the panicked Toad. Flash him with the Strobulb, or vacuum him up and hold
to release him. Once the Toad is ready to follow, leave the Crypt and return to the Old Graveyard.
Reach the Sewer

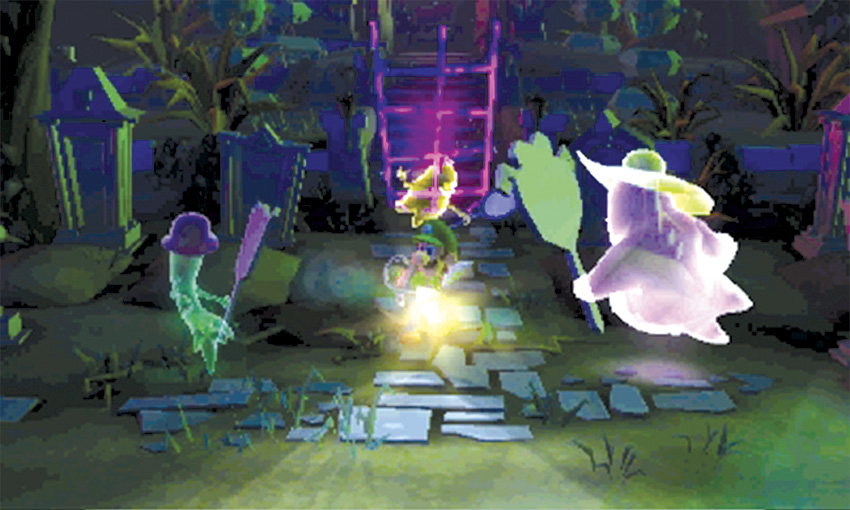
When you exit the Crypt, the Three Sisters appear in the Old Graveyard. After a short cinematic, these ghosts circle around you. The sisters use their hand mirrors to protect themselves from Strobulb flashes, but they can’t resist sneaking the odd peek. When one of the ghosts exposes her face, flash her and latch on with the Poltergust.
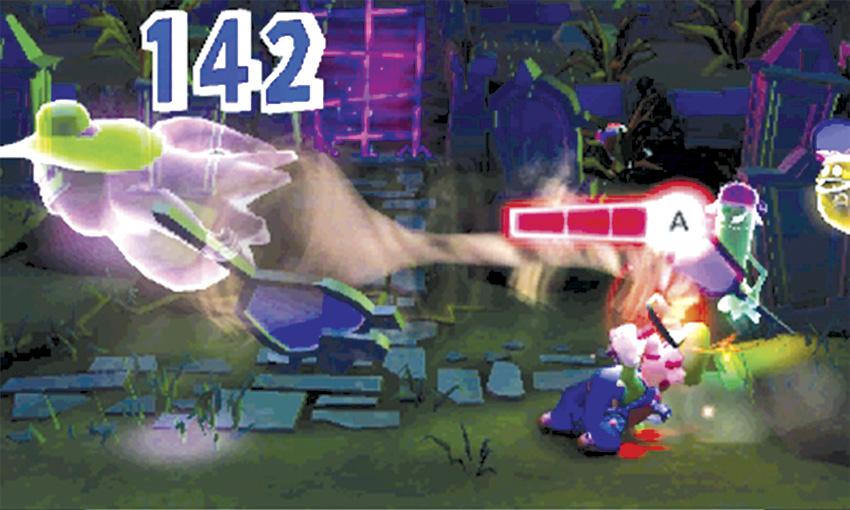
You can only latch onto one sister at a time, and doing so causes the remaining sisters to attack. If possible, allow your target to pull you away from her allies. Try to charge an A-Pull each time you gain a bit of breathing room.
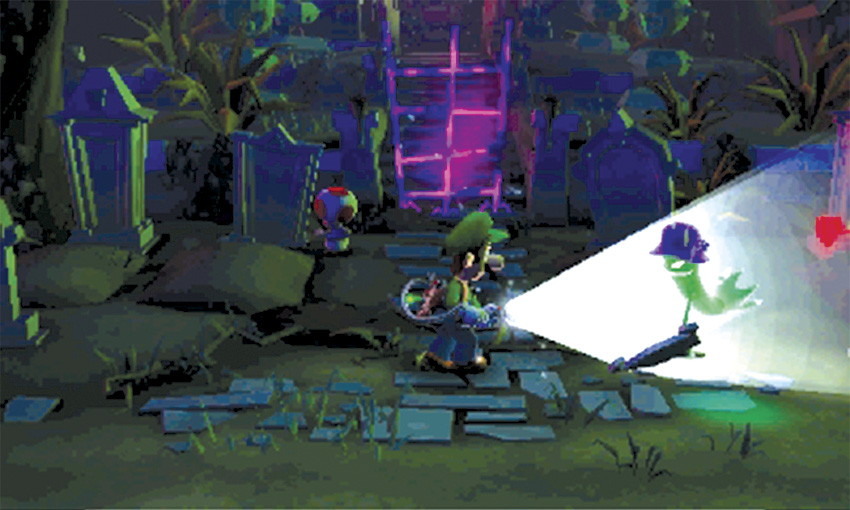
It’s not always possible to dodge incoming attacks. If you find yourself cornered, execute a partially charged A-Pull or release your target. Either of these actions causes all uncaptured sisters to regroup. Allow them to circle around you, then watch for a sister to lower her guard. Repeat the process until you capture all three sisters.
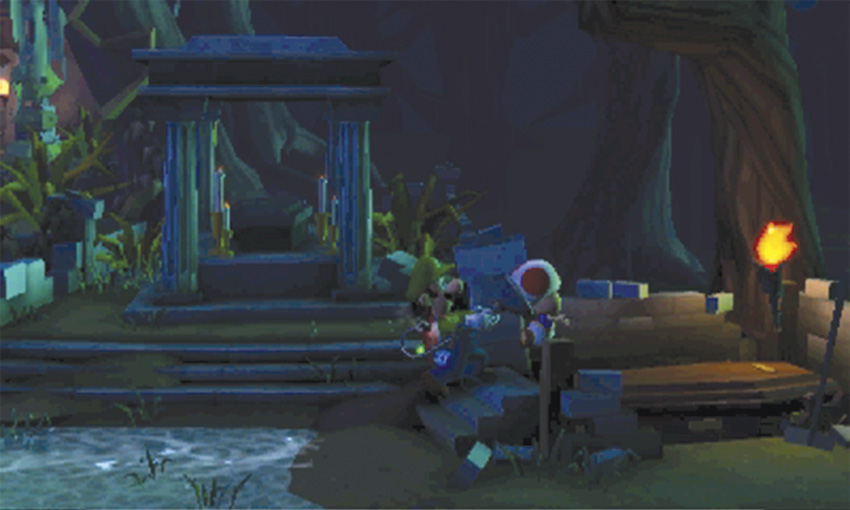
After you answer the Duel Scream, vacuum the panicked Toad and carry him across the water to the east. Search the area just north of the water to find some treasure hidden in the grass, then carry the Toad Assistant onto the coffin in the Old Graveyard’s southeast corner. The Toad’s extra weight is just enough to activate a hidden passage to the Sewer.
Rescue the Toad Assistant
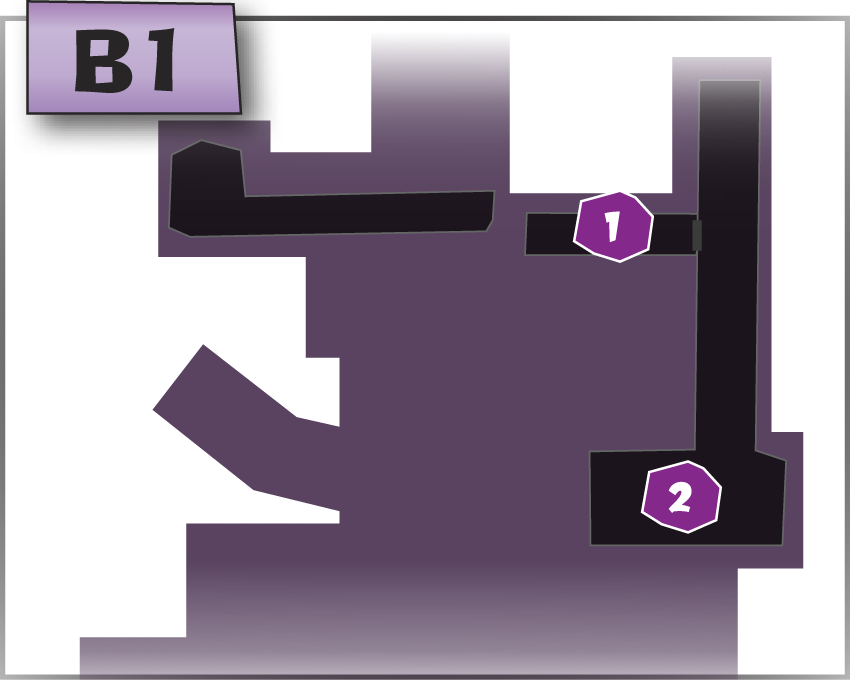
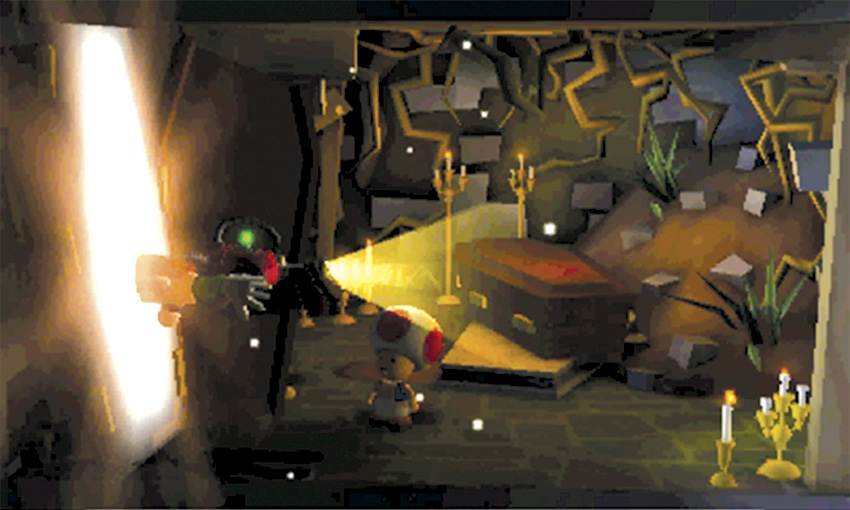
When you reach the Sewer, A-Pull the root cluster and the wall of mushrooms to the left. Continue to the Sewer’s west end and open the coffin propped against the wall to discover a bonus challenge.
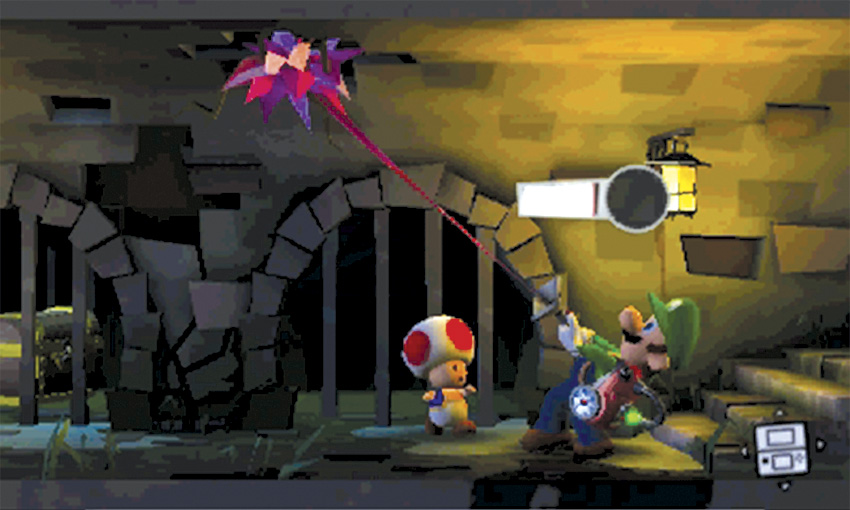
Turn back and follow the Sewer to the east. As you approach the steps, A-Pull the root cluster from the ceiling, then pass through the false bars in the easternmost arch and collect the treasure from the chest. When you’re ready, leave the Sewer and enter the Gardener’s Lab.
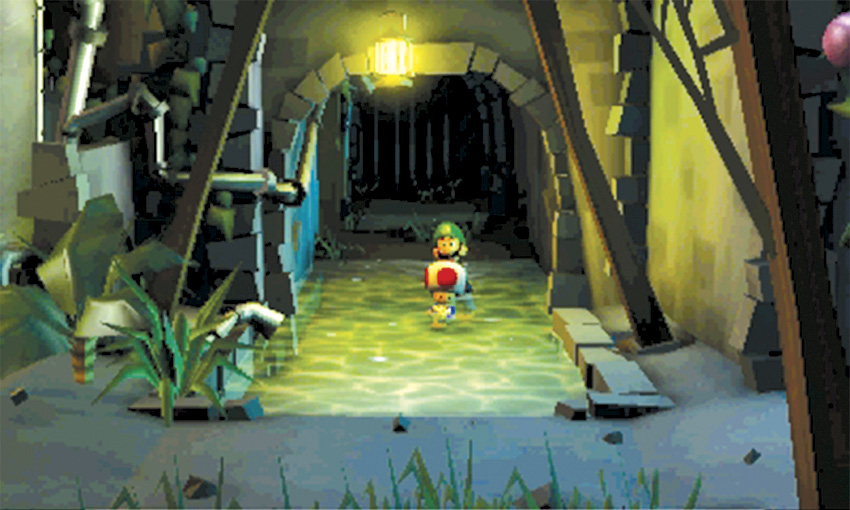
Once inside the Gardener’s Lab, vacuum the Toad and carry him across the water.
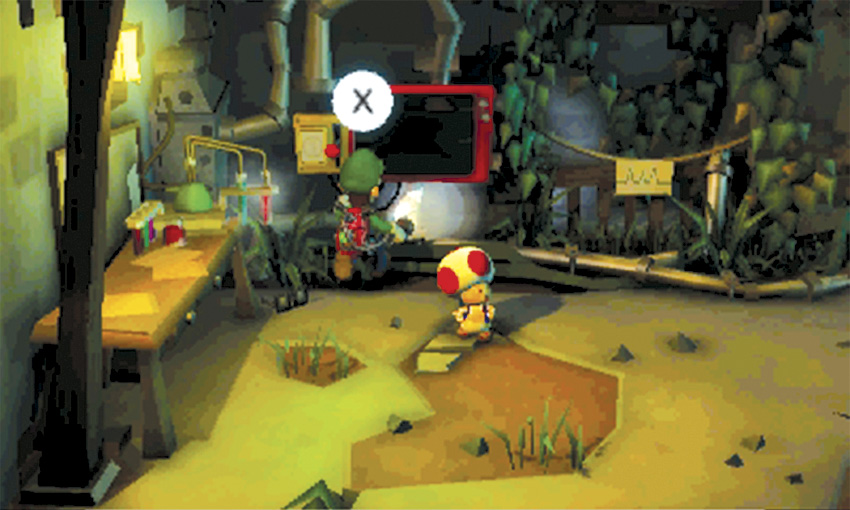
When you’re ready, activate the Pixelator at the room’s west end to transport the Toad Assistant out of the area. After you rescue the Toad, answer the Duel Scream to complete the mission and return to the Bunker.
B-4 Pool Party
When you select this mission, you have the opportunity to review an image from a Haunted Towers security camera. When you’re ready, press
 to resume the mission briefing.
Reach Level F2
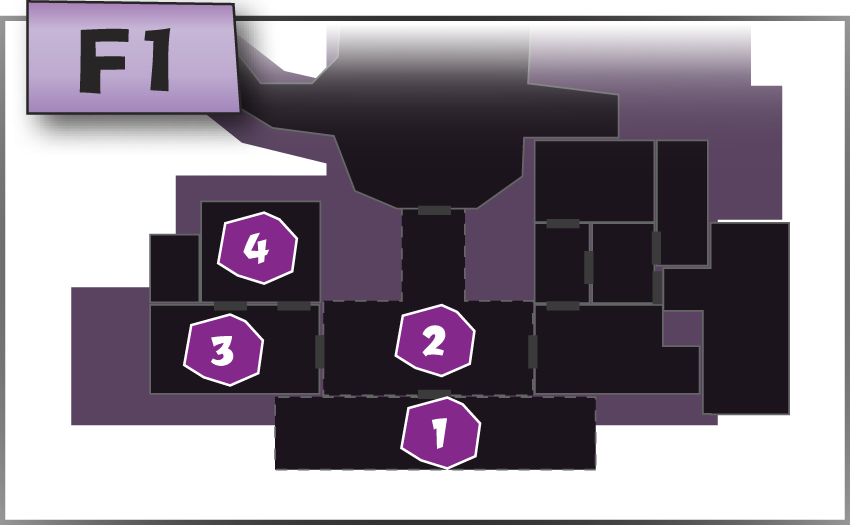
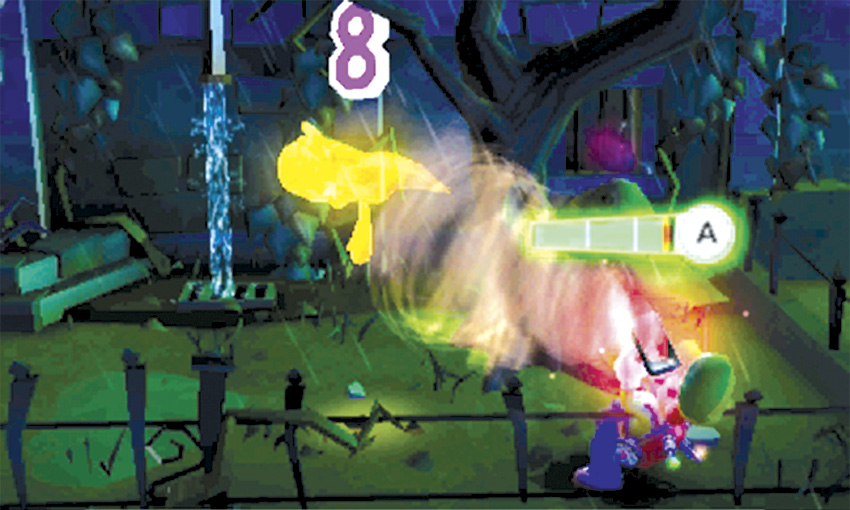
When the mission starts, you’re transported to the Haunted Towers Entrance. Vacuum the weeds in the nearby flower beds and move to the tree near the area’s east edge. Vacuum the trash pile at the base of the tree, then inspect the tree hole to find a Gold Greenie. Capture the ghost before it escapes and collect the resulting treasure. Complete your search of the area, then head through the gate and enter the Courtyard.
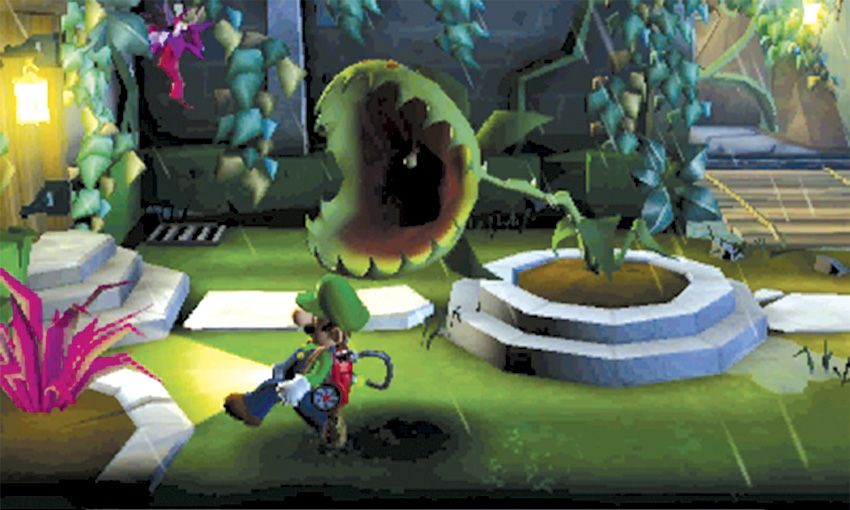
The Courtyard is occupied by two flytraps, making it fairly difficult to move around the area. The door to the Hydro Generator is blocked, as is the door to the Hollow Tree. After you enter the Courtyard, slip past the flytrap to the left. Vacuum the coins from the weed in the corner and enter the Tower Lobby.
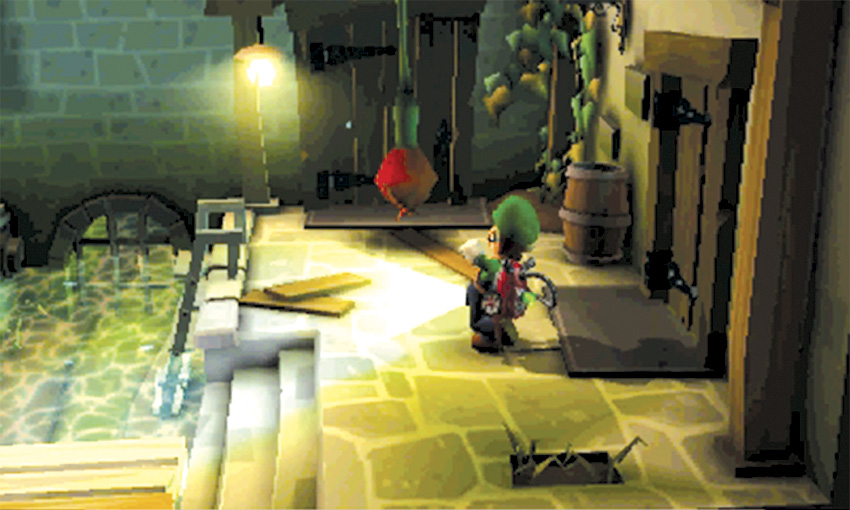
There’s an orange flower hanging in the Tower Lobby’s northeast corner. When you move into range, this carnivorous plant slams to the ground. Watch the orange flower as you approach; when it starts to lunge, dash away to get clear of the impact. A-Pull the stunned flower to clear it away from the door, then enter the Greenhouse.
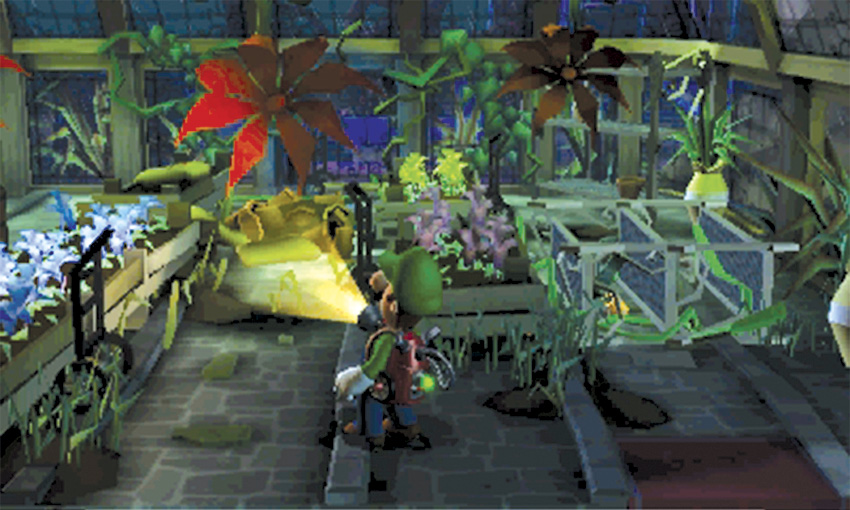
The Greenhouse contains three more orange flowers. As you move through the area, clear each flower just as you cleared the orange flower in the Tower Lobby: bait the flower into attacking, then A-Pull it down from the ceiling. When you clear all three orange flowers, you’re rewarded with a shower of treasure; move quickly to collect as much as you can before it vanishes.
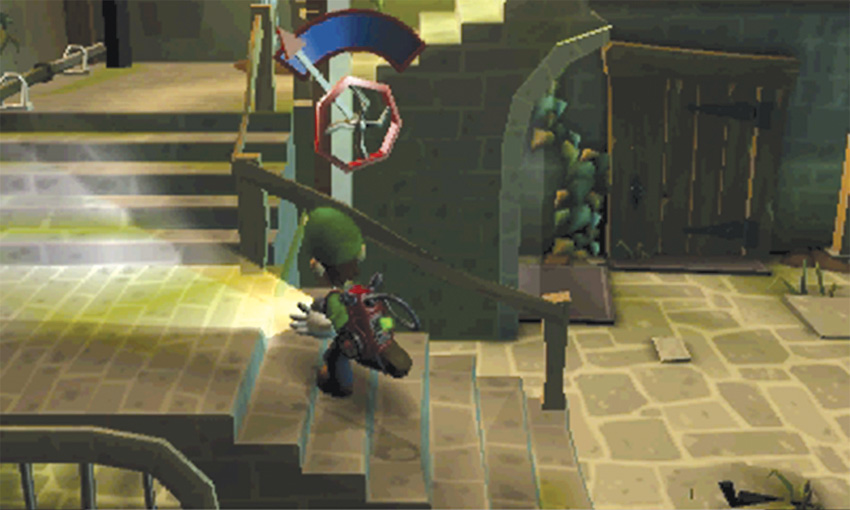
When you reach the end of the path, leave the Greenhouse and return to the Tower Lobby. Complete your search of the area, then move up the stairs. Flash any bats clinging to the ceiling, then use the door at the top of the stairs to enter the Plant Nursery.
Reach Level F3
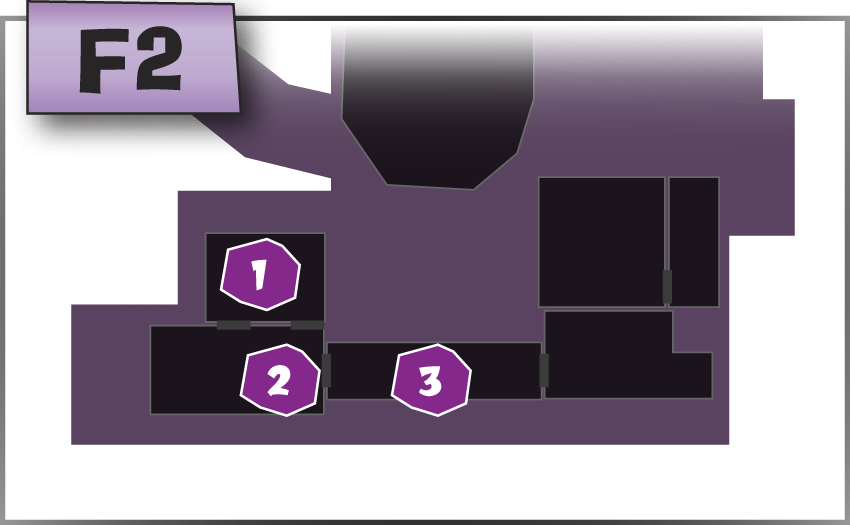
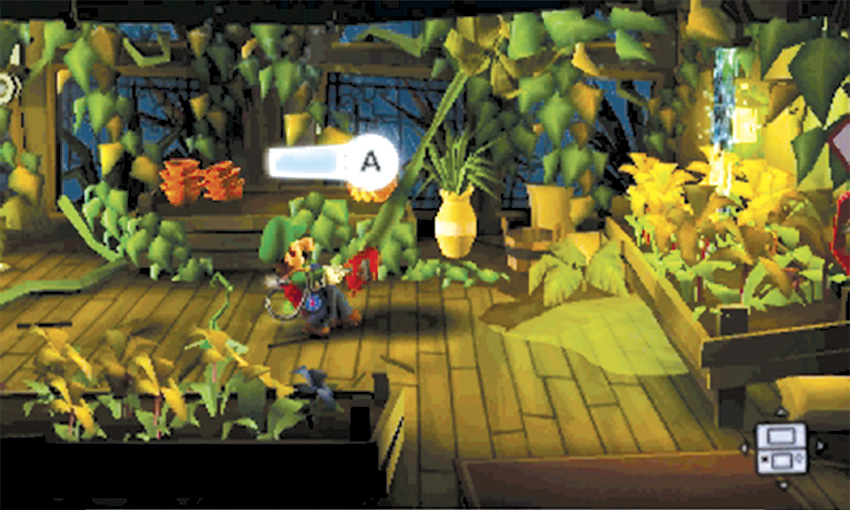
During this mission, the Plant Nursery contains an orange flower and a single sprout growing out of the floor. Move to the room’s southeast corner and vacuum the valve until water flows from the nearby pipes. Now you must retrieve the bucket from the northeast corner. Clear out the orange flower, then carry the bucket to the northwest corner. Fill the bucket and use it to water the sprout.
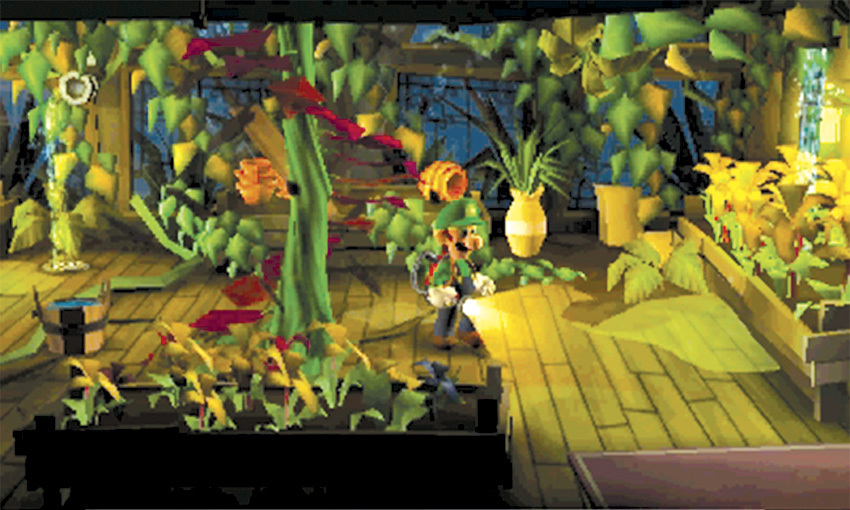
The sprout grows into a giant stalk and smashes through the ceiling, clearing a path to the Rumpus Room. Before you head upstairs, however, take a moment to search the Skybridge. Head through the door in the southeast corner and return to the Tower Lobby.
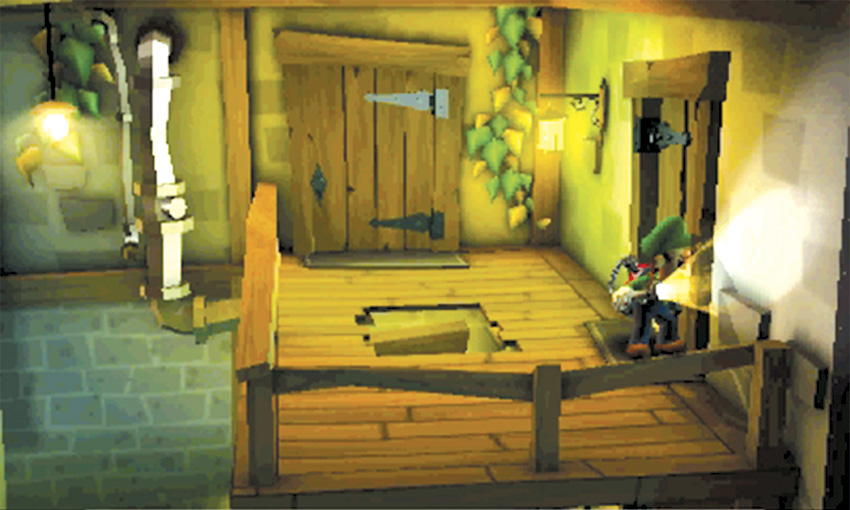
Once again, the rug on the Tower Lobby’s F2 level is covering a hole. Stick close to the wall to avoid the pitfall, and continue through the next door to reach the Skybridge.
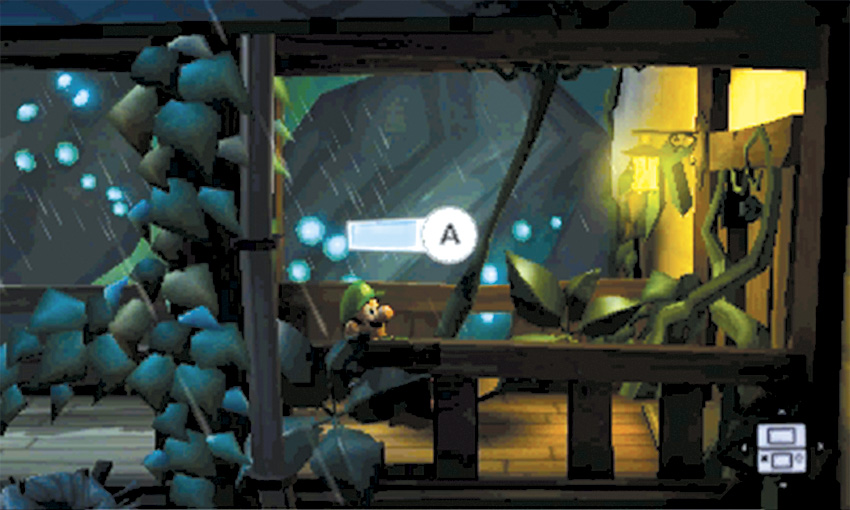
There are three more orange flowers located along the Skybridge. As you follow the path to the right, clear out each lunging plant. When you A-Pull the last orange flower, the Octagon Emerald drops down to the floor.
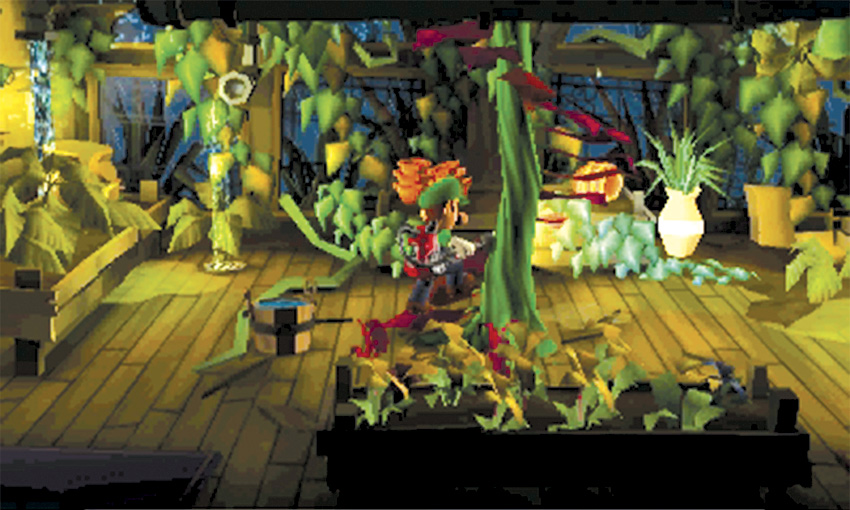
When you’re ready, return to the Plant Nursery and climb the stalk up to the Rumpus Room.
Reach Level F4

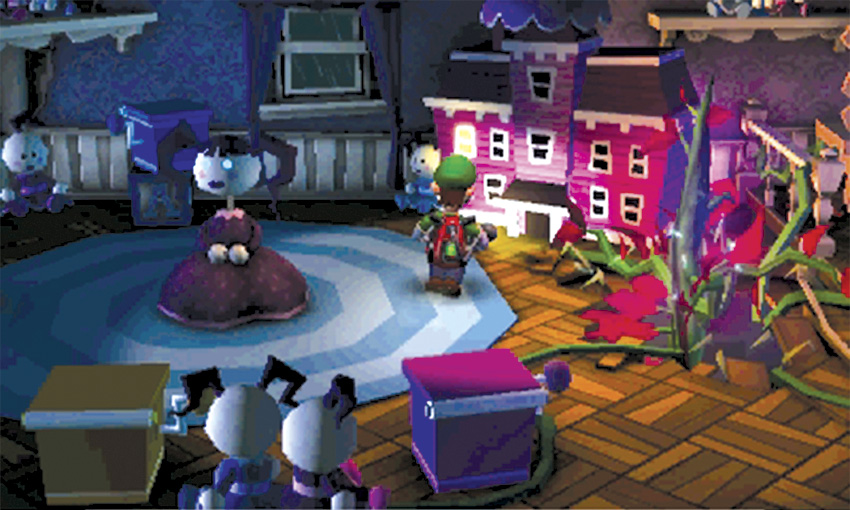
When you arrive in the Rumpus Room, some enemies are hiding in the area. Approach the dollhouse along the north wall and investigate the glowing window—this allows you to peek into the Rumpus Room while you’re standing in it! Scan the area until you see movement from one of the room’s five jack-in-the-boxes.
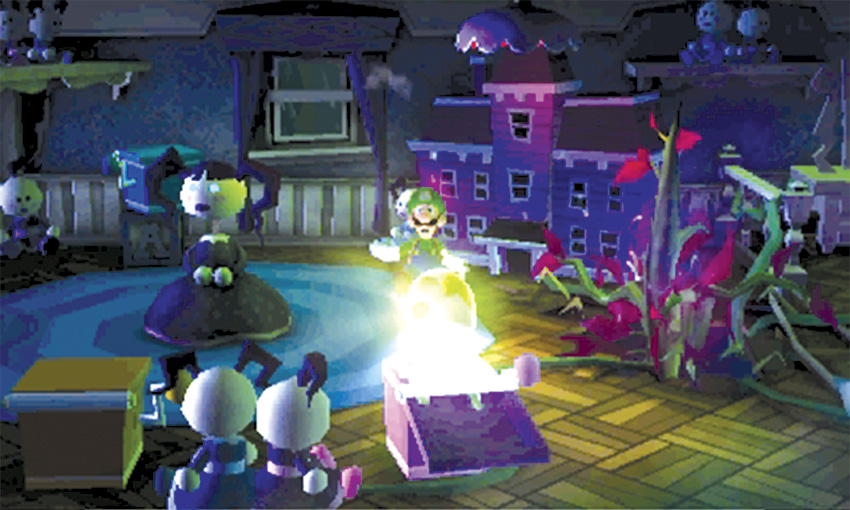
Step away from the dollhouse and activate the jack-in-the-box you saw move. After a bit of music, a Greenie springs out of hiding. As you deal with this ghost, more Greenies emerge from the box. Capture a total of five Greenies to clear the room of enemies.
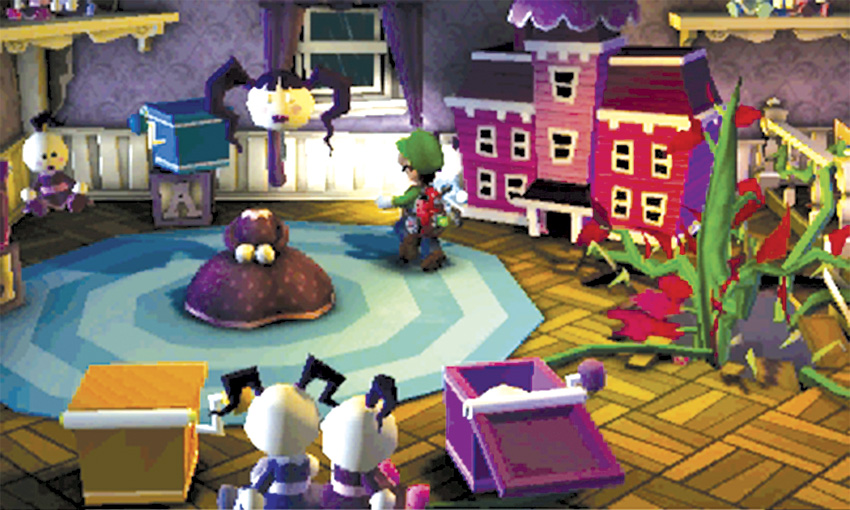
As you move around the room, the doll’s head swivels as if it’s watching you. Circle the doll until the head pops off its shoulders, revealing the Oval Emerald.
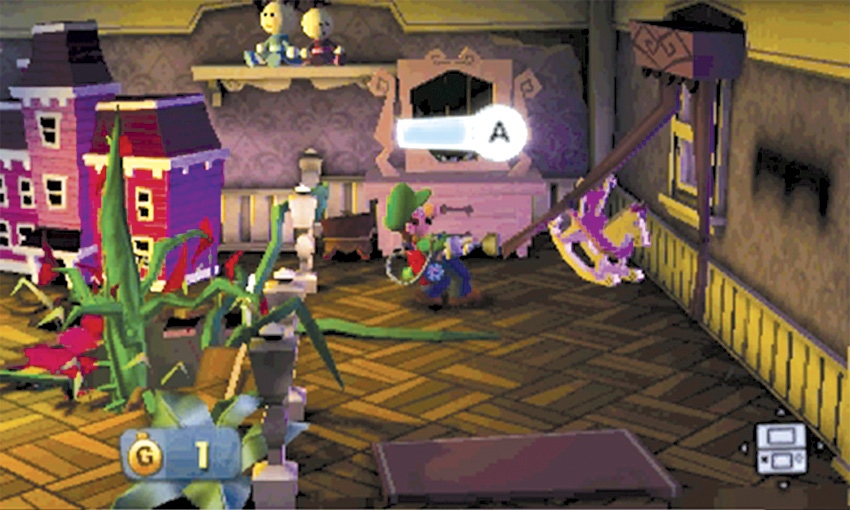
As you search the room, A-Pull the curtains hanging by each window and use the Dark-Light Device to reveal the missing coat hooks on the room’s east wall. When you’re ready, head through the door in the southeast corner to find the Family Room.
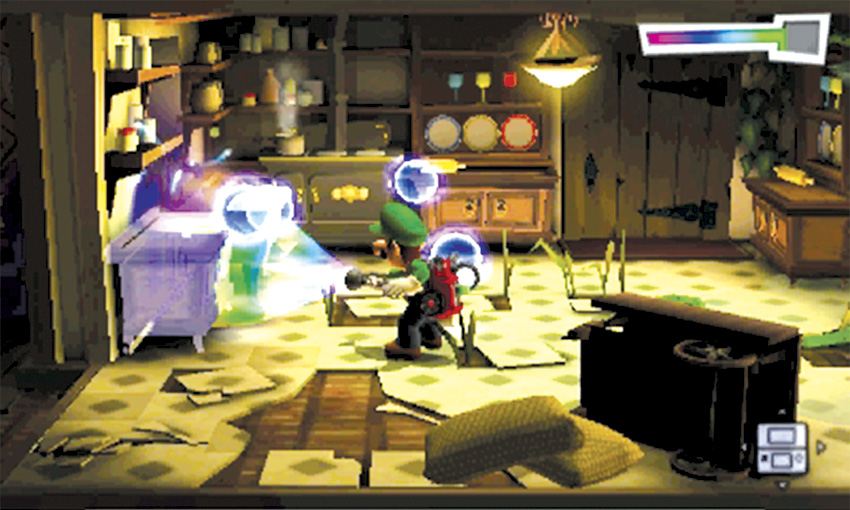
The Family Room is a fairly large space, so make sure you search all of the objects scattered throughout the area. Use the Dark-Light Device to reveal the missing cabinets next to the partition, then continue to the room’s west half.
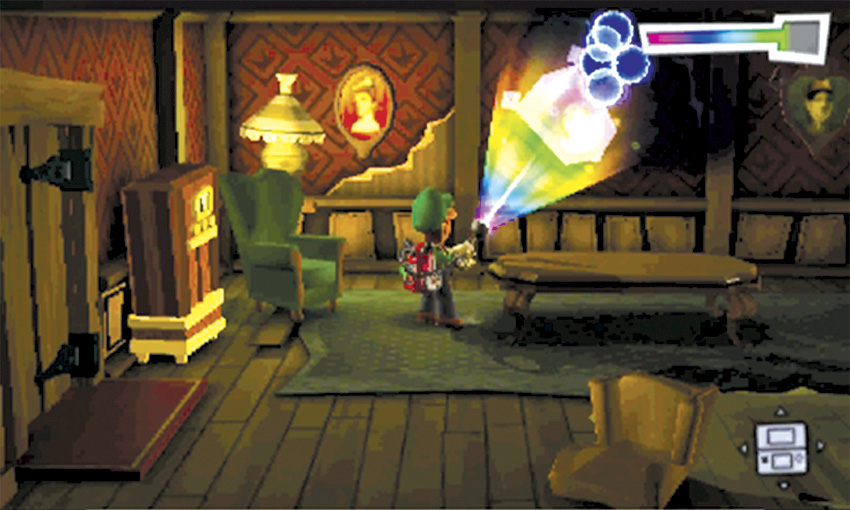
Use the Dark-Light Device to reveal the missing painting on the room’s north wall, then straighten the painting to reveal Boo B. Trap.
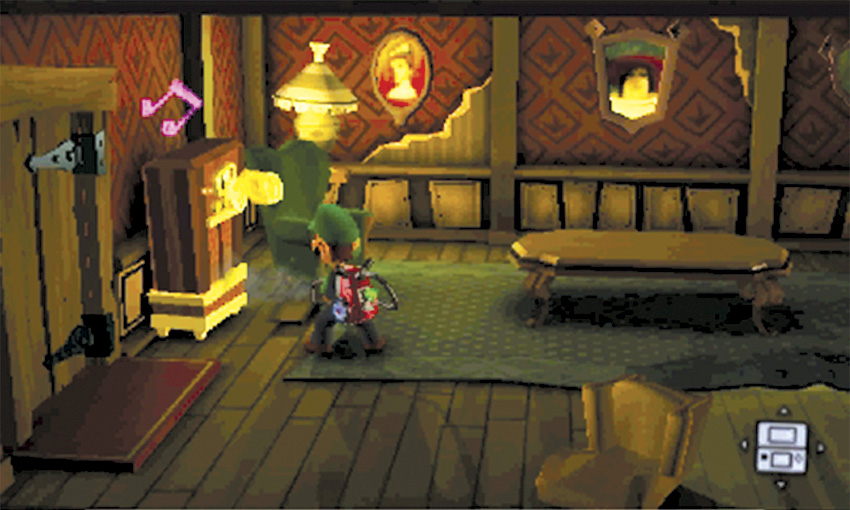
Search the room’s remaining objects, then vacuum the jukebox along the west wall until it ejects a small stash of treasure. When you’re ready, head through the nearby door to find the Solarium.
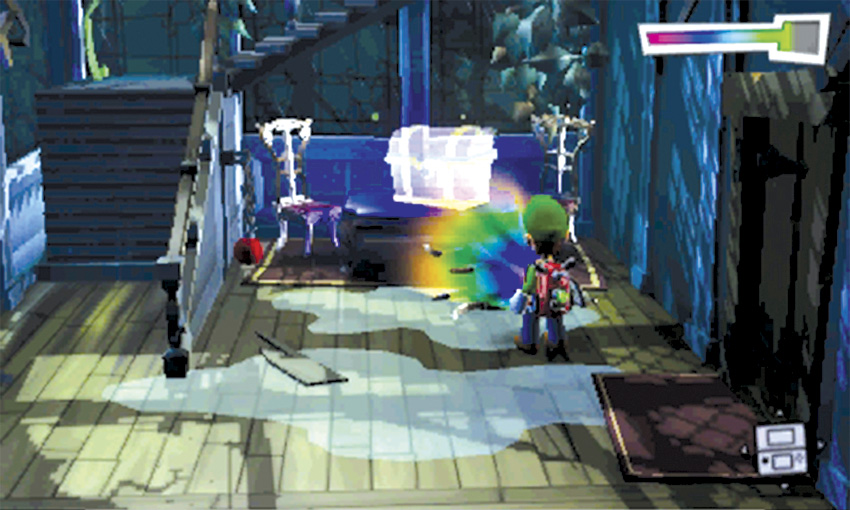
When you enter the Solarium, use the Dark-Light Device to reveal the hidden chest on the table. Open the chest to find the Spindle Emerald.
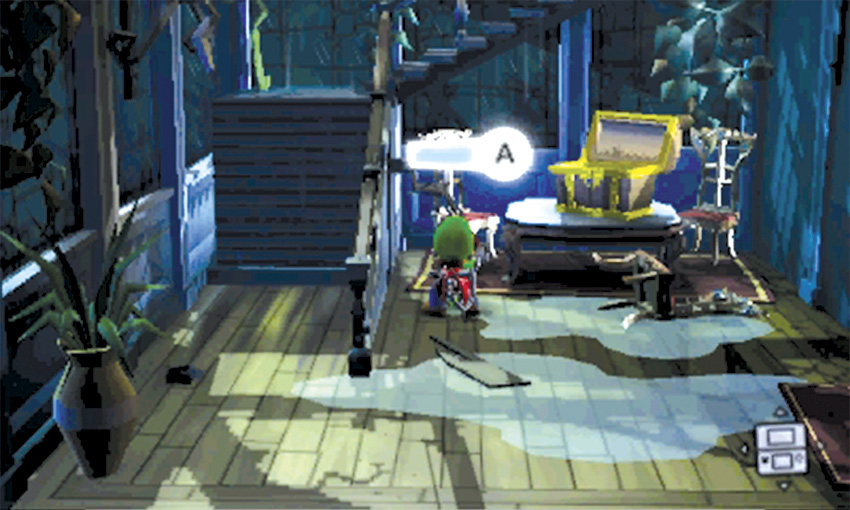
A-Pull the chain hanging from the guardrail to slide the first flight of stairs into place. When you’re ready, climb the stairs up to level F4.
Reach Level F5
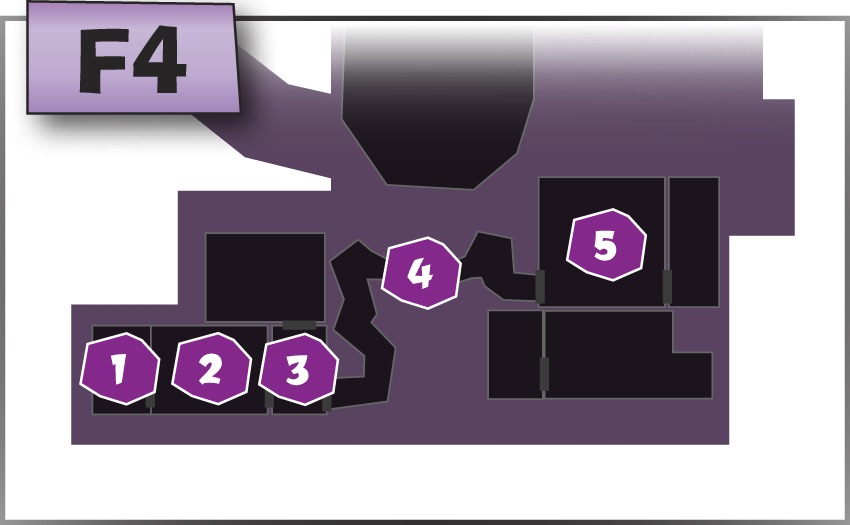
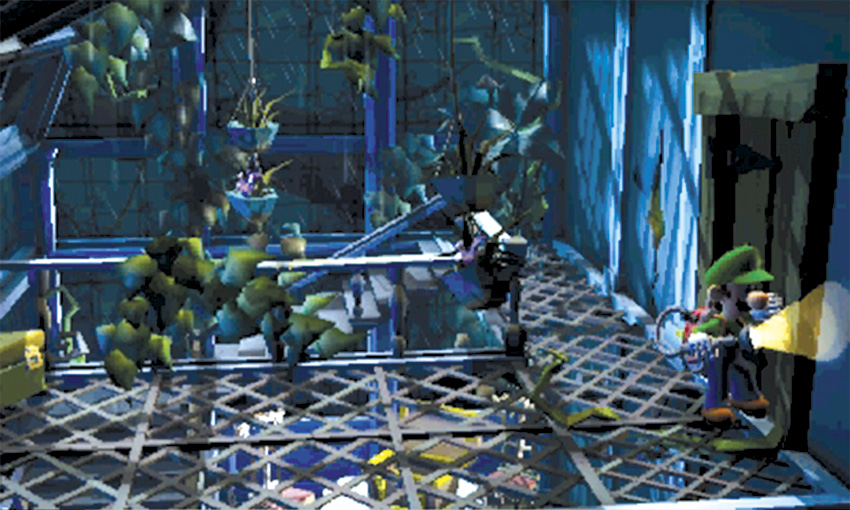
When you reach the top of the Solarium, use the hole near the door to peek into the West Bedroom. Check the toolbox in the southwest corner, then pass through the door.
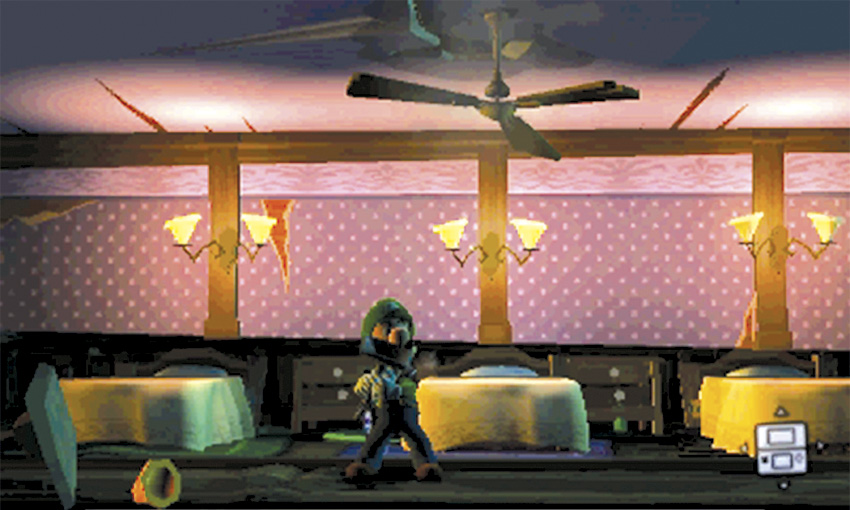
When you first enter the West Bedroom, it looks nothing like it did through the peephole. Use the Poltergust to spin the ceiling fan until the north wall drops back, revealing the rest of the room.
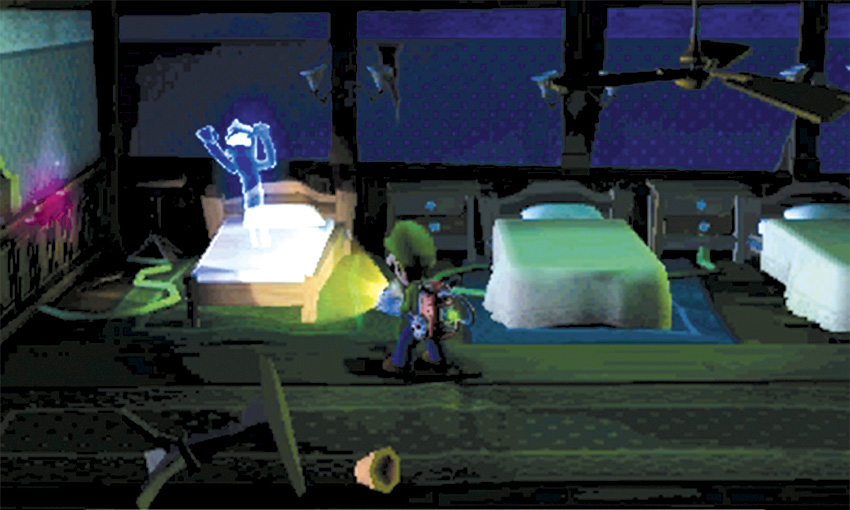
As the wall slides into place, a Hider takes cover in each of the room’s three beds. A-Pull the sheet from one bed, then capture the exposed Hider. When you do, the remaining ghosts peek out from their hiding spots and shuffle the beds in an effort to confuse you. As the beds flip around the room, you must keep track of which beds still contain Hiders.
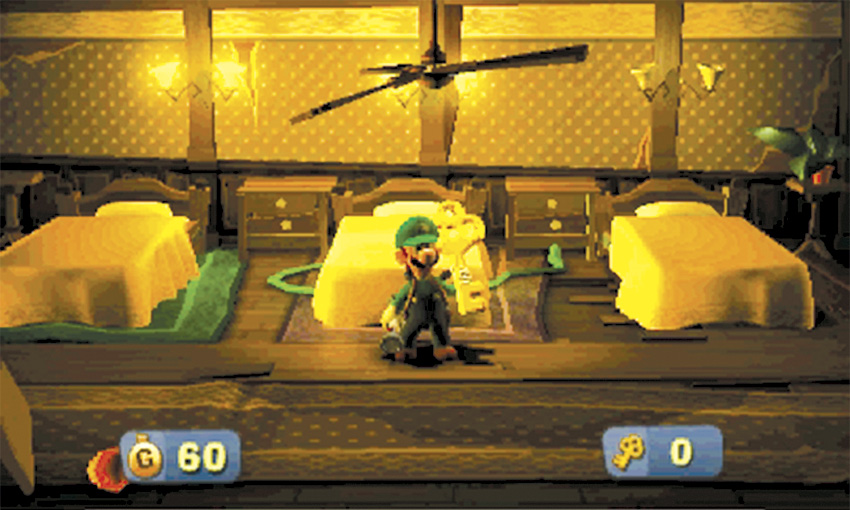
To make your choice, A-Pull the bed’s sheet. If you choose correctly, capture the exposed Hider. If you choose the wrong bed, the remaining Hiders show themselves and reshuffle the beds. Capture all three Hiders and collect the Key they leave behind. Search the room, then unlock the door to the right and continue to the West Hall.
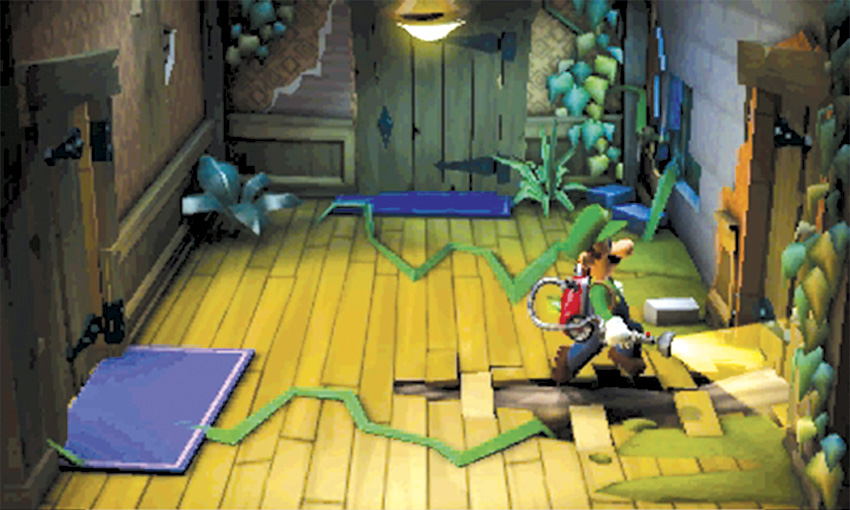
When you first arrive in the West Hall, the door to the West Bathroom is locked. You must return to this area after you locate another Key. Flash the spiders on the ceiling, then head through the door in the east wall to find the Crow’s Nest.
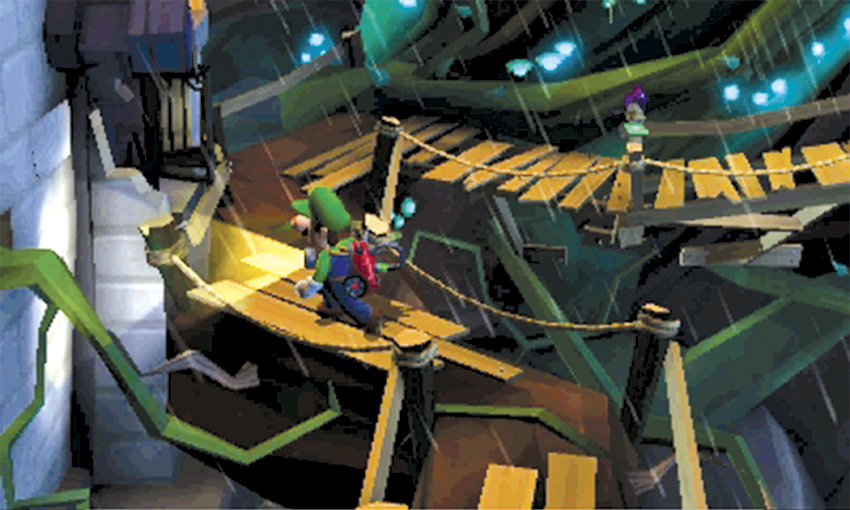
When you first enter the Crow’s nest, use the nearby window to peek into the West Bathroom. Follow the walkway as it weaves through the area, and use the Strobulb to flash any crows you see along the way. Pass through the door at the end of the walkway to enter the Conservatory.
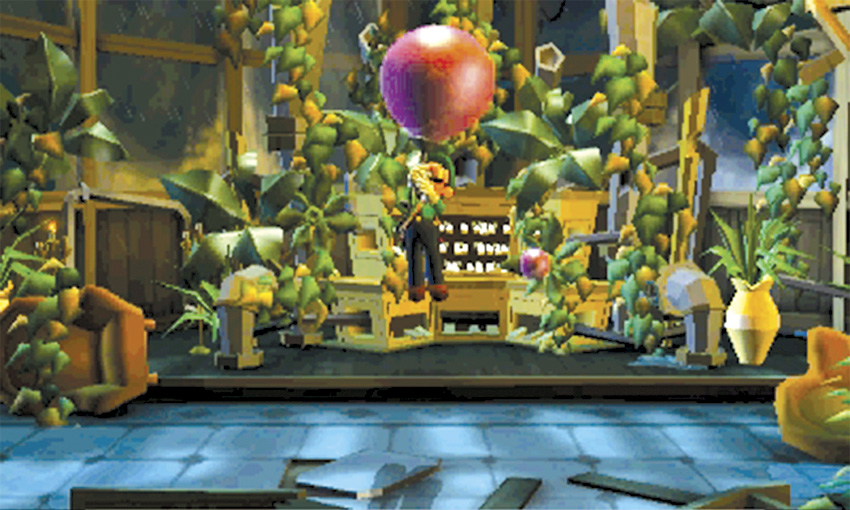
 Search behind the Conservatory’s pipe organ to collect some hidden treasure, then check the objects scattered around the room. When you’re ready, use one of the bulbs growing on the organ to float up to level F5.
Find a Key

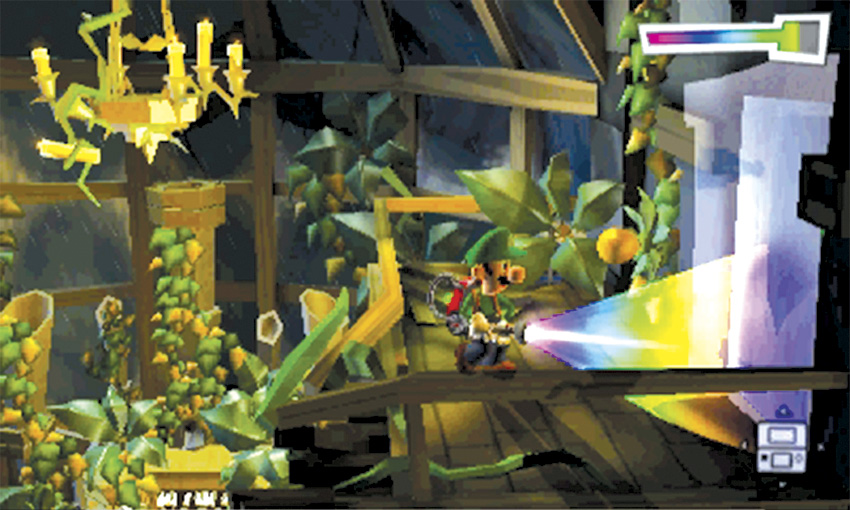
Touch down on the small platform on the room’s east side to find a gold bulb and a suspicious light-gray patch on the wall. Clear the Poltergust’s nozzle and use the Dark-Light Device to reveal the missing door. After you capture the Spirit Balls, open the door to find a bonus challenge.
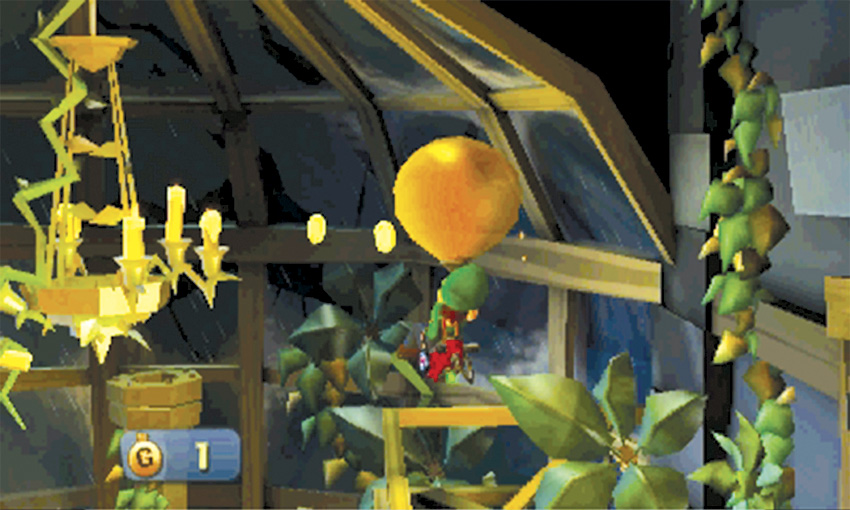
When you return to the Conservatory, vacuum the gold bulb to reveal a trail of coins. Collect all of the coins before they vanish to earn a chest full of treasure.
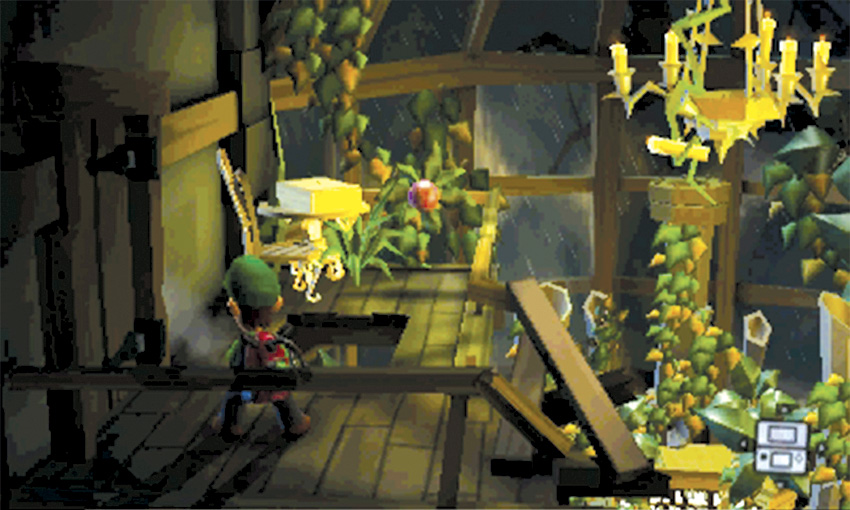
Use a fresh bulb to float back up to level F5, and touch down in the room’s west side. As you do, take care to avoid the hole hidden under the rug. Head through the nearby door to find the F5 level of the Crow’s Nest.
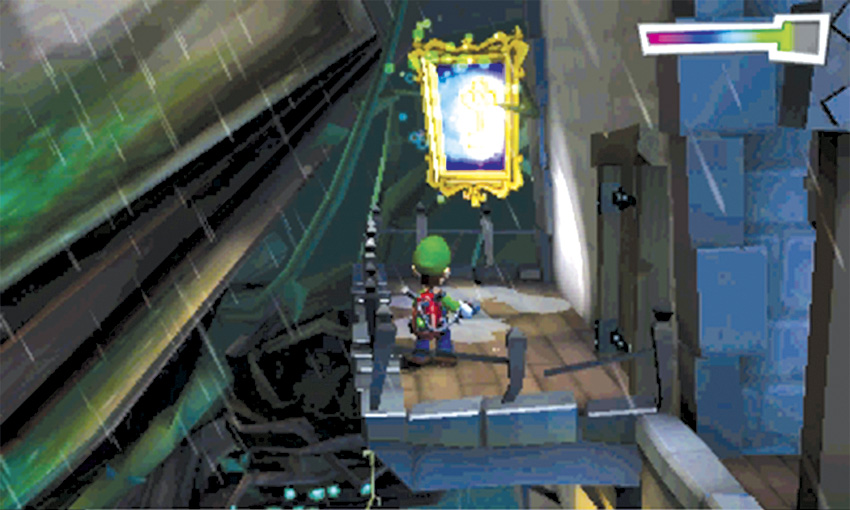
Use the Dark-Light Device to collect the Key from the framed sketch. You’re now ready to unlock the West Bathroom. Head back into the Conservatory and use a fresh bulb to float down to level F4. Make your way back through the Crow’s Nest and into the West Hall.
Reach the Rooftop Pool
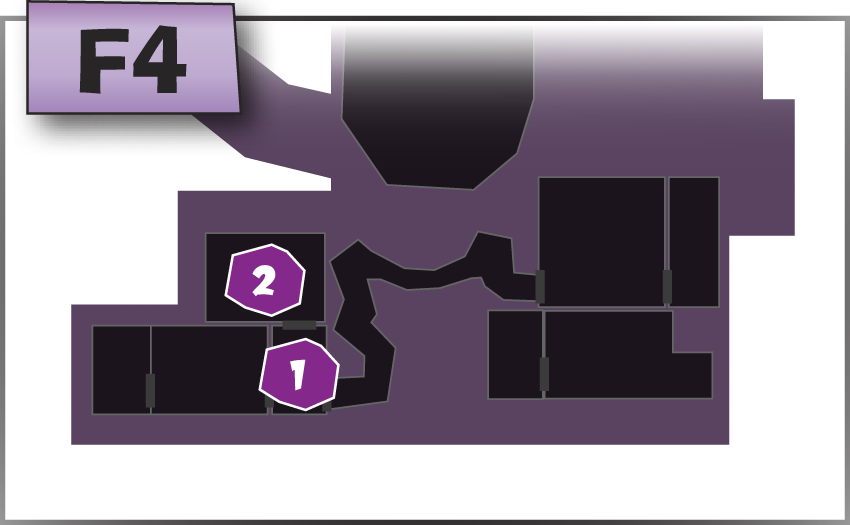
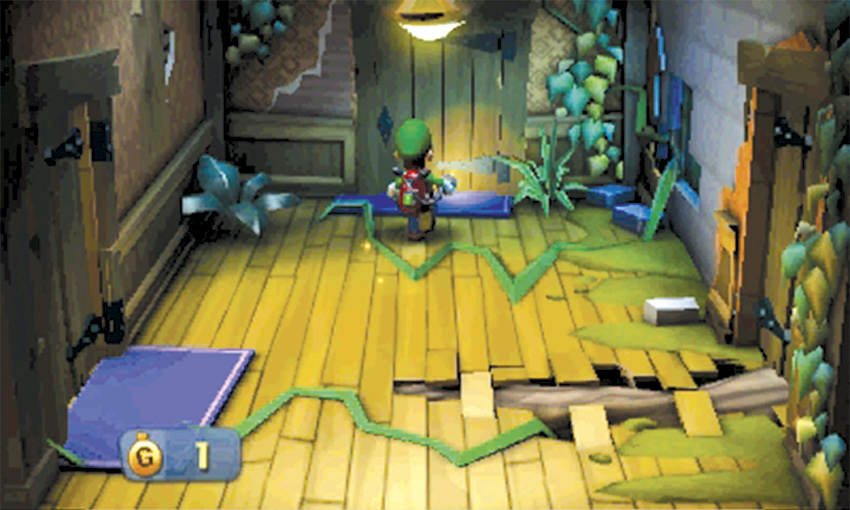
When you reach the West Hall, unlock the door on the north wall and enter the West Bathroom.
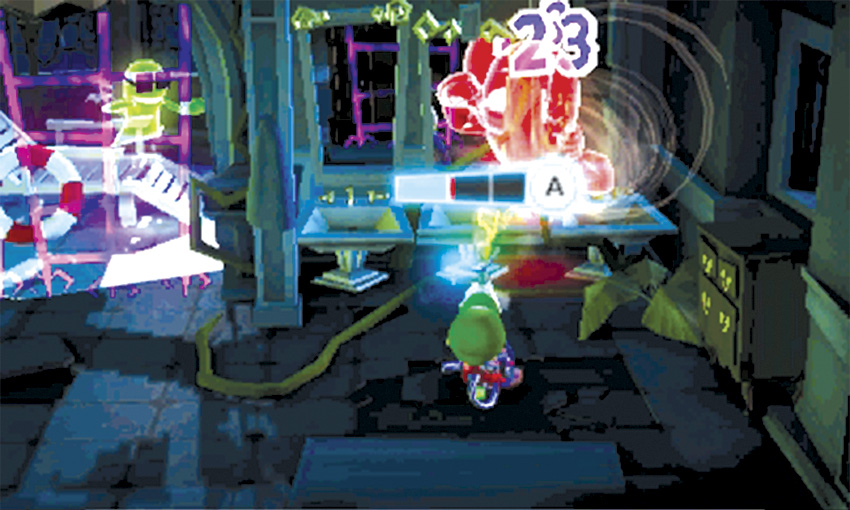
When you step into the West Bathroom, approach the sinks until a Slammer appears in the mirrors, then use the reflection to approximate the invisible enemy’s location. Flash the Strobulb to reveal the lurking Slammer, then latch on and capture it. As the Slammer struggles, two Greenies appear in the room. Dodge incoming attacks, but make sure you stay within the room’s east half.
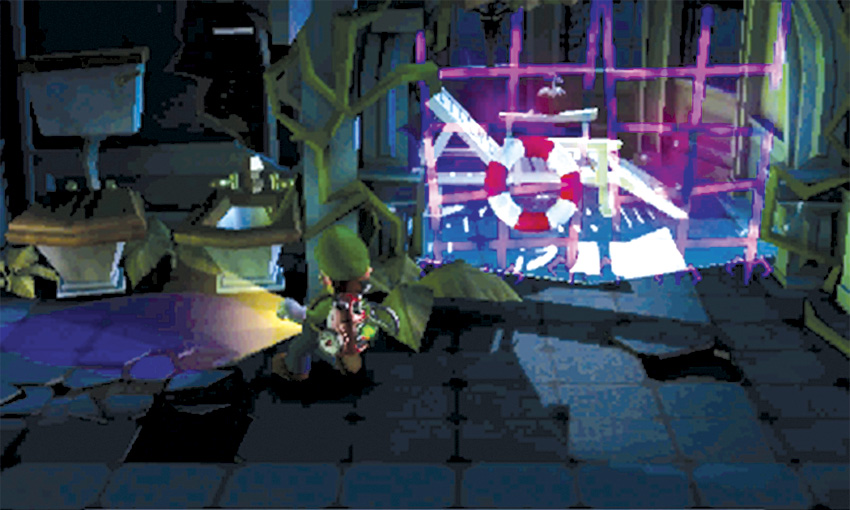
Once you clear out the first three ghosts, carefully approach the toilet near the room’s northwest corner. Shine the Dark-Light Device on the purple puddle to reveal a hidden Creeper. When the ghost shows itself, flash it with the Strobulb and capture it with an A-Pull.
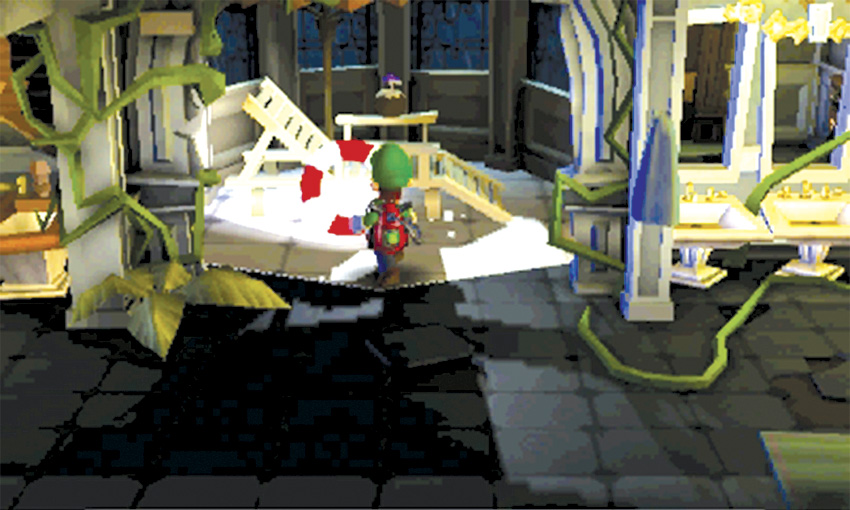
Search the objects throughout the West Bathroom, and A-Pull the towel and the toilet paper near the west wall. When you’re ready, climb onto the patio lounge and ride up to the Rooftop Pool.
Find the Special Key

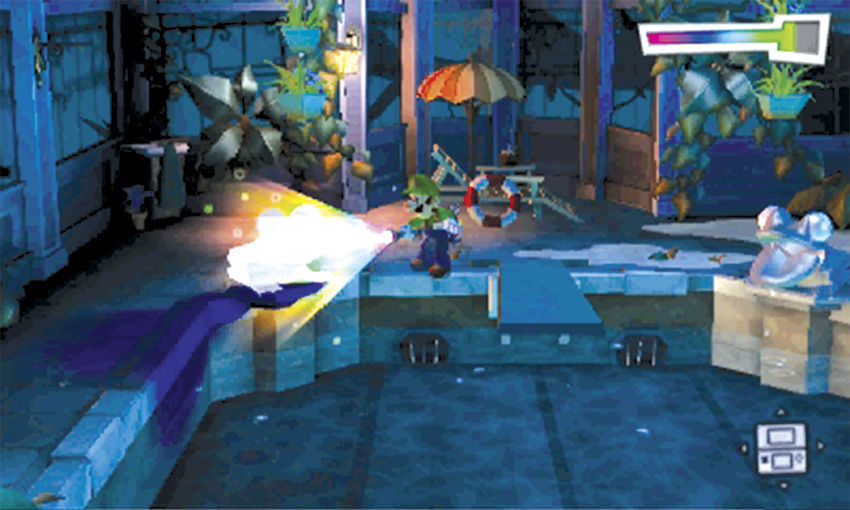
When you reach the Rooftop Pool, use the Dark-Light Device to reveal the missing statue at the water’s northwest corner.
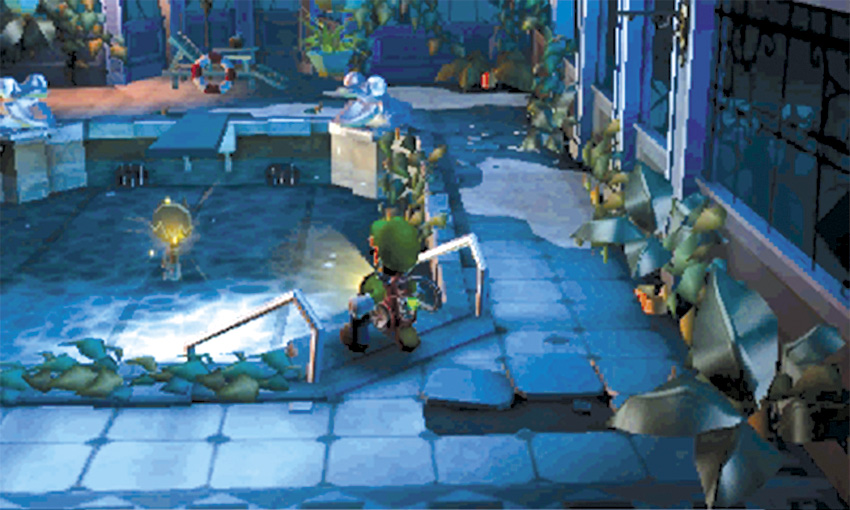
After you capture the Spirit Balls, the newly revealed statue spits the Special Key into the water. Search the objects around the room’s perimeter, then head down the steps and collect the Special Key to trigger a short cinematic.
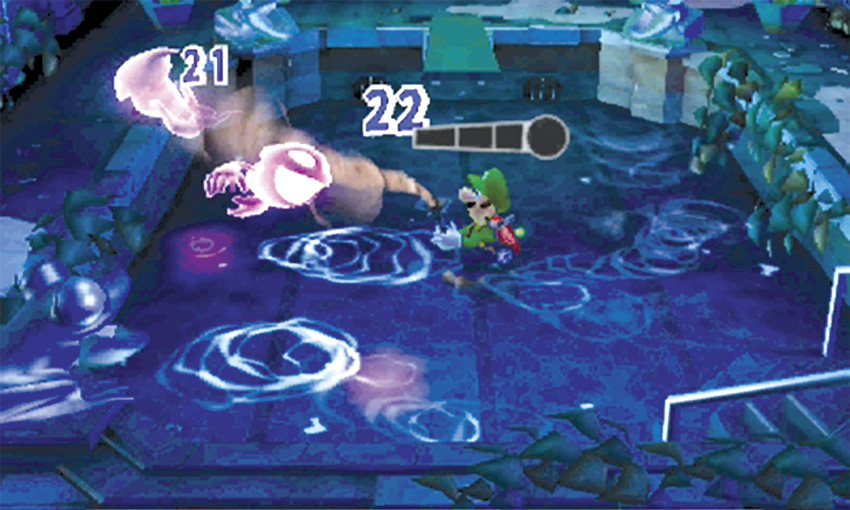
A Sneaker appears, snatches the Special Key away from you, and vanishes. Stand in the center of the pool and watch for signs of movement. As the Sneaker floats through the area, it creates ripples in the water. Once you pinpoint its location, flash it with the Strobulb and latch on with the Poltergust. When you capture the first ghost, three more Sneakers appear in the pool.
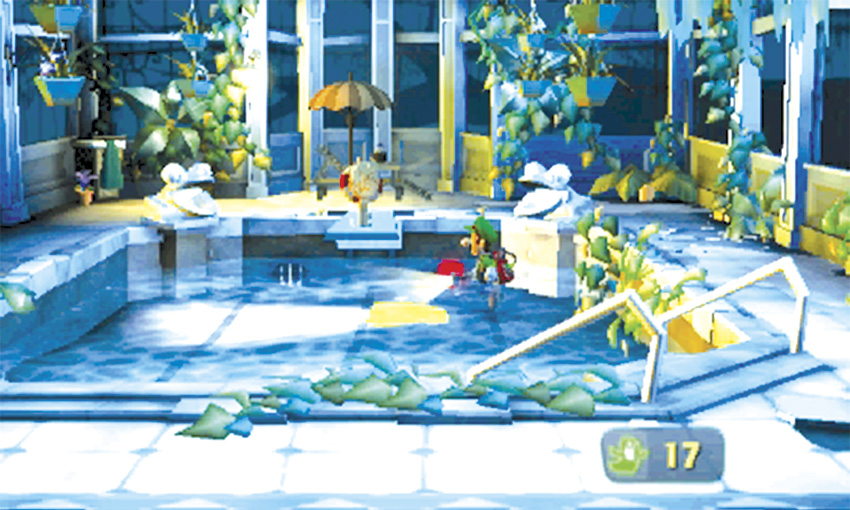
Dealing with multiple Sneakers can be very difficult, so keep a close eye on the water. If an untethered Sneaker moves too close, release your target and move to a safer area. When you capture all of the Sneakers, the Special Key appears on the diving board. Collect the Special Key to trigger a cinematic, then answer the Duel Scream to complete the mission and return to the Bunker.
B-5 Doggone Key
Follow the Trail to the East Tower
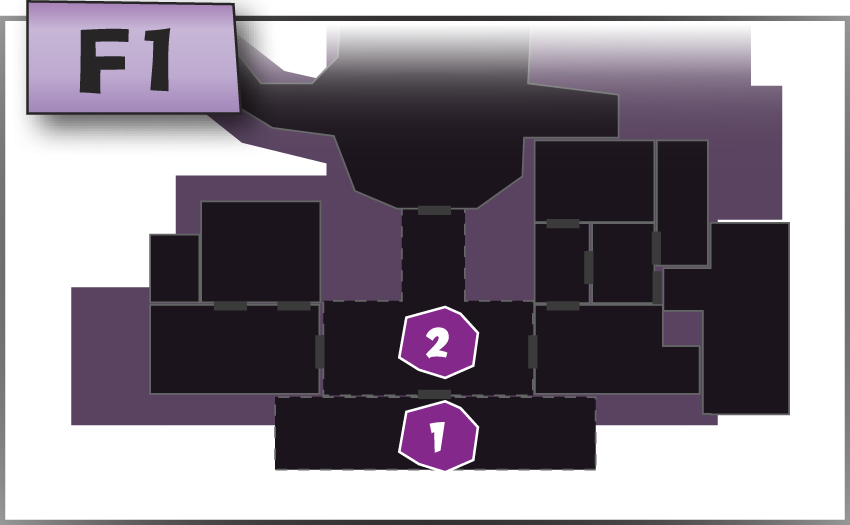
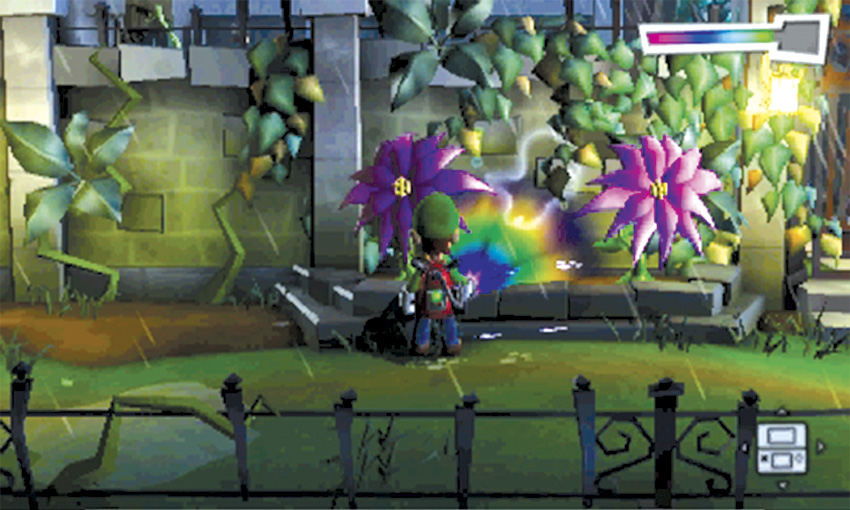
When the mission starts, the Polterpup leaps through the wall at the north edge of the Haunted Tower Entrance. Use the Dark-Light Device to reveal the Polterpup’s trail, then search the rest of the area.
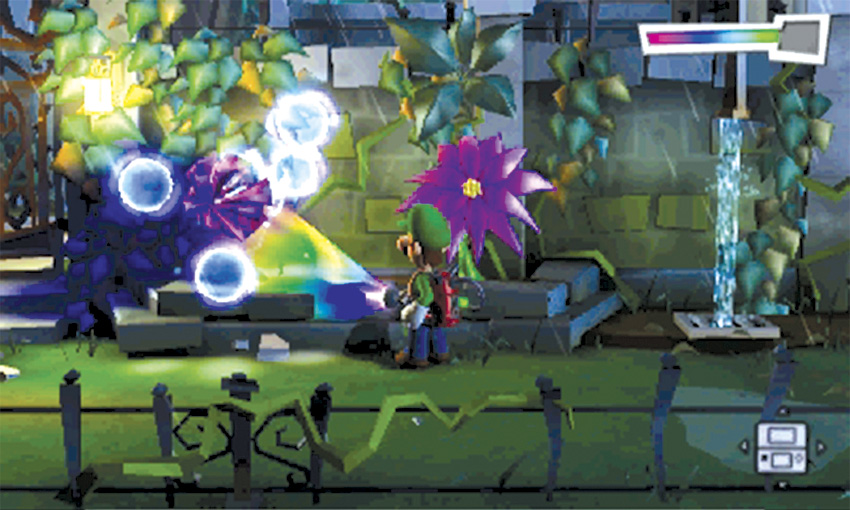
Use the Dark-Light Device to reveal the missing flower in the eastern flower bed. After you capture the Spirit Balls, flash the purple flower and collect the resulting treasure. Search the nearby tree to coax a gold frog out of hiding. Flash the frog, then head through the gate and enter the Courtyard.
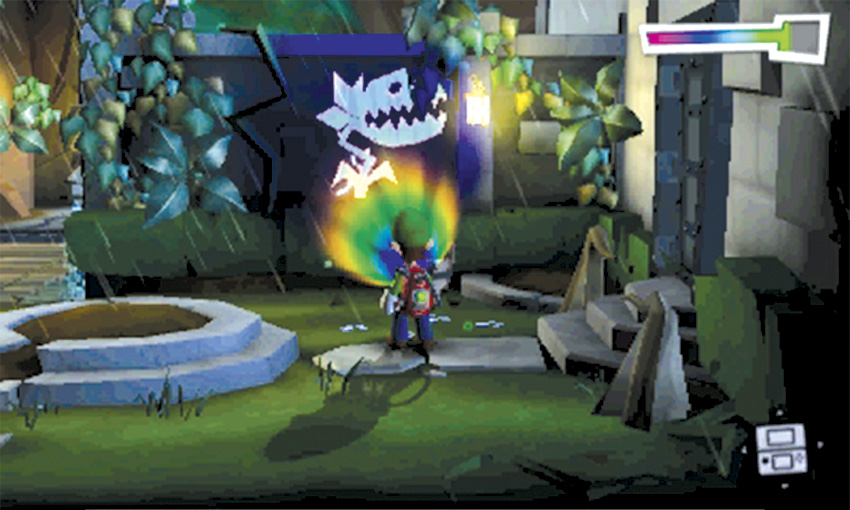
When you enter the Courtyard, the Polterpup disappears into the east tower. Before you follow, step on the pressure switch near the area’s east edge. Use the Dark-Light Device to reveal the cardboard flytrap on the north wall.
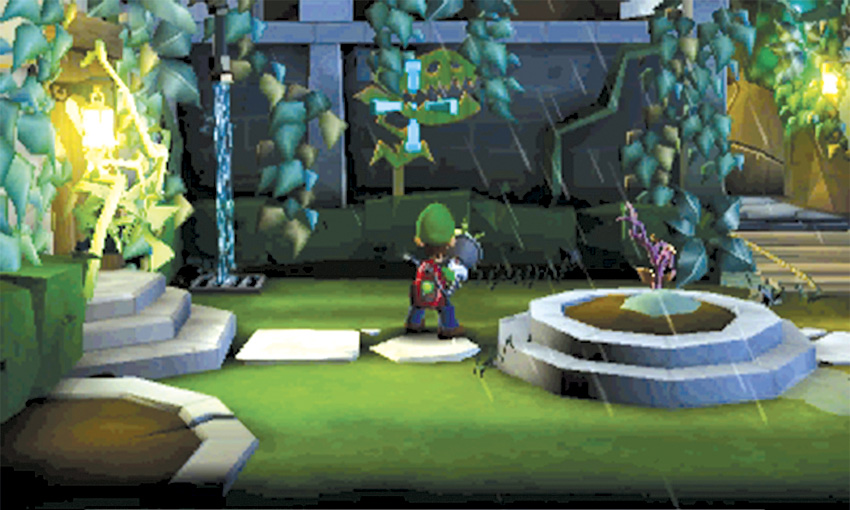
After you capture the Spirit Balls, move to the west half of the Courtyard. Grab a seed pod from the gnarled plant and step on the nearby pressure switch. Shoot the cardboard flytrap on the west side of the area, then repeat the process on the area’s east side to destroy the remaining cardboard flytrap.
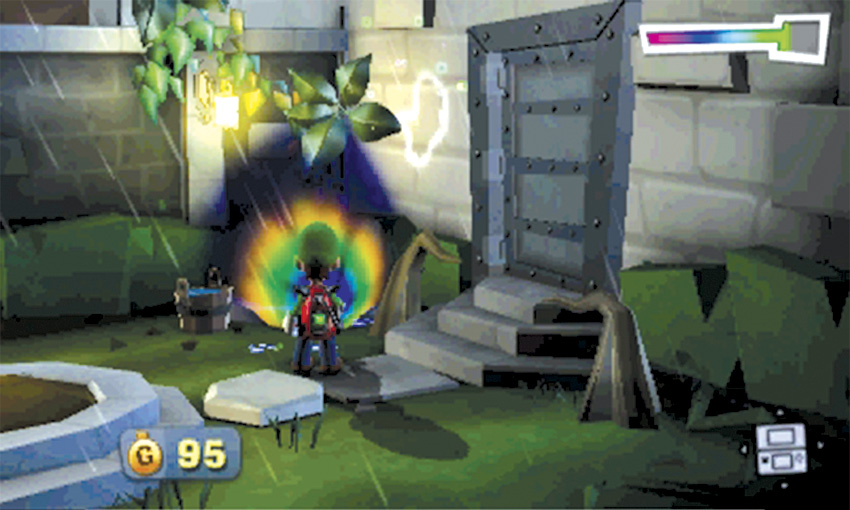
Complete your search of the area, then follow the Polterpup’s trail into the east tower.
Follow the Trail to the Tool Shed
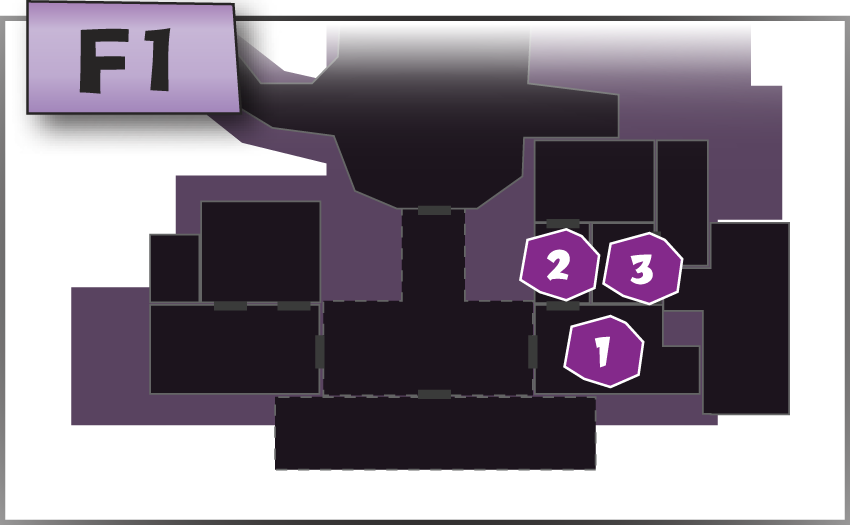
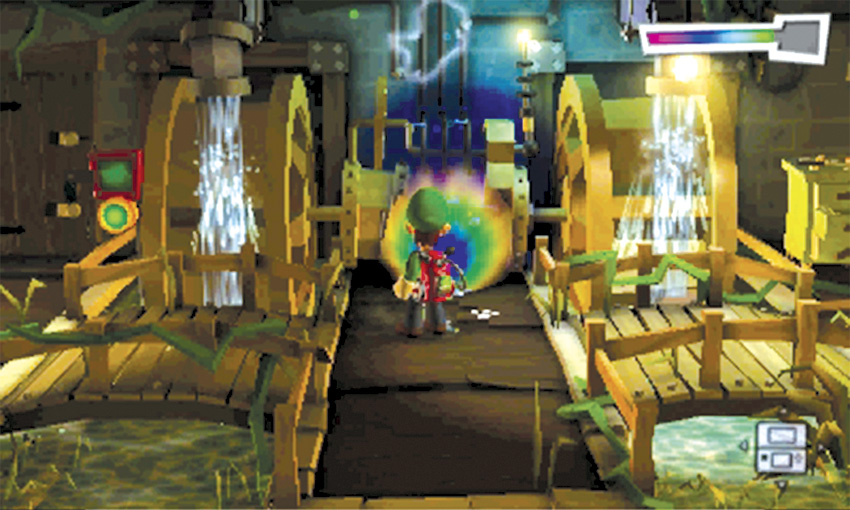
The Polterpup’s trail runs through the Hydro Generator area, ending at the north wall, just above the machinery. Search the objects scattered around the room, then head through the door in the northwest corner to enter the East Hall.
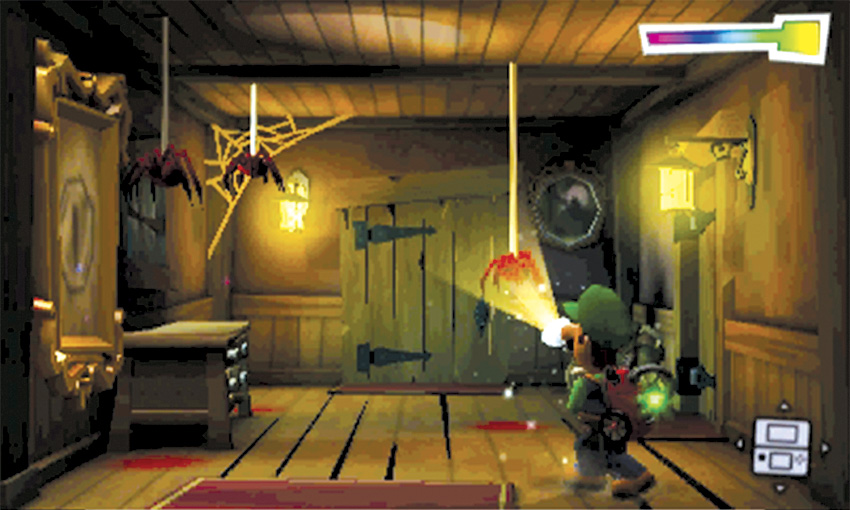
Flash the spiders in the East Hall, use the Dark-Light Device to draw the treasure from the framed sketch, and search the remaining objects. When you’re ready, head through the door in the east wall to pick up the Polterpup’s trail in the Tool Shed.
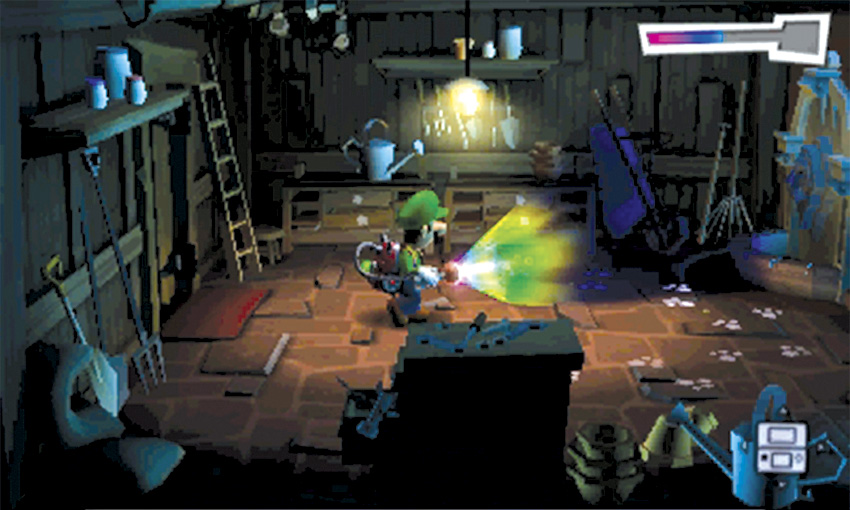
The trail curves along the edge of the Tool Shed, ending at the drawers along the north wall. Search the drawers to draw the Polterpup out of hiding. Check the remaining objects, then use the door in the southeast corner to follow the Polterpup into the Garden.
Follow the Trail to Level F2
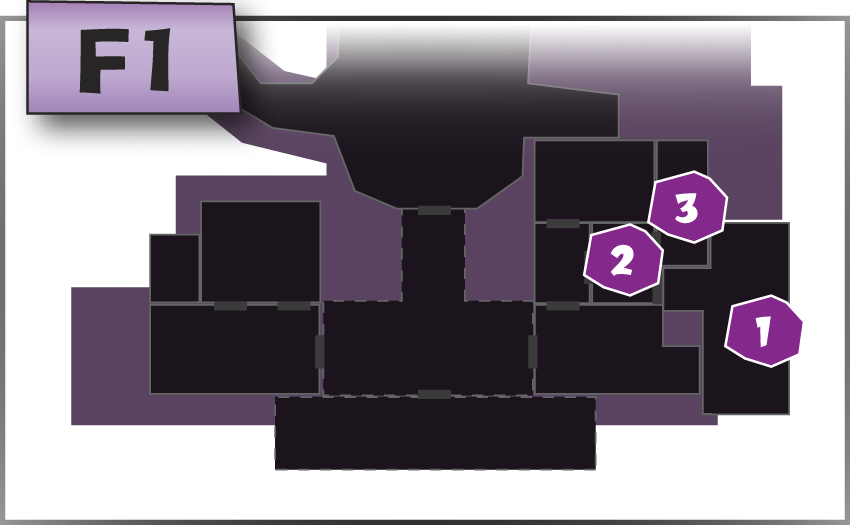
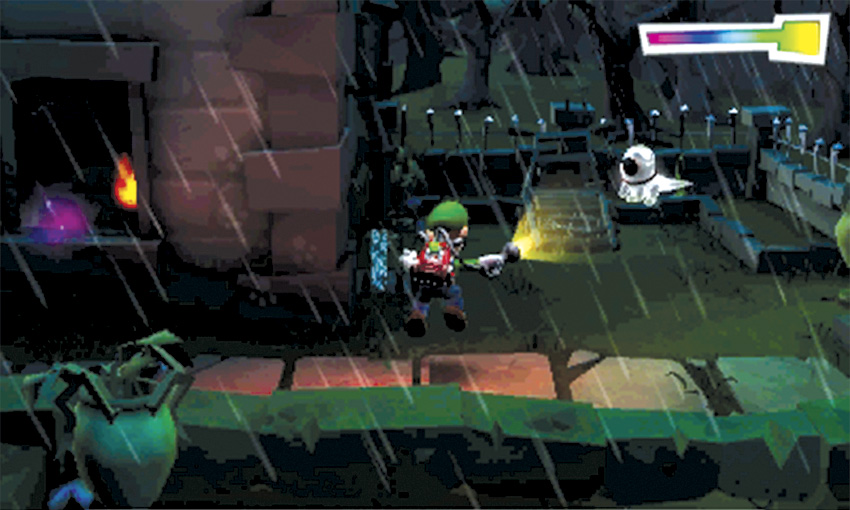
When you find the Polterpup in the Garden, it starts the mower and leaps back through the wall. Before you follow it, take a moment to search the Garden.
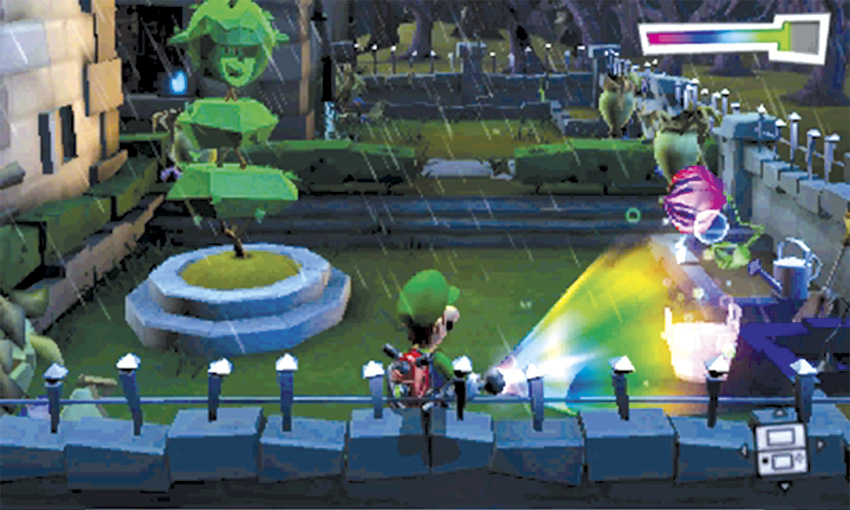
Use the Dark-Light Device to reveal the bucket in the garden’s southeast corner, then fill the bucket at the pipe to the north. Water the sprouts planted along the Garden’s perimeter, and flash the resulting purple flowers.
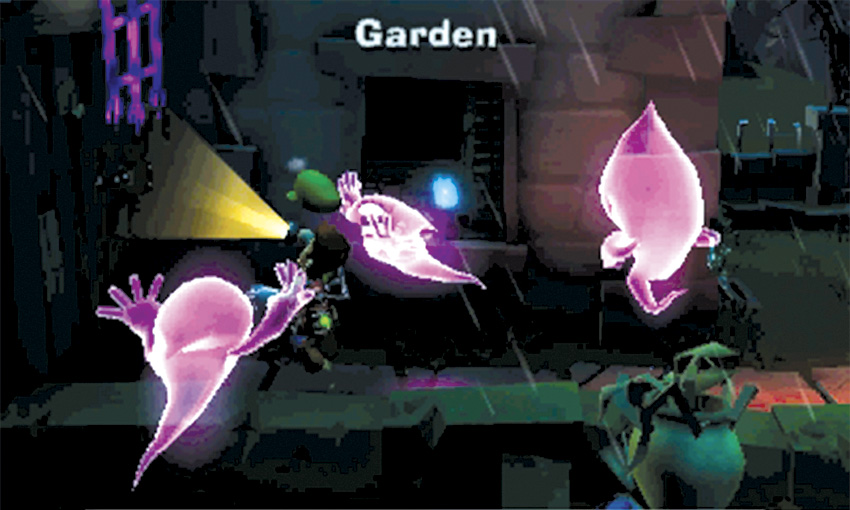
When you’re finished searching the Garden, peek through the window to see the Polterpup playing in the Toolshed Stairs. When you attempt to use the nearby door, three Sneakers spring an ambush.
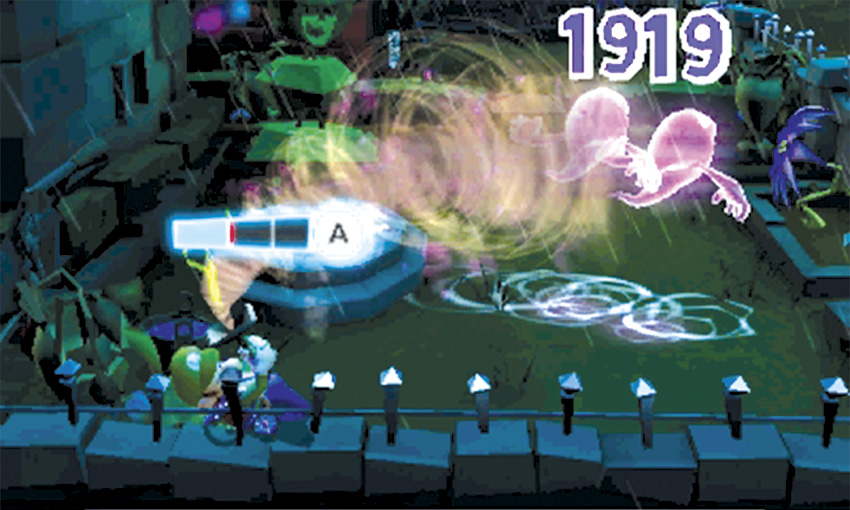
Run down to the south half of the Garden and take cover behind the tree sculpture. When they Sneakers approach you, they create ripples in the thin layer of water. Flash these unsuspecting attackers as they move into range. After you capture all three Sneakers, leave the Garden and return to the Tool Shed.
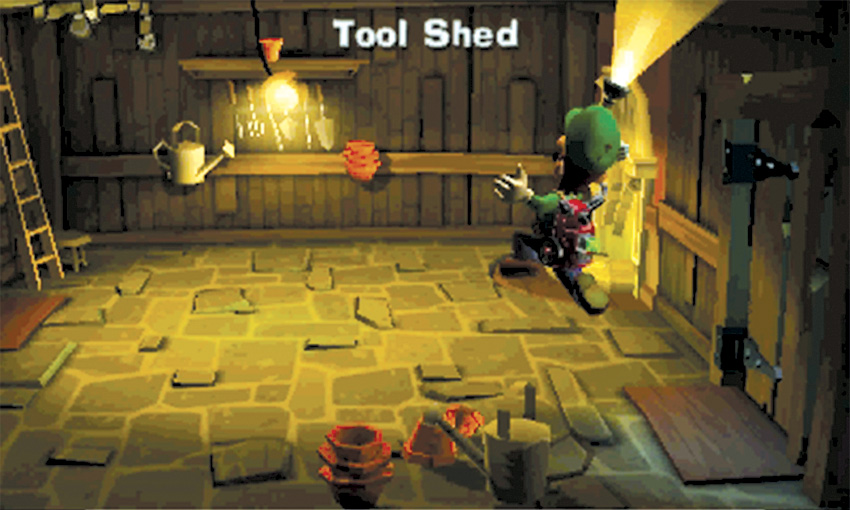
When you return to the Tool Shed, most of the furniture has vanished! Use the Dark-Light Device to reveal all of the hidden objects.
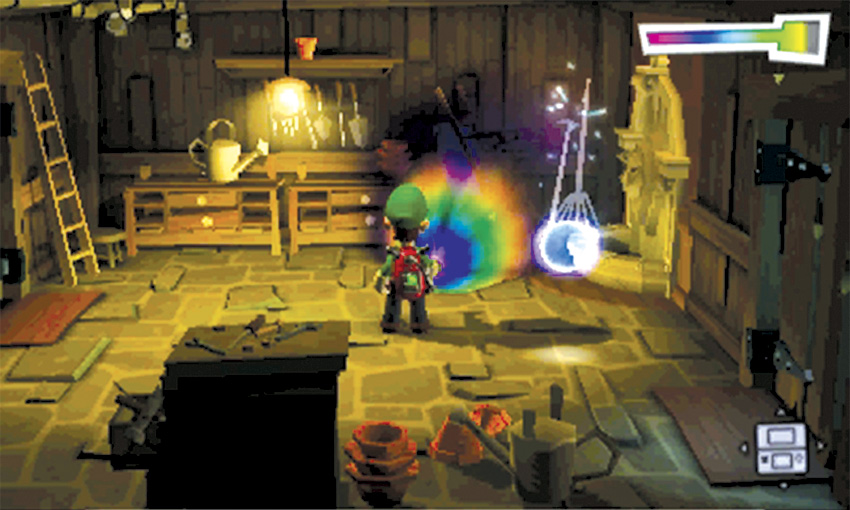
Reveal the tool chest in the foreground, then reveal the drawers, the wheelbarrow, and the garden tools along the north wall. Once all of the missing objects are back in place, French Boodle appears. After you capture the Boo, examine the fountain in the northeast corner to enter the Toolshed Stairs.
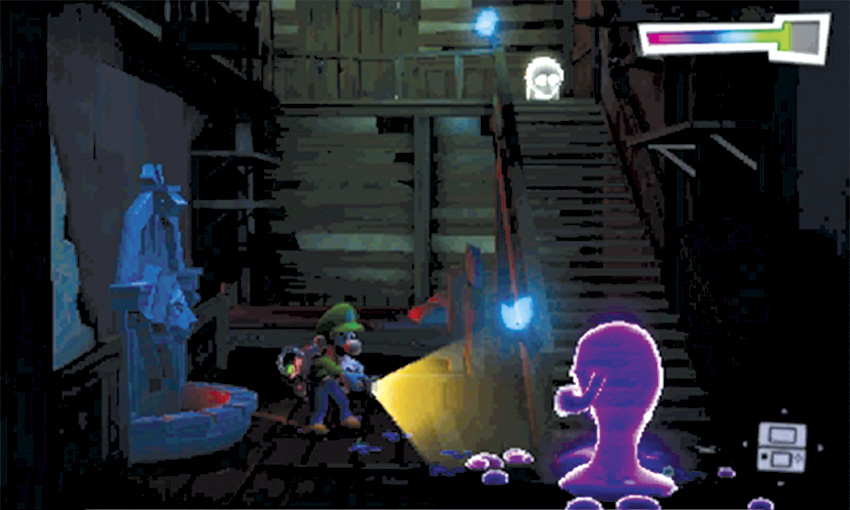
When you enter the Toolshed Stairs, the Polterpup runs up the stairs. Before you follow, use the Dark-Light Device to reveal the Creeper hiding in the room’s southeast corner. Capture the enemy when it shows itself, then head upstairs to track down the Polterpup.
Follow the Trail to Level F3

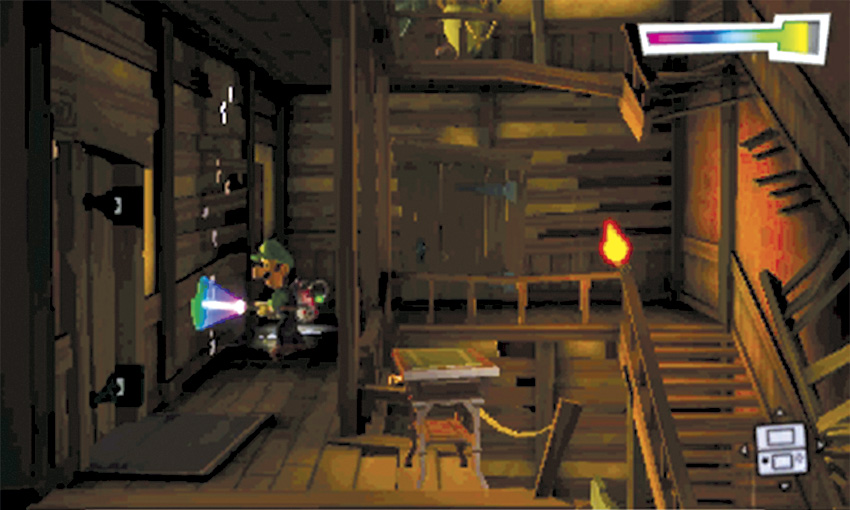
When you reach level F2, avoid the false door on the north wall. The Polterpup’s trail leads straight up to level F3. Search the table in the foreground, then use the door in the southwest corner to enter the Botany Lab.
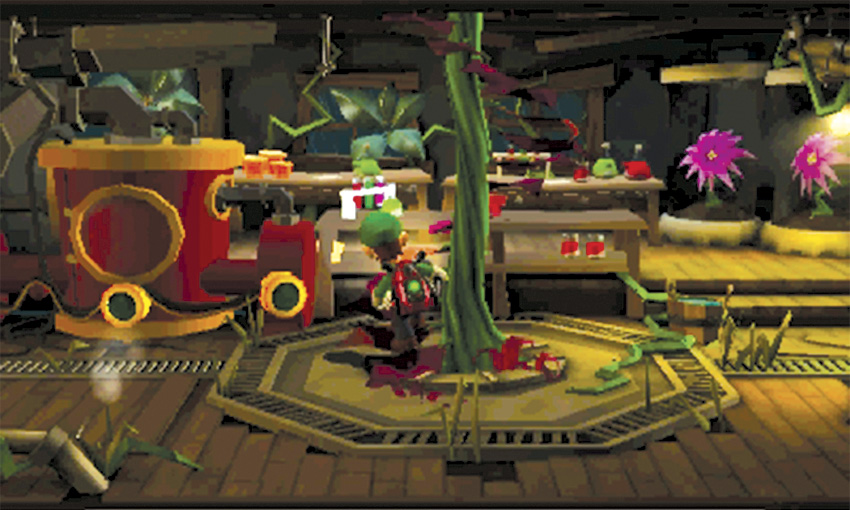
If you’ve already collected the Football Emerald from the Botany Lab, there’s no need to use the water pump. Search the area for treasure, then use the stalk to climb to the Seedling Laboratory.
Follow the Trail to Level F4

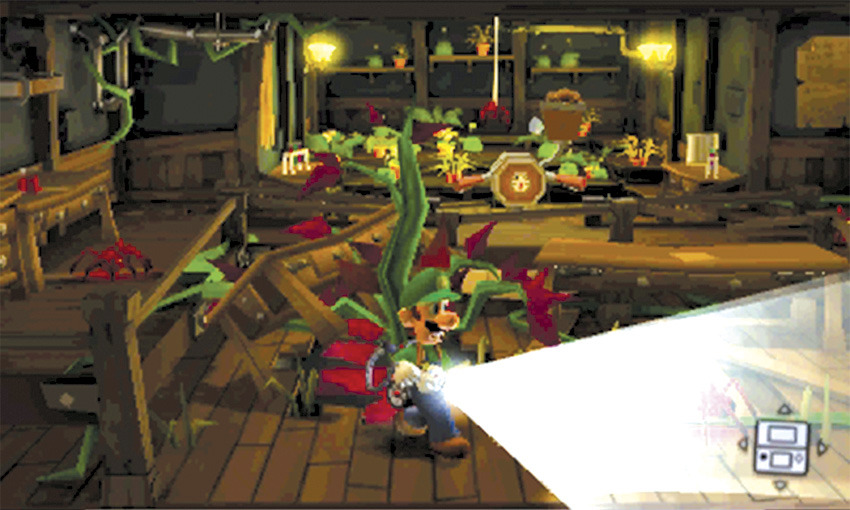
When you reach the Seedling Laboratory, use the Strobulb to clear the spiders from the room. Search the area for treasure, then head through the door to enter the Toolshed Stairs’ F3 level.
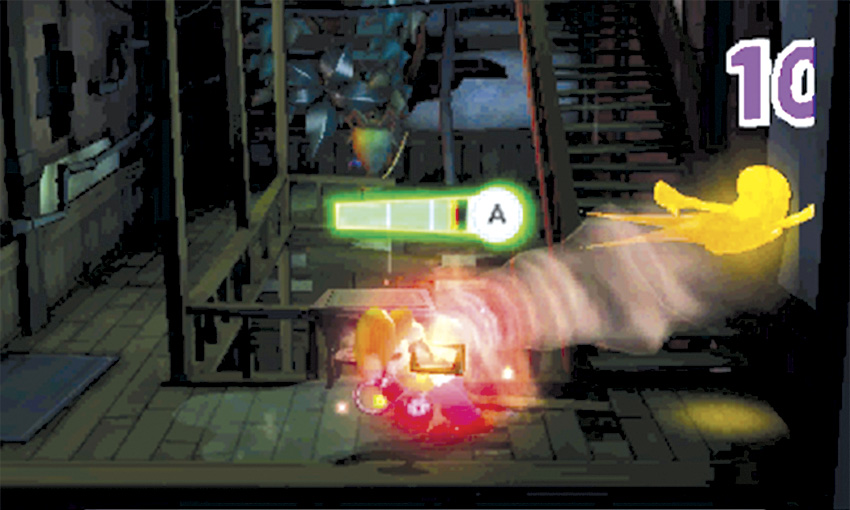
When you step into the Toolshed Stairs, the Polterpup jumps through the wall. If you follow the trail back into the Seedling Laboratory, you’ll see it leads up to level F4. Before you leave the area, fire up the Poltergust to attract nearby bats. Flash the pests as they fly into range, then search the table by the stairs to find a Gold Greenie. After you capture the fleeing ghost, collect the treasure and head upstairs.
Find the Polterpup in the Conservatory
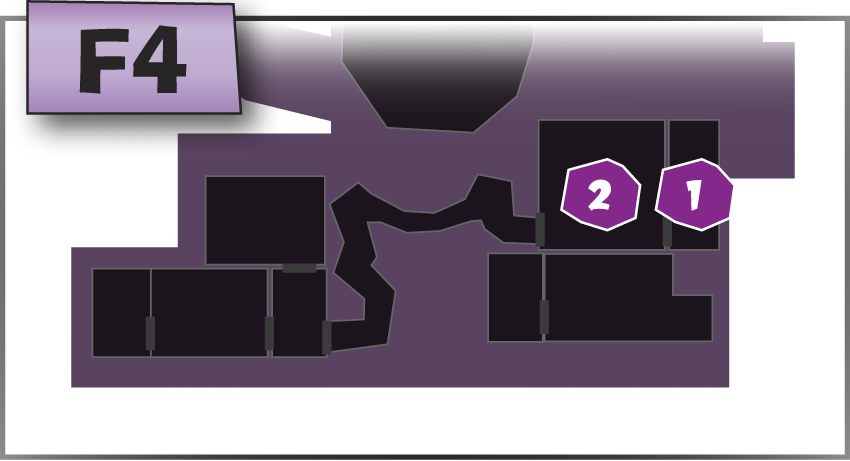
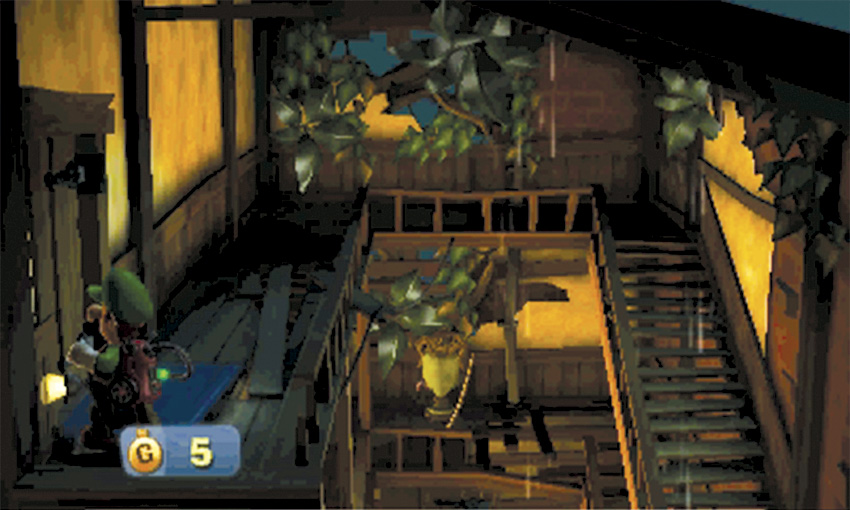
When you reach the top of the Toolshed Stairs, flash any remaining bats, then head through the door to enter the Conservatory.
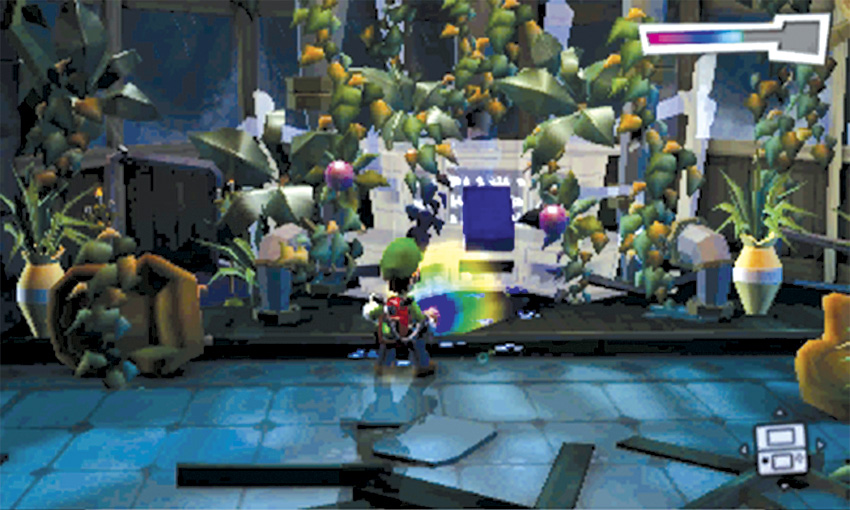
When you enter the Conservatory, the Polterpup’s trail leads to the north. Use the Dark-Light Device to reveal the missing pipe organ, then vacuum the sheet music from the instrument.
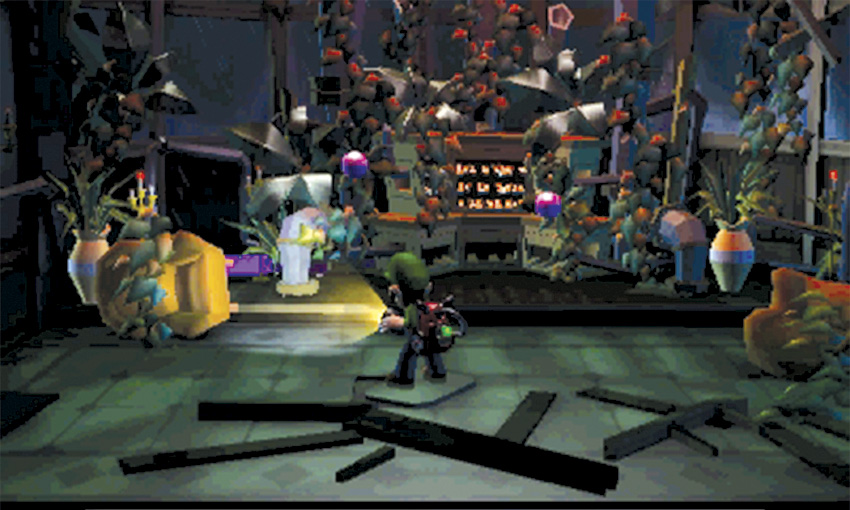
Use the Dark-Light Device to reveal the Creeper hiding near the room’s northwest corner. Capture the Creeper to clear the path along the north wall, then play the pipe organ to reveal the Polterpup.
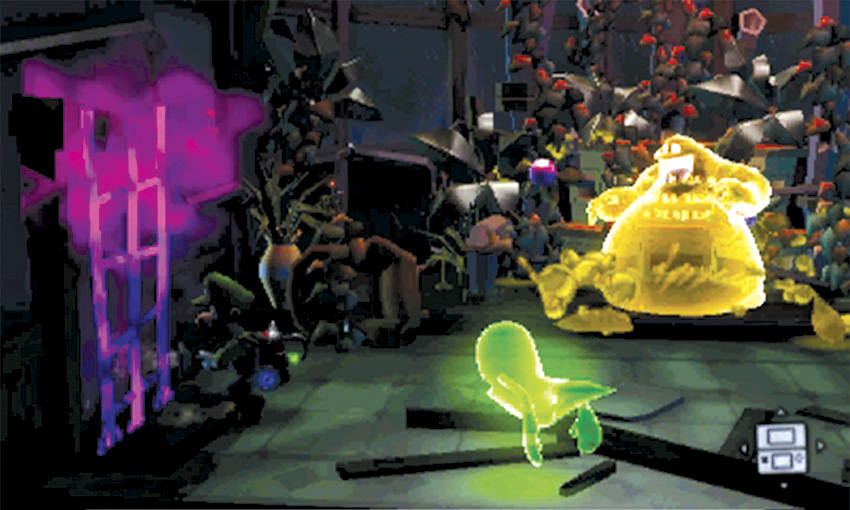
Follow the Polterpup behind the organ and wait for it to leave the area. When you attempt to follow, a Gobber and three Greenies appear in the room. Clear all of the enemies in the area, then continue out to the Crow’s Nest and pick up the Polterpup’s trail.
Capture the Polterpup
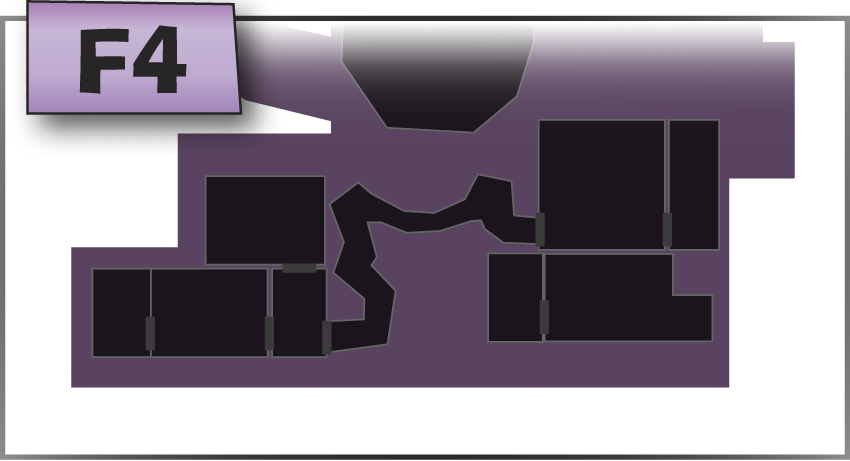
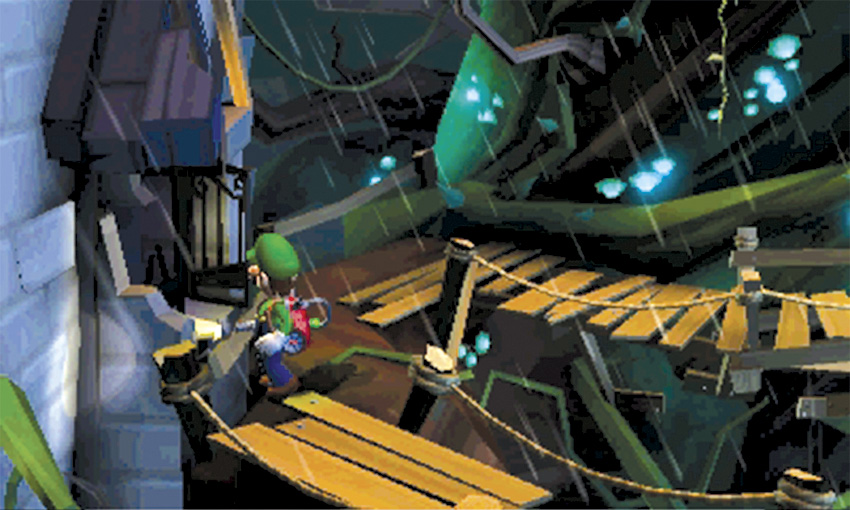
Follow the walkway through the Crow’s nest. When you approach the end of the walkway, peek into the window to spot the Polterpup in the West Bathroom. When you’re ready, follow the path into the West Hall.
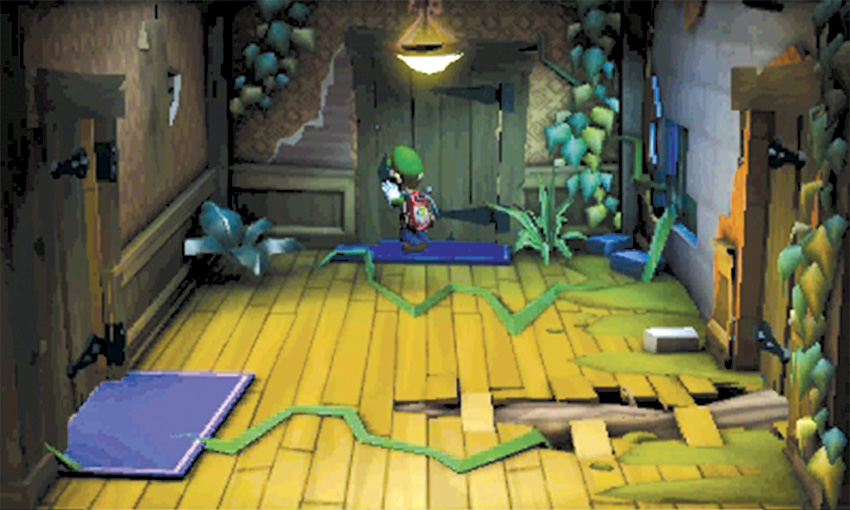
When you arrive in the West Hall, there aren’t any ghosts in the area. Use the door on the north wall to enter the West Bathroom.
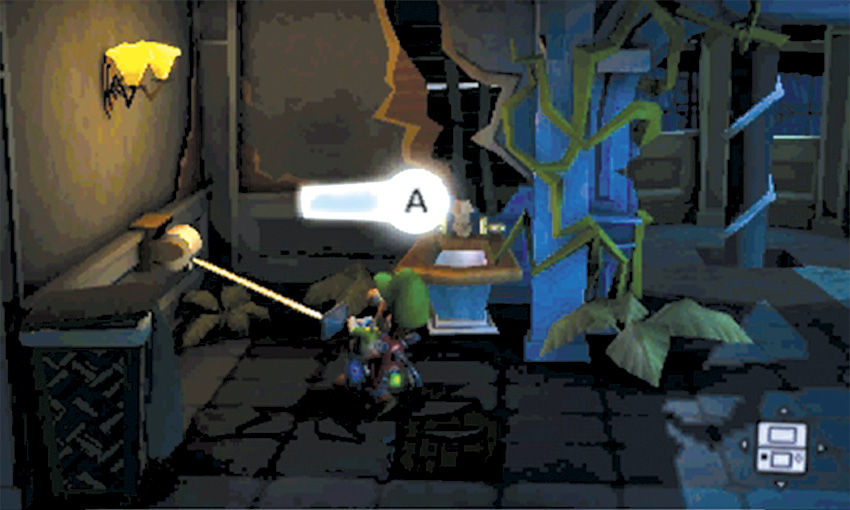
When the Polterpup spots you, it leaps out of view and hides somewhere in the area. As you search the room, A-Pull the toilet paper on the west wall to find the Mushroom Emerald.
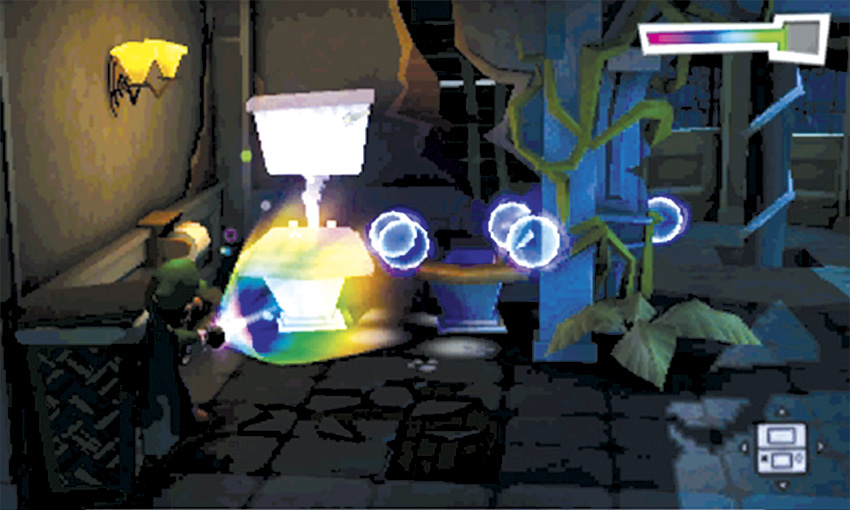
Use the Dark-Light Device to reveal the missing toilet, then open the lid to find a hidden treasure stash.
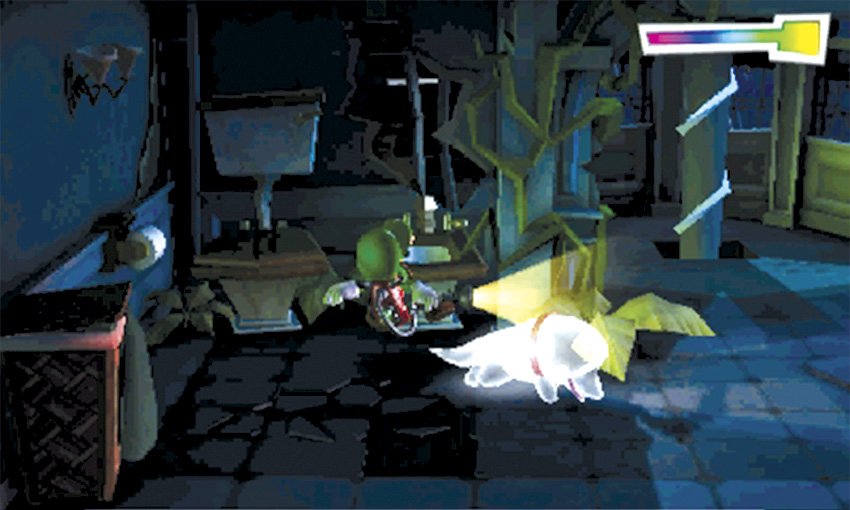
When you’re ready, check the bidet near the toilet. The Polterpup knocks you to the ground and jumps through the wall. After you recover, head for the West Bedroom.
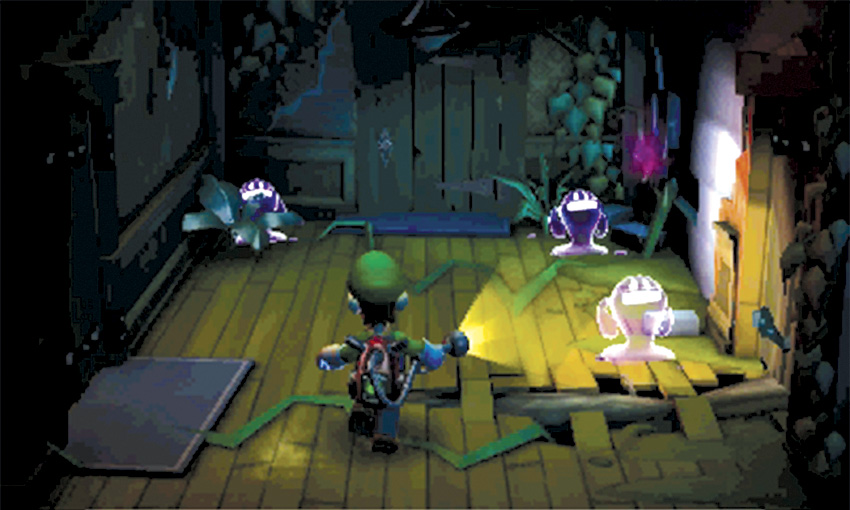
When you step out of the West Bathroom, you find that three tiny Creepers have appeared in the West Hall. Run to the far end of the room, and charge the Strobulb while the miniature enemies follow you. As they move closer together, release the flash to clear the room with a single shot. When you’re ready, use the door to the left to enter the West Bedroom.
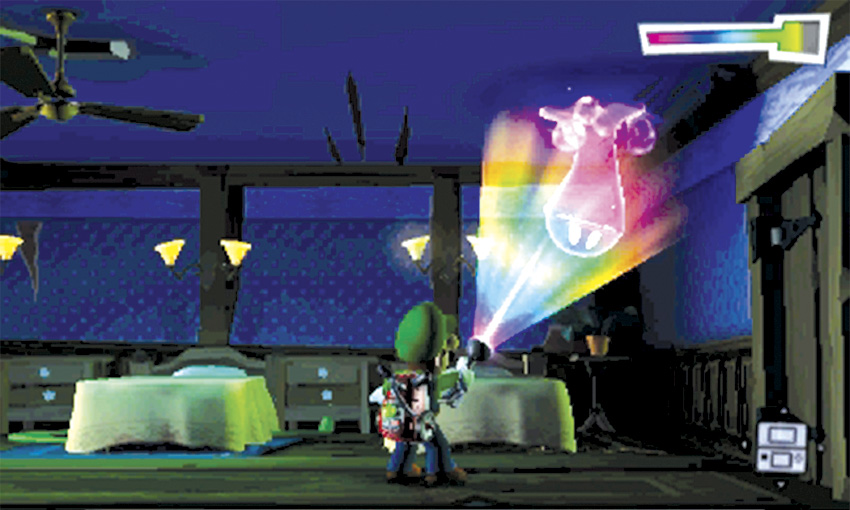
As you step into the West Bedroom, look for the purple stain on the ceiling. Move into the room without stepping under this hidden Creeper, then use the Dark-Light Device to force the ghost into the open. After you capture the Creeper, search the area for hidden treasure.
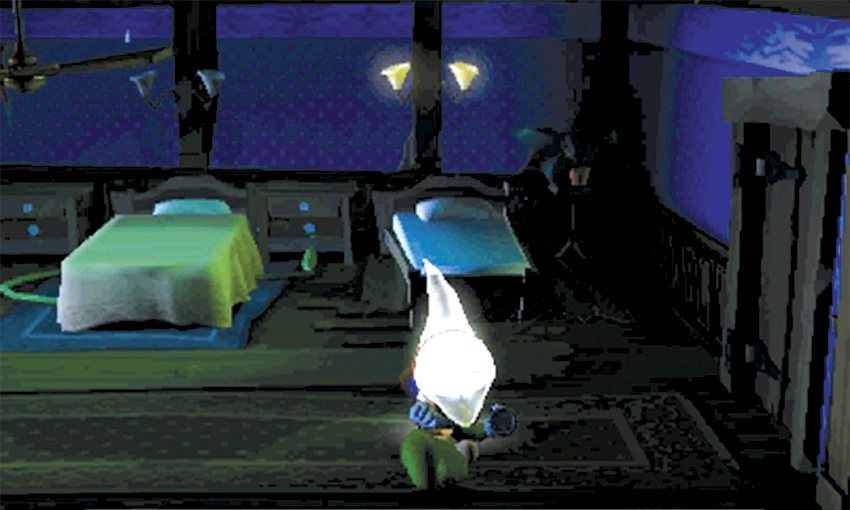
When you’re ready, use the Dark-Light Device to pick up the Polterpup’s trail. When you reach the end of the trail, A-Pull the sheets from the indicated bed. Once again, the Polterpup knocks you to the ground. This time, however, the Polterpup stays nearby as you get back to your feet.
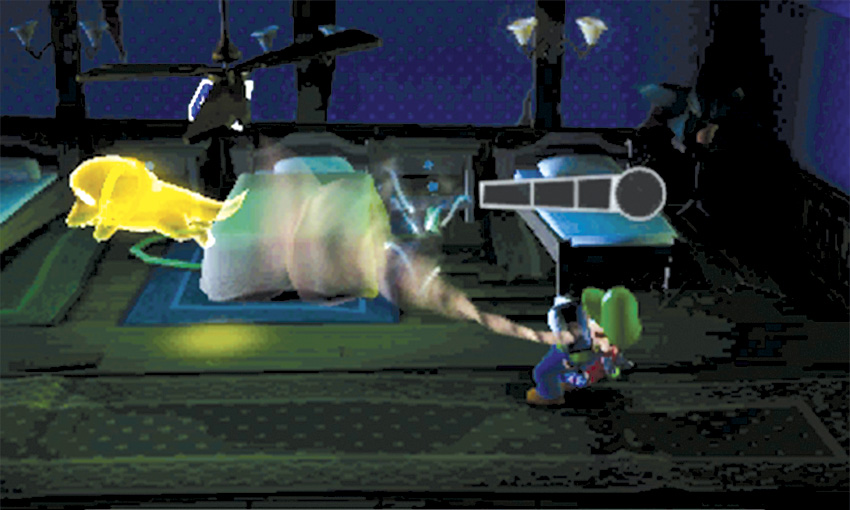
When you recover, flash the Polterpup and latch on with the Poltergust. Charge the Power Gauge and A-Pull the Polterpup until you capture it.
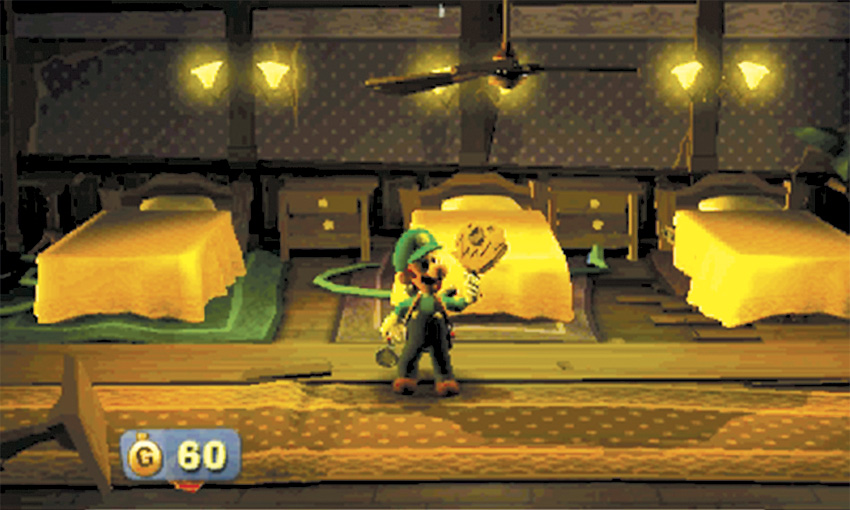
Collect any remaining treasure, then grab the Special Key the Polterpup left behind. Answer the Duel Scream to complete the mission and return to the Bunker.
 Tree Topping
Climb the Eerie Staircase
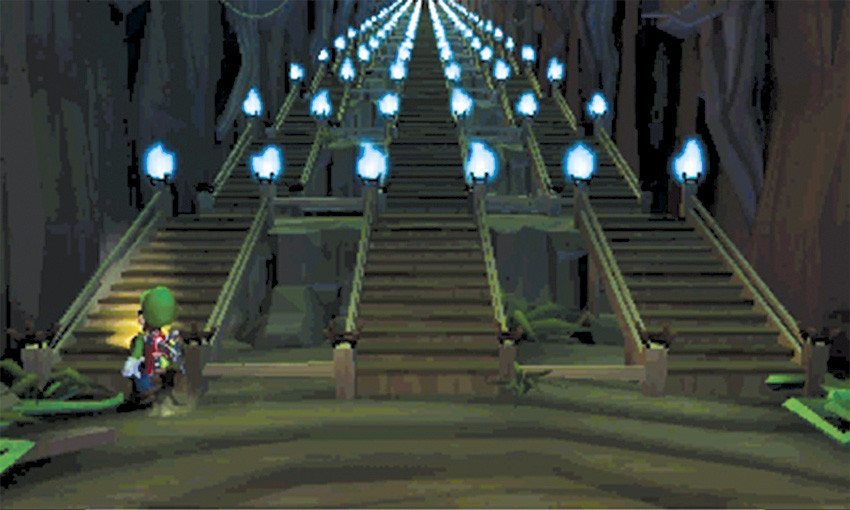
When the mission starts, you find yourself in the Eerie Staircase, the hidden area beyond the scary door at the top of the Hollow Tree. The area contains dozens of landings, and each landing offers three potential paths.
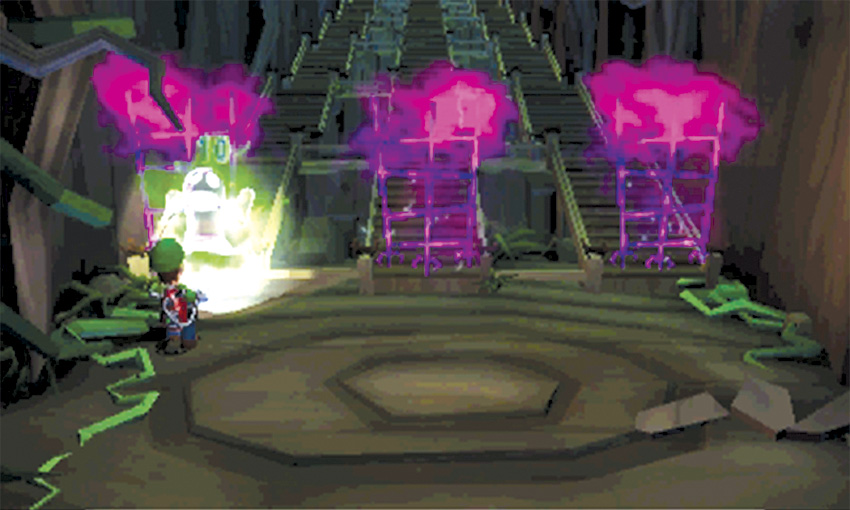
When you choose the correct path, you can climb to the next landing; each time you choose an incorrect path, you slide down to the bottom of the Eerie Staircase. Whenever this happens, you must capture the ghost that appears and make your way back up the stairs.
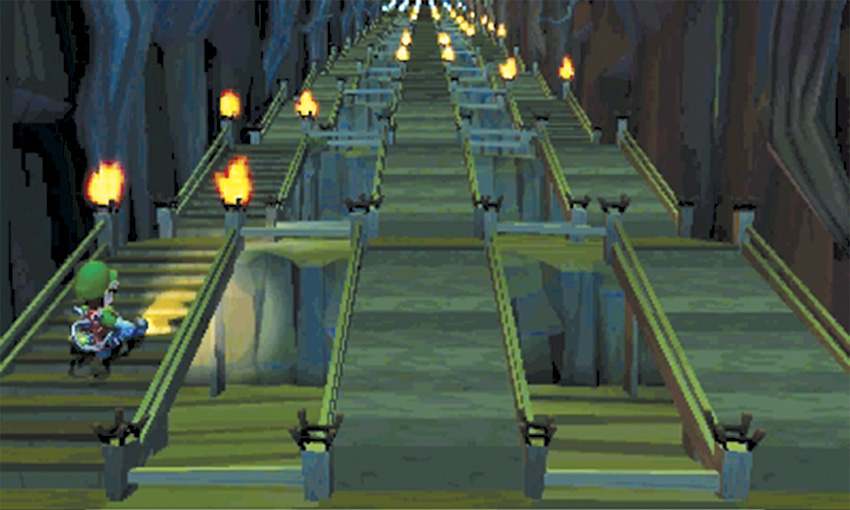
Each time you reach a new landing, the flames change to indicate the path that lead you to that point. When you drop down to the bottom of the Eerie Staircase, simply follow the orange flames to retrace your steps.
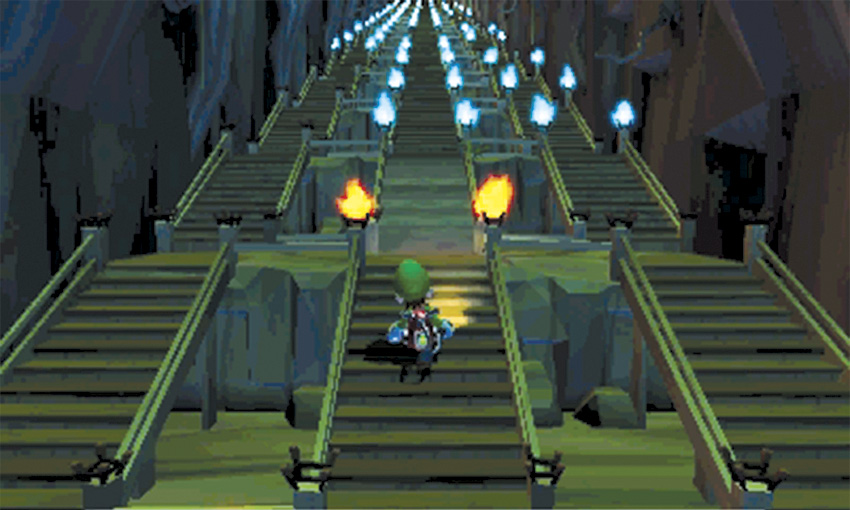
When you’re forced to retrace your steps, watch the flames for helpful cues. As you approach the end of your established path, look for any flames that flicker or burn noticeably smaller than the others. These temporary changes indicate the correct paths ahead. If you pay attention, you can progress through the area fairly quickly.
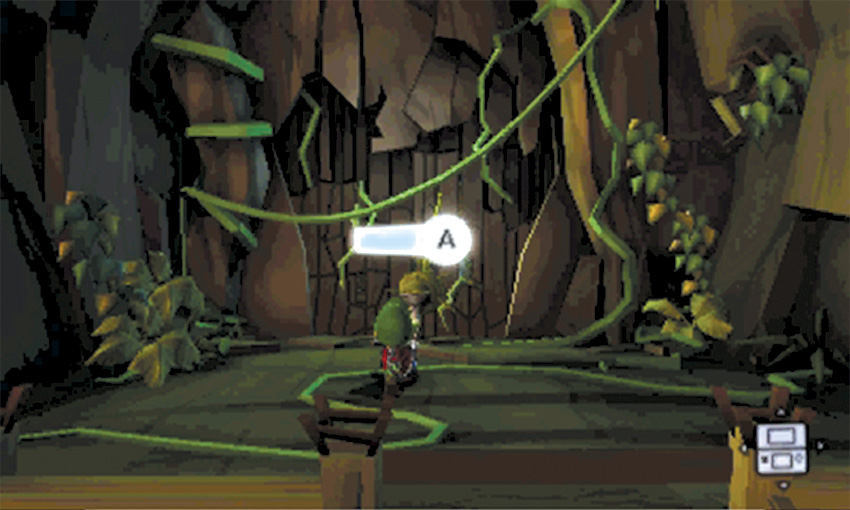
When you reach the top of the stairs, A-Pull the knotted vine three times. When the wall crumbles, continue along the path.
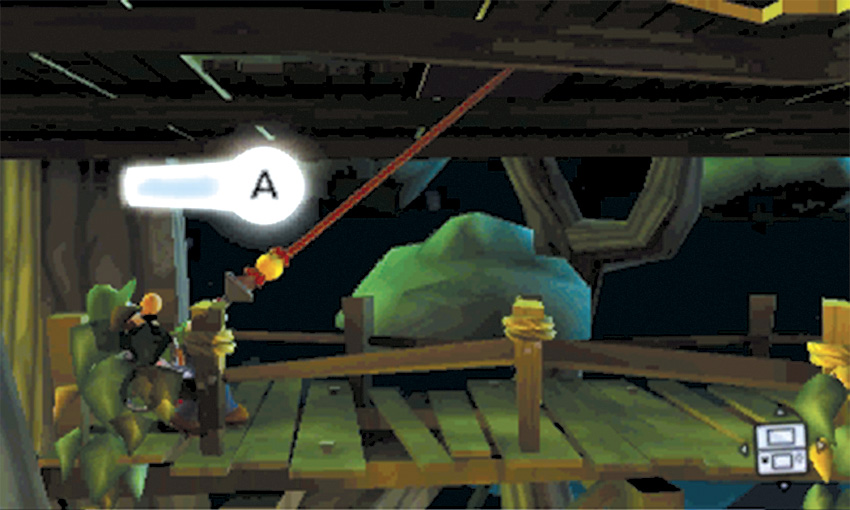
Vacuum the purple weeds at the end of the path, then A-Pull the cord to reveal a ladder. When you’re ready, climb to the Tree House.
Phase 1
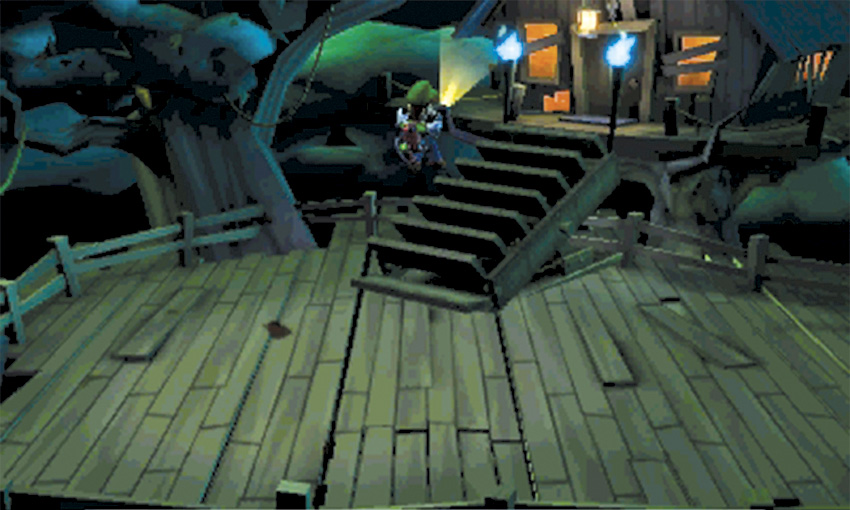
When you reach the Tree House, the Harsh Possessor is hiding. To begin the battle, climb the stairs up to the porch. The possessed stairs toss you to the ground and turn to face you—the Harsh Possessor has transformed them into a giant set of jaws.
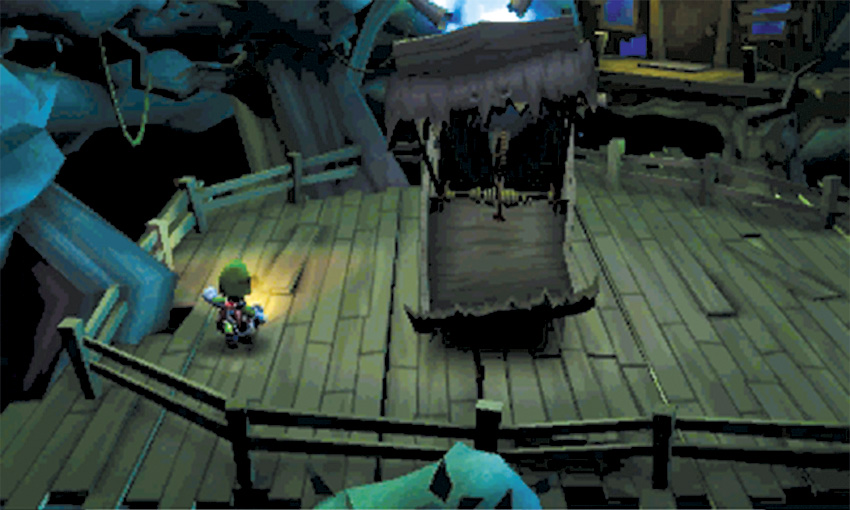
During the battle’s first phase, it’s fairly easy to avoid taking damage. Simply circle the stairs as they lunge at you.
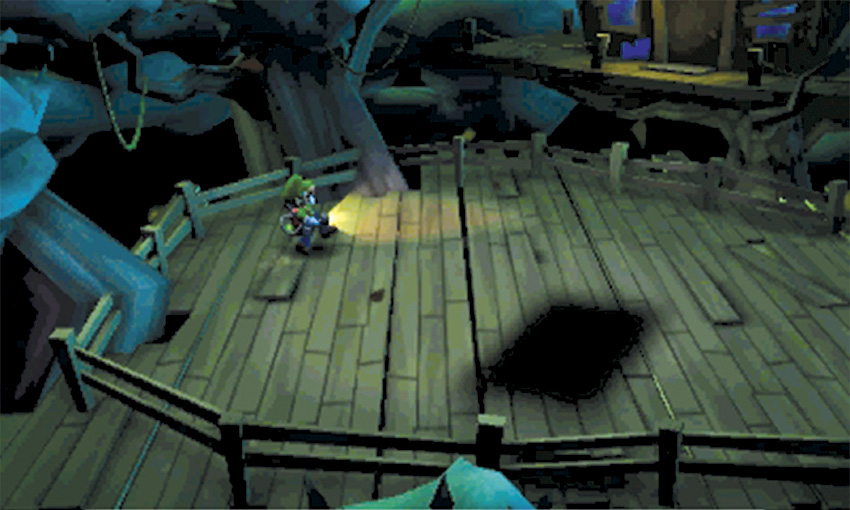
When the stairs leap into the air, look for the shadow on the ground. As the shadow moves, adjust your position to avoid the stairs when they land.
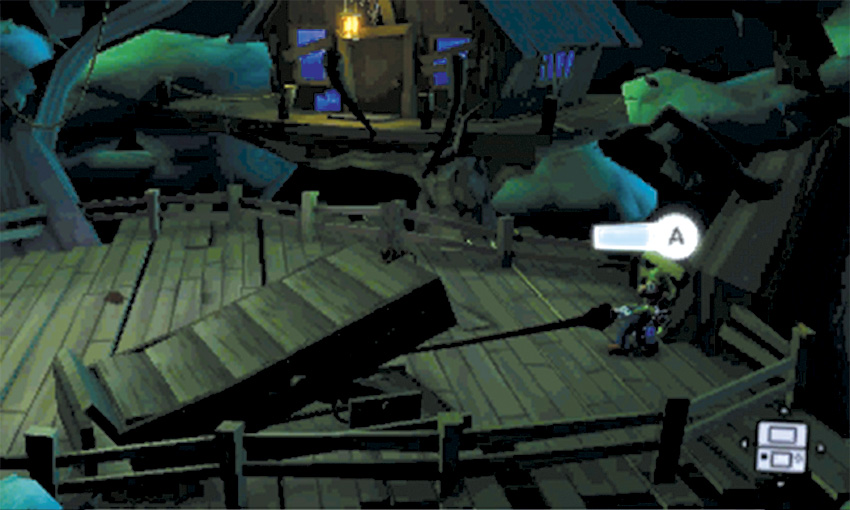
When the stairs come crashing down, the impact stuns the mechanical monster. A-Pull the knotted rope at the end of the stairs to eject the Harsh Possessor.
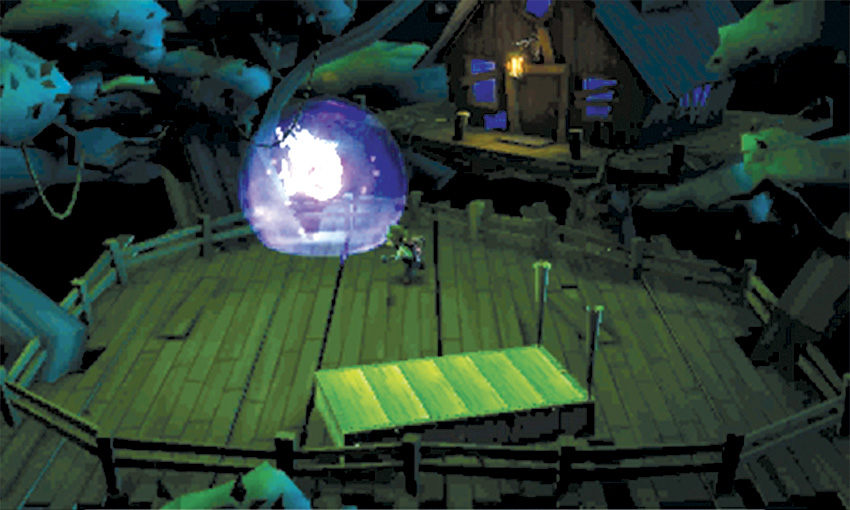
If possible, flash the Harsh Possessor before it recovers. Otherwise, dodge its charge attacks, then flash it when it drops its shield.
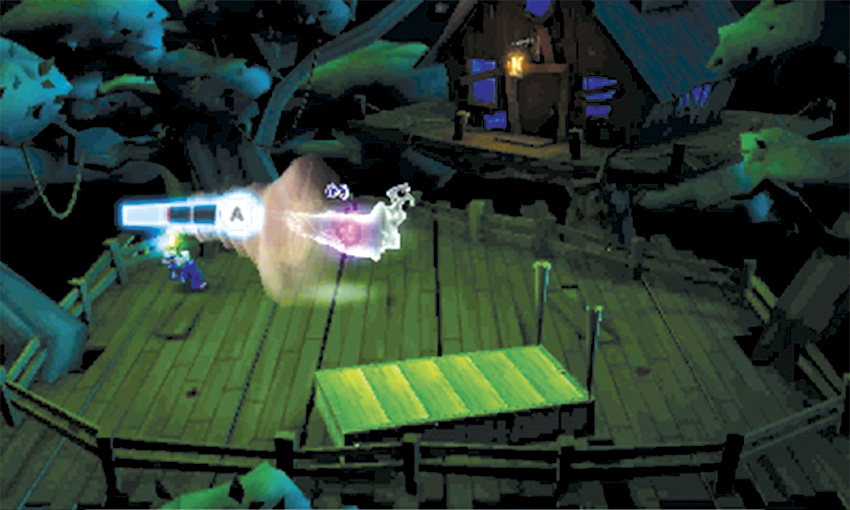
When you manage to stun the Harsh Possessor, latch on and perform an A-Pull to peel off its first layer. The Harsh Possessor resumes control of the stairs, and the battle’s next phase begins.
Phase 2
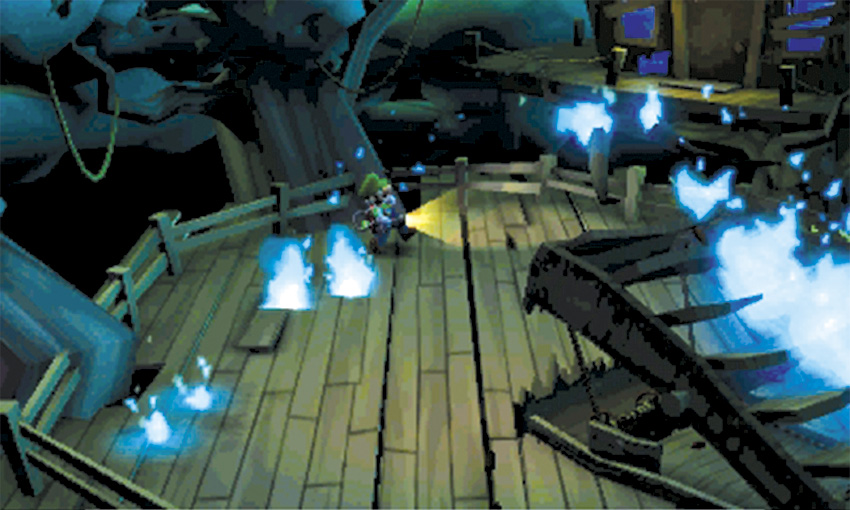
During the battle’s second phase, the stairs introduce a new attack. In addition to short range lunges, the stairs can now lob blue fireballs at you. The initial attacks are easy enough to dodge, but each fireball burns for a few seconds before it vanishes. As you move through the area, plan your route to avoid trapping yourself behind a wall of fire.
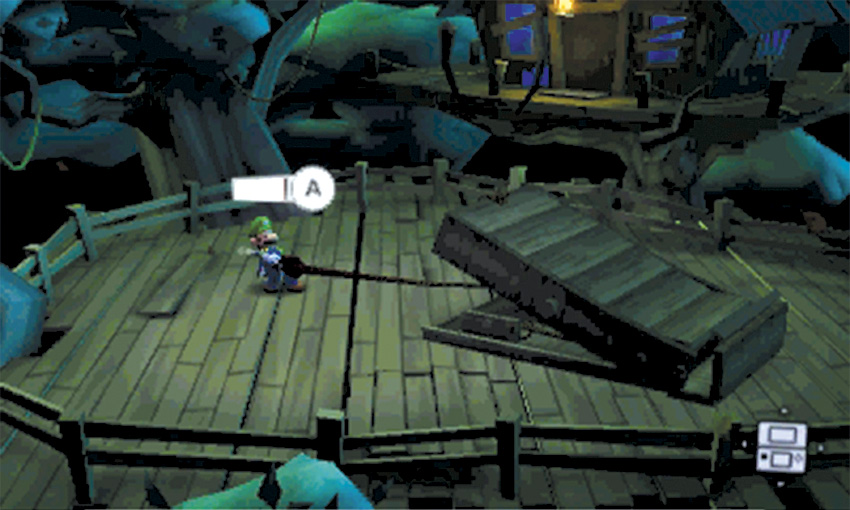
When the stairs leap into the air, avoid the shadow and wait for the monster to land. A-Pull the rope to eject the Harsh Possessor for a second time.
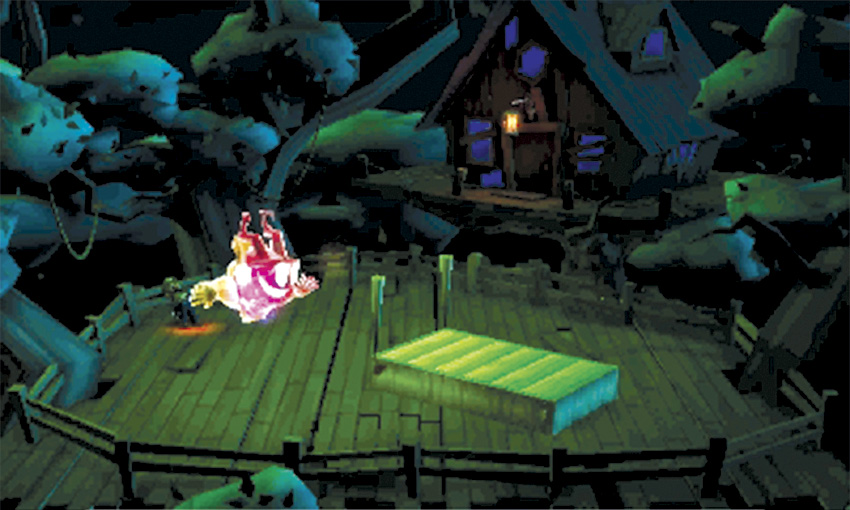
Again, try to flash the Harsh Possessor before it has a chance to raise its shield. As soon as you manage to flash the ghost, Perform an A-Pull to peel off its second layer. The Harsh Possessor returns to the stairs, and the battle’s final phase begins.
Phase 3
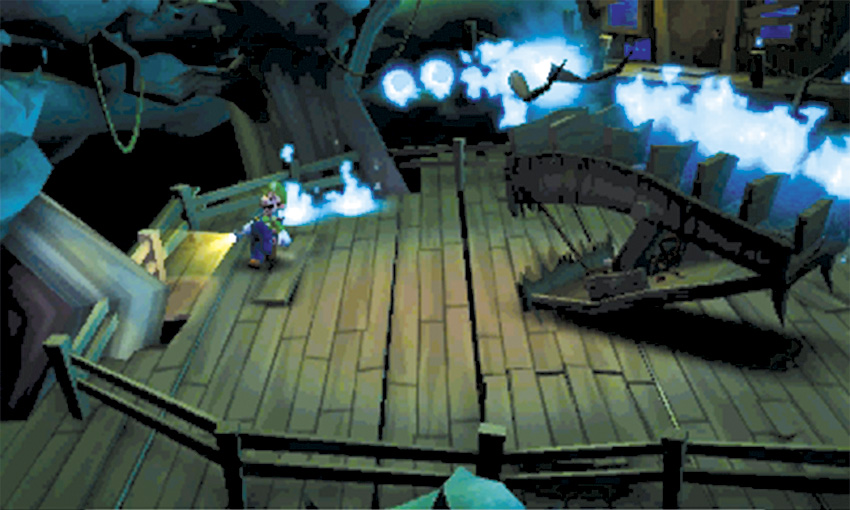
During the final phase, the stairs use the same attacks but they move a bit faster. Stay on your toes to avoid taking damage, and wait for the stairs to leap into the air.
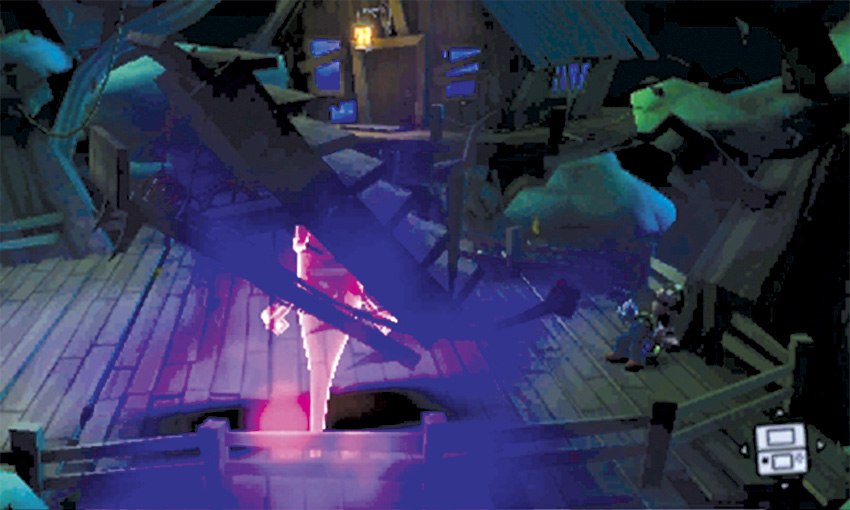
When stairs land, A-Pull the rope to eject the Harsh Possessor one last time.
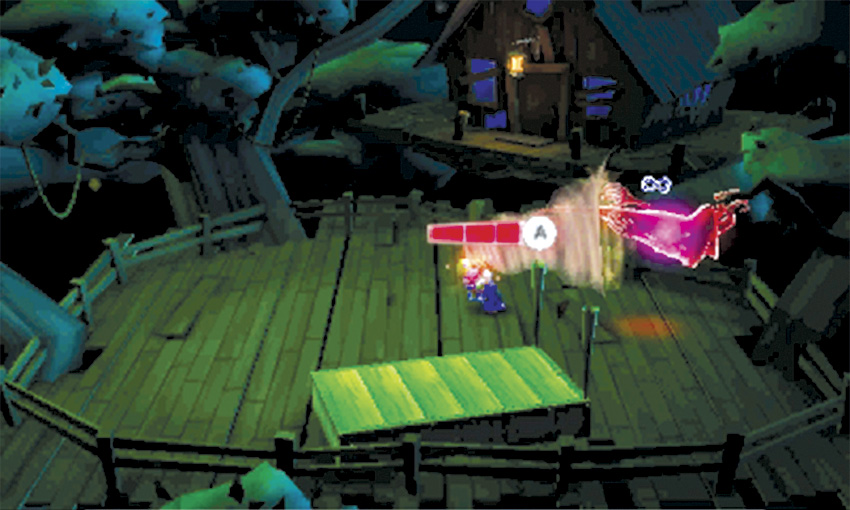
Try to flash the Harsh Possessor before it recovers, but be prepared to dodge its charge attacks. As soon as you manage to stun the ghost, latch on and perform an A-Pull. As you capture the Harsh Possessor, it drops a Dark Moon piece.
When the cinematic ends, climb the stairs and collect the Dark Moon piece. Answer the Duel Scream to complete the mission and return to the Bunker.
 Hostile Intrusion
Like all invasion-based missions, groups of ghosts appear in random locations. Your task is to move from objective to objective, capturing all ghosts as quickly as possible.
When the mission starts, you’re transported to the Haunted Towers Entrance. Wait for Professor E. Gadd to give you your first objective, then plot the fastest possible route to the marked location.
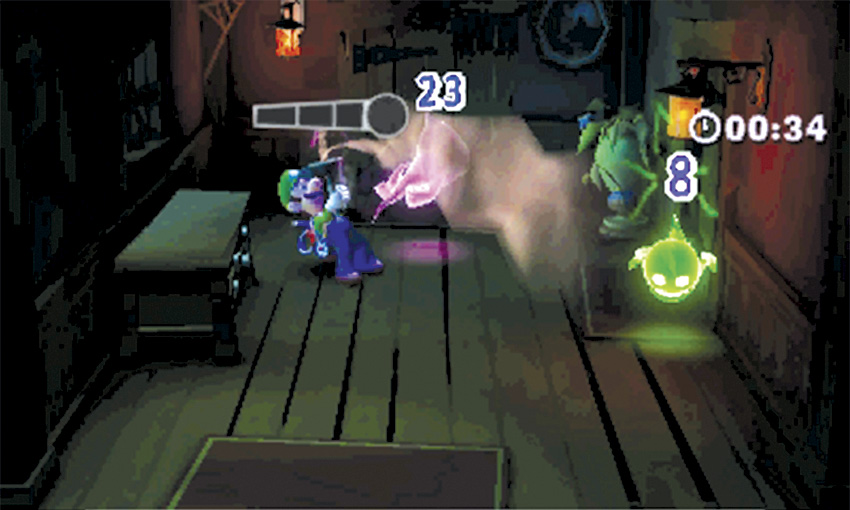
Each infestation can include any combination of common ghosts. Any ghost can be dangerous, but Sneakers and Creepers are particularly difficult to spot when you’re in a hurry. When you suspect a room contains more ghosts than you can see, use the Dark-Light Device to reveal invisible attackers.
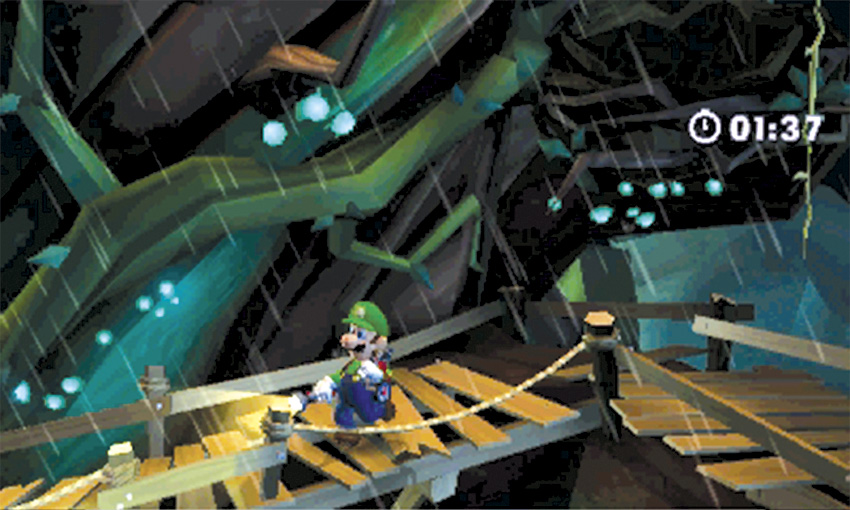
Each time Professor E. Gadd reports new objectives, try to plan the most efficient route between them. The towers can be scaled individually, but remember the various areas that connect them. Proper use of the Courtyard on level F1, the Skybridge on level F2, and the Crow’s Nest on level F4 can save you a lot of time over the course of the mission.
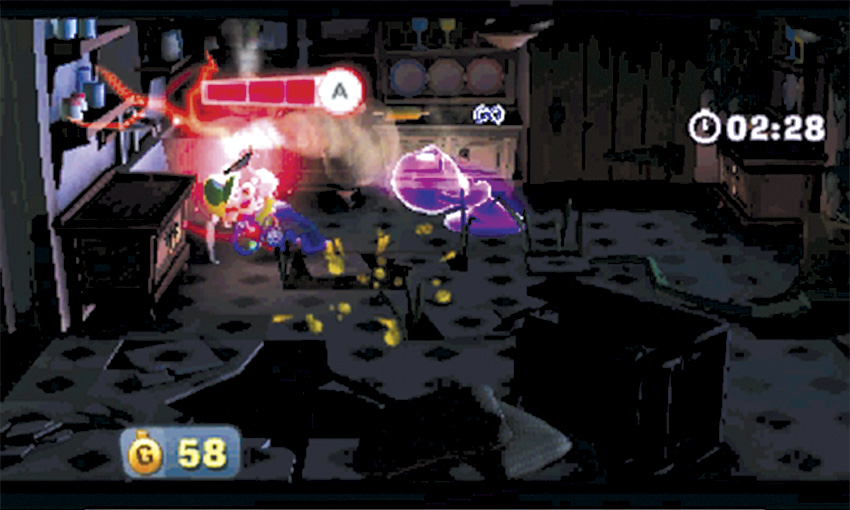
To earn a 3-star rating, plan efficient routes, move quickly, and avoid taking damage. If you perform well, you can also earn a fair amount of treasure. Use a fully charged A-Pull to capture each ghost, and make simultaneous captures whenever possible. After you clear all of the infestations, answer the Duel Scream to complete the mission and return to the Bunker.