
Luigi's Mansion: Dark Moon Guide Essentials How to Play
How to Play
The Basics
Touch Screen
All of the action may take place on the 3D Screen, but the Touch Screen is an invaluable tool. During a mission, tap the button in the Touch Screen’s lower-right corner to toggle between a map of the area and a list of your objectives.
No matter which mode you choose during a mission, the four boxes at the top of the Touch Screen always display the same information:
- The amount of treasure collected during the mission
- Your current health
- Any Keys in your possession
- 0n-specific items (if any)
Touch Screen Map
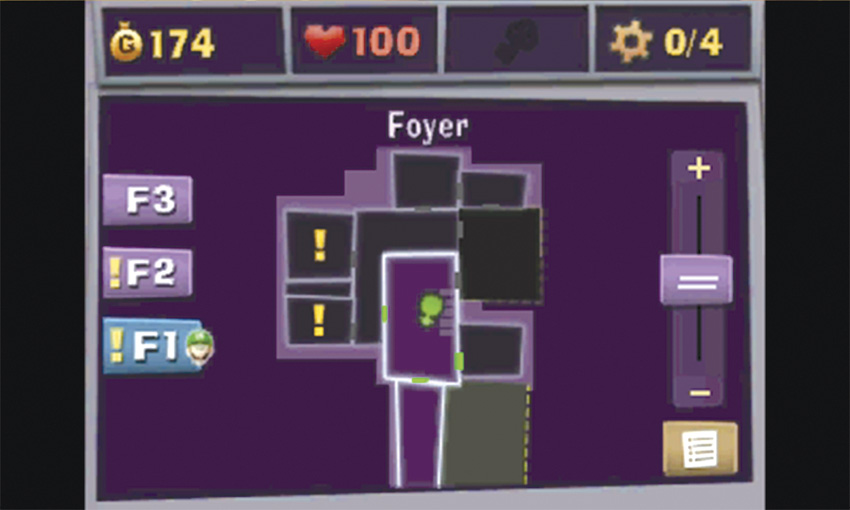
By default, the Touch Screen map displays your current location and a fair amount of the surrounding areas. When you tap a displayed room, its name appears at the top of the Touch Screen. Swipe the screen to drag off-screen areas into view. Use the slider along the right side of the screen to adjust the size of the displayed area, and tap the tabs along the left side of the screen to display a different level of the mansion.
Current objectives are marked with exclamation points, and each door is color-coded to indicate its status. Green doors are unlocked, red doors are locked, and gray doors have not yet been discovered. As you complete missions within a mansion, more of that mansion’s map can be displayed on the Touch Screen.
Objectives List
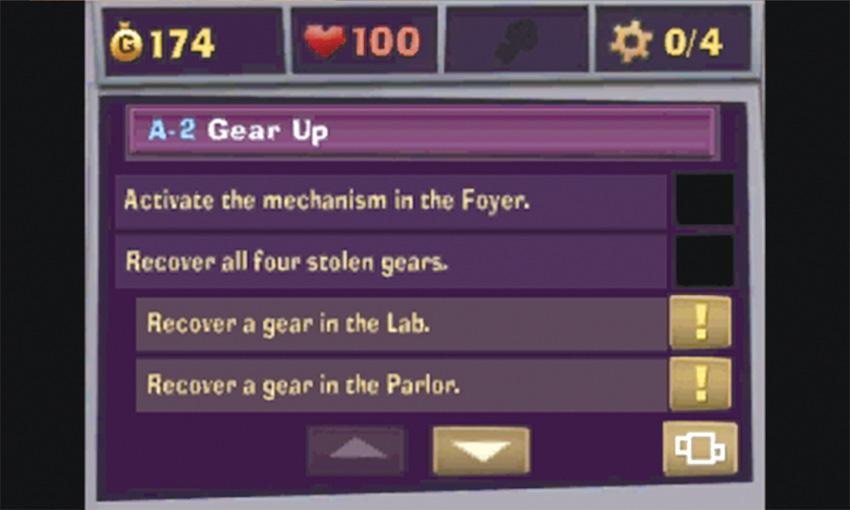
When the objectives list is active, the Touch Screen displays your current mission and up to four of your known objectives. Tap the arrows at the bottom of the screen to scroll up and down through the list. If an exclamation point appears next to an objective, it means the objective has been marked on the Touch Screen map.
Game Modes
Dark Moon Quest
The Dark Moon Quest is the game’s single-player campaign. In this game mode, you must recover the Dark Moon pieces scattered throughout Evershade Valley. Progress through the Dark Moon Quest to unlock new missions, gadgets, upgrades, and story elements.
ScareScraper
The ScareScraper is the game’s cooperative multi-player mode. Select this game mode to team up with other ghost hunters and complete objectives on randomly generated maps. As you progress through a ScareScraper game, you and your partners can earn new equipment and upgrades to help you reach the top of the tower.
The Bunker
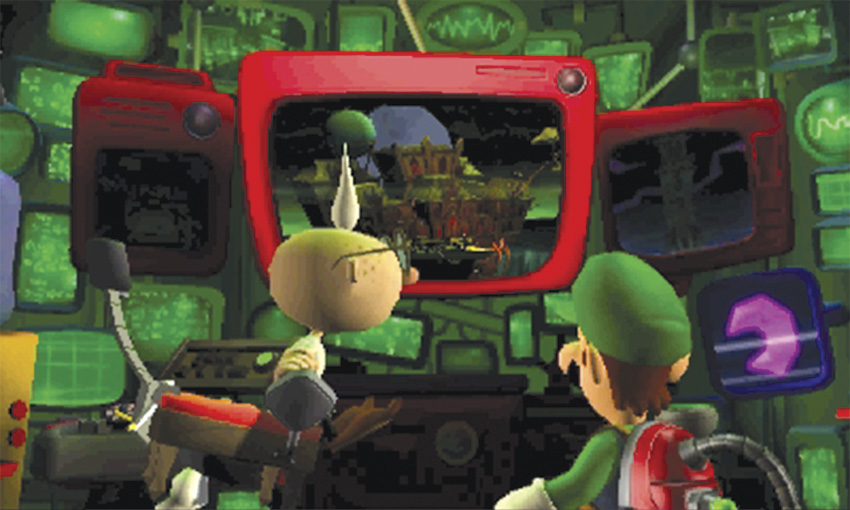
Protected from the chaos of Evershade Valley, the Bunker serves as Professor E. Gadd’s command center. Each time you complete a mission, Professor E. Gadd uses his network of Pixelators to transport you to this safe haven. Use the monitors within the Bunker to access the E. Gadd’s Vault, select available Dark Moon Quest missions, or create a ScareScraper for a multi-player game.
E. Gadd’s Vault
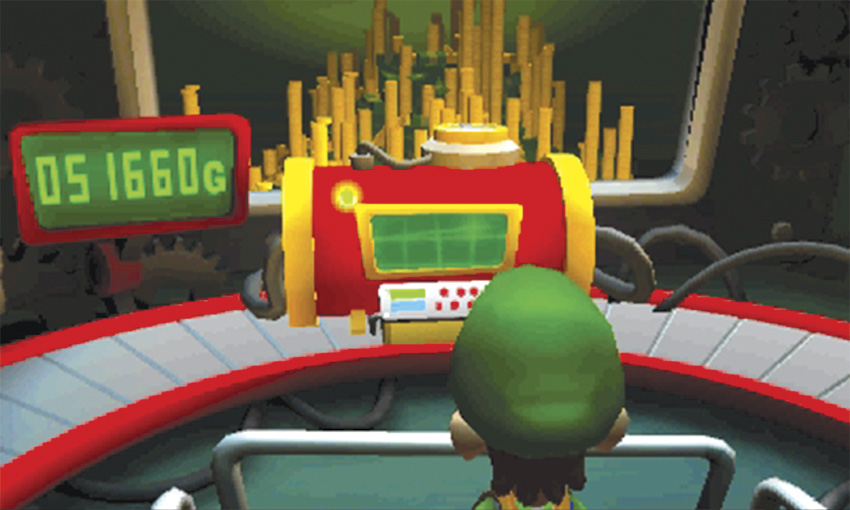
Each time you return to the bunker, all of the treasure, ghosts, and Gems you collected during the mission are deposited in E. Gadd’s Vault. Visit the vault to review your progress.
Treasure
All of the treasure you’ve managed to collect is stored at the back of the vault. The screen displays the exact value of the nearby treasure pile.
Ghost Container
Most of the enemies you capture are stored in the Ghost Container. Select this device to get a closer look at your defeated foes and to learn a little more about each enemy.
Gem Collection
All of the Gems you track down are placed in the Gem Collection. Select this device to review your progress.
Unlockables
As you unlock new upgrades, the Unlockables device records your progress.
Boo Canister
Boos are so troublesome, they’re kept separate from the other ghosts. Use the Boo Canister to view all of the Boos you’ve managed to capture.
Dark Moon Quest
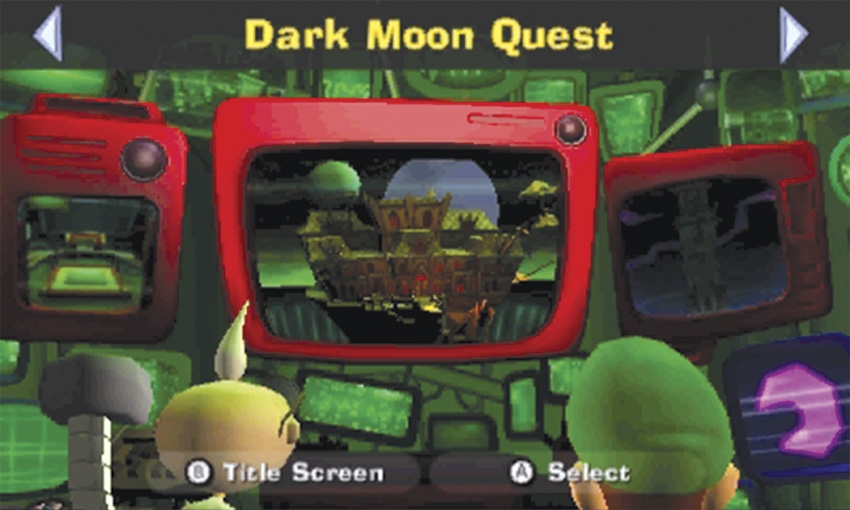
Use the Dark Moon Quest monitor to select available missions, or to review mission descriptions, performance ratings, and which Boos you’ve managed to collect.
ScareScraper
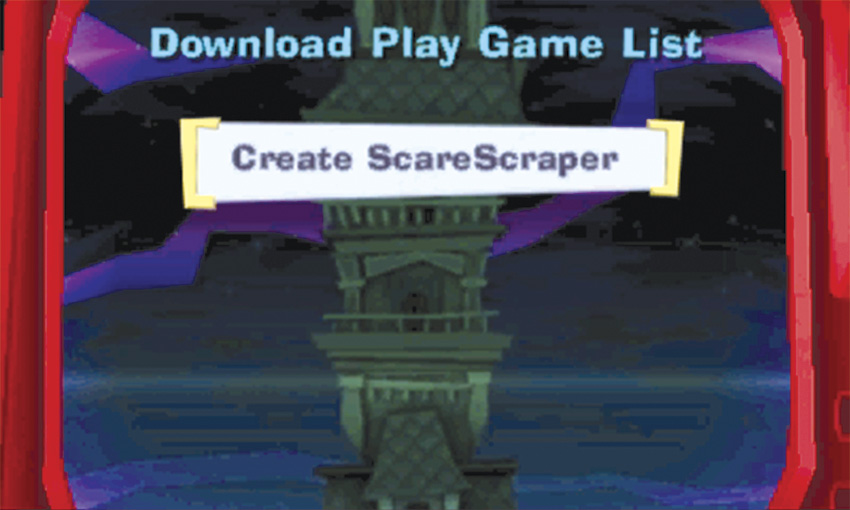
The ScareScraper monitor allows you to create a custom ScareScraper, or to join a ScareScraper created by another player. Use this monitor whenever you’re in the mood for some multi-player fun.
Essential Items
Treasure
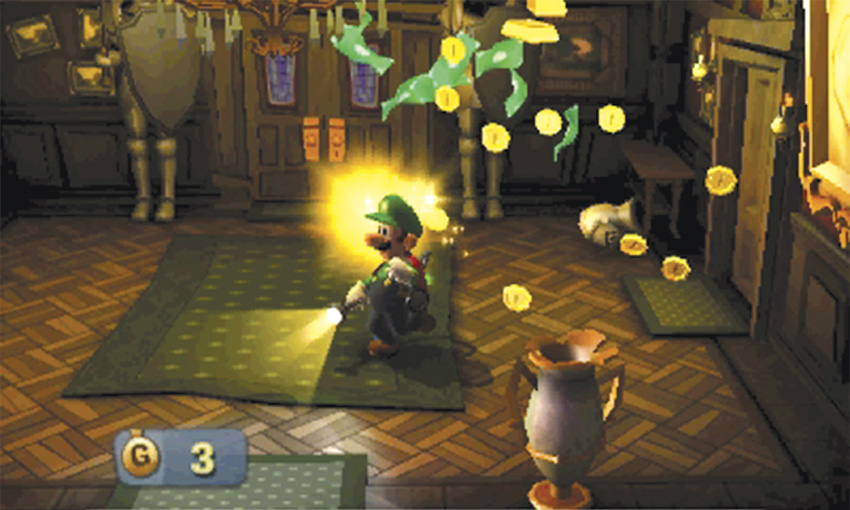
Each mansion is packed with treasure, and you’ll want to collect as much as possible. You’ll find plenty of treasure lying around each mansion, but a thorough search of each area can reveal some impressive treasure stashes. You can also earn treasure by solving optional puzzles and performing well during combat.
When you’ve collected enough treasure, Professor E. Gadd automatically uses it to upgrade your equipment.
Gold Bones
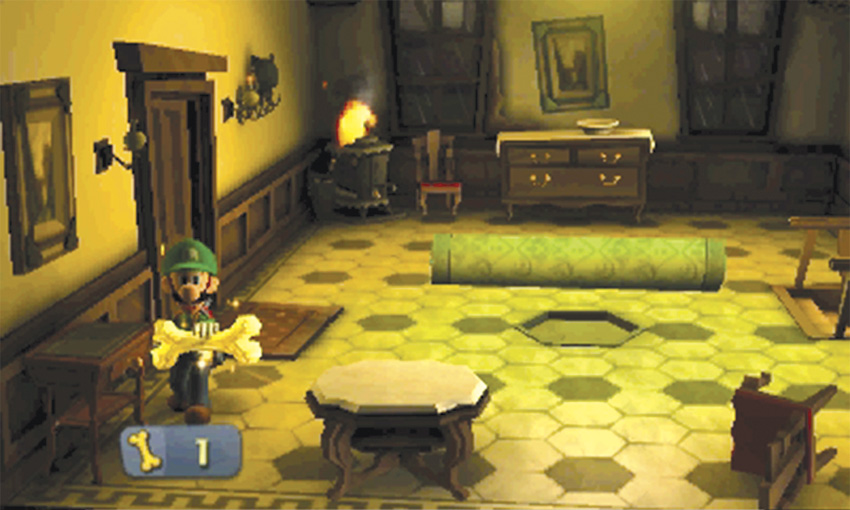
When your treasure-count is over 200, you have a chance to find a gold bone. If you notice you’ve collected enough treasure, search available containers until you receive your reward. Once you’ve earned a gold bone, it has a way of finding you.
When you collect a gold bone, it appears near the treasure-count on the Touch Screen. If you lose all of your health while holding a gold bone, the gold bone disappears and you’re automatically revived. If you manage to complete the mission while holding a gold bone, it increases your final treasure count by 200
Gems
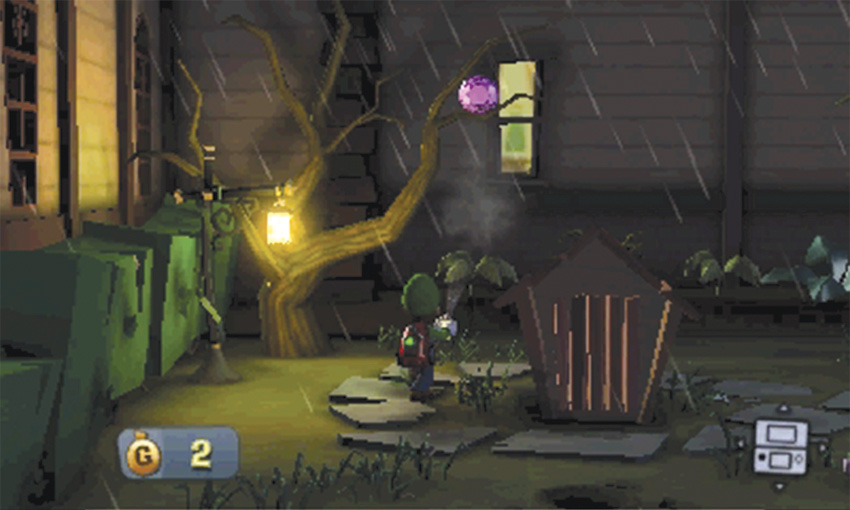
Each mansion contains 13 Gems for you to find. Some Gems are in plain sight, but many of them must be earned by solving puzzles and completing bonus challenges. When you collect all 13 of a mansion’s Gems, a special statue is added to your Gem Collection back at the Bunker.
Hearts
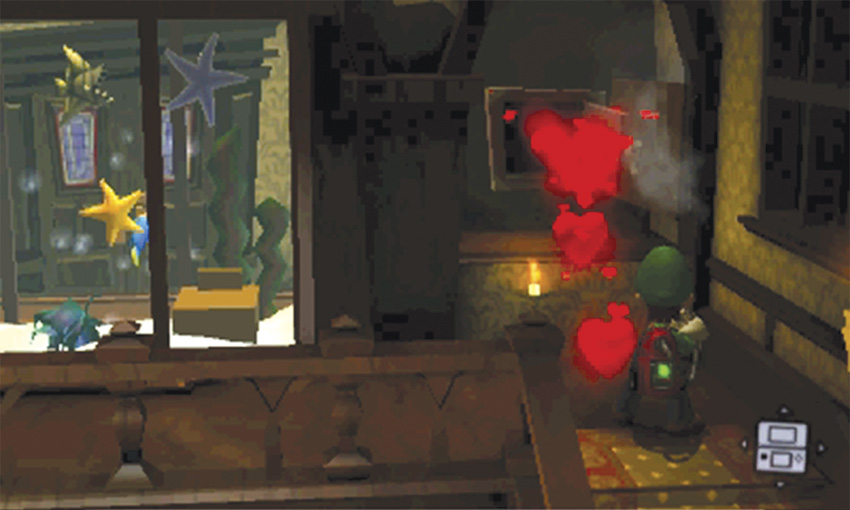
Collect Hearts to replenish lost health. Hearts usually only appear when you need them. When you’re low on health, search objects and defeat enemies for a chance to earn a Heart.
Keys
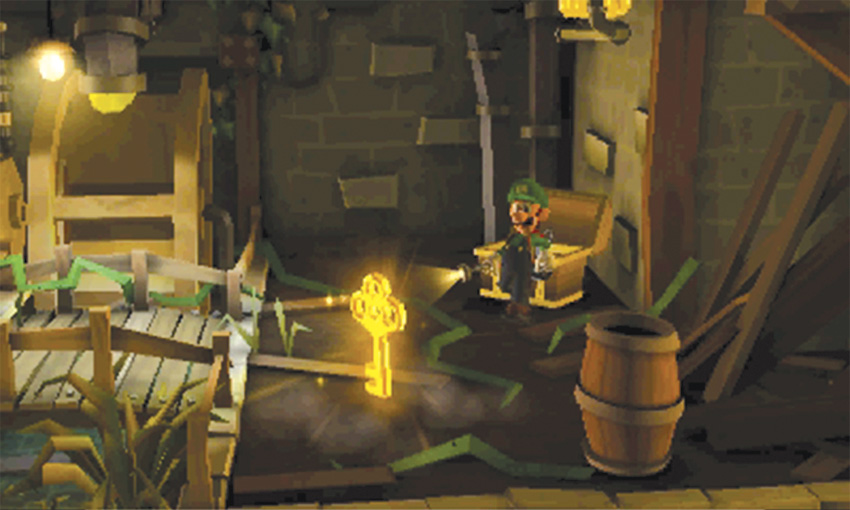
Keys allow you to open locked doors that often appear during missions. When you collect a Key, it appears in a box at the top of the Touch Screen. When a red door is marked on the Touch Screen map, you must track down a Key to open it.
Missions
The missions that make up the Dark Moon Quest fall into three basic categories: standard missions, boss encounters, and invasion-based missions.
Standard Missions
When using the Dark Moon Quest monitor, you can identify a standard mission by the letter/number designation near the mission title. These missions generally require that you explore new areas, solve puzzles, and battle enemies in order to complete a series of objectives. Each standard mission also contains a unique Boo, which must be captured before you can access the mansion’s invasion-based mission.
Boss Encounters
You can identify a boss encounter by the skull icon near the mission title. Boss encounters are limited to specific areas in each mansion, so exploration does not play a large role in these missions. Most boss encounters are divided into three distinct phases, during which you battle some type of Possessor. You must complete a boss encounter to collect the related Dark Moon piece and gain access to the next mansion.
Invasion-Based Missions
You can identify an invasion-based mission by the ghost icon near the mission title. Unlike the other mission types, invasion-based missions aren’t automatically unlocked as you progress through the game. To access a mansion’s invasion-based mission, you must first collect all of the Boos from the mansion’s standard missions and complete the mansion’s boss encounter.
Favoring one factor over all others is likely to hurt your final rating. For example, searching every container in every room will increase your clear time dramatically, whereas rushing through a mission can cause you to miss most of the available treasure. It’s usually best to adopt a play-style that accommodates all of these factors.
Tools of the Trade
When you start the Dark Moon Quest, you’re not particularly well equipped. As you track down various devices, however, you’ll find yourself more than a match for even the toughest ghost.
Equipment
Flashlight
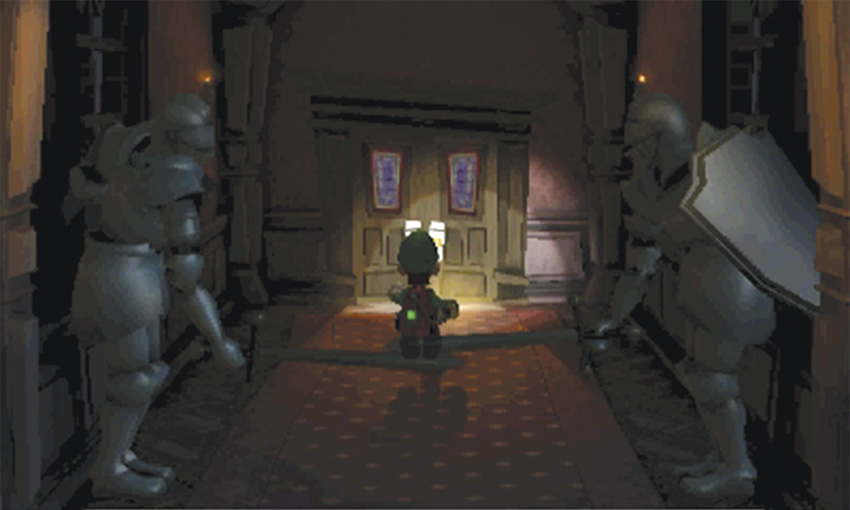
The Flashlight helps you navigate dark areas. This trusty piece of equipment switches on when no other devices are being used.
Poltergust 5000
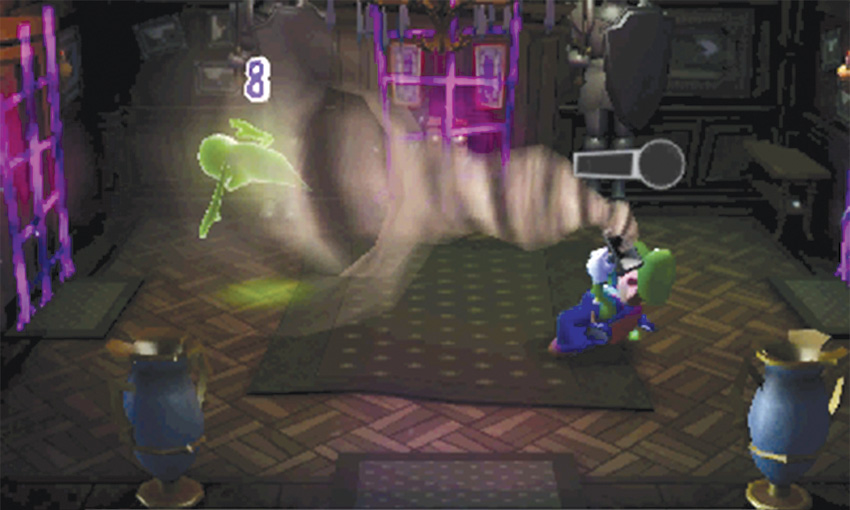
The Poltergust 5000 is a versatile piece of equipment, and one of the best tools a ghost hunter could want. The Poltergust’s vacuum mode allows you to collect items, move a variety of objects, and—most importantly—capture ghosts. Use the Poltergust’s blower mode to launch projectiles, clear debris from the nozzle, or simply push items out of your path.
Both of the Poltergust’s modes can be used to spin rotors, but the mode you choose determines the direction in which the rotor spins.
Strobulb
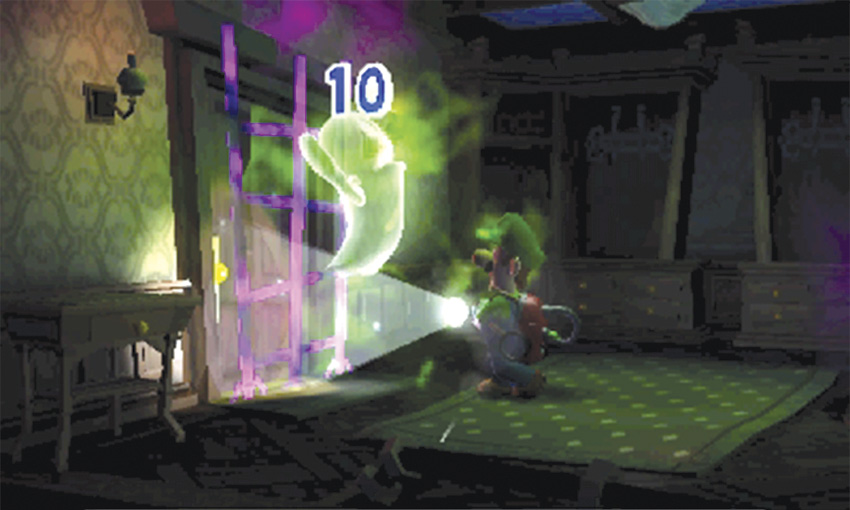
The Strobulb emits a bright flash capable of stunning most enemies. Most enemies are only vulnerable while stunned, so the Strobulb plays an important role in ghost hunting. Outside of combat, the Strobulb can be used to activate the green circular panels located throughout the game.
Dark-Light Device
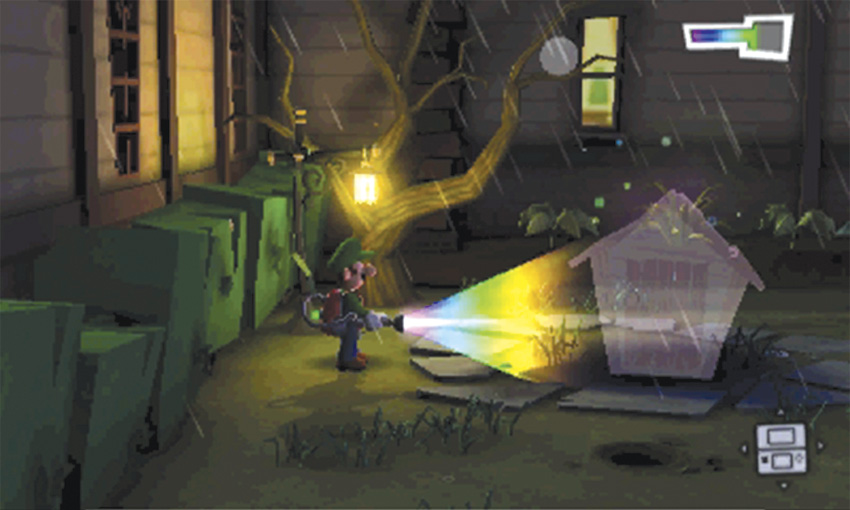
The Dark-Light Device allows you see through illusions. Use this nifty piece of equipment to draw the Spirit Balls out of hidden objects, and to reveal the items trapped within the framed sketches located throughout the game. The Dark-Light Device also reveals invisible ghosts, spectral trails, and secret clues.
Upgrades
Professor E. Gadd uses the treasure you collect to upgrade your equipment. These upgrades are a big help, so make treasure hunting a priority until you’ve unlocked all of them.
Power Gauge Upgrades
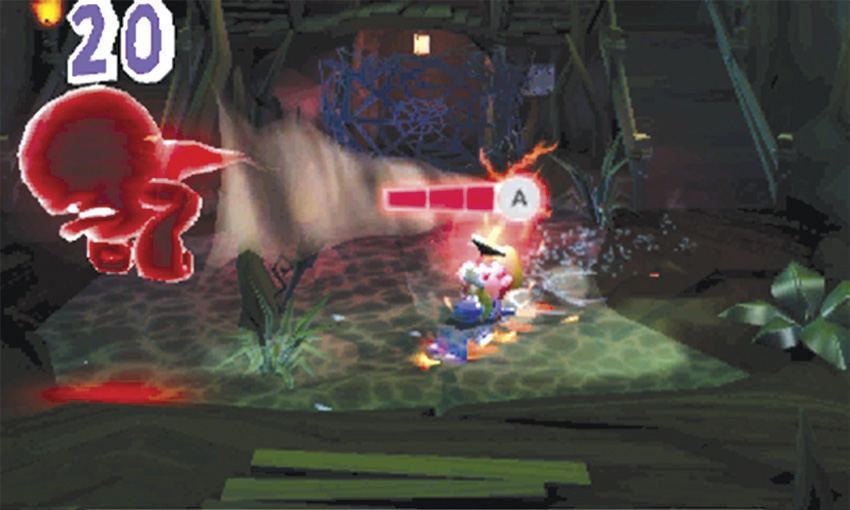
Power Gauge upgrades increase the length of your Power Gauge, allowing you to charge more powerful A-Pulls. This is a great help in dealing with tougher enemies, but it’s also very handy for collecting treasure. When you use a fully charged A-Pull to capture a struggling ghost, you’ll usually receive a nice treasure reward.
Dark Light Upgrades
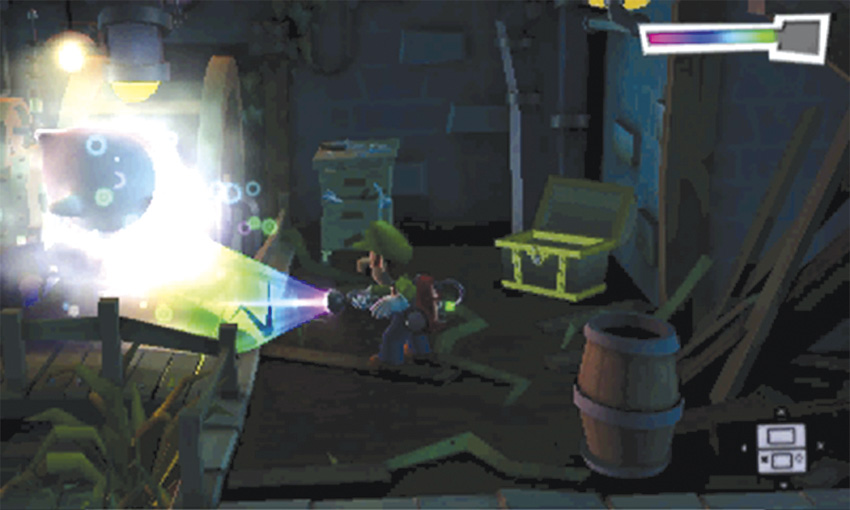
Dark Light upgrades increase the amount of Dark Energy you can store, which in turn increases the amount of time the Dark-Light Device can be used without recharging. These upgrades make it much easier to follow spectral trails and search for invisible ghosts.
Super Poltergust
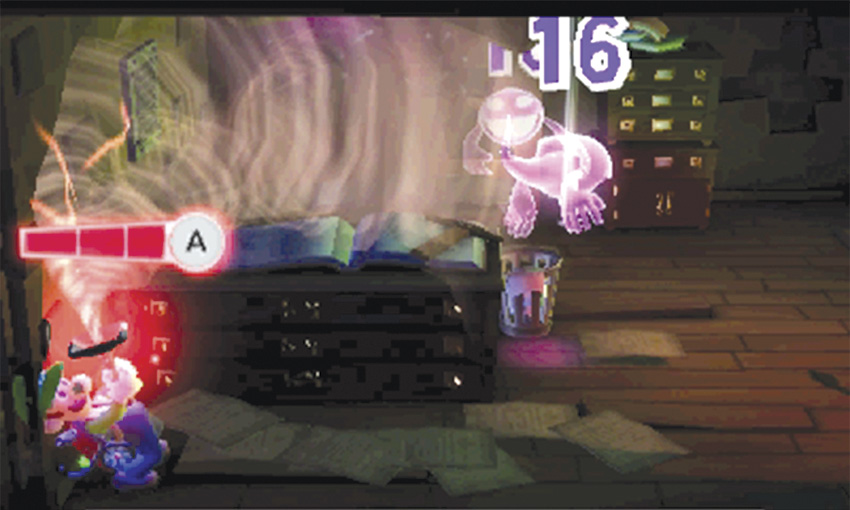
The Super Poltergust increases the speed at which your Power Gauge fills. This allows you to perform more A-Pulls in less time. Wether you’re facing a group of enemies or one particularly durable ghost, the Super Poltergust gives you a big advantage in battle.
Available Upgrades
| Upgrade | Required Treasure |
|---|---|
| Power Gauge Level 2 | 2,000 |
| Dark Light Level 2 | 4,000 |
| Power Gauge Level 3 | 7,000 |
| Dark Light Level 3 | 10,000 |
| Super Poltergust | 20,000 |
Controlling Luigi
Basic Movement
| Walk | Circle Pad |
| Run |
Circle Pad +

|
| Look/Aim Up |

|
| Look/Aim Down |
|
Using Equipment
Using the Poltergust
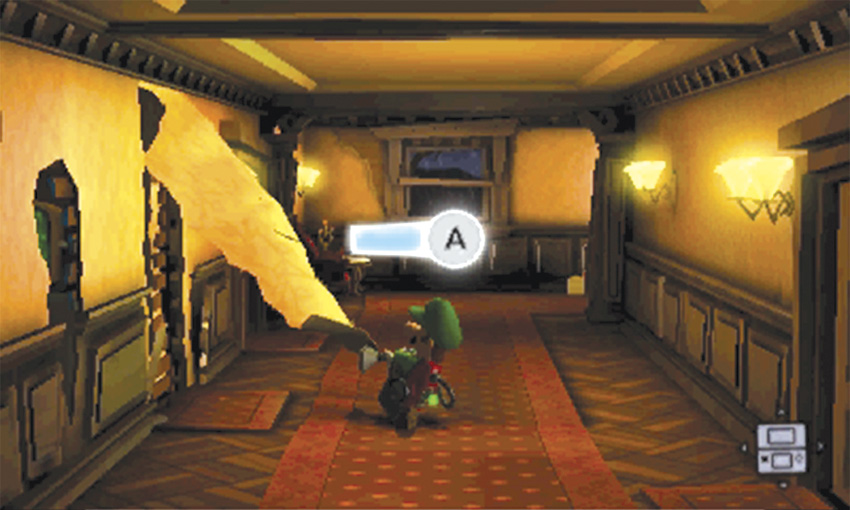
Hold
 to use the Poltergust’s vacuum mode. Hold
 to use the blower mode.
To perform an A-Pull, vacuum an object or enemy, then slide the Circle Pad in the opposite direction to fill the Power Gauge. When at least one segment of the Power Gauge is full, press
 to execute the A-Pull.
While the Poltergust is latched onto an enemy, press
 to jump in the air and dodge incoming attacks.
Using the Strobulb
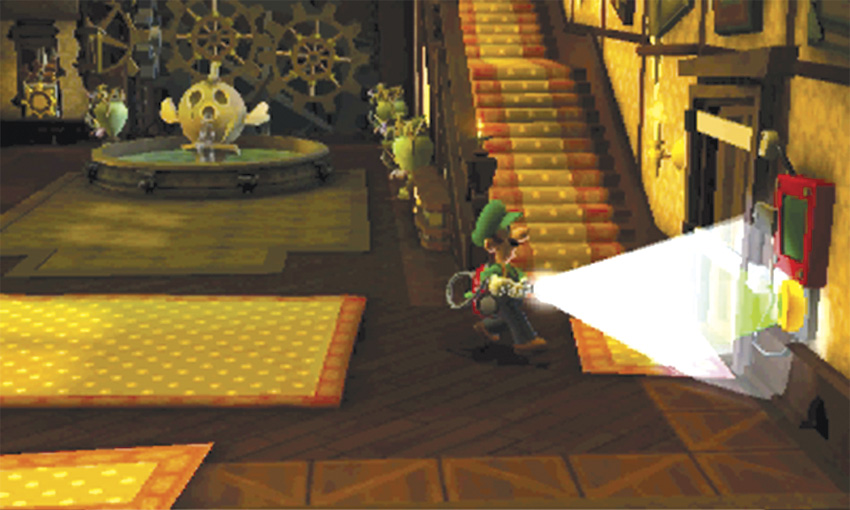
Press
to flash the Strobulb. Hold
to charge the Strobulb, then release the button to produce a larger flash.
Using the Dark-Light Device
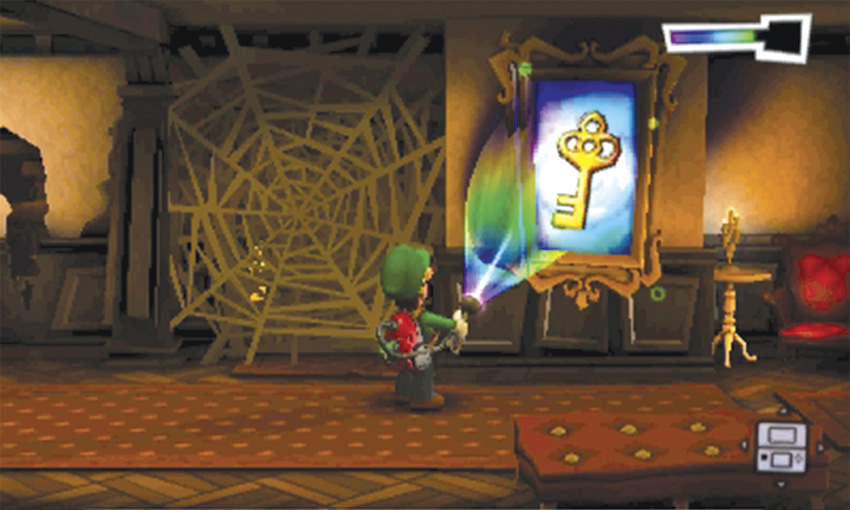
Hold
 to use the Dark-Light Device. Release the button to allow the Dark-Light Device to recharge.
Contextual Controls
Investigate/Interact
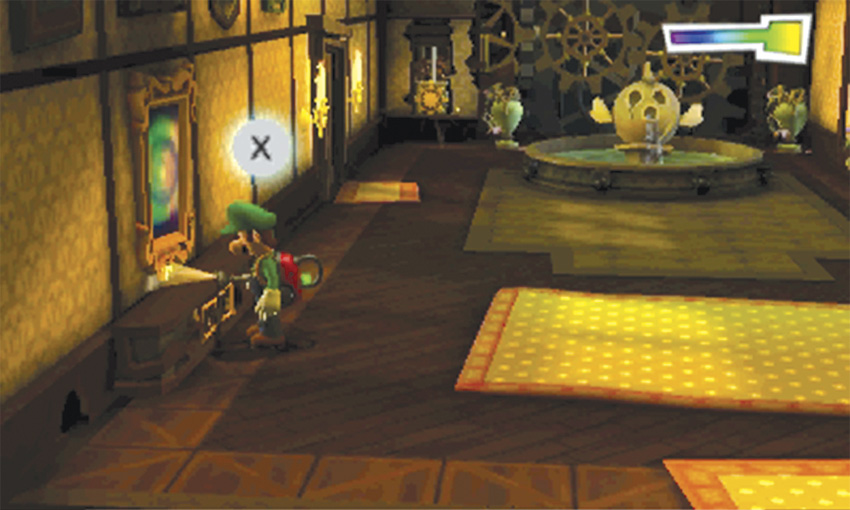
When the
 prompt appears on the screen, press
to investigate the indicated object. Depending on the object, this allows you to search containers, peek through windows, open doors, and more.
prompt appears on the screen, press
to investigate the indicated object. Depending on the object, this allows you to search containers, peek through windows, open doors, and more.
Tilt
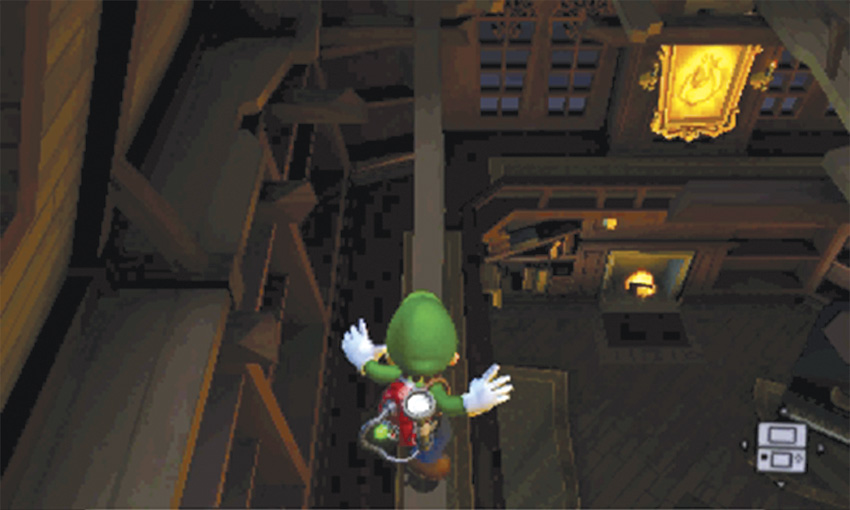
Tilt the Nintendo 3DS System to maintain your balance as you move across narrow beams and pipes. Tilting can also be used to control the camera when you peek through walls, or to fine-tune your aim while using certain devices. When this option is available, a special icon appears in the screen’s lower-right corner.
Answer Call
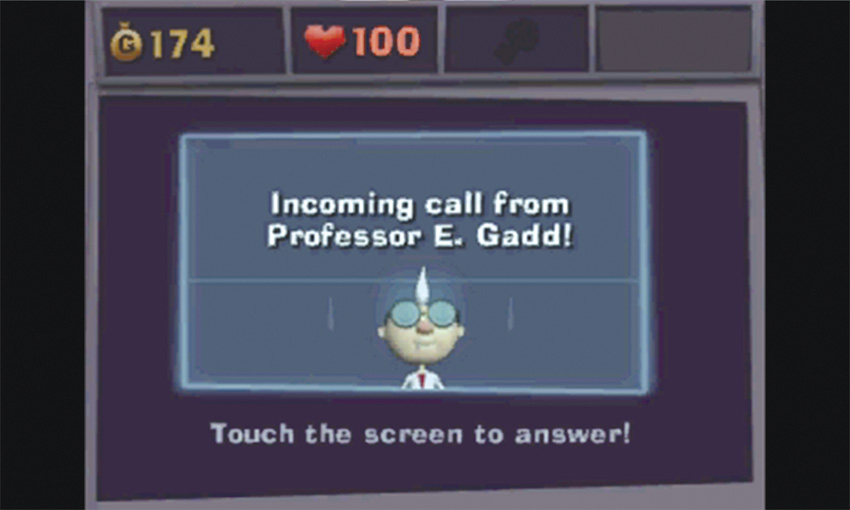
When Professor E. Gadd calls you, tap the Touch Screen to answer the Duel Scream.