
Tenebris Somnia Complete Walkthrough – All Puzzles, Bosses, and Endings
A complete guide on all the puzzles and their chronological order.


Tenebris Somnia is a survival horror game that combines retro pixel-art exploration with live-action cutscenes, challenging you to solve puzzles, collect items, and survive encounters with dangerous enemies. While most of its puzzles involve finding and combining items, others require deciphering clues scattered throughout the game’s.
The game doesn’t always make it obvious where you need to go next, so it’s easy to overlook an important item or get stuck trying to figure out how different objects work together. This complete Tenebris Somnia walkthrough covers the main story from beginning to end, including puzzle solutions, boss fights, important item locations, where to go next, and the different endings.
Tennebris Somnia Third Floor Walkthrough
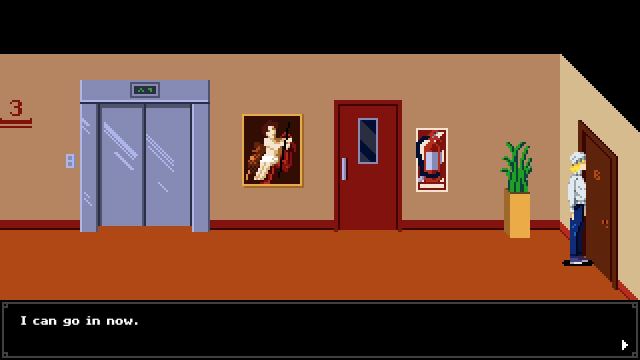
After starting the game, enter the elevator and travel to the third floor. Approach the apartment door, press Tab to open your inventory, and use the Apartment Key to unlock it.
How to Find the Wrench and Prepare the Chemical Mixture
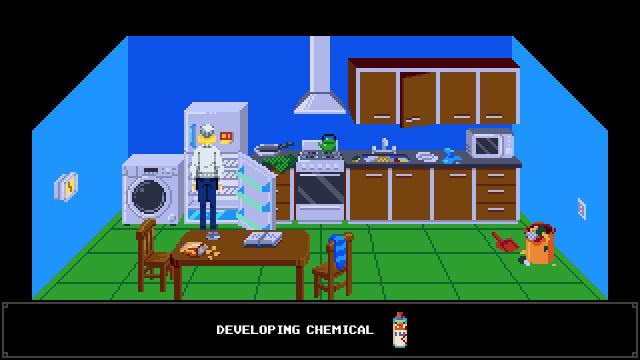
Start by collecting the Old Book inside the apartment. Next, head into the bedroom and pick up the Empty Glass. You can find the Photo Developing Chemicals inside the refrigerator in the kitchen, while the Wrench is located in the bathtub in the bathroom.
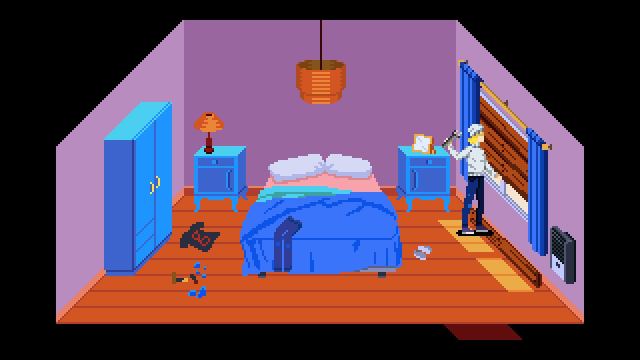
Once you’ve collected everything, return to the bedroom and use the Wrench to remove the wooden boards covering the window.
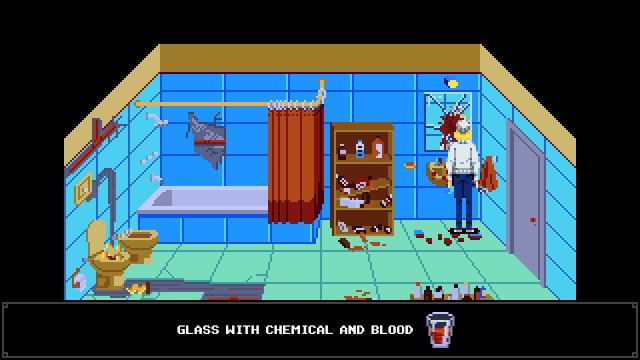
Collect blood from the mirror by interacting with it using the Glass with Chemicals.
Now use the mixture at the exposed bedroom window to obtain Auritsatio. You can then use Auritsatio to unlock the Study Door.
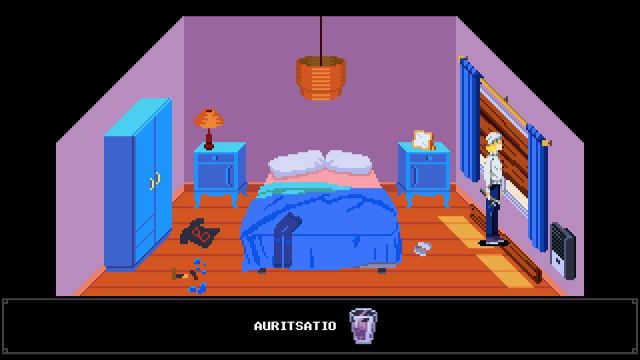
The Wrench also serves as your first melee weapon, so make sure you keep it available for the upcoming enemy encounter.
How to Defeat Enemies and Heal
After entering the office and attempting to leave the apartment, you’ll encounter your first enemy.
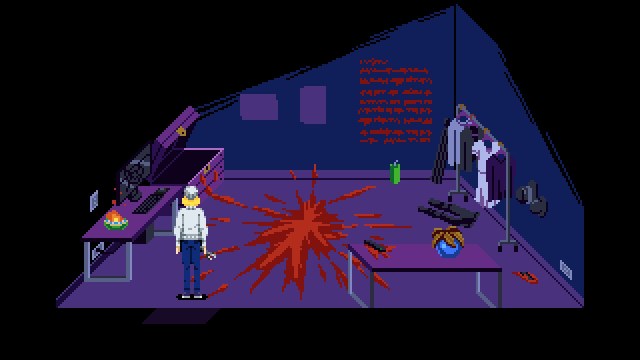
You can defeat this creature using the Wrench, which takes approximately three to four successful attacks to kill it. Despite the real-time movement, it’s better to approach combat like a turn-based encounter. Wait for the enemy to attack, move out of its range, and retaliate when it’s safe.
You have a maximum of four health points, so avoid trading hits unnecessarily. You can restore one health point by consuming Lavendoleum, which comes in small purple bottles scattered throughout the game.
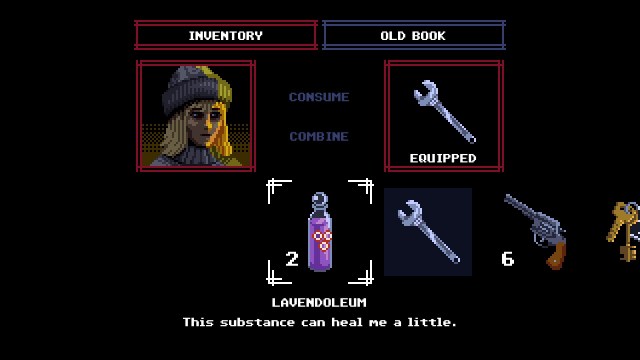
Check cabinets, containers, and other interactive objects as you explore. Some Lavendoleum bottles can also be found inside star-locked boxes.
Once you’ve dealt with the enemy, you can head outside and take the elevator to the second floor.
Tenebris Somnia Second Floor Walkthrough
Enter the apartment on the right side of the second floor. You can also find a Revolver in this area.
How to Find the Batteries and Use the TV Remote
Enter the office room and collect the Rubber Glove. Take it into the kitchen and use it on the Fuse Box to interact with the electrical equipment safely.
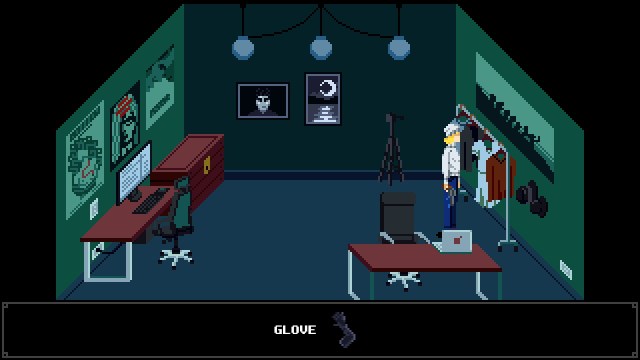
Next, inspect the washing machine in the kitchen to find the first Battery. The second Battery is located in the bathroom.
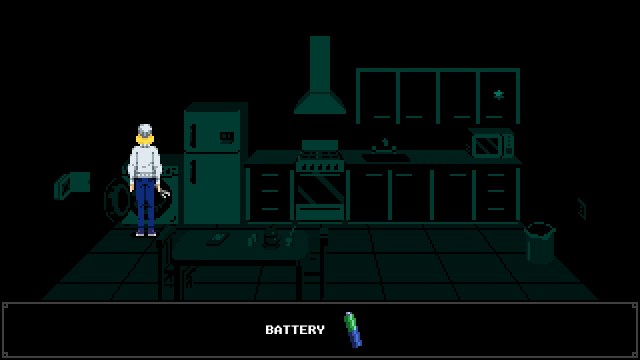
Once you have both batteries, go back to the third floor office and use them on the TV Remote stuck to the table. It will change the display of the TV downstairs.
The TV displays a pattern that you need to reproduce to unlock the next room. Pay attention to the arrangement shown on the screen and step on the tiles in the same order to unlock the bedroom door.
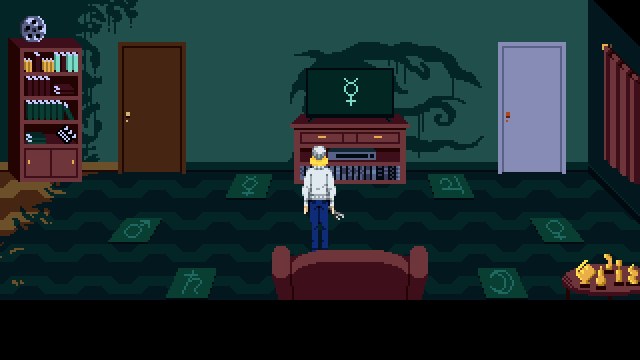
After opening the room, search the closet for Revolver Ammo before continuing.
Collect and Use the Blue Triangular Stone Key
Interact with the Bedroom window and you’ll be taken to a space outdoors. Your next task is to find something that can serve as a lever to close the blinds in this area.
Look around and you can find the Blue Triangular Stone with a symbol on it lying on the floor. Head outside the apartment and towards the left side, and you can unlock the locked blue door.
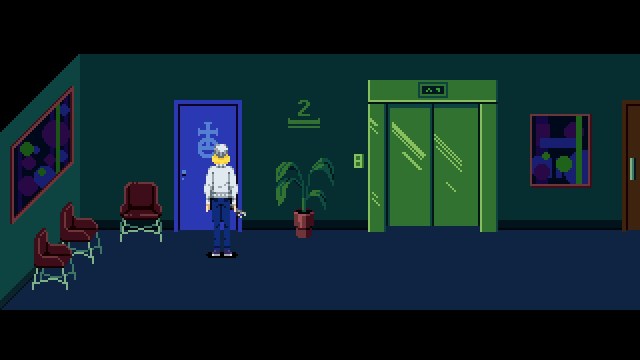
Opening the Locked Studio Door
Pick up the Scissor Blade from the kitchen counter and the X-Ray from the small bookshelf near the apartment’s front door, between the picture frame and lamp.
Stand in front of the door and use the Scissor Blade on it, followed by the X-Ray. This will push the key out of the lock and onto the X-Ray, allowing you to collect the A.S. Key.
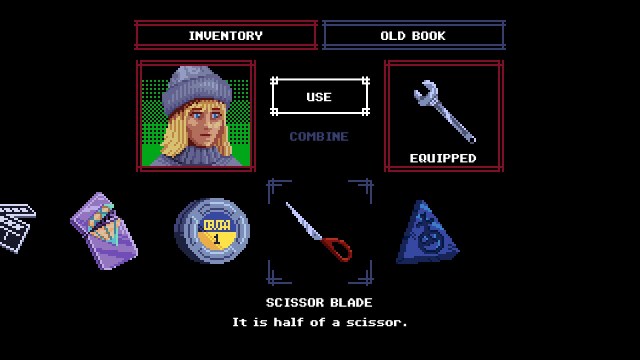
Use the A.S. Key to unlock the door and enter the movie office area, where you’ll find the remaining Scissor Blade needed for the Cardboard Cutout Poster Puzzle.
Cardboard Cutout Poster Puzzle
Enter the door on the left, and keep walking towards the left until you reach the office. Inside the office, you can pick the second half of the scissors. Combine them for a pair of scissors.
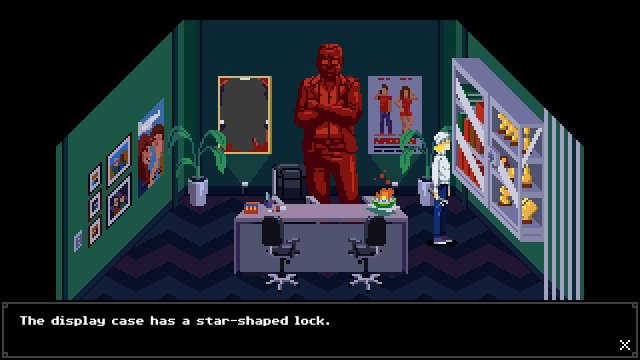
Now head back through the area and look for six cardboard cutouts with missing or incorrect pieces. Interact with them using the scissors to get six Cardboard Pieces.
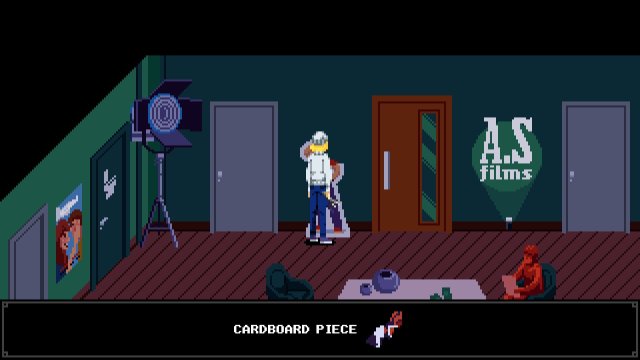
Now go back to the office and interact with the torn poster in the back. You will be prompted to place the Cardboard Pieces in their correct positions. You can check the image below to see what the solution looks like. Try to rotate the pieces and notice how the edges can line up in the missing places.
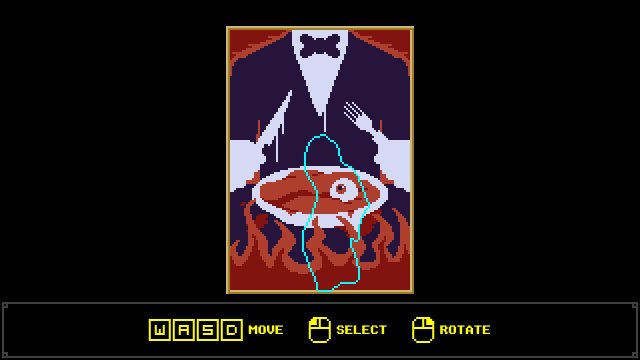
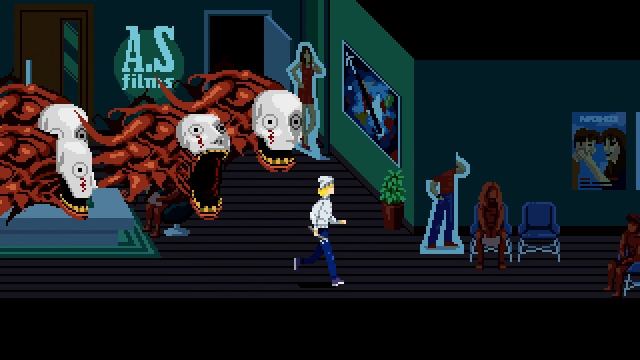
Once you’ve completed the poster, use the Lighter to burn it and get the mop. Get ready for a chase sequence as you try to leave the area.
Facing Candlehead Boss
The last task on the second floor for now is to defeat the Candlehead boss who shows up once you close the Bedroom blinds with the Mop.
The Candlehead boss is initially invisible, making it impossible to attack directly. To expose it, you’ll need to interact with the lit candles around the room and extinguish them.
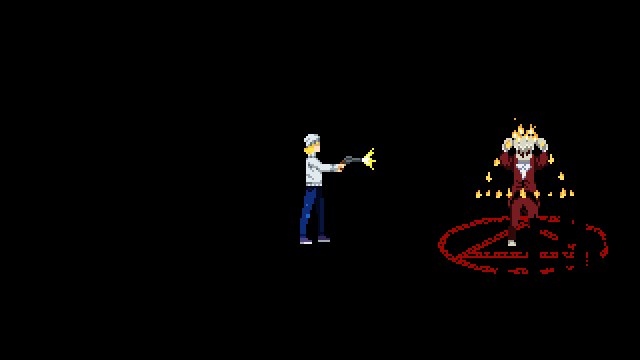
Once the candles are out, Candlehead becomes visible and vulnerable for a short period. Approach it and attack while you have the opportunity, but don’t chase it recklessly when it runs away.
Before lighting the candles again, the boss performs an attack that damages everything within a small area around it. Move away as soon as you notice it preparing this attack.
Accessing the First Floor
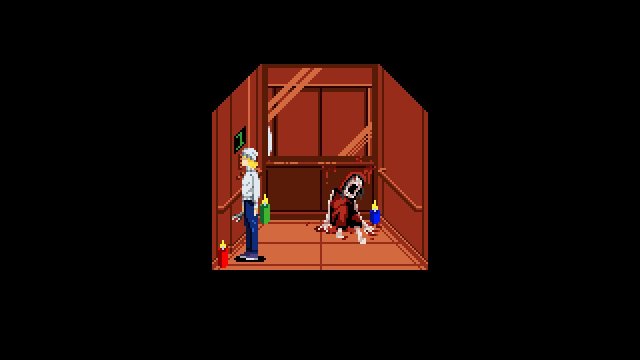
After defeating the Candlehead boss, you can pick up the Red Candle in the middle of the room. Combine it with your Lighter to light it up and place it inside the Elevator. This will give you access to the first floor.
Tenebris Somnia First Floor Walkthrough
After defeating Candlehead, your next objective is to collect the USB Cable and USB Adapter, which you’ll need to access the Projection Room on the first floor.
How to Get the USB Cable From the Bar
Head back to the third floor using the elevator and approach the locked door with the blue triangular symbol, located to the left of the elevator. Use the Blue Triangular Stone you collected earlier to unlock it.
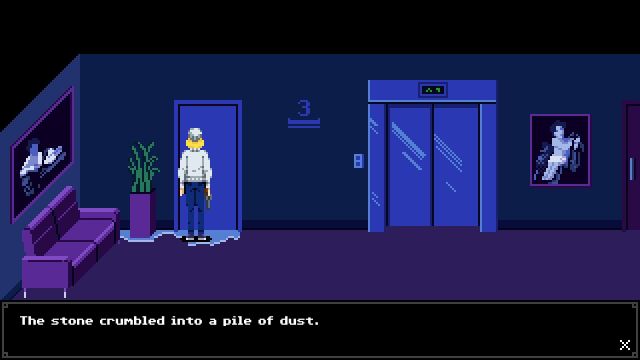
Once outside, head left and pick up the first Bottle before entering the bar. There are three more Bottles to collect inside, one on a table, another behind the bar, and the last one in the bathroom.
After collecting all four Bottles, interact with the bell on the counter and listen carefully to the sound it makes.
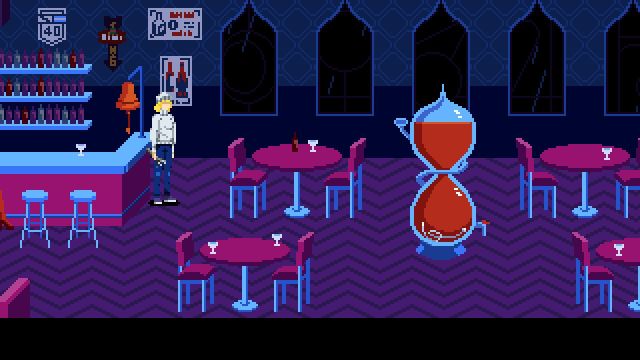
Now approach the large glass pitcher and use your Bottles to pour liquid into it. Each Bottle changes the pitch of the sound produced by the pitcher. You can strike the pitcher with your Wrench to hear its current tone and compare it with the bell.
If the sound doesn’t match, use an Empty Bottle to remove some of the liquid and adjust the pitch. Keep experimenting until both sounds match. Once you’ve matched the pitch, return to the counter and ring the bell again. The glass pitcher will shatter, allowing you to collect the USB Cable.
The correct combination is randomized for each playthrough, so you’ll need to match the sounds yourself. You can also find the Iron Pipe in the bar’s bathroom. It has twice the range of your Wrench, making it incredibly useful for all combat encounters ahead.
How to Get the USB Adapter
Take the elevator to the first floor and head right. Once inside, continue right until you reach a doorway with light shining through it. Enter the dining room and interact with the third door on the right to access the staircase.
While you’re here, go inside the first door and walk left to find the Black Tape on a counter. We’ll be needing this later.
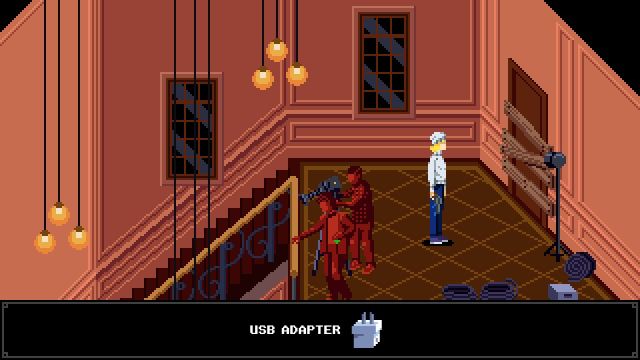
Climb the stairs all the way to the top, where you’ll find the USB Adapter on the floor near a boarded-up door. Open your inventory and combine the USB Adapter with the USB Cable to create the USB Charger
How to Unlock the Projection Room
Now that you have the USB Charger, take the elevator back to the third floor and enter Ivan’s apartment.
Go through the purple door to the left of the broken television and head to the right side of the room. Stand near Ivan’s phone and the wall outlet, then use the USB Charger to power the phone and read the code.
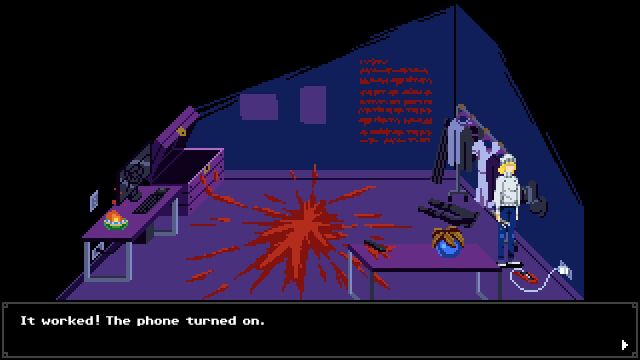
Return to the first floor, head left to Door A, and enter the code into the locked door inside. If you’ve forgotten the code, you can check the Old Book in your inventory to find it again.
How to Get the Green Square Stone and White Candle
Inside the Projection Room, interact with the projector and use the Devora 1 Film Canister.
If you haven’t collected it yet, return to Ivan’s office in the second-floor apartment. You’ll find the Film Canister inside the chest on the left side of the room.
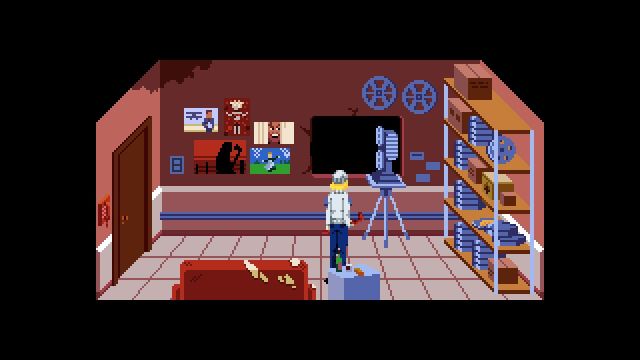
After playing the film, head downstairs and enter the theater through the double doors at the top of the room. One of the metal boxes on the left will now be open. Interact with it to collect the Plate with X.
Take the elevator hallway back toward Door 6 on the first floor, then proceed through the illuminated doorway into the dining room.
Return to the dining room and use the Black Tape on the upper-left plate. Next, use the Plate with X on the empty spot directly below it. You can find the Black Tape on the first floor of this area, if you haven’t found it yet.
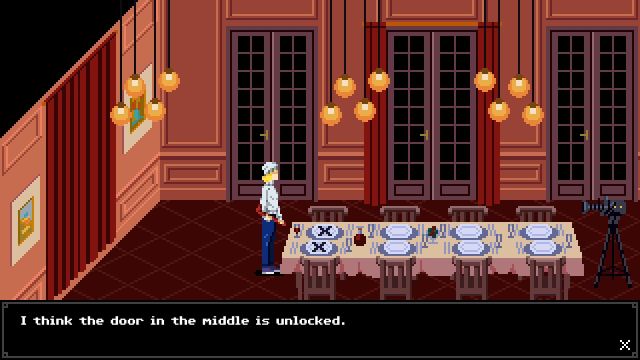
This unlocks the double doors in the center of the dining room. Head inside and collect the Green Square Stone. Get ready for a new enemy when you return to the Dining Room.
Now return to Ivan’s apartment on the third floor and walk all the way to the right until you reach a door marked with a green symbol. Use the Green Square Stone to unlock it, then enter the room and collect the White Candle from the dresser on the left.
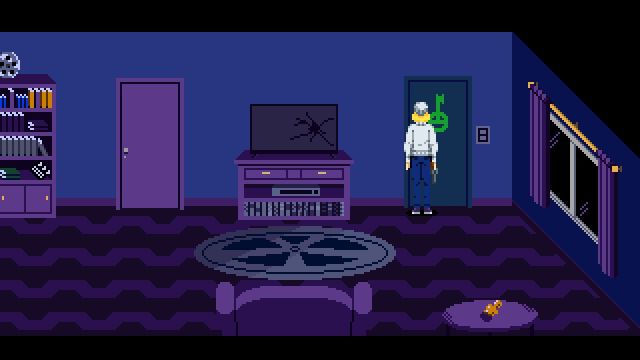
You can now light the White Candle and head down to Floor 0.
Tenebris Somnia Floor 0 Walkthrough
The next major section involves exploring the Film School, solving an electrical current puzzle, and completing several puzzles inside the Cinematography Class.
In the Film School, you can explore the first and second floors. You must first go upstairs to solve the Electrical Room puzzle for the Yellow RCA Cable.
How to Solve the Electrical Current Puzzle
Once you’ve reached the Film School, go upstairs and enter the green door to access the Electrical Current Puzzle Room.
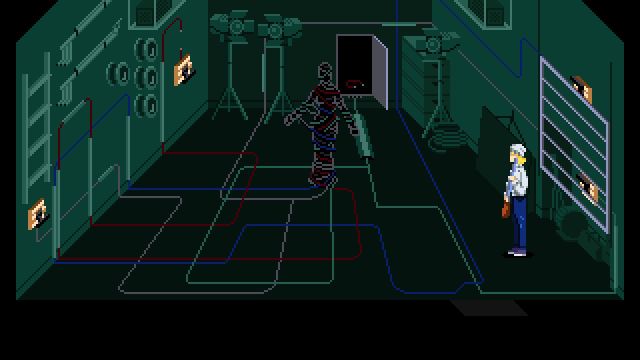
Start by interacting with the electrical switch in the bottom-left corner. Wait until the gate rises completely, then interact with the switch again and quickly run across the room to the bottom-right switch before the gate closes. Be careful while moving through the room. The cables glow whenever electricity is running through them, and touching them while they’re active will damage you.
Once you’ve activated the bottom-right switch, a box at the top of the room will open. Head over and collect the Piece of Cable.
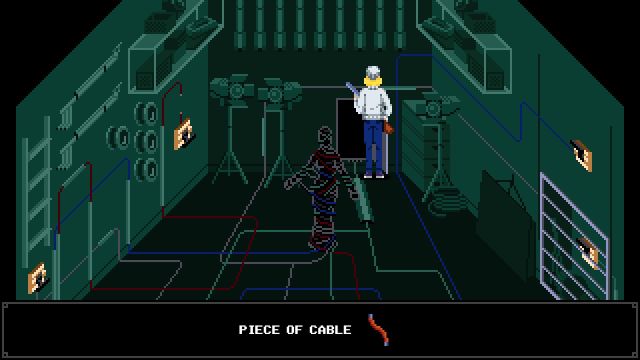
Next, move to the upper-left switch, use the Piece of Cable on it, and then interact with it.
Return to the bottom-left switch and activate it once more. If you’ve completed the sequence correctly, the statue in the middle of the room will explode. You can then approach the fallen statue and pick up the Yellow RCA Cable.
Now, head back downstairs to the Cinematography Class and use it on the camera.
How to Solve the Cinematography Class Puzzle
Once you have the RCA Cable you need to solve the Cinematography Class Projector puzzle. Check out our full guide for the complete steps.
How to Complete the TV Room Puzzle
After entering the TV Room, immediately head north into the darkness and keep pressing the interact button as you move around. You must begin activating the televisions scattered throughout the room, providing more light.
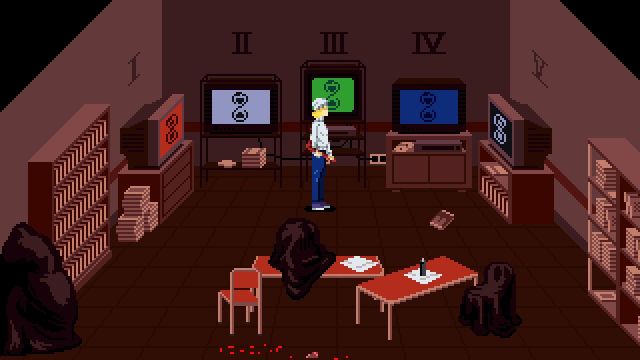
Once you’ve turned them all on, the color pattern displayed across the TVs will automatically be recorded in your Old Book. Before leaving, collect the Black Candle from the desk.
Open your inventory and combine the Black Candle with the Lighter to ignite it. You’ll need the lit candle for the elevator puzzle.
Take not of the color sequence displayed on the TV screens.
How to Unlock Floor -1 in Tenebris Somnia
After completing the TV Room, return to the elevator with the lit Black Candle. Use the candle while standing inside the elevator to place it down and activate the puzzle.
Open your Old Book and look at the color sequence you recorded from the TV Room. Each color corresponds to a different floor in the building.
| Color | Floor |
|---|---|
| Blue | Third Floor |
| Green | Second Floor |
| Red | First Floor |
| White | Ground Floor (Floor 0) |
You need to visit the floors in the exact order shown in your Old Book, reading the pattern from top to bottom. For example, if the sequence is Blue, White, Red, Green, you would travel to the third floor, ground floor, first floor, and second floor in that order.
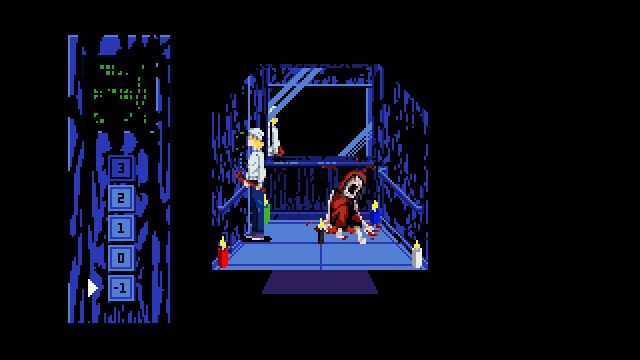
The sequence is randomized, so you can’t copy it from another playthrough.
As you enter the correct floors, the elevator will gradually become more corrupted. Once you’ve completed the entire sequence, a new Floor -1 option will appear on the elevator panel.
Select Floor -1 to continue downwards.
Tenebris Somnia Floor -1 Walkthrough
Floor -1 takes you into the deepest parts of Ivan’s memories. You’ll need to explore the corridors, retrieve another Film Canister, and use it to unlock a new area.
How to Get the Second Film Canister
After leaving the elevator, begin exploring the corridors. Left will let you find items like ammo and health, but the objective is to head right.
Clear all obstacle and continue following the path until you reach a small bedroom. Inside, you’ll find a statue of Ivan with the second Film Canister.
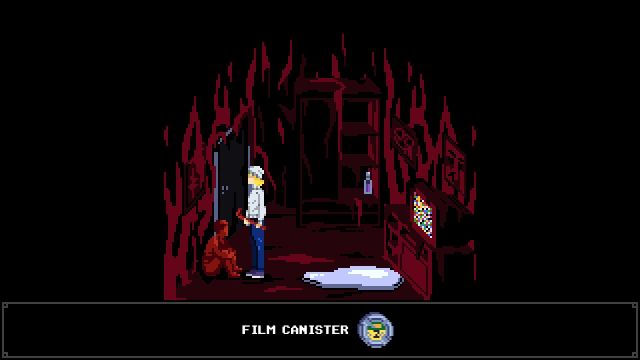
Return via the elevator and be prepared for a jumpscare.
How to Get the Cow Skull
Once you’ve played the second Film Canister, in the projector room, head downstairs to the theater. The second metal box will give you the Cow Skull.
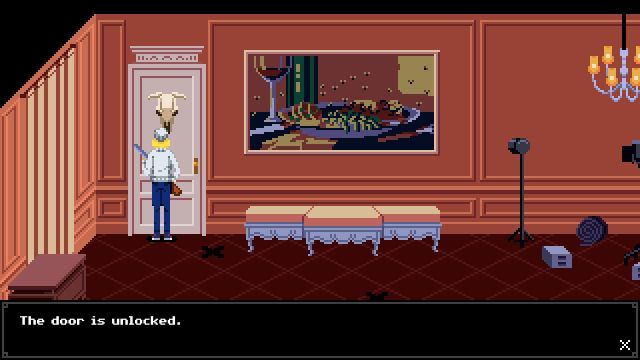
Return to the first-floor elevator hallway and enter Door 6 to reach the dining room and head into the door on the first floor where you found the Black Tape. Use the Cow Skull on the door here to unlock it.
How to Beat the Tall Faceless Woman Fumus Boss
You’ll encounter the Tall Faceless Woman Boss inside the Cow Head Room.
The easiest strategy is to keep your distance throughout the fight. Staying far away encourages the boss to use her slam attack, which is much easier to avoid than her close-range attacks. Wait for her to perform the slam, move away from its impact area, and retaliate when she’s recovering. Note that she’s invincible while she has a red circle around her, so don’t waste your ammunition.
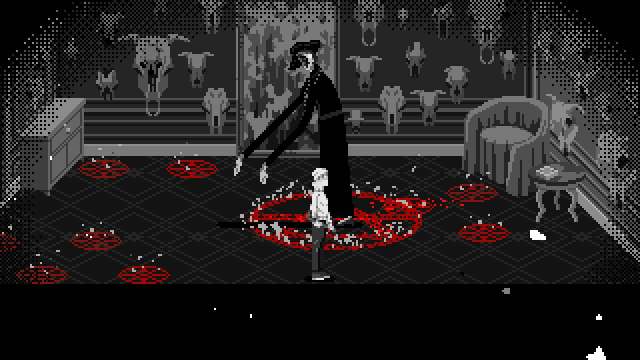
You’ll also need to watch out for the red circles that appear on the floor. Stepping on one will cause Julie to use the revolver on herself. As you deal more damage, additional red circles begin appearing, making it harder to move around safely.
You don’t need to rush the encounter. Take it slow, continue staying at range, bait her slam attack, and deal damage whenever you have a safe opening.
Eventually you will defeat her and get the Red Pentacle Stone which can open a couple new doors.
Third Film Canister and Photograph Puzzle
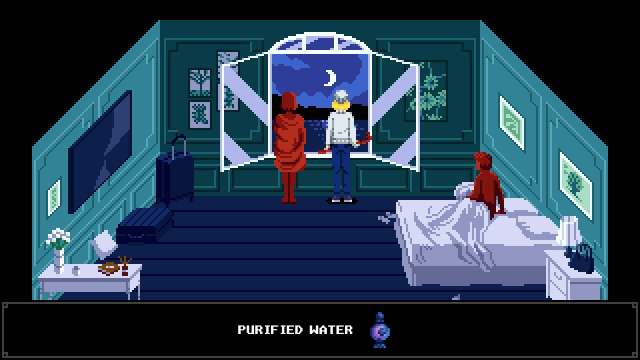
The next place you need to go is the leftmost door on the first floor of the Film School. Interacting with the canister in the middle of the room will teleport you away and you’ll get instructions on how to purify the Cursed Film Canister.
How to Get the Silver Key and Silver Bottle
While speaking with Sanguis in the Film Studio Lobby, select the SPELL dialogue option and continue the conversation until he writes information into your Old Book. You’ll have to complete the Purification puzzle to get the Third Film Canister.
Find and Use the Chisel
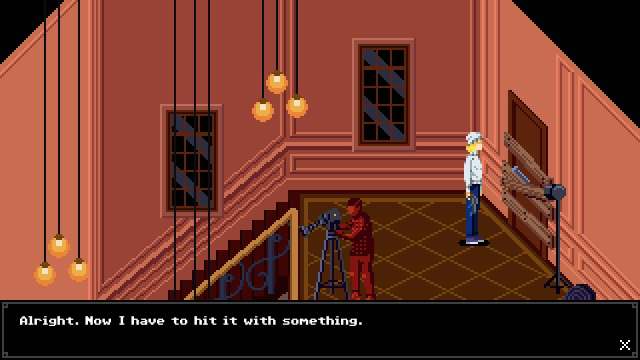
By playing the Third Film Canister in the Projection Room, you will receive the Cold Chisel. To use it, you must go to the first floor’s film area and climb all the way up the stairs.
Before leaving for the next area, make sure to grab the Light Bulb from the Photo Development Studio in the Film School, you’ll need it.
Use the Cold Chisel on the door to lodge it in and then strike it with your melee weapon to open the door.
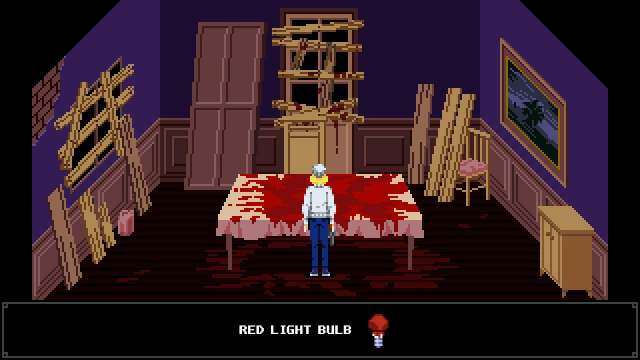
Proceed ahead and use the Light Bulb on the table to get the Red Light Bulb. Also get ready for a pretty tough combat encounter.
Develop the Photo
With the Red Light Bulb in your possession you can plug it back into the Photo Development Studio lamp and develop the photo.
You’ll also need the Photo Roll which can be found on the floor of the theater lobby on the first floor of the apartment building and the Chemicals from Ivan’s third-floor bathroom.
Once you have everything, follow these steps:
- Use the Red Light Bulb on the lamp in the left corner of the Photo Development Room.
- Use the Chemicals on the trays on the table directly above the lamp.
- Approach the table in the top part of the room and use the Photo Roll on it.
- Move left and use the Negative on the next table.
- Use the Photo Paper immediately afterward to obtain the Printed Photo.
- Return to the chemical trays and use the Printed Photo on them to develop the photograph.
Getting the Hexagonal Stone
Once you have the developed photo, head to the third floor and place it in frame next to the bed. You’ll receive the Hexagonal Stone, which can open the Kitchen, and more importantly, the Film School door.
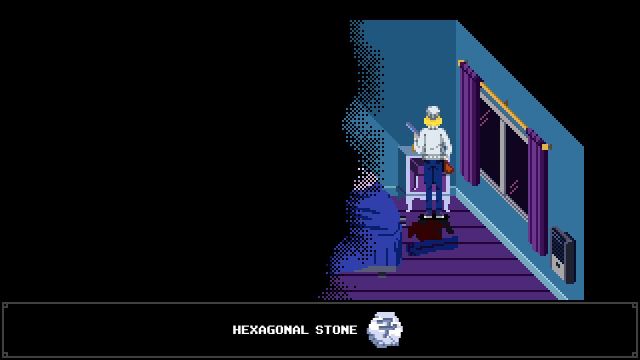
To progress the story, return to the Film School and head up to the second floor. Speak to Sanguis and process through the door. Get ready for a tough boss fight.
You will have to defeat Vitria and this fight is fairly hard so be sure to check our Vitria boss guide. Get the Iron Key from Sanguis and move towards the next section of the game.
Desiderium Film School Walkthrough
Surviving the Chase
First of all, you need to run away from Sanguis. Your path will be blocked by statues, but you can bait Sanguis into lunging at them to break them. You can also damage him with the various blades popping out of the floor.
To defeat him, bait him towards the final massive blade near the end of the chase. You can also choose to ignore this and just run away from the encounter.
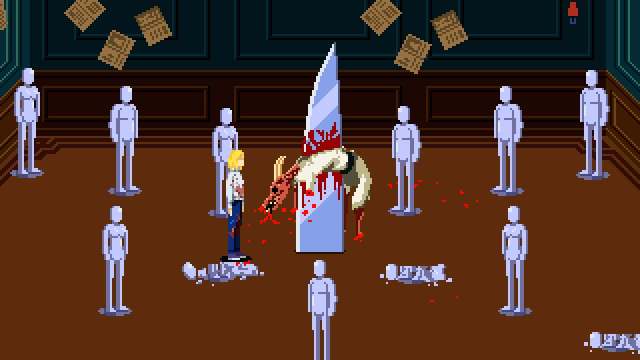
The next section takes place in Desiderium, where you’ll need to revisit several familiar locations in the Film School and obtain a Red Candle to unlock the stairwell.
How to Get the Blue RCA Cable
Head to the TV Room on the first floor of the Film School and begin activating the televisions in the dark room.
Once the TVs are turned on and the room is illuminated, collect the Blue RCA Cable from the table.
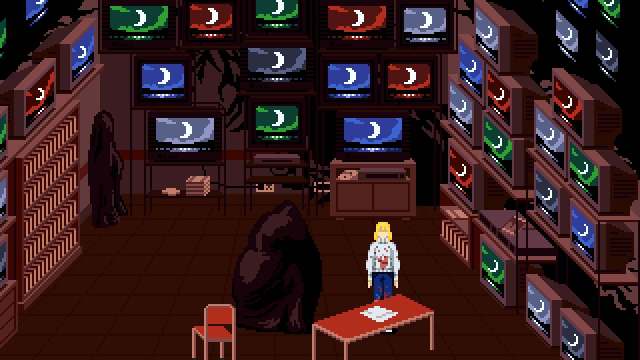
Exit the room and proceed down the hallway until you reach the blue door. Enter and collect the Black Lightbulb from the desk.
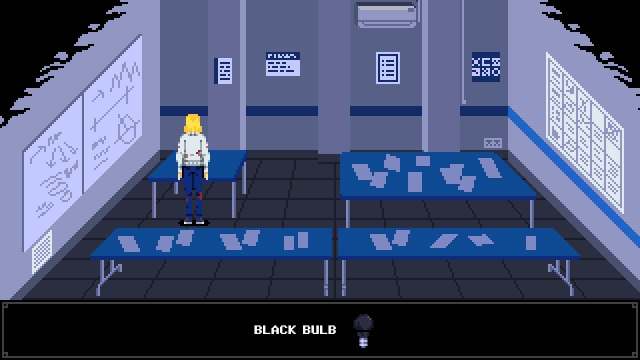
Now return to the Photo Developing Room on the first floor and use the Black Lightbulb on the lamp in the left corner.
The colors of the game will become inverted, turning your Blue RCA Cable into a Yellow RCA Cable.
How to Solve the RCA Cable Film Room Puzzle
With the Yellow RCA Cable, head back down to the ground floor of the Film School and enter the Film Production Room. Use the Yellow RCA Cable on the camera, then approach the rope and interact with it to access the next area.
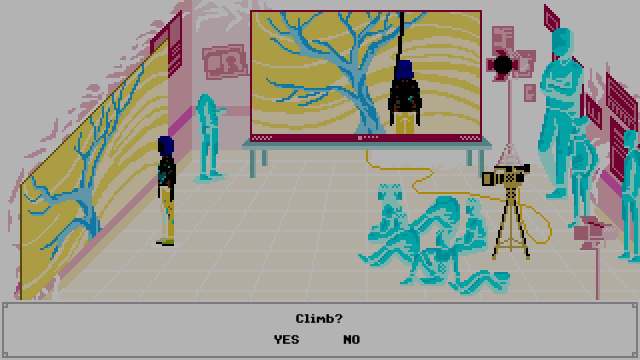
Once inside, activate the lever in the bottom-left corner and wait for the gate to rise completely. Interact with the lever a second time to turn off the electrical current, then quickly run toward the box and interact with it to get all of your equipment back.
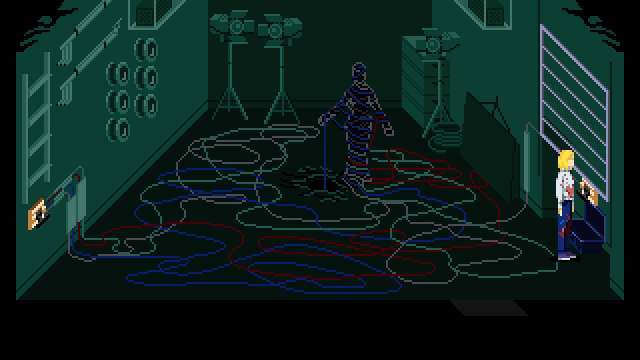
How to Get and Use the Red Candle
After completing the electrical section, return to the first floor and head into the room that originally contained the Cursed Film Canister. Break the glass and use the Apartment Key on the Purified Water.
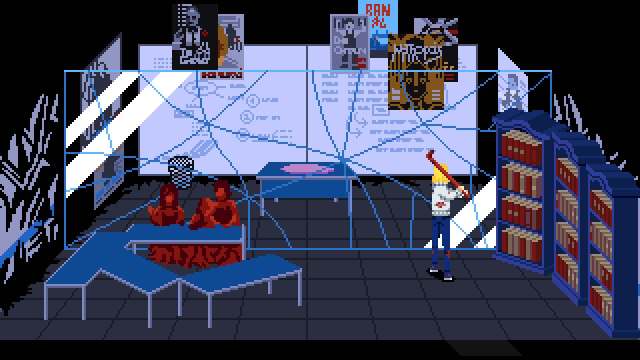
Next, return to the ground floor and enter the room where you originally collected the Black Lightbulb. You’ll notice several statues surrounding a table. Approach the Julia statue and interact with it to obtain the Red Candle.
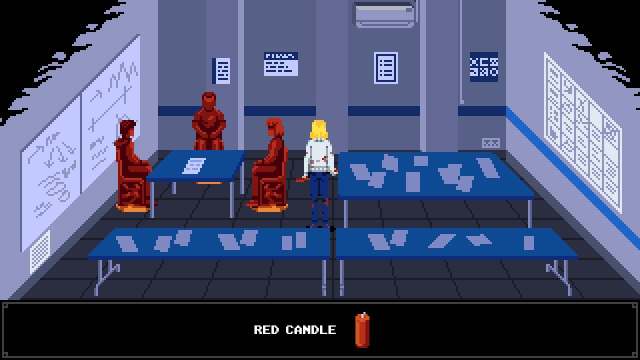
Now return to the ground-floor lobby of the apartment building and enter the stairwell through the door to the right of the elevator. Find the red symbol on the wall and use the lit Red Candle to unlock the next section.
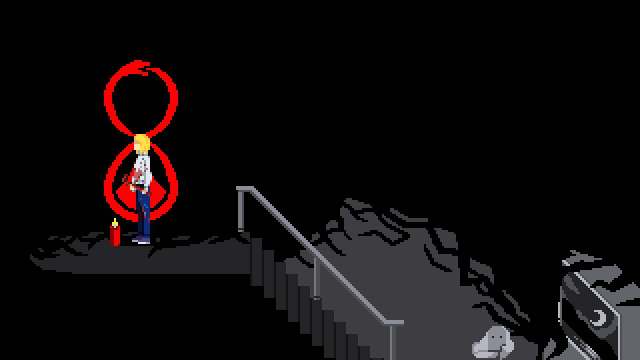
Desiderium Floor 1 Walkthrough
The first floor requires you to first solve the fly puzzle on the left door and then you have to deal with waves of enemies to get the Tin Key.
How to Solve the Fly Statue Puzzle
When you enter the room on the left and make your way to the fly, it becomes more golden as you walk towards it. Take note of the tiles you walked on to reach the fly. Then break the fly.
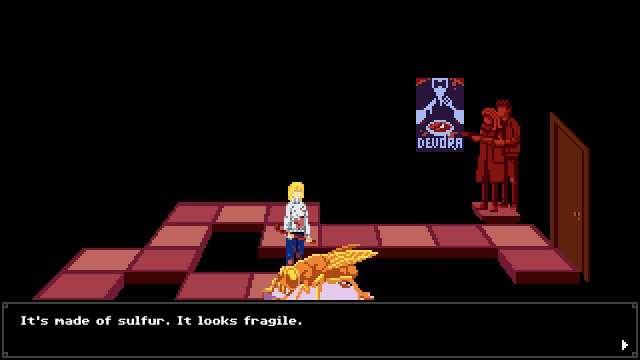
After this, return to the first room and repeat the same walking pattern in the room. The fly becomes more golden as you take the correct steps and loses the color when you take a wrong step. Reach it and smash it to unlock the theater doors and collect the Lead Fly from inside.
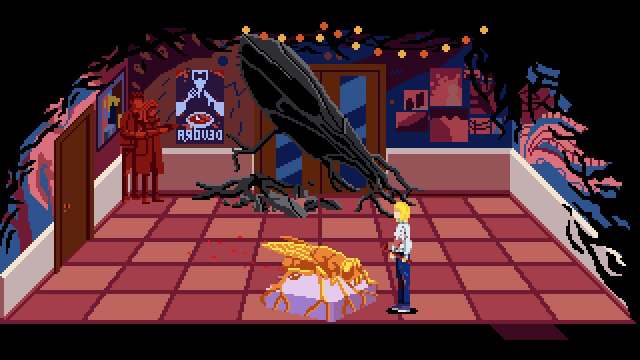
The tile pattern changes between playthroughs, so make sure you remember the route from the previous room.
Return to the apartment hallway and use the Lead Fly on the locked door marked with a fly symbol to continue.
How to Get the Tin Key and Green Candle
After defeating Carnito in the final encounter, exit the room and collect the Tin Key hanging from the wire. Use the Tin Key to unlock the nearby door and return to the hallway.
Head back to the theater above the area where you destroyed the giant Fly Statue. You’ll find a locked box in the middle of the room.
Use the Tin Key to open it and collect the Green Candle. Combine the Green Candle with your Lighter, then return to the stairwell. Climb the stairs until you reach the green symbol on the wall and use the lit Green Candle to unlock access to the second and third floors.
Your main task on the second and third floors is to craft the Aurifer which will let you kill the invincible Relicta.
Getting the Aurifer Walkthrough
How to Get the Auritsatio
Head to the second floor and enter Ivan’s apartment. Go into the bathroom and interact with the faucet. Afterward, return to the living room and interact with the Ivan statue holding a knife. Make sure you complete both interactions, as they’re required later.
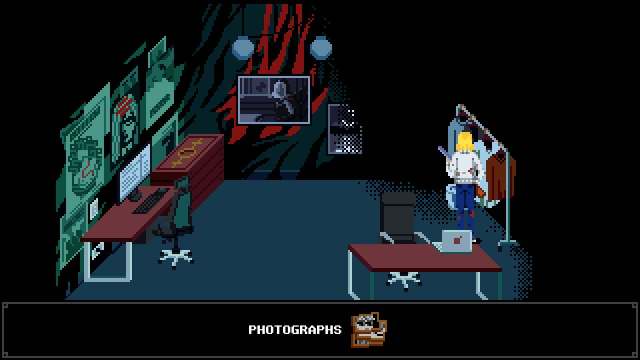
Next, enter the bedroom and collect the Glass Box from the table beside the bed. Head into the office and inspect the clothes rack to obtain the Photographs.
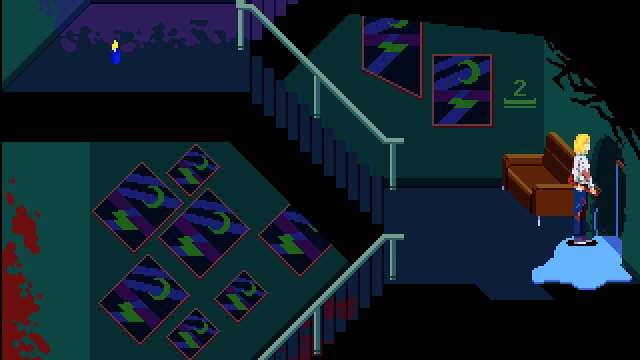
Exit the apartment and return to the stairwell. You’ll find a flooded wall that can be destroyed with your melee weapon. Break through the wall and enter the bathroom on the other side. Interact with the shower curtain to reveal a passage leading into the kitchen.
Now return to the stairwell and head to the third-floor apartment. Enter the office and interact with the plant vase on the table to obtain the Glass Vase. Open your inventory and combine the Glass Vase with the Film Canisters. We’re one step closer to creating Auritsatio.
How to Solve the Poem and Photograph Office Puzzle
While inside the third-floor office, approach the wall with Roman numerals and inspect the poems. The puzzle is complex and has its own rules. For a complete breakdown of all possible sequences, check our Tenebris Somnia Poem and Photograph Office Puzzle Guide.
Once you’ve completed the puzzle, return to the kitchen on the second floor through the bathroom passage. Use the Vase Filled with Chemicals and Blood on the oven, then use your Lighter to burn it.
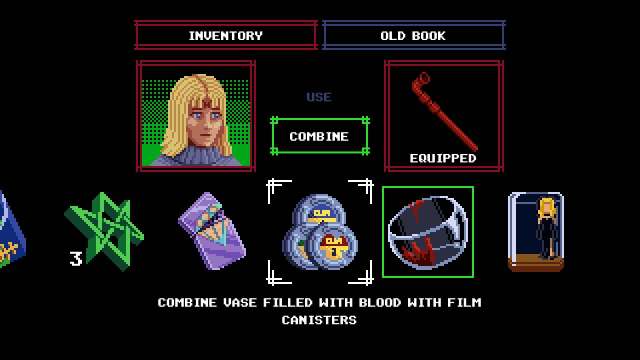
Afterward, pick up the Circular Plate from the table, this can open the locked chest upstairs.
How to Get the Lapis Fictus Knife
After collecting the Circular Plate, leave the kitchen and head into the office on the second floor.
Pick up the Julia Figure, then use the Circular Plate on the chest in the corner to obtain the VHS Tape. Open your inventory and combine the Julia Figure with the Glass Box. Return to the third-floor living room and use the VHS Tape on the television.
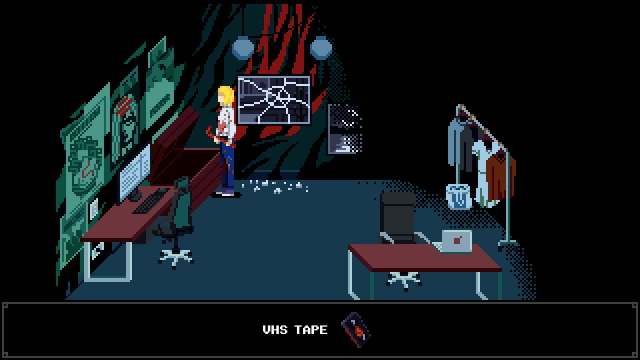
This triggers a combat encounter involving several waves of enemies that are only visible on the TV screen. Defeat the enemies while using the television to track their locations. Once the encounter is over, collect the Ivan Figure from the TV screen and combine it with the Glass Box.
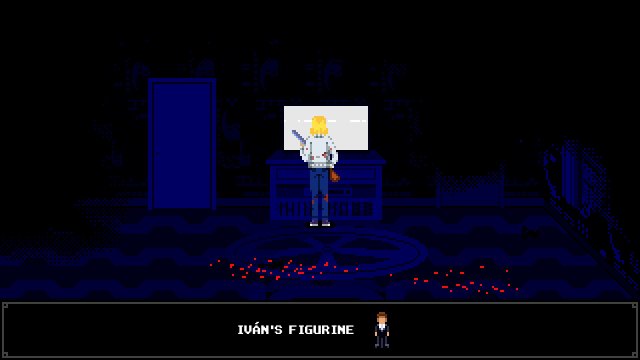
Now head back to the second-floor hallway and enter the blue door on the far left. Continue left through the A.S. door until you reach a statue with a hole in its chest.
Before you progress, you can keep walking left towards the endless hallway to collect some Shotgun Ammo and healing items.
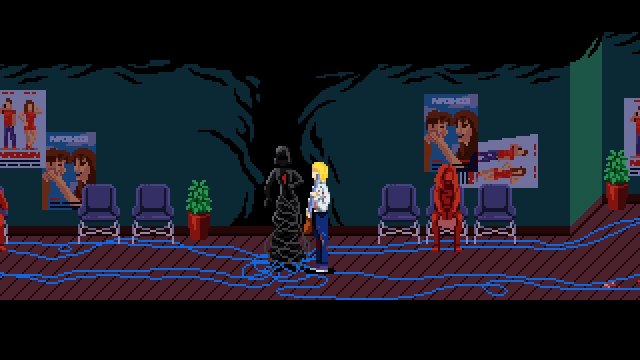
Use the Glass Box on the statue to turn it gold, then destroy it with a melee attack. After breaking the statue, continue left down the hallway until you reach the studio light. Use the Vase Filled with Chemicals and Blood on the light to obtain the Auritsatio mixture.
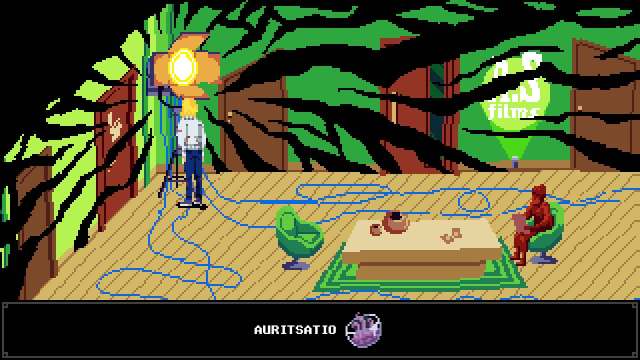
Return to Ivan’s apartment on the second floor and use the Auritsatio on the Ivan statue in the living room. This gets you the Lapis Fictus Knife.
How to Get the Melanosis Knife
After obtaining the Lapis Fictus Knife, leave the apartment and return to the stairwell. Use the bathroom passage to access the kitchen.
Stand near the fuse box and use the Lapis Fictus Knife on it to transform the weapon into the Melanosis Knife.
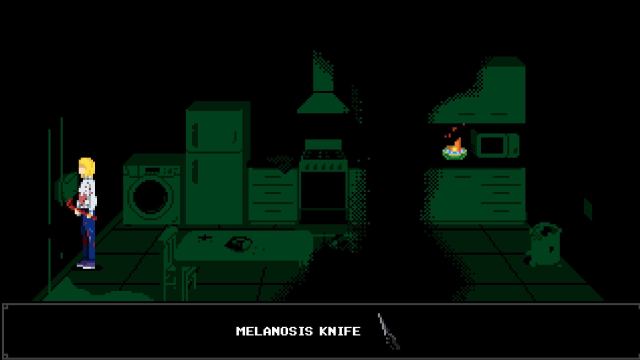
Once you’ve collected it, return to the apartment hallway and approach the elevator. Interact with the elevator door and use the ladder to descend into the shaft.
How to Get the Viridis Knife
After reaching the bottom of the elevator shaft, a cutscene will play, followed by a chase involving several Relicta ghosts.
Escape the ghosts by entering the door. In the room up ahead, you’ll find a puddle of mercury on the floor. Use the Melanosis Knife on the mercury to obtain the Viridis Knife.
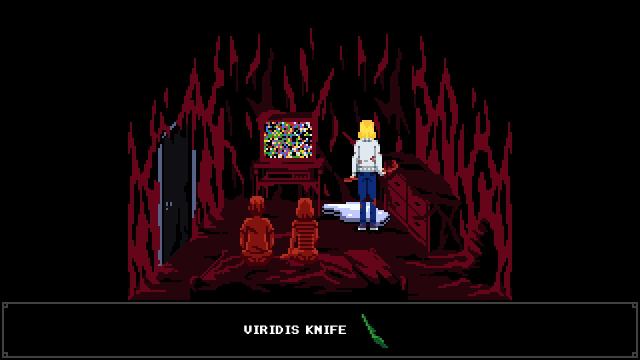
Afterward, approach the hole in the wall in the corner of the room which causes the television to drop a Lead Key. Collect the key and interact with the hole again to leave the room. Climb all the way up the stairs until you return to the ground floor of the apartment building.
How to Get the Aurifer Knife
From the ground floor, enter the stairwell and head to the second floor. Walk all the way left and enter the Film Studio Lobby. Once inside, find the locked door and use the Lead Key to open it.
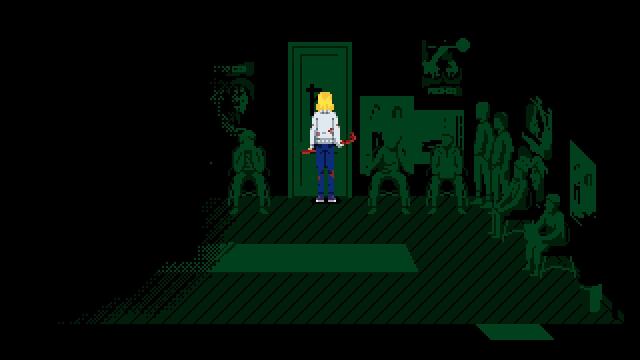
Continue north through each door until you eventually reach the locked Hotel Door. Stand in front of the door and use the Viridis Knife to trigger a cutscene. After the cutscene ends, you’ll receive the Aurifer Knife.
Ending Walkthrough
There are two main endings for the story and they depend on whether or not you choose to kill the Relicta once you get the Aurifer. If you kill even a single Relicta with the Aurifer, you will get the bad end. If you don’t kill anyone with it, you will get the standard good ending.
How to Get the Good Ending
To obtain the Good Ending, do not kill any Relicta ghosts with the Aurifer Knife. This is easy to do, because the ghosts will cower away in fear once you have the knife.
How to Get the Bad Ending
To get the Bad Ending, you only need to kill one Relicta ghost using the Aurifer Knife. You don’t need to eliminate every ghost you encounter. Killing a single Relicta is enough to put you on the Bad Ending route.
If you create a save before making this decision, you can reload afterward to experience the other ending without replaying the entire game.
How to Reach the Final Area
Climb all the way to the third floor. Enter the third-floor apartment hallway, then head left until you reach the door leading to the theater and bar where we solved the music puzzle.
Go through the door and continue left along the street until you reach the Septimo Arte building. Enter the building, collect the supplies and make your way forward.
This is the final area of Tenebris Somnia, where the remaining boss encounters and ending sequence take place.
There are two more endings, including a super secret true ending that’s only accessible in New Game+ for Tenebris Somnia, making for a total of 4 endings.


