
How to Get the True Ending in Sea of Stars
Prepare to cry.
If you rolled the credits on Sea of Stars, you’re most definitely crying. “How could they end it like that?!” you’re likely asking yourself, tears streaming down your face. That’s what I did, anyway. Well, what if I told you there’s another ending to unlock, one that’s even more emotional? Here’s how to get the True Ending in Sea of Stars.
How to Unlock the True Ending in Sea of Stars
To access Sea of Stars’ True Ending, you must activate all seven pillars in the Moorlands on Sleeper Island, near where you first met Teaks. This is done by beating the game once and completing several side tasks outside of the main story. It’s a lot of work, but it’s definitely worth it—especially after how the first ending leaves things.
How to Activate the Pillars in the Moorlands in Sea of Stars
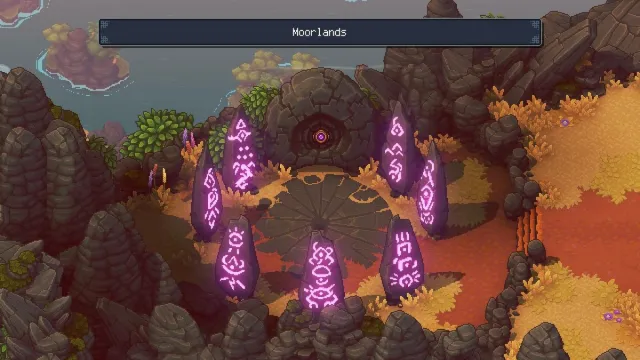
To light up the pillars in the Moorlands in Sea of Stars, you need to complete the following seven tasks:
- Find all 60 Rainbow Conches and give them to Mirna in Docarri Village on Watcher Island.
- Solve all the underwater Docarri Ruin puzzles and defeat the Sea Slug.
- Finish building Mirth by recruiting an Innkeeper and Merchant and opening the Fishing Hut and Spa.
- Unlock and complete all five Solstice Shrines, then defeat the Elder Mist once more.
- Complete all ranks of the Arena in Brisk and beat Croustalion.
- Free Duke Aventry from Ramaya’s clutches on Wraith Island.
- Navigate through the Cerulean Expanse and defeat The Queen That Was.
How to Find All 60 Rainbow Conches in Sea of Stars
There are 60 Rainbow Conches scattered throughout Sea of Stars’ various islands, and if you want the True Ending, you need to find them all and give them to Mirna in Docarri Village. As you explore, look for blue and gold chests—these house a Rainbow Conch each.
Some Rainbow Conches are even tied to mini side quests, which are as follows:
- Brisk: Give the child on the fishing boat 40 filets.
- Stonemasons Outpost: Bring the painter a muse to paint.
- Town of Lucent: Help the painting make amends to his brother.
- Docarri Village: Find the three children for the old man.
- Mooncradle: Help the NPC clear the leaves.
- Mooncradle: Clear the thorns from the field for the farmer.
- Repine: Give the machine in the Inn five meals:
- “Something sweet”: Berry Jam.
- “Something warming”: Hearty Stew.
- “Something meaty”: Gourmet Burger.
- “Something light”: Basic Salad.
- “Something made out of fish”: Sashimi.
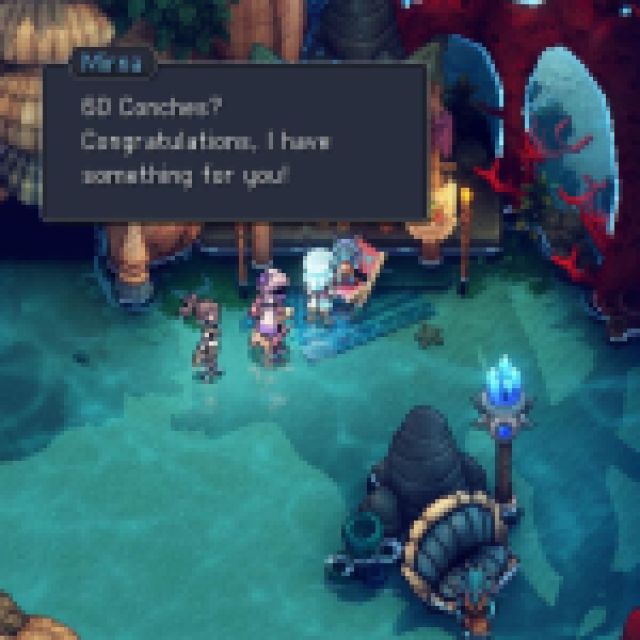
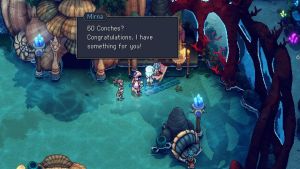
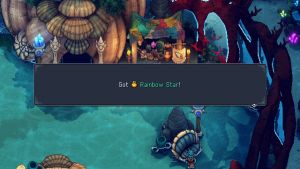
After giving Mirna 27 Rainbow Conches, she will reward you with “something shrewd”—AKA the Falcon-eyed Parrot.
The Falcon-eyed Parrot is invaluable when it comes to finding any remaining Rainbow Conches and Treasure Chests, as it tells you how many you still have left to find on an island when interacting with it on the World Map.
Once Mirna has all 60 Rainbow Conches, she’ll give you the Rainbow Star, which activates one of the pillars in the Moorlands.
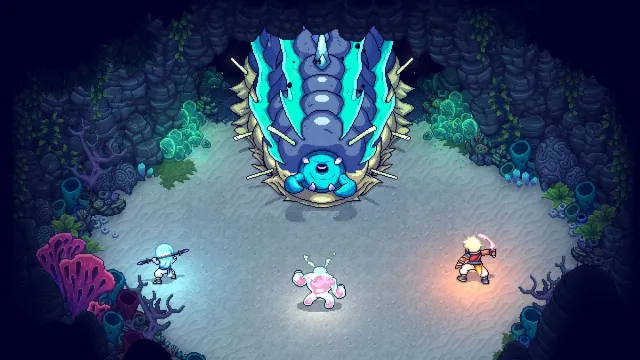
How to Open the Docarri Ruins in Sea of Stars
There are three Docarri Ruins to find in the Home World. As you sail across the sea, you’ll notice underwater trails that lead to Solstice pillars. You need to use the Solstice Amulet to activate these pillars, which will then light up the underwater trails and reveal four whirlpools.
Three of the whirlpools lead to Docarri Ruin puzzles, while one leads to the Sealed Docarri Ruins. You must solve all three Docarri Ruin puzzles to gain three Seal Fragments, which open the Sealed Docarri Ruins. Once you have all three Seal Fragments and have opened the Sealed Docarri Ruins, you’ll fight the Sea Slug and activate one of the pillars in the Moorlands.
How to Build the Mirth Inn, Shop, Fishing Hut, and Spa in Sea of Stars
Building the Inn, Shop, Fishing Hut, and Spa in Mirth is tied directly to Rainbow Conches. You need to unlock the plans for each facility before you can build them, which are unlocked by giving Mirna a certain number of Rainbow Conches:
- Four Rainbow Conches: Inn Plans.
- 19 Rainbow Conches: Shop Plans.
- 22 Rainbow Conches: Fishing Hut Plans.
- 39 Rainbow Conches: Spa Plans.
Once you have the plans, hand them over to Jirard the Constructionist in Mirth. He’ll build the facilities, but it’s your job to find folks to run them. Here’s where to find each NPC:
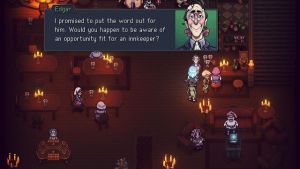
- Innkeeper: Speak to Edgar in the Inn in the Town of Lucent to recruit his brother, Lambert.
- Shopkeeper: Find the Merchant in the building in the southeast of Docarri Village.
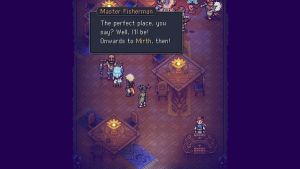
- Master Fisherman: Talk to the Master Fisherman in the Mooncradle Inn.
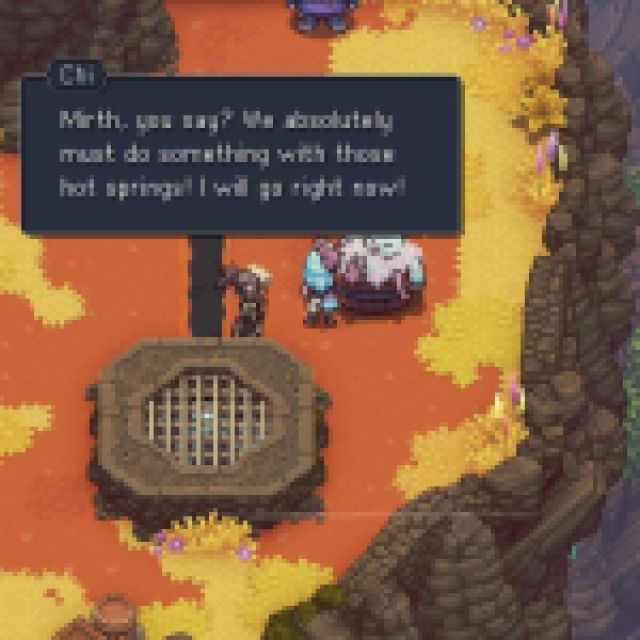
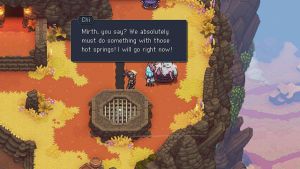
- Spa: Go to Stonemasons Outpost on Sleeper Island and speak to Chi on the village’s eastern side after restoring the water for her.
All Five Solstice Shrine Locations in Sea of Stars
There are five Solstice Shrines in Sea of Stars, each including a puzzle room you must solve. They are located on:
- Evermist Island.
- Wraith Island.
- Floating Island.
- No Port Island.
- Solstice Shrine Island (in Seraï’s World).
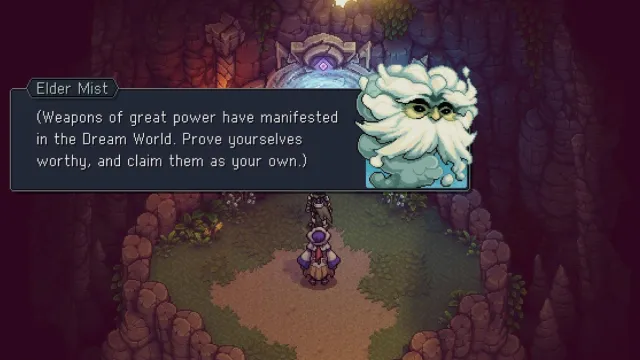
Once every Solstice Shrine has been completed, return to where you first met the Elder Mist on Mountain Trail. Climb down the rocks to the south, where you’ll see a waterfall and a cave with two lanterns outside. Go inside the cave and interact with the large symbol on the wall here.
This leads to a rematch with the Elder Mist, who is much tougher this time around. Defeat him to activate one of the pillars in the Moorlands.
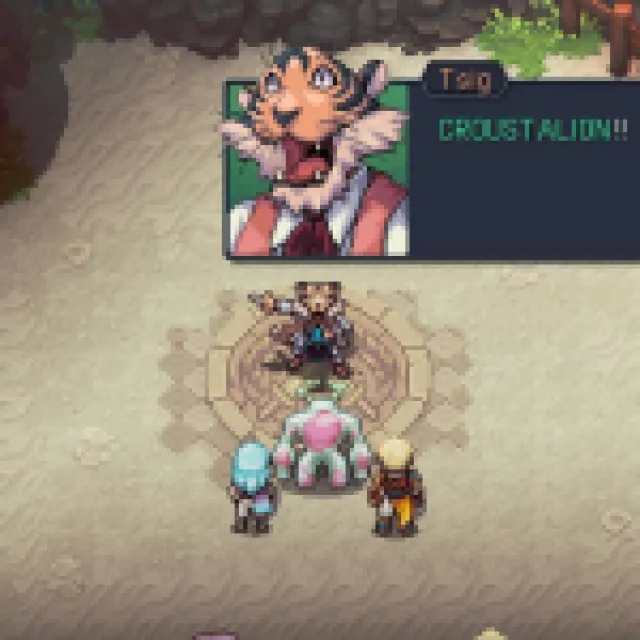
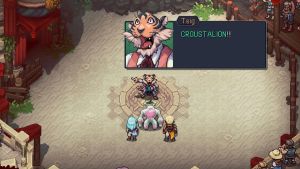
How to Defeat Croustalion at the Brisk Arena in Sea of Stars
After the townsfolk rebuild Brisk, a shiny new Arena will open up in the northeast section of town. Here, you must reign victorious in three ranks to unlock the Special Rank, which involves defeating a giant crab boss named Croustalion.
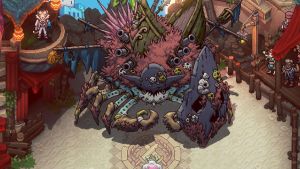
Croustalion is a tricky fight, so make sure you go in prepared. The boss summons two chests, one that heals and one that deals damage to your team. Make taking out the healing chest your top priority before focusing on the other. Croustalion has a large amount of health, so you don’t want your attacks to become redundant by allowing the foe to be healed.
When locks appear around Croustalion, this means he’s gearing up for a powerful attack, so switch your focus to breaking them as quickly as possible. You will need to use combos and likely an Ultimate to fully break him, so ensure you’re holding onto enough Combo Points to successfully execute the attack(s) when needed.
Once Croustalion is down, he’ll become a permanent addition to The Vespertine, and you’ll activate yet another pillar in the Moorlands. Two to go!
How to Free Duke Aventry on Wraith Island in Sea of Stars
Duke Aventry is a tragic tale in Sea of Stars. Once the owner of the Haunted Manor, he’s now doomed to spend the rest of his life serving Romaya, an evil Necromancer. If you want the True Ending, you need to see he gets justice.
Once you’ve unlocked flight, land on the small island east of Wraith Island and enter Romaya’s Secret Passage. Here, you’ll find a puzzle with different colored symbols tied to spinners, which you must solve using your Mistral Bracelet. The solution for the puzzle can be found on the wall in a cave by the Necromancer’s Lair… Or you can use my screenshot below for the correct answer.
Once you’ve solved the puzzle, take the elevator down to the aforementioned cave and open the chest to receive Romaya’s Journal. Give this to Duke Aventry in the Flooded Graveyard, and he’ll give you the Yellow Flame in return.
Take the Yellow Flame to the Ferryman at the Flooded Graveyard entrance, who will transport you to the Half-Sunken Tower on his raft. Progress through the Half-Sunken Tower until you reach Romaya, who is still holding a grudge after your first encounter with her. So much so that she wants a rematch—and she definitely doesn’t hold back this time!
After defeating Romaya, you’ll get the Aventry Locket. Return to the Flooded Graveyard and speak to Duke Aventry once more, who is now waiting for you in the southwest section near his tomb. Give him the Aventry Locket to finally free him from Romaya’s clutches. He’ll gift you the Duke’s Aventry’s Key as a thank you. Take this to his tomb to the southwest and use it on the coffin to receive the Aventry Crest and the Eclipse Armor.
Give the Aventry Crest Artifact to Teaks to unlock a story that gives you more background information on Duke Aventry.
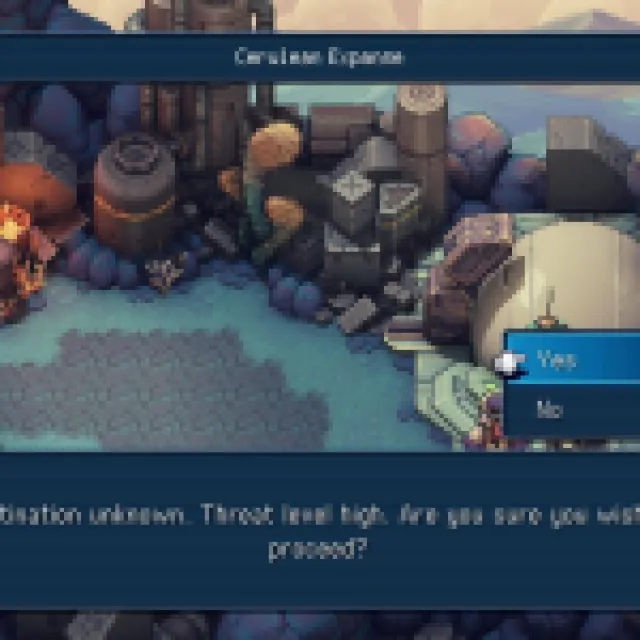
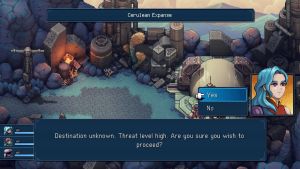
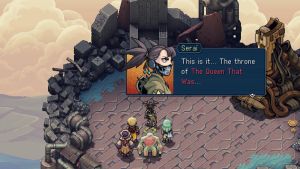
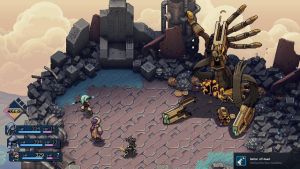
How to Find The Queen That Was in Sea of Stars
The seventh and final pillar is tied to a secret boss fight with The Queen That Was. Camp and speak to Serai, who reveals that she has one final mission she wants to embark on: defeat The Queen That Was. She will give you the Joce’s Belt Buckle Artifact.
Take this to Teaks, who will tell you a story about a group of travelers who spent days traversing the Cerulean Expanse looking for The Throne. The story hides a riddle, which tells you the exact path you must go in the Cerulean Expanse to reach the Throne of The Queen That Was. But instead of solving that yourself, I’ve done it for you. In the Cerulean Expanse, take the following directions:
- Northeast.
- Southeast.
- Northeast.
- East.
This will lead you to a Speedball that takes you to the Throne of the Queen That Was and directly to a fight with The Queen That Was. Defeat her, and the final pillar in the Moorlands will activate.
Return to the Moorlands on Sleeper Island and interact with the ruins. Offer up your Cookie Jar and enjoy the True Ending. Just don’t forget the tissues!
Now that you’ve got the True Ending in Sea of Stars, it’s time to find out how to use the Flimsy Hammers and unlock the game’s final secret (spoiler alert: it’s AMAZING!).
An earlier version of this guide was removed as it was originally published below the standard of work that we at Prima Games pride ourselves on. This article was rewritten and published as of 11:27 AM PT on September 8, 2023.