How to Complete The Saga of the Seaside Inn in Final Fantasy 7 Rebirth (FF7)
A quest that spans chapters

Johnny’s gotten a new chapter, and a brand-new saga has begun. Here’s how to complete The Saga of the Seaside Inn in Final Fantasy 7 Rebirth (FF7R).
How to Finish The Saga of the Seaside Inn in Final Fantasy VII Rebirth
After his explosive redemption arc, Johnny’s debt-free. But there’s still work that needs to be done at his soon-to-be seven-star resort. And that’s where Cloud comes in. Claim the quest The Saga of the Seaside Inn at the community board just opposite of the Tourist Info Desk, then make a beeline to Johnny’s hotel. This hotel is now a rest stop, so you can fast-travel there and save yourself some time.
Head up the stairs to speak to Johnny behind the desk, and he’ll lay his woes at your feet. It turns out that after Yuffie used that duplication technique on him, his duplicates never vanished. And now, he’s utilizing them to do hard labor for the hotel. Unfortunately, a group of duplicates hasn’t come back. He asks Cloud to retrieve them. To find the duplicates, head to the Costa Falls just outside of town. Be sure to grab the cache close to the falls while you’re here.


Speak to the duplicates, and they’ll tell you that they were mobbed by monsters and needed to leave the materials for the inn behind. They’ll ask Cloud to retrieve them. You only need to gather four bundles of material to complete this quest, but we’ll be getting all eight to ensure we get that three-star rating. Each of the bundles of material is near the top of ziplines, which are scattered around Costa del Sol.
The order we’ll tackle them is:
- NC-2 Zipline
- NC-1 Zipline
- NC-5 Zipline
- NC-6 Zipline
- NC-3 Zipline
- NC-7 Zipline
- NC-8 Zipline
- NC-4 Zipline
From Costa Falls, head south and you’ll see the first set of ziplines. Climb up the yellow-marked steps or scramble up the rocks to reach them. The first bundle of refurbished materials will be at the top of the platform, where the zipline is connected. It will look like a bundle of sticks.
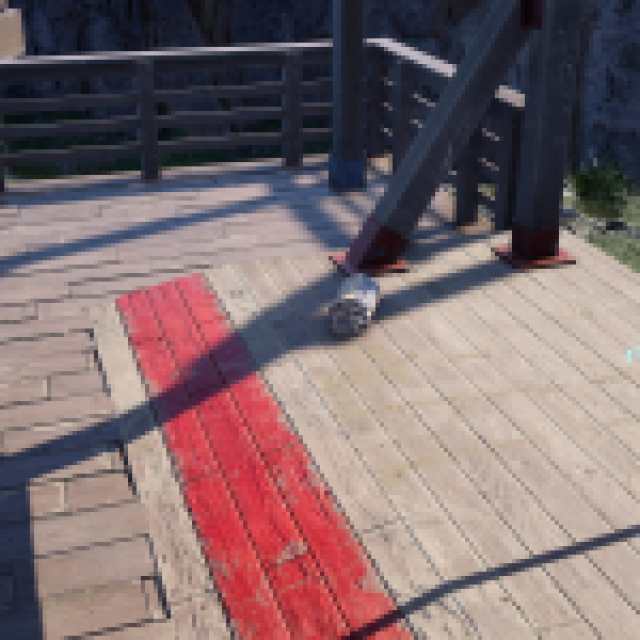
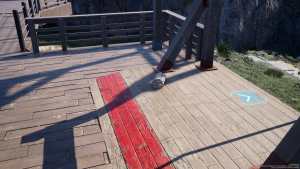
Grab the materials, then follow the wooden walkway to the left to get to NC-1. Grab the bundle there, then head back to the end of NC-2 and take the zipline down. This will lead you close to NC-5 and NC-6.
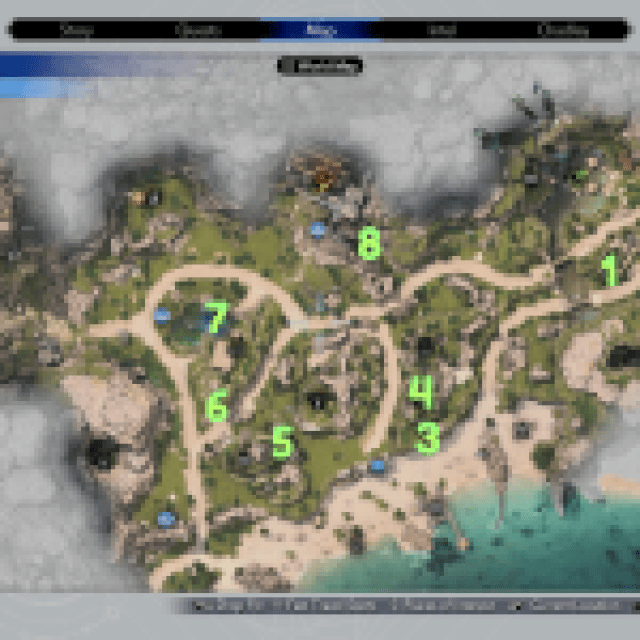

Climb up the hill beside the Glencross Lifespring or use the yellow-marked ladder on the cliffside to the path of the beach to make your way to the top. Take NC-6 down and continue straight across, where you’ll hit Twilight Hill. Climb Twilight Hill from the path on the west side, to reach NC-3. No, the numbering system of the ziplines doesn’t make sense.
Our next bundle of materials will be on the hill in the middle of Costa del Sol. This hill is the home of Jules’ gym, which you might be familiar with if you completed the side quest Bodybuilders in a Bind. On your way up to the gym, you’ll first encounter NC-7 on the southern part of the hill, not quite at the peak. But once you reach the top, you’ll find NC-8 just to the right of the gym entrance.
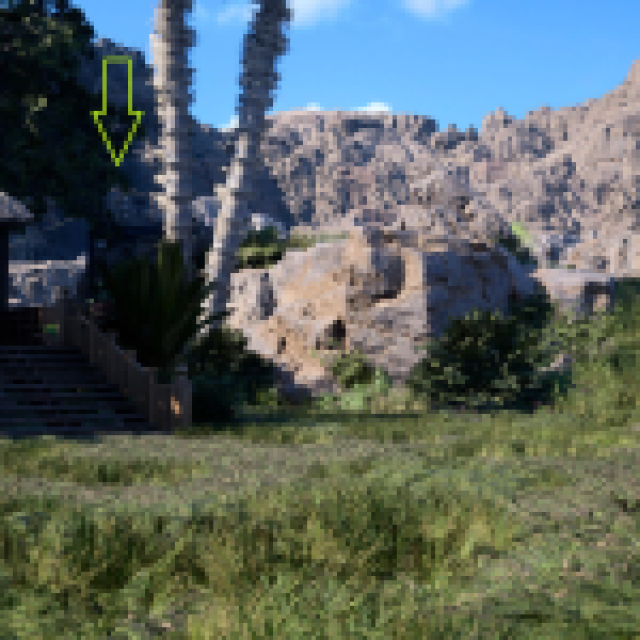

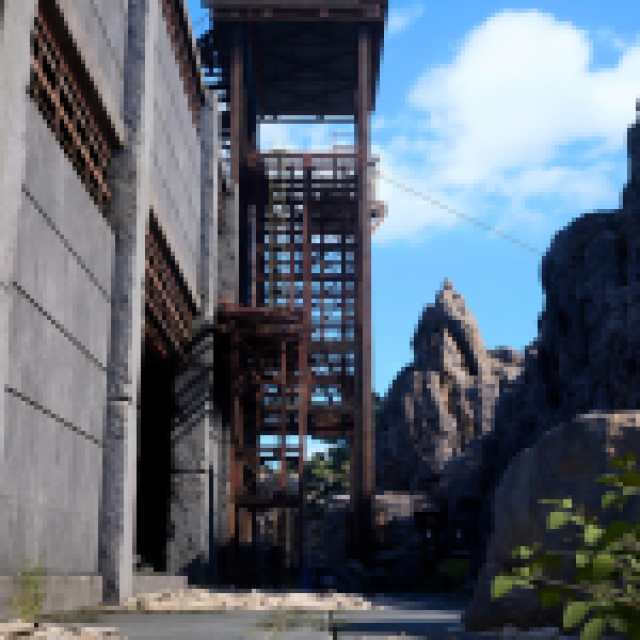
Our final zipline is close to the Valve Factory Ruins, just to the northeast of Jules’ gym. Get there by fast traveling or by using the NC-8 zipline and head right. Once you’re at the ruins, turn right at the Chocobo stop, and you’ll see a rusted tower. You’ll need to use the ladder on this tower to reach the final zipline at the top.

When you’ve got all four material bundles, fast travel back to Costa Falls and give them to the Johnnies. But that’s not where this quest ends! We’ll need to return to the Valve Factory Ruins to help more Johnnies. These Johnnies need a Boiler Valve and are looking for the Transmutation Chip to let them make it.
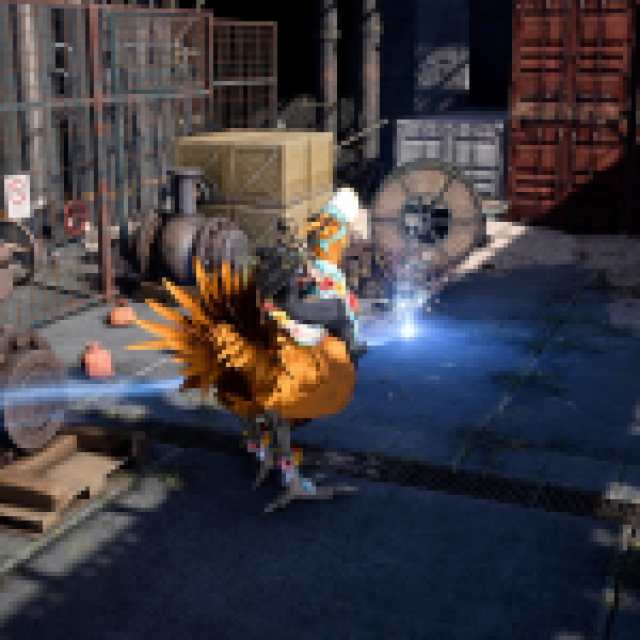
That’s where we come in. If you’ve already found the Transmuter Chip here, you can craft it from the Item Transmuter menu using two Iron Ore, two Zinc Ore, and two Amethyst. But if you haven’t found it yet, head deeper inside the Valve Factory, then turn right. You’ll see a set of stairs. Use your Chocobo’s scent function by pressing Up on the D-Pad. Hold this button down and use the right joystick to move your Chocobo around until a blue line extends from it to the treasure’s location.


Approach the glowing spot on the ground and press down on the d-pad to have your Chocobo dig it up. The spot beside the stairs will give you the Boiler Transmutation Chip. But if you want the other goods as well, grab the one just to the right of the entrance, which will give you the recipes for Armor Upgrade 5.

Armor Upgrade 5:
- Enhanced Fortress Bracer.
- Enhanced Beguiling Armlet.
Leave the factory and return to the Johnnies. Take the stairs behind them to the second floor, and you’ll be able to make advanced accessories. Finding all three of these buried treasures will also give you Intel points.


Advanced Accessories:
- Star Pendant.
- Headband.
- Protective Boots.
After you’ve crafted the Boiler Valve, speak to the Johnnies. They’ll be grateful, but there’s still one more Johnny we’ll need to help. And he’s in the desert. Head to the very southern part Costa del Sol, to the Borderlands. The last Johnny will be standing at the edge, looking out over the water.
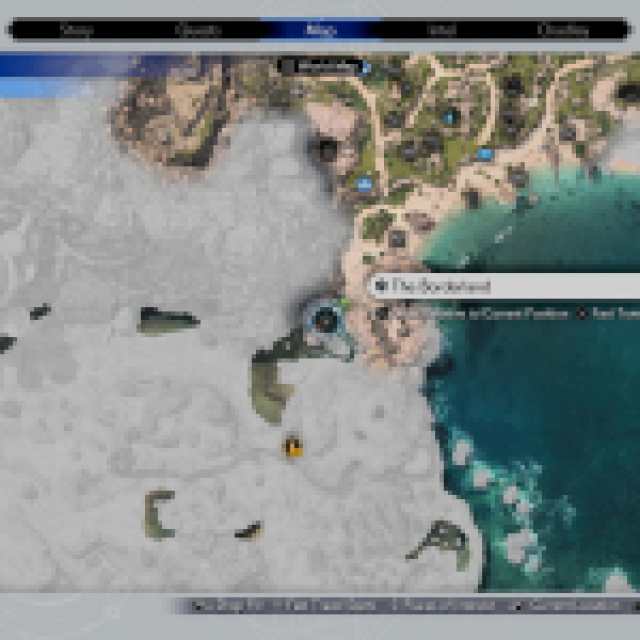

Unfortunately, we won’t be able to cross the water and engage the Tonberry King until Chapter 9.

How to Find the Tonberry King in Final Fantasy 7 Rebirth
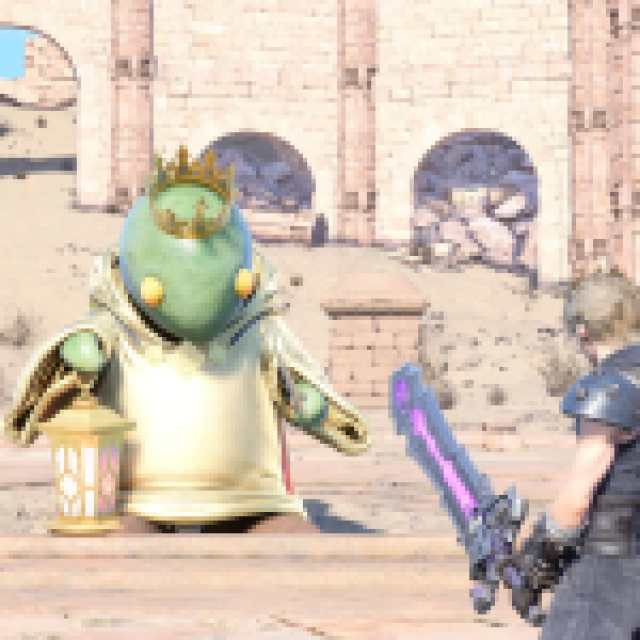
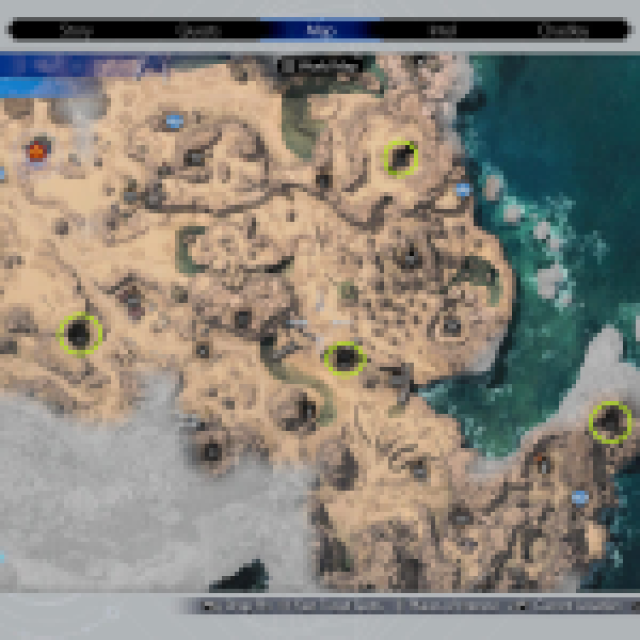
So, you’ve made it to Chapter 9. You’ve got a brand-new buggy and 180lbs of guilt on your shoulders. But never mind that, Johnny still needs a Tonberry Crown. And to get it, it’s not just enough to head in the vague direction he pointed you in. You’ll need to discover all six Lifesprings in the Corel Region.
There are two located near Costa del Sol and four located in the arid biome of the Corel Region. Once you’ve knocked out all six, Chadley will mark the location of the Tonberry King and make the fight accessible. But before we go into that fight, it’s important to know a few things.

First, you can deliver Johnny Pristine or Marred crown. To get the Pristine Crown, you’ll need to inflict enough damage when the Tonberry King attacks miss to pressure it. The easiest attack to dodge is Doom and Gloom. When the Tonberry King is pressured, it will drop its Pristine Crown, leaving it vulnerable to being stolen. You’ll need to have a character with the Steal Materia equipped to steal the crown. Johnny will accept the crown either way.

The second thing is that the Tonberry King is a frightening enemy because of its ability to instantly kill you. Cloud’s Umbral Sword has the Reprieve weapon skill, but this won’t prevent you from dying. I’ve tried it. Instead, stay long range when the Tonberry King uses Wrathful Knife, and keep a stock of Phoenix Downs. Revive Materia is a great idea, too, and you can find it in the Corel Region. The Tonberry King will also periodically summon Tonberries, who are weak but have the same capacity to kill you instantly. Target them first.
Once fully equipped, head to the arena and hold down the Triangle button to start the fight. You can complete the fight as many times as you like. Head back to the Borderlands and let Johnny know when you’ve succeeded with your regicide.
If you give him the Pristine Crown, Johnny will be ecstatic. But beyond this bit of dialogue, there’s no extra benefit. Make tracks to Johnny’s hotel in Costa del Sol to claim your prize. Your reward:
- A display case for your collectibles.
- 900 EXP.
- A deepened relationship with Yuffie.
But your fight with the Tonberry has yielded more than just a Pristine Crown and a happy ending for Johnny. You can use the Tonberry King’s Robes that it dropped to create a Karmic Cowl, which will prevent instant death and slow, while increasing your vitality and spirit by 30. To get the recipe, you’ll need to excavate the Deserted Village in the Borderlands, where you can preemptively find a recipe that will make the next side quest in the Corel Region, Missing: Mr. Birdie, a breeze to complete.
