
How to Complete Lifeline in Peril in Final Fantasy 7 Rebirth (FF7)
Familiar faces in unexpected places

There’s a hot shot merc in the Grasslands that might need our help. Here’s how to complete Lifeline in Peril in Final Fantasy 7 Rebirth.
How to Complete Lifeline in Peril in Final Fantasy VII Rebirth – Walkthrough
If you head into Kalm’s main square after things have cooled down, you’ll find that the Mayor is in a bit of a jam. He needs to ensure that the mako pipe is in order, and the mercenary he sent to the pipeline maintenance warehouse hasn’t returned to report on its condition. That’s where we come in.
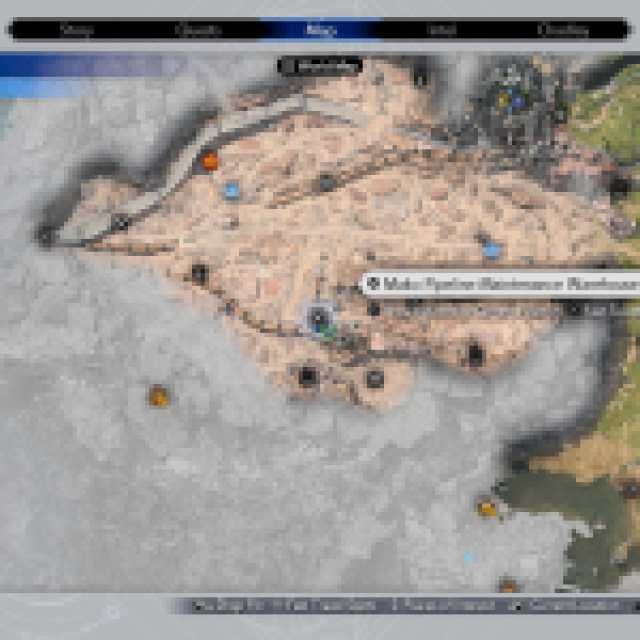
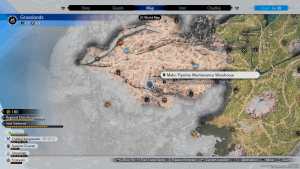
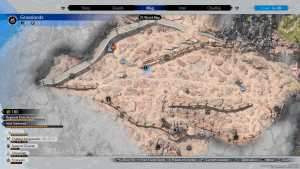
Head over to the Mako Maintenance Warehouse south of Kalm.
If you’ve been tackling the Protorelic World Intel quest, you may have already encountered a group of familiar bandits here. Get close to the warehouse, and you’ll find that the hotshot merc is actually Kyrie. You’ll get a cutscene with her, and it turns out she hasn’t been able to do her job. She needs more parts, and they’re located in scrap heaps scattered across the map.

Fortunately, those parts aren’t too far away! Open your map, and you’ll see a handful of new green shield icons near the warehouse. In total, we’ll need the following pieces:
- 1 – 3 Slabs of Rusted Sheet Metal.
- 2 – 5 Corroded Nails.
You need a minimum of one Slab of Rusted Sheet Metal and two Corroded Nails to perform the repairs.
Let’s head to the one north of the warehouse first. It’s only a few yards away. Interact with the pile as if you were foraging for resources. You’ll get one Slab of Rusted Sheet Metal. Then, go to the one to the left, north of the pipe, to get two Corroded Nails. You can technically turn in the items you’ve found now. She’ll be a little disappointed. But if you collect everything, you’ll get three stars, and she’ll be quite impressed.
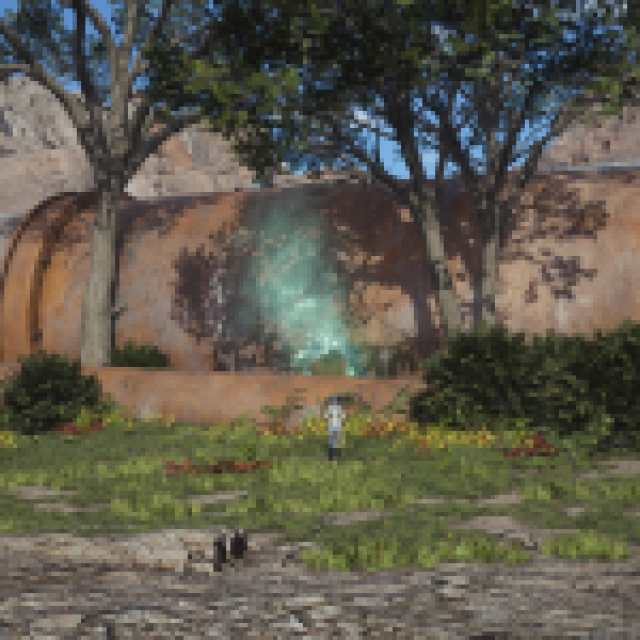

Follow Kyrie down the hill, and you’ll be jumped by two Mu and a Grassland Wolf. This fight isn’t optional. Kyrie will stand there until they’re defeated. Once they’re dead, follow Kyrie to the large mako pipe that’s spewing life energy into the air. Once you approach the pipe, you’ll get a cutscene and another encounter.
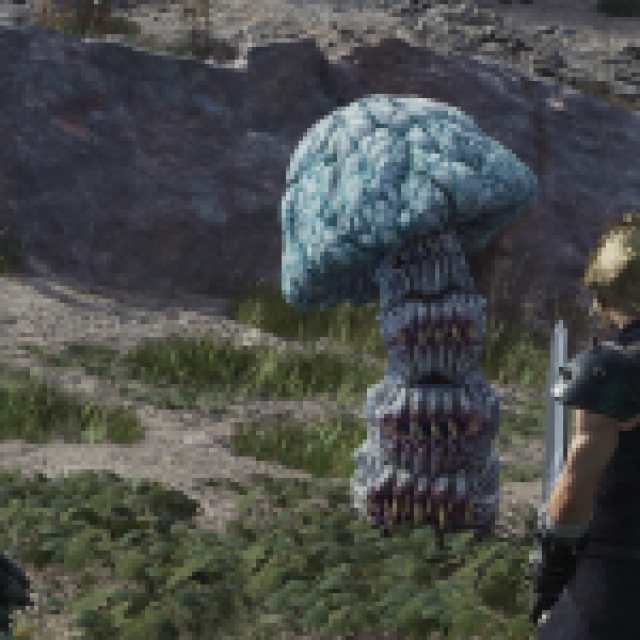
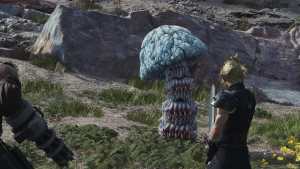
This time with a Noxicap. Noxicap are highly poisonous, but you can easily pressure them with fire attacks. Once Kyrie is done with repairs, you’ll then be attacked by two more Noxicap! They’re much harder to deal with in groups. Avoid the brown and red orbs, as they’ll set you on fire.
Speak to Fritz, the mayor of the Kalm, and he’ll give you your reward: 3,000 Gil. The Gil amount will be the same no matter how many stars you get on the mission. You will also deepen your relationship with Barret.