
How to Complete Desperate Measures in Destiny 2
The final mission. Finally, we get to fight Calus.
The final mission is here! So, let’s jump right into it. Here’s how to complete Desperate Measures in Destiny 2.
How to Complete Desperate Measures in Destiny 2
The city of Neomuna is under siege. We’ll need to protect the Cloud Ark and its people.
Head to Irkalla Complex
To get to Irkalla Complex, we’ll need to go through Zephyr Concourse. Jump down and onto your Sparrow, then follow the road that forks right. There will be a lot of Cabal in Zephyr Concourse, but you can zip right past them and head right towards the turnstiles. Jump them, and keep heading straight. You’ll soon enter Esi Terminal.
Disable the Barrier
Head left, and you’ll see a small group of Cabal. There are a few Legionary, and then on the platform above them, two Incinerators and a Colossus. Behind the Incinerators and Colossus? Explosive barrels. Shoot the barrels to make short work of them.
Once they’re dead, the barrier that was preventing our entrance will drop.
Head to Irkalla Complex
Follow the corridor, and you’ll wind up outside on a metal balcony. We’ll need to use the transparent platforms to make our way across. Once we jump onto the first balcony, we’ll be in the Irkalla Complex.
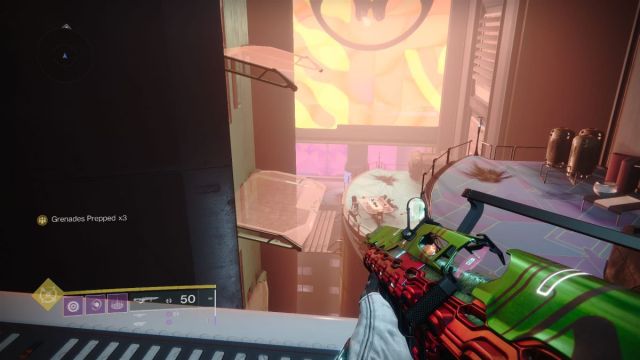
Jump onto the terrace and you’ll find a place to put down a Rally Banner and a Strand node. A Thresher will also start circling, but it won’t shoot at you at first.
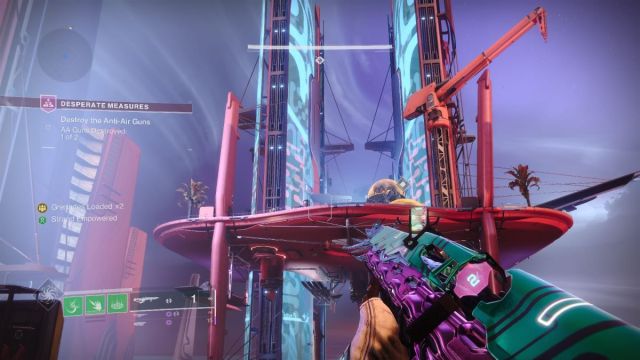
Destroy the Anti-Air Guns
Look up and across. You’ll see quite a few Cabal on the rooftop. They’re not our friends. But more importantly, we’ll need to use our Grapple ability to get to the Anti-Air guns on the rooftop, which are marked by their orange domes.
I did find this section a little buggy. Once, while using Grapple, I teleported beneath the platform I was standing on, hit my head on it, and immediately died. So. Your mileage may vary.
Related: How to Get Polymorphic Shellcode in Destiny 2 Lightfall
Once you do manage to get on the roof, you’ll be swarmed by Cabal. There will be two waves, and once you’ve dispatched both, the shield around the control panel will drop. Interact with it to drop the Anti-Air Gun barrier.
Shoot the glowy nodes of the Anti-Air Gun and it will explode. Satisfying! Now, turn around and you’ll see that the second Anti-Air Gun is on a massive platform.
To the left, against a large neon billboard, are a few blocks we can use to get closer.
Once you get on the platform, you’ll be confronted with even more Cabal, including an Esteemed Incinerator. But don’t use your Super on him. Wait until he goes down and the Tormentor spawns in.
Related: How to Get the Final Warning Exotic in Destiny 2 Lightfall
The best way to handle the Tormentor is to use the staggered platforms to your advantage. Jump down and shoot at the Tormentor, then jump up when it jumps down. Always keep your distance and force him to waste his time with his slow jumps.
Once the Tormentor is dead, deactivate the Anti-Air Gun barrier.
Head to Irkalla Complex
With the Guns down, we’ll lose access to our Strand ability. But head across the broken bridge to its termination point. We’ll need to make a big jump to the landing across the way.
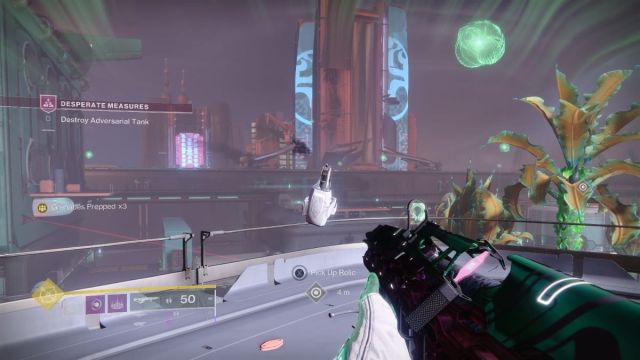
Secure Turrets
We’ll now need to defend the Turrets that land in the center of the Complex. Clear out the Cabal, then pick up the Relics scattered around the map. While holding the Relic, press the shoot button while targeting one of the Goliath Tanks that will spawn in. Eventually, this will call in an Orbital Strike. Pick up the second Relic and use it to destroy the second tank.
With both tanks dead, Cabal will start swarming the complex. You’ll need to defend the Turrets against them. In the recessed area between the Turrets will be a Strand node that you can pick up and use. It’s not necessary though.
Eventually, once most of the Cabal are repelled, a new Goliath Tank will spawn. Head up on the curved walkway again to pick up the Relic and shoot the Goliath Tanks.
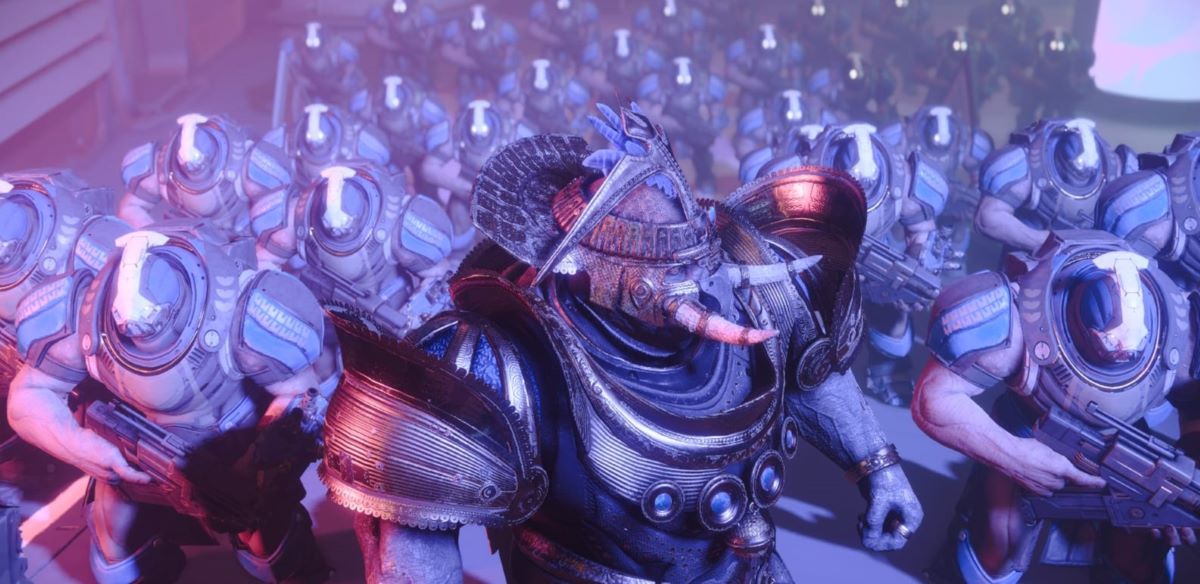
Once all the enemies are dead, Caital will mock the Shadow Legion.
Join Caital
Near where you picked up the relics, Caital will be waiting for you. Approach her, and she’ll jump into the battle herself. A new wave of Shadow Legion will spawn, with Esteemed yellow-bars and, eventually, a Goliath Tank.
Defend the Vault Entrance
Join her, keeping the turrets and killing the Goliath Tanks (with the relic), when necessary. You’ll need to kill three Goliath Tanks for the siege to end.
Unfortunately, the reprieve will be brief. Two Tormentors will then arrive, along with quite a few more Cabal. Once you’ve managed to take out the Tormentors, you’ll be pushed to the very back of the arena, and Calus will blow open the wall. Guess we’re not done yet.
Head to the Veil
Head through the hole, going downward into the misty tunnel. There will be a big drop. It’s a very, very good thing that they removed deaths by fall. Get to the very bottom, and you’ll see a large tunnel. Follow it, and you’ll soon be in Veil Containment.
Drop down into the next room and you’ll see a familiar name: Ishtar Collective. Turn right at the sign and we’ll reach a locked door. Use the terminal in front of it to unseal it. Descend the stairs.
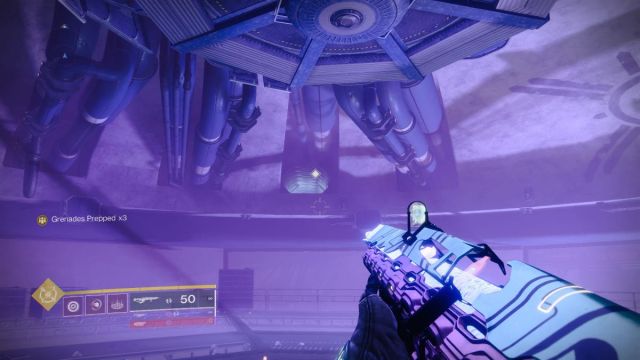
When you reach the viewpoint for the veil, head to the center of the glass floor. Look up and to the left, if you’ve just entered. There will be a narrow vent you can jump up to. Run to the end and shoot out the grate blocking your way.
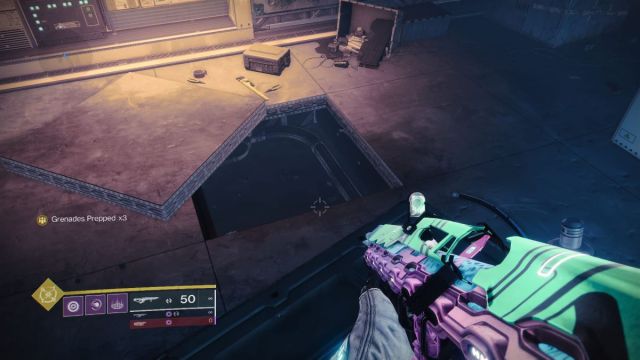
At the end of the narrow passage will be another grate at your feet. Shoot it and drop in. Keep heading straight until you reach a server room. In the floor of this room, one tile has been pried up. Descend.
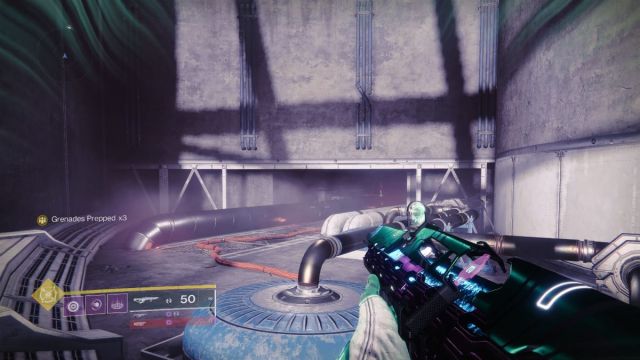
You’ll enter a room with a Cloud Ark prototype. Just behind it is a recessed opening into another narrow corridor. It will terminate in a drop. And I mean, a big drop.
Jump anyway. There will be another lifted floor tile. Fall through it. Looks like Calus is headed our way.
We’ll enter a new viewing room. Head towards the glass wall, then jump down. Turn right. We’ll need to crawl through the narrow tunnel to our right.
Follow the path, jumping up when necessary. Things will start shaking and erupt into flame. That’s okay. Eventually you’ll slide down some wires and into the Veil Containment.
Calus is already here.
Defeat Calus
In front of the Veil is Calus, and just on your left is a Strand node. Don’t use your Super on him yet. He’s immune. Instead, pick up the Strand node and approach him.
Calus will summon a Machine Gun. The arena will begin filling with Cabal and two Tormentors. Calus will also have an Overshield that must be whittled away before you can do damage to his actual health bar. The best way to destroy this Overshield is by throwing Tangles at him.
Related: Destiny 2 Lightfall: All Strand Aspects and Fragments
Unfortunately this is a boss battle with two phases. Once you take down Calus’s first health bar, it will restore, and you’ll need to do it all again. For that reason, don’t use your Super as a grand finisher.
A large part of this fight hinges on using the grappling points to move around the arena to safe spots. It’s a good idea to try to take down the Tormentors first, as they’re your more pressing threat, using cover for as long as possible before grappling to the next spot of safety when the Tormentor gets too close.
The trick with the Tormentor is to continuously lay fire into his weak spots. This will stun him, do significantly more damage, and slow his approach.

When Calus hits his second stage, the platforms you’ve been utilizing will be blocked off. Calus will begin to use blades and aggressively pursue you. This section of the fight is much easier if you’ve already defeated the Tormentor.
The real issue in this fight isn’t necessarily the damage that Calus inflicts (which is a lot) but the fact that he can knock you off the platform. It’s possible to recover though(even if you’re pushed out of bounds) by using your Grapple. I found this fight to be a bit buggy, so do your best and good luck.
Return to the Tower
With the fight over, return to Zavala, then Ikora.
Head to the Hall of Heroes
After speaking to Zavala and Ikora, we’ll need to meditate on everything that’s happened. Head back to Neptune via the Strider’s Gate, then turn around and enter the Hall of Heroes.

Approach the pond and begin to meditate. You’ll immediately gain access to the Strand subclass.
Purchase a Strand Aspect
At the same spot you meditated, you can now purchase Strand aspects. Turns out the Pouka have been holding out on us.
Return to Nimbus
After purchasing an aspect, return to Nimbus. Have a discussion laying out some of the awful things that have happened and the mission will end. It’s been a long road, but we’ve finally done it. If you’re not sure what to do next, why not head to the nearest Lost Sector? Here’s where to Find the Thrilladrome Lost Sector on Neomuna in Destiny 2.