
How to Complete Another Last City in Destiny 2
Sometimes you just want to see big yellow numbers
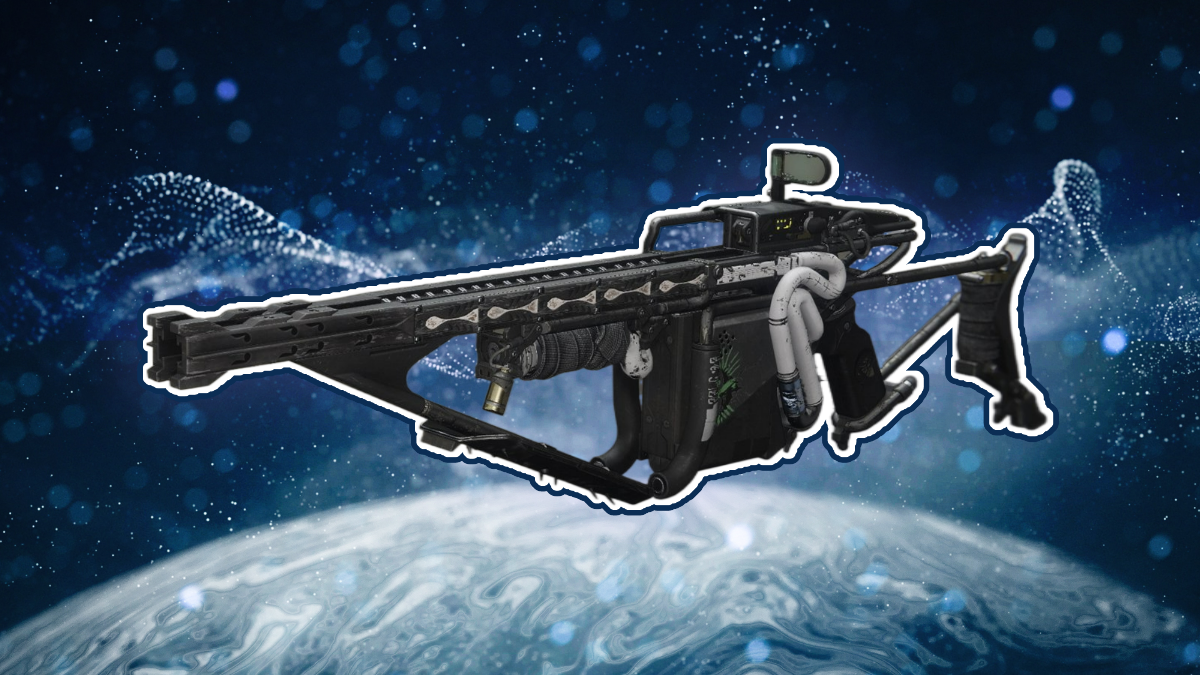
As a warm welcome to new Guardians, the Exotic Fusion Rifle Arbalest is now easily available. And if you’re a Veteran light, well, it’s a chance of getting a new one without having to waste an Upgrade Module. Here’s how to complete Another Last City in Destiny 2.
How to Complete Another Last City in Destiny 2
To get the Arbalest, we’ll need to go back to the very beginning. To the Cosmodrome, where we’ll speak to the planet’s vendor, Shaw Han. He’s holding the Exotic Quest Another Last City, and you don’t have to do anything special in order to claim it.
Once it’s in your inventory, we’re off to complete the seven-step quest.
Step 1: Defeat Foes
Defeat foes of the Traveler wherever they’re found. More powerful foes grant additional progress.
- Progress 0/100
The absolute best place to handle this step is in Sorrow’s Harbor on the move. There are endless mobs here thanks to the Nightmare Altars, with a good mix of rank-and-file enemies like Thralls and Acolytes and yellow-bar enemies to add to your progress. Other guardians who are nearby and shooting into the hoard will also help you towards your progress, and you’ll complete this step before you know it.
Step 2: Defeat Combatants
Defeat combatants using your abilities or Super.
- Progress 0 / 50
Honestly, just stay in Sorrow’s Harbor for this one. If you have the Strand subclass, Threadlings as a Warlock are extremely useful, as they’ll seek enemies like little homing missiles. But, like the previous step, Guardians near you fighting the same enemies will also contribute to your progress.
Related: How to Get the Claws of Ahamkara in Destiny 2
Step 3: Complete the quest “A Guardian Rises”
Complete the quest “A Guardian Rises” while you wait for the schematic to finish processing the data.
- Quest completed
So, if you’re a Veteran Guardian you’ll skip right past this step. New Lights will have to put in more effort. Head back to Shaw on the Cosmodrome and pick up the quest “A Guardian Rises”. This is a 21-step quest, which sounds intimidating.
But it serves primarily as a tutorial and it’s well worth doing, especially with Arbalest (and not a terrible green ship) waiting for you at the end. Expect to do a few strikes, some bounties, and a Lost Sector.
Step 4: Speak to Banshee-44
Bring the schematic to Banshee-44 in the Tower Courtyard.
- Speak with Banshee-44
Banshee has some memory issues, will mutter some things, then tell you to go do a laundry list of things in Neomuna.
We love our Grandpa Exo, who sacrificed his mind for humanity, so off to Neomuna we go.
Step 5: Defeat Combatants
Defeat combatants and complete public events in the newly discovered destination: Neomuna
- Combatants 0/100
- Public events 0/3
This is one of those “two pouka, one stone” steps. Complete Public Events and it’s likely you’ll have defeated around 100 combatants after completing all three public events, so keep jumping between the two combat zones and their events.
Step 6: Defeat Targets with a Fusion Rifle
Defeat targets while using any Fusion Rifle or Linear Fusion Rifle. Defeated Guardians grant additional progress.
- Linear Fusion Rifle 0/150
Now here is the true slog. Everything up to this point (with the exception of the New Light quest, A Guardian Rises) has been easy, and quick, enough to get through. But Fusion Rifles and Linear Fusion rifles suffer from a fatal flaw. As an energy weapon, Fusion Rifles require special ammo. And as a power weapon, Linear Fusion Rifles don’t hold much ammo at all.
This is surely meant to balance how much damage they do, but I can’t help but think that Grenade Launchers in the Season of the Defiance do everything a Fusion Rifle does, but better and faster.
If you’re a New Light, the best place to farm this out is in Sorrow’s Harbor at the Altar of Nightmares, as usual. But if your Guardian is a little stronger and you’ve completed the Lightfall campaign, consider Terminal Overloads. Not only do Terminal Overloads have a ton of enemies to fight, but they also drop Heavy Ammo between encounters. This can make it much easier to complete the mission.
I do not recommend bringing this quest into the Crucible, even if it grants additional progress. Your return on investment is not worth it.
Step 7: Return to Banshee-44
Deliver the complete schematic to Banshee-44 in the Tower Courtyard.
- Speak with Banshee-44
Return to our favorite grandpa gunsmith in the Tower and hand in the quest. In return, he’ll hand you the Arbalest. He still doesn’t quite remember where the name come from, but that’s okay. Even we don’t know. Its lore only gives us a hint of its origins, when Lord Shaxx was a War Lord back in the Dark Ages.
If you’re still up to chase more exotic, check out our guide on How to Get Winterbite in Destiny 2.