Call of Duty Black Ops 6 Zombies: Terminus Main Quest Guide
Complete the Terminus Main Quest for some exciting rewards!

In Call of Duty: Black Ops 6, the Terminus Main Quest challenge offers some valuable rewards and a strong sense of achievement upon completion. Unlike the Liberty Falls Main Quest, which takes considerably less time, the Terminus Main Quest requires at least two hours to complete. Playing as part of a squad can make the experience far more manageable compared to a solo run. This guide provides a detailed walkthrough to help you successfully complete the Terminus Main Quest in Call of Duty: Black Ops 6 Zombies.
How to Complete the Terminus Main Quest in Call of Duty: Black Ops 6
1) Crafting Beamsmasher

To kick off the Terminus Main quest, the first step is acquiring the Beamsmasher Wonder Weapon. While you can try your luck with the Mystery Box, which offers a low chance of dropping this powerful firearm, there’s also a reliable crafting route you can take to build the Beamsmasher from scratch.
The Beamsmasher is essential for completing several objectives in the Terminus Main quest. If you’re lucky enough to pull it from the Mystery Box, you’ll save yourself the hassle of crafting it through multiple steps. If not, no worries—here’s what you need to do to put it together yourself.
- Activate three AMP Generators.
- Equip Dead Wire Ammo Mod.
- Activate the lift in the Bio Lab and make it go up.
- Shoot three electrical boxes with the Dead Wire Ammo Mod weapon as the lift takes you up.
- Shoot two more electrical boxes near the Juggernog Perk-a-Cola Machine to open the Research Office.
- Collect the EMF Fob from the dead zombie in this secret room / Research Office.
- Activate three laptops near the Quick Revive, Stamin-Up, and Deadshot Daiquiri Perk Machines.
- Retrieve the Multiphasic Resonator from a briefcase near the Elemental Pop Perk Machine.
- Bribe Dr. Peck for the code and input it into the computer inside the Research Office.
- Visit Crab Island, Temple Island, or Castle Rock Island and charge the Multiphasic Resonator by placing it inside blue, green, and purple Orbs.
- Obtain the AMP Munition Part from the Purple Orb and bring it back to the Research Office.
- Craft the Beamsmasher.

For an in-depth breakdown, check out our guide on crafting the Beamsmasher in Call of Duty: Black Ops 6 Zombies for all the details you need.
2) Find Hard Drive
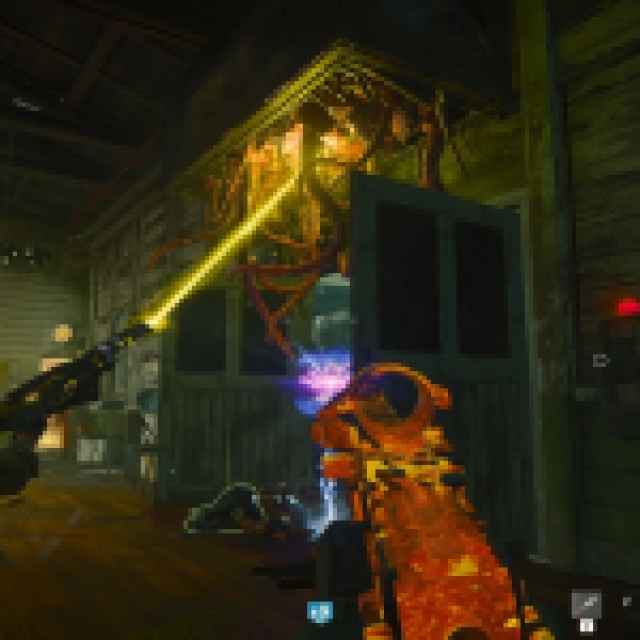


The next step involves shooting Tentacle Traps with the Beamsmasher Wonder Weapon and obtaining a Hard Drive. This can only be done if you have the said weapon, and by now, you get the idea of why we need the Beamsmasher in the first place.
The Tentacle Traps are inside the air vents placed above the doors on the first floor and the Bio Lab buildings. There is no fixed spot or a Tentacle Trap that gives you a Hard Drive after you fry them with the Beamsmasher.
Therefore, for this step, you will need to keep killing these air vent monsters to see which one actually drops the Drive for you. A button will activate the Tentacle Traps, so look for these over the doors leading to the following:
- Speed Cola
- PhD Flopper
- Juggernog
- Bio Lab
At least one of these four locations should give you the Hard Drive, a necessary item required to progress the Terminus quest in Call of Duty: Black Ops 6 Zombies.
Deliver Drive to Peck
Once the Hard Drive is in your possession, go to the initial spawn point of the Terminus map, and opposite the first AMP Generator, you will find the control room. Dr. Peck will be inside it so you need to drop the Hard Drive in the chute for him to hack the central containment unit found in the middle of the Bio Lab, also where you find the third and last containment unit.
3) Find the Code To Nathan’s Containment Unit

You will find Maya’s brother, Nathan, inside the cylindrical central containment unit of the Bio Lab. A ‘Locked’ prompt can be seen over the numeric dialer of the containment unit, and interacting with it reveals you require the three-digit password to release Nathan.
Related: Call of Duty Black Ops 6: How to Unlock All Operators
First Digit in Interrogation Room

Look for the clock found inside the Interrogation Room, and notes its hour hand. This is your first-digit passcode. The Interrogation room is opposite the Quick Revive Perk Machine.
Second Digit in Mess Hall

The next stop for obtaining the passcode for Nathan’s containment unit is in the Mess Hall. This can be reached after passing through the Interrogation Room. Look for a wooden board behind a blue barrel and find the playing card there. The number on the playing card is actually the second-digit passcode.
Third Digit in Engineering

For the final passcode, head to the Engineering section near the Juggernog Perk Machine room. You will find a yellow-colored sign with the text: “Safety First: Days Since Last Injury”. A number will also be written on this signboard and this is your last-digit passcode.
NOTE: All three of the passcode digits we mentioned above are not definite. These change every time you play Terminus so you need to go through these manually every time to punch the correct code at Nathan’s containment unit.
4) Release and Defeat Nathan
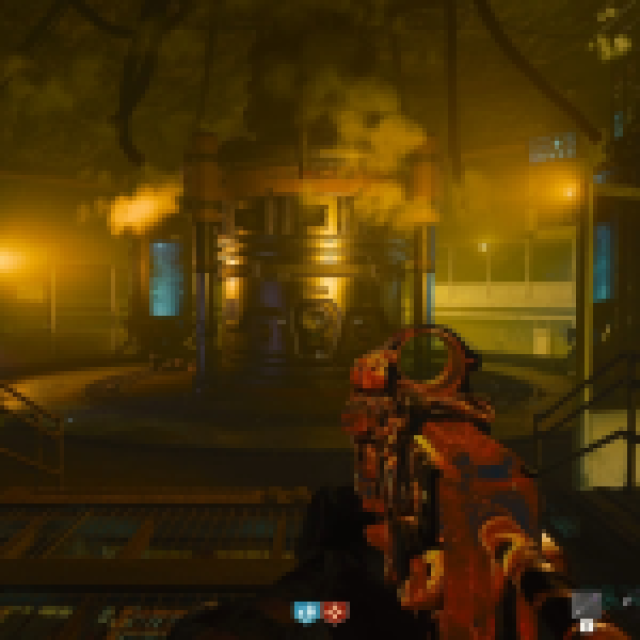


Now that you have the complete passcode, head to the Bio Lab, punch in the code, and release Nathan. He will no longer be a human but instead merged into an Amalgam zombie-type.
You need to defeat Nathan and obtain the ‘Key Card’ item from the water below to progress the Terminus Main quest in Call of Duty: Black Ops 6 Zombies. He has more health than a regular Amalgam zombie and also regenerates lost health by consuming nearby flesh-eaters.
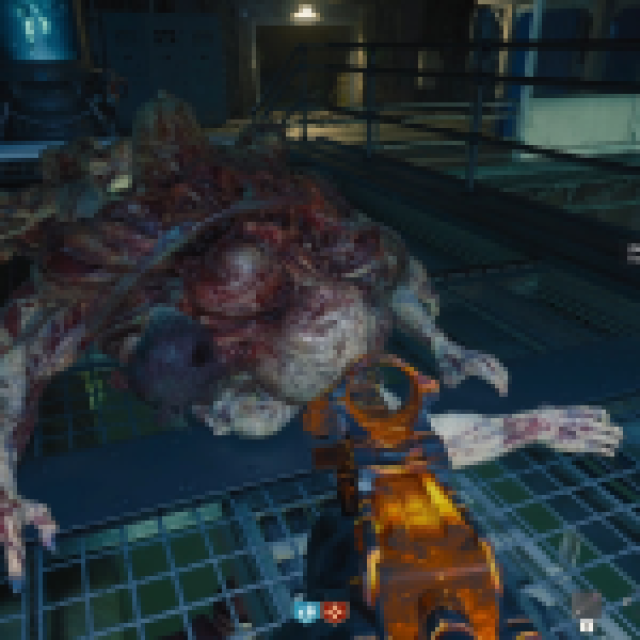

Use the best weapons and equipment you have and focus fire on Nathan only. Keep other zombies away from him by using Decoy or Cymbal Monkey equipment, and the boss fight will be over soon.
Communications Room
The Key Card gives you access to a computer in the Communications Room. After you interact with the computer, it will prompt a “Network Connection Error” message.
5) Reach Wrecked Ship and Pick Node Connectors

In order to fix the “Network Connection Error” message on the computer, you will need to obtain two node connectors. These are found in the wrecked ship, and to reach here safely you will need to summon a boat by using Essence currency.
A hole in the wrecked ship’s hull will be the way you need to go. Once there, you will find a ladder connecting the exposed part of the ship to the Workshop room.
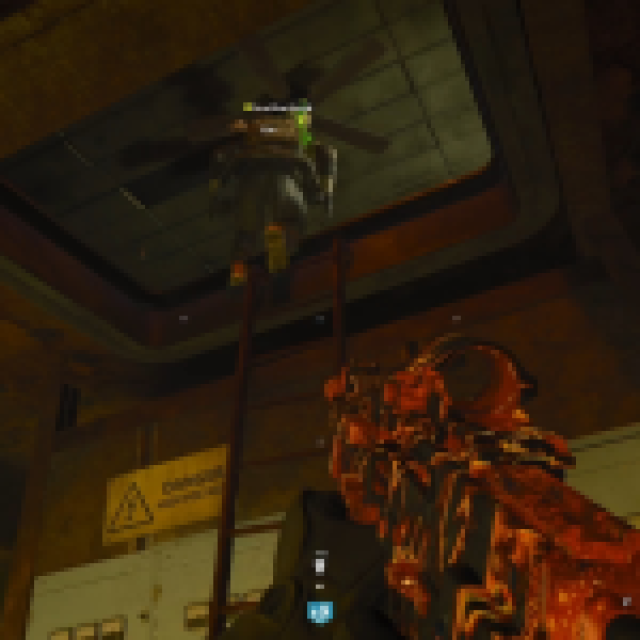

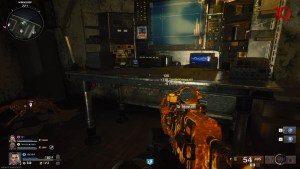
Inside this room, you will find the two Node connectors and as soon as you pick these up, the room will get locked, and a lot of zombies will rush to get you. Players carrying the Node Connectors will not be able to run so it is the job of two other players, without the load, to protect them.
Related: How To Research And Unlock Augments In Black Ops 6 Zombies
6) Place Node Connectors in Two Out of Three Locations

There are three possible locations where you can place the two node connectors. These locations refresh every time you play the Terminus Main quest in Call of Duty: Black Ops 6 Zombies, and there will always be one of the three locations with a Node Connector placed already. You need to place in the two missing locations only.
| Node Connector Location | Description |
|---|---|
| Near Speed Cola | Inside the Sea Caves that connect the ground floor with the Bio Lab, you can find pipes running along the walls. There could be a gap between pipes and that is where you can place the Node Connector. |
| Below Sea Tower | This is very easy to spot as you only need to come to the Sea Tower via a boat and you can spot one side of the pipe emerging out of water, another running on the surface with a gap in between. Place the Node Connector here if one is not placed here already. |
| Crab Island | Crab Island is found in the South of the Terminus map. Once you are there, find the workbench and you can spot the pipes opposite to it. |
7) Hack the Buoys
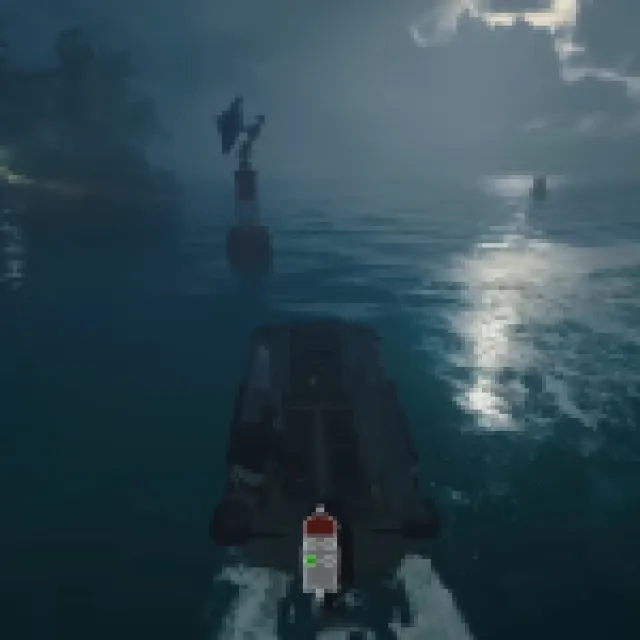


The next step involves hacking three Buoys, but first, you must obtain the hacking device from Dr. Peck near the spawn point in Terminus.
Use the Hacking Device on three of them scattered around Terminus Island in the sea. Start by taking your boat out to the water and locating the buoys, which you will recognize by the Parasites hovering nearby.
Once you are at a buoy, jump into the water and hold the interact button to pull out the Hacking Device. Wait for the hacking process to complete, which will initiate a two-minute timer.
There will be three buoys for you to hack, so if you miss one, then you could see the “Buoys Losing Connection” timer error. This will indicate that you may have missed hacking at least one buoy.
8) Defuse the Nukes

After finding and hacking all three Buoys, you will need to rush towards the Bio Lab. There is a passage that connects Bio Lab with the sea so make sure you take that instead of running through caves and reaching it.
You will need to defuse three bombs in the Bio Lab in under five minutes. Every time you interact with a bomb to initiate the defusing process, expect the purple-eyed zombies, along with others, to rush toward you.
Typically, you should look for open doors with a green light above them, and at right a numeric door lock. This small room will have a console that you can interact with to begin the defusing process. Doing this process Solo will be quite a challenge because if you fail this, the mission ends. However, this should be an easy feat if you are completing it with a Squad.
Related: All Twitch Drops and How To Claim Them In Black Ops 6
9) Eliminate the Final Boss of Terminus, Patient 13

Successfully completing the defusing process will stop the detonation timer. After that, killing Patient 13, the final boss in the Terminus main quest in Call of Duty: Black Ops 6 Zombies remains.
To reach the boss, you need to go through the door with lockers on its right, which is found near the Melee Macchiato Perk Machine.
You should only come to the Patient 13 boss fight if you have the best weapons with higher weapon rarity, ammo mods, and level up at Pack-a-Punch station. The Beamsmasher you crafted at the start of this quest will be useful during the boss fight.
How to Beat Patient 13
During the first phase, Patient 13 will use its tentacles to slam the area in front of it. Changing positions frequently will be the key to not get hit and die. When it comes to dealing with damage, you will need to look out for the red bulges that appear on Patient 13’s shoulders. Only hitting there will get you to damage the boss.
When you have dealt nearly 30 to 40 percent damage to Patient 13, it will submerge into the water, and zombies will start appearing on the deck. Kill them all to begin the second phase of the boss fight.
In the second phase, the boss will use most of the attacks from the first phase with the addition of using its tongue. To deal damage, you will need to hit its mouth whenever the opportunity arises.
The third phase will begin when Patient 13 is down to the last 30 or 25 percent health. An electric field will also surround its entire body, indicating the start of the third/final phase.
This phase gives you three ways to deal damage to the boss: glowing blue eyes, mouth, and the red bubbles on its body. With more hit points, the boss also deals massive damage, especially when casting the electric orb. Avoid getting hit by it, and you will be able to kill Patient 13 quickly in Call of Duty: Black Ops 6 Zombies.
Terminus Main Quest Rewards in Call of Duty: Black Ops 6
Completing the Terminus main quest in CoD Black Ops 6 Zombies will reward you with the following in-game items:
- Trophy Collector Operator Skin for Maya
- Terminus Quest Complete calling card containing a golden skull logo at the bottom right.
For more tips, we recommend you read our Best Gobblegums, and Best Run and Gun Loadout in Call of Duty Black Ops 6 guides.
