
Lego Indiana Jones 2: The Adventure Continues Guide Walkthrough The Play Sets
The Raiders of the Lost Ark
Checklists
Characters
|
|
|
|
|
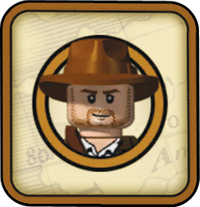
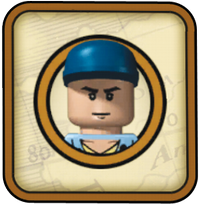
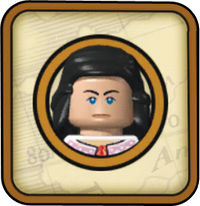
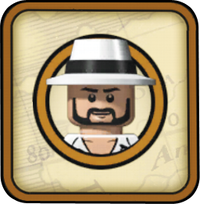
| Indiana Jones | Jock | Marion | Sallah |
|
|
|
|
|
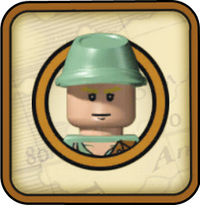
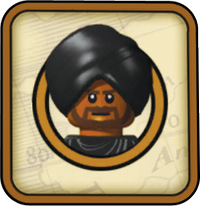
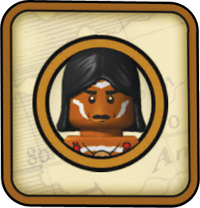
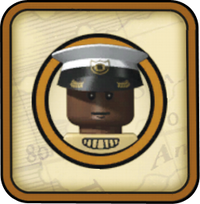
| Sherpa Brawler | Masked Bandit | Enemy Soldier (Desert) | Enemy Officer (Desert) |
|
|
|
|
|
| Bazooka Trooper (Raiders) | Bandit Swordsman | Hovitos Tribesman | Satipo |
|
|
|
|
|
| Captain Katanga | Enemy Boxer | Major Toht | Colonel Dietrich |
|
|
|||
| Belloq |

Vehicles
|
|
|
|
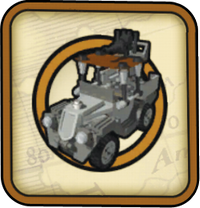
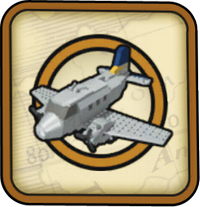
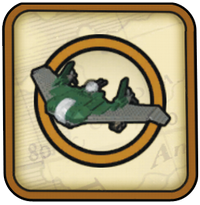
| Army Jeep | Pazzenger Jet | Flying Wing |
|
|
|
|
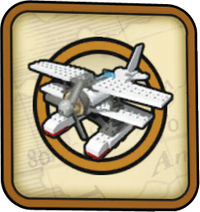
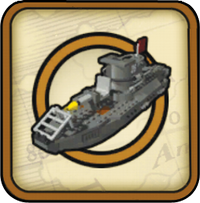
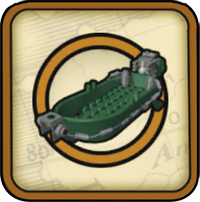
| Biplane | U-Boat 26 | Green Speedboat |
|
|
|
|
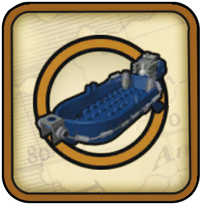
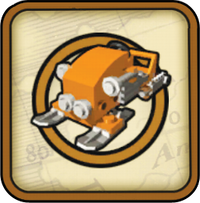
| Blue Speedboat | Snowobile |
Raven Rescue
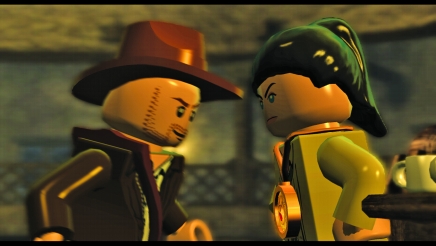
Indiana Jones and Marion have been reunited after many years. Indy tells Marion that he has come for the medallion that belongs on the Staff of Ra.
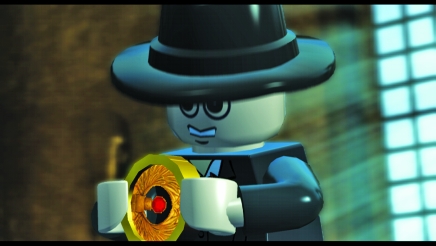
However, someone else has also come for the same object.
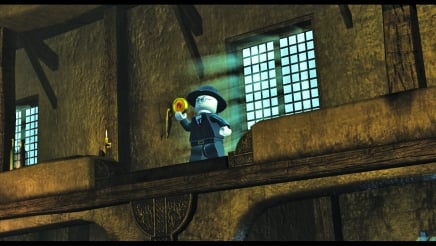
Toht grabs the medallion and then uses it to attack Indy and Marion.
Story mode characters:
Indiana Jones, Marion
True Adventurer stud requirement 25,000
After Indy and Jock land in Nepal, walk into the bar to begin this level.
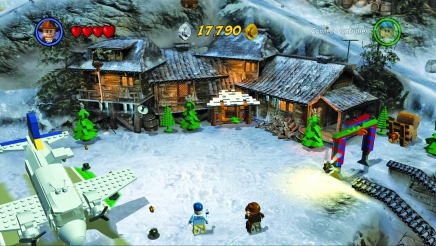
Wave 1
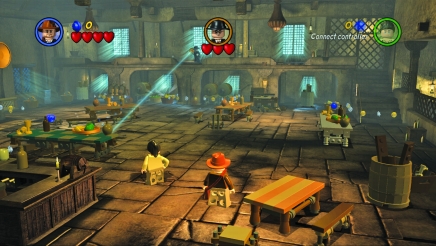
The objective for this level is to defeat the enemy Major Toht. He is up on a balcony and uses the medallion to fire beams of light that can cause damage if they stay on you for too long.
You can't hurt Toht with any of your weapons, so you must come up with another plan.
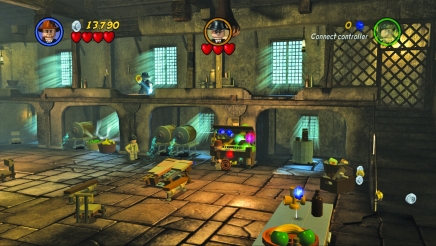
Since Toht is the only threat in this wave, use this time to ransack the bar and collect as many studs as possible.
Just stay out of Toht's beam. There are some objects, such as this piano, that you can assemble from pieces on the floor. Then break it up to get some studs.
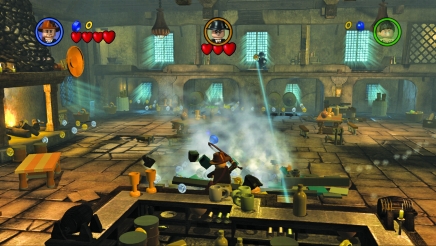
Once you are ready to continue, head over to this checkered table in the center and break it apart with your whip. Next, assemble all the pieces into checker tiles, a stand, and a reflector.
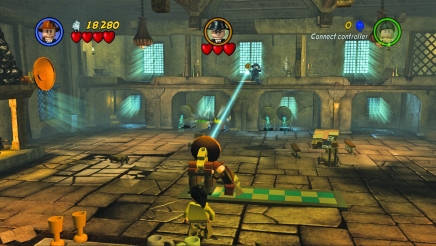
Once you've built the reflector, push it to the left to redirect the beam at Toht; this will hurt him.
Wave 2
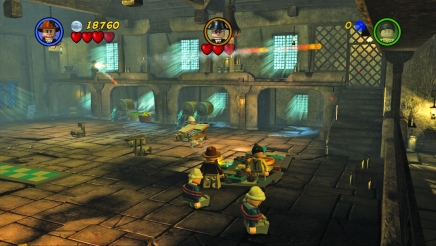
Toht is not ready to give up. He sends in some brawlers to fight while he throws explosives and fires a machine gun at you. Start off by using the whip to tie up the brawlers; don't defeat them, as more will take their place.
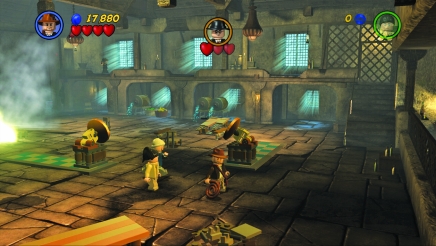
The table on the right side will be broken by one of Toht's explosives. Assemble it into another reflector on some checkered tile and push the two reflectors toward each other. Then finish off the last of the brawlers so Toht will use the beam to try to attack you. When he does, the reflectors will direct the beam right back at him.
Wave 3
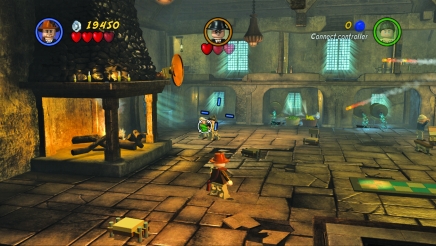
Toht sends in more brawlers. Watch for those in green shirts, since they have guns. After you defeat them with your whip, pick up one of their guns and use it against them.
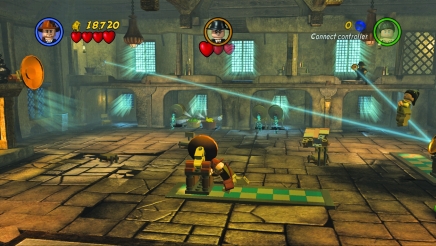
Now push the reflectors apart from each other to aim the beam back at Toht.
Wave 4
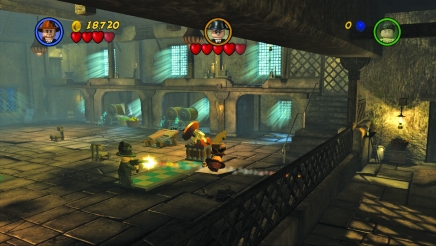
Toht now comes down from the balcony to get you. Watch out for his machine-gun attacks; try to get in close to him so he can't use this weapon.
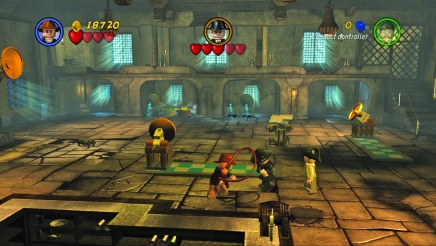
Continually whip and punch Toht to decrease his life hearts. If you can find a gun, use it as well. After you defeat him, you complete the level and Marion joins your party.
Market Mayhem
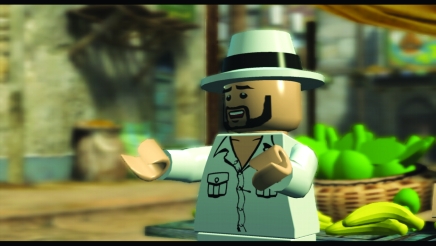
Indy and Marion arrive in Cairo and meet up with Sallah. While the two men are talking, Marion is abducted and carried away.
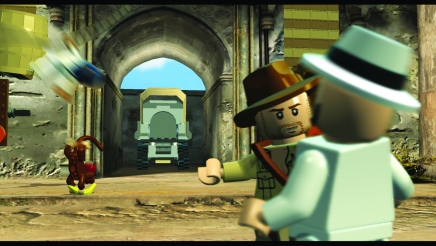
Indy tries to pursue, but there are several enemies he must deal with first if he wants to leave the streets of Cairo alive.
Story mode characters:
Indiana Jones, Marion
True Adventurer stud requirement 13,000
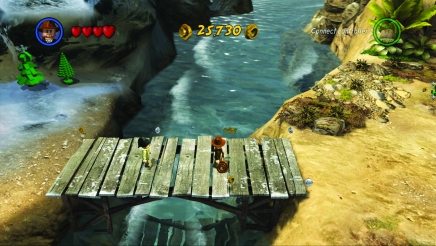
To reach the next story level, head down the stairs from the bar in Nepal and continue across this bridge to Egypt.
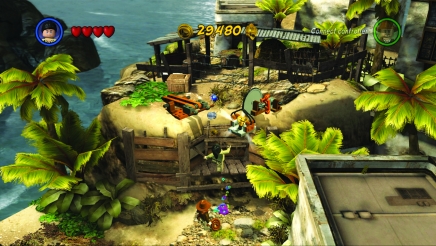
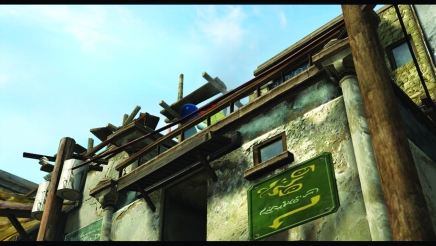
You need a key to get into the city, so head north a bit and use Marion to jump up where the flowery icons are. Grab on to the lever and pull down to release the key.
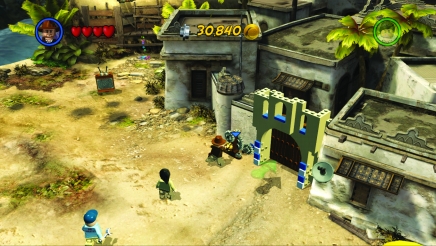
Now head to the city gates, insert the key into the mechanism, and turn it. This opens the gates so you can enter.
Wave 1
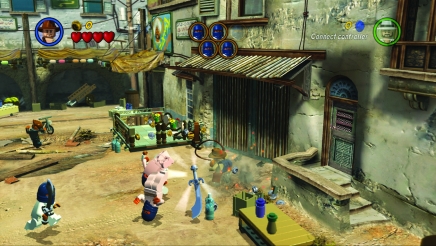
The first wave consists of four masked bandits. Take out your whip and let them have it. This first wave is the best time to smash items all over the marketplace and get as many studs as possible before the more difficult subsequent waves.
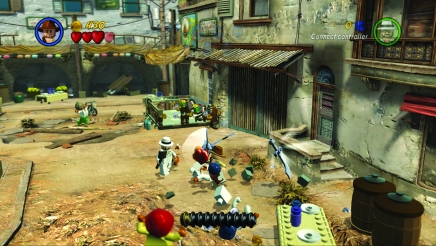
After you defeat a bandit, he will drop his sword. Pick it up and use it; one hit with a sword will defeat an enemy. Finish off the remaining bandits using your sword.
Wave 2
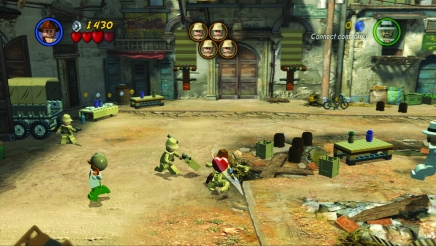
Now you must defeat five soldiers. These are armed with pistols and will try to fire at you from a distance. Get in close and hit them with the sword.
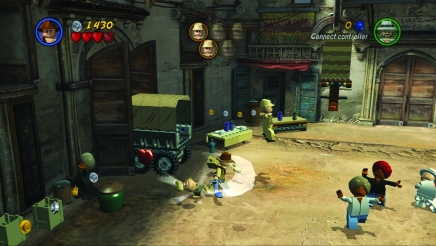
After you defeat a soldier, pick up his pistol. You want to save your pistol shots for later, so switch back to the sword for now (when you pick up the pistol, it becomes your current weapon, so you must switch back to the sword here).
Wave 3
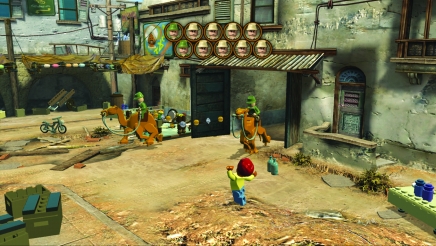
The next wave has eight soldiers and two camel soldiers. The camel soldiers will ride toward you and try to have the camels kick at you.
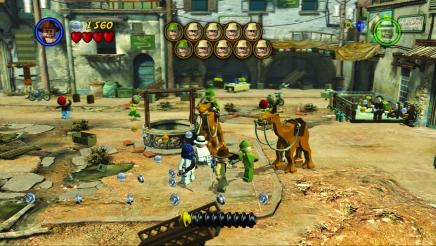
Pull out the pistol and shoot at a camel soldier to knock him off the camel, or use your whip to pull him off. Defeat him using your sword.
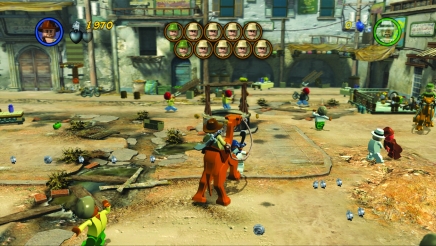
Now head toward the other enemies and attack them. Continue until you've defeated all ten enemies in this wave.
Wave 4
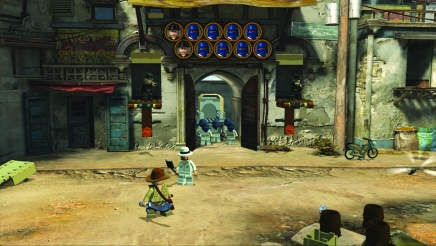
You now are attacked by eight masked bandits and two snipers. Quickly defeat the bandits with your sword so you can then concentrate on the snipers.
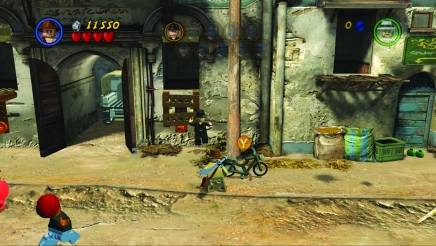
You can't shoot at the snipers or throw your sword at them, since they will block these attacks with their rifles. Instead, use the whip to pull on the orange handles below the snipers; this makes them fall to the ground level, where you can then attack them by whip or sword.
Wave 5
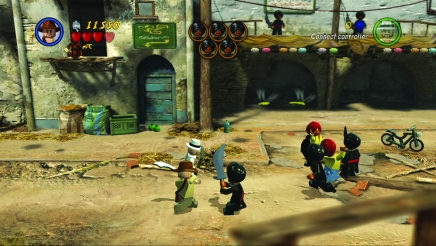
The last wave has five swordsmen. These are tougher to beat and can only be defeated by using a sword. Keep hitting them with your sword to finally disarm them; then finish them off with a single hit of your sword.
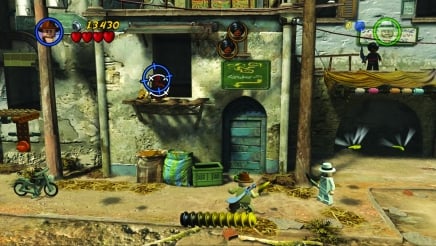
The first three swordsmen are on the street level. However, the last two are on the roofs of some stalls. To reach them, first pick up a banana from beneath these two swordsmen and give it to the monkey. The monkey will then give you a key.
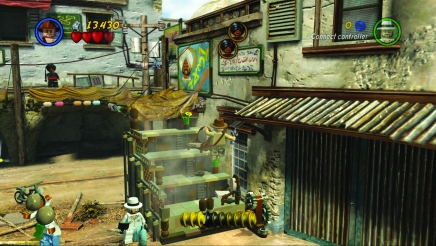
Insert the key into the mechanism by the dining area, and turn it to create steps up to the last two swordsmen. Once on the roofs, use your sword to finish off these last two enemies.
Map Room Mystery
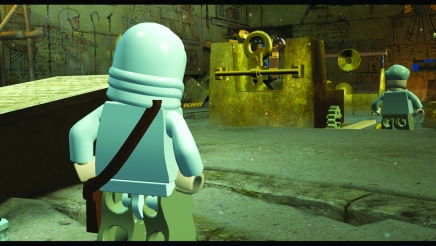
Indy and Sallah have reached the map room. After studying the room, they see that they need to move a large sculpture of a building in order to reach the ark.
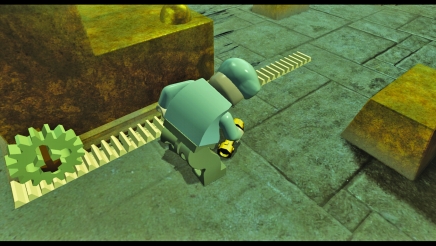
The two of them realize that the medallion is the key and place it on a stick to create the Staff of Ra, which will unlock the way to the ark.
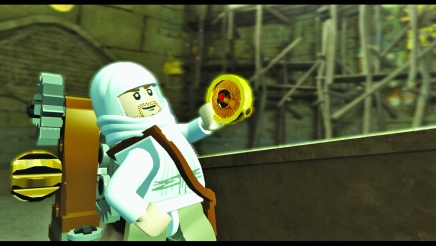
Story mode characters:
Indiana Jones, Sallah, Marion
True Adventurer stud requirement 23,000
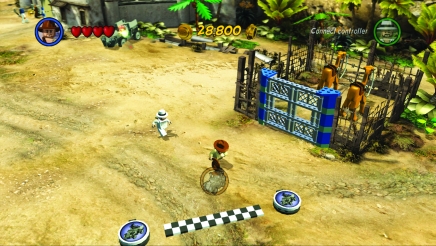
To get to this level, walk southeast from Cairo and past the camel corral.
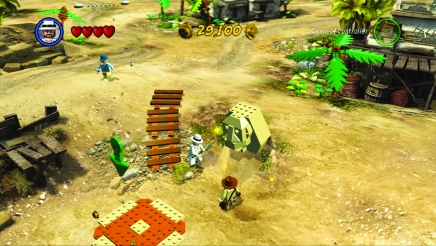
When you reach this statue of a head, use Sallah's shovel to dig around the head. It will roll forward and crash through a door, revealing a hole in the ground. Jump down to get to the map room.
The Map Room
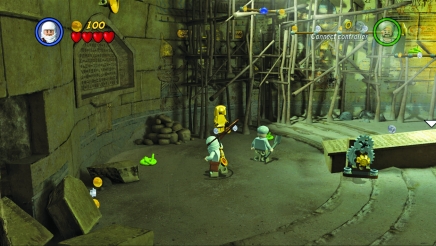
Since Indy is afraid of snakes, switch to Sallah at the beginning and hit the snakes to clear the way for Indy. Also, take time to pick up studs.
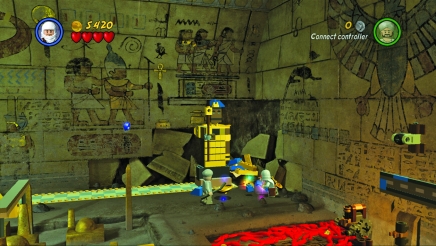
Head to the room's far right corner and dig up a base for a statue. Then break up the colored bricks along the wall and reassemble them into a statue.
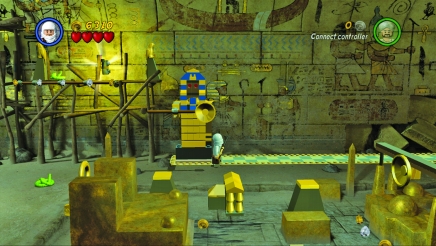
Push the statue to the left along the checkered tiles. Then have Sallah grab on to the statue's staff and use it as a handrail to pull himself up and jump onto the scaffolding. Jump across to other handrails and shimmy back and forth to get some studs before picking up the torch and jumping back down.
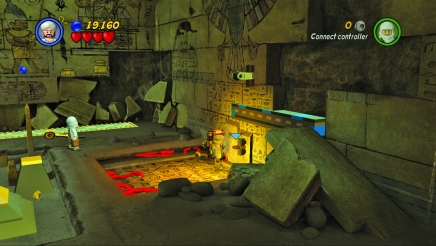
Carry the torch to the room's right side. This will allow Sallah to walk into the snake pit; the snakes will slither away while he is holding the torch. Place the torch in the holder, and pull the lever to make a platform slide out from the wall.
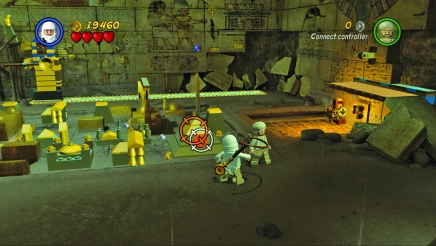
Use Indy's whip to pull on this orange handle. Then whip the statue that emerges and pick up the reflector that drops. Place the reflector on the holder above the platform on the right side.
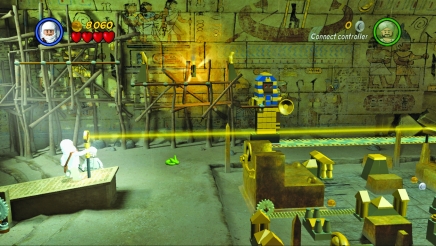
Now have Indy place the Staff of Ra on the large stone tablet on the left side to catch the sun and create a beam ofÊlight.
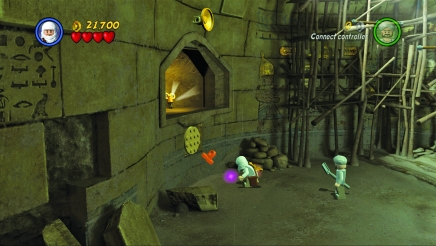
The light opens an alcove along the room's left side. Walk over and assemble the pieces lying on the ground, and then use the whip to pull on the orange handle. Jump onto the block that tumbles out of the wall and pick up the key.
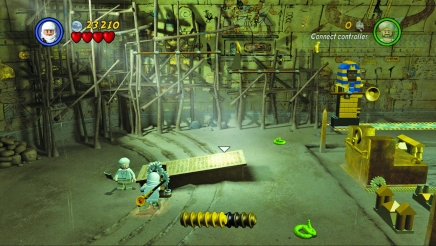
Insert the key into the mechanism by the tablet and turn the key to lower the tablet.
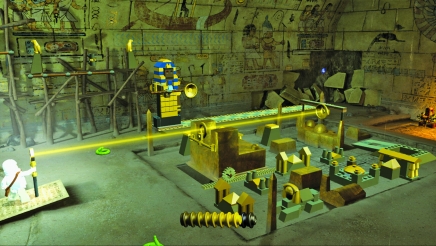
Place the Staff of Ra onto the tablet again, and the beam of light will move a stone block to reveal an opening. Jump down through the opening to enter the Well of Souls.
The Well of Souls
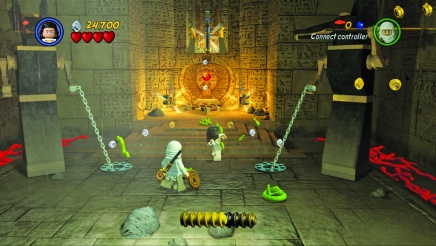
After the ark and Sallah are lifted from the Well of Souls, Marion is thrown down into it, and Belloq seals them in. Since this area has snakes, which will make Indy panic, take control of Marion and start smashing those serpents.
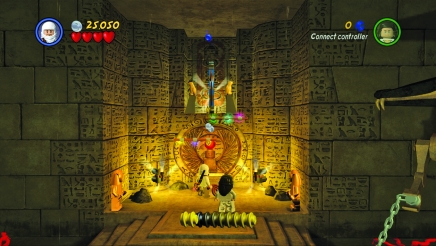
At the room's far end, assemble some pieces to build handrails, and then use them to reach the alcove to recover a spear.
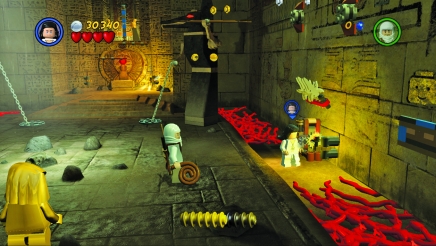
As Marion, pick up one of the torches and carry it to the snake pit along the right wall. Place the torch in a holder, and then pull on a lever to make a platform extend from the wall.
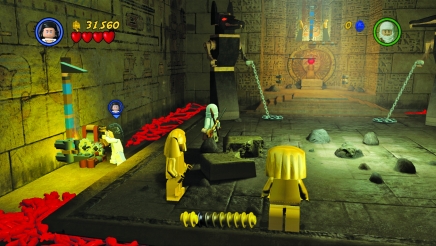
Return to the back area to pick up another torch, and place it in a holder in the left snake pit. Pull a lever to reveal another spear.
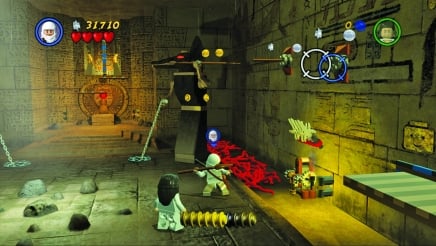
Throw both spears into the holes up high on the right wall. Then climb onto the platform so you can jump up to grab on to the closest spear.
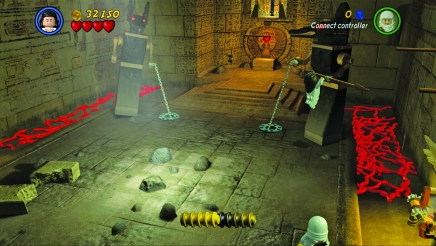
Jump to the next spear and then onto the spear held by the jackal-headed statue. This causes the other statue to tip a bit. Leave Marion hanging, then have Indy join her so that their combined weight on the spear will make the other statue break through the left wall.
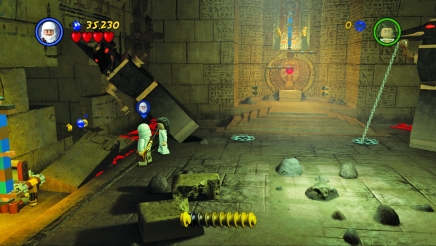
Finally, exit the level through the hole in the wall.
After the Ark
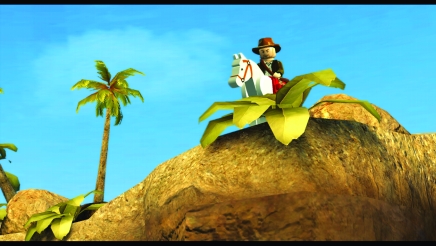
After escaping from the Well of Souls, Indy sees Belloq and his troops carry away the ark. The truck convoy is guarded by several armed jeeps.
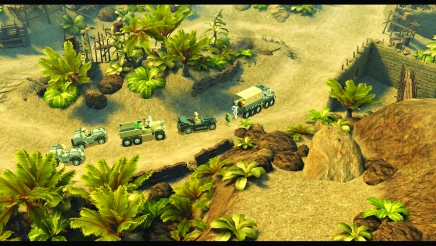
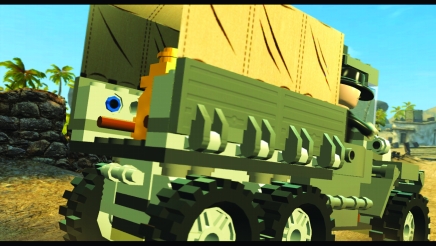
If Indy can reach that truck, he will have the ark back.
Story mode characters:
Indiana Jones, Sallah
True Adventurer stud requirement 84,000
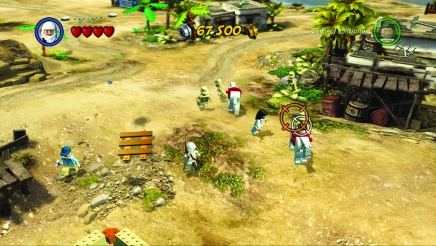
Indy needs to chase after the ark. As a couple soldiers on horseback come to attack, use Indy's whip to target the soldiers and pull them off the horses.
Defeat the soldiers and then jump onto one of the horses.
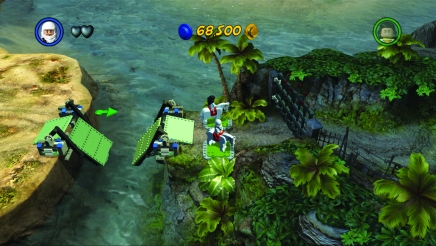
Ride to the northeast and jump across the gap where the bridge is lowered. Stop on the large pressure plates to open the gate to enter the next level.
Wave 1
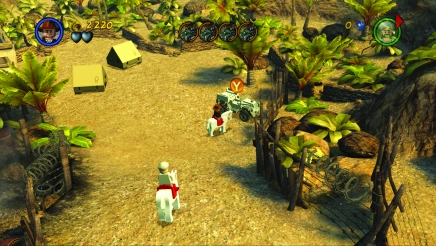
If you are going to take on vehicles, a horse is not going to cut it. Therefore, ride to this camp area to the east of where you start and hop in the jeep.
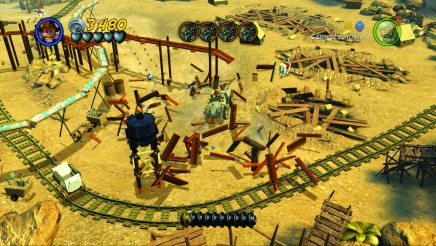
If you want to get some studs right at the start, drive to this mining area to the east and crash into things to release the studs.
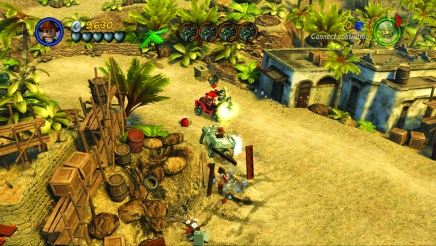
The first wave consists of four jeeps with machine guns traveling counterclockwise around the area's outer road. Crash into them from the side, and try to force them to crash into things along the side of the road.
Wave 2
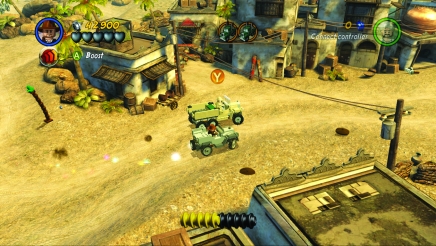
The next wave has two jeeps with machine guns and two trucks. Crash into the jeeps first to get them out of the way. Then look for a tan truck driving around. Pull up next to it and switch from your jeep to the truck, since your jeep can't damage the trucks.
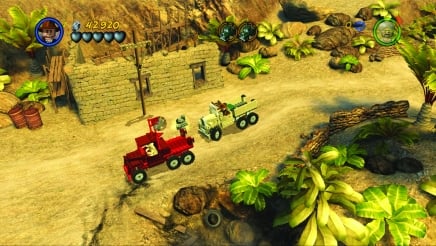
Now with a truck of your own, go after the two trucks and crash into them or force them into objects to destroy them.
Wave 3
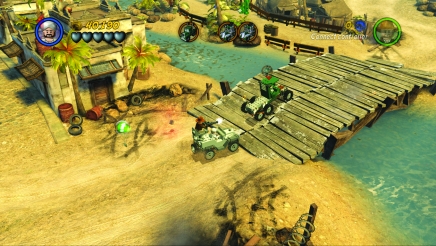
The third wave has two trucks and two armored jeeps. You can use your truck to attack or hijack a tan jeep with a machine gun just like you took control of the truck. Pick up Sallah and then use the machine gun to fire at and take out the trucks.
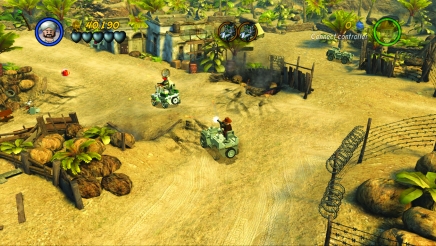
The armored jeeps don't take any damage when you crash into them with the tan Jeep, so you will have to use the machine gun, stay in yur big truck and crash into them with it, or force them to crash into objects.
The Ark Truck
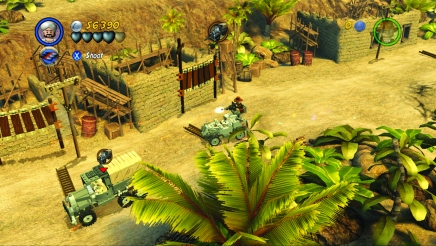
You now have to stop the truck carrying the ark. Fire at it with your machine guns to damage the truck and make it stop.
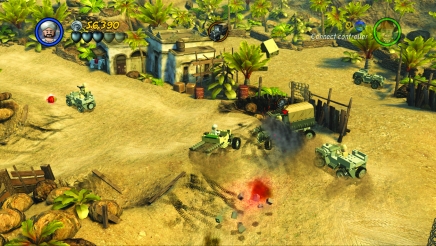
You might also want to hijack a truck of your own and just ram it into the ark truck. You can't destroy the ark truck, so just force it to stop and then get in.
Belloq and Toht
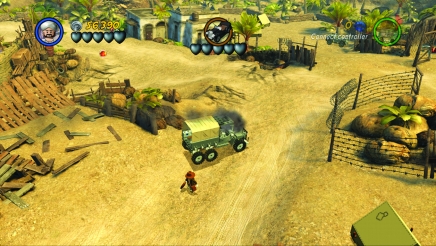
The truck is now yours. Hop into it and start driving around. In order to make his escape, Indy must destroy Belloq and Toht's car.
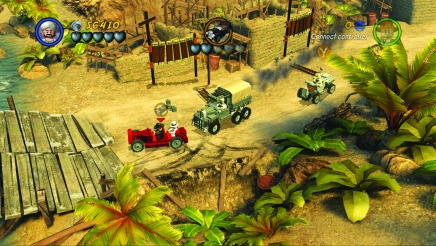
Chase after them and keep ramming them from behind or the sides until their black roadster is history.
Belloq Battle
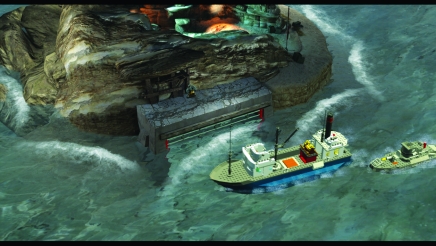
Indy has taken the ark and placed it on a ship to transport back home.
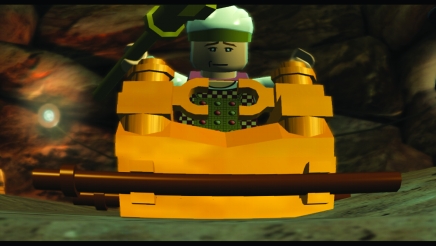
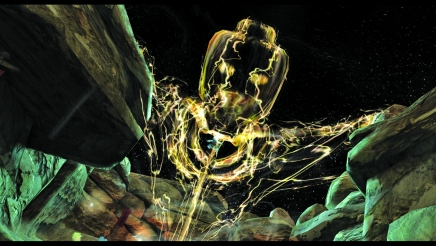
However, the ship is intercepted by a submarine commanded by Belloq and is then escorted to a small island. When Belloq tries to open the ark, something unexpected occurs: Belloq is given supernatural powers beyond his control. You must stop him.
Story mode characters:
Indiana Jones, Marion
True Adventurer stud requirement 25,000
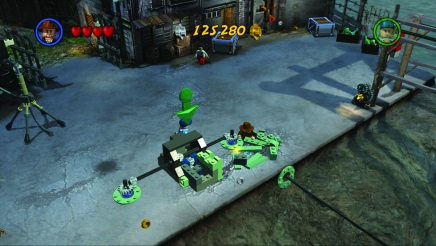
Indy and Marion find themselves on the dock. They need to pull the ship closer to the dock so they can climb aboard. Break open the nearby crates, and use the pieces to reassemble the motor. Once the ship is docked, jump onto it to continue to the island.
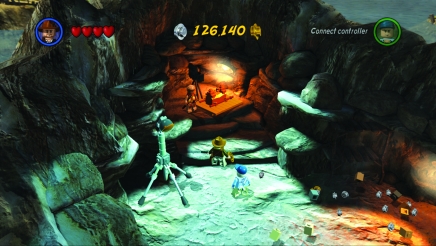
Once you reach the island, walk toward Belloq and the ark to begin the level.
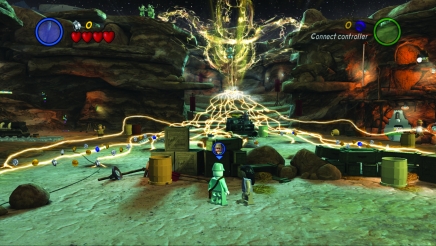
Indy and Marion start off in a safe spot behind some crates. However, Belloq's energy beams snake around the area to both sides. If you try to get past them, you will just end up in pieces.
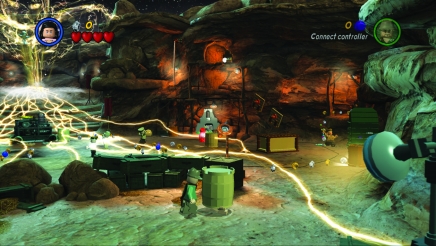
Take control of Marion and climb into one of the barrels. She can walk around inside the barrel and use it to protect herself. Walk to the right side of this area.
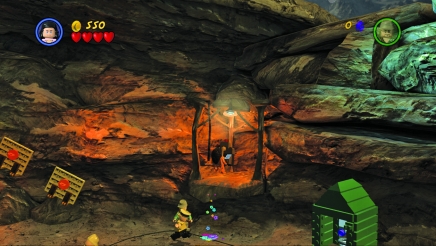
Once you get past the energy beams, remove the barrel, jump up where the flowery icons are located, and grab a piece of equipment. Carry it to the left and place it on a console with a green pad on it.
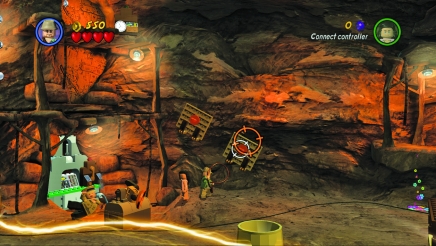
Switch to Indy, and use his whip to pull on the two orange handles. This lowers two ramps. Head up the ramps, and climb a rope to reach the top level of some platforms. Pick up another piece of equipment, and carry it to the console and place it there.
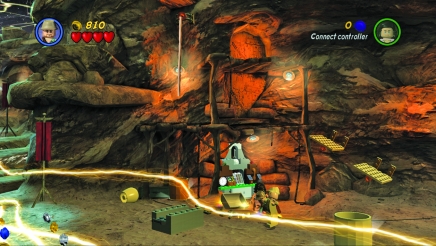
Once both pieces of equipment are on the console, some pieces will spill out onto the ground. Assemble them into a reflector to begin focusing some of the energy back at Belloq.
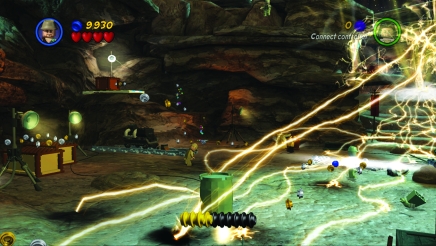
Switch back to Marion, and climb into a barrel again. Head to the area's left side, and jump up where the flowery icons are located.
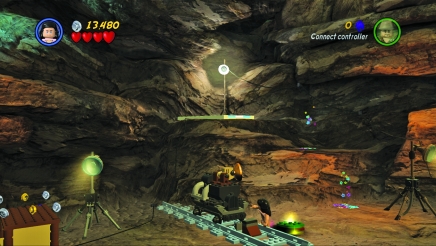
Push a crate of parts along some checkered tiles and off the edge. Then jump down and put the pieces together on a cart to create another reflector.
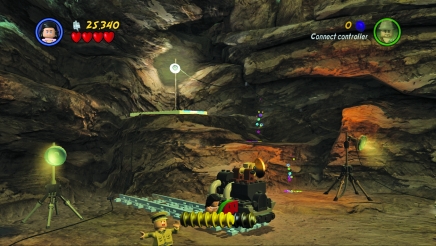
Get behind the green and red lever, and push the cart toward the middle of the area, where it, too, will focus more energy back at Belloq.
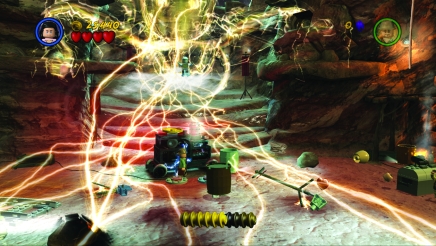
Get back into a barrel and head to the generator in the middle of the area. Stand on one of the pressure switches. Next, switch to Indy and use another barrel to get him to the generator.
Stand on the other pressure switch, and the generator will reflect enough energy back at Belloq to defeat him and complete the level. Indy has saved the ark from his enemies so it can be crated up and stored in a warehouse in an undisclosed location.
Treasure Mode
After completing each of the five Story mode levels, you can return to those locations to earn more studs and collect artifact pieces by completing the Treasure mode levels.
Toasty Tavern
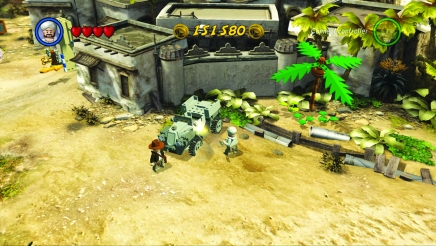
This bonus level requires a character with a sword and one with a bazooka. Before you can complete this level, you must dig the army jeep out of the sand near Cairo; purchase it for 30,000 studs; and then win the Jeep Race (see the “Events” section later in this chapter for more information), which will allow you to unlock and purchase the Bazooka Trooper for 30,000 studs.
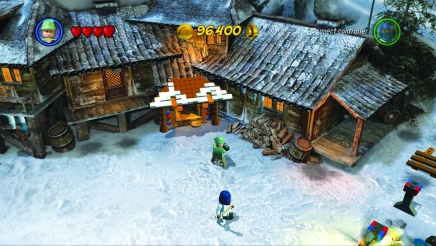
Once you have the Bazooka Trooper, take along the Masked Bandit and then head into the bar in Nepal to start the level.
Treasure mode characters:
Colonel Dietrich, Bazooka Trooper, Masked Bandit
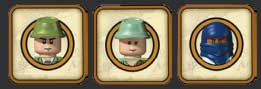
True Adventurer stud requirement: 35,000
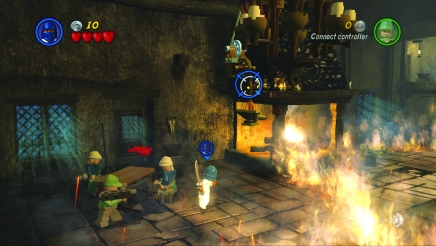
Take control of the Masked Bandit, and throw his sword at the rope holding up an anvil. When it falls, it will release some pieces.
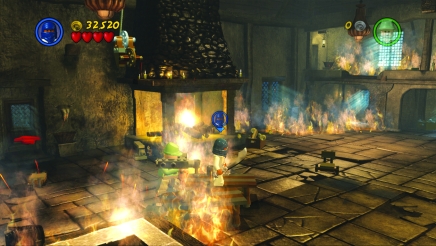
Assemble the pieces into a table, and then walk across the table to reach the other side of the flames. Go around the room smashing things and collecting all the studs you can.
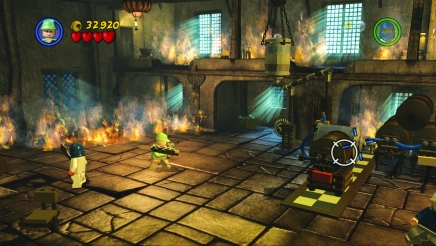
Switch to the bazooka soldiers, and fire at the two silver barrels by the checkered tiles. This will remove an obstruction.
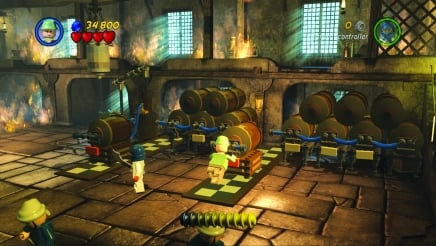
Now push the brown barrels along the checkered tiles to connect them to the rest of the barrels.
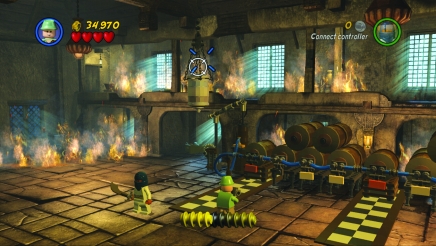
Fire the bazooka at the chain suspending a barrel from the ceiling. When it falls down and breaks, reassemble the pieces.
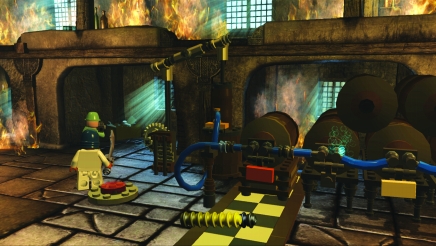
Step on the pressure switch to begin pumping water through the hoses; put out the fire on the steps to the right.
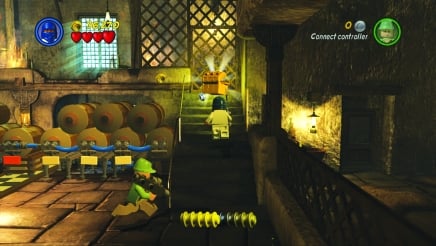
With the flames extinguished, head up the steps to pick up the artifact and complete the level.
Cairo Conundrum
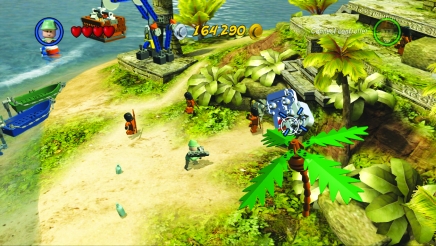
Before you can tackle this Treasure level, you will need to unlock and purchase a couple of characters. The first is the Hovitos Tribesman. To get him, you must complete the Hovitos Temple bonus level (see the “Bonus Levels” section later in this chapter for more information) and then purchase him for 30,000 studs.
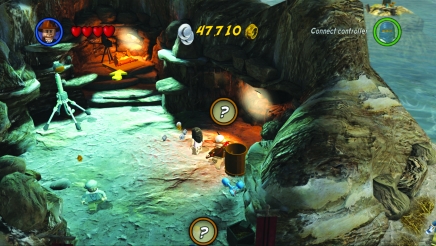
The second character you need is Belloq. To get him, you will need to reach the island where the ark was opened. There, you must dig up Belloq’s pieces using Sallah’s shovel and then purchase him for 500,000 studs.
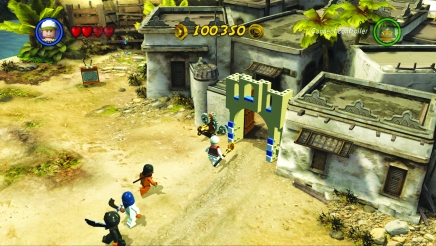
Once you have both characters, enter Cairo through these gates.
Treasure mode characters:
Belloq (Priest), Hovitos Tribesman
True Adventurer stud requirement: 24,000
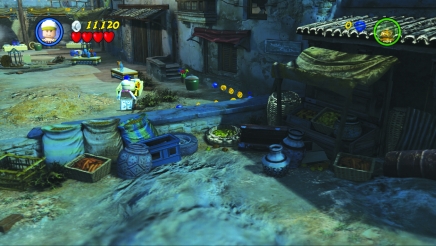
Start off by looking around this level for all the studs you can find in order to earn the True Adventurer award.
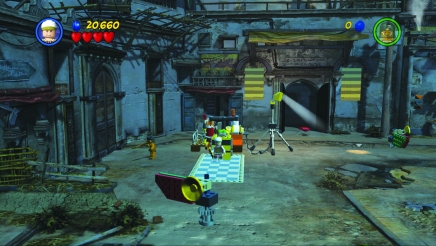
Break a crate on the area’s left side, and assemble the pieces into a device on the checkered tiles. Push it toward the back of the area to start a generator; this activates a light. Move Belloq into the light so that he can use the Staff of Ra to create a light beam.
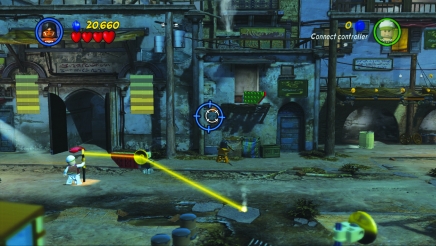
Switch to the Hovitos Tribesman and throw a spear in the hole along the back wall. Jump onto the spear and then to the balcony to pick up a lever handle.
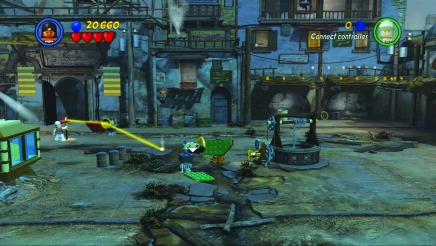
Carry the handle to the green plate near the middle of the area and set it down.
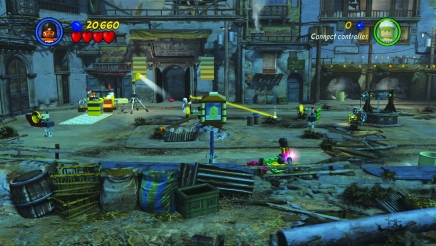
Now break a crate at the near edge of the area, and assemble the pieces into another reflector.
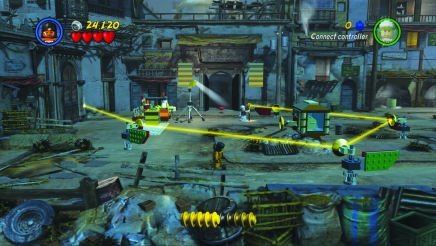
Switch to Belloq and rotate him a bit so the beam is hitting the reflector by the well rather than the reflector closest to him. Adjust the reflector by the well so it directs the beam toward the reflector by the near edge; you must then adjust it to send the light to the reflector on the left.
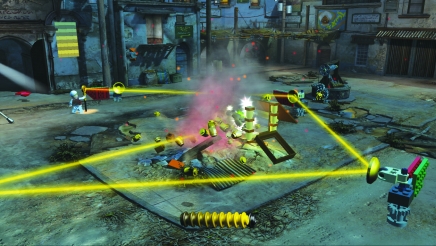
Now adjust the left reflector so that the light beam hits the container where the artifact is located and breaks it open.
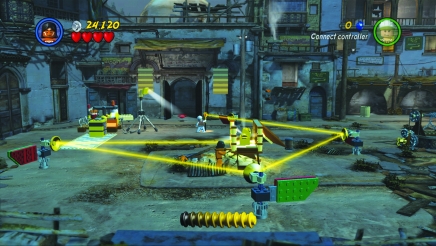
Finally, pick up the artifact to complete the level.
Cryptic Crypt
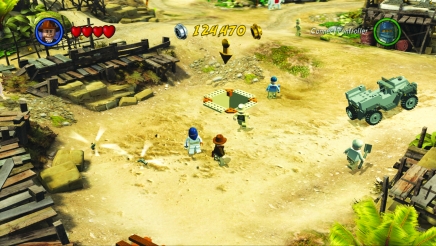
The next Treasure level is out in the desert. Head southeast from Cairo, and then jump down the hole leading to the map room to get started. You will be attacked by Enemy Soldiers in this area. Defeat several of them; then you can purchase this character for 15,000 studs.
Treasure mode characters:
Indiana Jones, Masked Bandit
True Adventurer stud requirement: 22,000
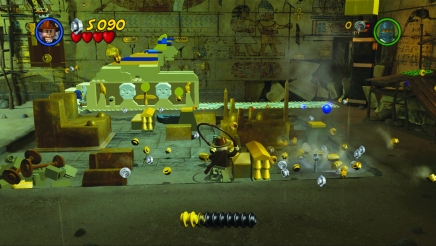
At the start of this level, go around and break everything you can to collect studs. When you break one of the model buildings on the right side, you will find a wrench. Pick it up to use it later. You can also find pieces to assemble to make small vehicles.
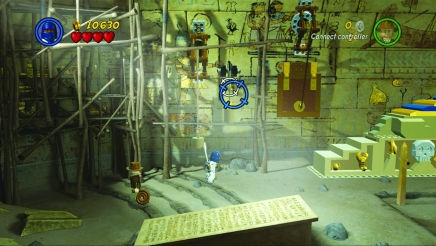
Use the Masked Bandit’s sword to cut the rope with a carefully aimed throw.
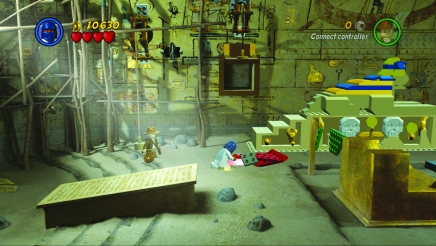
A door in the side of the back wall will open and dump out some pieces. Assemble them to make a push tab on the large statue on the checkered tiles.
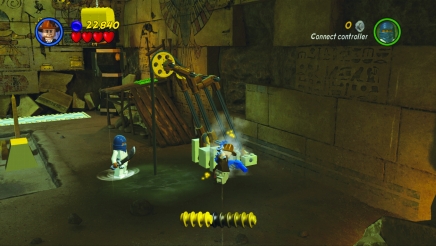
Use the wrench on the winch at the room’s far right side. Once you’ve fixed it, it will raise a crate of parts. Carry it to the green pad at the top of the wooden ramp.
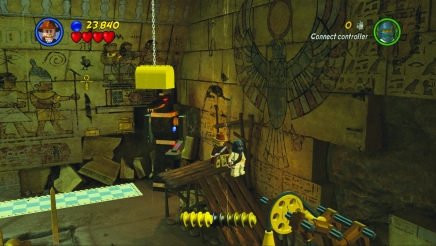
Assemble the pieces to add an arm to the statue in the corner.
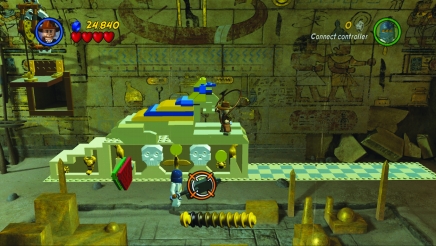
Now get Indy onto the front of the large sphinx statue, and use the whip to pull the other arm up from the model city (you can’t jump onto the statue while carrying the arm).
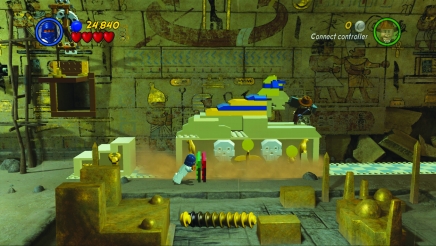
Switch to the Masked Bandit and push the sphinx statue to the right.
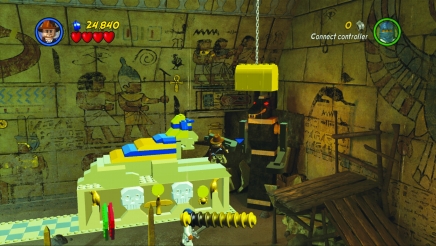
Indy can then place the arm on the statue. The statue will grab on to the large chest hanging from the ceiling and drop it to the ground. Grab the artifact that falls out to complete the level.
Desert Dash
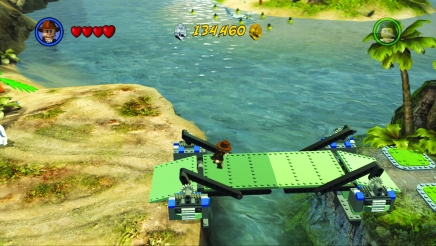
This level takes place on the island where the boat dock is located. Cross over the bridge to reach the island.
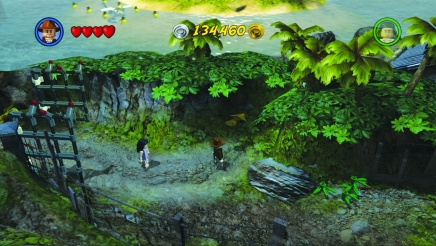
Then enter the level by walking through the gates and into the jungle pathway.
Treasure mode characters:
Any
True Adventurer stud requirement: 90,000
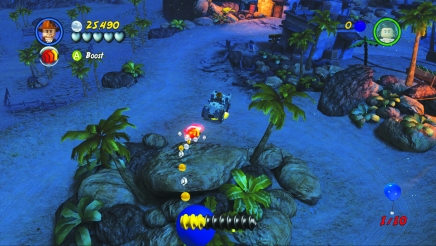
In this driving level, you need to pop ten balloons. Get into one of the jeeps and follow the road southwest toward the town. You will drive under one balloon over the bridge. However, you can’t get it yet without a jump boost. Once in the town, drive up this stone ramp, picking up and using the turbo boost as you jump off the ramp, and pop your first balloon.
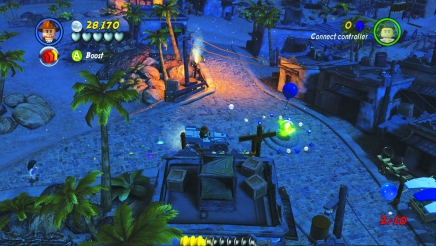
Head east into the center of the town to pop the second balloon and pick up a jump boost.
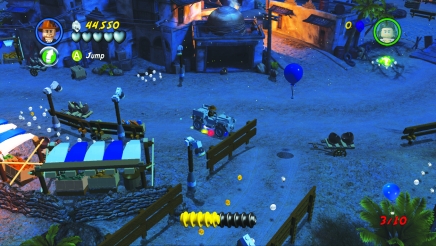
Use the jump boost to hit this balloon at the south end of town.
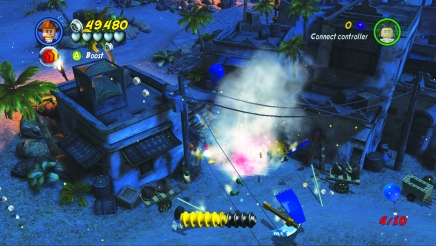
This balloon is in between two buildings in town. Approach it from the northwest and drive southeast to hit a bit of a ramp so you can hop up and pop it.
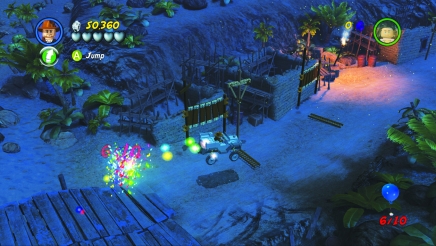
Now head back to the northern bridge out of town, picking up a jump boost along the way. Next, drive across the bridge while jumping right before you get to the balloon. Pop it.
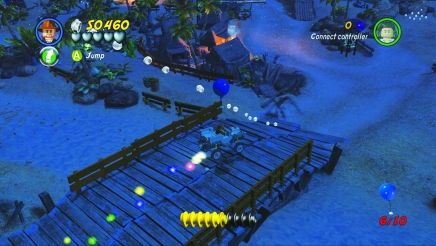
Another balloon is floating over the southern bridge out of town. Pop it the same way as the previous one.
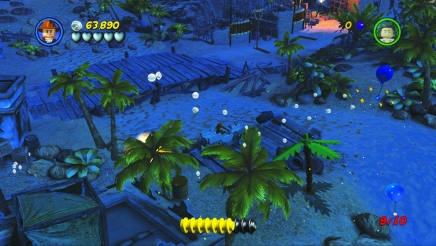
You can pop the next balloon by driving through the center of town and then heading east to hit this ramp located just south of the northern bridge. You don’t need to jump—just drive off the ramp at a fast speed to pop this balloon.
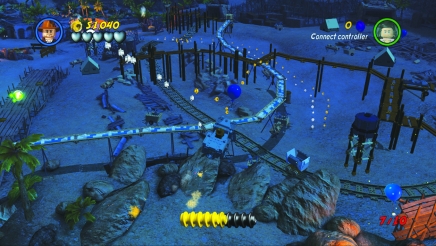
As you are northeast out of town across the southern bridge, veer off to the right a bit so you can jump off these rocks; pop the balloon as you head into the dig site.
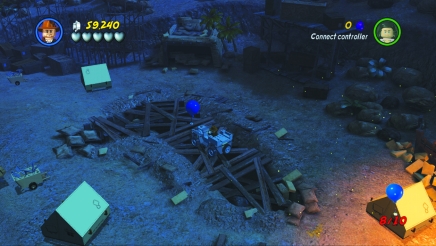
This balloon is located in the northeastern corner of the dig site.
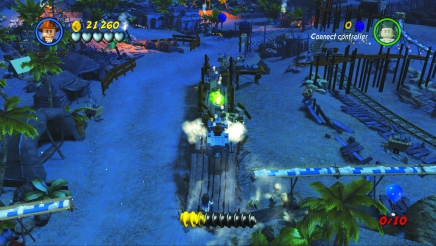
The last balloon is along the southern road. Drive northeast up this scaffolding, pick up the jump boost, and jump to pop the balloon.
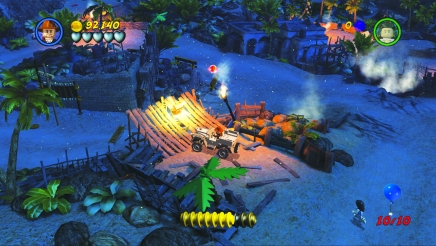
Finally, grab the artifact off this ramp just to the west of the dig site to complete the level.
Buildozer
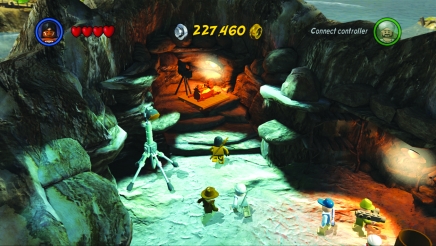
Make your way to the island, where the ark was opened with the correct characters. You will need Sallah and the Hovitos Tribesman. Walk toward the ark to start the level.
Treasure mode characters:
Sallah, Hovitos Tribesman
True Adventurer stud requirement: 43,000
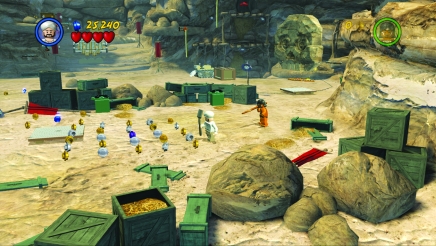
You start out atop a wooden platform. Pick up the studs near your spot; then get down and move around the area to find all the studs you can. Some studs are grouped together. Hit the green boxes with the spear to break them open.
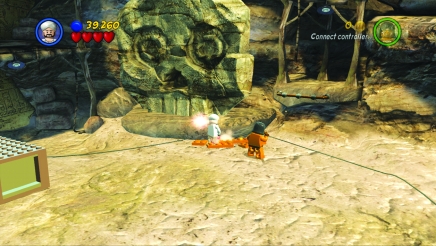
Now use Sallah to dig by the large stone skull. As it starts to fall, jump to the right so you don’t get smashed.
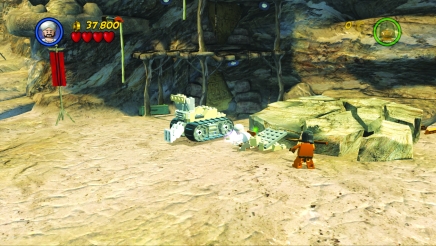
The stone skull breaks open a crate. Use the pieces to fix up the bulldozer, and then have Sallah drive it toward the center of the area.
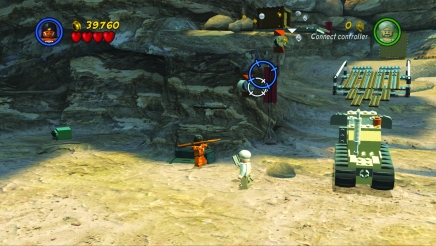
The bulldozer can’t make it onto the ramp until you add more pieces to it. Use the Hovitos Tribesman to throw spears at the two holes on the stone to the ramp’s left. Then jump up to the handrail and onto the top using the two spears along the way.
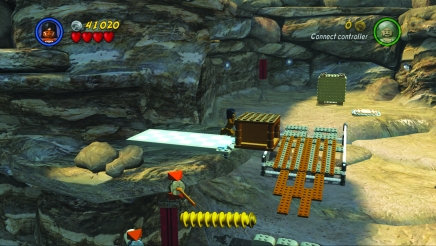
Push the crate along the checkered tiles and off the stone platform. It breaks as it hits the ground.
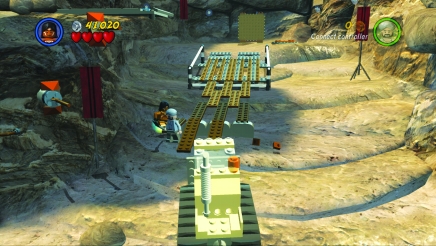
Assemble the pieces to the ramp’s end to create a path for the bulldozer.
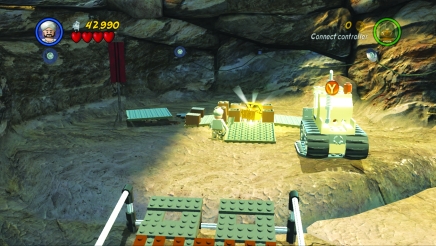
Drive the bulldozer onto the pressure pad to open a large crate and reveal the artifact. Grab it to complete the level.
Bonus Levels
There are five bonus levels. Complete each to earn an artifact.
Mountain Shack
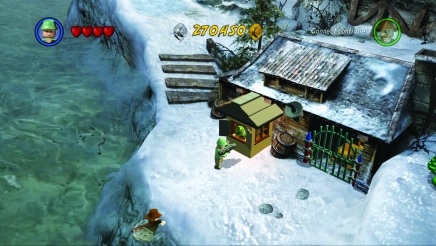
This bonus level is in Nepal. Head south to this house with the Bazooka Soldier. Go to the security post. When the guard sees your character’s uniform, he will open the locked gate so you can get the snowmobile.
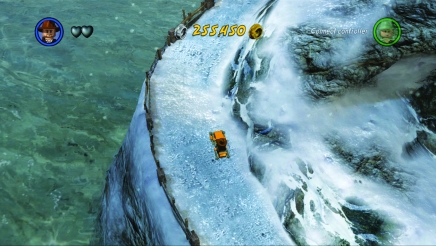
Purchase the snowmobile for 15,000 studs and climb aboard. Head up the icy trail to the north along this island’s western side.
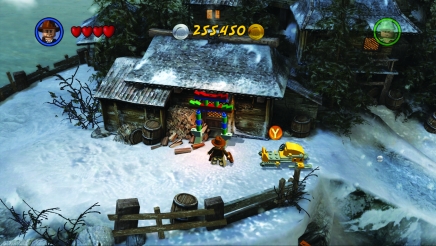
At the top of the hill, hop off and walk into the shack to start the level.
Bonus level characters:
Indiana Jones, Satipo
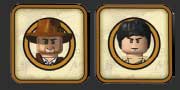
True Adventurer stud requirement: 51,000
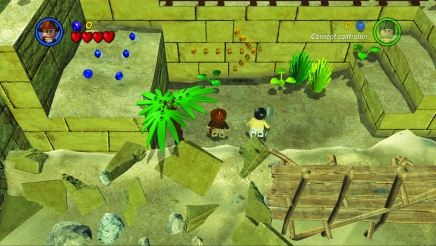
This bonus level can be tricky but is not too tough. Grab some studs where you begin, before heading up the steps. Walk into the gap between the steps and the wall closest to the camera to find some hidden blue studs.
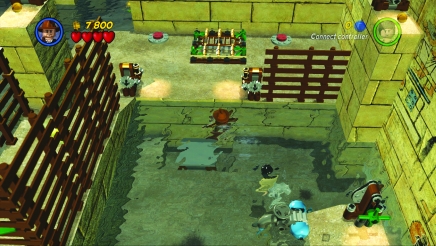
Head up the steps and turn the red wheel to flood the level a bit. Now swim across to the next stone walkway, and pull both levers to activate an elevator platform. Now swim back to the wheel, which is now green, and turn to drain the water.
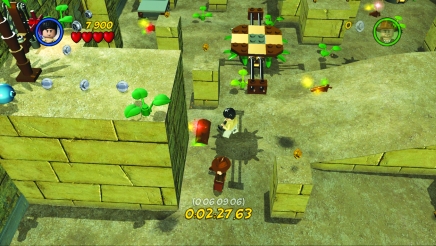
Next, head back to the levers, using the elevator platform to get up to the higher level, and then head left into the larger area. To find some studs, use Satipo’s shovel to dig up the chests buried in the floor. Also look in all the corners and narrow passages for hidden, high-value studs.
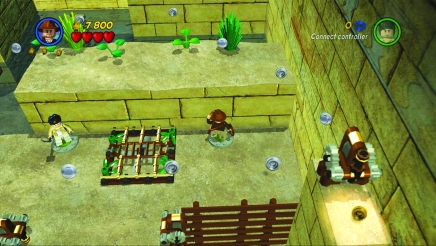
Once you have everything on the lower level, head back to the wheel, which is once again red, and turn it to flood the area. Swim around the main area, picking up studs located on the tops of pillars, which are almost completely submerged. Next, stand on the two pressure switches to start a fan blowing; this will take you up to the adjacent platform.
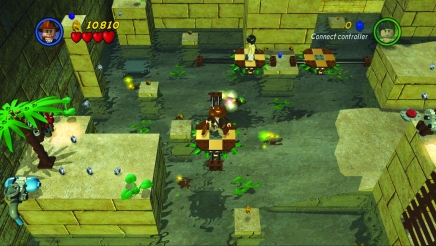
Jump to a moving platform; then make your way across two more of these moving platforms to reach another stone platform with a red wheel. Turn it to flood the room some more.
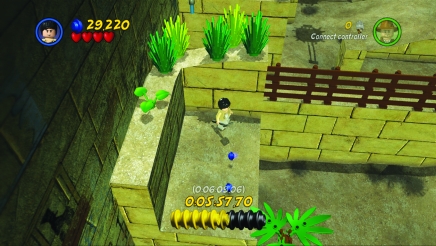
To get the blue studs in the close, left corner, send one character swimming over to this area while the other uses the wheel along the left wall to pump out water. Once you have the blue studs, flood the chamber again by turning the wheel.
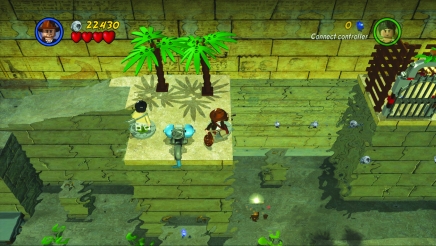
Now swim across to the platform in the center of the far wall, and step on the pressure switches to flood the chamber to its highest level. Swim around to pick up some studs from atop the highest pillars. You can also jump from the water tap onto the palm tree to collect a purple stud.
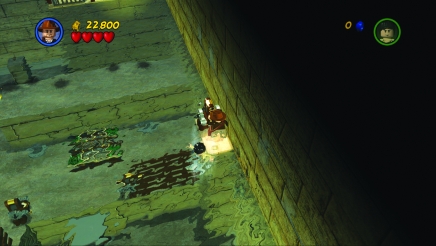
Next, swim to the middle and the right side to pull on levers that open the gate to the area in the far right corner.
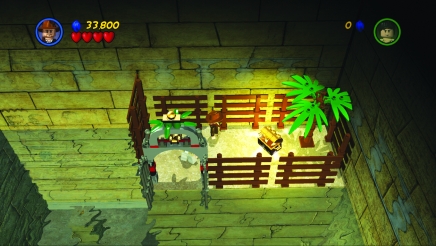
Finally, swim to the far right corner and grab the artifact to complete the level.
Airstrip Hangar
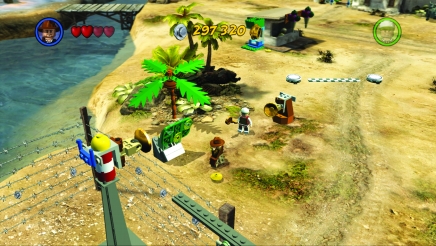
The airport hangar is to the south of Cairo. To get into the hangar, you must collect light reflectors and place them on the green pad. Some are near the pad, one is in a golden statue by the ice-cream stand, and the last is to the right and appears when you hit another golden statue.
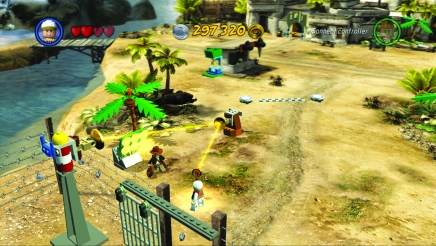
Once there are six reflectors on the pad, use Belloq’s Staff of Ra to create a beam of light. Aim at the northern reflector to open the gate to the airstrip.
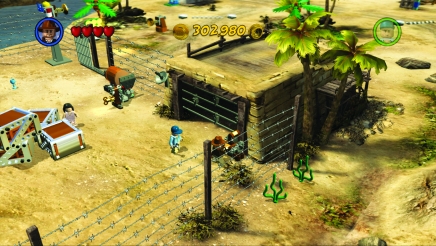
Enter the airstrip and fight off a few enemies. Next, pull the lever to the hangar’s right to open the door. Enter the hangar to begin the level.
Bonus level characters:
Indiana Jones, Jock
True Adventurer stud requirement: 7,000
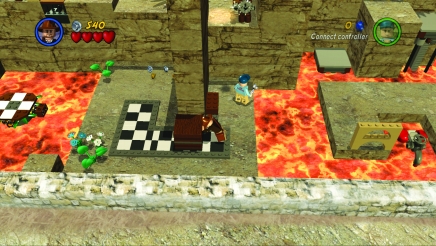
Start off this level by jumping across the lava to the area on the left. Push a crate to the left along a checkered tile path.
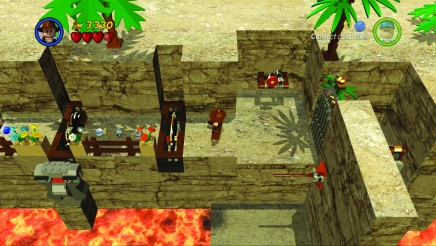
Jump across the next pool of lava using the two moving platforms—watching out for the shots fired from the statue head. Get to the far left side and use the whip to grab the spear up in an alcove toward the back of the level.
Get back to the other side of the lava pool, and jump onto the crate. Throw the spear into the hole in the wall, and jump up to it to reach the upper level. Jump over two large saw blades when they descend into the platform. Pick up a pistol from the crate at the far left side of this upper level.
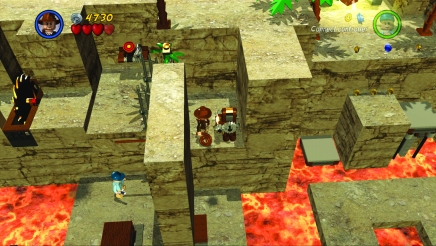
Get back across the saw blades and fire the pistol at the target to open the gate on the right. Next, walk through the opening to pull a lever, which activates an elevator platform in the level’s middle.
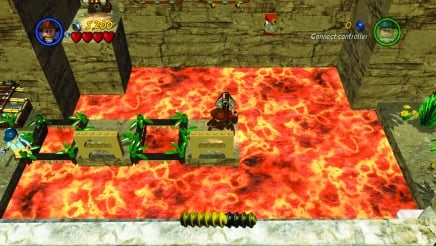
Hop back down and head right, past where you started, to the far right lava pool. Jump across some traps, which will drop you into the lava. Get to the red wheel and turn it to raise a platform to the right.
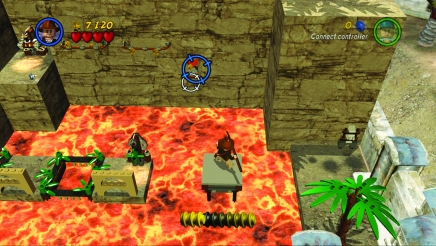
Jump over to this platform and then to the area along the right wall to pick up a spear. Jump back to the platform and throw the spear at the hole in the wall.
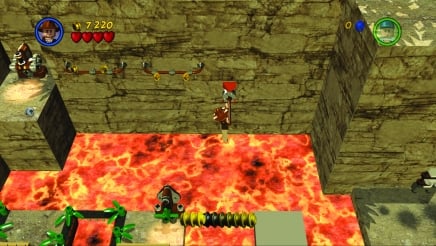
Jump over to the spear and grab on to it. Then jump to the handrails to make your way to the stone platform, where you must pull a lever to activate a fan.
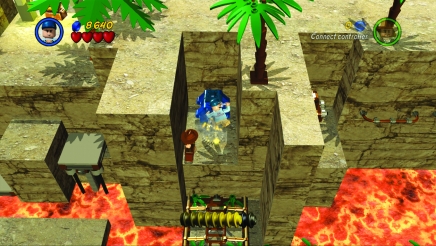
Switch to Jock and use the fan to float to an alcove where a motor is located. Fix it with the wrench to activate another elevator platform in the center of the level.
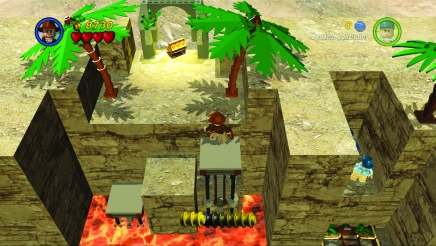
Finally, move to the center of the level and jump across to the lower elevator platform. Make your way up onto the next platforms so you can reach the artifact and complete this level.
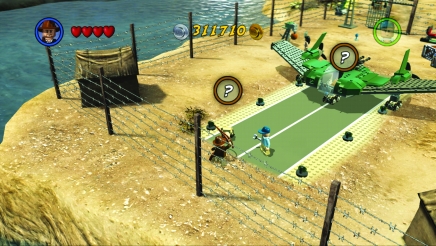
After exiting the hangar, several Enemy Officers with grenades will attack you. Fight them off and then you can purchase the Enemy Officer character for 25,000 studs.
Hovitos Temple
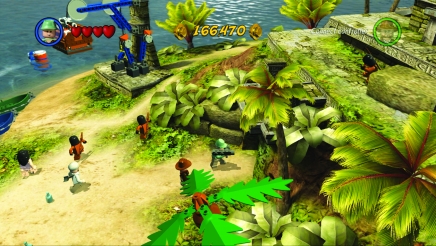
This bonus level is located on Hovitos Island. From Cairo, head east and then swim in a northeastern direction to reach this island. You will need the Bazooka Soldier to blow up the silver rocks that block the opening of a cave. Enter the temple to begin the level.
Bonus level characters:
Indiana Jones, Sallah
True Adventurer stud requirement: 50,000
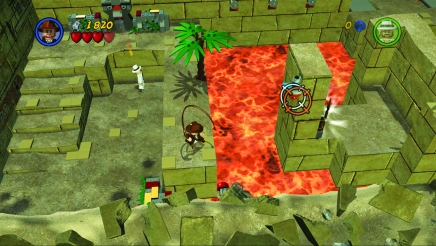
This is actually a fairly large bonus level. Start off by smashing things for studs, then head up the steps past the statue that fires shots at you to this position (shown in the screenshot). Use the whip to swing across the lava.
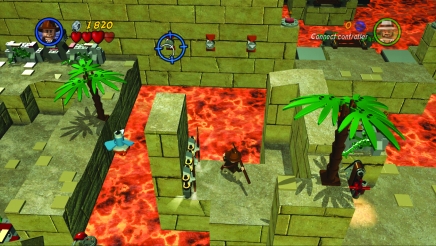
Pick up some spears, and throw them at the three holes in the wall. Use your whip to swing back across the lava, then jump from spear to spear to reach the right side.
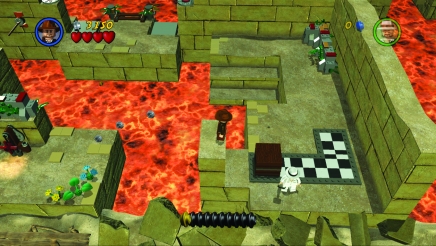
Walk around toward the camera, and have Sallah dig up and then repair the checkered tiles so you can push the crate to the left. Climb onto the crate and jump up to the left. From there, jump across to a red wheel and turn it to raise a platform in the middle of the lava. Jump across to this platform and then to the walkway toward the back of the level.
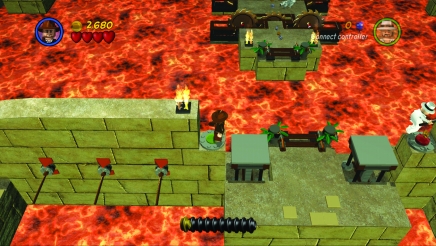
Step onto two pressure switches to raise a long platform. This allows you to advance away from the camera.
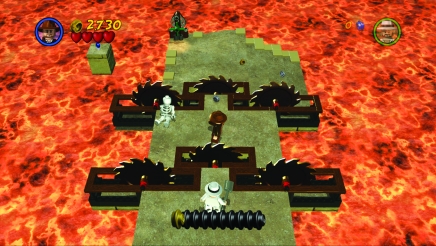
Make your way past six saw blades: Time it so you’re jumping over them while they are low. Next, turn the green wheel at the platform’s far end to lower the level of the lava.
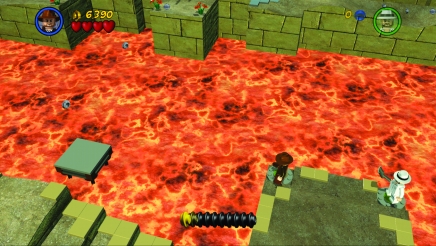
Head to the left, and step on two more pressure switches to raise some platforms in the lava. Use these platforms to advance farther away from the camera. You will have to fight a Hovitos Tribesman when you reach the stone walkway. Follow the path to the right and away from the camera to defeat another Hovitos Tribesman.
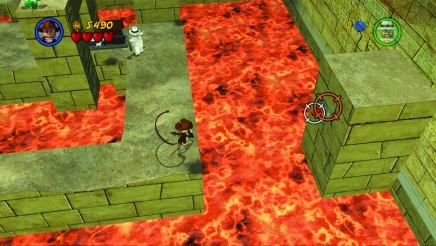
Now jump across a series of stone platforms to pick up studs and eventually reach the larger platform.
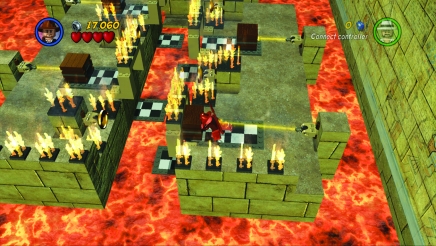
Push four crates along checkered tiles so they drop down and stop blocking beams of light.
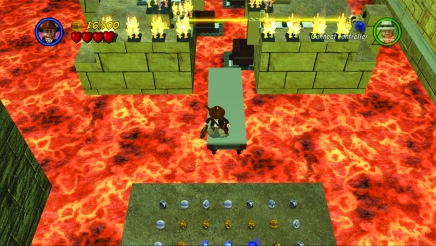
This will raise a rectangular platform that leads to a large cache of studs of all colors.
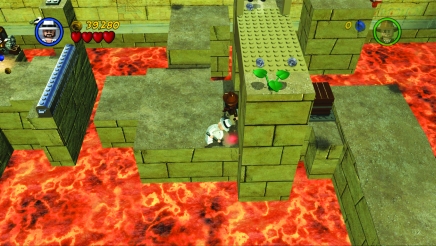
Head back to the level’s far end, where you pulled on orange handles, and move the crate to the right. Have Sallah dig at the illuminated ground, and then assemble a ladder from the pieces he finds.
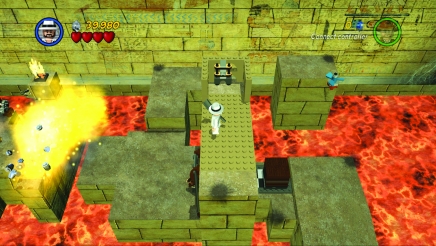
Climb up the ladder, grab some explosives from a rack on the far wall, and throw the explosives at the silver chests to get them out of your way.
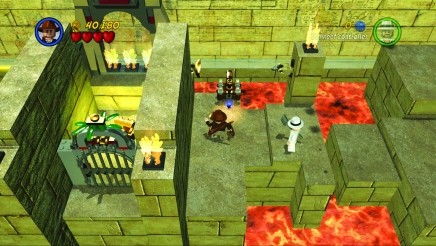
Jump across to the left, and pull a lever to open the gate leading to the artifact and raise some platforms leading back to the long walkway.
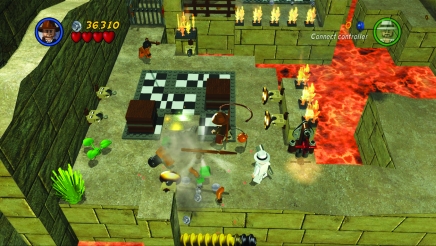
Head left along the walkway and continue to the end. Defeat several Hovitos, and then move the crates along the checkered tiles so they are both in the opposite far corners of this puzzle.
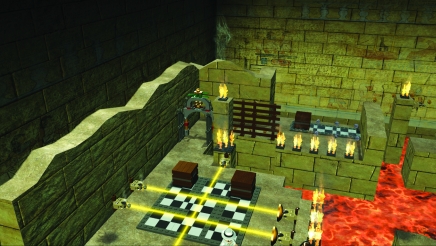
Pull the lever to the right of the tiles to activate light beams that will open a gate at the level’s far left corner. Before heading to the gate, go to the far left side and jump toward the camera onto a stone platform. Keep jumping across to more platforms toward the camera to pick up lots of studs; then head back to the gate you opened.
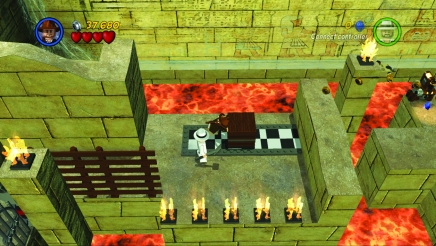
Head through the gate and push a crate to the right. Jump onto the crate then onto the stone wall, and then over to a lever. Pull the lever to raise three platforms nearby.
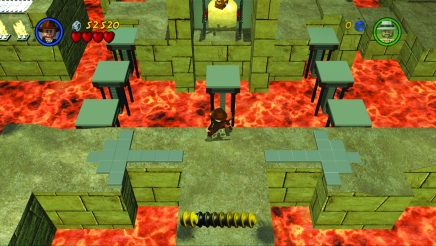
Jump across the platforms to get back to the long walkway, then jump over to a platform in the center and on through the open gate to grab the artifact and complete the level.
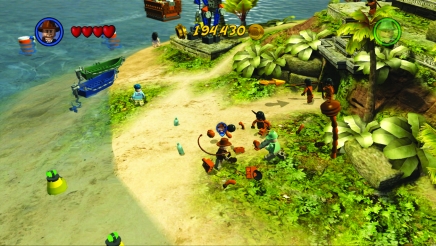
As you exit the cave, Hovitos will attack. Keep fighting them off and you will eventually be able to purchase the Hovitos Tribesman for 30,000 studs.
Bantu Wind
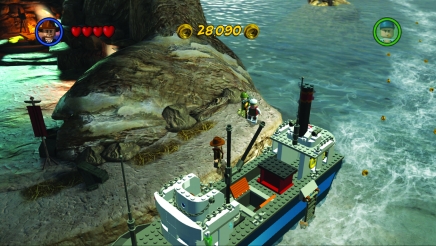
This level requires you to travel to the island where the ark is located. Walk over to the freighter and enter the hold to start.
Bonus level characters:
Indiana Jones, Sallah
True Adventurer stud requirement: 22,000
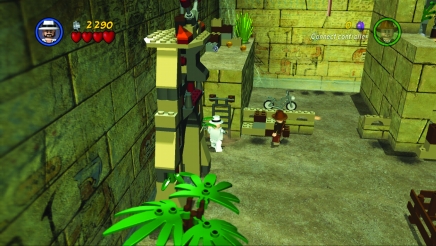
Start off by having Sallah dig up a ladder along the left wall. Climb to the top of this stone platform.
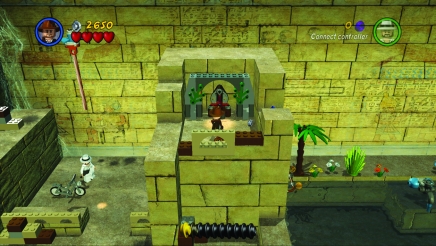
Now swing across using Indy’s rope to reach this platform. Here you must turn a wheel that opens a gate.
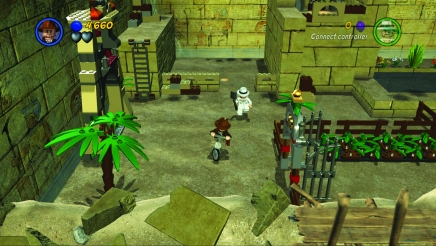
Jump down and climb onto a bicycle. Ride it through the now-open gate and onto a pressure plate. This raises a long platform across the water. Stay away from the garden beds; if you walk on them, spikes will rise and stick you.
Swim across the water to the back of the level to smash some plants and pick up some studs. Then get back onto the platform and head to the right.
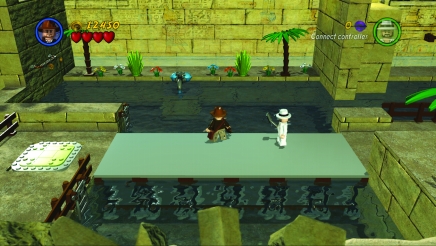
Continue through the booby-trapped gardens, and have Sallah dig up another ladder here.
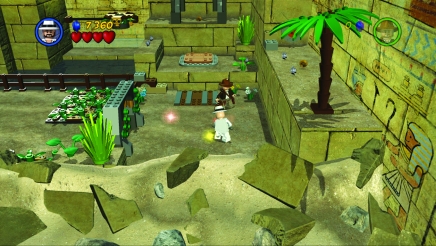
Switch back to Indy. Climb the ladder so you can use the whip to pull on an orange handle to raise a ramp. Go back to get the bicycle and ride it over to the right side. Park it on the pressure pad to start a platform moving back and forth.
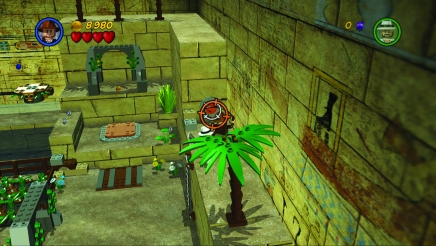
Jump across to the platform, ride it to the left, and jump up to get the artifact and complete the level.
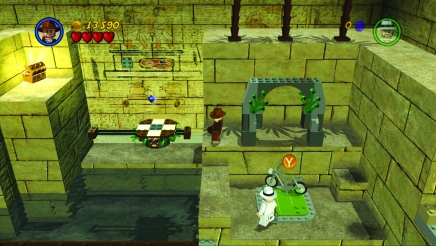
Submarine Base
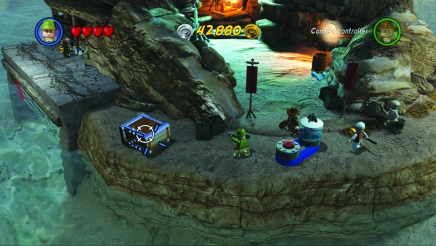
While still on the island with the ark, use either the Bazooka Soldier or Colonel Dietrich (whom you can unlock for 50,000 studs) to blow up the silver crate. Pick up the key, insert it into the mechanism over the submarine pen, and turn the key to open the gate.
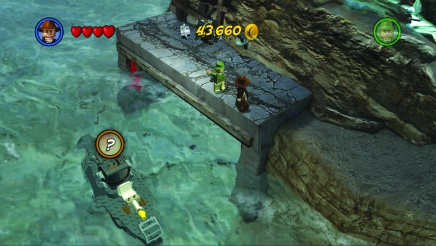
You can now purchase U-Boat 26 for 30,000 studs.
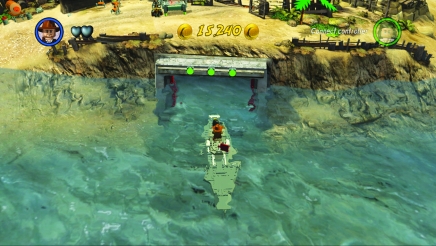
Climb aboard the sub and sail toward the main island. As you approach the sub pen gate, it will open automatically. Sail right in to start the level.
Bonus level characters:
Indiana Jones, Jock
True Adventurer stud requirement: 15,000
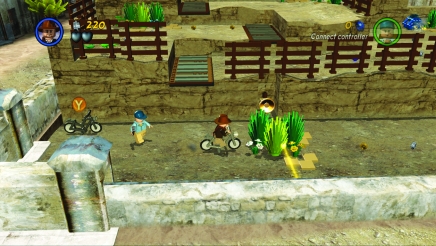
To begin with, hop onto a bicycle and ride it to the right, crashing through plants to collect some studs. Breaking the plants will also allow the reflectors to activate and raise ramps that lead to the top of the level.
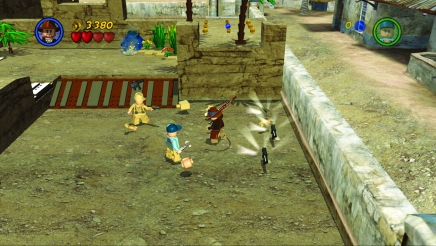
When you run into some enemy soldiers, get off the bike and hit them with your whip. Try to pick up a machine gun to use against them.
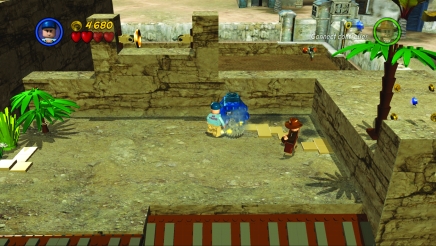
Once the fight is over, use Jock and his wrench to fix the blue motor and raise some ramps in the area. Jump onto the motor and head to the right to pick up some studs.
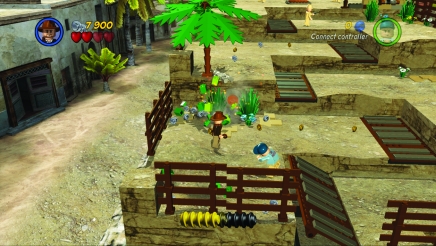
Head to the left and smash some plants to collect studs and reveal an orange handle. Pull on it with your whip to raise some more ramps.
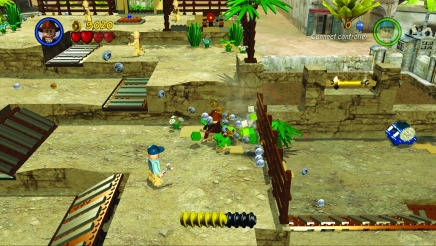
Continue toward the rear of the level, and engage the three Enemy Soldiers waiting for you.
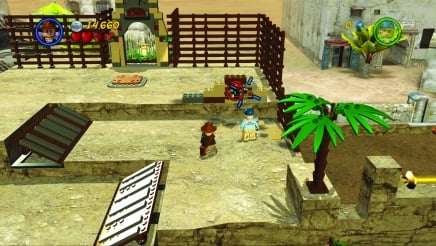
After defeating your foes, use a machine gun or pistol to shoot at the target to raise the final set of ramps.
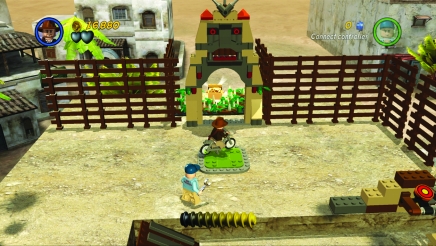
Go back and get a bicycle. Ride it through the level and up all the ramps to reach the pressure plate. When you ride over it, the spikes protecting the artifact will lower, allowing you to get it and finish the level.
Super Bonus Level: Lost World
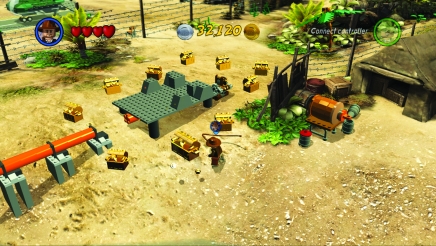
Make your way to the ten artifacts by the airstrip and break them open.
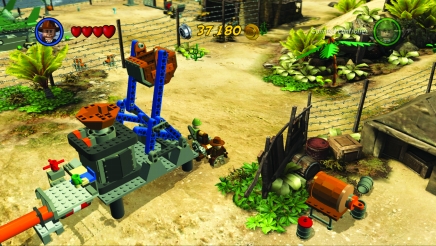
Assemble all the pieces into a giant steam pump. Pull the lever to dump a large bucket of coal into the furnace to build up pressure.
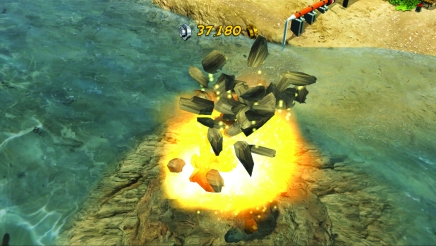
The air will blow the top off a small volcanic island offshore.
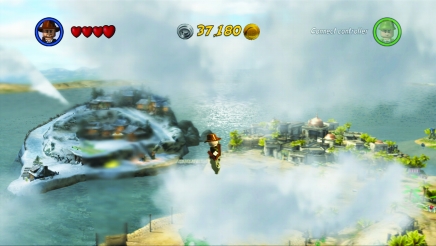
Swim out to the island. When you reach the middle of the crater, the island will blow you straight up into the sky to the super bonus level.
Super Bonus level characters:
Indiana Jones, Mutt
True Adventurer stud requirement: 1,000,000
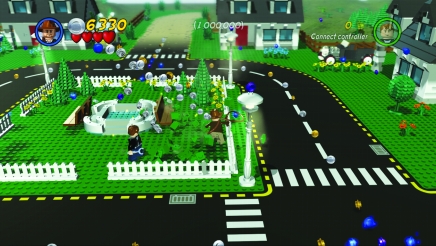
This super bonus level is like most of the others. You are in a town filled with studs and must collect 1,000,000 to complete the level.
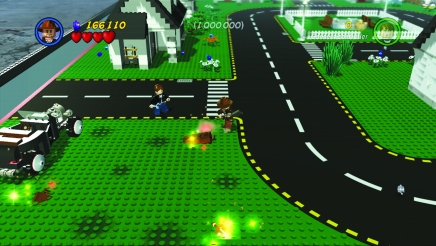
Find a vehicle and clear out this area; then pick up a shovel from a house in the near left corner, and dig up some crates.
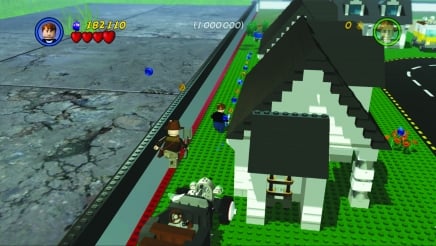
Also look behind houses for long lines of studs.
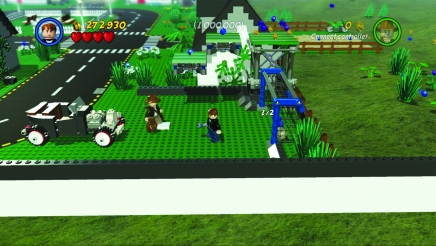
Kick two balls into the soccer goal to lower platforms by the house; then jump up and get a bunch of studs.
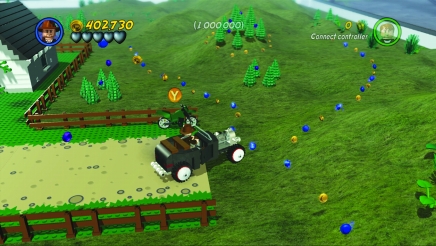
After clearing out the town, head out into the grassy hills and follow the trails of studs as you smash trees.
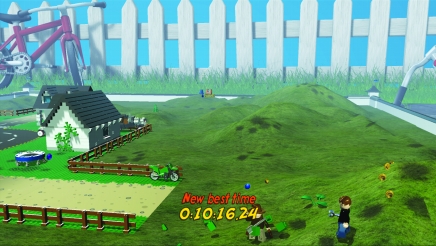
Once you collect 1,000,000 studs, you complete the level.
Events
This play set, like the rest, has several different events in addition to the Story mode, Treasure mode, and bonus levels. You must complete some of these events to access those levels, and you must complete all of them if you want to score 100 percent.
Jeep Race
Reward:
Unlock Bazooka Trooper (Raiders)

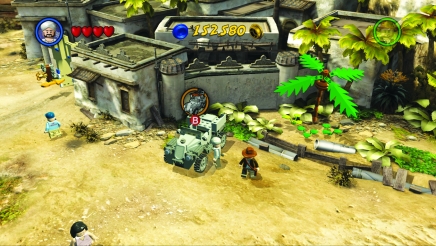
The army jeep is stuck in the sand just outside the gate into Cairo. Sallah can dig it out with his shovel; you can then purchase it for 30,000 studs.
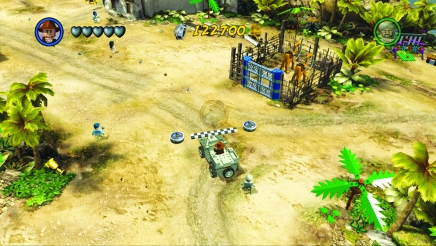
Drive the jeep toward the camel corral to start the race. Next, drive northwest through the starting gate.
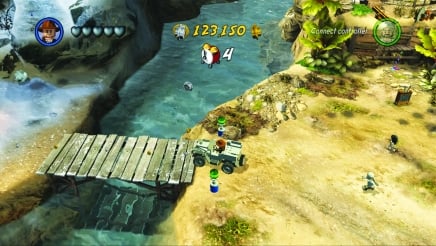
Drive past Cairo and across the bridge to Nepal.
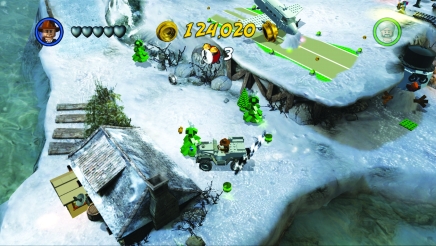
Finally, drive east to pass through the finish line near the small house at the southern end of Nepal. Once you have completed the race, head up to Cafe Raven, and you can purchase the Bazooka Trooper character after defeating him.
Camel Race
Reward:
Unlock Bandit Swordsman

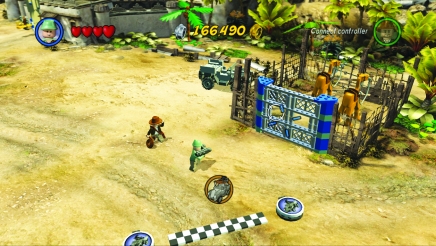
You need to open the camel corral in order to compete in this race. Crash into it with a car or use the Bazooka Trooper to blast open the gate, and then climb onto a camel.
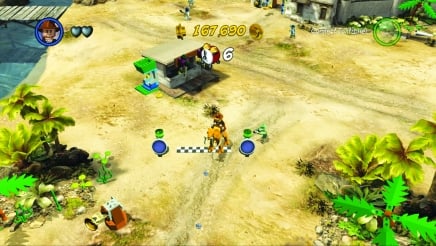
The starting gate is south of the ice-cream stand. Head south, following the trail of studs.
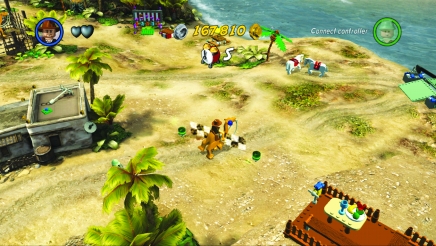
Turn east and pass though the remainder of the gates until you reach the finish line. Defeat the Bandit Swordsman using the Masked Bandit and his sword. You can now purchase the Bandit Swordsman for 27,000 studs.
Speedboat Race
Reward
: Unlock Satipo

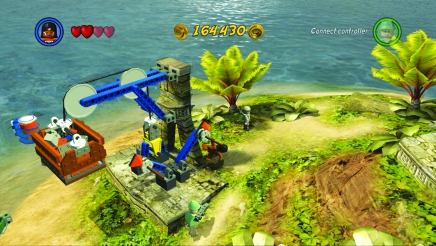
This race starts off by going to the Hovitos Island. Use a Hovitos Tribesman to throw spears into the two holes on the crane; then jump up and pull on them.
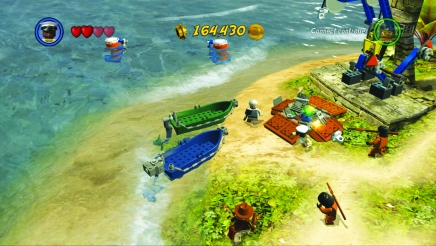
A crate of parts will drop to the ground. Use the parts to build the Green and Blue Speedboats, which you can purchase for 20,000 studs each.
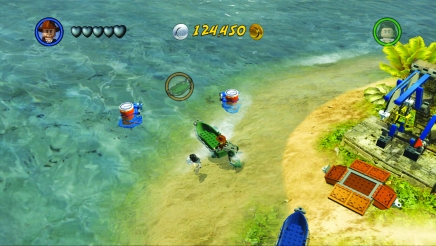
The starting gate is right near the island. Sail northwest through the second gate, and head west to find the third gate.
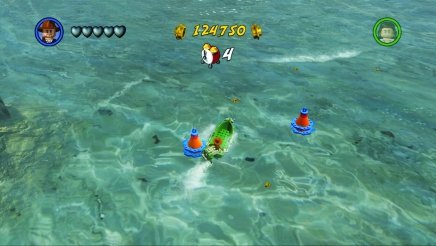
At this gate, turn right and start heading back toward the east.
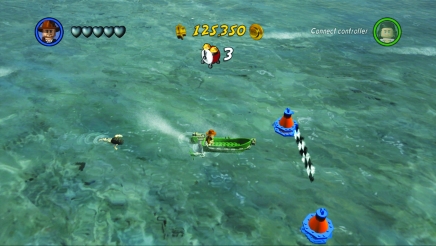
Keep your speed up and pass through the finish line to unlock Satipo. You can purchase him for 25,000 studs.
Biplane Race
Reward:
Unlock Captain Katanga

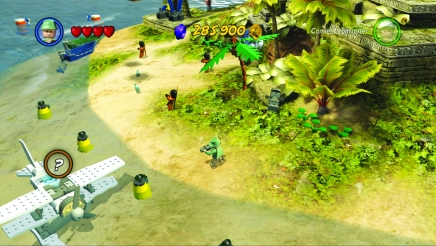
The Biplane is also located at Hovitos Island. Use the Bazooka Trooper to blow up the chains locking down the plane; then purchase it for 100,000 studs.
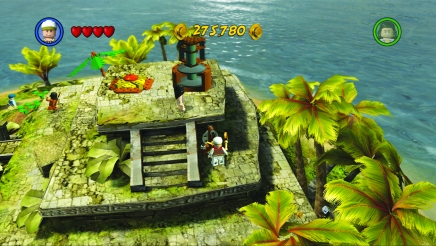
Before you can start the race, you must find the starting gate. Turn the wheel on the temple until the platforms on the rotator atop the temple are directly over the cutout at the base. Then jump onto the platforms to lower the rotator into the temple. Blow a hole in the temple’s top (when you jump on the rotator platform, it acts as a plunger, and a powerful burst of air from inside blows a hole in the roof) as the starting gate soars up into the sky.
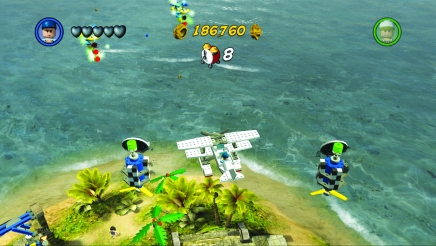
Hop into the Biplane and fly north through the starting gate. Follow the gates to the west.
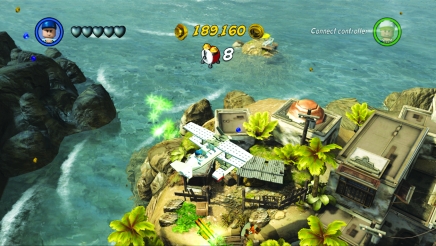
Keep following the trail of studs to the finish line, which is located over Cairo. You can then purchase Captain Katanga back on Hovitos Island for 25,000 studs.
Balloon Shoot
Reward:
Unlock Enemy Boxer

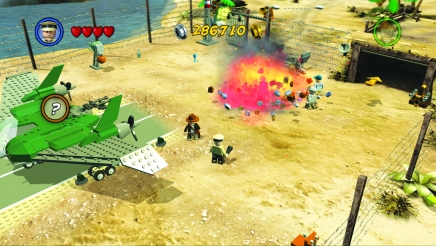
This event begins at the airstrip. When you return, you will be attacked by Enemy Officers with grenades. Defeat them, and then you can purchase the Enemy Officer for 25,000 studs. Next, jump onto the flying wing and purchase it for 250,000 studs.
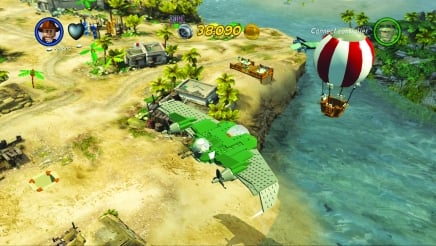
In this event, you must shoot down five balloons. Take off and quickly shoot or crash the plane into the balloon that appears in front of the aircraft. Then turn and fly northeast toward Hovitos Island to take down the second balloon.
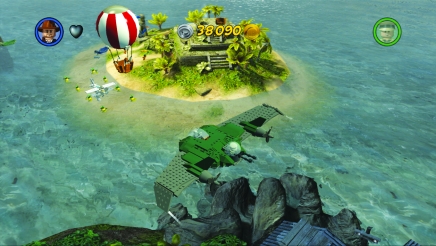
The third balloon is near Hovitos Island, and the fourth is farther to the west.
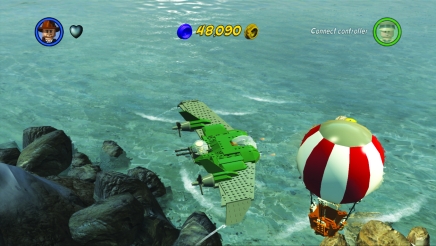
Take down the fifth and final balloon near the bridge leading to Nepal. Once you’ve destroyed all the balloons, head back to the airstrip and parachute down to defeat the Enemy Boxer. You can then purchase this character for 20,000 studs.
Other Unlockable Vehicles and Characters
Colonel Dietrich
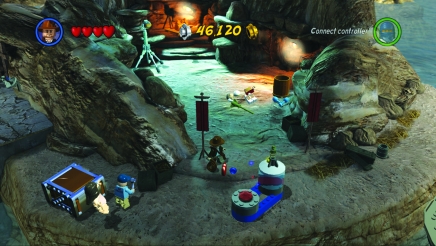
Colonel Dietrich is located on the island with the ark. Break open a crate and then assemble the pieces to make a pump. Stand on the pressure switch to inflate a small figure like a balloon; this creates Colonel Dietrich.
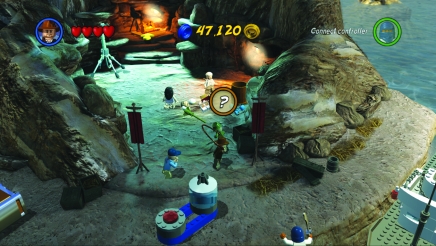
Now defeat the colonel so you can purchase him for 75,000 studs.
Major Toht
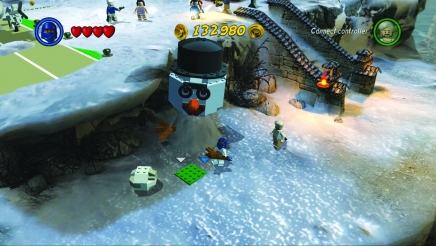
Locate the giant snowman head in Nepal. Break off the snowman’s wooden arms and place the pieces on the green pad. Next, reassemble them into a campfire.
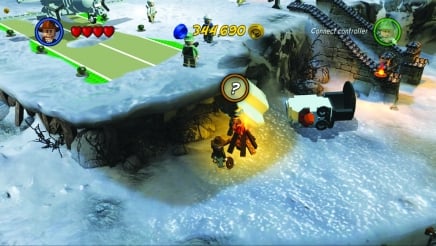
Pick up the torch at the top of the stairs leading up to Cafe Raven; use the torch to light the fire. The snowman head will melt, and out will emerge Major Toht. Defeat him and then purchase his character for 50,000 studs.
Passenger Jet
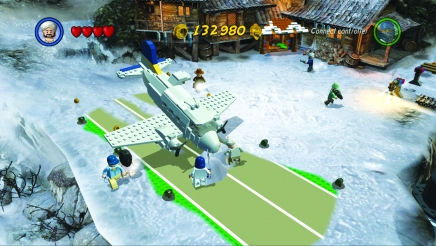
The Passenger Jet is located on the landing strip by the bar in Nepal. Use Sallah to dig it out of the snowbank; then you can purchase it for 100,000 studs.
The Colored Bricks
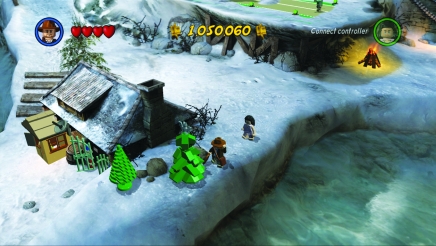
All of the green bricks are located in Nepal. Hit these green trees to release the bricks. When you have all ten bricks, you can then purchase the Poo Money extra for 60,000 studs.
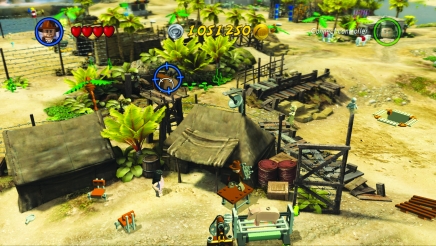
Red bricks are located in these barrels all over the play set. Pull on or break the barrels to get the red bricks. Collect all ten to unlock the Score x3 extra for 2,000,000 studs.
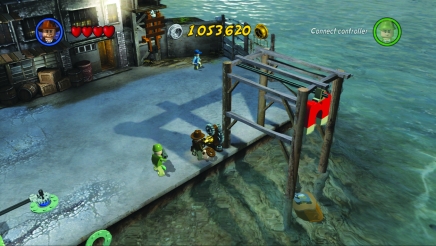
Some of the barrels can be tough to find, such as the one by the dock. You must turn a key in a mechanism to pull a barrel out of the water.
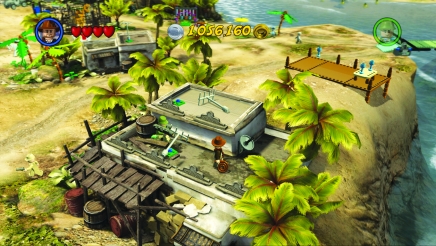
The blue bricks are hidden in satellite dishes throughout the play set. They can be found on the rooftops or walls of buildings. Smash the dishes to get the blue bricks. Once you have found all ten, you can unlock the Fast Build extra for 500,000 studs.
Other Fun Stuff
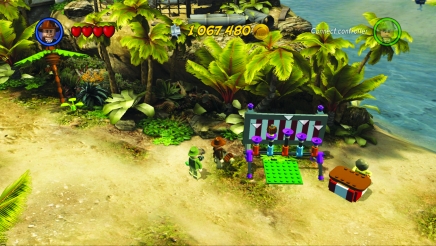
At this stand on the coast, across from the Hovitos Island, collect coconuts and place them on the purple cups.
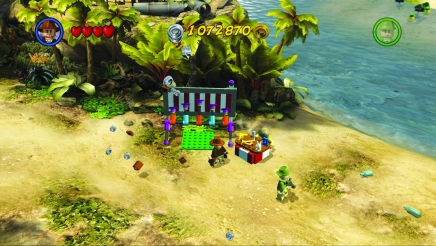
Then throw bottles of water at the coconuts to knock them off. The man nearby will then place objects on his table for you to pick up. They include a laser gun and a lightsaber!
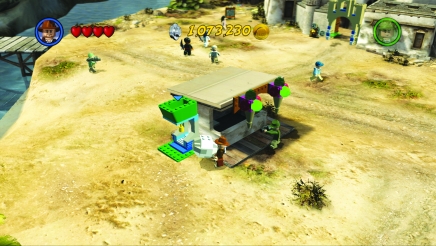
Also try carrying this giant snowball from Nepal to the ice-cream stand south of Cairo. Place it in the hopper at the top, and you can then get ice-cream cones. Next, throw the cones at the two large cones above the counter to rotate them around and they will start blinking.