
Lego Indiana Jones 2: The Adventure Continues Guide Walkthrough The Play Sets
The Kingdom of the Crystal Skull Part II
Checklists
Characters
|
|
|
|
|
|
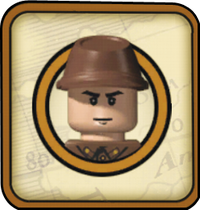
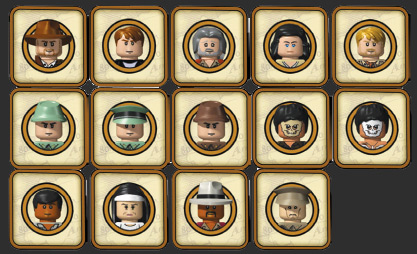
| Indiana Jones (Crystal Skull) | Mutt | Oxley | Marion (Cristal Skull) | |
|
|
|
|
|
|
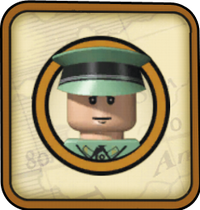
| Mac | Soldier | Russian Officer | Russian Grenadier | |
|
|
|
|
|
|
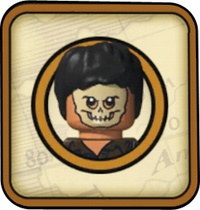
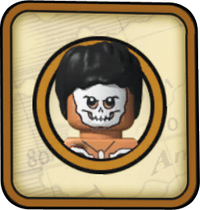
| Cemetary Warrior | Cemetary Warrior King | Patient | Peru Nurse | |
|
|
|
|||
| Market Trader | Dovchenko |
.png)


Vehicles
|
|
|
|
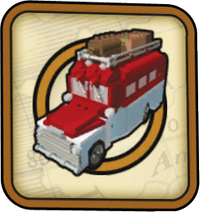
| Army Jeep | Bus | Motorbike |
|
|
|
|
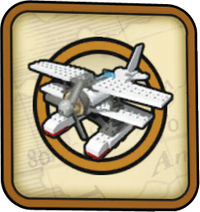
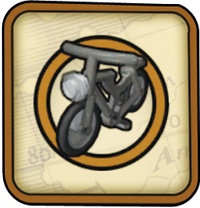
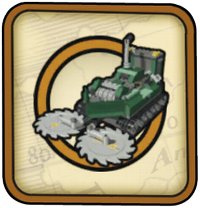
| Biplane | Bicycle | Jungle Cutter |
|
|
|
|
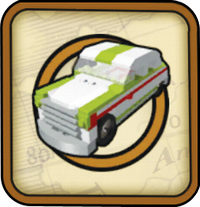
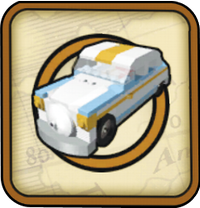
| Nazca Racer | Nazca Drifter |

Peru Cell Perusal
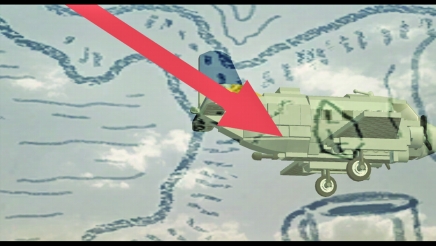
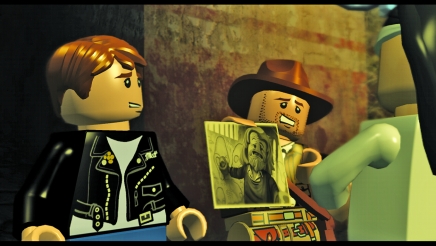
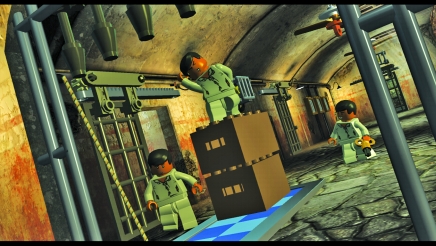
Indy and Mutt travel to Peru in search of Oxley, since he knows where the crystal skull might be located. His last known whereabouts was an asylum, but when Indy and Mutt go to pay him a visit, they end up in the asylum themselves.
Story mode characters:
Indiana Jones, Mutt

True Adventurer stud requirement: 30,000
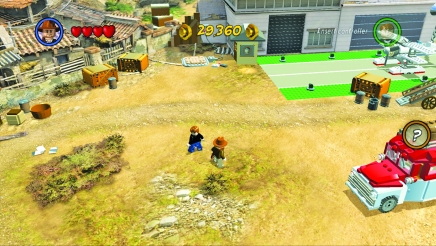
You begin at a small airport in a Peruvian village. Go around smashing crates and other objects to get studs you can use later for buying characters and vehicles.
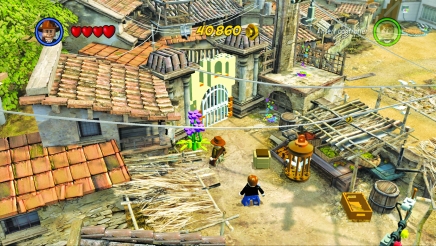
Once the airport area is clear, head into the market to find some more studs and get a feel for the local objects.
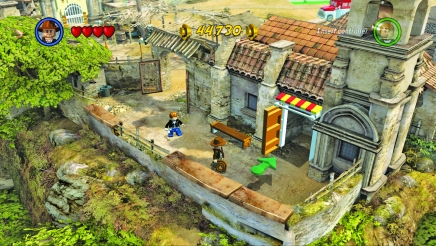
When you are ready to continue, head through the open door and into the asylum to look for Oxley.
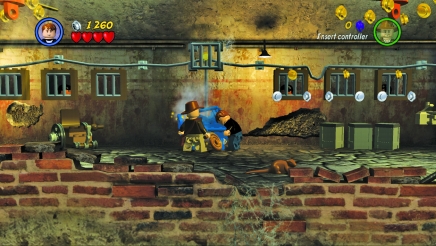
Switch to Mutt and use his wrench to repair the blue generator. Next, put together some pieces on the floor to make a wheelchair. Smash it up to get more studs. Also, walk around the edges of the room, especially along the half wall at the front to pick up high-value studs that are hidden. Also, as Indy, use the whip to grab on to the orange handles on the fans and pull yourself up for even more studs.
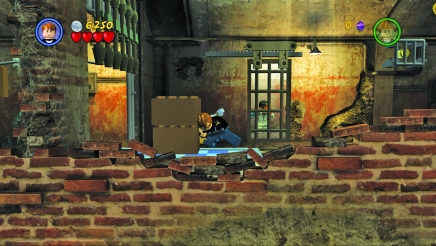
Grab on to the chain at the right side of this first room to raise the gate. Then switch to the other character to move through the gate and push crates along the checkered tiles to hold the gate up. Now both characters can come into the second room.
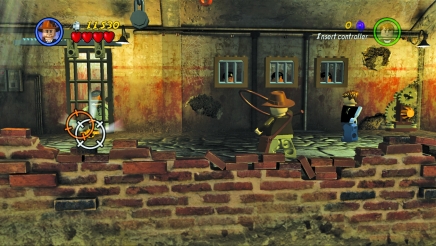
Build another wheelchair and break it for studs. Collect all that you can find in this room. The key to a mechanism is located near the door of one of the cells. As you approach, the inmate will grab the key to prevent you from getting it. Indy can use his whip to target the key and grab it without getting close to the cell. Use the key to turn the mechanism and open the gate on the right so you can enter the final room.
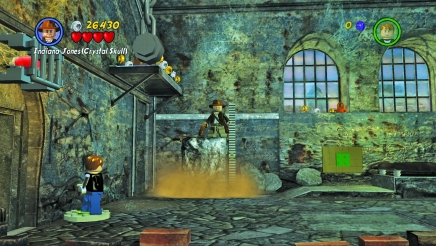
Upon entering, break the sink along the left wall to reveal a pressure switch. As one character stands on the switch, change to the other character and ride a stone elevator up to a catwalk. Push a crate along some checkered tiles and off the catwalk. Tiles fall out; you can assemble these as the first part of a map.
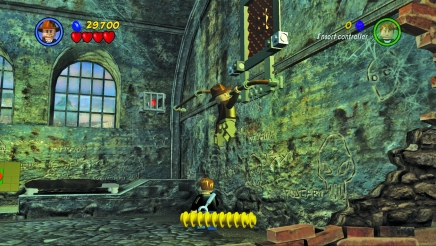
Assemble a handrail with parts in the room’s far right corner, and then jump up to it. Get some studs and jump across another railing to the right. Grabbing on to this one will open a vent and drop more map tiles onto the floor. Add them to your partial map.
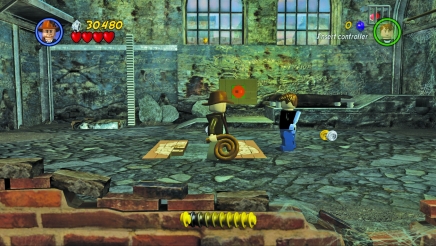
Now use your whip to grab on to the orange handle at the rear of the room. Place it on the green square at the back, and use the whip again to pull on the handle and reveal the last tiles. Add them to your map. As you complete the map, the inmates come in after you. However, Indy and Mutt escape through a window that leads to a graveyard behind the asylum.
Tomb Doom

After escaping from the asylum, Indy and Mutt discover an ancient tomb located under the graveyard. According to Oxley’s notes, this is where the crystal skull should be.
Story mode characters:
Indiana Jones, Mutt
True Adventurer stud requirement: 60,000
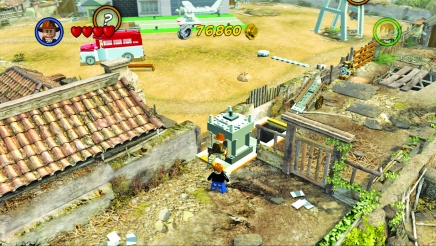
Right outside the asylum, you find yourself stuck in the graveyard. Break things to retrieve some studs, then push a monument along checkered tiles to that it falls into a pit and creates a way out of the graveyard.
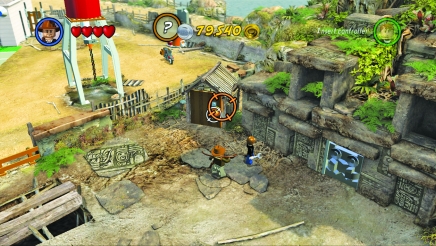
Use a mechanism to lower a gate so you can get back to the airport area later on. For now, however, use your whip to pull on an orange handle to open a shed. Inside is a shovel. Pick it up—you have some digging to do.
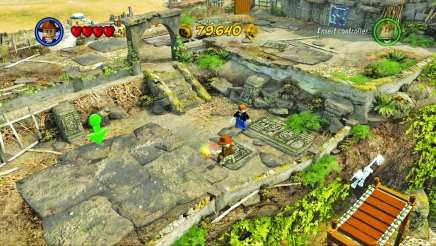
Move down to a sunken area and start digging where the flashing lights are. As you clear off a layer, dig in the next spot indicated by the lights until you completely excavate the entrance to a tomb.
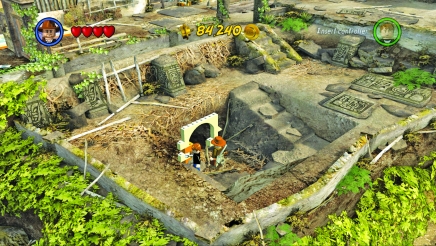
Pass through the archway to enter the tomb.
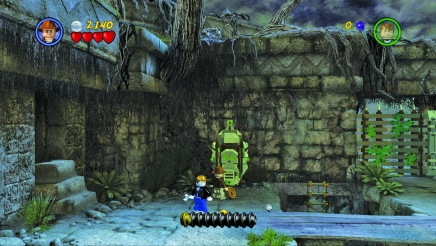
Head to the left and break things to find studs. You can hit and break the skull carvings for lots of studs. Try to earn the True Adventure award early in this level before things get too tricky and dangerous.
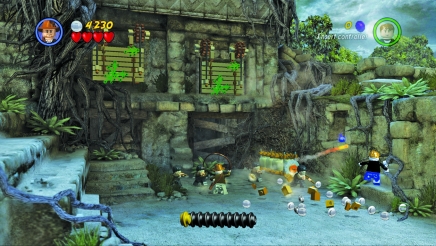
Make your way to the right and fight off some cemetery warriors armed with blowguns. Get in close to hit them before they can cause a lot of damage. Once you’ve defeated them, use the whip to pull a shelf of jars so you can jump onto it and enter an alcove, where you will find a purple stud and some blue ones. Then use the whip to pull on another orange handle to open a gate. Once it is open, advance farther into the tomb.
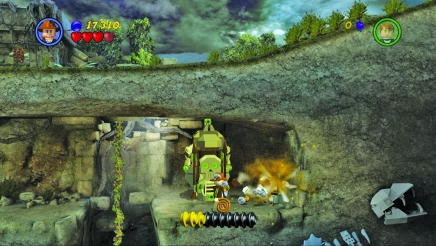
Jump to the middle of the gap and grab on to a vine; then jump over to the other side. Break the skull statue for studs, and destroy the conquistador skeleton for a shovel, which you will need later.
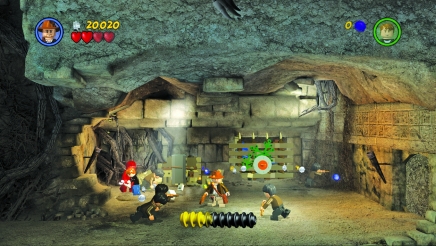
Climb to the bottom of the vine and head right. In the next chamber, you are once again attacked by cemetery warriors. Defeat them, grab some studs, and then pull on the handle with your whip to open a door. Mutt needs to fix a gear system with his wrench to open a doorway to the next chamber.
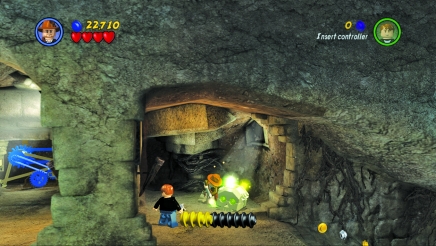
Dig up this large stone skull with your shovel; then carry it down a ramp and place it on a green circle.
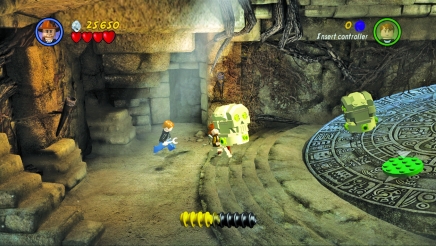
Another large stone skull is at the rear of the large chamber. Pick it up and place it on the other green circle to prevent it from moving under Indy’s weight, and allowing him to reach a vine, which lowers from the chamber’s ceiling.
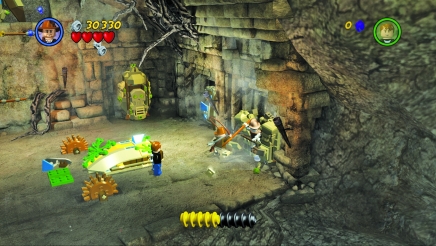
Start breaking statues and other items to find studs and two shields dropped by the conquistador skeletons. One on the right side also has a spear. Throw it at the target on the wall; next, jump to a high alcove, using the spear as a handhold. There you will find a third shield.
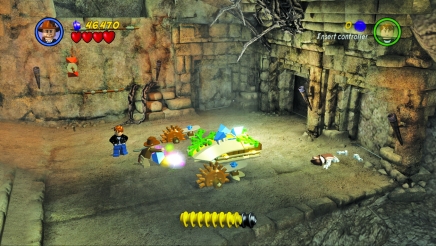
Place all three shields on the green pads and construct the remainder of the altar. The tomb in the middle will open to reveal the crystal skull. Pick it up.
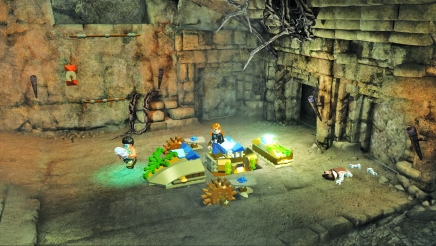
However, your possession is short-lived. A cemetery warrior grabs the skull and runs away with it. Follow him to the left as you backtrack through the areas you just traversed.
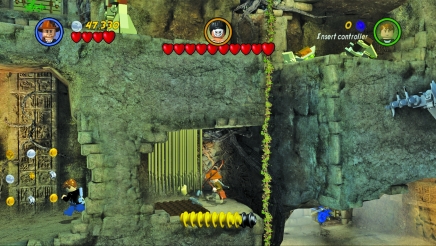
When you reach the long vine near where you found the shovel, climb up and head left. Watch out for the spikes that drop from the ceiling. Wait until they rise again, and then rush past them before they fall.
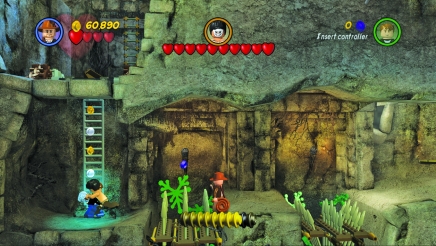
Continue to the left under more falling spikes, and jump over spears that rise from pits. Be sure to time your jumps to avoid getting stuck— literally. Follow the cemetery guard up a couple ladders to reach the tomb’s upper level, where you began.
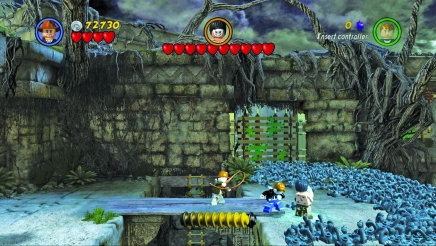
Now, get in close to the cemetery warrior and attack. There are hordes of scorpions in this area. However, if you stay close to the warrior—who is holding the skull—they will not bother you. Alternately, you can stand on the bridge and whip the warrior without standing in the scorpions. Keep attacking with your whip until you defeat the warrior; then pick up the crystal skull and exit the tomb.
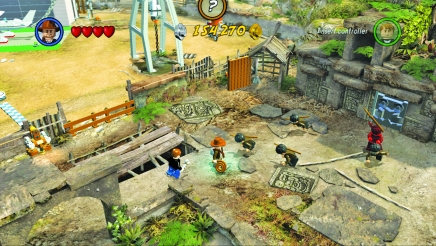
As you exit back to ground level outside the tomb, more cemetery warriors attack you. Fight them off and eventually you will be able to unlock the cemetery warrior for 20,000 studs.
Mac Attack
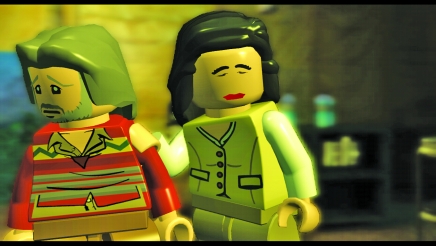
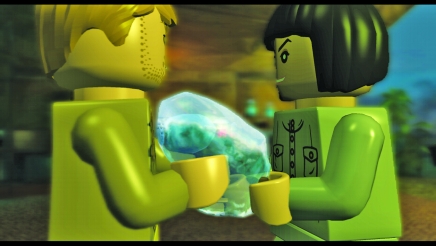
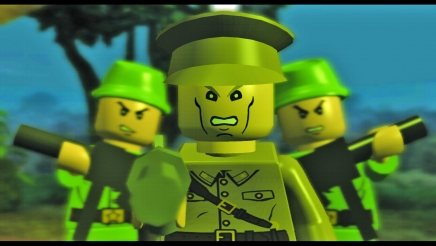
Indy and Mutt enter one of the tents in a camp and find both Marion and Oxley. However, the reunion is short–lived, as Mac and Spalko enter. Mac takes the crystal skull from Indy and gives it to Spalko. However, Spalko is not through with Indy and friends just yet. Dovchenko walks in with some soldiers and prepares to deal with the group. However, Mutt quickly throws down a lantern and sets fire to the tent, allowing everyone to escape. Spalko is not about to let them get away and radios for reinforcements.
Story mode characters:
Indiana Jones, Mutt, Marion
True Adventurer stud requirement: 18,000
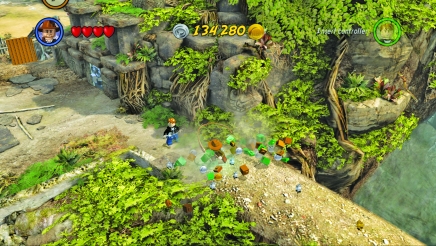
To reach the camp, make your way across the land bridge over the river and continue to where a swarm of ants is waiting. Since Indy has the crystal skull, the ants will move out of your way.
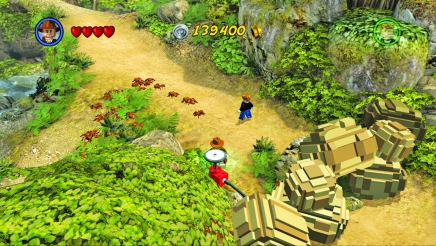
Pick up the white wheel-like object and place it in the red block. This is a detonator. Jump onto the white plunger and blow up the boulders blocking your path.
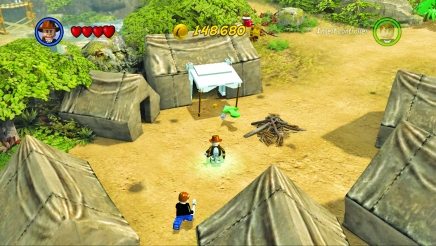
Head into this tent to continue the story.
Wave 1
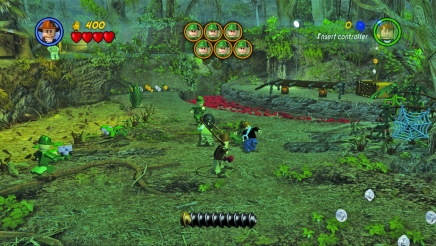
The first wave of enemies consists of six regular soldiers. These are not armed and just fight with their fists. Defeat several of them, and target the last one or two with Indy’s whip to tie them up. Leave them on the ground, and move around the area, smashing plants and other objects to find enough studs to earn the True Adventurer award. It is easiest to do this while the enemies are not shooting at you.
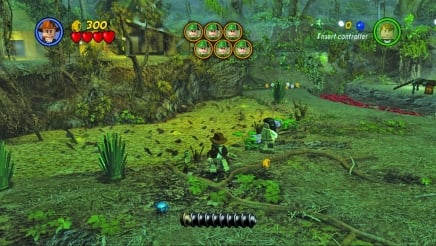
The area has some dangers. Along the left side is a large body of quicksand. If you walk into it, your character dies. Also, along the far center area is a long pit of snakes. You can’t enter this or you will die. However, Marion can jump across it to get some studs that the other two can’t reach.
Wave 2
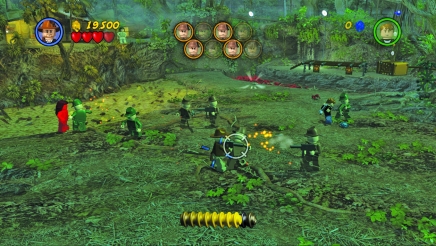
The next wave has six enemies armed with machine guns. Use the whip again to tie up a few so you can concentrate on the rest without being overwhelmed by their firepower. In addition, regular soldiers will also spawn from the sides.
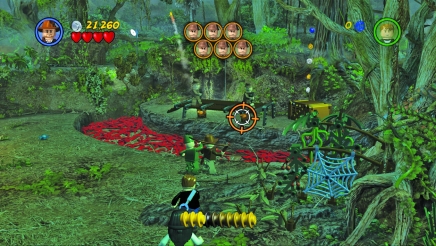
The machine gunners will fire at range from the platform on the other side of the snake pit, where Indy cannot get to them. However, his whip can still reach them. Either target the enemies on the platform to wrap them up and pull them into the pit, or target and pull the orange handles to make the platform collapse—dumping the enemies into the snake pit.
Wave 3
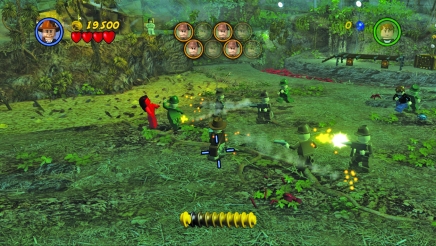
The next wave has eight machine gunners. Try to knock out one with your whip, and take his gun to use against the others. The volume of firepower this wave can put out is intense.
Wave 4
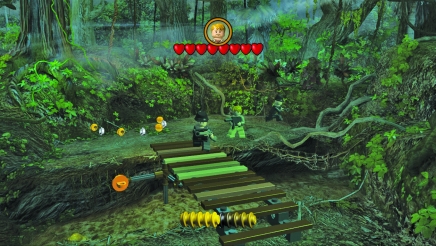
The last wave puts you up against Mac, his two riflemen, and assorted soldiers. However, to complete this wave, all you have to do is defeat Mac; all the other enemies will spawn back after you defeat them.
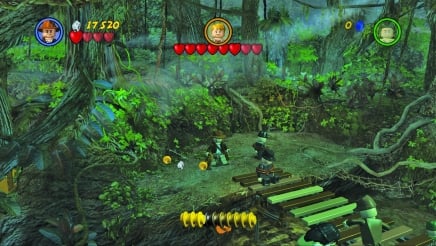
The riflemen can be trouble, as their bullets cause a lot of damage. In addition, if you try shooting at them with a gun, they will deflect your bullets with their rifles. The best tactic is to tie them up with your whip and then go after Mac.
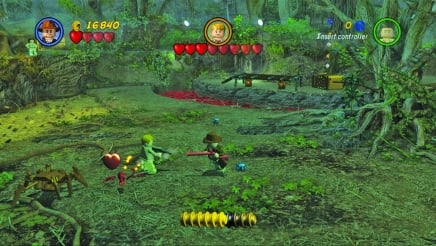
Try to pick up a rifle dropped by a defeated rifleman. Either fire it at long range while targeting an enemy, or move in close and fire while pointing it toward your target. While you need to deal with some of the soldiers, focus on Mac as much as possible. Use your whip and any guns you can pick up to hit him over and over again. Once you defeat Mac, Spalko takes off in a vehicle with the crystal skull still in her grip.
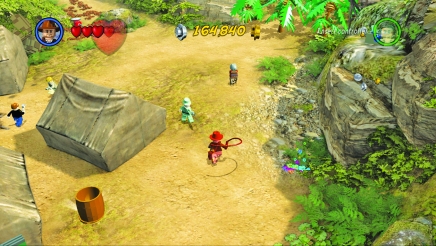
As you exit the tent at the end of the level, soldiers will attack you. Defeat several of them and you can then buy the Soldier character for 15,000 studs.
Rainforest Rumble
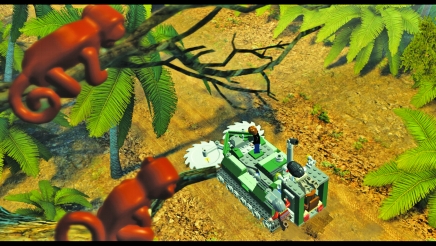
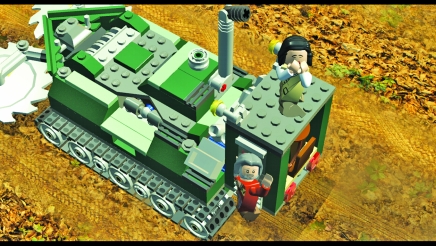
As Indy and his friends are clearing their way through the trees with the jungle cutter, they catch up to Spalko.
Story mode characters:
Indiana Jones, Oxley
True Adventurer stud requirement: 150,000
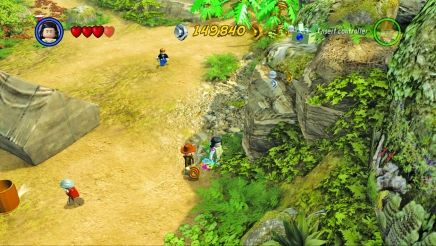
To reach the next story level, you will need to fix and purchase the jungle-cutter vehicle located in the camp. Use Marion to jump to the top of this rocky ledge and pick up the crate of parts.
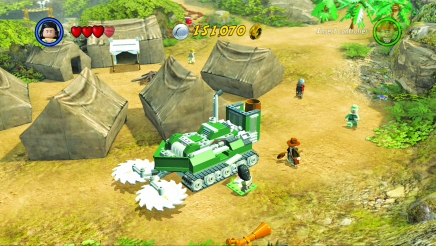
Carry it to the green platform by the jungle cutter and set it down. Now use these pieces to fix the jungle cutter; you can then buy it for 5,000 studs.
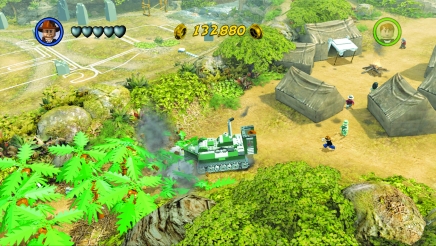
Cut your way through the tall palm trees that block the path toward the island’s southern shore, and head to the right to find Spalko stuck in the mud. This will start the level. 63
Wave 1
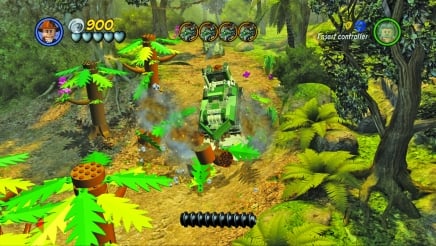
You begin at the top right corner of this level. To reach the main roads, cut your way through a series of trees to the south.
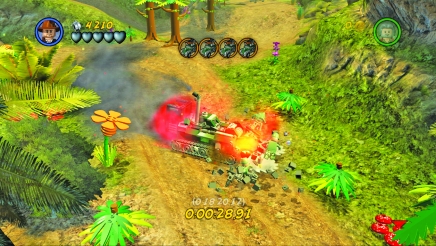
The first wave consists of four jeeps equipped with machine guns that travel around the level’s right side in a counterclockwise direction. The easiest way to defeat them is to drive the jungle cutter in the opposite direction and hit them head-on with your dual saw blades. One hit will destroy each of the jeeps.
Wave 2
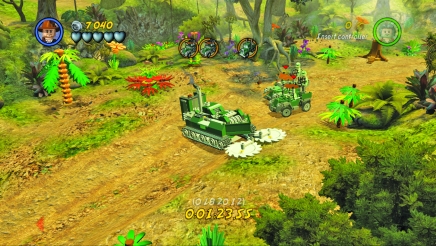
The next wave has three jeeps and a truck that travel the left side of the level.
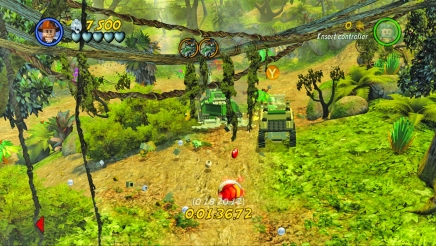
Since they are also driving around in a counterclockwise direction and maneuvering through some narrow areas in the middle of the map, stay to the far left corner and face right. As the enemy vehicles approach, move toward them to take them head-on and destroy them all.
Wave 3
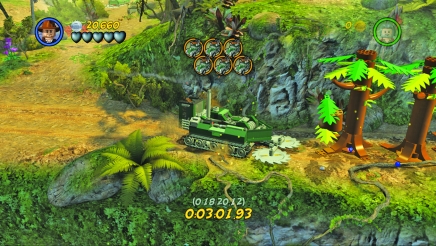
There are six jeeps you must destroy in this wave. However, you will have to reach them first. Drive the jungle cutter to the area’s left side and then down to the cliff side. Head right and cut through trees until you get to a river. However, the bridge is out.
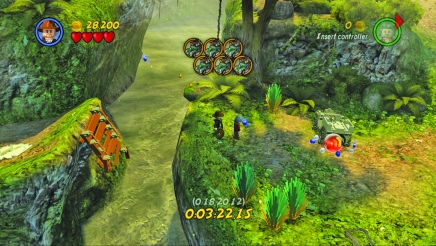
Exit the jungle cutter and find a new, smaller vehicle to jump across the river—the brown truck that continues to roam the left portion of the map just north of where you cut the trees. Once you’re across, you will find a jeep waiting. Hop inside and head to the right.
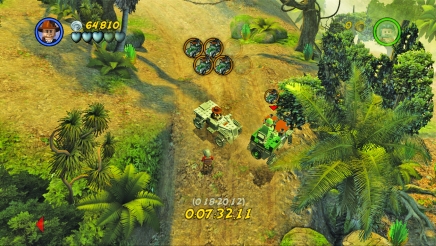
The jeeps are also traveling around this course in a counterclockwise direction. Be careful not to drive off the edge at the top of this area or you will fall to the lower area, where you faced off against the first wave; you will then have to cross over the river at the left side again to get back. Don’t go for the head-on attacks this time, since you will cause a lot of damage to your vehicle. Instead, try to hit them in the side.
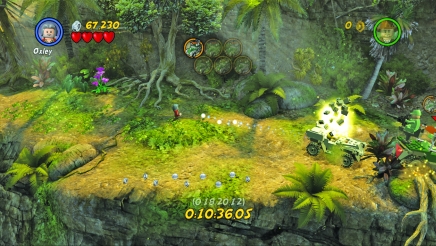
Another good tactic is to run them off the side of the cliff as they are driving to the right. This can cause less damage to your vehicle, and while a nudge may not damage the enemy jeep, the fall off the cliff side means you have one less jeep to fight against.
Wave 4
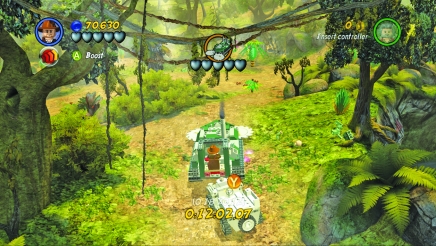
For the final wave, you are just going after Spalko, who is in her own jungle cutter. Drive off the cliff at the top left corner of the elevated area, and find the other jungle cutter, which is driving around on the left side of the level. Come up behind it and jump from your vehicle to the jungle cutter to take control of it.
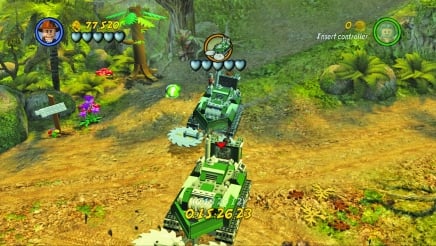
Don’t go head-on with Spalko or you will probably lose. Instead, wait off to one side for her to pass, and then come up behind her. All you have to do is touch the rear of her jungle cutter with your saw blades and the level is over. The crystal skull is once again in your possession.
Dovchenko Duel
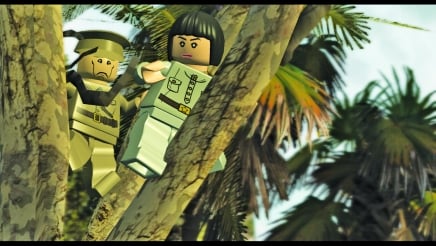
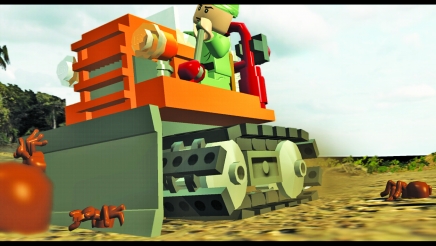
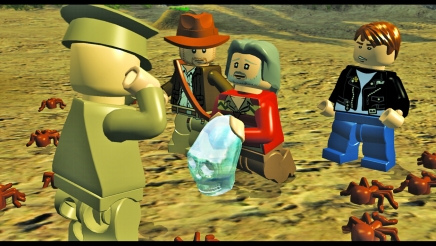
Indy and his party follow Spalko and Dovchenko and find them up in a tree in the middle of a mass of ants. A Russian on a bulldozer tries to come to the rescue but only knocks over anthills, releasing even more ants. While the crystal skull protects Indy’s group, the ants take Dovchenko. However, he is able to control the ants to create a giant foe.
Story mode characters:
Indiana Jones, Mutt, Oxley
True Adventurer stud requirement: 50,000
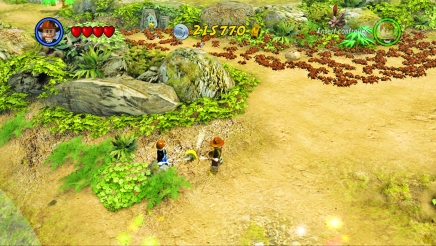
After chasing Spalko, head to the left along the coastline and pick up a banana by smashing a basket of fruit.
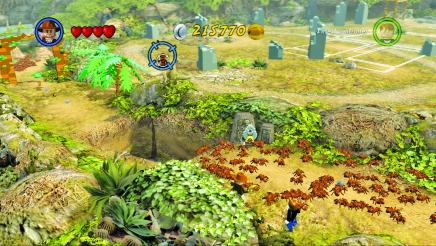
Throw the banana to a monkey on a rock. The monkey will in turn throw down a key for you.
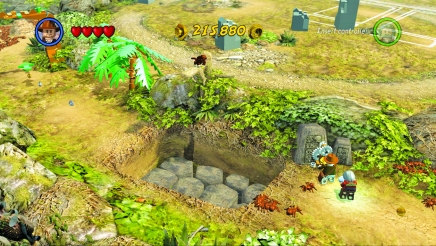
Bring Oxley with you to move the ants out of the way so you can put the key in a mechanism and turn it. A group of rocks will rise out of a pit; you can now move across to the other side. Keep moving toward Spalko and Dovchenko to begin the level.
The Giant Ant Man
Wave 1
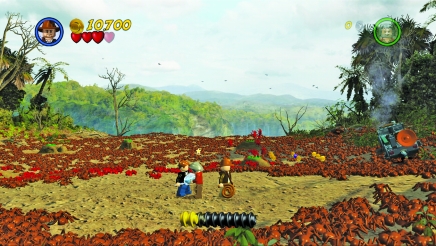
When this level starts, Dovchenko attacks you. Hit him back with Indy’s whip. After defeating him, some ants will carry him away. However, this battle is just beginning. Look around and note that there are two of the five anthills in this area have red ants coming out of them. The red ants will form the giant ant man, which is controlled by Dovchenko. You can control Indy and Mutt. Oxley will follow you to keep the brown ants covering the area away from you.
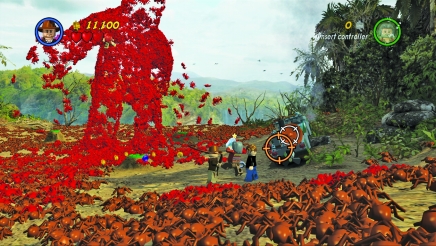
In order to defeat the ant man, you need to cover the two anthills. A vehicle is on the right side of the area. Use the whip to target and grab the orange cone off the back of it. Place it on the closest anthill.
Wave 2
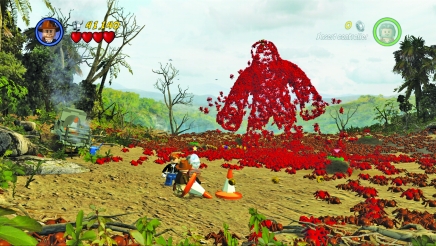
Now head left to find two more cones. Pick one up and put it on the other anthill with the red ants coming out. This will cause the ant man to fall apart and release Dovchenko who will once again attack you. Defeat him again and he forms the ant man for a second time.
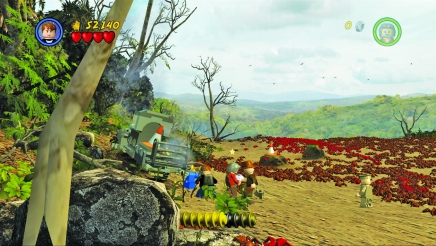
Now you have to cover three anthills. Pick up the second of the pair of cones on the left side of the area and place it on the closest anthill. To get another cone, Mutt will have to use his wrench to work on the vehicle on the left side so that Mutt can then jump up into the back of the truck to pick up the cone. Carry this cone and put it on a second anthill.
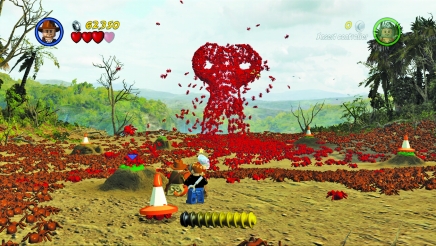
You still need a third cone. Look around and you will see some ants carrying around another cone. Pick it up from the ants and then place it on the third anthill.
The Ant Shark
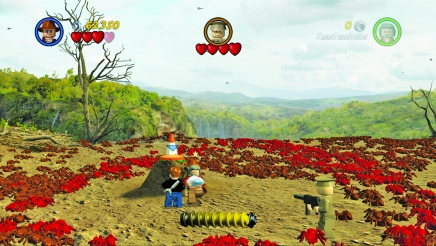
Once you get all three cones on the anthills, the ants will release Dovchenko again, who then comes at you with his machine gun. Use Indy’s whip to defeat him.
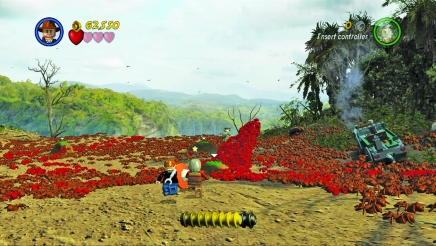
When you defeat Dovchenko, the red ants knock the cones off the anthills, and now they come at you in the shape of a shark. They will jump into the air and try to dive down on you to cause damage.
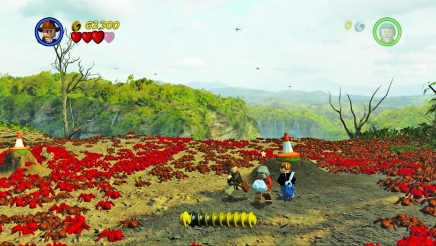
Once again, pick up the cones and cover all the anthills to defeat the red ant attacks.
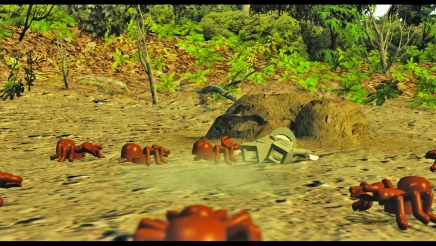
The red ants return to their colonies, leaving the brown ants to pull Dovchenko into another anthill. Hopefully that will be the last of him.
Treasure Mode
Now that you have finished the five Story mode levels, head back to those locations and complete the Treasure mode levels to earn more studs and collect artifact pieces.
Musical Mania
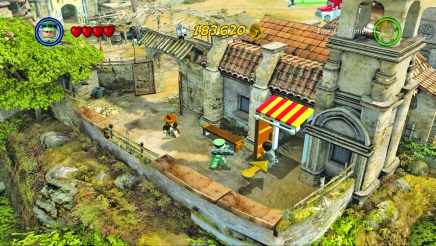
Return to the asylum near the airport to enter this level. You will need a character with a whip and one with explosives.
Treasure mode characters
Indiana Jones, Russian Officer, Russian Grenadier
True Adventurer stud requirement: 20,000
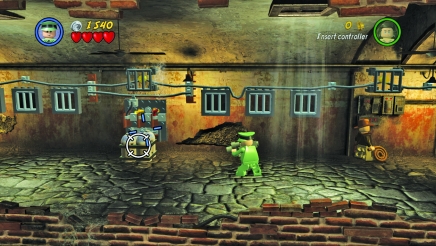
Start off by breaking things around the first room of the asylum to collect studs. Walk along the low wall to pick up studs hidden from your view. Once you have them all, use the Russian Officer's rocket launcher to blow up the air tanks.
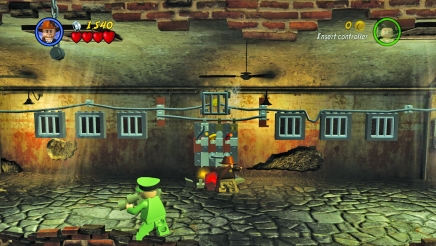
Now you can put together the pieces left behind by the tanks to reconnect the power to the circuit and open all the doors in the asylum.
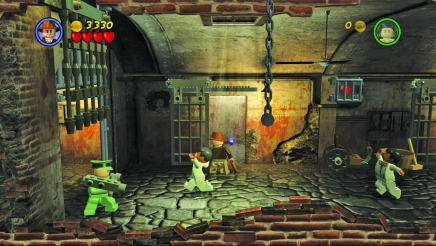
Head into the next room and smash objects to find all the studs in here. Also be sure to enter the cells at the back of the room to find some blue studs.
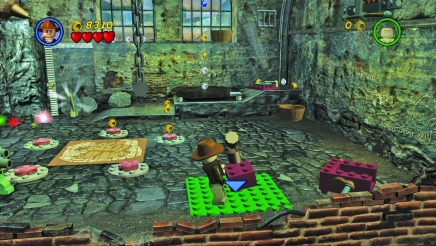
Continue to the final room to the right and pick up pieces of a broken device, and place them on the green pad.
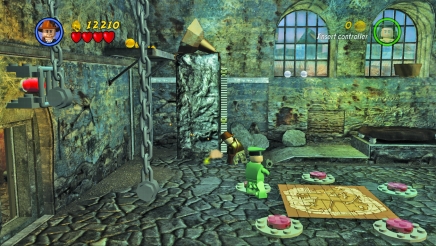
To get one of the pieces, pick up the shovel at the back of the room and dig where the flashing lights are on the floor.
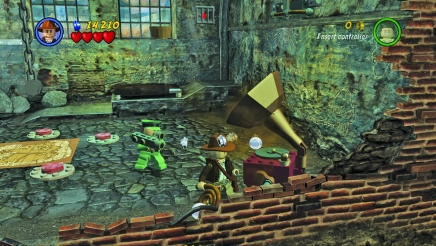
Put together the pieces to listen to a phonograph.
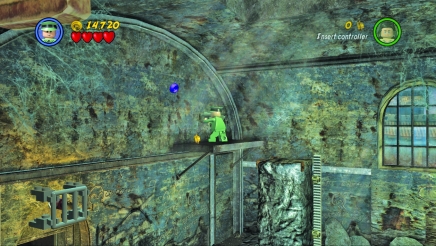
If you want the True Adventurer award, use the trampoline to jump onto the left windowsill, then jump across to the stone pillar and finally to a catwalk on the room's left side. Jump off the end to get a purple stud.
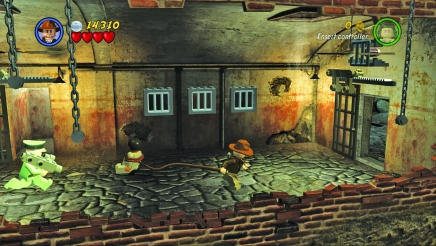
Now head to the previous room to the left, and use your whip to capture some of the inmates and drag them back into the large room.
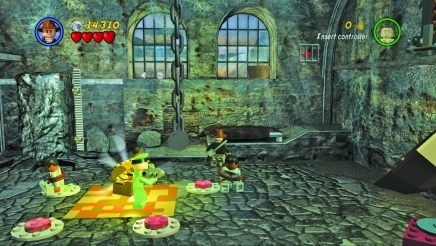
Place the tied-up inmates on three of the pressure switches, and then stand on the other two with your characters to make the artifact appear. Grab it to complete this level.
Tomb Time
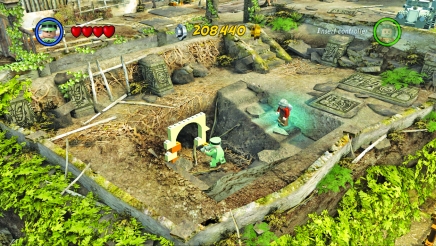
Head to the tomb in the graveyard near the village. Take along a character with the crystal skull and one with explosives.
Treasure mode characters:
Oxley, Russian Officer, Russian Grenadier
True Adventurer stud requirement: 23,000
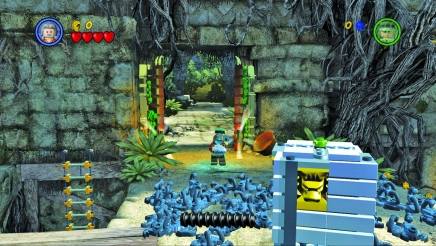
This level is filled with scorpions. Oxley has the crystal skull, which will keep them at a distance. Use the Russian Officer's rocket launcher to blow up the crate in the middle of the level.
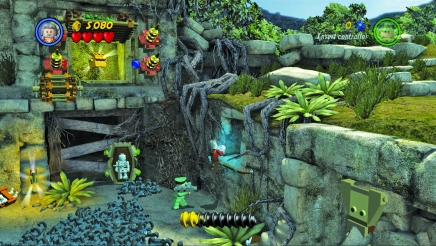
Now go around the area blowing up and smashing things to find studs. Grab on to the handrail along the right side and pull yourself up into a small alcove, where you will find enough studs to get you the True Adventurer award.
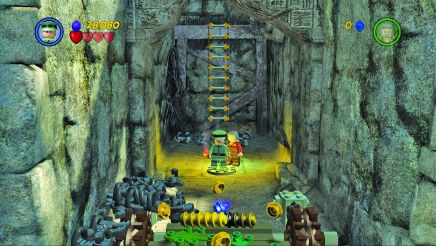
The artifact is visible right at the start. You just have to figure out how to reach it. A rolled-up ladder is what you need to lower. To do this, walk over four pressure switches. Each has a timer, so it will stay green for a short amount of time. In order to lower the ladder, you must have all the switches green at the same time. Start off by heading to the tomb's left side and dropping down to the lower level and stepping on the switch.
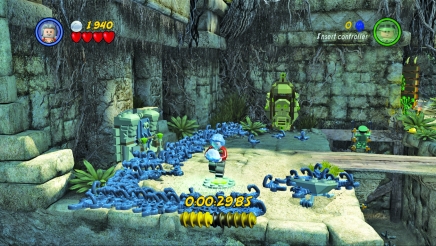
Quickly climb up the ladder and jump to the left to hit the switch on the area's left side.
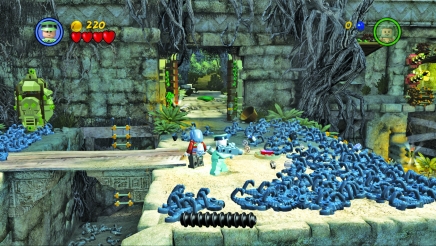
Next, rush across the wooden planks to step on the switch in the center (where the large crate you blew up at the start had been positioned).
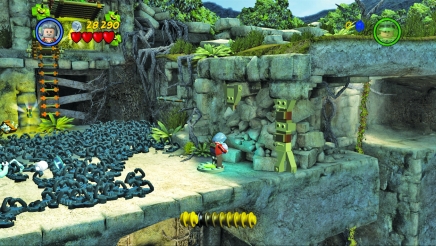
Finally, run to the switch at the tomb's far right side, and the ladder will lower to the ground.
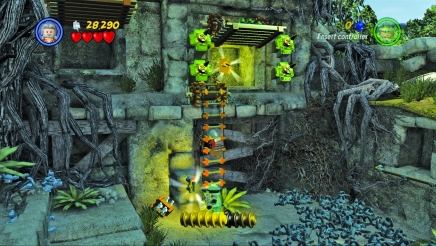
Now climb up the ladder to reach the artifact and complete the level.
Mirror Mayhem
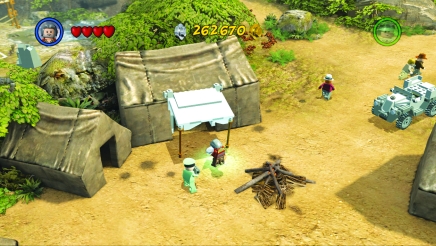
This level requires a character with the crystal skull and one with explosives. Head down to the camp and enter this tent to begin.
Treasure mode characters:
Oxley, Russian Officer, Russian Grenadier
True Adventurer stud requirement: 11,000
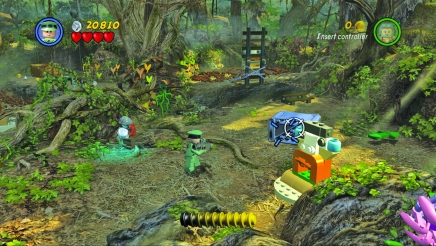
This level has many ants, so use the crystal skull to keep them away. A good tactic is to go around hitting plants to get studs. In fact, you can get enough to earn the True Adventurer award by just hitting the plantsÑespecially the large flowers. Once you are ready to get down to business, use the Russian Officer's rocket launcher to blow up the metal containers to reveal parts.
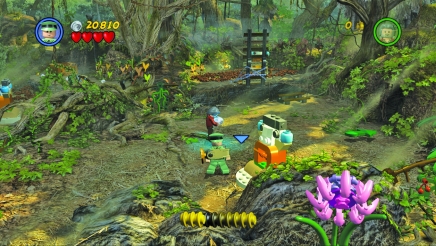
Pick up the part from the container near where you started this level, and place it on the nearby statue.
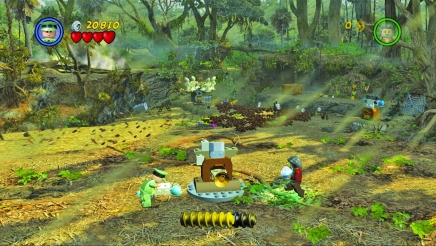
Head to the left and use the pieces near the statue to fix it.
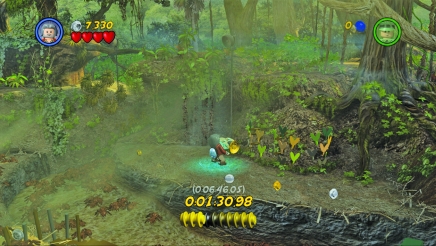
Next, send Oxley to punch the crate on the other side of the pit, collect the studs, and pick up the piece. Place it on the statue by the pit.
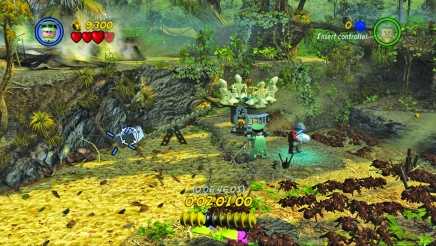
Now, move near the group of four skeletons, and use the rocket launcher again to blow up a box on the end of a metal beam. When it explodes, the other side of the beam will lower so you can pick up a key. Place the key in the mechanism to turn the skeleton platform; this moves a mirror into position.
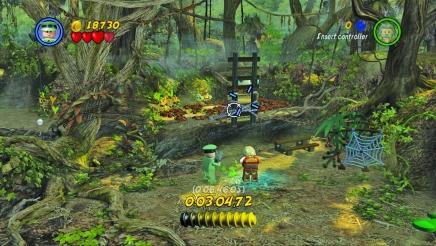
Return to the area where you entered this level, and fire the rocket launcher at the metal chain to lower a bridge.
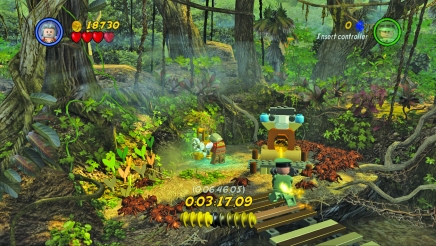
Send Oxley to the bridge's other side to spread out the ants and pull on a lever that will make this statue shine a beam of light.
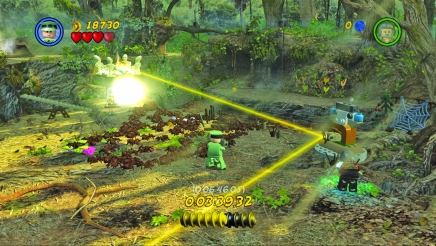
If you fix all the statues, the beam will make it to the skeleton platform and raise it. Fire the rocket launcher at the metal bars that are now visible to gain access to the artifact.
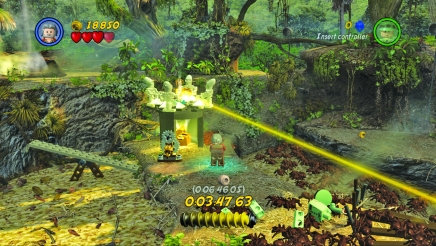
Finally, move to the artifact to complete the level.
Campfire Countdown
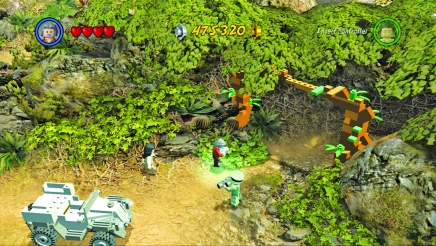
This is a driving level. To start it, head south from the camp and then go to the right and enter this area.
Treasure mode characters:
Any
True Adventurer stud requirement: 168,000
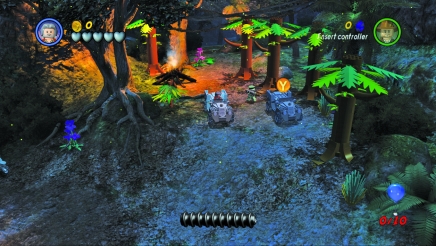
If you want to earn the True Adventurer award, you must collect a lot of studs. While there are some spots where you can pick up high-value studs, you will still have to run over many different plants and other objects in order to get enough studs. You begin in the far right corner of the level.
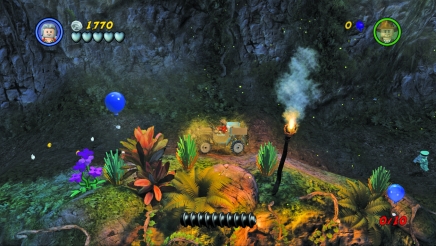
To unlock the artifact, you must pop ten balloons. Right from the start, head along the path to the left, which leads up the hill.
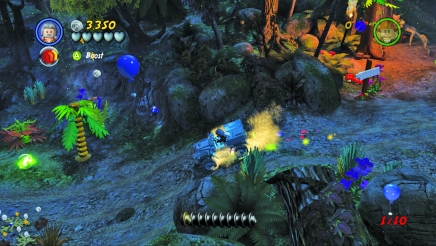
Return to the main road and continue to the left. As you head down a short hill, you see a balloon overhead. Run over the green Jump power-up; then go back up the hill, turn around to drive left again, and jump right before the road drops to pop the second balloon.
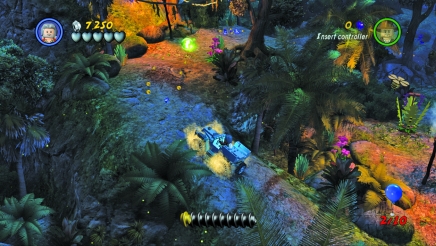
Continue along the road to the left as it curves around toward the camera. When you see a path off to the left, take it to find lots of studs and the third balloon.
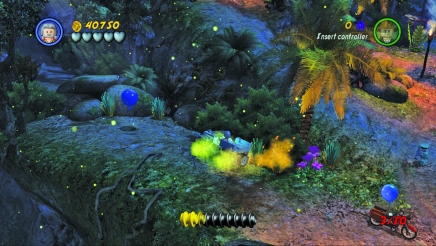
Return to the road and drive toward the camera until you see motorcycles. Take this path to the left to get the fourth balloon.
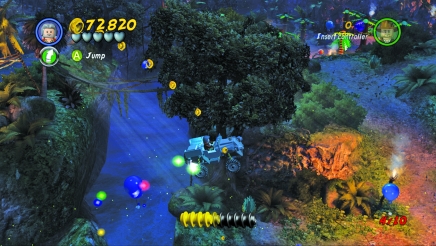
Grab the Jump power-up and head to the level's near left corner; then drive to the right. Jump as you drive up the ramp over the river, and pop the fifth balloon while in flight.
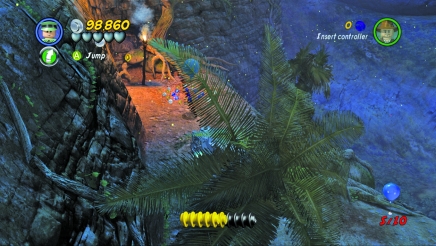
Now drive all the way to the right and crash through some barricades. Follow this path to a bunch of studs and the sixth balloon.
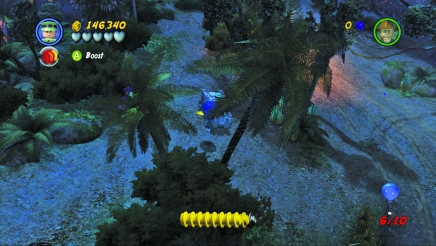
Return to the main road and drive up the hill away from the camera. Keeping going in this direction to find the seventh balloon.
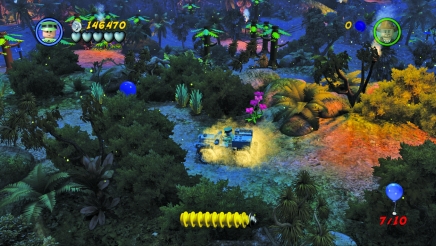
Follow the high road to the left, and you will hit the eighth balloon.
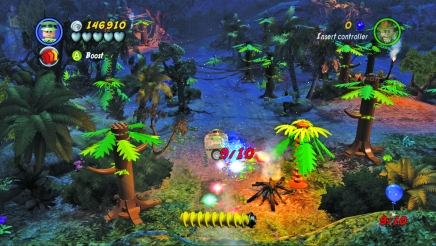
When this road turns back toward the camera, you will see the ninth balloon off the edge of the cliff. Turn and drive off the cliff, away from the camera, to pop this one.
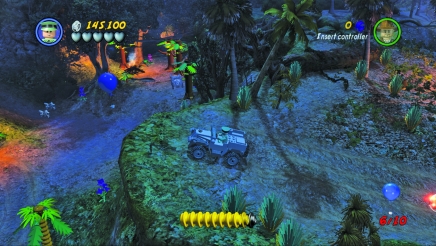
Now you must drive to the level's left side, and follow the road toward the camera until you can drive to the right to jump over the river again. To the left of the area where you found the seventh balloon, you must jump off a cliff again to pop the tenth balloon.
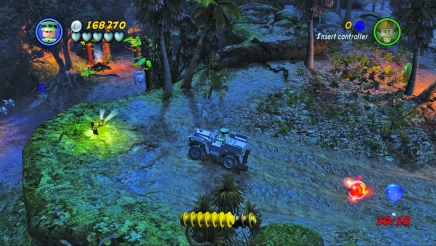
The artifact will now appear at the cliff you just drove off. Drive back to it and get the artifact to complete this level.
Jungle Jump
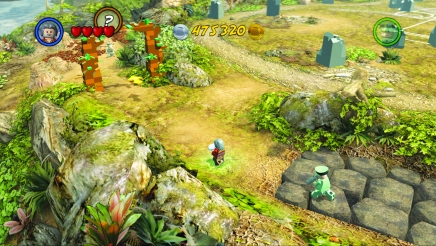
The last Treasure level is located in the anthills where you faced off against the giant ant man. For this one, you will need a character with the crystal skull and one with explosives.
Treasure mode characters:
Oxley, Russian Officer
True Adventurer stud requirement: 36,000
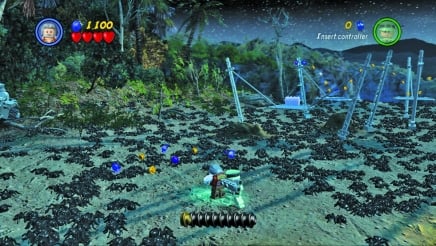
This level takes more skill than thinking, since there are not really any puzzles to solve. Start off by taking control of Oxley and walking around the area, picking up studs. You can easily earn the True Adventurer award right at the start by looking for groups of studs like this one with a purple stud surrounded by blue studs.
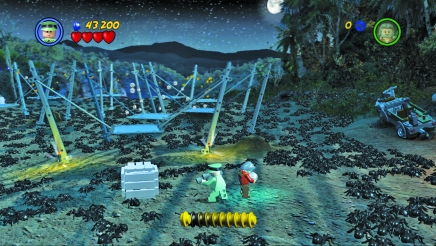
When you are ready to go for the artifact, switch to the Russian Officer and use his rocket launcher to blow up this silver case.
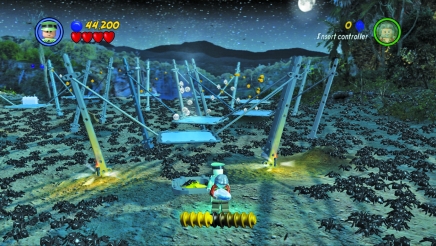
Inside the case are parts. Assemble them into a fan, which will give you a boost up onto the trampolines.
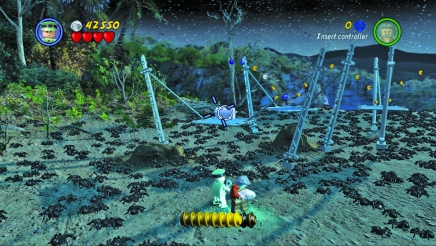
However, before you start jumping, blow up the silver chest at the end of the series of trampolines to release the artifact.
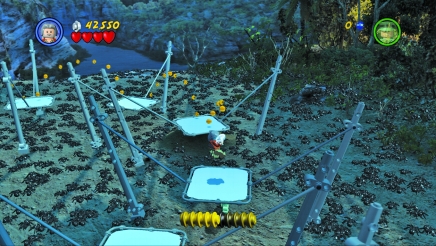
Jump from one trampoline to the next. You must get a high jump in order to make it to the next trampoline; therefore, work on the timing so that you press the Jump button just after you land on the trampoline and as it starts to rebound. Also, hold down the jump button to make your character jump higher.
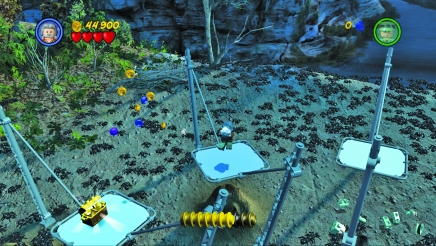
Continue all the way around, collecting more studs as you go, until you reach the artifact to complete the level.
Bonus Levels
Peru Airport
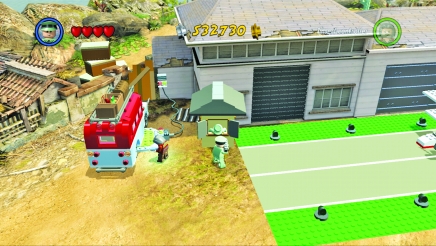
This first bonus level is located at the airport where you first begin this play set. In order to access it, you will need the Russian Officer. Send the Russian Officer to the security post to talk to the guard. Since your character has security clearance, the guard will open the door of the hangar, allowing you to enter and begin the level.
Bonus level characters:
Indiana Jones, Russian Officer, Russian Grenadier
True Adventurer stud requirement: 27,000
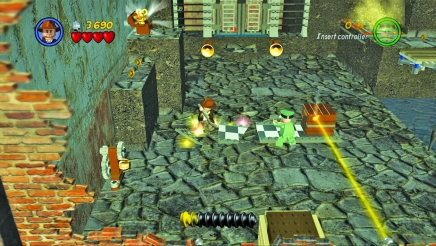
At the start, go around breaking all the crates you can to collect studs. Be sure to check behind the low brick wall at the front of the level; some studs are hidden from the camera there. Use the Russian Officer’s rocket launcher to blow up the silver chest; retrieve the shovel. Use the shovel to dig up the checkered tiles so you can slide a crate to the left.
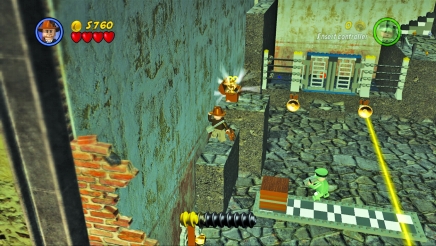
Jump onto the crate so you can then jump onto a couple of stone platforms. At the top, pick up a key from a chest and then jump back down. Use the key to turn the mechanism, which will activate a second light beam (the first light beam is already on at the level’s beginning).
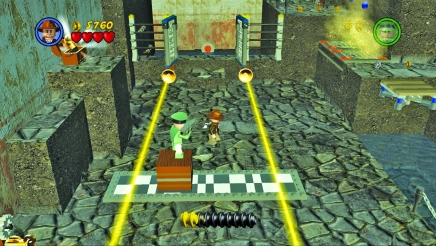
Push the crate on the checkered tiles slightly to the right so that both light beams can hit their target. This opens the gates at the back of this area. Use Indy’s whip to pull on the orange handle to lower a platform to the right. However, before heading in that direction, jump into the water to find some studs. In order to get the studs that are deeper underwater, swim over them and then jump up. When you come down, you will dive down into the water a bit and be able to get those elusive studs.
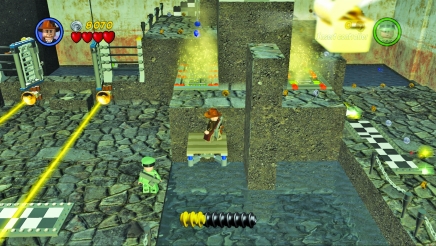
Now jump up on the lowered platform, and head to the level’s right side. Stay away from the toxic areas by the orange tiles. For now, ignore the blue studs hovering over them; you will just kill yourself trying to jump to get them. It will be easier—and safer—to get them later.
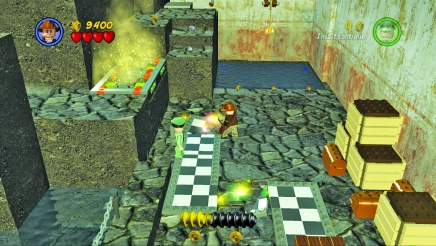
On the area’s right side, use the shovel to dig up more checkered tiles, and then smash all the crates to find more studs. Use the rocket launcher to blow up a silver chest, which contains a sword.
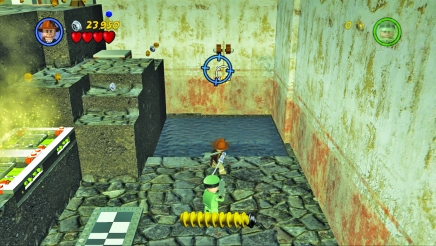
Pick up the sword and throw it at the rope hanging over the water. This activates an elevator platform along the back wall. Jump into the water to find more studs, and push the crate along the checkered tiles so you can jump onto the stone platforms in the center of the level.
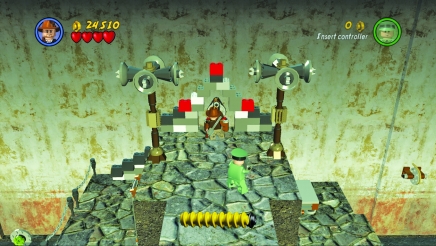
Once on the center platform, turn the wheel at the back to flood the level.
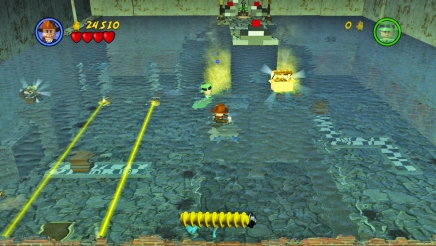
Swim out into the middle of the level, and jump up to grab the artifact and complete this bonus level.
Peruvian Market
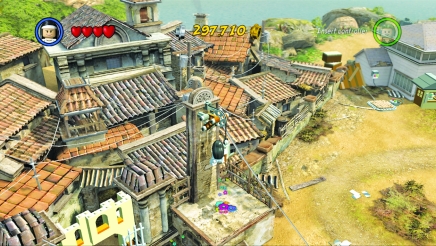
The next bonus level is in the village. Select a female character such as Marion, and jump onto the platform where the flowery icons are. Jump up again to grab on to a pulley to open the gate below; this leads to the bonus level.
Bonus level characters:
Indiana Jones, Mutt
True Adventurer stud requirement: 26,000
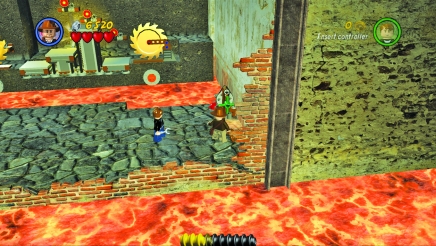
This level features lava, guns, and dynamite. Start off by breaking crates to collect studs. Next, turn this wheel on the area’s right side to drain the lava.
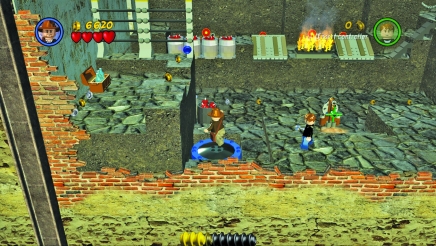
Now head to the left, and use the trampoline to jump to the platform on this side and pick up more studs.
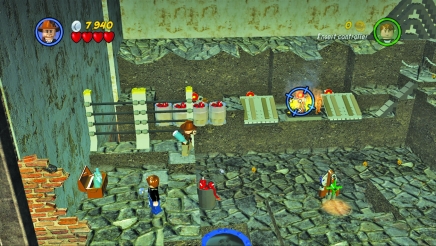
Before jumping back down, pick up a bottle of water and throw it at the flames along the back of the area. Repeat this, since it will take two bottles to douse all the flames.
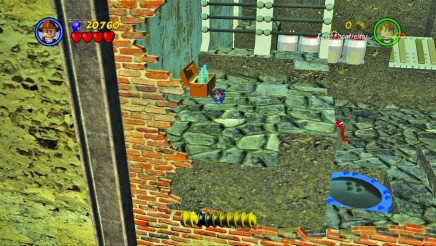
If you want to earn the True Adventurer award, look behind the stone platform with the water bottles and you will find a purple stud. Then head to the chest in the area’s middle, near where you started, to pick up a pistol.
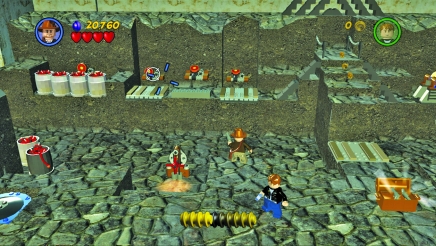
Turn the wheel on the left side, down where the lava was. This will lower some ramps so you can shoot at three targets. The fourth target is covered by barrels of dynamite.
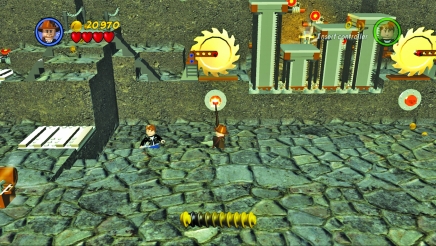
On the area’s right side, use Indy’s whip to pull on the orange handles to start the saws moving. Use the pistol to shoot the targets behind the saws and elevators as these obstacles move out of the way.
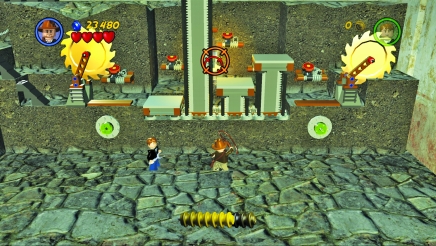
Now use the whip to grab the torch from the wall behind the elevators. You will have to time it just right to flick the torch toward you.
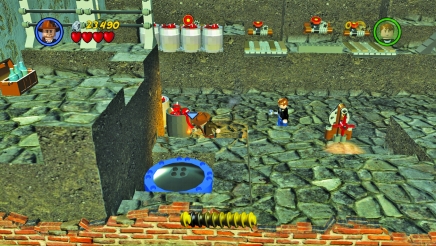
Pick up the torch and use it to light the barrel of dynamite on the area’s left side; then get out of the way. Pick up the studs released by the explosion, and shoot the final target using your pistol.
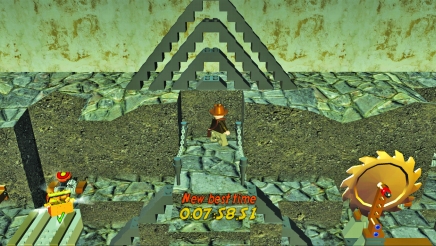
Walk up the ramp that now rises in the center. Continue to the top to get the artifact and complete this bonus level.
Graveyard Tomb
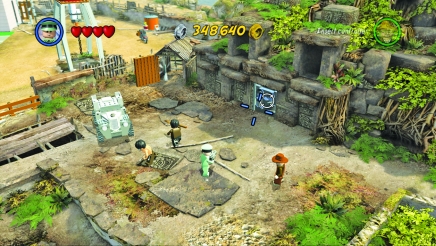
Locate the silver door in the graveyard near the airport. Use the Russian Officer’s rocket launcher to blast the door. Enter this tomb to begin the bonus level.
Bonus level characters:
Indiana Jones, Mutt

True Adventurer stud requirement: 21,000
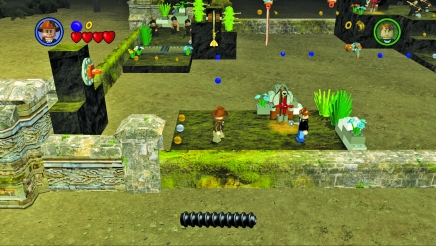
You start out on a small platform at the bottom of the area. Collect studs by hitting plants; then turn the red wheel to raise a platform out in the middle of the quicksand. Next, use the whip to pull on the orange handle to raise another platform.
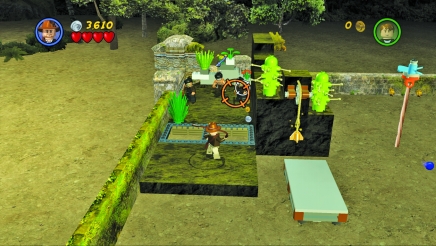
The smaller platform will sink into the quicksand and will then rise again. Time your jumps to get across to the larger platform on the far left. Watch out for the pits separating you from the three cemetery warriors. Instead, target them with your whip from a distance. Drag them toward you so they fall into the pit, or just jump across and take them out.
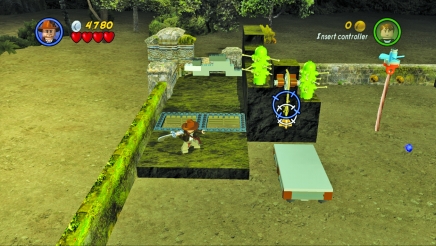
After defeating the last cemetery warrior, pick up the sword and jump over the pits to collect some studs from the plants; then jump back over the pits and throw the sword at the rope to raise another platform.
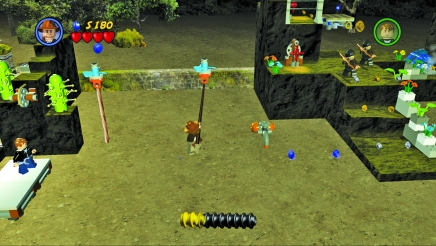
Jump across to the rope and swing to get some studs. Next, jump to the right. While in midair, use the whip to grab on to the next handle. Swing across to the rectangular platform after it rises from the quicksand, and quickly continue to the other side.
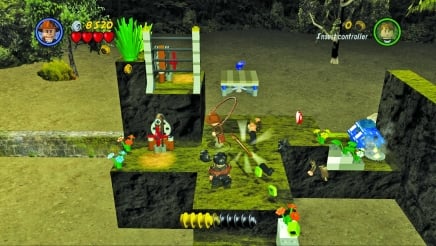
Defeat the two cemetery warriors, and then turn the red wheel to raise a platform in the middle of the quicksand so Mutt can join you.
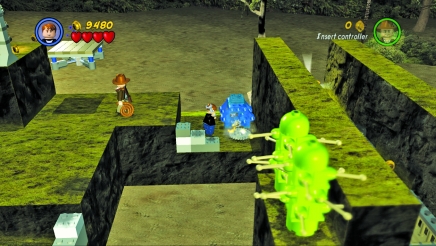
Switch to Mutt and work on the blue motor on this platform’s right side. Once it is working, an elevator will lower so you can jump up and turn another red wheel to raise some more platforms out in the quicksand.
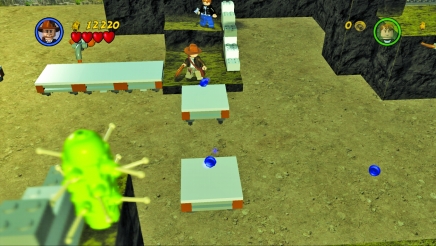
Jump across these platforms to reach another platform on solid ground. Turn another wheel to raise the last set of platforms out in the quicksand. Be sure to check behind the wall by the wheel for a purple stud.
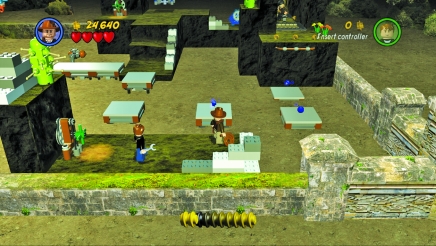
Jump across the three small platforms, and grab on to the handrail to pull yourself up onto the last area.
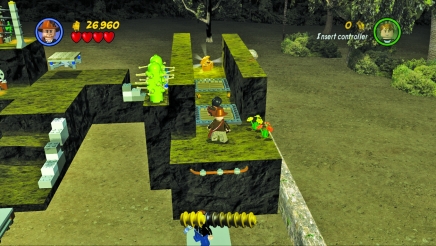
Use your whip to pull the cemetery warrior into a pit, and jump across two pits to reach the artifact and complete the level.
Temple Tussle
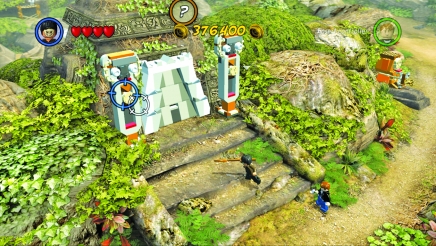
You will need to take along a cemetery warrior to access this bonus level. From the central camp, follow the trail northeast and then south past an ancient shrine. Throw spears at the circular blocks with holes in the middle.
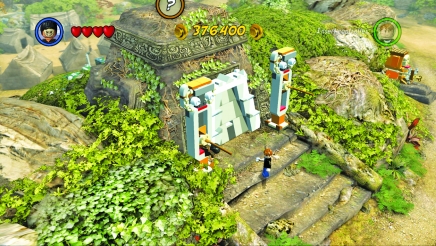
Jump up and grab on to the spears to pull them down. Once you have done this on each side, the temple will open so you can enter.
Bonus level characters:
Indiana Jones, Mutt
True Adventurer stud requirement: 26,000
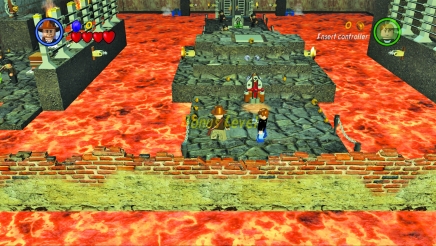
This is another level with lots of lava. At the start, turn the red wheel to raise a platform out of the lava to your left, and then move about the central island, picking up all the studs you can find.
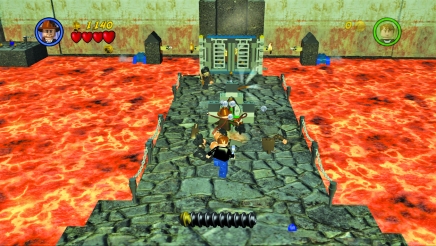
At the far end of the island, take on some cemetery warriors using your whip. If possible, try to target them from a distance, wrap them up, and drag them back toward you before they can start throwing spears at you. Turn the second red wheel at this end of the island to lower the lava a bit and reveal some stone platforms you can use for jumping.
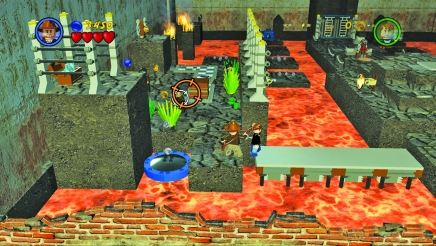
Return to where you started the level, and head to the left across the walkway. Once on the left side, attack the cemetery warriors there with your whip. Look around the area for studs. You can find a purple one hiding behind the stone platform with the chest of water bottles on top of it.
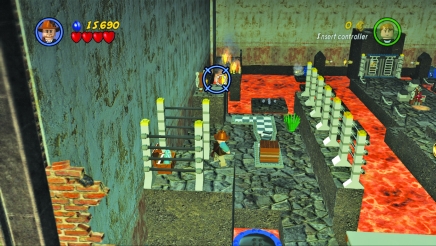
Use the trampoline to jump up to the stone platform and pick up a water bottle. Throw it at the flames on one of the pillars toward the back of the area. Repeat this on the flames on the next pillar. Finally, grab a water bottle and jump to the lower level. Move toward the last platform, which has flames still burning. When you are in range, douse it as well.
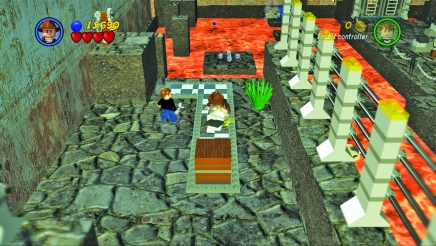
Repair the checkered tiles and then push the crate along them until you can jump onto another platform. You do not have a key for the mechanism yet; however, you can jump from pillar to pillar to reach the last platform in the back left corner to pick up some studs, including a purple one.
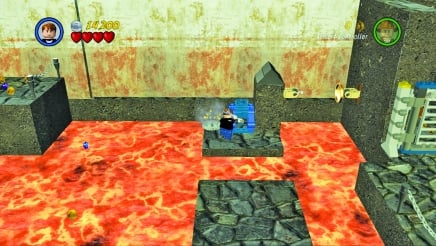
Head back the way you came, and then send Mutt jumping across some larger and lower stone platforms to reach the blue mechanism. Fix it with his wrench to activate some light beams.
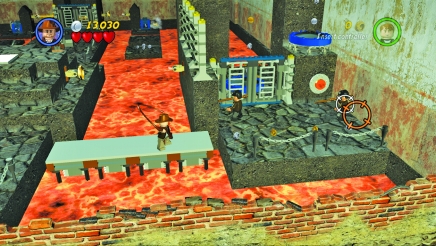
Return to the starting area and then head right, taking on a couple cemetery warriors as you go. Pull on the orange handle with your whip to open the gates.
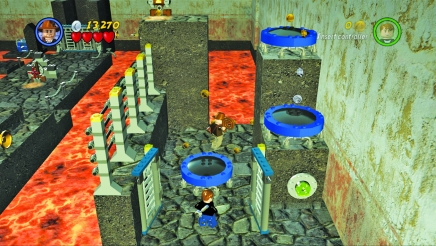
Pick up all the studs you can find, and then jump on the trampolines to get from the lowest to the middle and then to the highest trampoline. Now jump across to the level, and pull a lever to activate another light beam.
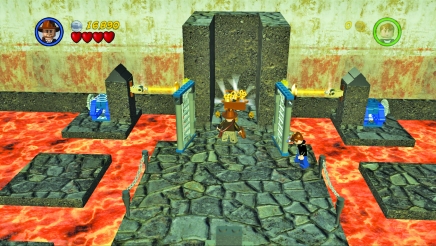
Send Mutt to the back of the level again to fix another blue mechanism— this time on the right side. Once it is fixed, the gates at the back of the level will open.
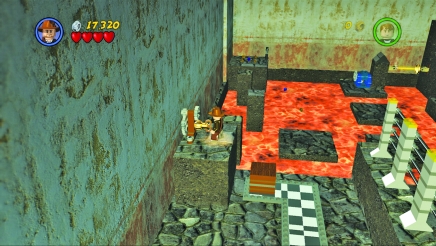
Pick up a key from the chest inside this area, and take it to the mechanism on the left wall. Insert the key and turn it to activate the elevator in the level’s center.
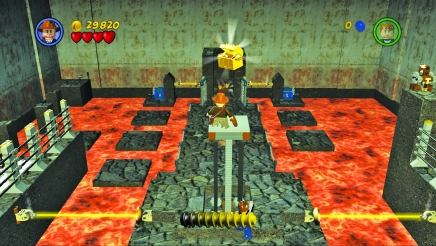
Now return to the center, jump onto the elevator, and ride it up to the artifact to complete this bonus level.
Gorge in the Jungle
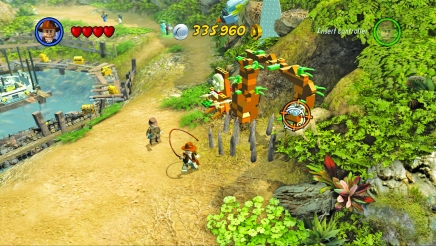
The last bonus level is on the island’s southeastern corner. Take Indy there, and use his whip to grab this piece of statue off the right side of the entrance.
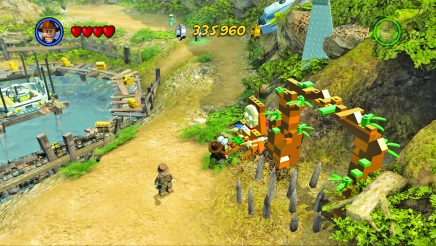
Pick up the piece and place it on the small green pad to the left side to make the spikes lower. Now you can enter this level.
Bonus level characters:
Indiana Jones, Mac
True Adventurer stud requirement: 14,000
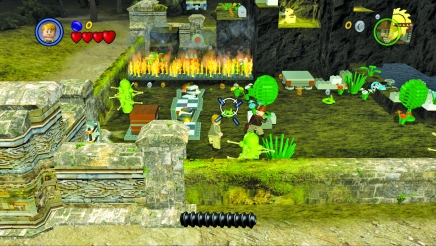
This level has some snakes that will make Indy panic, so use Mac and his pistol to shoot the snakes right at the start. Indy can then go around with his whip, hitting plants to find studs.
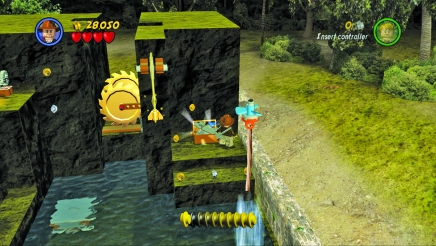
Now head to the level’s right side, jump over to a rope, and then onto a platform with a chest. Pick up the rocket launcher and some studs, and head back across the rope.
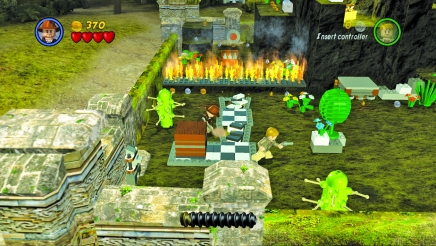
Pick up the shovel in the left corner and use it to dig up and repair the checkered tiles. Push the crate along the tiles, and jump onto it so you can then jump over the flames to the far side.
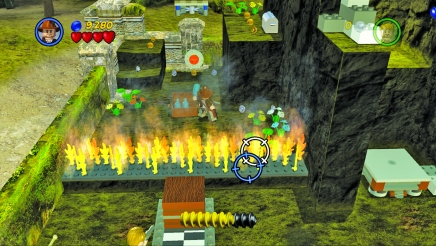
Use the water bottles to put out the flames; then use the whip to pull on the orange handle and lower a platform.
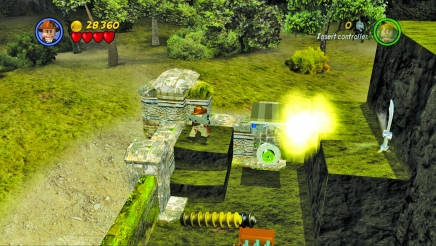
Fire the rocket launcher at the silver chest; jump across to it on the platform to get a sword and some studs.
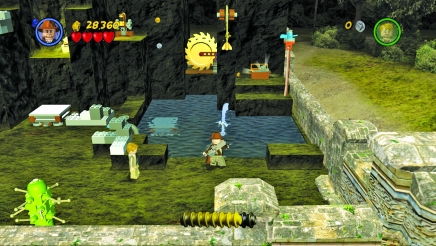
Return to the right side and throw the sword at the rope to start the saw moving back and forth.
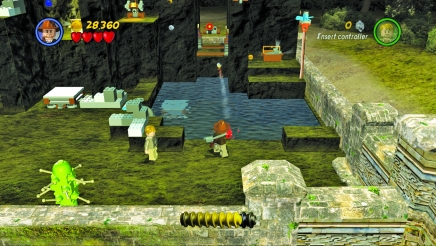
Now use either the rocket launcher or Mac’s pistol to hit the target that is revealed temporarily as the saw moves.
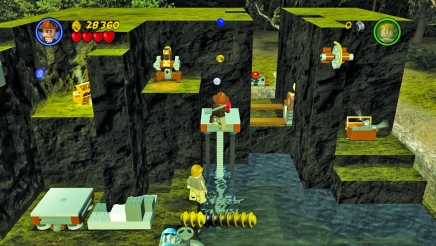
The target activates an elevator in the water. Ride it up to get some studs, and pull a lever on a small platform at the top.
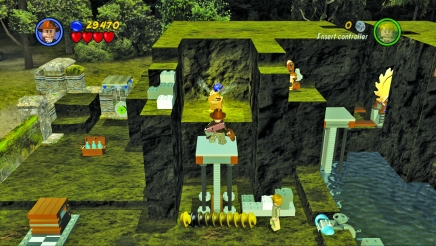
Another elevator in the level’s middle has now been activated. Ride it to the top to get the artifact and complete the level.
Super Bonus Level: Bike Fright
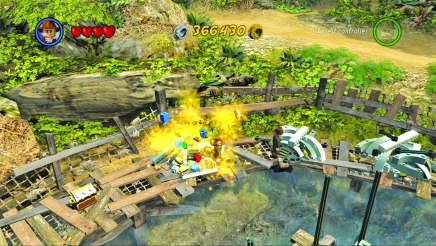
Once you have collected all ten artifacts from the treasure and bonus levels, head to the docks on the southeast corner of the island and smash the artifacts to reveal pieces.
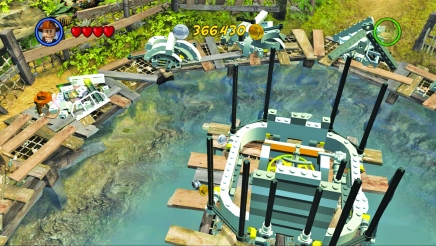
Now go around and assemble the pieces into a dockside bike lab in the center of the dock area.
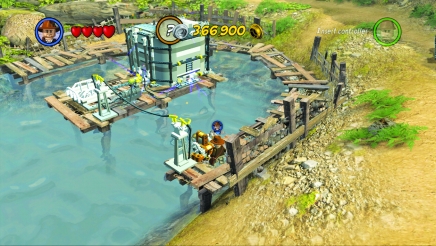
Once you’ve used all the pieces, walk over to this switch and pull the lever to send power to the structure.
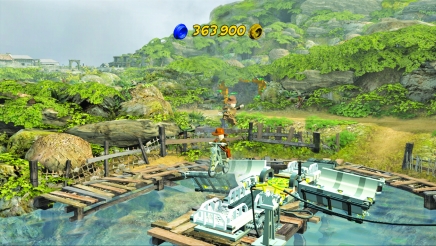
Head across a ramp to the bicycle in the middle of the now-open structure, and purchase it for 7,000 studs. Then climb onto it and ride forward. A fan at the end will send you and the bike airborne.
Bonus level characters:
Indiana Jones, Mutt

True Adventurer stud requirement: 1,000,000
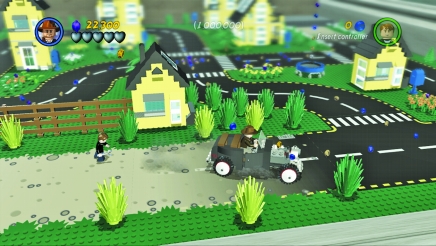
The bonus level takes place in a LEGO town where you must drive around and collect 1,000,000 studs. Hop into a hotrod and start driving.

High-value studs are located in the middle of the street. However, you will also need to run over all the plants in order to meet the requirement.
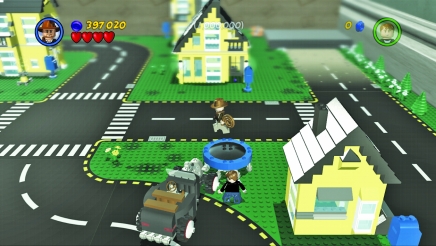
Use the trampoline to jump up and get some high-value studs.
Once you collect 400,000 studs, the elevator on the right side will begin to operate. Drive onto it and then around the street on the upper level.
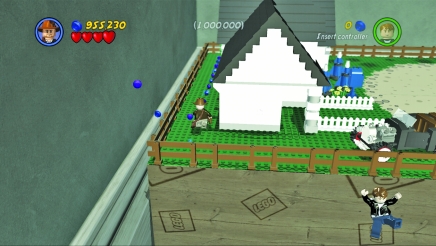
Once you run over all the plants and clear out the street, hop out of the hotrod and walk around behind the house to get enough studs to complete this level.
Events
Motorbike Race
Reward:
Patient

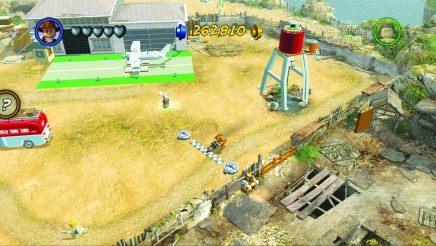
If you have 20,000 studs, you can do this race if you built the pressure pad to the left of the hanger and activated the ramp leading around the back. Purchase the motorbike and then drive it through the starting gate.
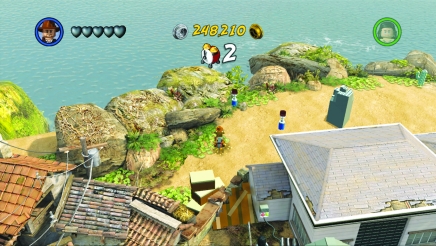
Continue to the left through one gate; then turn toward the airport hangar and drive over a ramp to the left of this building.
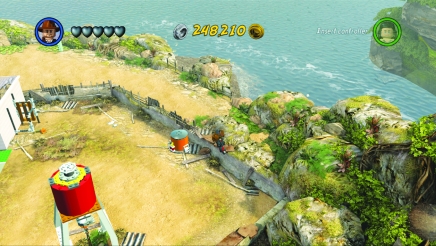
Take a sharp right and race to the right to drive up a ramp of rock. Jump over the wall and back into the airport area to cross the finish line to unlock the Patient.
Flying Race
Reward:
Peru Nurse

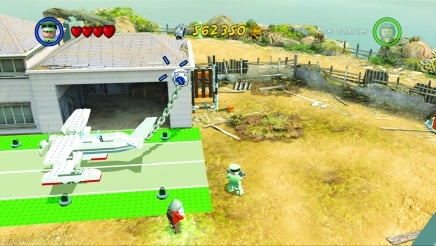
Since the biplane is locked when you begin, you will need the Russian Officer before you can purchase this vehicle for 250,000 studs. Target the silver cone, which attaches the chain on the plane to the airport hangar, and fire the rocket launcher to destroy it. You can also destroy the hangar doors and go inside to find lots of studs. To reach the race, hop into the plane to take off.
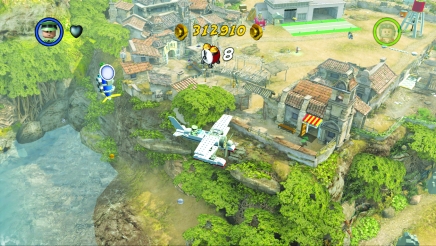
Once you are airborne, fly south and then turn east (to the camera’s right) to pass through the starting gate.
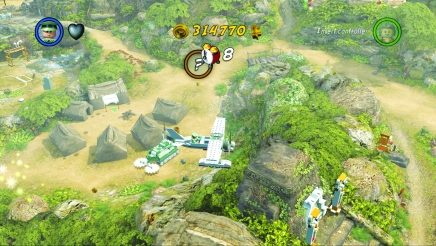
Since it is hard to see the gates, follow the trail of studs to the east and then to the north as you fly over the camp and temple.
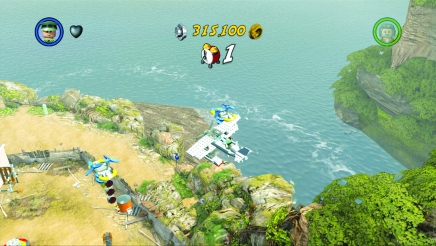
The finish line is hovering over the airport, so after approaching the northern mountain, head west to unlock the Peru Nurse as you cross the finish line in time.
River Rafting
Reward:
Nazca Racer and Nazca Drifter
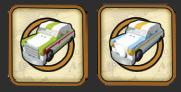
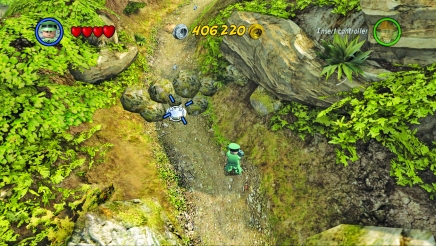
The rafting race starts atop the northern mountain. You will need the Russian Officer, and it is a good idea to take along a female character such as Marion or the Peru Nurse. Follow the trail up the mountain; it begins off the road to the north of the central camp. Target the silver rock with the rocket launcher, and fire to clear the path.
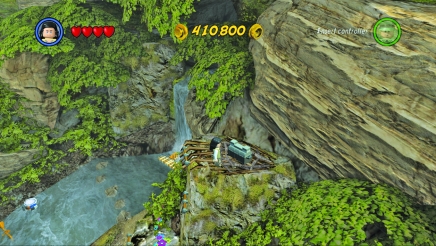
If you have a female character, she can jump at the flowery icons at the path’s end and can reach a chest at the top that contains a blue brick you must collect.
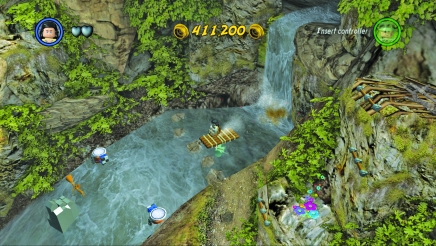
To begin the race you’ll need a shovel, which you can find at the top of the path or at the south of the island in the hut on the beach. Jump out into the water at the bottom of the waterfall and enter the raft.
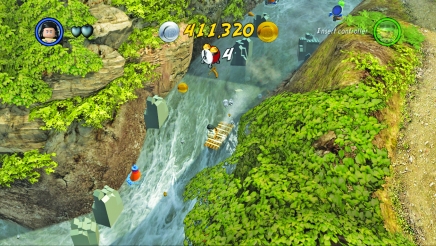
Guide the raft down the river, taking care not to get stuck on the rocks along the way.
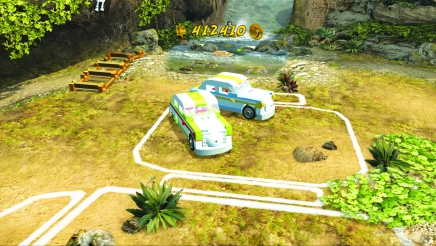
Keep going all the way to the bottom, and you will be rewarded with two cars you can purchase: the Nazca Racer and the Nazca Drifter.
Nazca-r Race
Reward:
Russian Grenadier

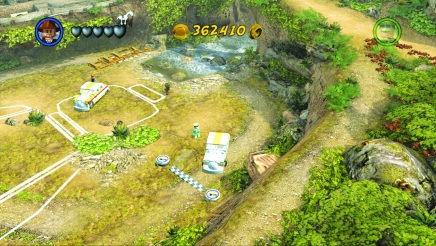
After purchasing one of the race cars, drive through the starting gate and head west. The course makes a figure eight as you head south. Follow the road around to the east before turning to head northwest.
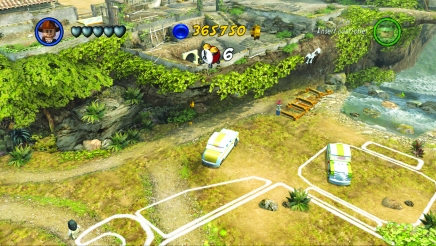
Drive through the scaffolding along the cliff side on the area’s northwestern part.
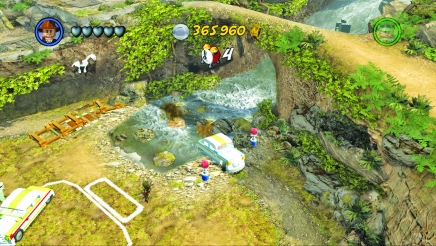
Drive right through the water as you head east before taking a southern turn to complete the race.
Tree Cutter Rampage
Reward:
Market Trader

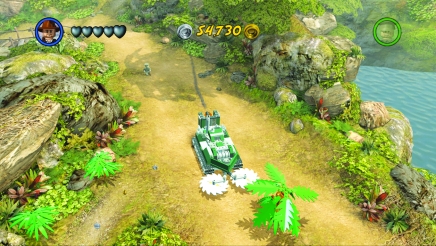
You will need the tree cutter for this event. Follow the road that leads north out of the central camp, and continue to the east. The event starts when you cut down this first tree.
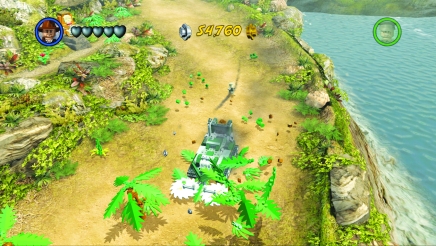
More trees will pop up to the south. Quickly drive into this instant forest and cut down all of the trees in order to finish this event and unlock the Market Trader.
Other Unlockable Vehicles
Bus
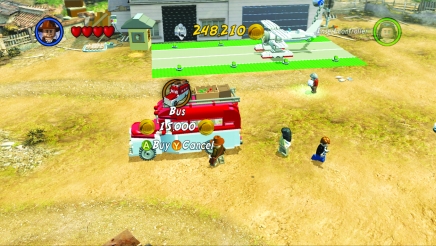
You can find the bus at the airport. You can’t drive it around very much, so purchasing it for 15,000 studs is basically just to unlock this vehicle.
Army Jeep
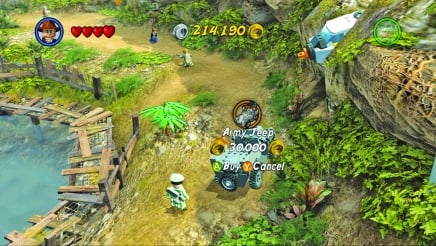
The army jeep is located near the dock in the southeast corner of the island after you complete the “Rainforest Rumble” level. You can purchase it for 30,000 studs.
The Colored Bricks
This play set has colored bricks hidden in different objects. There are still ten of each of the three colors, so be sure to find them all so you can access extras.
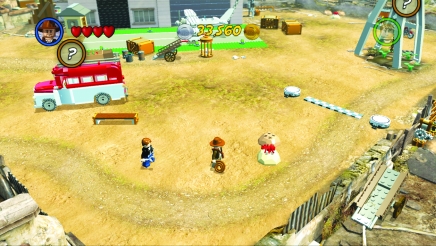
Collect the red bricks by hitting these rocks with a red spider sitting on top. They are scattered about the play set, so hit them whenever you see them. Collect all ten and you can then unlock silhouettes when you buy it from a crate dropped from the sky.
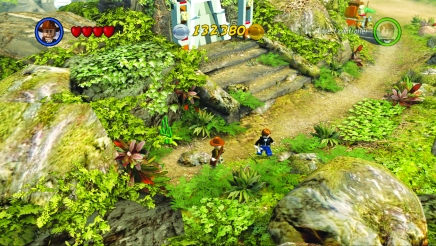
Hit one of these skinny green plants to reveal a green block. Find all ten to unlock Scorex4, which you can purchase for 3,000,000 studs. You may have to come back for that one later after completing a few more play sets.
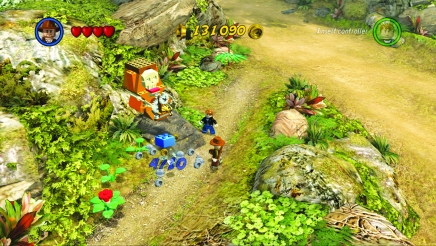
The blue bricks are much tougher to find. They are often hidden inside other objects, which can vary widely such as this statue by the temple.
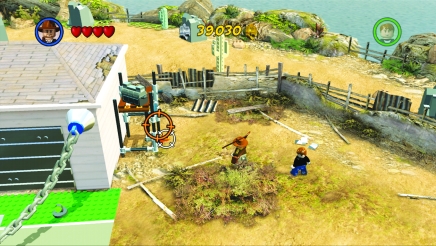
Look for these grayish crates. In most cases, you must do something to access them, such as use a whip or jump high using a female character. One of these crates is located in the Nazca race track area. Crash cars into the large gray stones to find a blue brick.
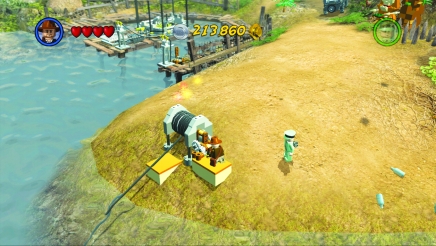
Sometimes using devices such as this one by the dock in the southeast will let you get the chests with the blue bricks inside. The device brings the chest to you, which you can then open.
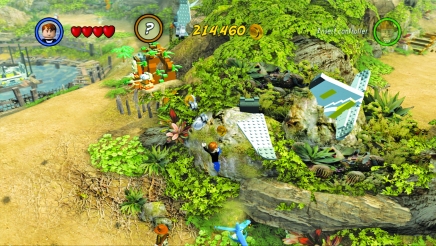
Also, Mutt can fix a fan near the same spot and use it to float onto the wreckage of a plane for another one of these chests. Find all ten of the blue blocks and you can unlock Fast Dig for 300,000 studs.