
Hitman: Absolution Guide Essentials Challenges
Challenges
Each mission has several different challenges you can complete. Once a challenge is completed, you get a percentage bonus to your score. These bonuses are cumulative; you do not have to earn them in every playthrough. This chapter includes information on all of the challenges in the game organized by mission and area within the missions. More detailed tactics and strategies for completing these challenges can be found in the walkthroughs for each mission.
A Personal Contract
Gardens
Modern Art
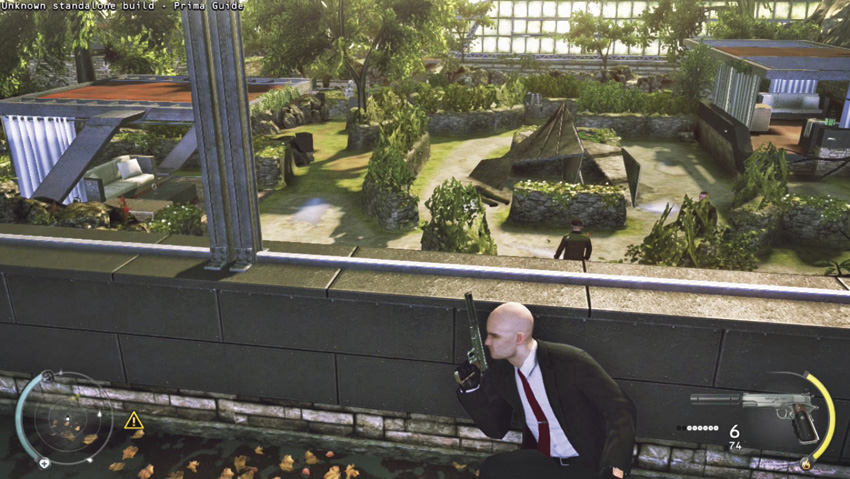
After killing the guard on the tennis court, you have your first opportunity to complete a challenge. Take cover behind the wall where the guard was standing. In the middle of the garden is a large sculpture. There are usually one or two guards standing beside it. Use Instinct to see if any of the guards in the garden are looking in your direction. Wait until no one is watching, and then take aim with one of your silenced Silverballers. Your target is the single metallic support at the base of the sculpture. Carefully squeeze the trigger to fire a single round. As you hit the support, the sculpture crashes down on top of any nearby guards, killing them instantly. Quickly take cover behind the wall since you are exposed while shooting. If guards head your way, climb into the garden box and hide there until the guards’ alert level goes back down.
Greenhouse
Chameleon
This mission has four disguises you must use in order to complete this challenge. The first is the outside guard uniform, which you can get from the guard you killed with the knife. The other disguises are a gardener, an inside guard, and a chef. In order to begin working toward this challenge, take the uniform from the guard on the deck.
Cliffside
Geronimo
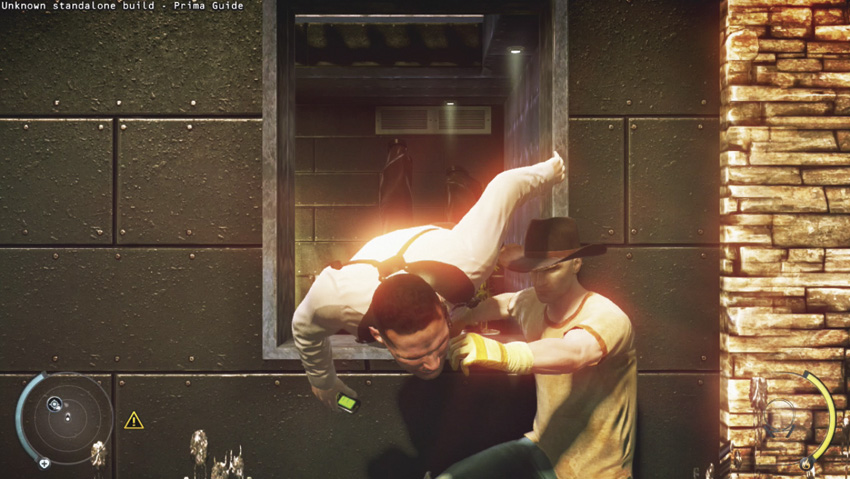
In order to complete this challenge, you must push or pull a guard out of a window in order to eliminate him. The best place to do this is while you are on the ledge.
Evidence Collector (1/2)
During a mission, it is important to collect any evidence that might link you to the hit or to other actions you take. Look for video tapes or other kinds of evidence and pick up any you find. In this mission, there are two pieces of evidence that you must collect in order to complete this challenge. The first is on an equipment console to the left of the disguise.
Mansion Ground Floor
Extra Spice
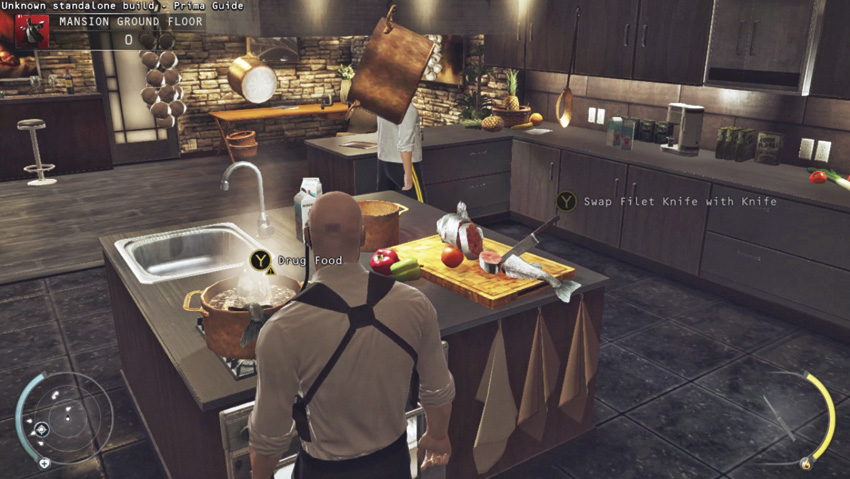
This is an easy challenge to complete. Once you have the sleeping pills from the upstairs bathroom, put some of the pills in the pot on the stove. After the chef takes a taste, he passes out and is neutralized without you having to kill him.
Damn Good Coffee
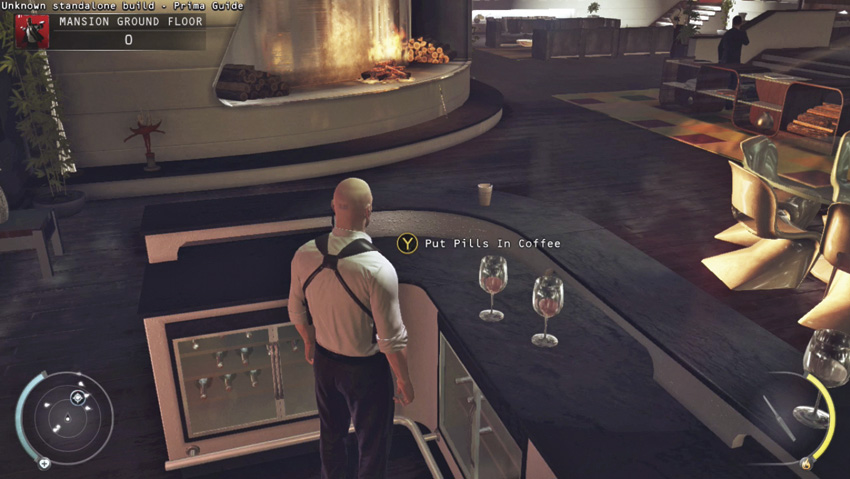
This challenge is almost a necessity for this mission if you want to avoid bloodshed. Get the sleeping pills from the bathroom and put them into the Head of Security’s coffee. After he drinks it and passes out, the challenge is complete.
Evidence Collector (2/2)
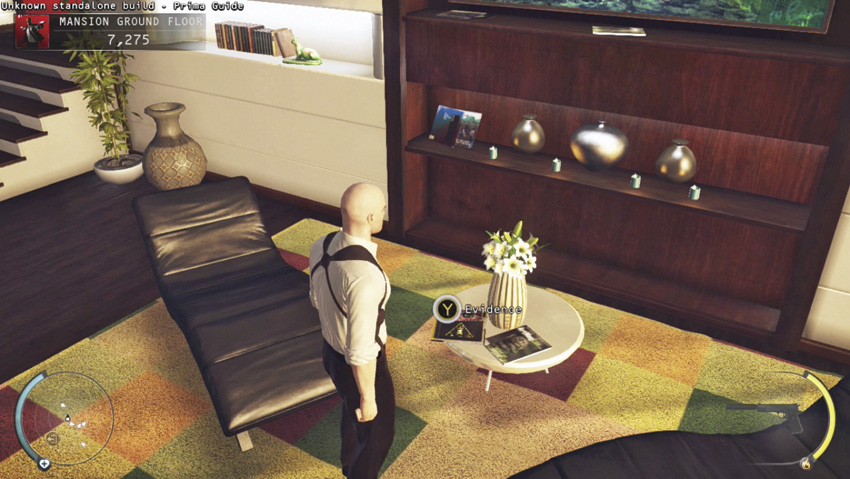
Pick up the second piece of evidence in the large room with all of the guards. It is sitting on a small table between two lounge chairs. Collecting evidence is a good way to earn a lot of points, so do it every time you play the mission.
Play It Again
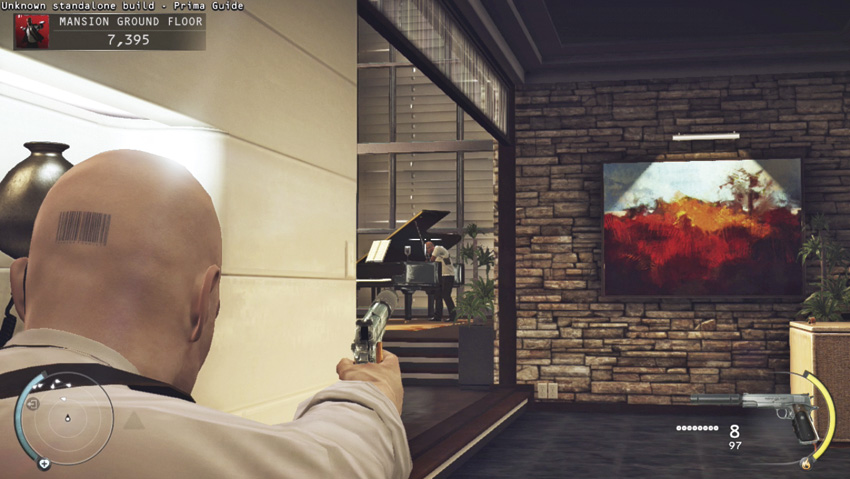
This is one of the optional challenges. While it involves killing a non-target person which gives you a penalty, it also gives you a score modifier for the current and future playthroughs of this same mission. To complete this objective, drop the lid of the grand piano on the head of one of the guards who likes to look inside the piano. There are two ways to do this. One way is to find a position against the wall across from the bar. Draw out one of your silenced Silverballer pistols and take aim at the support bar that holds up the lid of the piano while the guard is looking inside. Take the shot and quickly holster your pistol before anyone sees you. The other way to complete this challenge is to stand next to the piano while in the chef disguise and push the support. This is tougher and you need to make sure no one is looking to avoid detection.
Suit Only
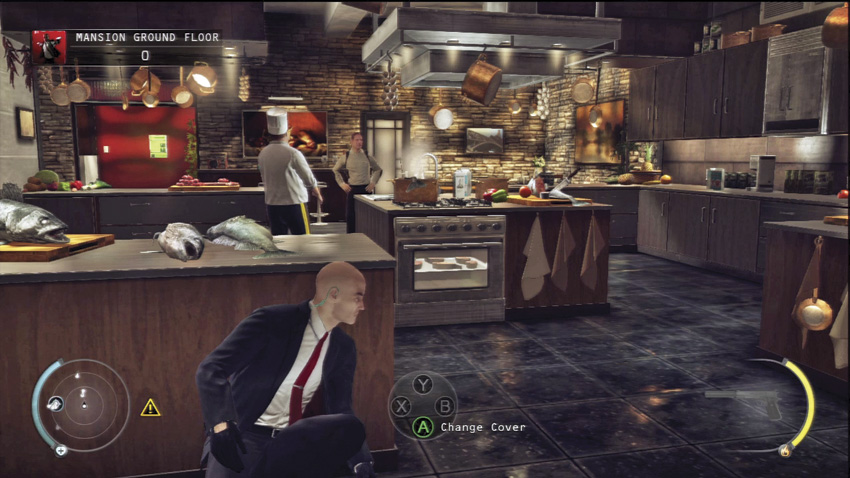
If you are going for the Suit Only challenge, this area can be tough—especially if you want to avoid killing anybody. Sneak up the stairs to get the sleeping pills, and then sneak through the kitchen. While you can make it easier by drugging the chef, if you are also going for the Well Played challenge, you need to leave him alive and awake. As he moves around the kitchen, take cover behind counters and make your way through the kitchen without being seen. Stay low and go behind the bar. From there, wait until no one is looking and put sleeping pills in the coffee mug. You can also activate the switch on the balcony near the bathroom to open the window blinds. As they open, all of the guards in the lower area turn to look out the windows, giving you an opportunity to move through the large room to get to the coffee. Then, duck behind the bar. Get to the closet in the corner room and wait for the head of security to enter the room and pass out. Once you have the keycard, sneak through the kitchen and continue up the stairs.
Well Played
When completing Well Played, you cannot kill or subdue anyone. Only the head of security can be knocked out using sleeping pills. This is easier to do if you are using the interior guard disguise and if you are not attempting the Suit Only challenge during the same playthrough.
Infiltrator
Get through the entire mission without being spotted.
The King of Chinatown
Chinatown Square
Let’s Do Lunch
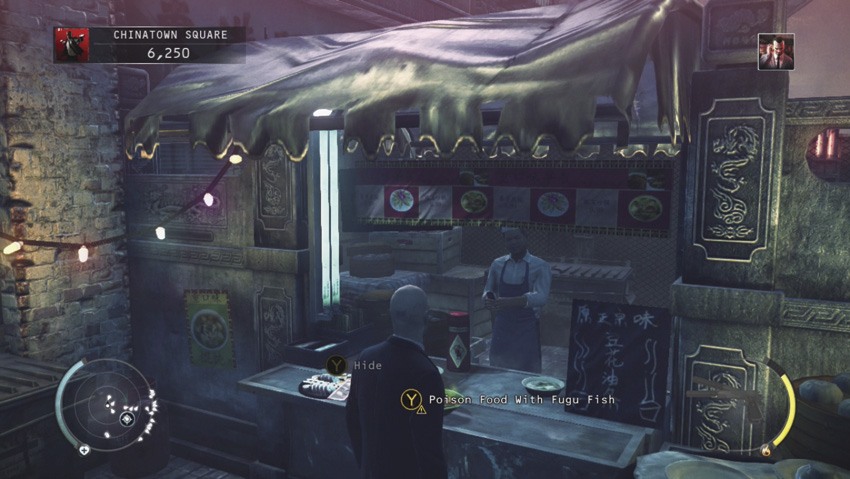
Once you have the fugu fish, return to the two vendors at the back of the area. Next to the vendor on the right is a plate of food. Poison the food with the fugu fish. The King takes walks around the square and one of his stops is at this vendor where he samples the food. Once he eats it, he is a goner. You can stay in your suit for this kill and none will be the wiser.
Hot Coffee
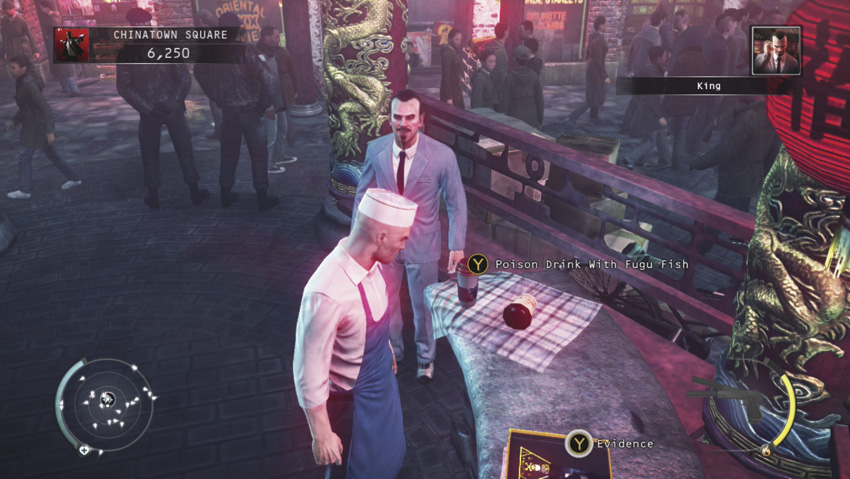
If you move near the cook on the right, you can see a disguise on the ground. Put it on and you will look like a market vendor. This allows you to move into the pagoda. Once you are in the pagoda, use the fugu fish to poison the King’s mug of coffee. When he returns to the pagoda, the drink will be his last.
Don’t Do Drugs
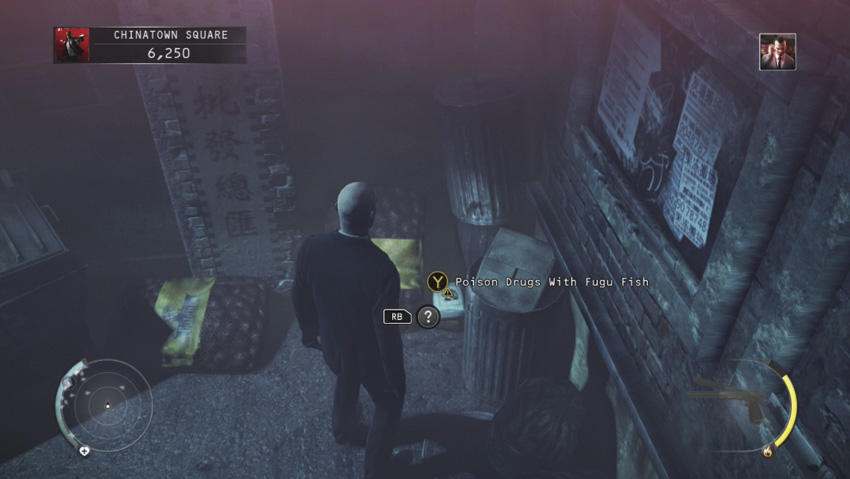
Poison either the package of drugs in the sublevel area or the drugs in the dealer’s apartment. When the dealer takes the King to the apartment, the King samples the product and the blow really blows him away.
Master Poisoner
In order to complete this challenge, you must poison the King of China in each of the three ways in three different playthroughs. Poison the food at the vendor, the coffee at the pagoda, and the drugs either in the sublevel or the dealers apartment.
Chameleon
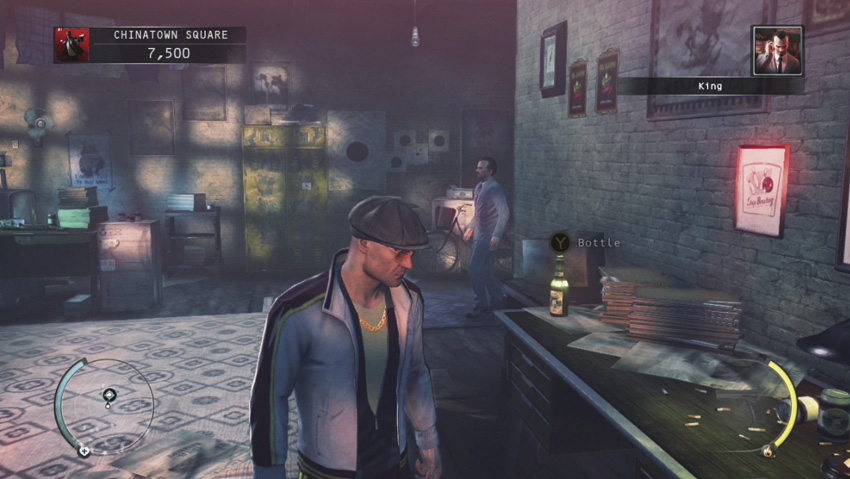
In order to complete this challenge, you need to use four different disguises: market vendor, drug dealer, police officer, and SWAT team officer. The first three are fairly easy to get. The only time the SWAT team shows up is when someone sees you kill the King or a cop.
Kaboom
Earn this challenge by blowing up the King of Chinatown, as well as any nearby people.
Controlled Demolition
Complete this objective by blowing up the King without injuring any civilians. Hide the police officer’s body in the container to protect him from the explosion. You can earn this challenge and the Kaboom challenge with the same explosion.
A Killing View
All you need to do to complete this challenge is to snipe at the King from the dealer’s apartment.
Two for the Price of One
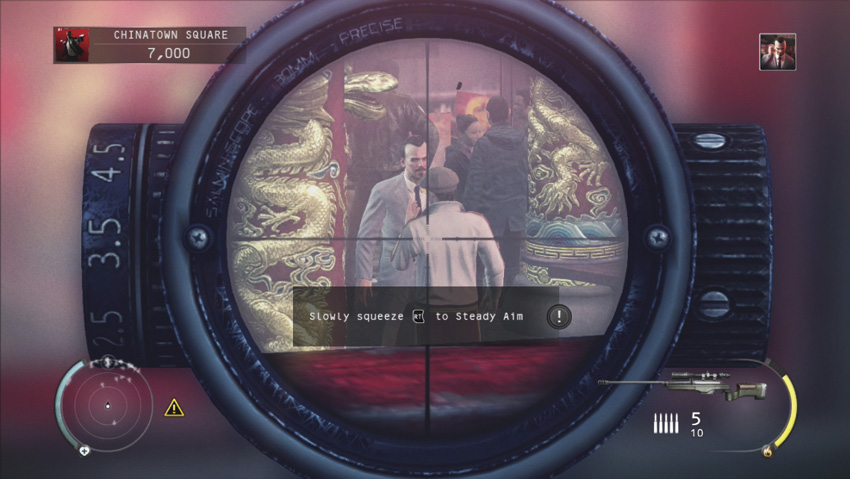
You can actually complete this challenge at the same time as A Killing View. Wait in the apartment until the drug dealer is talking to the King at the pagoda. Move so that your view is as close to the right side of the left window as possible. Wait until part of the dealer’s body is in front of the King. Aim so that your high velocity sniper bullet will penetrate the dealer and kill the King as well—all with a single shot.
Man Down
This challenge is completed by pushing or shooting the King so he falls into a manhole.
Drop Dead
By shooting the chain and dropping the pallet, you not only complete this challenge, but you can also earn Silent Assassin and execute a signature kill.
Quid Pro Quo
Assassinate the King of Chinatown and exit Chinatown in order to complete this challenge.
Infiltrator
Get through the entire mission without being spotted.
Suit Only
This is an easy mission in which to complete this challenge. Unless you need a disguise to complete one of the challenges for killing your target, just wear the suit.
Mastery: The King of Chinatown
Complete all other challenges in this assignment in order to earn this final challenge.
Terminus
Terminus Hotel
Evidence Collector (1/2)
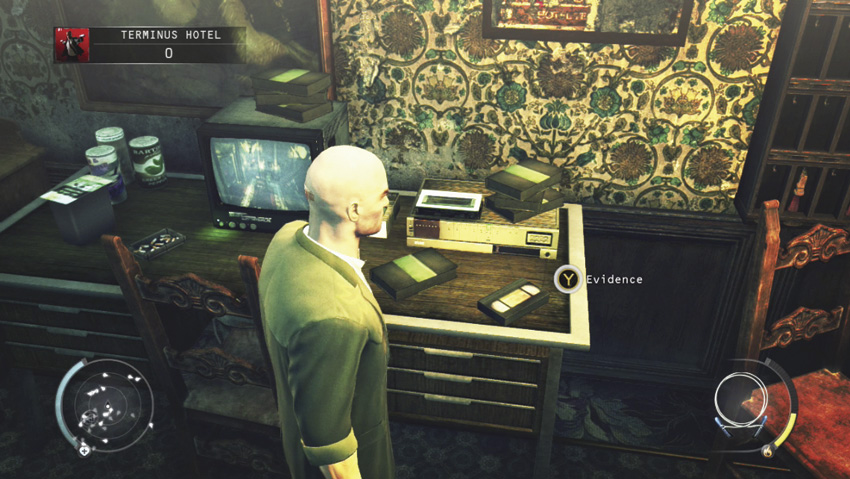
While wearing a disguise, go into the private residence behind the concierge counter. From there, walk into the concierge area and pick up the first piece of evidence next to the security monitors. The second piece of evidence is on the eighth floor. Be sure to pick up some of the items in the private residence on the ground floor to add them to your collection.
The Electrician—Part 1
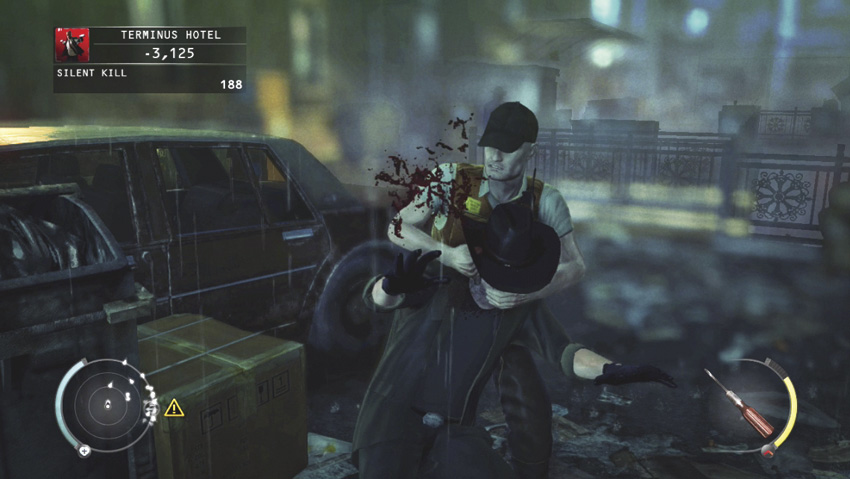
While on the first floor or down in the basement of the hotel, use a screwdriver to kill one of Dexter’s goons. You can either move in behind a goon and stab him, or throw it just like a knife. There is a screwdriver by the elevator that you can pick up.
The Electrician—Part 2
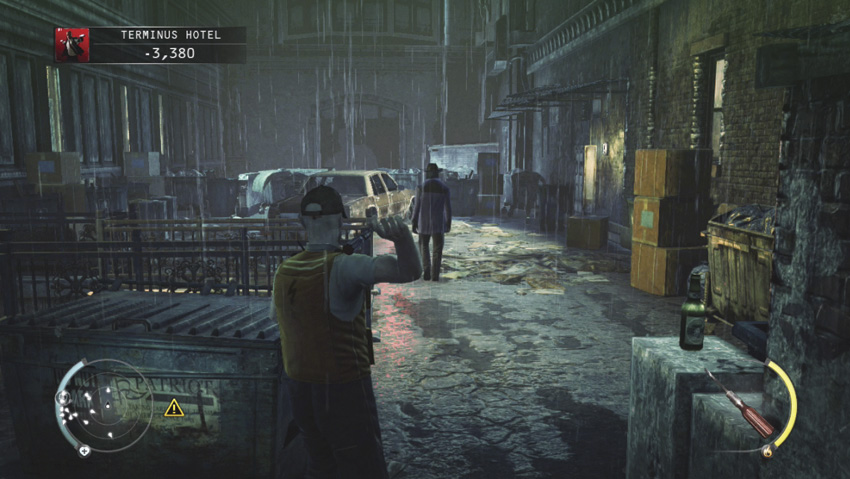
Once you complete the first part of this challenge, you unlock the second part. Kill five of Dexter’s goons with a screwdriver without being seen.
Chameleon
Pick up the goon, janitor, and electrician disguises to complete this challenge.
Suit Only
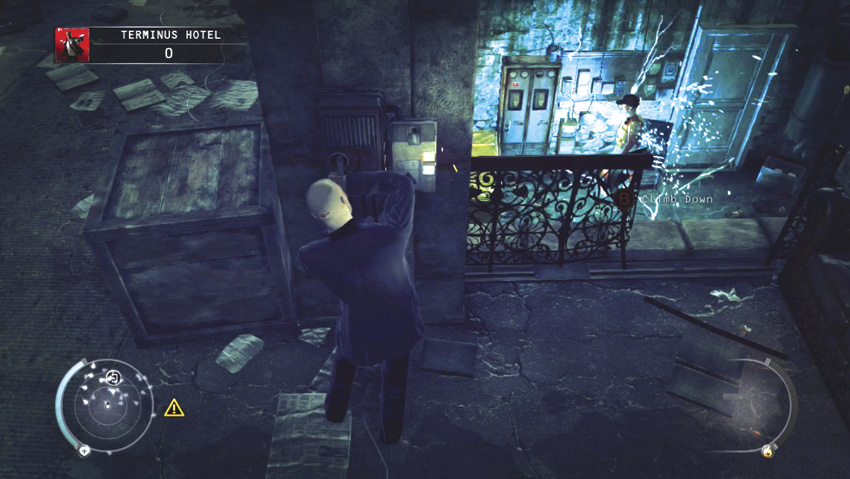
If you are going for the Suit Only challenge, the toughest part can be getting to the upper floors. Go in through the basement and kill the first goon if you need to. Then, head up the stairs. Go to the left, toward the checkpoint. Turn on the generator near the door to the room, and then move over to the railing which surrounds an opening overlooking the sewer below. Use the power electrical switch to send electricity from the generator down into the flooded sewer level and kill the electrician below. The benefit of this is that all of the goons and electricians move away from the elevator and focus their attention on the dead electrician. This gives you an excellent opportunity to walk to the elevator and take it to the upper floors without anyone seeing you. The only downside is that you lose points for a civilian casualty.
Upper Floors
Inside Job (1/2)
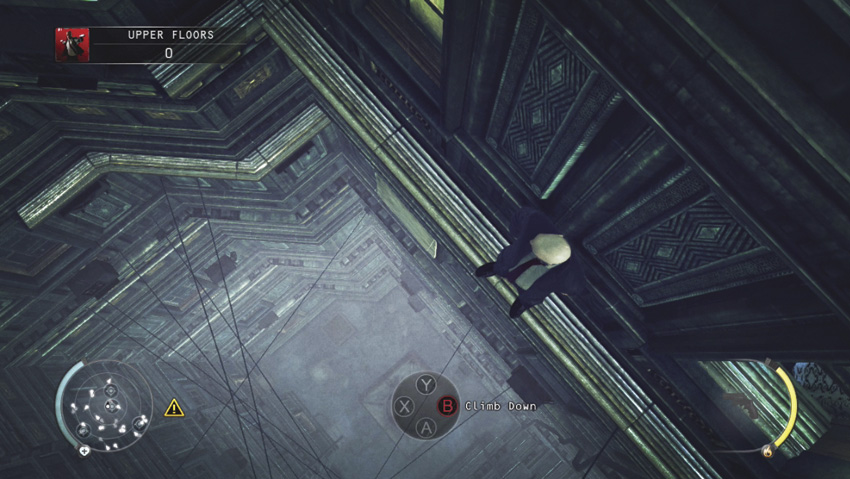
In order to complete this challenge, you need to get past secure places by climbing out upper floor windows and moving along ledges. There are two places where you must do this. The first is on the seventh floor, where you need to get past the keycard door. The second is on the eighth floor. Using this method to bypass goons and security is also great if you are simultaneously attempting the Suit Only challenge.
Inside Job (2/2)
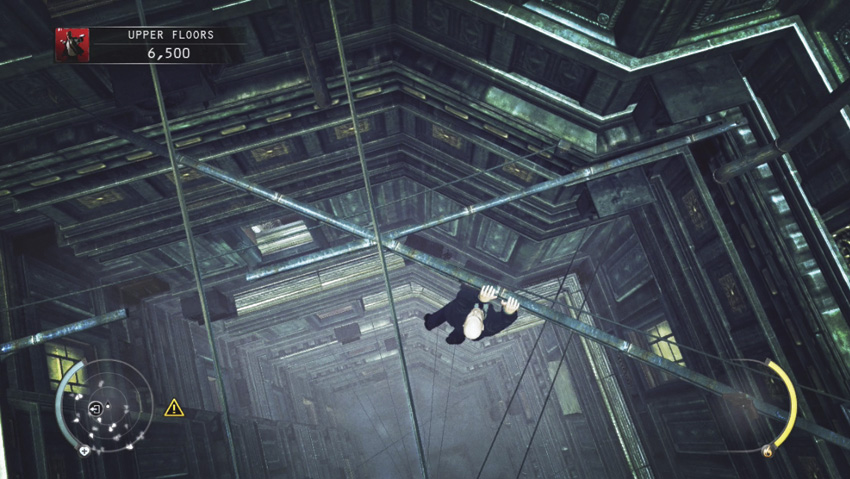
By using the ledges outside of the hotel to get from the window by the key card stairwell to the door of room 899, you complete the second half of this challenge. These challenges also make the mission much easier.
Hall Pass
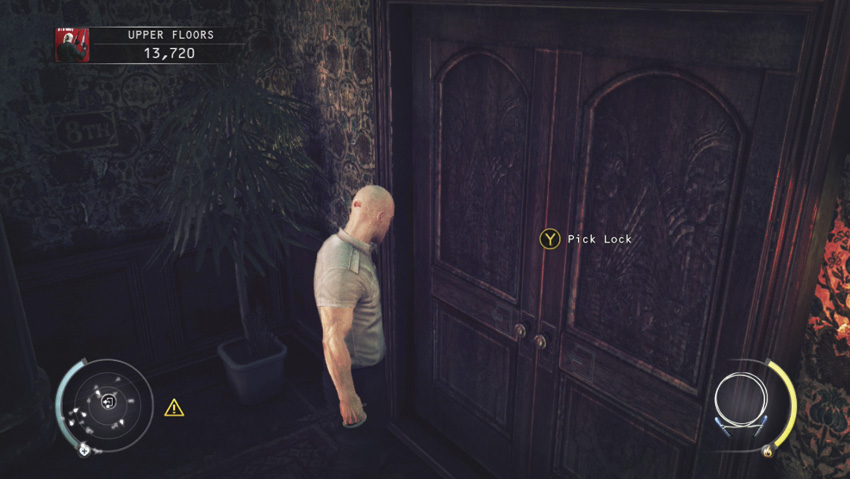
This challenge is completed by wearing the janitor disguise and getting all the way to room 899 without being spotted. Complete the Inside Job challenge while wearing the janitor disguise to kill two birds with one stone.
An Evening in Paradise
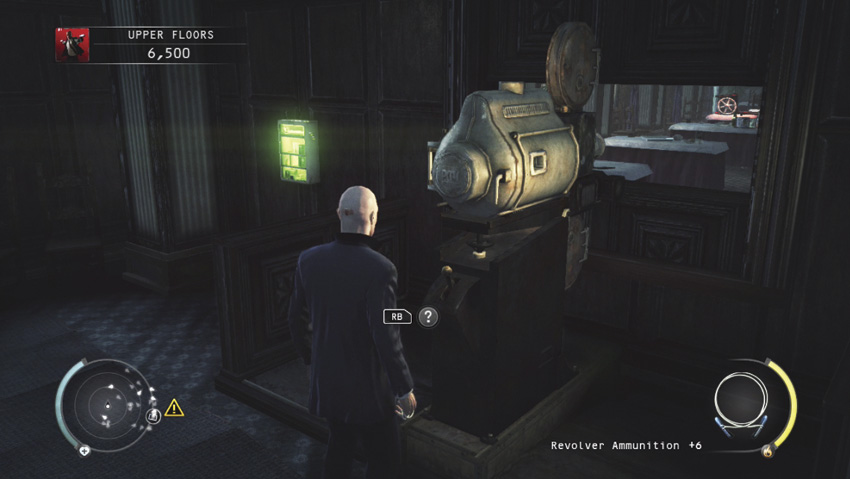
Put the movie reel on the projector in the projection room in order to complete this challenge. The movie distracts many of the guards on the eighth floor.
Evidence Collector (2/2)
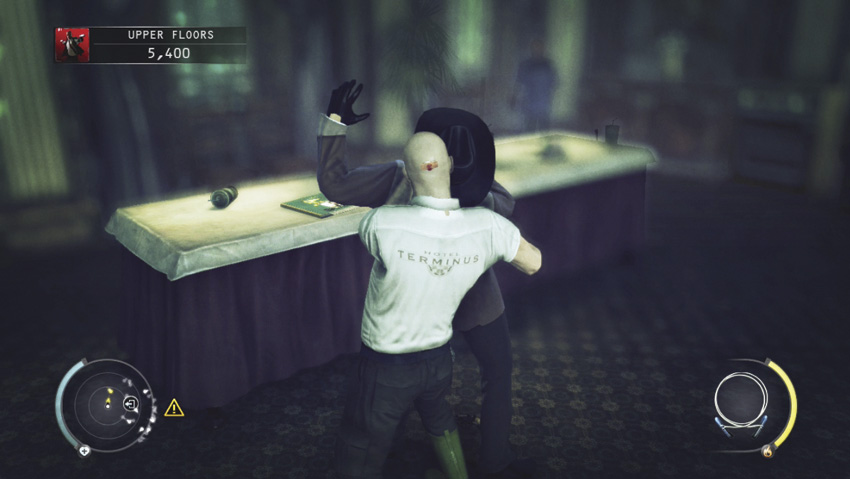
The second piece of evidence is located in a room attached to the large room near 899. It is not too difficult to sneak into this room, but actually getting the evidence is tougher. There are two goons inside. They both have their backs to the door. Sneak in and take cover behind the table. Pick up the bottle and throw it at the far right corner. While one goon goes to investigate, move up behind the other goon and kill him silently with the fiberwire. Quickly drop the body and switch to a throwing weapon such as a knife, scissors, or screwdriver. Throw it at the second goon before he knows you are there. There is nowhere to hide these bodies, so get the second piece of evidence on the table and get out.
Housekeeping
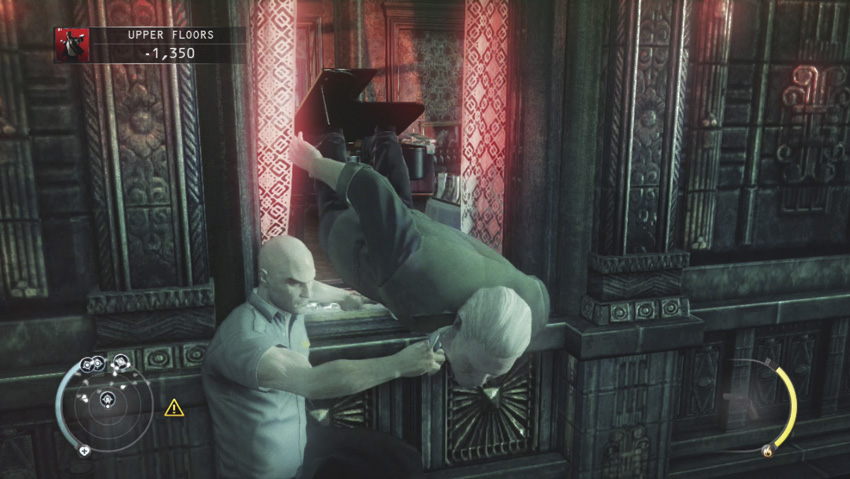
In order to complete this achievement, neutralize 10 of Dexter’s goons and hide their bodies.
Do Not Disturb
In order to get this challenge, you need to avoid killing or pacifying anyone. You can still use disguises, but you can’t get them off of a body. Use a lot of distractions to get past goons and make your way to 889. You will need to use the movie on the eighth floor; put it in the projector while the goon inside the projection room is distracted.
Infiltrator
Get through the entire mission without being spotted.
The Man from South Dakota
Complete this challenge by completing the level.
Mastery: Terminus
Complete all of the challenges for this level to earn this final challenge.
Run for your Life
Burning Hotel
Death From Above
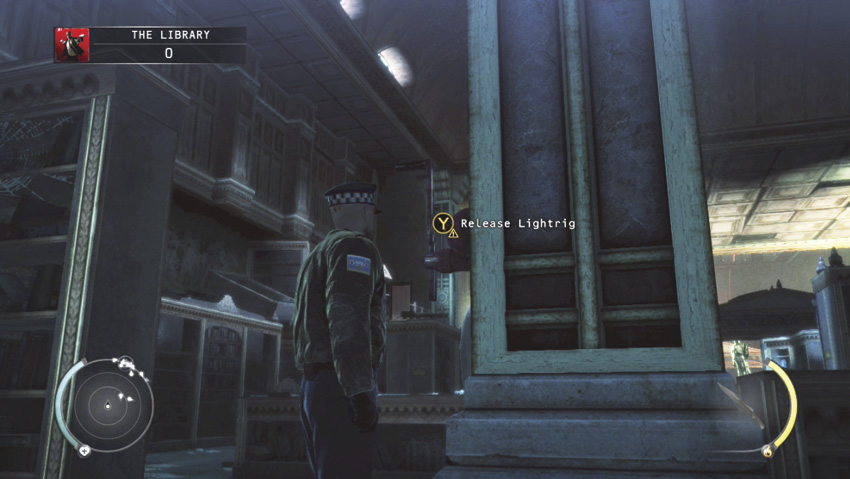
There are several chandeliers inside the library. Some can be dropped to the ground by releasing the cable holding them up. One of these chandeliers is near the point at which you enter the library. Once you get down to the ground floor—either by dropping down from the left side or taking the stairs on the right—move toward the middle. Wait for a police officer to walk right under it, and then release the cable to kill him and complete this challenge. There is a power cord on a shelf nearby, so be sure to pick it up. You can use it like a fiberwire for silent kills.
Silence Please—Part 1
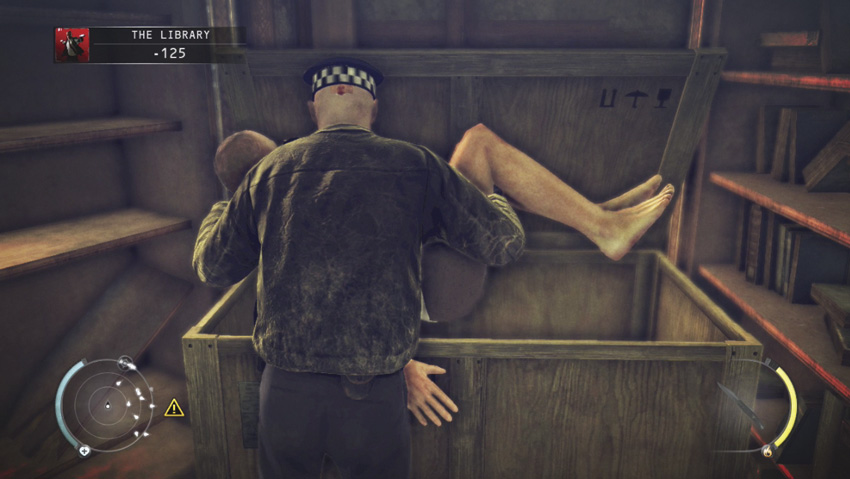
In order to complete this challenge, you need to pacify a police officer and hide the body in a container. Subdue a police officer, but do not kill him. You can also let them find you and raise your hands in mock surrender, but be sure to do this when only one of them is around. Then, as the officer closes in, take away his gun and use him as a shield. Knock him out and hide the body.
Silence Please—Part 2
Pacify seven police officers and hide their bodies in order to complete the second part of this challenge. The library is a good place to do this. There is one container on the left side of the room, a couple in the center, and a couple on the right side.
Picking on the New Guy
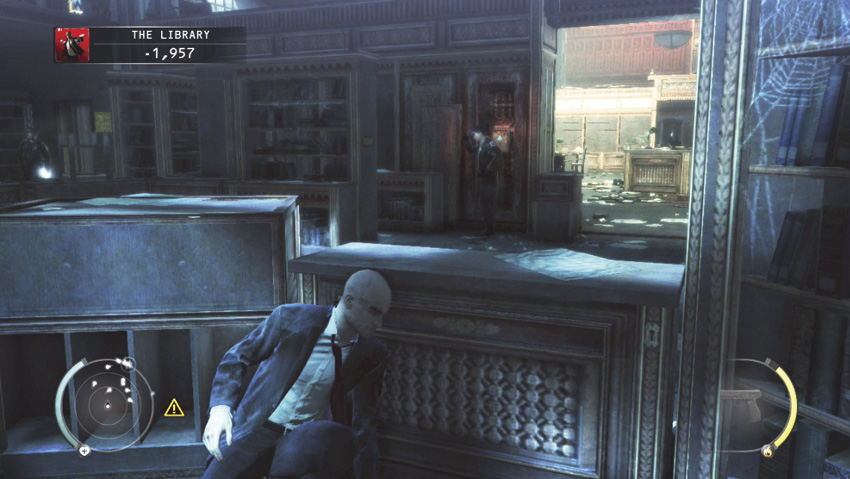
This is another challenge that you can complete in the first part of the library. The rookie on the force, Officer Fizano, is in the center of the area trying to fix the fuses for the lights. In order to complete this challenge, you must use him as a human shield. Subdue some of the police on the left side of the library, and then walk out in the open so that Fizano sees you and comes to arrest you. Mock surrender and take away his gun. Hopefully, no one sees you do this and you can knock him out and hide the body without getting into a fire fight. Once Fizano is out of the way, sabotage the fuse box to dim the lights in the reading area and make it easier for you to get through there.
Evidence Collector (1/3)
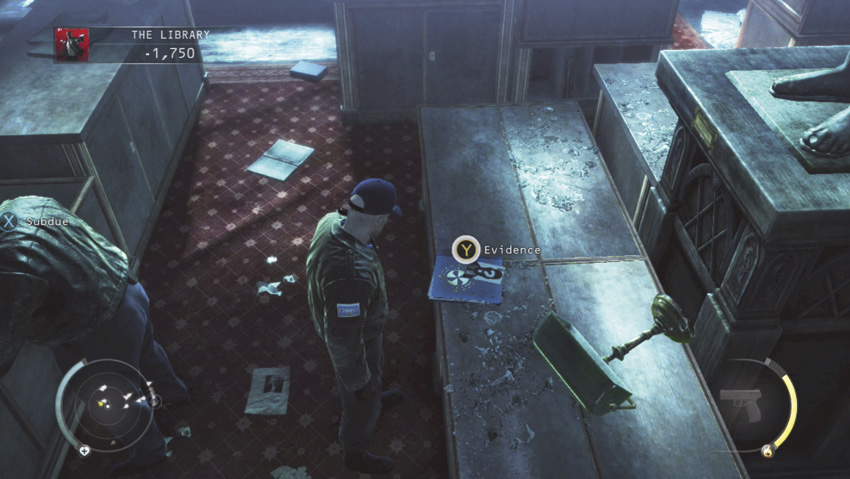
The first piece of evidence for this mission is located in the reading room, right next to the statue in the center of the area. There are several police here. Try dropping chandeliers on some of them since there are two chandeliers that hang over this area. In addition, locate a radio on the right side of the room. Turn it on, or position it behind some book shelves before turning it on, to lure some of the police over to the right side of the library. There is also a checkpoint in this area. While the police are distracted, move in and get the evidence.
Shangri-La
Fields of Joy
Get through the field of marijuana without being seen in order to earn this challenge.
Bong Hits
Complete this challenge by knocking out three police officers with the bong.
Business Is Booming
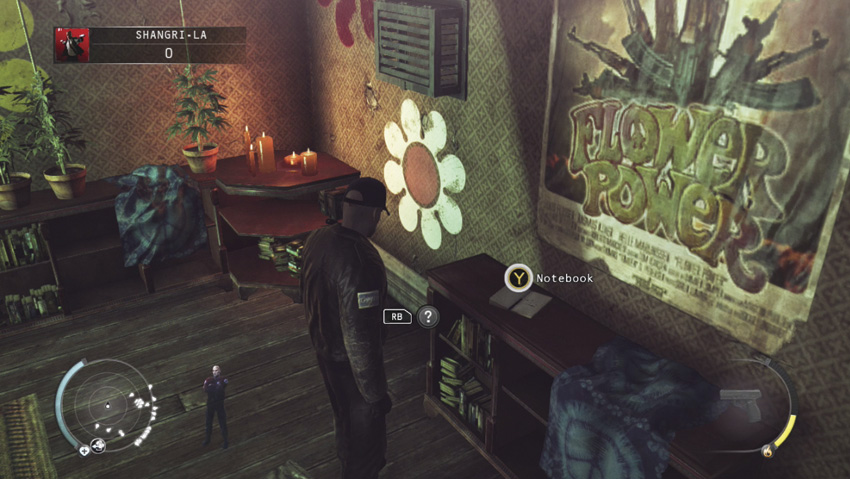
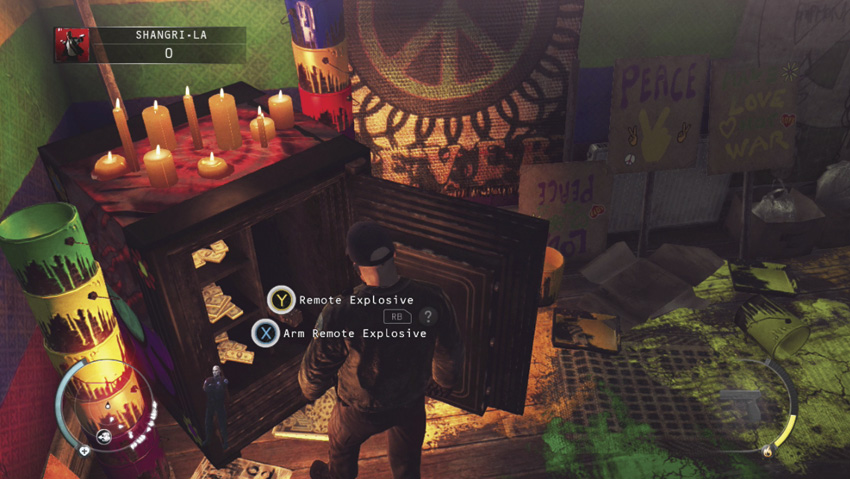
When you get to the hall, take a right and enter the door on the right. This colorful room has a safe in the far corner. Look around the room as you first enter to find a notebook with some codes in it. Walk over to the safe and use the combination to open it. Inside is a remote-controlled explosive. Leave that where it is. Next, look around for a radio near the safe. Turn it on, move into the other room, and take cover behind a short wall. Wait for a police officer to come in to check on the radio. While he is in there, he sees the open safe and the explosives. After he calls in the other police, leave the room and head toward the elevator, which is now clear.
In Stereo
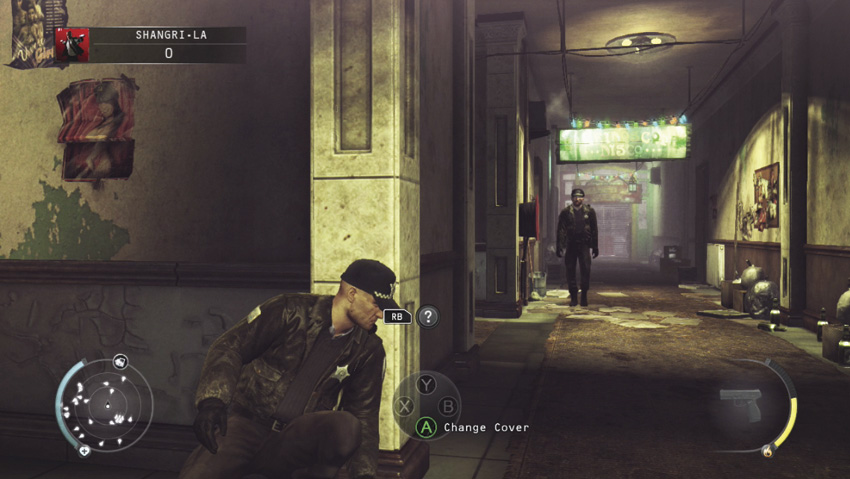
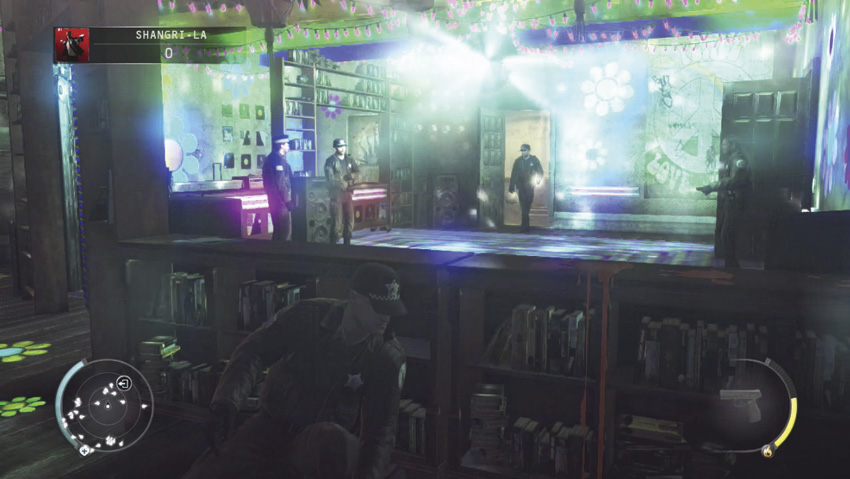
The second way to distract the police is located on the other side of the area. Follow the hallway around to the left. Wait for the cop in the hallway to walk away, and then enter the room. There is a dance floor here. Walk around to the back and put the tape into the player to begin the music. If you are in a police disguise, you can hide in plain sight by playing the keyboard. Otherwise, hide behind the counter where the keyboard is located. Wait until there are four police dancing in the room, and then slip out to find an empty hallway and a clear shot to the elevator.
Evidence Collector (2/3)
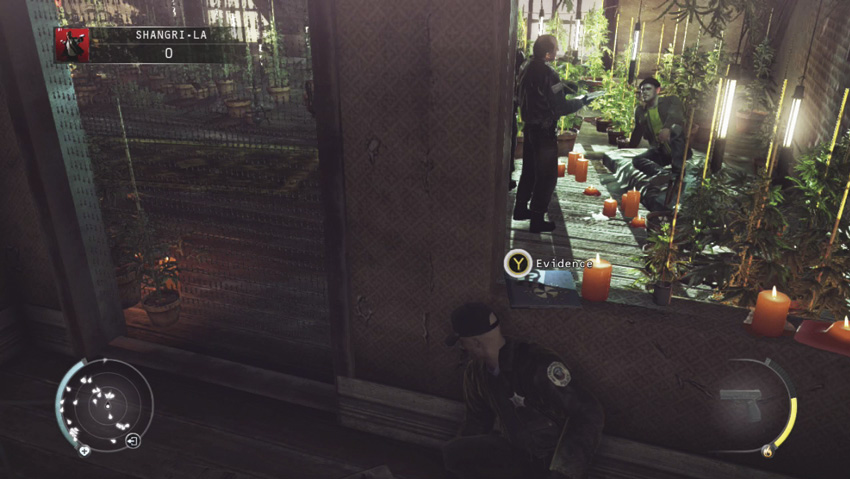
Before you head over to the elevator, follow the hallway next to the dance room. Stay low and move toward an area where police are arresting people. Pick up the piece of evidence on the ledge and get out of there.
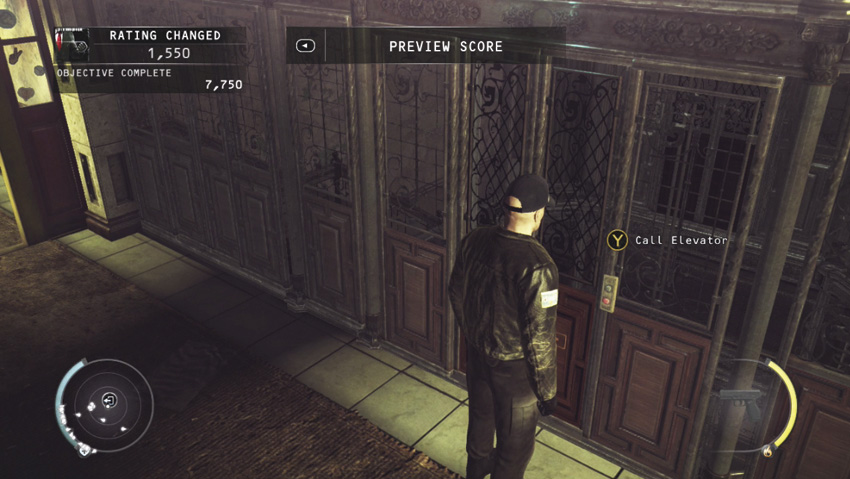
Once the cops are distracted, move to the elevator and take it down to the train station so that you can make your escape.
Train Station
Chameleon
The only place you can get a SWAT officer disguise is in this area. After the SWAT team moves into the building, look for a metal pipe as you approach the door. Then, return to where you ambushed the other cop. Throw the pipe at the spot where you hid and quickly take cover on the other side of the counter. When the SWAT officer walks in to look at the pipe, reach over the counter to attack and subdue him. Take his uniform for a disguise and hide the body in the container. To complete this challenge, you also need a Chicago PD officer disguise.
Evidence Collector (3/3)
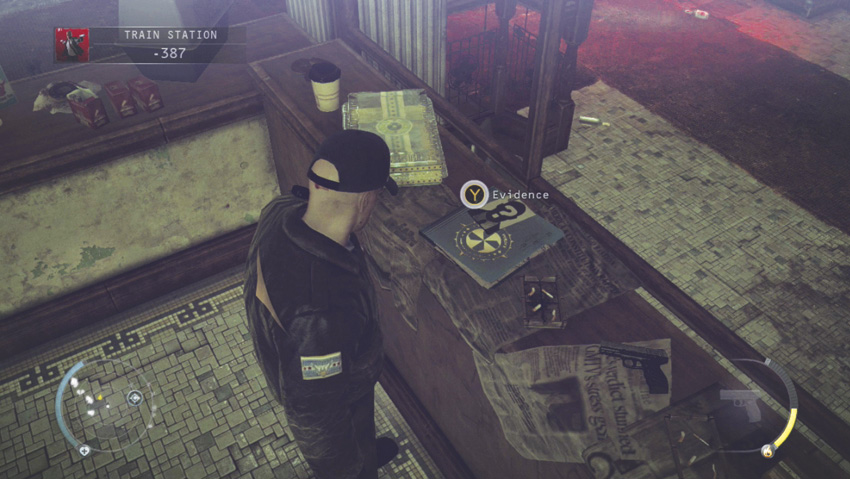
The final piece of evidence is located on a counter with several police officers around. You need a police disguise of some type and a lot of Instinct. The counter is across from the door leading out onto the train platform. Use Instinct to get to the counter, and then hide in plain sight by moving next to the doughnuts. Wait until some of the cops talk to you, and then make your way around the counter to get the evidence. Quickly make your way out of the area before the police see through your disguise.
Infiltrator
Get through the entire mission without being spotted.
The Tables have Turned
Complete this mission in order to earn this challenge.
Mastery: Run for Your Life
Earn all challenges for this mission to get this final challenge.
Hunter and Hunted
Courtyard
Chameleon
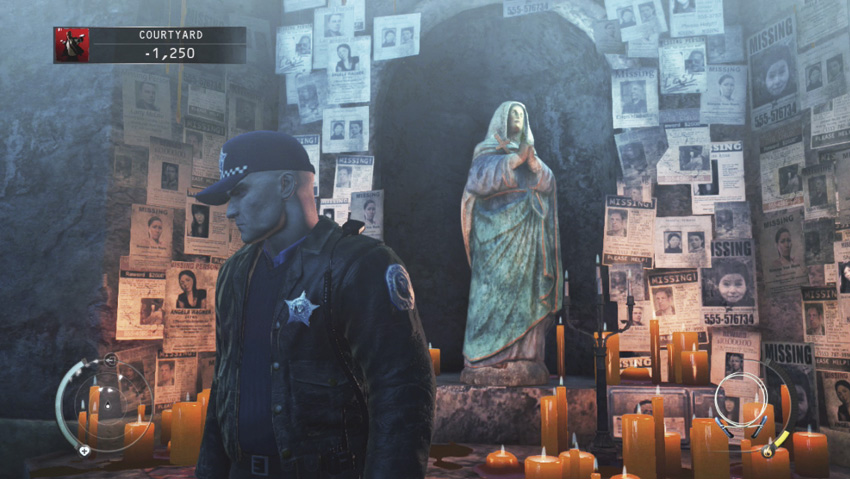
In order to complete this challenge, you need to acquire four different disguises: Chicago police officer, strip club bouncer, store clerk, and chipmunk.
Evidence Collector (1/6)
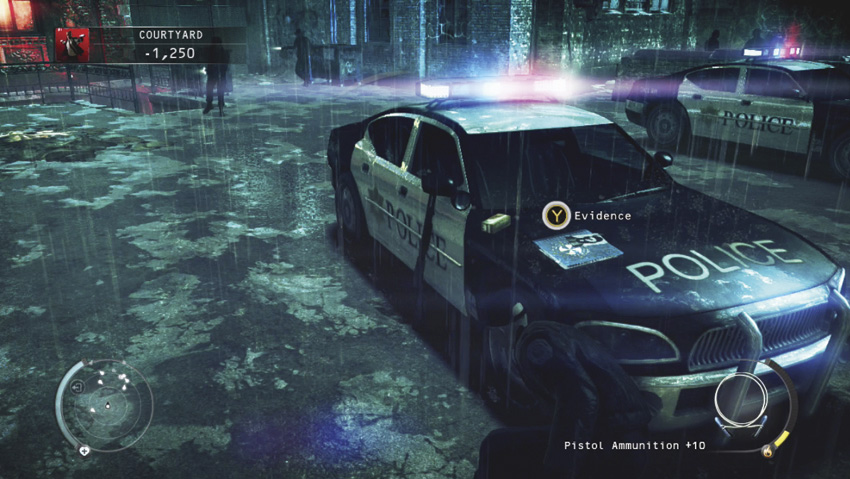
The evidence in this first area is located on the hood of the police car in the middle of the open area where the police cars are parked. If you have a police officer disguise, use Instinct to collect it and move away to hide. Otherwise, hit one of the cars to set off the car alarm. While the police are distracted, rush out and get the evidence.
The Vixen Club
Evidence Collector (2/6)
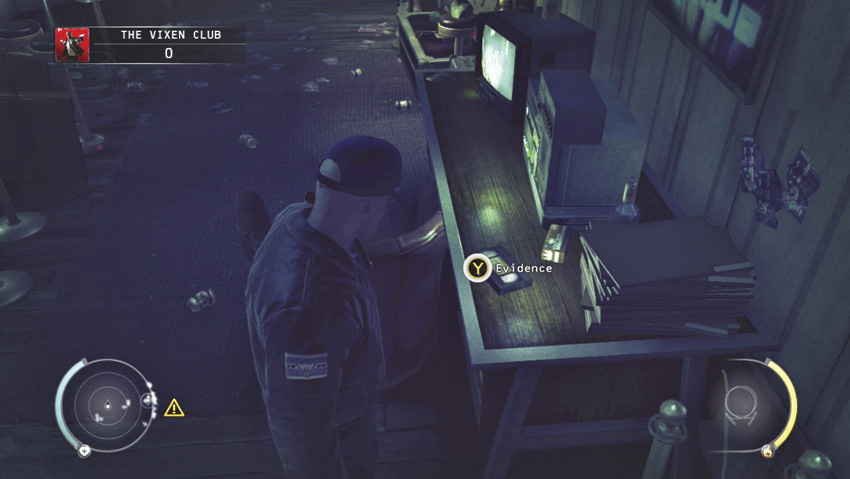
This piece of evidence is located on a desk in the second floor office directly above the entrance to the club. You can reach it by scaling the outside wall of the club and climbing in through a window. Alternatively, once you have a keycard you can go through the locked door behind the entrance counter of the club and climb the stairs to the office.
Dominated
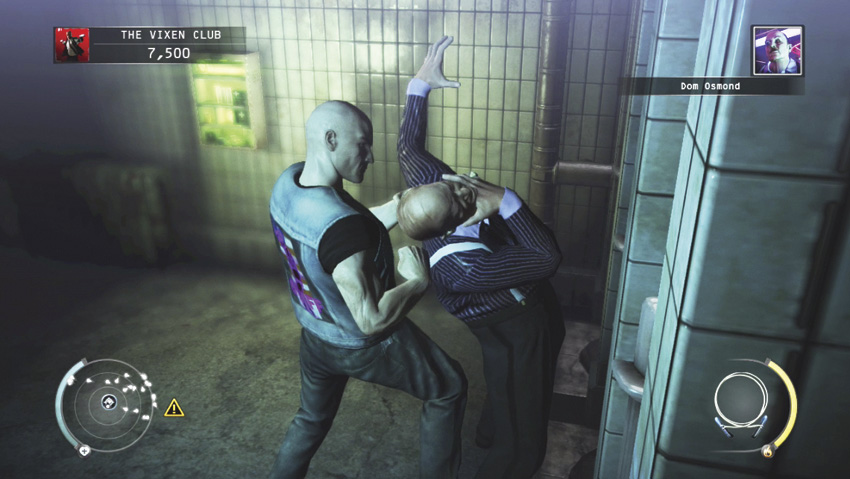
Follow Dom into the restroom and use the fiberwire to kill him. Hide the body and leave the club without being spotted to complete this challenge.
Private Dance
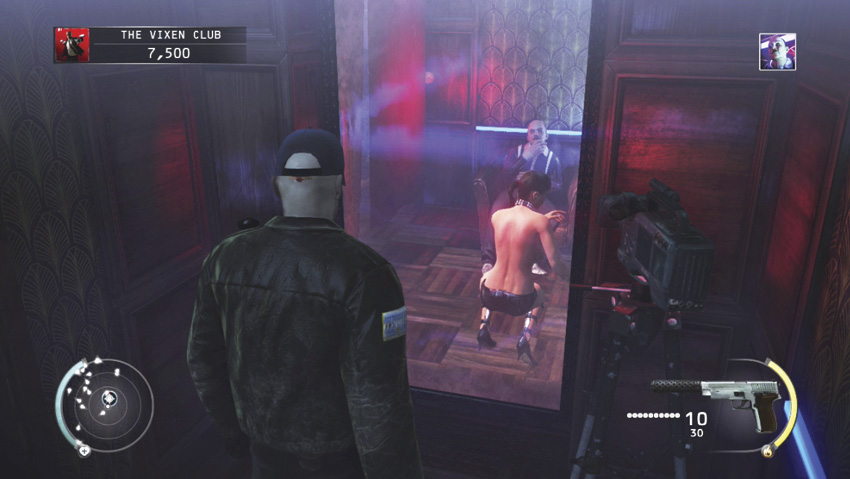
Eliminate Dom in the VIP booth without being spotted, and then hide the body. Leave the club without being seen to complete this challenge.
Schadenfreude
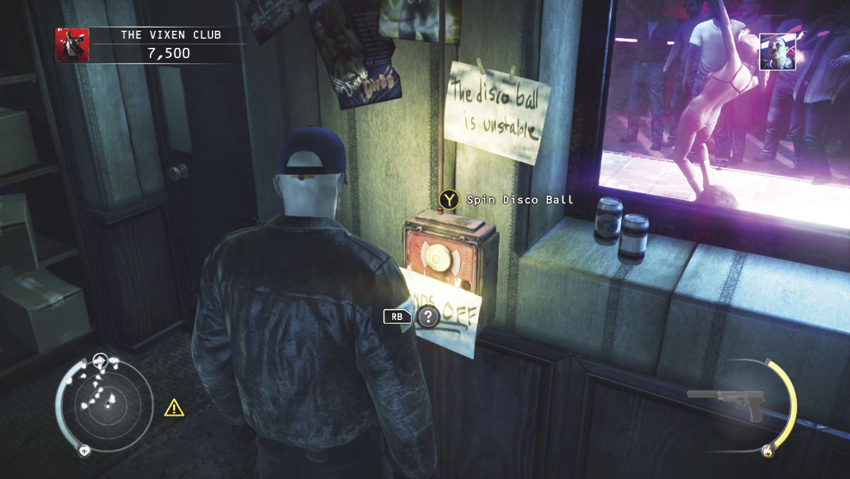
To complete this challenge, drop the disco ball on Dom to kill him. You do not need to hide the body since his death appears to be an accident.
Suit Only
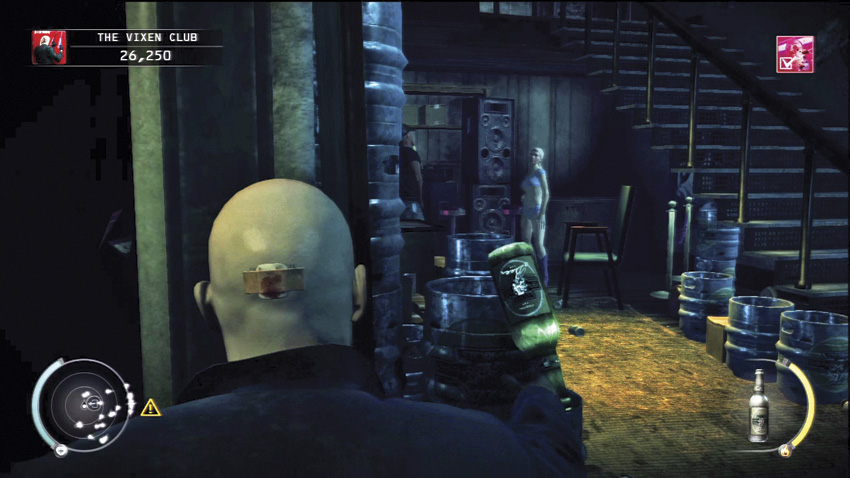
This part of the club is the most difficult if you are going for the Suit Only challenge. Use bottles and other objects to distract the bouncers so that you can slip past them. Consider killing some of the bouncers with the silenced pistol from a distance, and make sure to hide their bodies if you do.
Derelict Building
Evidence Collector (3/6)
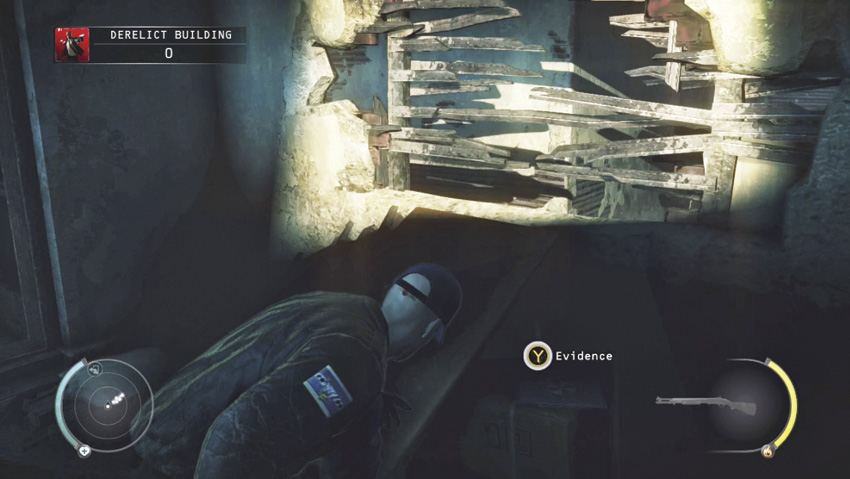
After dropping down from the upper level while the police are distracted, move to the left—toward the police—and locate the evidence near the corner of the wall.
Convenience Store
Fire Sale
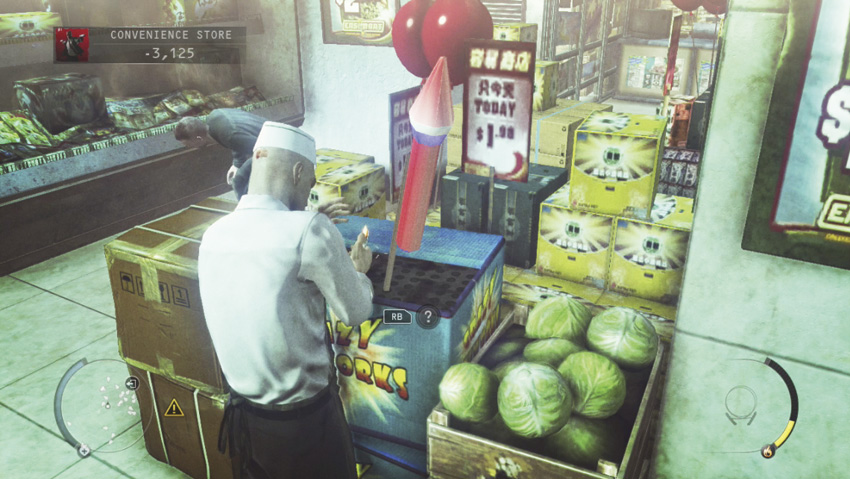
Turn off the sprinklers and ignite the fireworks in the convenience store in order to complete this challenge.
Evidence Collector (4/6)
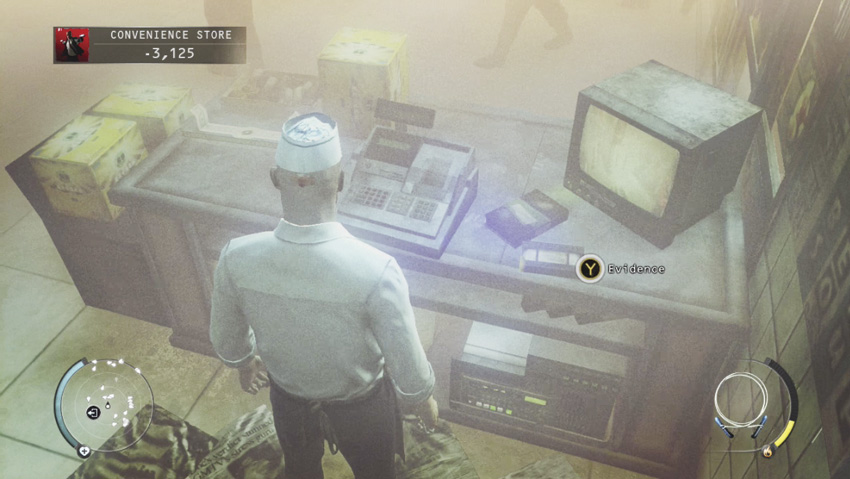
This piece of evidence is located near the cash register at the entrance of the store. After setting off the fireworks in the store, it is easy to slip behind the counter and get the evidence while everyone is evacuating.
Loading Area
Evidence Collector (5/6)
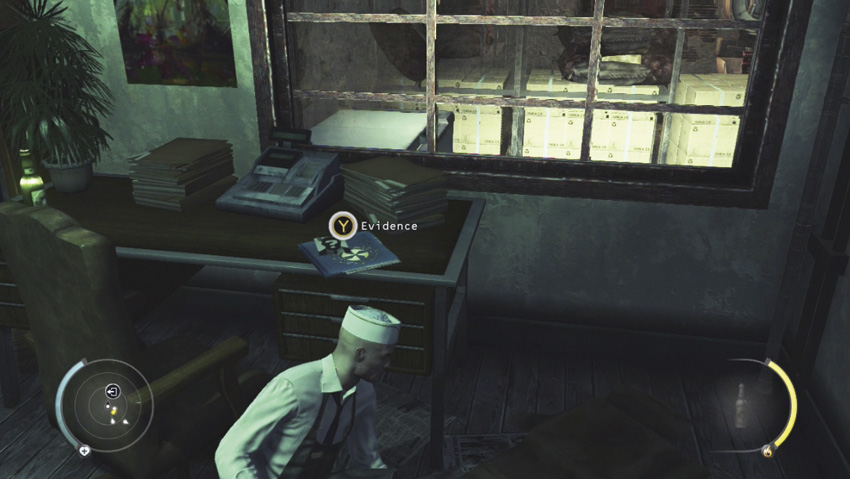
Get into the office and pick up the evidence located on the desk.
Chinese New Year
Fire Him
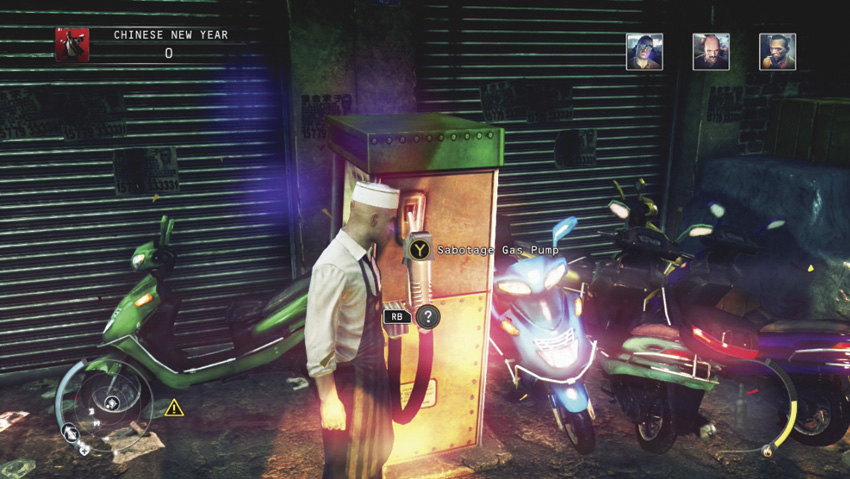
As you enter Chinatown, walk straight ahead to the fenced-off area near the exit. There is a police officer standing near the entrance, but if you go past the entrance, then you can climb through a hole in a wall to get into the area. If a store clerk is in this area, wait until he leaves before moving toward the gas pump and using it to spill some gasoline on the ground. Then, exit the way you entered. When one of Wade’s men comes to have a smoke, he throws his cigarette down onto the ground, which ignites the gasoline and nearby fireworks. One man down—and it looks like an accident.
X Marks the Spot
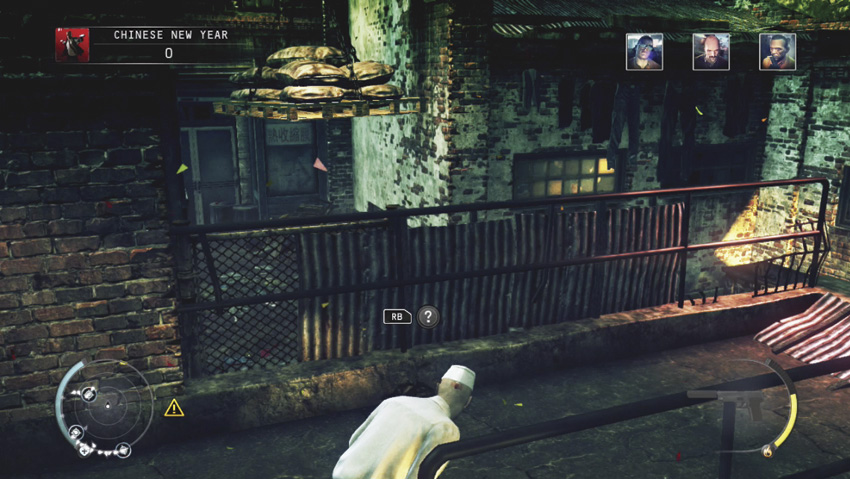
Larry Clay likes to rough up one of the market vendors. Walk to the far left corner of Chinatown and walk into an alley where there is an electric cart. Head up the ramp and pull out your silenced pistol. As Clay leads the vendor toward the end of the alley, wait for him to walk under a hanging pallet. Then, shoot the chain so that the pallet drops onto Clay and kills him. Another kill that looks like an accident.
Two Rights Make A Right
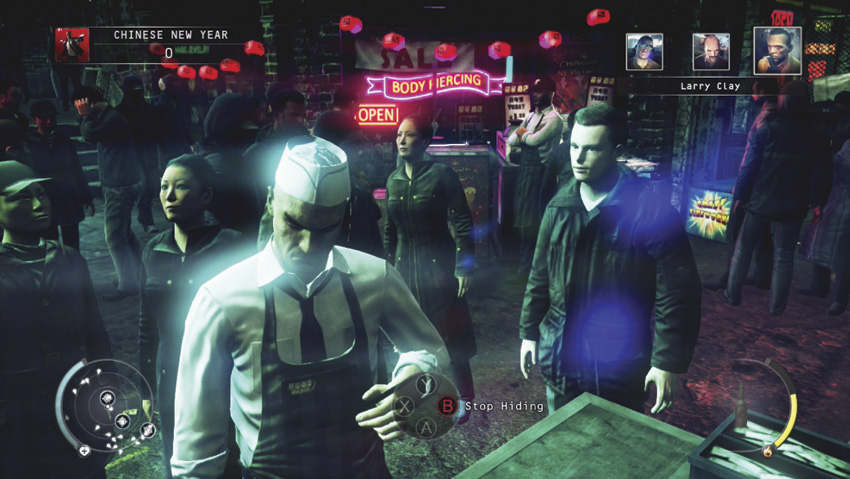
If you kill Clay before he can rough up and kill the vendor, and if that vendor stays alive until the end of the mission, then you complete this challenge.
Evidence Collector (6/6)
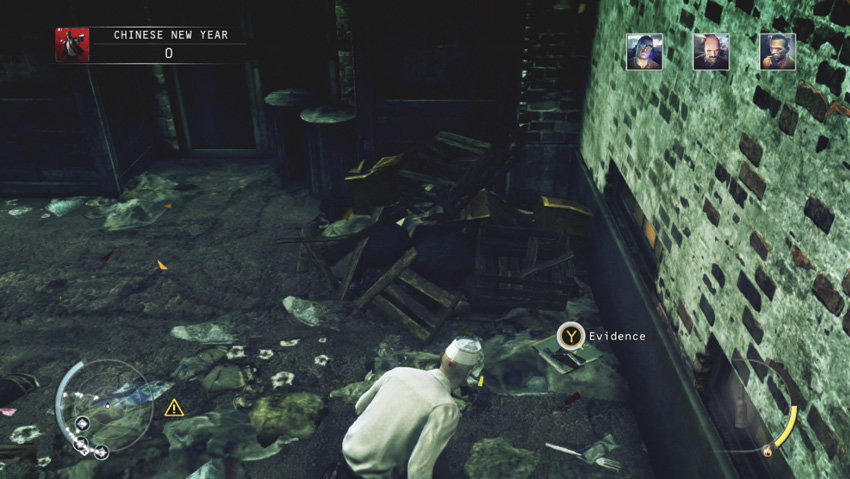
This evidence is located in the alley where Clay takes the vendor to rough him up. You can access this area from the adjacent alley. Climb up onto a catwalk, and then drop down from a ledge when no one is around to get the final piece of evidence.
Moment of Bliss
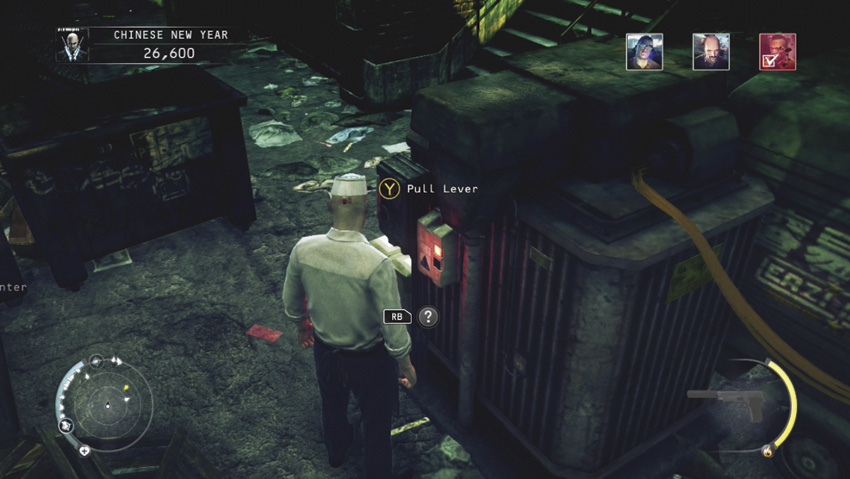
One of Wade’s men needs to relieve himself. He goes to the alley with the electric cart. For this challenge, hide behind the electrical power box. As the man is urinating, flip the switch to activate the power and electrocute Wade’s man. Another seemingly accidental kill.
Lieutenant Bad
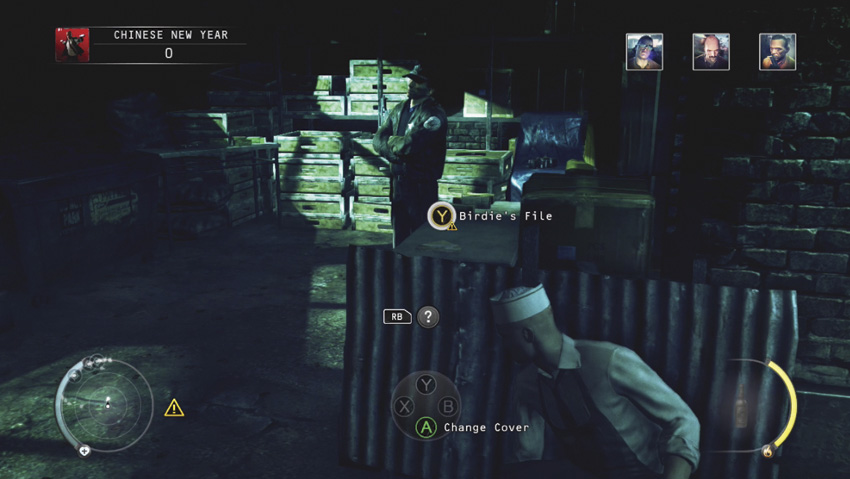
Follow Bill Dole through Chinatown to the opposite end. He meets with a corrupt police officer down in the basement weapons cache. Sneak into this through the air duct and stay low. While he is talking to the cop, stay low and move near him to grab Birdie’s file. Once you have it, either stay hidden or get out of there. When Dole goes to give the file to the cop, he can’t find it. The cop, thinking he is being conned, guns down Dole, killing him for you.
Cleaning up Chinatown
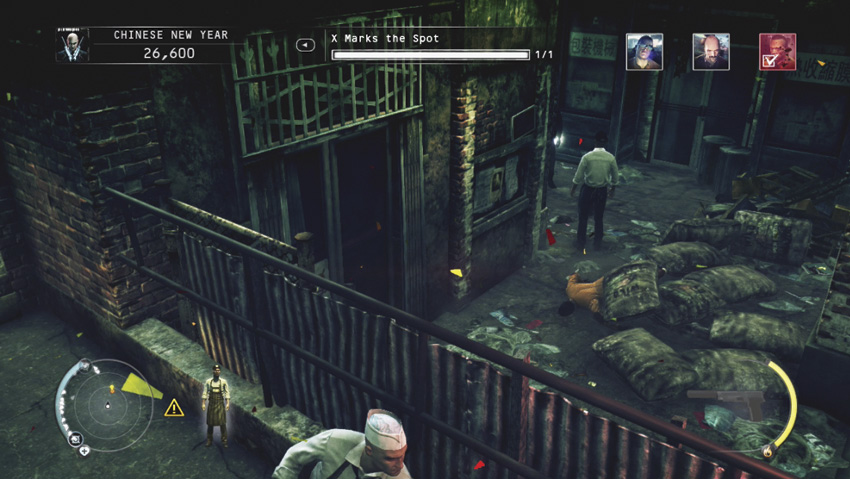
Complete the following four challenges to earn this challenge: Fire Him, X Marks the Spot, Moment of Bliss, and Lieutenant Bad.
Swordplay—Part 1
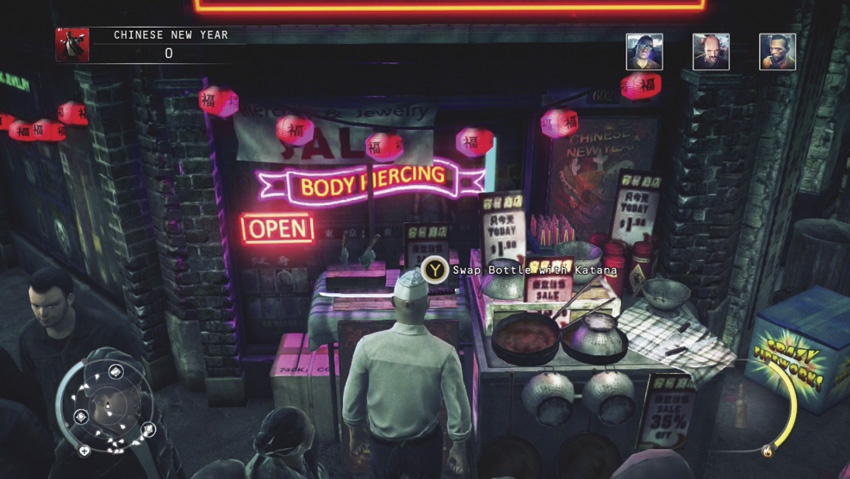
Wait until Larry Clay leads the vendor away from his booth near the tattoo parlor in the far corner. There is a katana sword at this booth. Pick it up and immediately hide it. Then, move up the ramp overlooking the adjacent alley. When Clay leads the vendor into the alley, throw the katana at Clay’s head to kill him. Wait for the vendor to run and get the police. After the alert dies down, climb down the ledge to retrieve the katana so that you can use it again.
Swordplay—Part 2
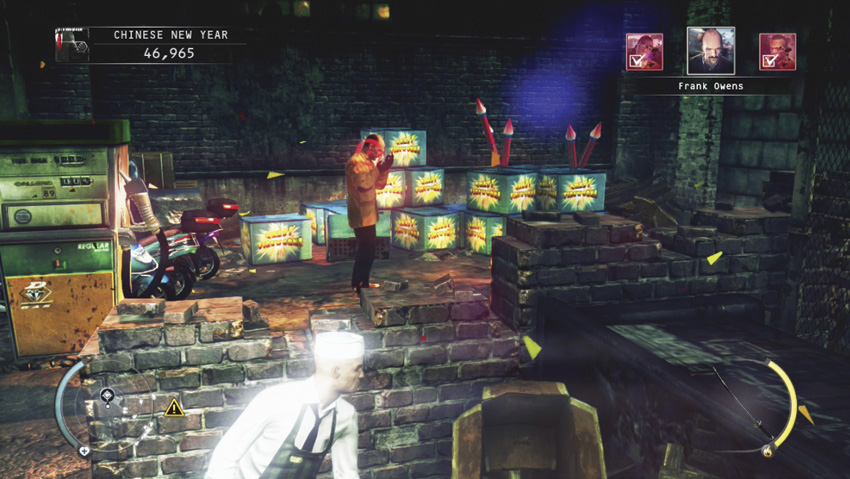
In order to complete this challenge, you need to kill all three of Wade’s men with the katana. After killing Clay in the alley, kill Frank Owens near the gas pump where he smokes, and then dispatch Bill Dole when he goes down to the basement level near some containers.
Swordplay��Part 3
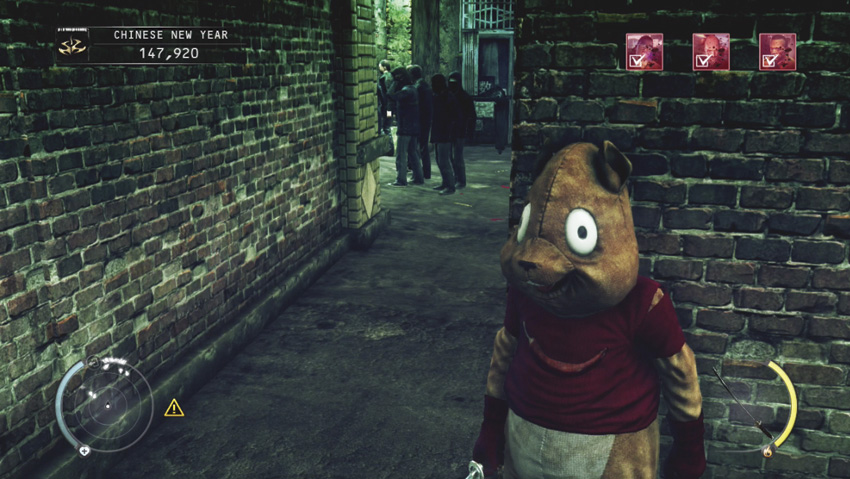
This is a tough challenge to complete. You need to kill all three of Wade’s men with the katana while wearing the chipmunk disguise. Use the same locations as listed above for Swordplay—Part 2 since these are hidden locations where you can kill while remaining unseen.
Infiltrator
Get through the entire mission without being spotted.
Damage Control
Complete this mission and exit Chinatown to earn this challenge.
Mastery: Hunter and Hunted
Complete all of the other challenges for this mission to complete this final challenge.
Rosewood
Orphanage Halls
Chameleon
Complete this challenge by using two different disguises: henchman and Rosewood security guard.
Good Samaritan
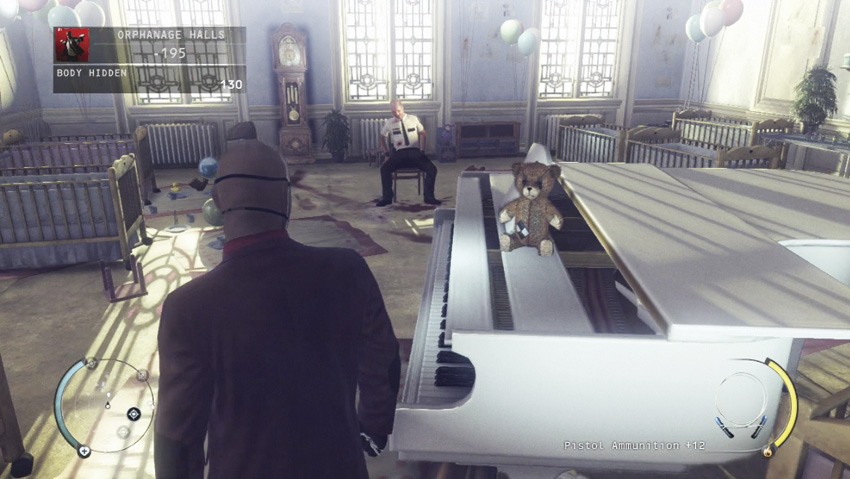
Kill the henchmen in the nursery area who are torturing the security guard. When you save his life, you complete this challenge.
Subtle Injection—Part 1
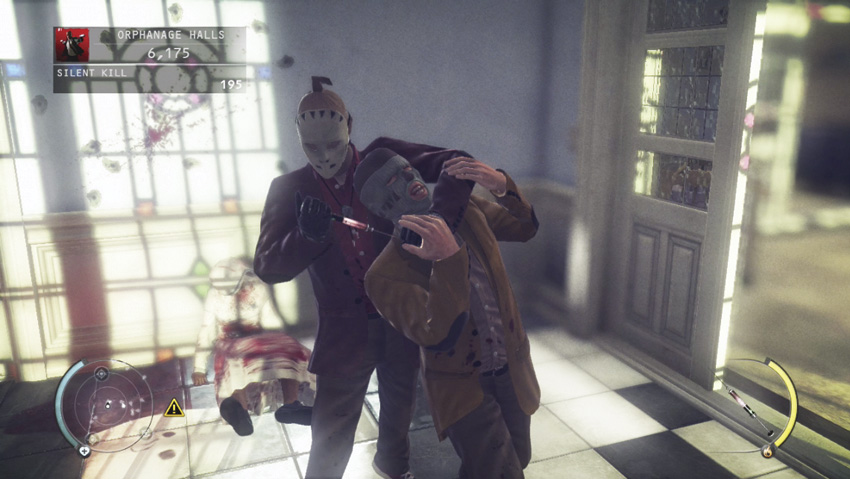
Once you have the syringe, pacify three henchmen to complete this challenge. After using the syringe on both henchmen here, you only need to use it one more time to complete this challenge.
Subtle Injection—Part 2
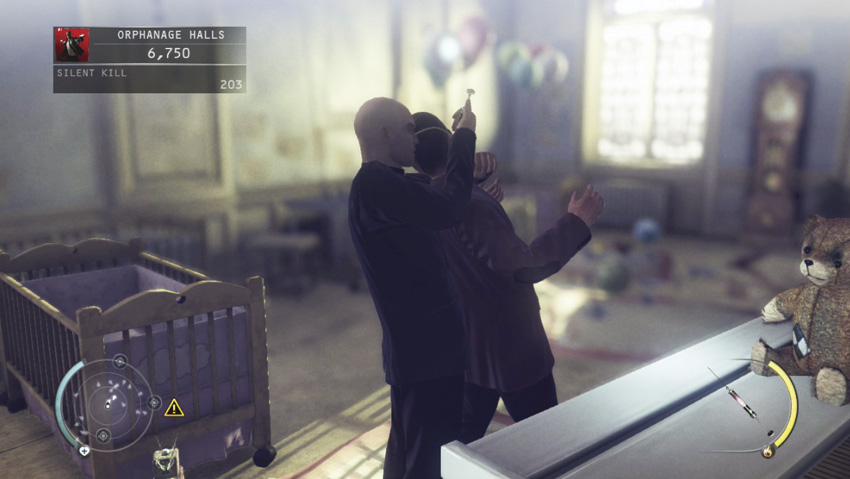
When playing this level a second time, after dealing with the first two henchmen, leave the two by the guard alone and get to the pharmacy. After getting the syringe, wait for the two to come up the stairs. Use the same strategy as before to kill both with the syringe. Then, go back into the nursery and kill the two henchmen near the guard using the same tactics as before—only this time, stab them with the syringe instead of using the fiberwire. Once you have taken care of four henchmen with the syringe while remaining unseen, this challenge is complete.
Playing With Balls
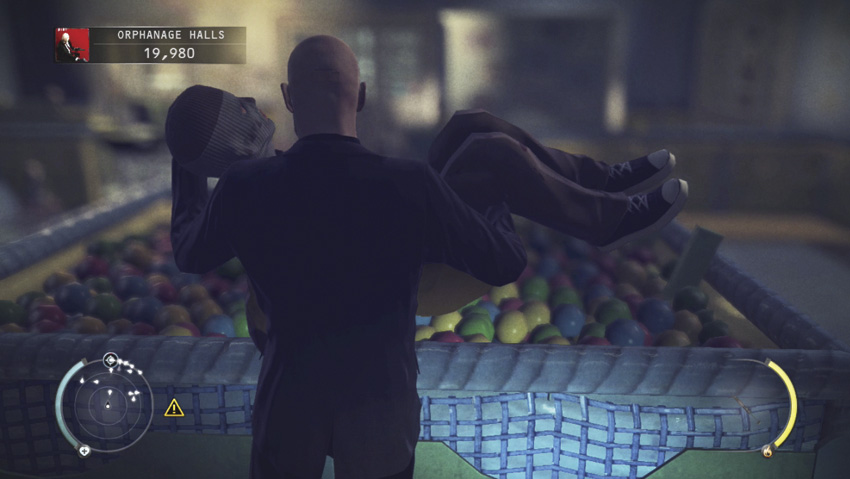
This challenge is tough to complete without being spotted, but it can be done. Locate a bin of balls in a central room located between the kitchen and the room containing the third fuse. Take cover behind the bin and watch as henchmen approach. Silently kill them and dump their bodies into the bin. Once you have hidden five bodies in the bin, the challenge is complete. If you end up in a firefight, drag bodies into this room during lulls so that you can at least complete the challenge and get the score modifier for future attempts.
Out of Fuse
Collect all four fuses without being seen in order to earn this challenge.
Subtle Injection—Part 3
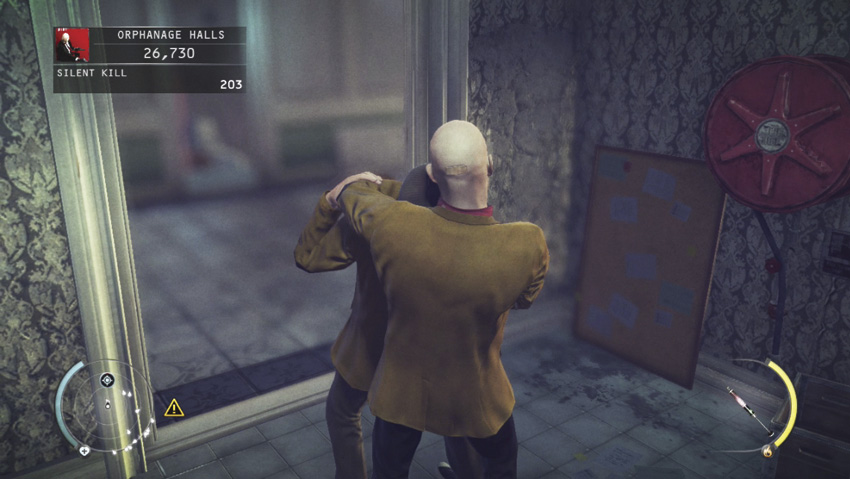
This challenge requires you to neutralize five henchmen with the syringe within two minutes. This is tough. The best place to do this is at the custodial area by the last fuse. Once you get the fuse, hide in the closet and wait for a henchmen to make his rounds through this area. He usually comes down the stairs and then heads into the chapel. As he walks past. stab him with the syringe and hide his body in the cabinet. Quickly pick up the fire extinguisher and throw it across the hall into the maintenance area. When a henchman goes to investigate, throw the syringe across the hall or just walk up behind him and stab him with it. Hide the body around the corner near the elevator. Throw the fire extinguisher back into the custodial area near the cabinet. Another henchman investigates. Kill him with the syringe, but leave the body there for now. Then, throw the fire extinguisher back into the maintenance area. Another henchman investigates. Kill him and leave the body. Finally, go into the lobby area and kill another henchmen to get your five. This is tough and takes a lot of practice and timing, but it can be done.
Evidence Collector (1/2)
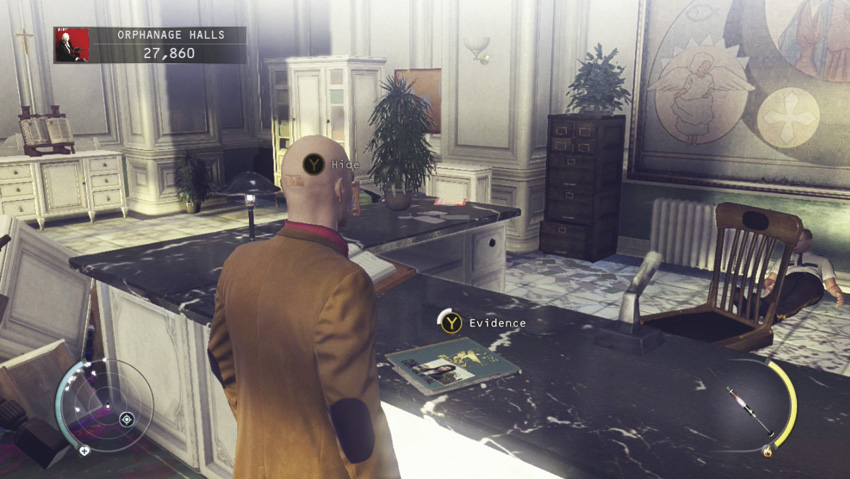
The first piece of evidence is located on the counter in the front lobby near the fourth fuse. It is very difficult to get without killing several of the henchmen in this area, so try to complete this challenge after doing Subtle Injection—Part 3. Otherwise, throw an object into a corner to distract the henchmen, and then use up a lot of Instinct to move in and grab it without your disguise being blown.
Central Heating
Evidence Collector (2/2)
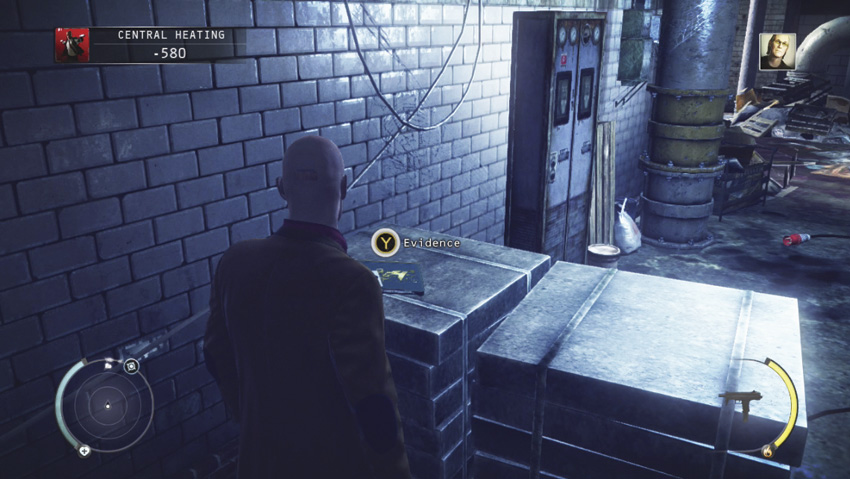
The second piece of evidence is near the two henchmen in the passageway. While you could gun them down to get the evidence, it is better to stay quiet. If you need a bottle, there is one across the passageway toward the henchmen. Before moving toward it, drop any object you are already carrying. When you pick up the bottle and drop that item, it makes noise that the henchmen can hear because you are so close to them. As the henchmen are looking away from you, sneak across the passageway and get the bottle . Throw it toward where you were just hiding. As one henchman moves to investigate, kill him with the fiberwire. Then, throw a knife or syringe at the other henchman so that you can just walk up and take the evidence.
Face Off
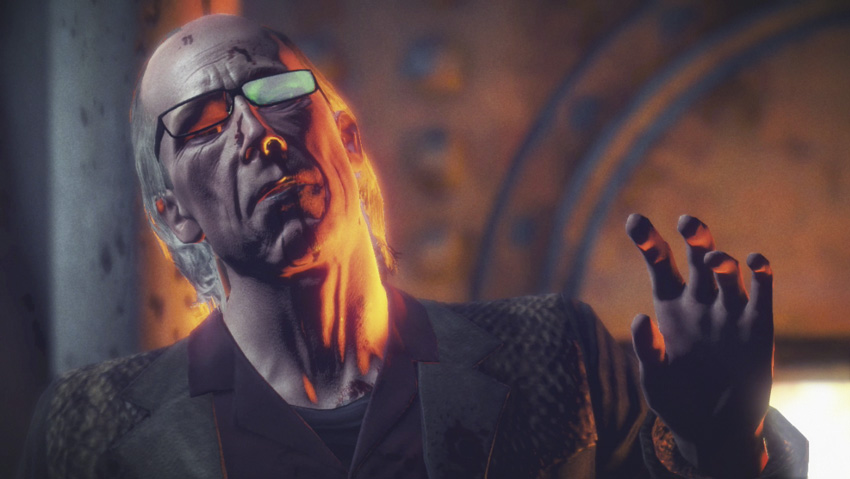
Kill Wade without taking any damage or being spotted in order to complete this challenge.
Suit Only
Wear your suit throughout this mission. By taking cover and moving quickly through open areas, your enemies won’t detect you.
Infiltrator
Get through the entire mission without being spotted.
The Mercenary
Finish this level to complete this challenge.
Mastery: Rosewood
Complete all of the challenges to earn this final challenge.
Welcome to Hope
Great Balls of Fire
Chameleon
Collect three different disguises to complete this challenge: Hope police officer, truck driver, and Hope bouncer.
Evidence Collector
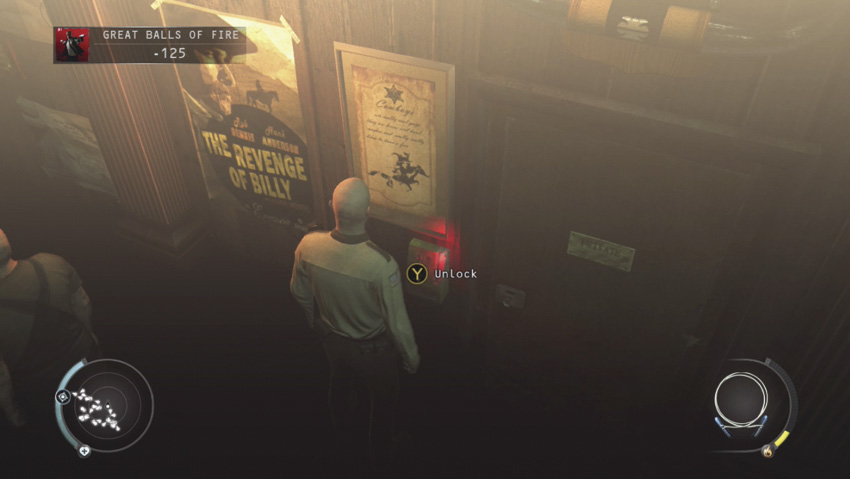
The evidence is located in the office on the right side of the bar. You need a keycard to get through the locked door.
Just Passing Through
Talk to the Bartender and complete the level.
Chew the Fat
Get to the Bartender without starting a fight or rasing an alarm.
Ali
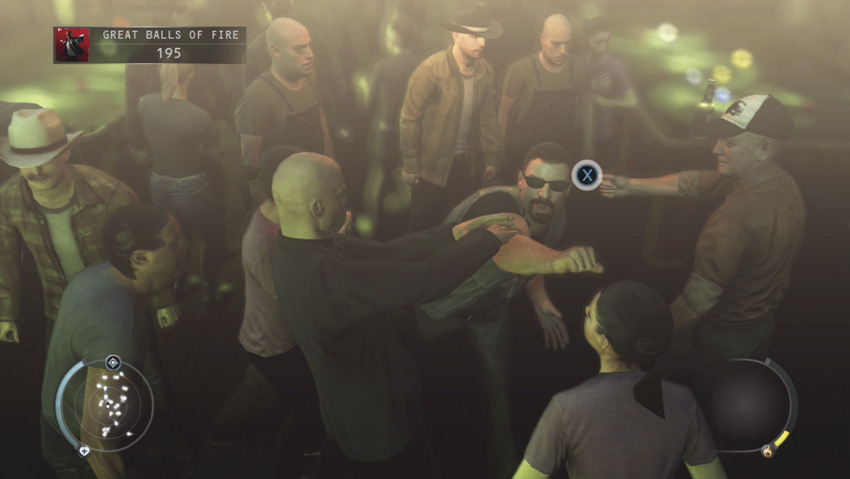
Knock out all of the bouncers in the bar to complete this challenge. This is easy to do once there is a brawl going on in the bar.
Clear the Air
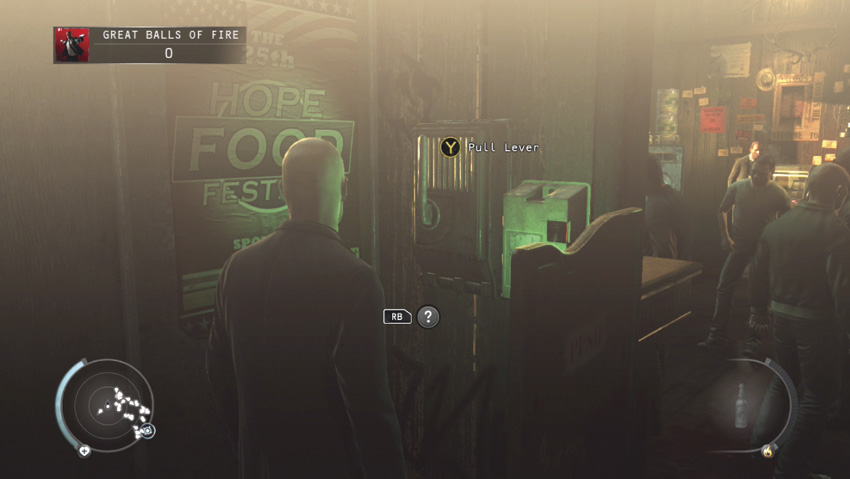
To complete this challenge, turn off the jukebox and avoid getting into a fight during this mission.
Duck and Cover
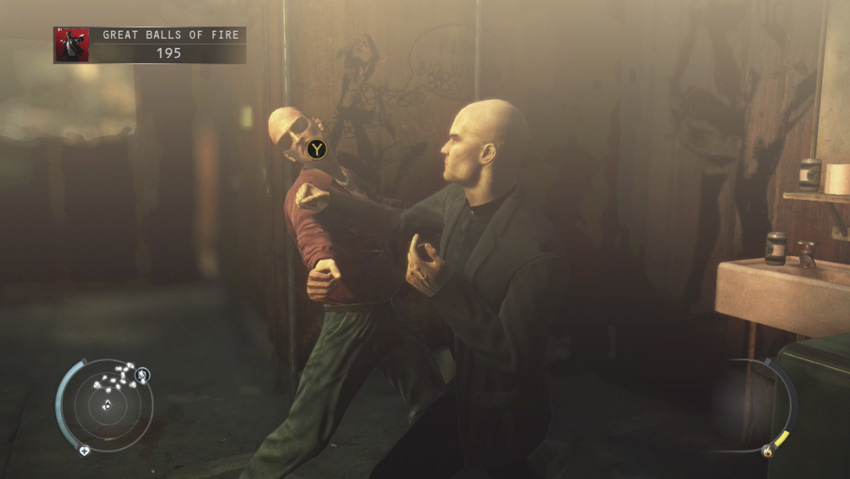
Avoid taking a single hit during the bar fight in order to earn this challenge. The best way to do this is to avoid getting into any fights at all. Otherwise, be sure to press all of the correct keys with the right timing to avoid being hit.
Suit Only
Start a bar fight—then it does not matter what you wear.
Infiltrator
Get through the entire mission without being spotted.
Mastery: Great Balls of Fire
Complete all of the other challenges to earn this final challenge.
Birdie’s Gift
Gun Shop
Duck Hunting
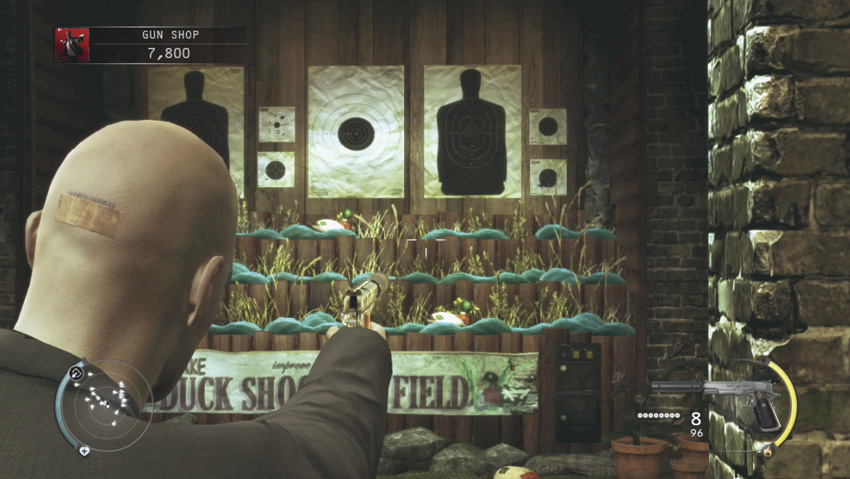
You can shoot at the target ducks while the police officer is doing the same. Hit 10 ducks in 30 seconds to complete this challenge.
Choosing Weapons
Retrieve the Silverballers and leave the shop in order to complete this challenge.
It Wouldn’t be Stealing
Get the Silverballers without entering the shooting contest or killing anyone to complete this challenge.
Depends on the Girl
Even if you don’t win the shooting contest, you get this challenge just for trying.
Bullseye
Win the shooting contest to complete this challenge.
Ultramax
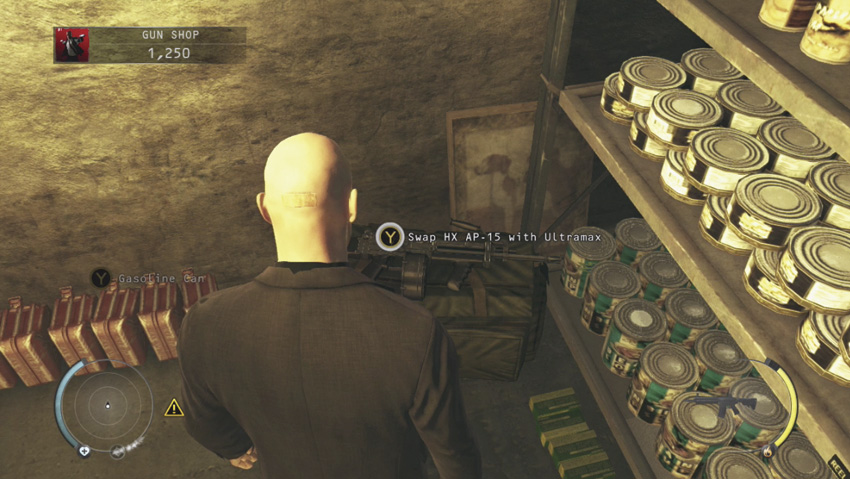
In order to complete this challenge, use the Ultramax machine gun you can find in the bunker to compete in the shooting contest.
Assassin’s Signature
Score 674 points in the shooting contest to earn this challenge.
Up Your Arsenal—Part 1
In order to earn this challenge, you need to win the shooting contest once while using a handgun and once while using a submachine gun.
Up Your Arsenal—Part 2
Complete this challenge by winning the shooting contest once while using a rifle and once while using a machine gun.
Up Your Arsenal—Part 3
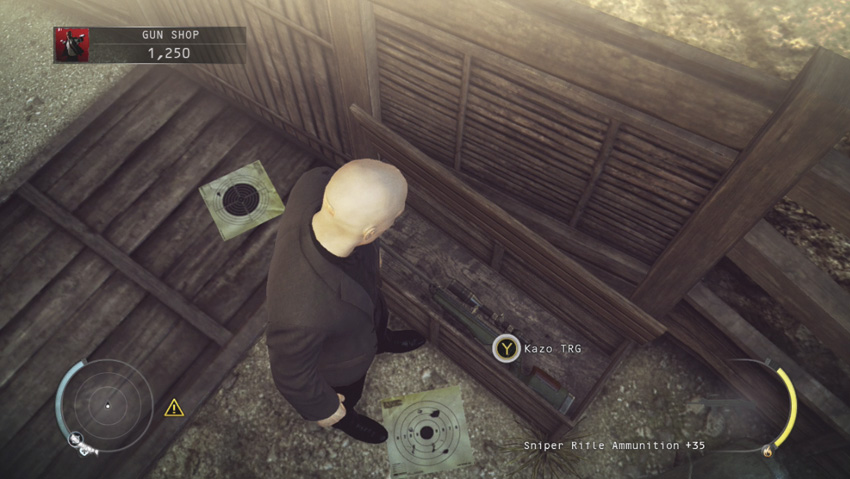
Win the shooting contest while using a shotgun, and then again while using a sniper rifle. The sniper rifle is at the back of the shooting range down in a trench. To get a shotgun, sneak into the owner’s office and throw an object (such as a metal pipe) to lure the guard inside. While he is looking at the pipe, sneak up behind him and subdue him. Hide the body, and then pick up the guard’s shotgun.
Shiver Me Timbers
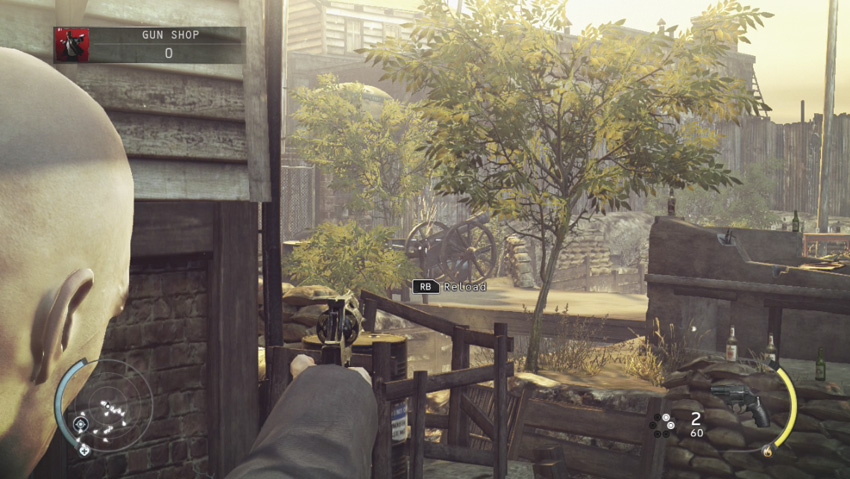
With the sniper rifle or another weapon, aim for the fuse of the cannon along the left side of the shooting range and fire. Hitting the fuse lights it and fires the cannon, thus completing this challenge.
Chameleon
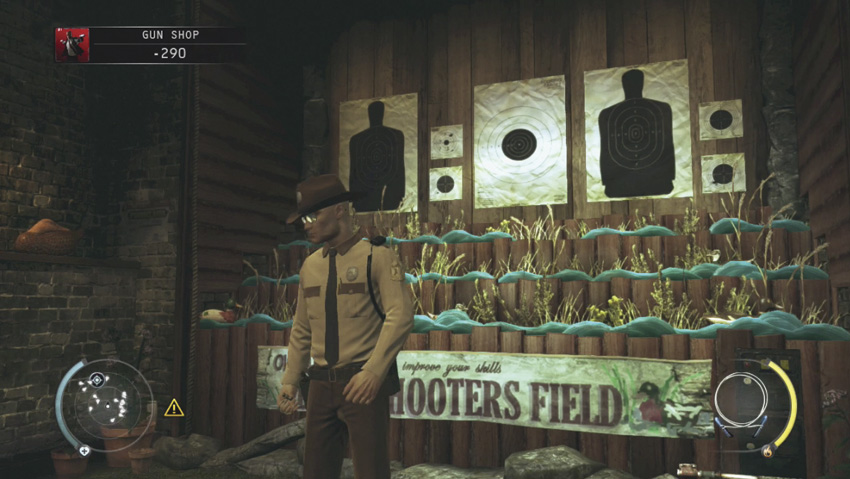
There is only one disguise you can get in this level, the Hope police officer disguise, and it does not do much for you. It does not allow you to go into restricted areas. This is a tough disguise to get, but it is easier if you already have the Silverballers. Pick up a metal pipe and stand just outside of the doorway which leads into the duck shooting room. Throw the pipe toward the far wall inside the shooting area of the duck range. As one of the officers goes into the range to check it out, fiberwire the one by the counter and pull the body next to the counter. Next, move in behind the other officer and use the fiberwire again. If you already have your silenced pistols, distract the officers with the metal pipe, and then take two silent headshots. Hide the bodies behind the counter in the range area. Once you are wearing the disguise, be careful inside the gun store since there are two other officers there that can eventually see through your disguise.
Infiltrator
Get through the entire mission without being spotted.
Suit Only
This is an easy mission to complete while wearing your suit.
Mastery: The Gun Shop
Complete all of the challenges in order to get this final challenge.
Shaving Lenny
Streets of Hope
Chameleon
There are four disguises that you must use in order to complete this challenge: Hope police officer, plumber, mechanic, and barber.
Evidence Collector (1/2)
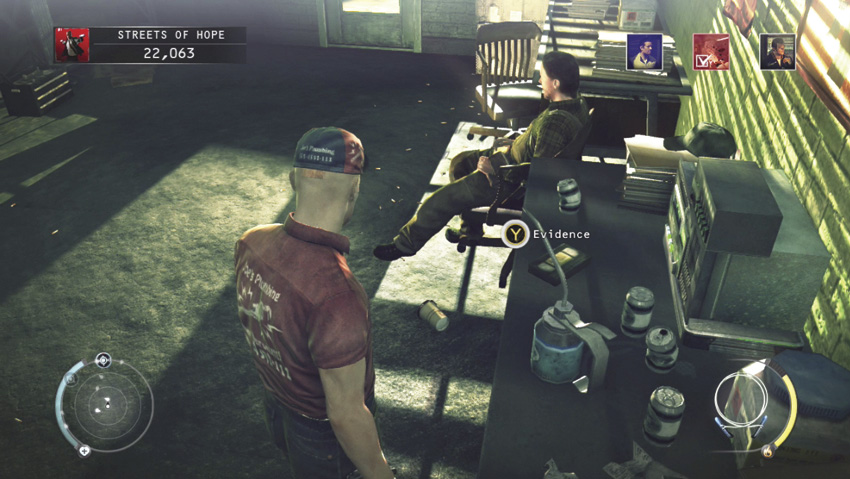
The evidence is located on a desk in the upstairs area of the repair shop. Wait until the police officer is not near the desk before taking it.
Pump it Up
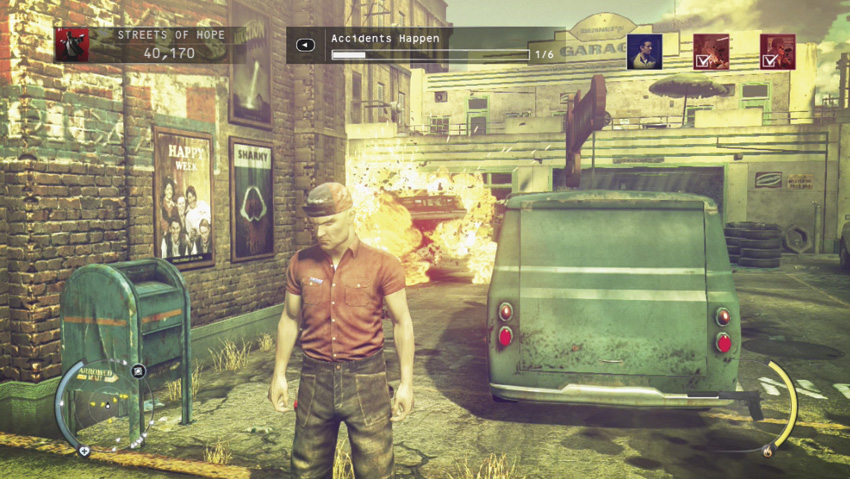
Eliminate one of Lenny’s gang by blowing up the gas pump without being detected. Pour out gasoline from the gas pump, and then fire at the pool of gas to ignite it.
Shocking
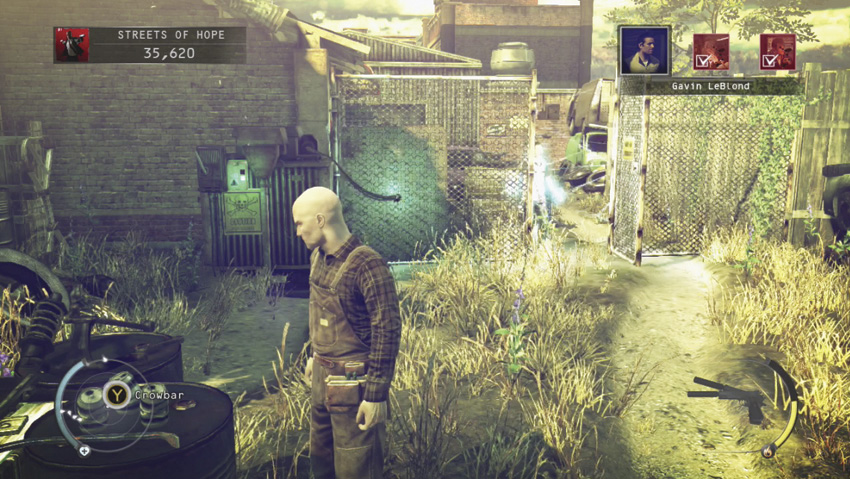
Electrocute one of Lenny’s gang members to complete this challenge. This can be done at the chain-link fence near the back door to the barbershop building.
Get the Mechanic
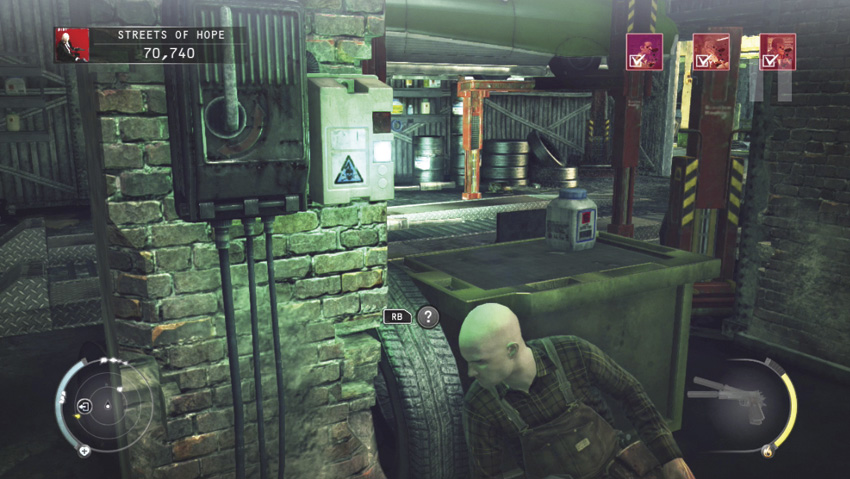
Sneak into the repair shop and make your way to the storage room in the upstairs hallway where a checkpoint is located. From there, continue down the hall and go down some steps into a garage where a car is up on a lift. There is a mechanic and a police officer near the large entrance into the alley, so be careful even if you are wearing a disguise. Stay low and sneak over to the controls near the opposite entrance. Wait until one of Lenny’s gang members walks in and takes a look under the car. Once he does, pull the lever of the lift controls and drop the car on him. Stay put until the excitement dies down, and then continue on to kill the other gang members.
Safety Distance—Part 1
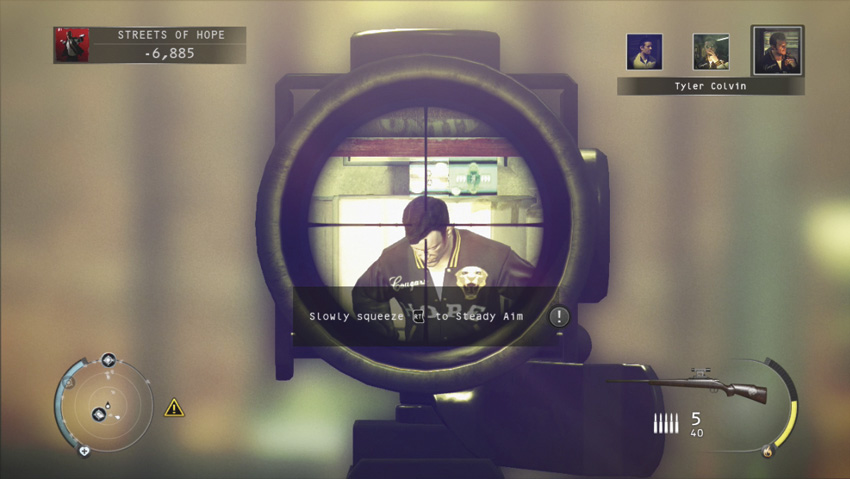
These three related challenges have to be completed in order because each is unlocked by completing the previous one. All three require the sniper rifle in the upstairs apartment above the doughnut shop. There is a guard at the stairs, so get a bottle and throw it up the stairs. When the guard goes up to look, garrote him with the fiberwire and hide the body in the cabinet at the top of the stairs. Enter the room and pick up the sniper rifle and some ammo. Save your progress at the checkpoint. Hide the rifle on your person, and then make your way to the repair shop and get the plumber’s disguise. Walk through the upstairs room and out onto the balcony. Wait until Tyler goes into his room above the convenience store, and then take cover along one of the low walls on the balcony. Kill him with a well-aimed headshot as he is leaning out the window. Then, quickly hide the rifle and get away from the balcony.
Safety Distance—Part 2
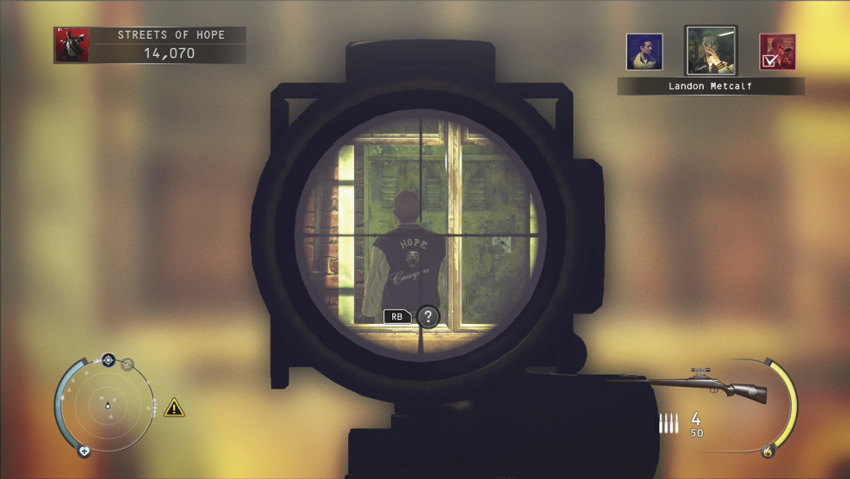
Make your way to the convenience store. Use the radio or a bottle to distract the clerk so that you can walk behind the counter and get up the stairs without being seen. In the upstairs room are some goodies such as explosives and guns which can be used for other methods of killing your targets. Take up a position near the window on the left. From here, you have an excellent view of the repair shop. Wait until Landon moves out onto the balcony and stops to talk on his phone. Then, take your shot. Since there is a police officer on the sidewalk directly below your position, quickly get into the nearby cabinet and hide out. If Tyler’s body is in the room, hide it before taking the shot so that there is nothing to arouse suspicion. If you need a police disguise, this is a great opportunity to get one.
Safety Distance—Part 3
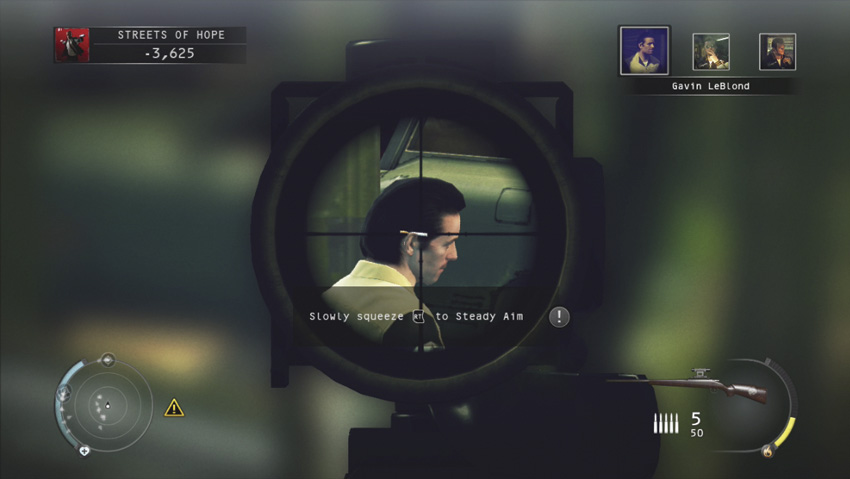
For the final Safety Distance kill, take the sniper rifle to the upstairs room over the doughnut shop. Look out of the window on the right toward the scrap yard. Wait until Gavin stops on the porch and stands still. Then, take your shot. Quickly get into the cabinet at the top of the stairs since there are police officers downstairs that come to investigate the gunshot. Stay hidden until the coast is clear, and then continue with your objectives.
Oil is Thicker than Blood
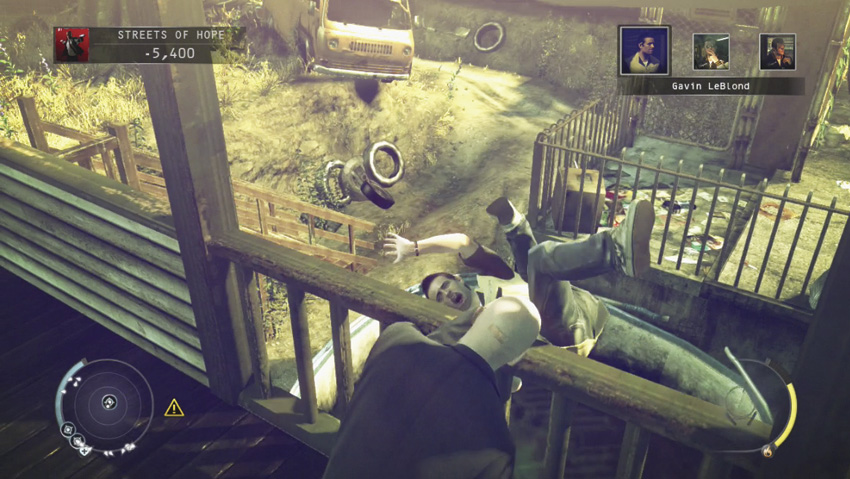
This is one challenge that you cannot complete while staying stealthy. You have to drag the bodies of the three gang members onto the porch at the entrance to the scrap yard, and then dump their bodies into the pool of oil below by pushing them over the railing. You will have to clear out a lot of people for this playthrough—dragging a body through town tends to arouse a lot of suspicion.
Barbershop
Gotta Go
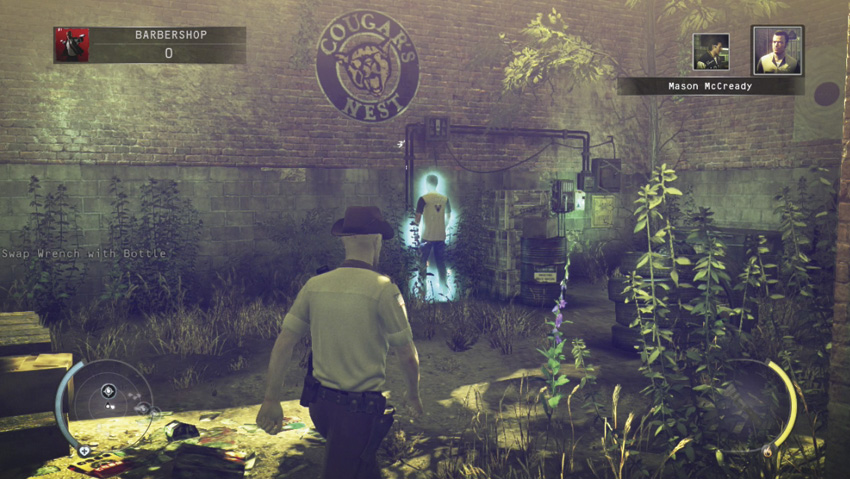
Eliminate Mason while he is urinating by sabotaging an electrical box without being detected to complete this challenge.
Evidence Collector (2/2)
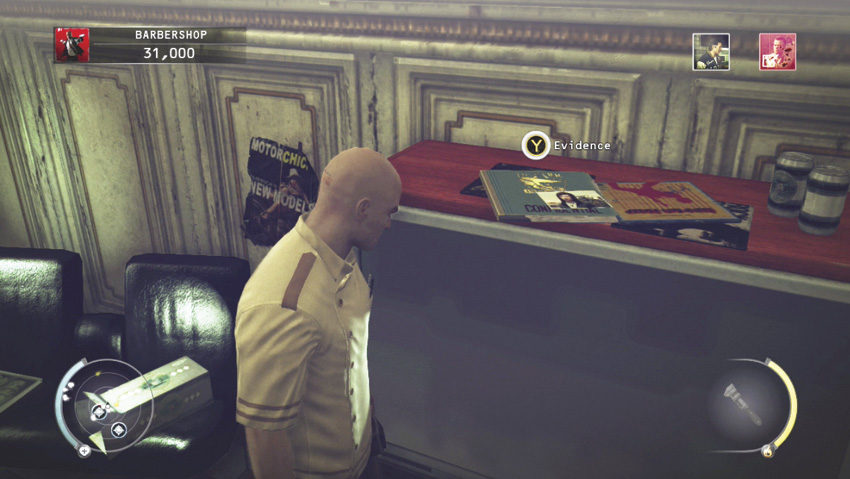
The second piece of evidence is in the main room behind the barber shop where a bunch of Lenny’s goons are watching television. Sabotage the power to the television at the electrical box in the basement. Then, when the police officer is lured down into the basement, move to the television and get the evidence.
Kill Me I’m the Cook
Kill Luke by turning on the gas and igniting it without being detected to complete this challenge.
Well Done
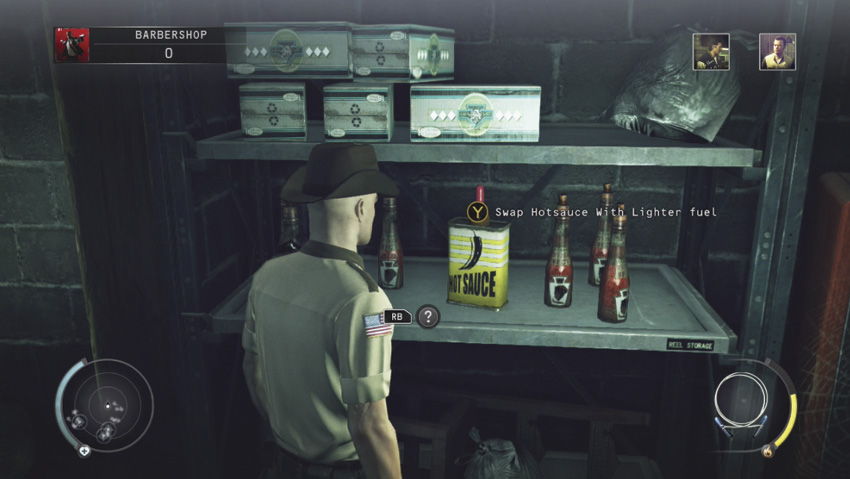
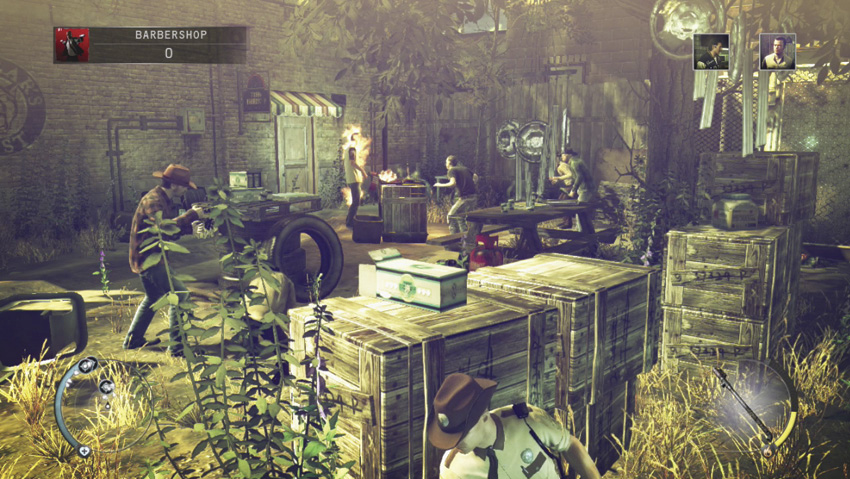
In order to complete this challenge, don’t create the electrical trap in the yard. Instead, get the barber disguise and head into the storage room to find some lighter fluid. Pick it up and take it down to the basement. Swap it out with the hot sauce. Mason comes to get more hot sauce and takes the lighter fluid instead. As soon as he applies it to the meat on the grill, he barbecues himself.
Accidents Happen
Complete all five challenges that make the deaths of the gang members look like accidents: Get the Mechanic, Kill Me I’m the Cook, Pump It Up, Shocking, Gotta Go, and Well Done.
Infiltrator
Get through the entire mission without being spotted.
Suit Only
This is a tough level for this challenge. You will have to neutralize some enemies or use creative distractions in order to get around without being seen.
Shave and a Haircut
Compete this challenge by subduing Lenny while wearing the barber disguise.
The Weakest Link
Complete this level to finish this challenge.
Mastery: Streets of Hope
Complete all of the other challenges to get this final challenge.
Dexter Industries
Dead End
Chameleon
To complete this challenge, you need to use four different disguises: factory guard, truck driver, arms dealer, and chipmunk.
Packing Heat (1/2)
Access the first weapon stash located near the first guard shack to complete the first half of this challenge. You need a keycard to get in.
Evidence Collector (1/4)
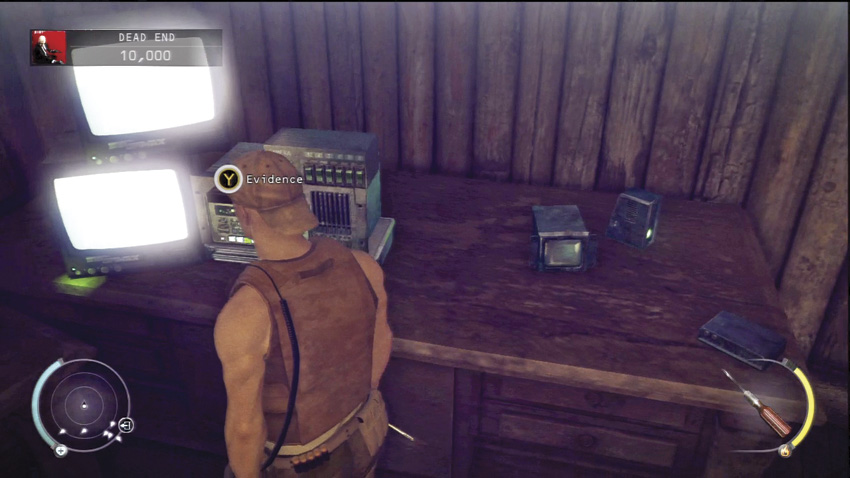
This first piece of evidence is at the far end of the large shed that contains the entrance to the old mill.
Old Mill
Evidence Collector (2/4)
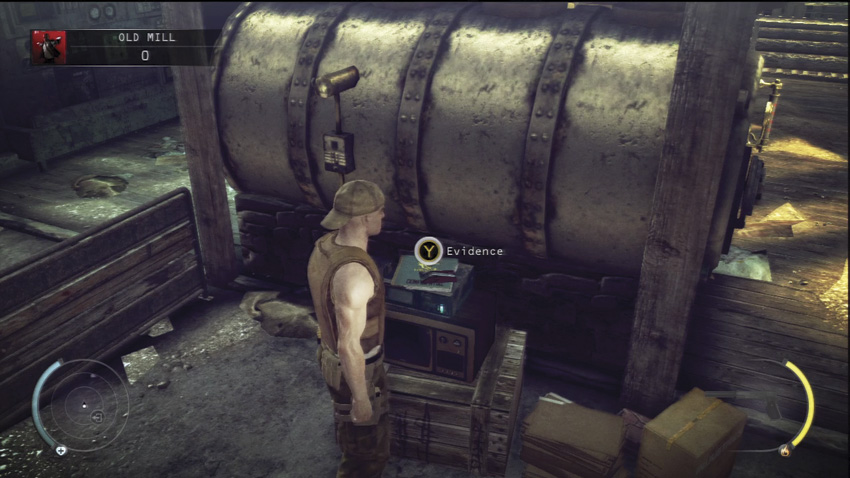
The second piece of evidence is located on top of the television. Be sure to pick it up.
Sore Loser
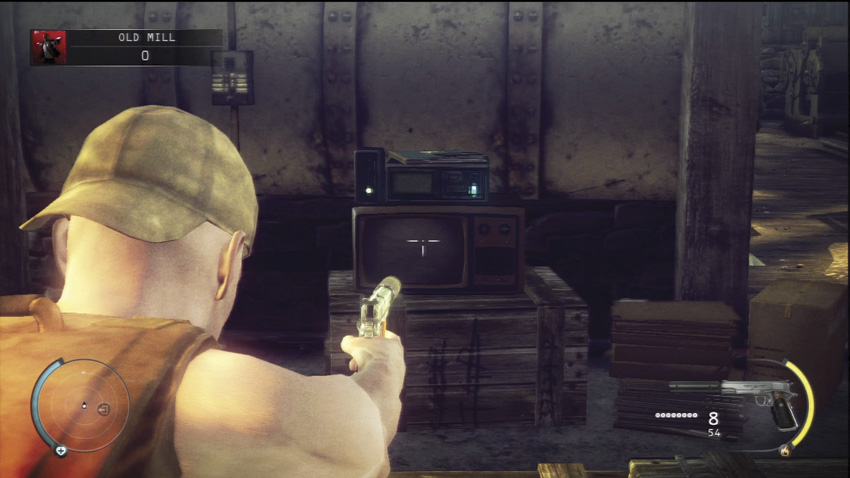
In order to complete this challenge, you need to neutralize one of the guards playing the video game, take his uniform, and then shoot the television without being spotted.
Descent
Cliffhanger
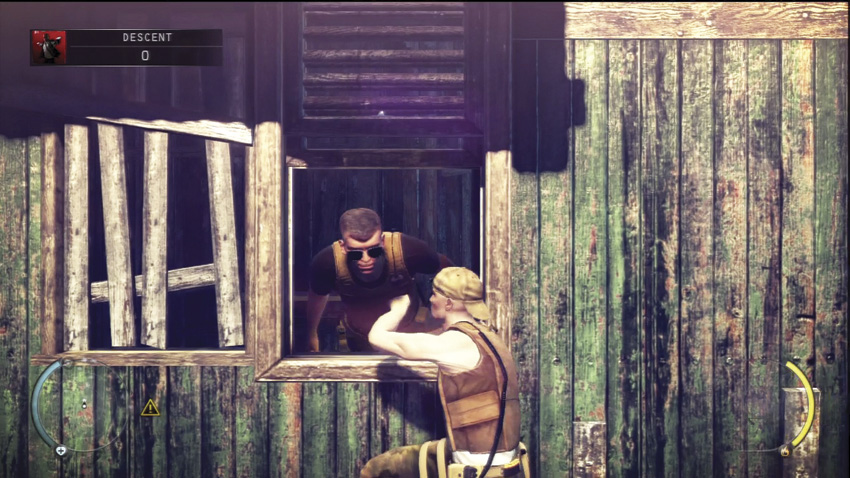
Complete this challenge by pushing or pulling two guards over the side of the cliff.
Evidence Collector (3/4)
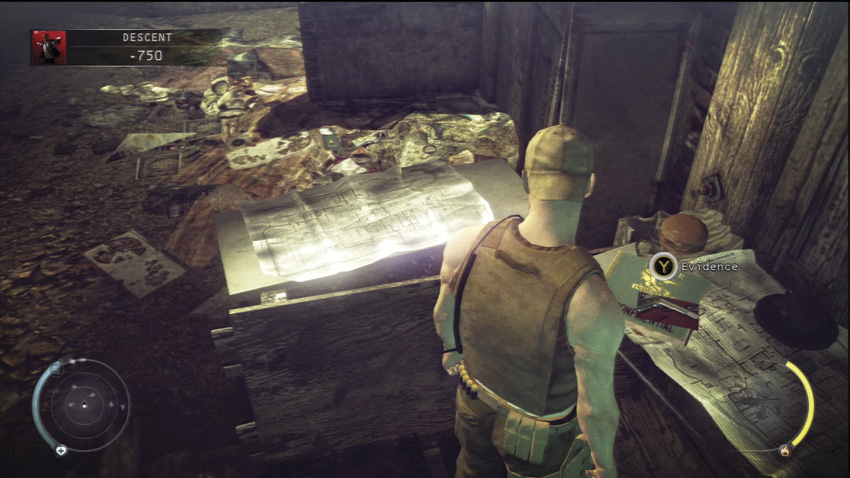
The third piece of evidence is located on a table inside the second shack you can enter from the wooden platforms along the side of the cliff.
New Toys
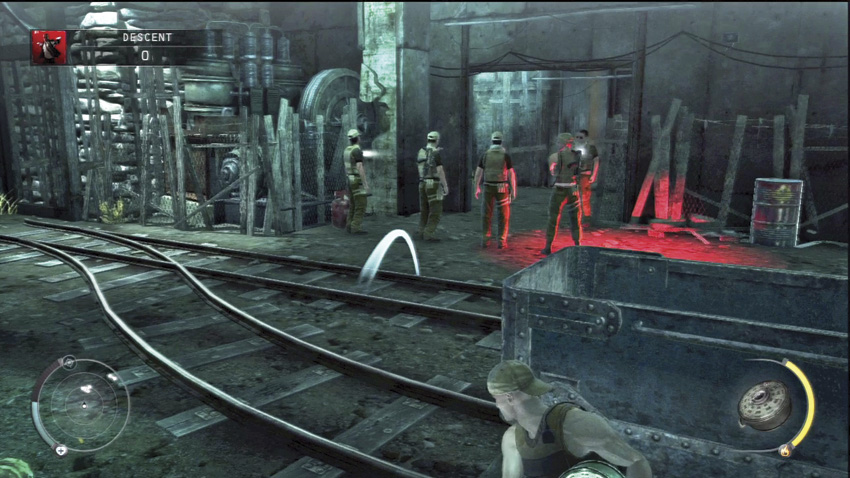
Eliminate 5 guards in this area with proximity mines in order to complete this challenge.
Factory Compound
Under The Bridge—Part 1
Eliminate one of the guards on the bridge so that he falls off of the bridge. This is an easy challenge to complete during your first playthrough.
Under the Bridge—Part 2
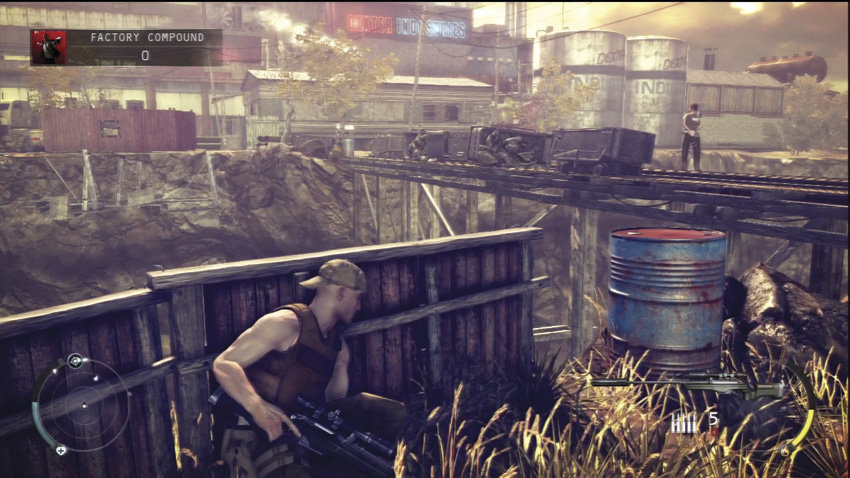
Eliminate three guards on the bridge so that they fall off of the bridge. You will need to play through this section of the level a second time to complete this challenge since it is not unlocked until the first is completed. Rather than going up the stairs to the observation post, move to the left side of the tracks and kill any guards on the right side of the bridge. Then, move to the observation post to kill the guards on the left side of the bridge. You have to be patient since they may move around once you start shooting.
Under the Bridge—Part 3
Eliminate three guards on the bridge within 15 seconds. This must be attempted after completing the second part of this challenge during a third playthrough. You don’t have to worry about the bodies falling over the side, just kill three guards quickly to complete this challenge.
Packing Heat (2/2)
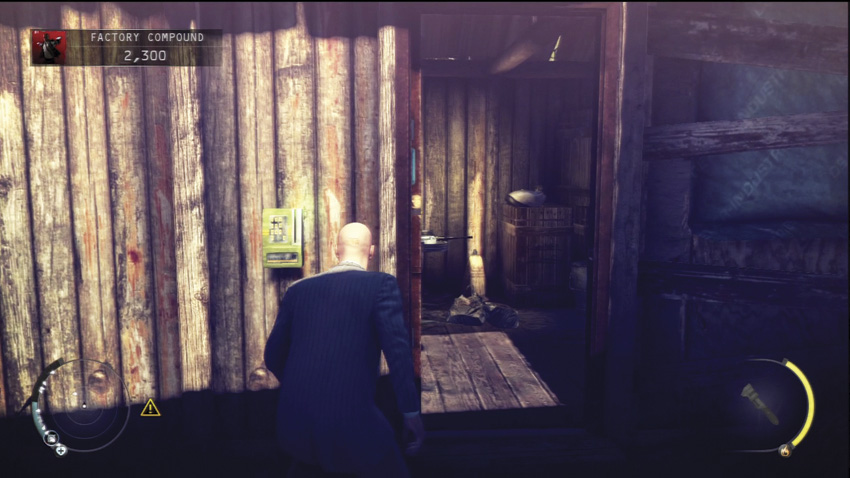
Use the keycard to get into another weapon stash and claim the chipmunk costume. It is located on the left side of the compound near the kennels.
Infiltrator
Get through the entire mission without being spotted.
Evidence Collector (4/4)
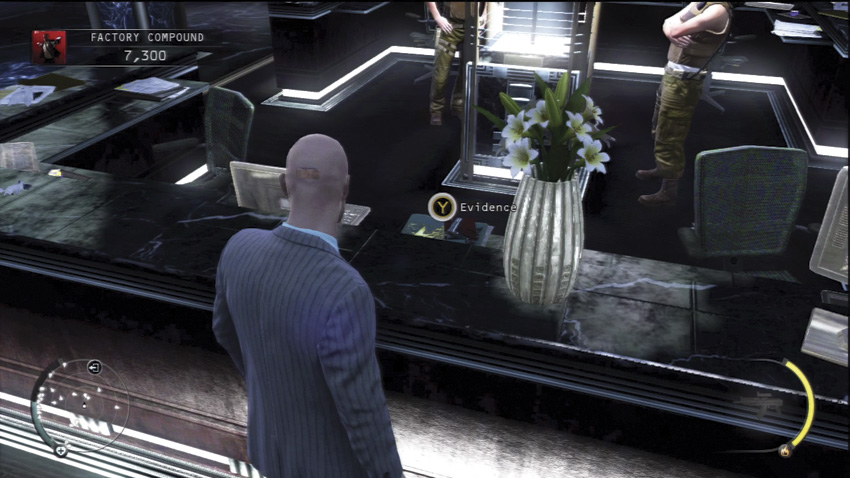
The final piece of evidence is on the front counter in the main lobby of Dexter Industries.
Infiltration
Gain access to Dexter Industries (finish the level) in order to complete this challenge.
Seal the Deal
Finish the level while wearing the arms dealer disguise without being spotted to complete this challenge.
Suit Only
The first three parts of this level are not that tough to get through while wearing only your suit, but the Factory Compound section is difficult. Clear the bridge with the sniper rifle and go through the ventilation shaft to get under the canteen. Continue through the brick building, and then move across to the right of the guard shack. Sabotage the power. When the guard comes out to investigate, climb through the window and exit through the window on the opposite side. Stay near the walls of the buildings as you make your way to the main entrance. Get to a position where you can see both guards at the entrance, and then use point shooting to kill them in quick succession. Rush into the entrance, past the bodies, and stay low. As you enter the lobby, take cover behind the displays. You can get proximity mines from some of the displays if necessary. Move to the right side of the lobby so that you can get into the side room. There is a guard in there. You can subdue him and hide the body. Work your way around to the elevator. When the door opens, subdue the guard and ride the elevator to the next level.
Mastery: Dexter Industries
Complete all challenges to get this final challenge.
Death Factory
Test Facility
Chameleon
In order to complete this challenge, you need to acquire three different disguises: factory guard, scientist, and researcher. You can get the first two in the first area.
Reap What You Sow—Part 1
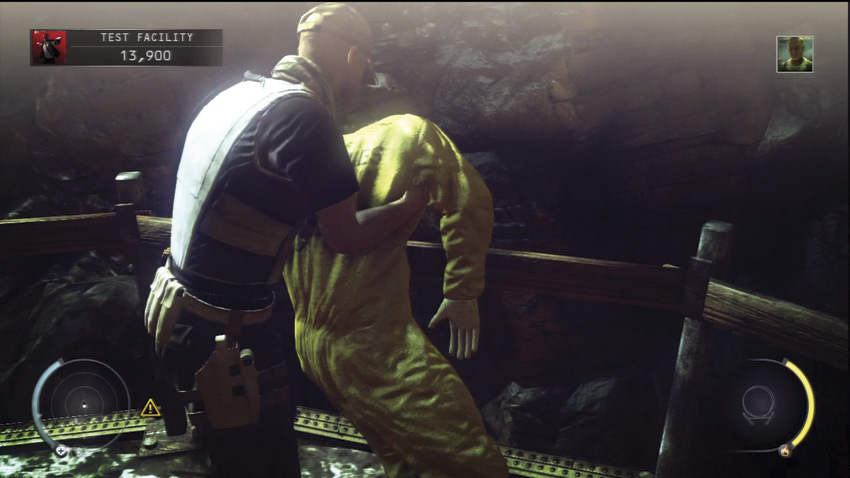
Throw a scientist over the railing and into the smelly, bloody pit of pig carcasses.
Reap What You Sow—Part 2
Throw 5 more scientists over the railing and into the smelly, bloody pit of pig carcasses. To do this, you need to kill or subdue several scientists (as well as guards to avoid being caught). You can dump the guards’ bodies into the bloody mess as well.
Evidence Collector (1/3)
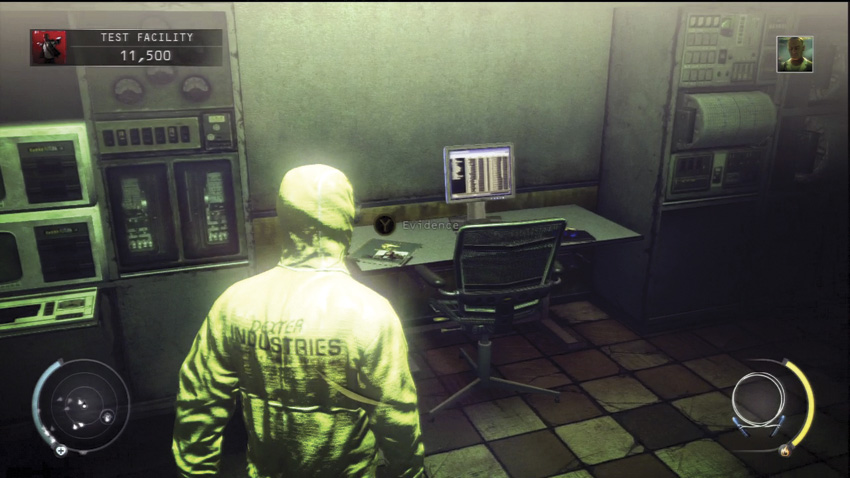
To get the evidence here, you need to get to the top floor of the control area. A scientist disguise works well. Walk past people to take it off of the desk to the right of the glass control area. If you wait and time it, all of the scientists will be looking away from you so that you don’t have to use much, if any, Instinct.
The Common Good
Kill Dr. Green by arming his invisible mine.
Good Test Results
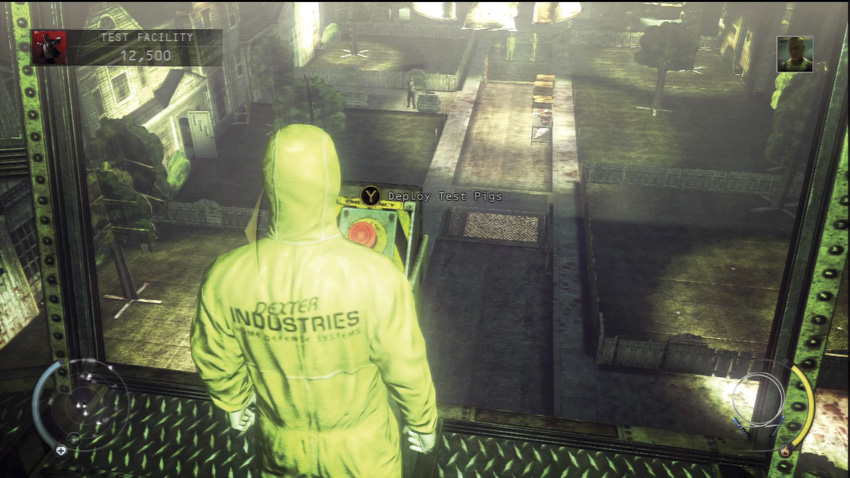
Another way to kill Dr. Green is to wait until he goes down to the ground floor of the test facility. This is easiest if you can subdue the scientist in the glass control area in front of the control room. Otherwise, stay behind some cover while in disguise. Then, when Dr. Green walks out onto the grass area, move in and push the button to activate the minefield and blow up Dr. Green. Get away quickly before the scientist sees through your disguise. If necessary, hide in a cabinet or container until suspicion decreases.
The Abyss Gazes Back
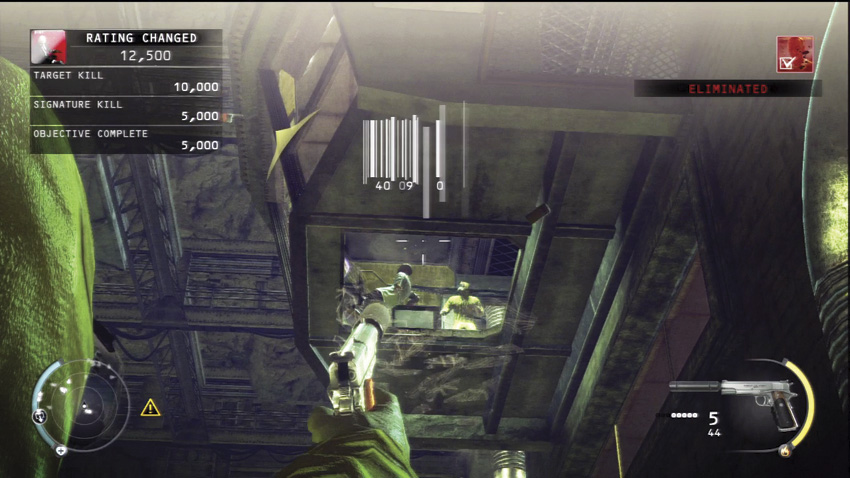
The final unique way to kill Dr. Green is to wait until he is in the control area. The floor of this spot is made of glass. Shoot out the glass under his feet and he falls down to his death. This is easier if you clear out most of the people in the control room ahead of time. Subdue them and hide their bodies. Then fire both Silverballers at the glass from behind cover. It takes several shots to break the glass and send him down to his death. Another way to do this is to subdue the guard at the door where the explosives are located on the ground floor and then shoot up at the glass floor from this location.
Scientific Thoroughness
Complete The Common Good, Good Test Results, and The Abyss Gazes Back to get this challenge.
Suit Only
You can complete this level in your suit by simply staying behind cover. You can even get across the catwalk if you stay low and use cover. Kill Dr. Green with the mine since it allows you to set a trap and get away.
Decontamination
Happy Birthday
Complete this challenge by jumping out of the cake and shooting all of the guards, but leaving Carl alive.
Evidence Collector (2/3)
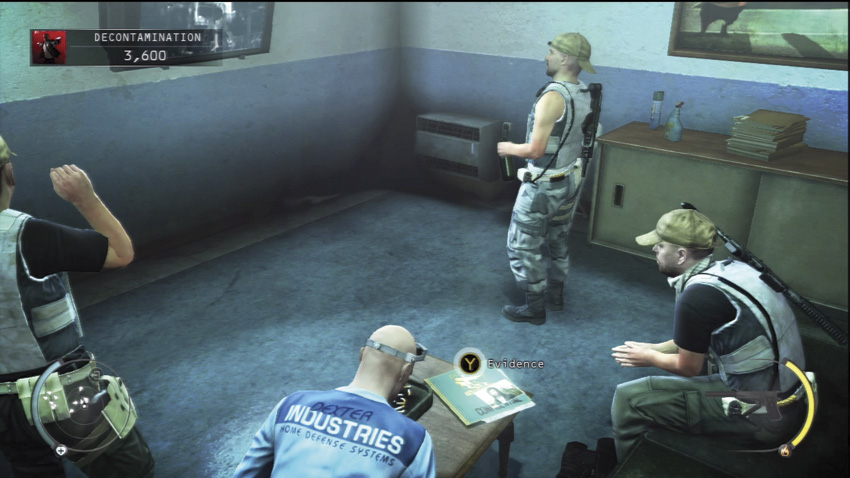
This second piece of evidence is located in the guard room attached to the showers. It is on a table by the couch and is difficult to get without a disguise.
R&D
In the Right Space
In order to complete this achievement, eliminate Dr. Valentine in the bomb chamber.
Eureka
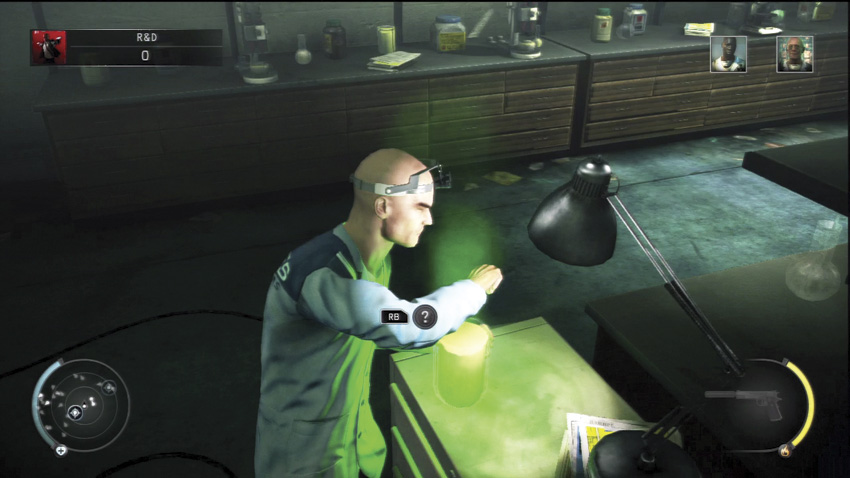
During a second playthrough, walk down the catwalk to the second chemical lab, which is empty. Locate the fire paste in the far right corner. Pick it up, and then walk across the room and up the stairs into the other chemical lab. Add the fire paste to the beaker filled with a green liquid so it turns a reddish orange. When Dr. Valentine tests it out, he will die.
The Shock Doctrine
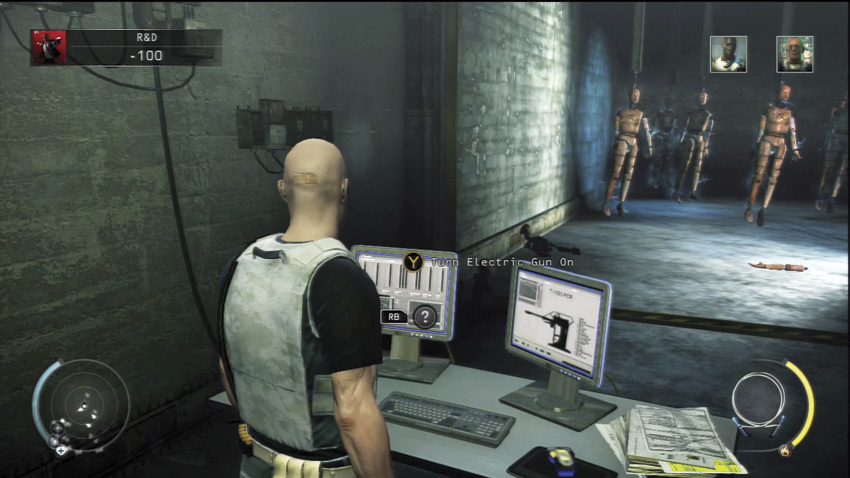
This is the most involved of the three methods of killing Dr. Valentine. From the start, walk down to the first door—the conference room. Look through the glass of the door and wait for a researcher to move to the left. Then, open the door and walk through to a door on the left, which leads to a stairwell. Descend the stairs to the bottom where a guard is standing with his back to you. Subdue him and pull the body partially up the steps. There is nowhere to hide it here. Take the disguise so that you can walk around the lab without worrying about the researchers. Enter the lab and go down some steps on the left side to reach the records room. On a counter in the center of the room, use a recorder to play Dr. Ashford’s log and hear about his project. Then, continue to the far side of the room to pick up the safety code. Return to the weapon chamber and use the code to deactivate the electric gun at the computer terminal. Move away from the computer and wait for Dr. Valentine to arrive. He looks at the gun and computer, and then moves into the target area to examine the test dummies. This is your chance to move back to the computer, activate the electric gun, and kill the doctor. Next, head back to get your researcher disguise, and then make your way down to the records room to save your progress at the checkpoint before continuing down the catwalk.
Doctor in the House
Complete the following challenges to earn this challenge: In the Right Space, The Shock Doctrine, and Eureka!
Strap Him In
Complete this challenge by killing Dr. Ashford with the robot.
Unseen
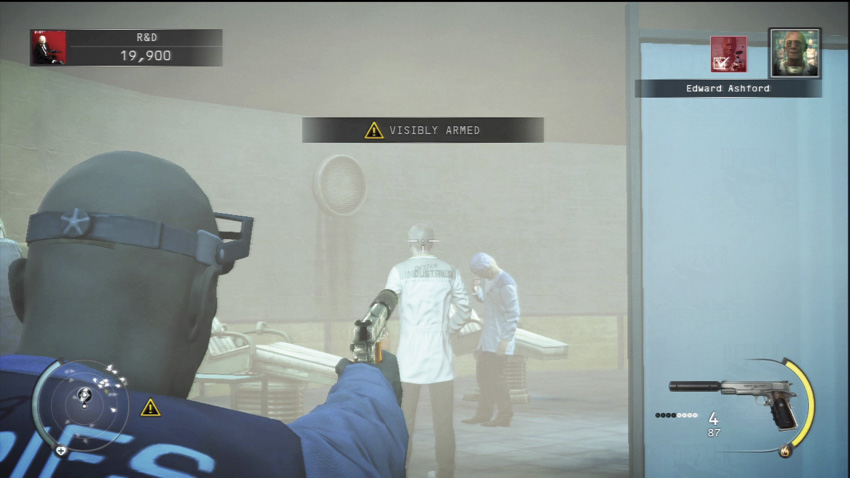
The second way to kill Dr. Ashford is to wait by the valve until he comes to the examination area right next to you. Then, turn the valve to make a smoke screen. Move from behind the partition and kill the doctor with a single silent headshot from one of your Silverballers.
Experimenting
Complete Strap Him In and Unseen in order to earn this challenge.
Evidence Collector (3/3)
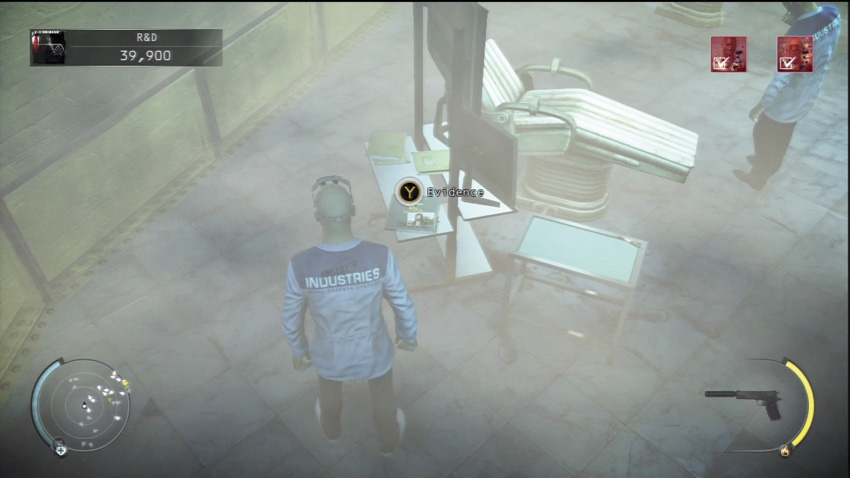
The last piece of evidence is located in the examination area to the left of the spot where you hide near the valve. Use the smoke screen to sneak into the the examination area and get the evidence without being seen.
Research and Hidings
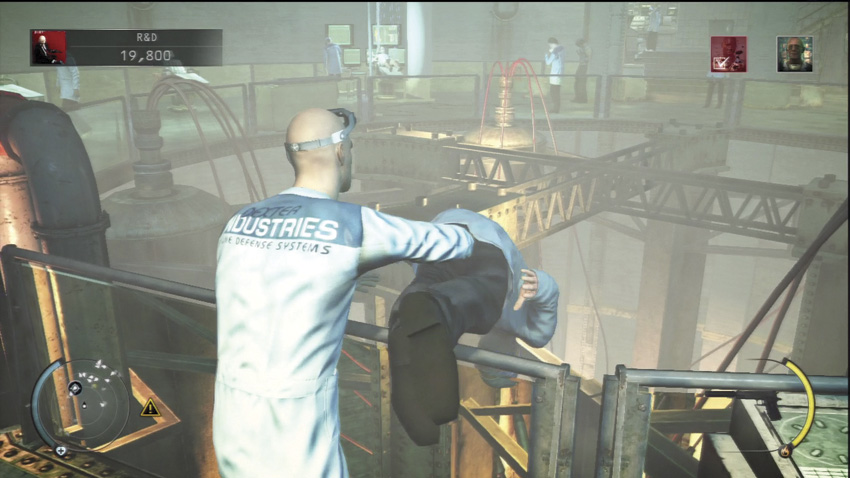
Subdue seven researchers and hide their bodies to complete this challenge. While you can complete some of this in the labs, it is easier to do down at the bottom of the silo. Use the smoke screen to cover you as you subdue one researcher at a time and dump their bodies over the railing to hide them.
Infiltrator
Get through the entire mission without being spotted.
Ground Zero
Locate and destroy the research, finishing the level, to complete this challenge.
Mastery: Death Factory
Complete all of the other challenges to earn this final challenge.
Fight Night
Patriot’s Hangar
Evidence Collector (1/2)
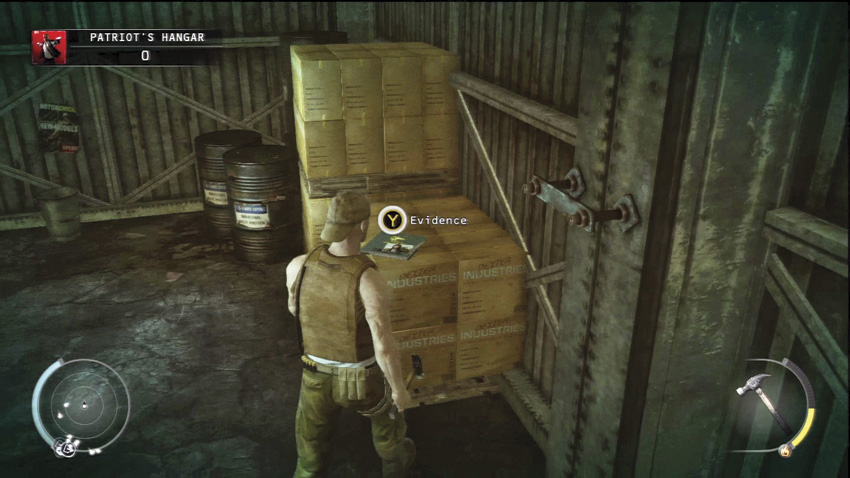
The first piece of evidence is located on a crate in the far right corner of the hangar under the watchful eye of a guard.
Chameleon
Complete this challenge by collecting three different disguises: factory guard, entourage, and the Patriot.
Lost and Found
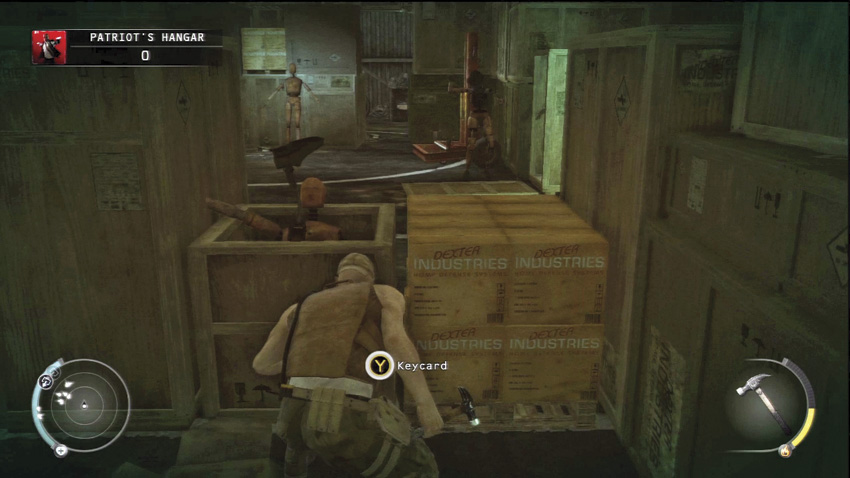
Find the guard’s missing keycard to complete this challenge. It is between crates behind the generator.
A Real Patriot
In order to complete this challenge, take the Patriot’s costume and hide him without being seen.
Suit Only
If you are going for the Suit Only challenge, you do not need to subdue any of the guards. Just distract the one in the corner so you can get the evidence and explosive. Then sneak away. Get the keycard and then make your way back to the fenced area without being seen.
The Arena
Blood Sport
Just walk into the ring with Sanchez and start the fight to complete this challenge.
Untouchable
In order to complete this challenge, defeat Sanchez while disguised as the Patriot without taking a single hit from Sanchez.
Evidence Collector (2/2)
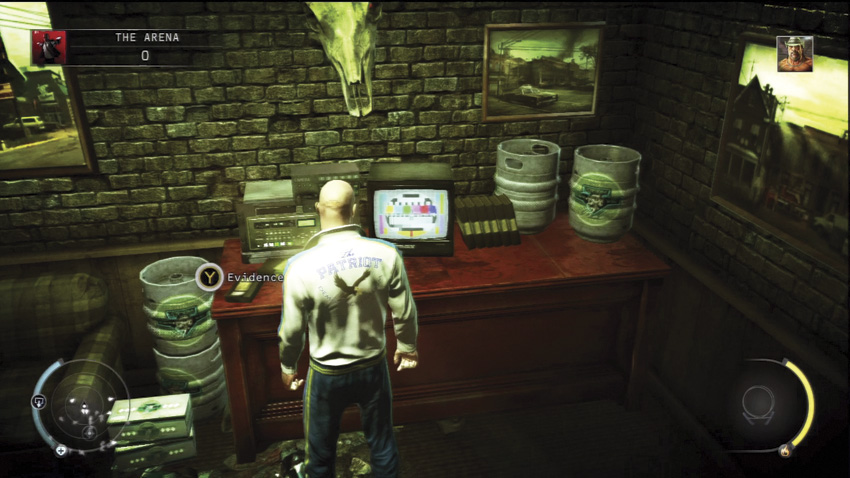
The second piece of evidence is on a counter in the VIP box.
Wing Man
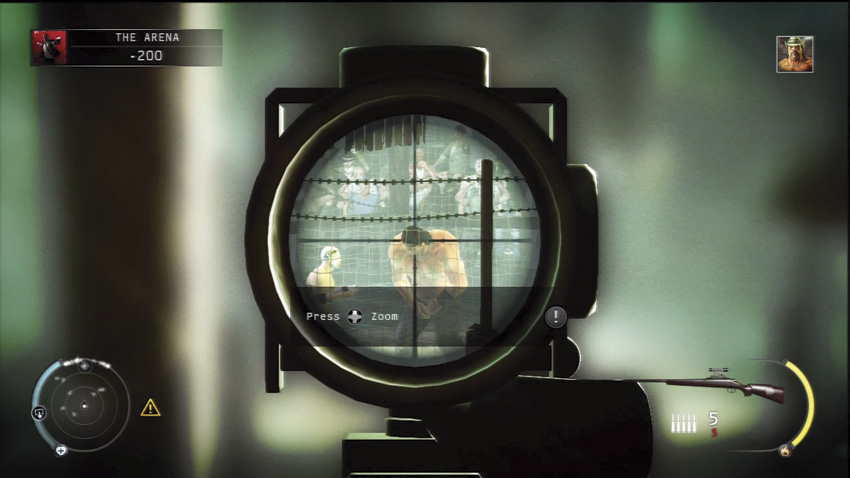
If you picked up the sniper rifle, hide it on your person and then make your way back to the stairs. Instead of going back down, continue along the walkway toward a locked door at the end with a couple guards next to it. Pick up a wrench along the way. Then, you can either wait for one of the guards to leave, or you can open the locked door and throw a wrench inside. This distracts one of the guards who goes into the room. Wait until the other guards is not looking, and then move into the room and subdue the guard. Hide the body. Move out and subdue the second guard and drag his body into the room to hide it in the cabinet. Now that the two guards are taken care of, you can pull out the sniper rifle. Aim through the open window. Take aim at Sanchez. However, wait until the Patriot hits him ,and then shoot Sanchez so it looks like he goes down as a result of the Patriot’s hit. The target is dead and it appeared to be an accident.
My Enemy
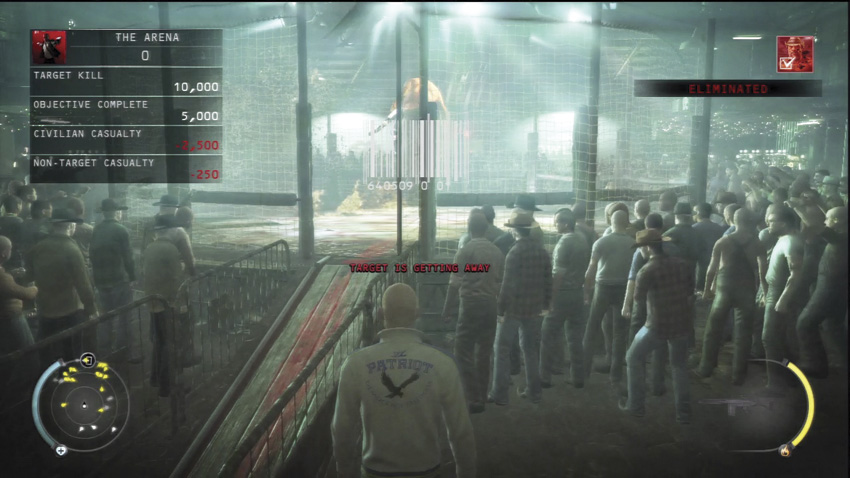
On the other hand, if you decided to use explosives, backtrack down to the arena floor. Move away from the bar so that you have a clear line of sight through an open door to the ring. Throw the C4 into the ring and begin walking away. It is timed and explodes on its own after several seconds. It is important to throw the explosives quickly since you appear suspicious when holding them. After the C4 detonates, Sanchez is killed.
Suit Only
When going for this challenge, be sure to pick up the remote-controlled explosive from the hangar near the evidence. Use the same tactic as the C4 for throwing the explosive into the ring. Then you can detonate it whenever you want. While in your suit, you can blend in with the crowd.
Light Rig
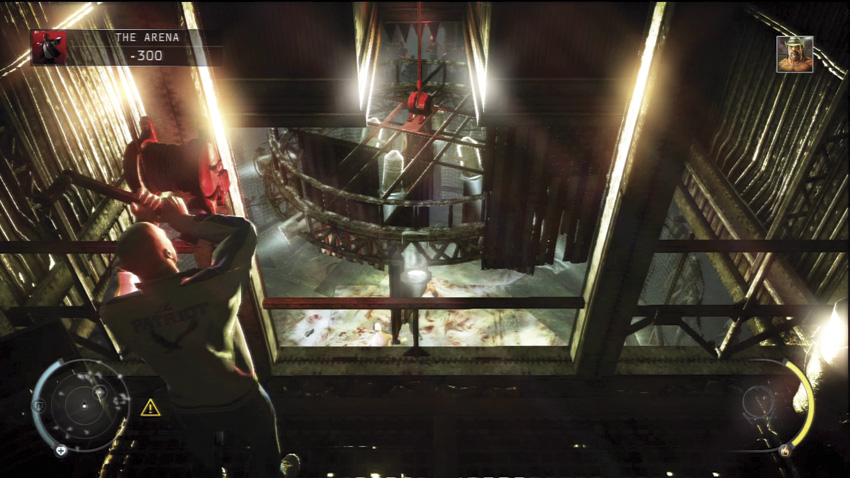
This last way to kill Sanchez is a bit tougher to execute. When you get to the top of the stairs, pick up a wrench and go through the locked door on the left. You need a keycard to unlock it. Move through the door and slowly up the stairs. You are now in a restricted area, so you have to use stealth. As you climb the stairs, wait until the two guards at the top finish their conversation and one moves away. Then, throw the wrench into the right side of the room at the top of the stairs to lure a guard in that direction. Sneak up behind him and subdue him. Leave the body since there is nowhere to hide it. Pick up the wrench and move along the narrow corridor. The second guard is up ahead. Throw the wrench past him into the corridor. When he moves to look at it, come up behind him and subdue him. There is a red lever next to where the second guard was standing. Pull on the lever to release the light rig that is hanging over the ring. It comes crashing down, killing Sanchez in the process, and completes this challenge.
Technical Knockout
Complete Untouchable, Light Rig, Wing Man, and My Enemy in order to get this challenge.
Infiltrator
Get through the entire mission without being spotted.
How the Mighty Fall
Eliminate Sanchez and exit the arena in order to complete this challenge.
Mastery: Fight Night
Complete all of the challenges to get this final challenge.
Attack of the Saints
Parking
Chameleon
In order to complete this challenge, you need to acquire three disguises: black suit, Agency soldier, and scarecrow.
Intervene (1/2)
Save the civilian from being executed by the soldier to complete the first half of this challenge. There is another civilian to save later.
Evidence Collector (1/3)
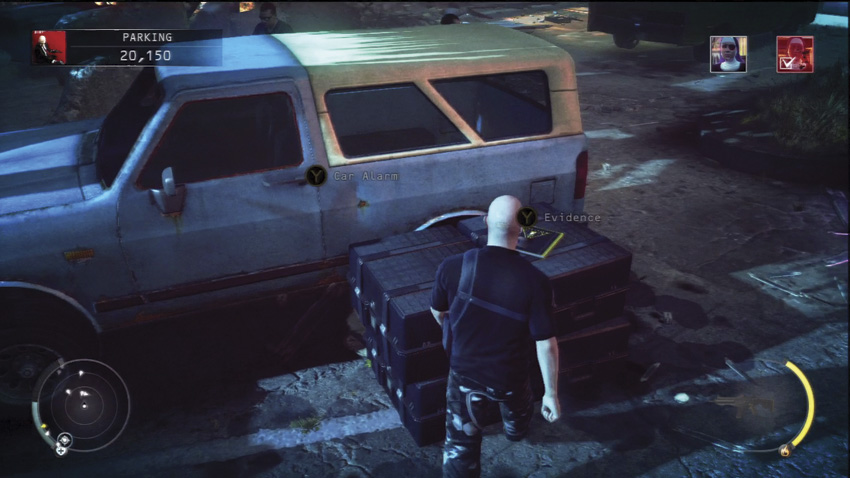
The first piece of evidence is next to the blue truck in the middle of the parking lot. There are a lot of soldiers around, so use timing or distractions to get it.
Black Widower
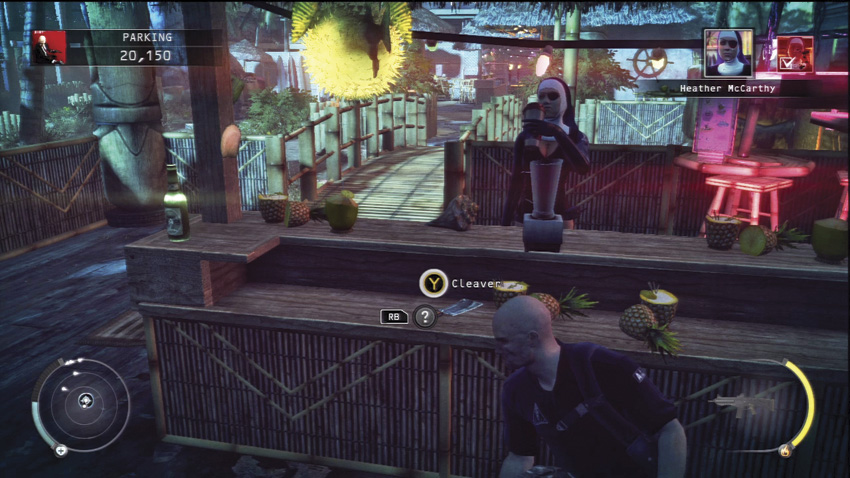
Kill one of the Saints with poison to complete this challenge.
Reception
Intervene (2/2)
You have to move quickly upon entering the reception area in order to save the civilian from being killed by a soldier. Lure the soldier into the barbecue area so that you can kill him and hide the body without being seen.
Angel of Death—Part 1
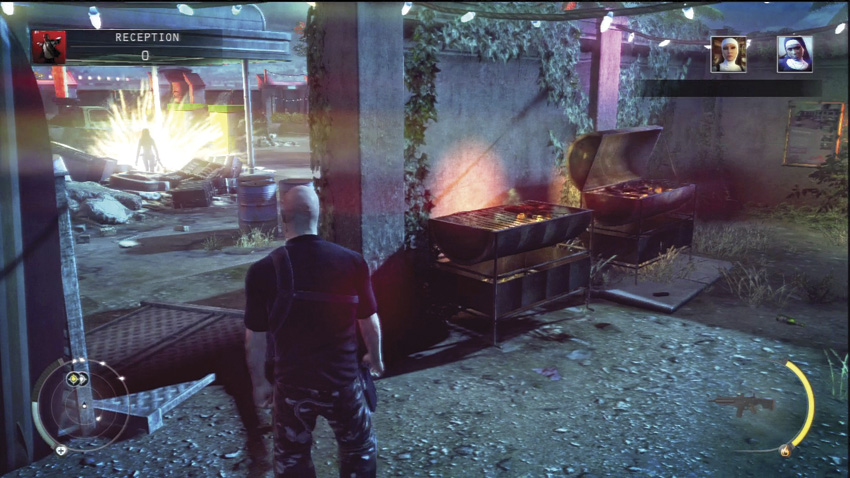
In order to complete this challenge, eliminate two Saints with explosions. The gas station near the reception building is a great opportunity to accomplish this.
Evidence Collector (2/3)
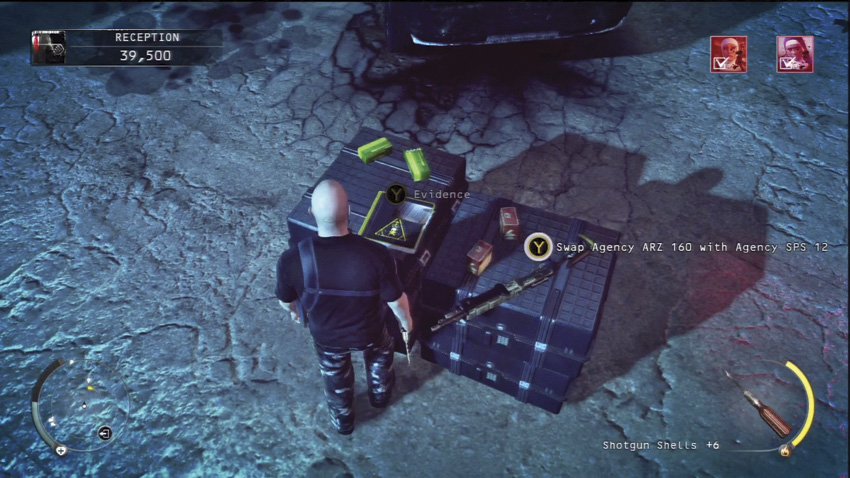
The second piece of evidence is located on a crate in the center of the road. There are several soldiers patrolling this area, so thin them out to make it easier to get the goods.
Cornfield
Scarecrow
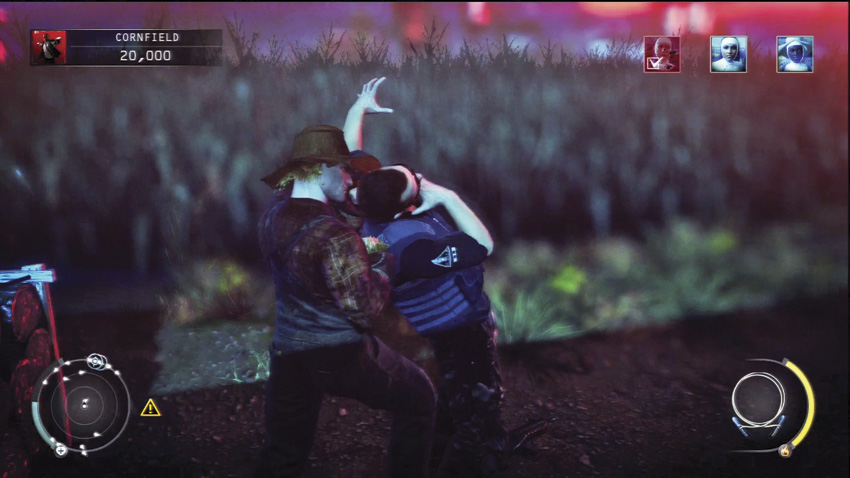
Eliminate 10 Agency soldiers while you are dressed as the scarecrow without being spotted.
Electro Cute
Kill one of the Saints by electrocution in order to complete this challenge.
Skirt Chaser
Complete both Black Widower and Electro Cute to get this challenge.
Evidence Collector (3/3)
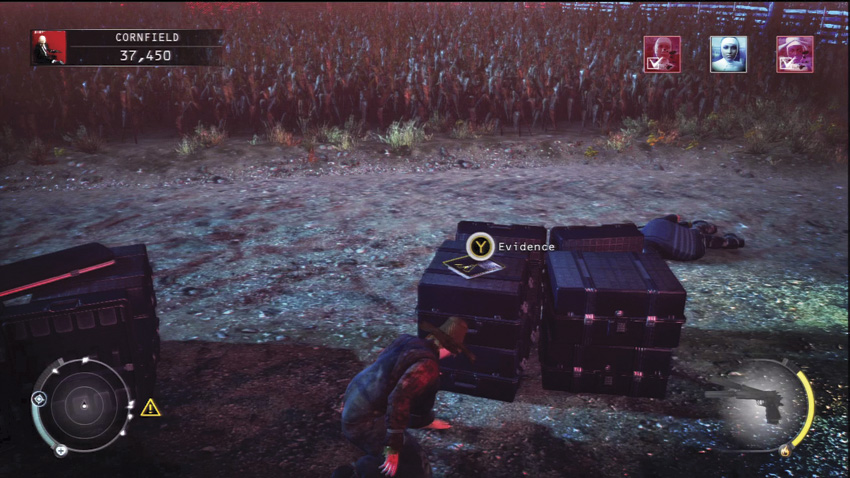
The last piece of evidence is on some containers near the trailer and vehicles at the end of the dirt road. Distract the soldiers in this area, luring them into the cornfield to kill them, and then move in to get the evidence.
Angel of Death—Part 2
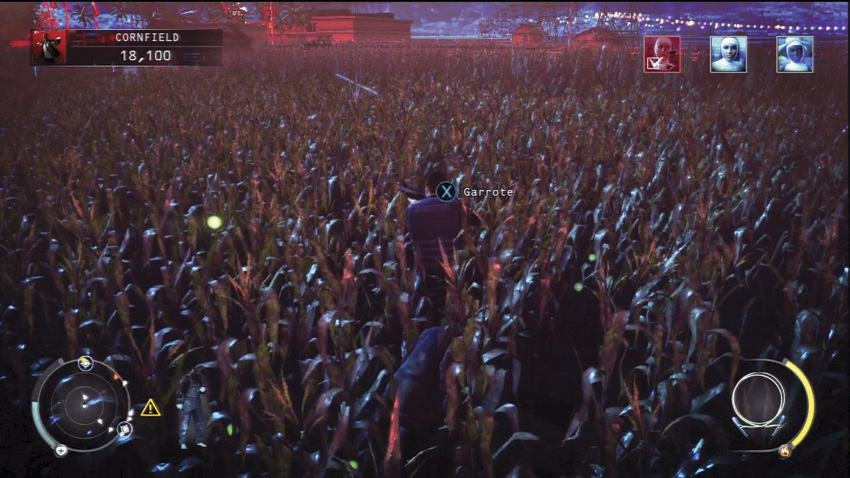
During a second playthrough of this level, you can complete this challenge by eliminating all Agency soldiers and Saints without being seen. Use a lot of distractions so that you can sneak up on enemies and kill them without being spotted. This challenge is unlocked once you complete Part 1.
Angel of Death—Part 3
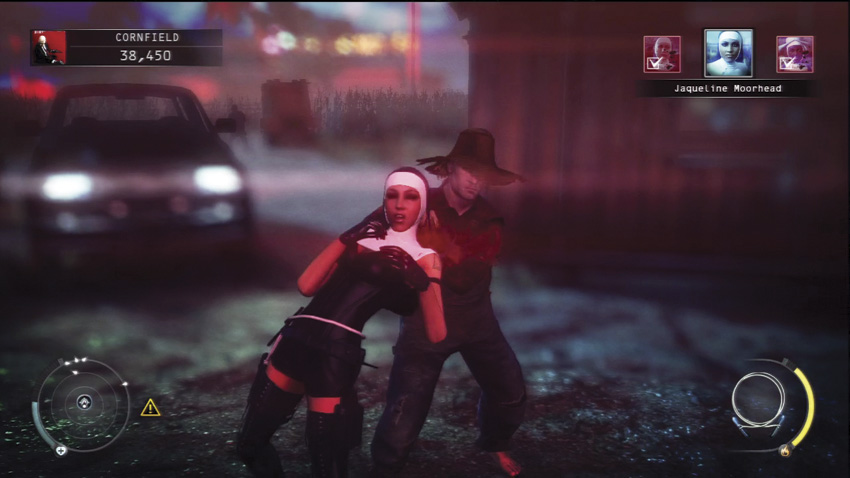
After completing Part 2, this challenge is unlocked. To complete it, kill all of the Saints using the fiberwire. This is not that difficult since you use the fiberwire to kill three of them normally. The key to completing this is to lure away soldiers near the Saints with distractions so you can get in close enough to kill the Saints. The Saints in the reception area are easily lured into areas where you can kill them out of sight. Finally, to kill Cain, sneak into the shack and hide in the container. Then, when she comes in to use the sink, climb out and garrote her.
Infiltrator
Get through the entire mission without being spotted.
A Calm Before the Storm
Finish this level to complete this challenge.
Mastery: Attack of the Saints
Complete all of the other challenges for this level to earn this final challenge.
Skurky’s Law
Courthouse
Chameleon
In order to complete this challenge, you need to acquire four disguises: court usher, court security guard, judge, and Hope police officer.
Obstruction
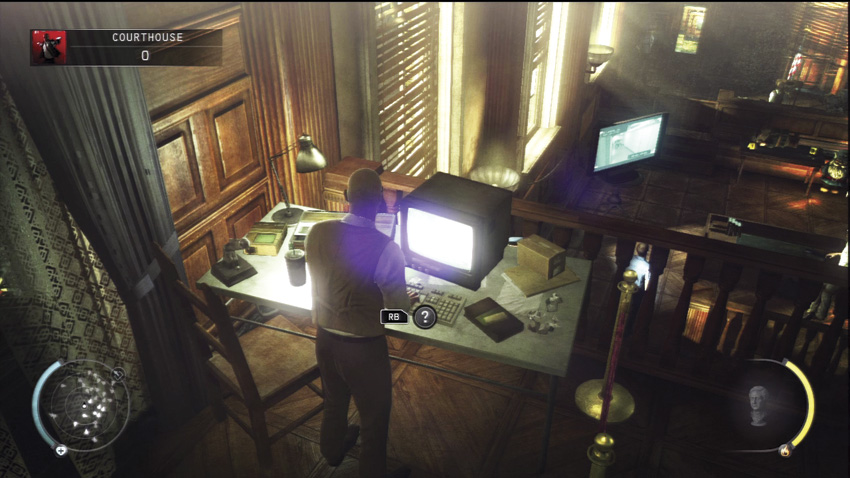
Tamper with the video evidence on the computer in the upstairs balcony of the courthouse to complete this challenge.
Evidence Collector (1/3)
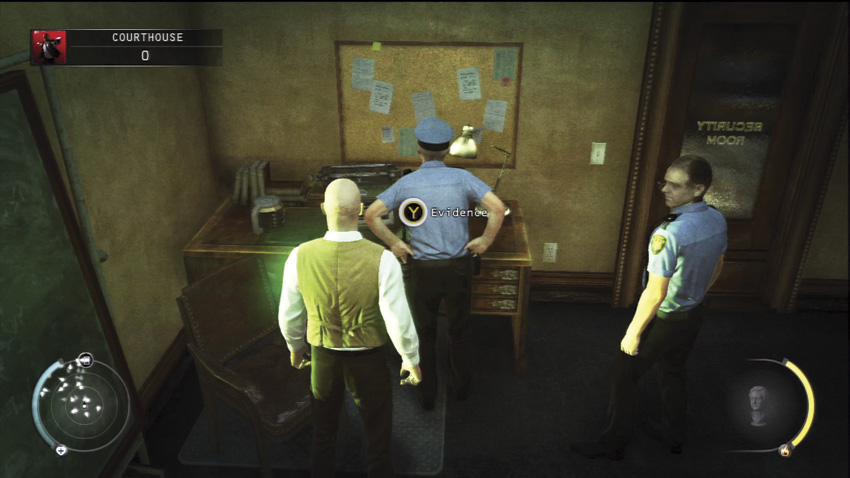
The first piece of evidence is in the security room. You need the Court Usher disguise to get in there.
Take Office
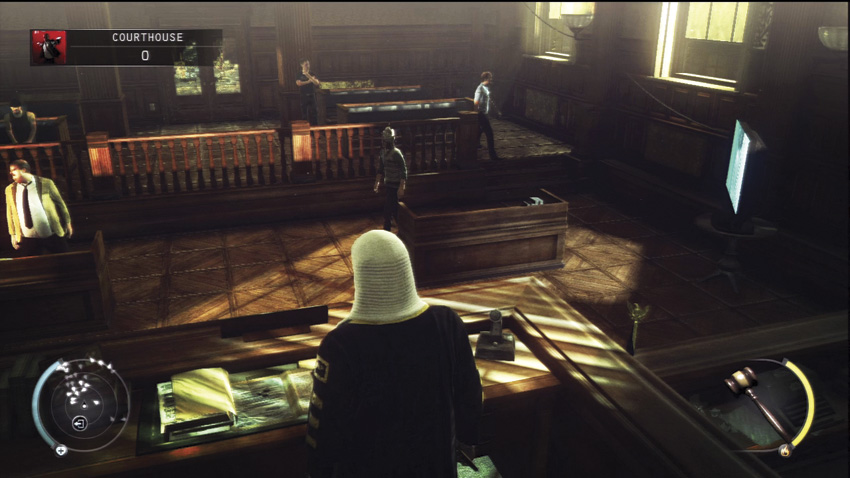
Acquit the defendant with tinfoil on his head while you are disguised as the judge to complete this challenge.
No Collateral Damage
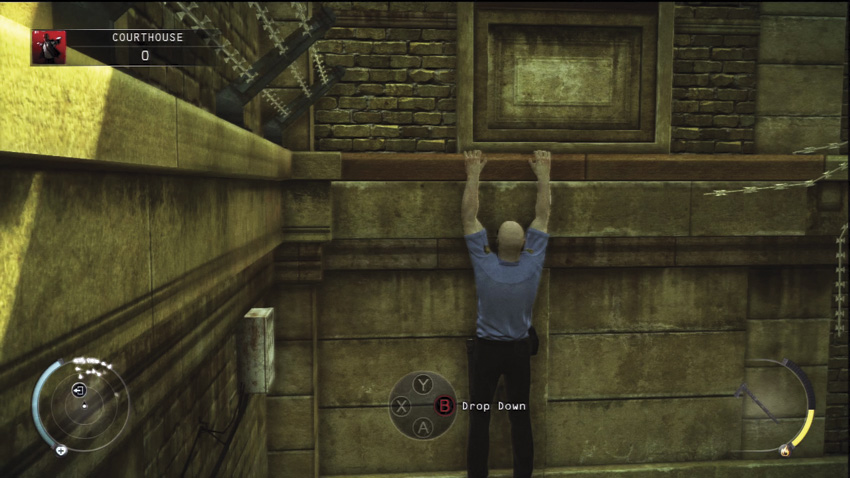
This challenge requires you to get through the courtroom and into the holding cell without killing or subduing anybody. In order to do this, get the keycard from the room behind the locked door. Sneak around the alley to get to the ledge. Before climbing up the ledge, go through the nearby door into a storage room. Put on the security guard disguise found here, and then climb up into the judge’s chambers. Exit trough the door by the usher area and use a lot of Instinct to get past the security guards in the courtroom and to the locked door leading to the holding cells.
Judgement Day—Part 1
In order to complete this challenge, you need to get the judge disguise without subduing the usher in the library. Go through the alley outside of the courthouse to get into the judge’s chamber. Then, after you get the judge disguise and end the trial, exit the courtroom and move up the stairs to the library. Subdue the usher in the library and hide his body without being seen.
Judgement Day—Part 2
This challenge is unlocked when you complete the first part. For this, you need to subdue the three ushers and hide their bodies without being seen while wearing the judge disguise. One is in the library. Another comes into the usher area. Hide her body in the judge’s chamber. The third is outside of the evidence room. Subdue or kill the two guards in the evidence room and hide their bodies. Then, use a distraction to lure the usher into the evidence room. Subdue him and then hide the body to complete this challenge.
Judgement Day—Part 3
After completing part two, you unlock this challenge. Once you get the judge disguise during the recess, make sure you have the gavel and exit through the usher area door. Continue out of the courtroom and into the men’s room where the defendant is relieving himself. Kill him with the gavel and hide the body to complete this challenge.
Suit Only
This is a tough challenge to complete. Get the radio and make your way into the judge’s chambers without being seen by going through the alley. Then, subdue the judge and usher when they enter. Lure the security guard by the usher door inside and deal with him. Use distractions to lure the other usher and security guards into this area where you can take care of them. Once they are away from the locked door, sneak over there and use the keycard to get in. It is easier to get through the remaining two areas while wearing the suit. Just stay hidden instead of getting disguises and sneak past while guards are not looking or distracted.
Take the Fall
In order to complete this challenge, you need to be sentenced to prison while wearing the Tinfoil Hat Man disguise.
Holding Cells
Evidence Collector (2/3)
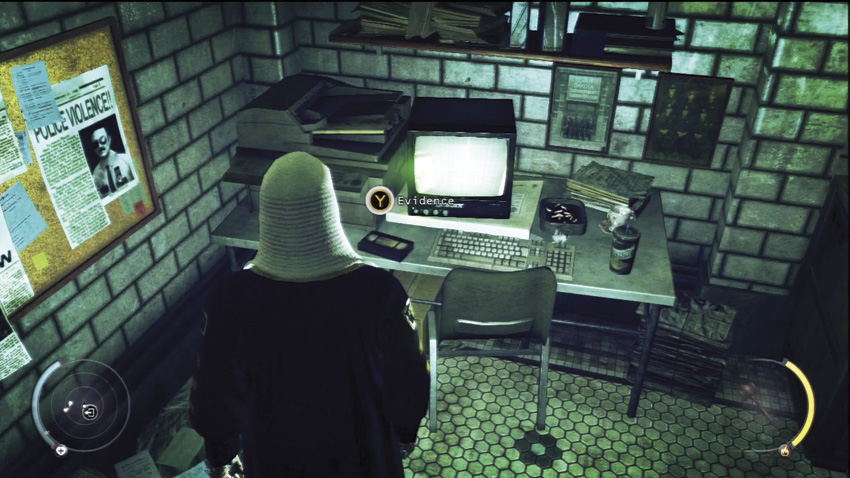
The second piece of evidence is located in the room adjacent to the cell room where the door leading to the prison is located.
Prison
Evidence Collector (3/3)
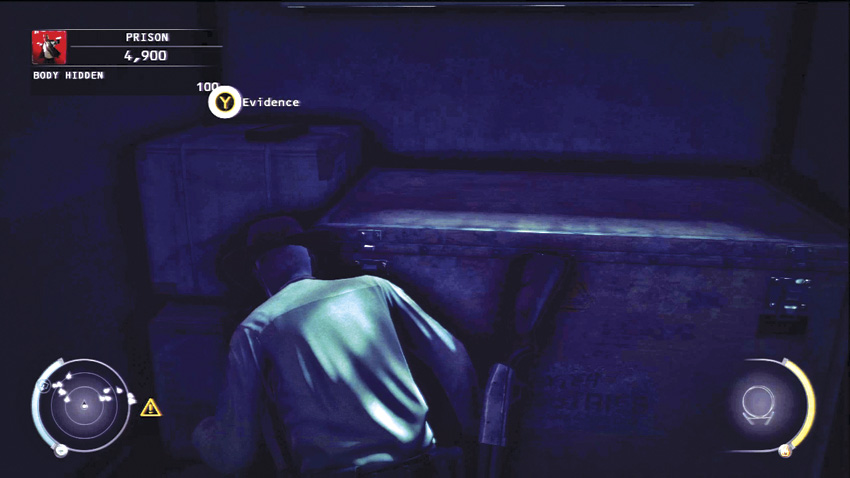
The last piece of evidence is in a cell after the gate you have to open. There is a police officer in the cell with it, so you need to get past him somehow.
So Close and Yet so Far
Finish this level to complete this challenge.
One Man Riot
Complete this challenge by killing ten guards in the prison with the glass shank from the courtroom evidence room. You do not need to kill all ten in a single playthrough.
Infiltrator
Get through the entire mission without being spotted.
Mastery: Skurky’s Law
Complete all of the other challenges for this level to earn this final challenge.
Operation Sledgehammer
County Jail
Chameleon
In order to complete this challenge, you need to acquire three different disguises: Hope police officer, Agency grunt, and Agency heavy trooper.
Vigilante
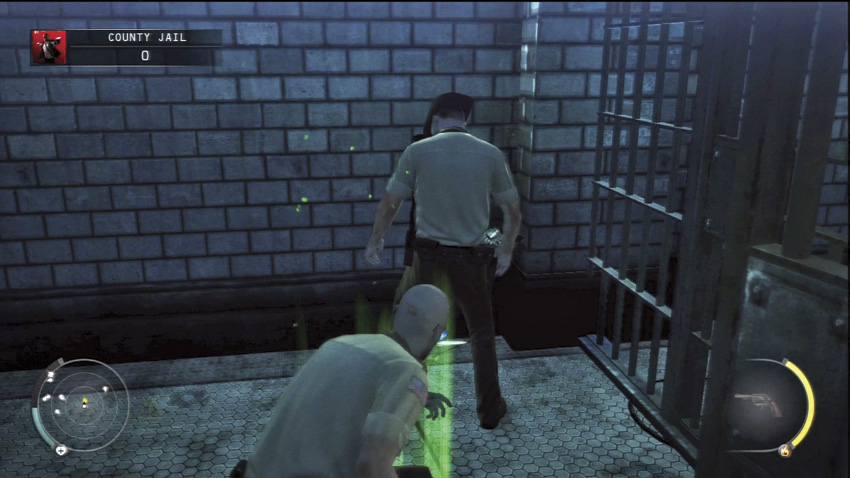
This challenge requires you to take out all of the police officers in the jail with melee attacks. If you are doing this, don’t use the power cord.
Evidence Collector (1/4)
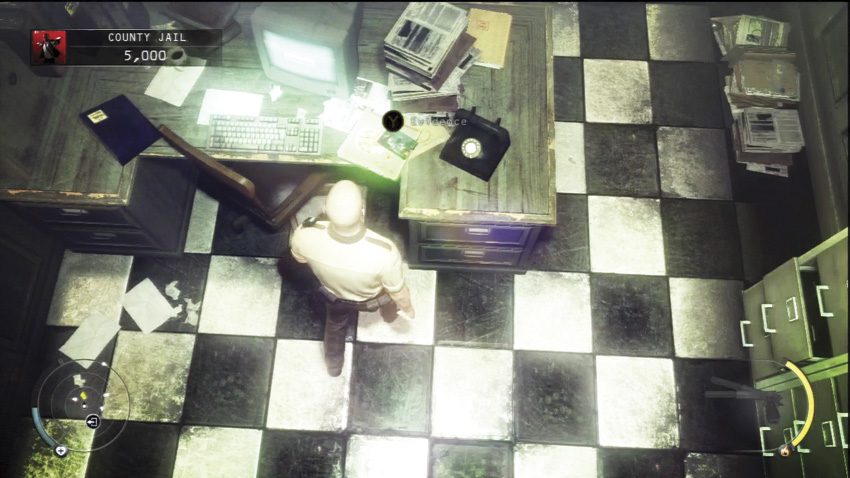
The first piece of evidence is located on a desk in an office area to the right of the exit door. You will need to distract the officers near it in order to get the evidence without being seen. There is a police baton on the desk behind the counter area. Throw it into a corner. When the officers turn to look, move in and get the evidence. Then, quickly get to the door and leave the building.
Outgunned
Evidence Collector (2/4)
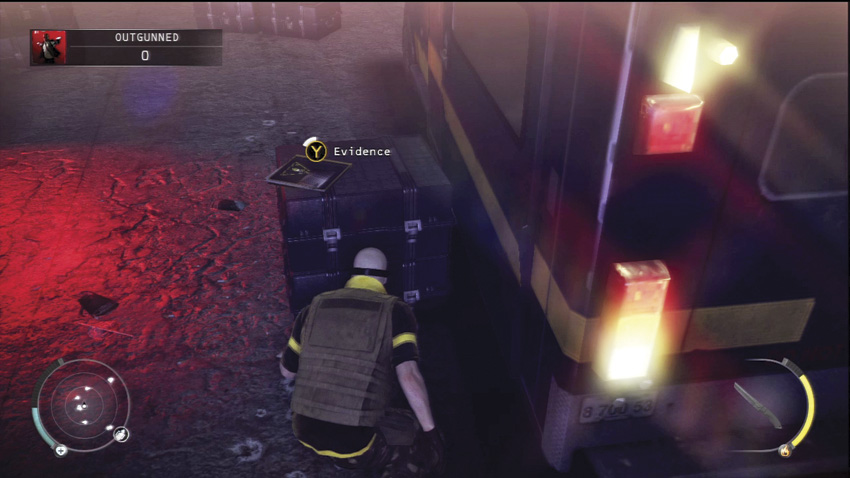
The second piece of evidence is located on a crate near an ICA vehicle at the back of the perimeter the ICA have set up around the jail. Sneak in and get it while no one is looking.
Burn
Evidence Collector (3/4)
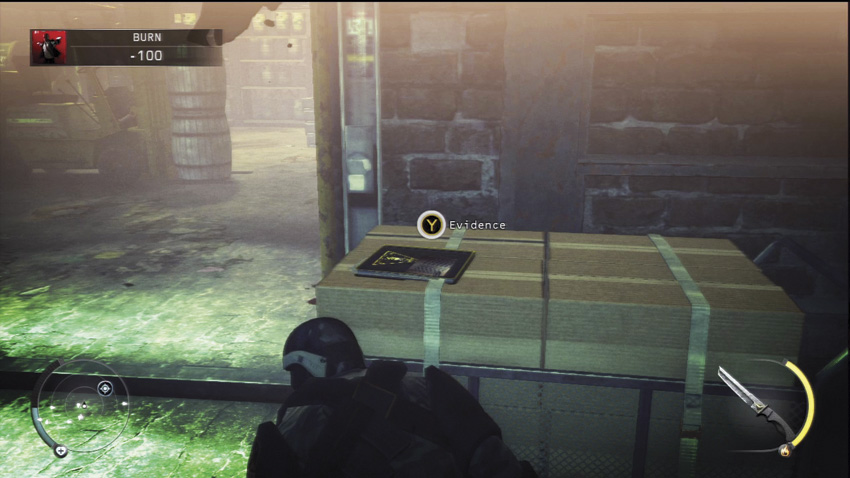
The third piece of evidence is located on a box near the large doorway leading into the winery warehouse. There are several troopers patrolling around it.
Misty Eyes
Neutralize 10 enemies in the warehouse without being seen. In addition to the two at the start of the warehouse, the easiest way to complete this challenge is to lure troopers into the first part of the warehouse one at a time. This will give you a few more kills. Then, when you to get to the winery section, lure the troopers into that part. There are several containers in there for hiding bodies and scoring a few extra points.
Heavy Armor
To complete this challenge, you need to let an enemy see you and hold up your hands to surrender. Then, while using them as a human shield, kill three other Agency soldiers.
Surgical Precision—Part 1
This challenge is completed by killing three of the Agency heavy troopers with headshots. The Silverballers work great for this because they are silenced and don’t give away your presence.
Surgical Precision—Part 2
This challenge is unlocked after you complete part one. This time you need to kill 5 Agency heavy troopers consecutively with headshots without missing a shot. This is achieved more easily by using point shooting. Even if you can’t get five with one execution, kill three or four, then use point shooting again to get the last one or two.
Surgical Precision—Part 3
Completing part two unlocks this challenge. Kill seven Agency heavy troopers consecutively with headshots, without missing a shot, within 60 seconds. Once again, use point shooting to complete this challenge.
Hope Fair
Evidence Collector (4/4)
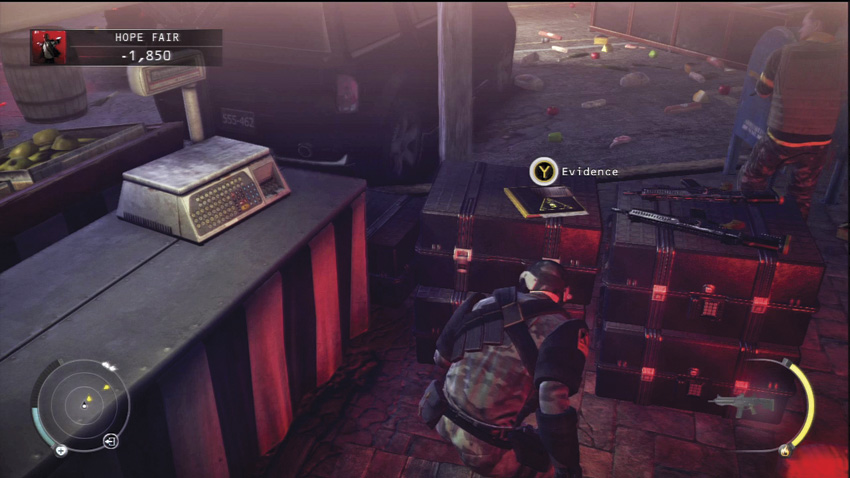
The last piece of evidence is located on a crate on the right side of the area at the end of the street. There are several enemies here, so use a distraction to get them to look the other way while you get the evidence.
Suit Only
Since your disguises are not that effective during this level because everyone around is wearing the same outfit and can see through the disguise, you can use the same strategy to complete the level while wearing only your suit. Just stay low and hidden when you make your moves.
Infiltrator
Get through the entire mission without being spotted.
Outskirts
A Cleansing Fire
Eliminate Skurky and leave Hope to complete this challenge.
Mastery: Burn
Complete all of the other challenges to earn this final challenge.
Blackwater Park
Blackwater Park
Chameleon
In order to complete this challenge, you need to acquire 9 different disguises: Blackwater bodyguard, Blackwater custodian, plumber, Blackwater receptionist, Blackwater manager, Blackwater Park interior guard, Blackwater Park exterior guard, Blackwater tactical team, and samurai.
Evidence Collector (1/2)
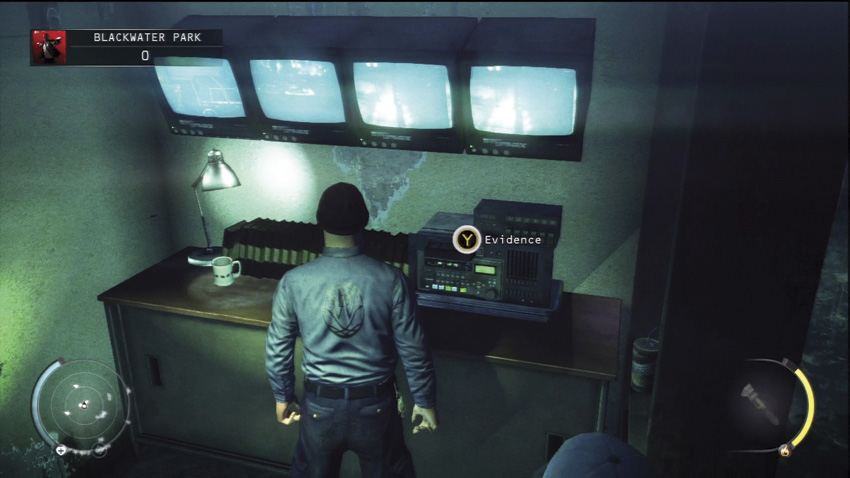
The first piece of evidence is in a small security room attached to the maintenance building at the far right side of the complex. It is best to use a custodian disguise to get it.
Crash Course
Complete this challenge by showing a movie in the conference room.
Hack’n’Backslash
Enter the elevator after using the computer to override the retinal scanner to complete this challenge.
You Can Manage
Wear the Blackwater manager disguise when you enter the elevator to complete this challenge.
Laundry Day
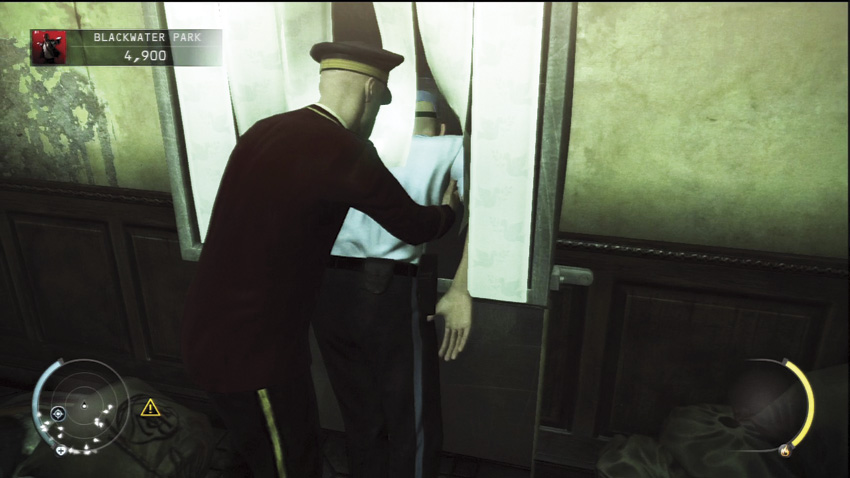
Hide three bodies in the laundry chute to complete this challenge.
I Got My Eyes on You
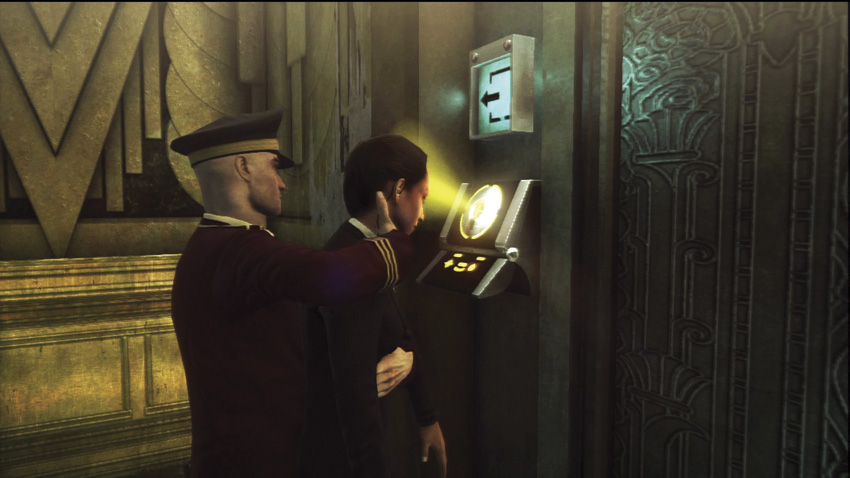
To complete this challenge, enter the elevator using the retinal scanner and someone else’s retina.
Mile High Club
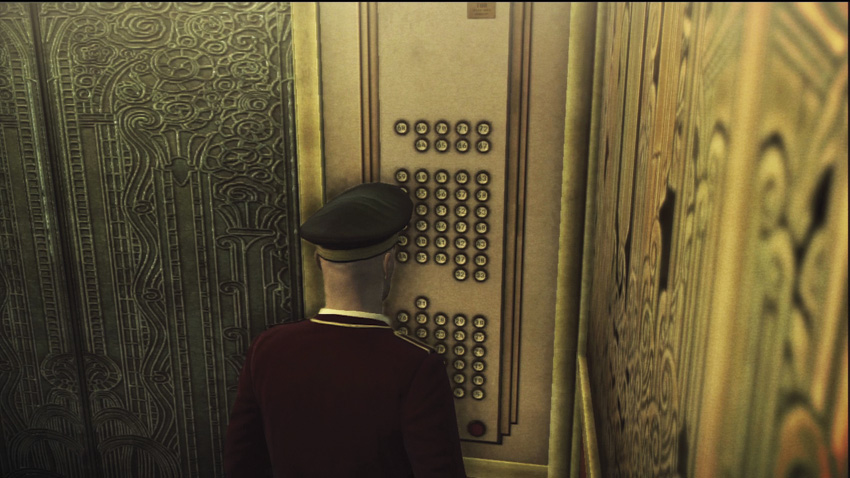
Complete You Can Manage, I Got My Eyes on You, and Hack’n’Backslash to finish this challenge.
Blue Collar
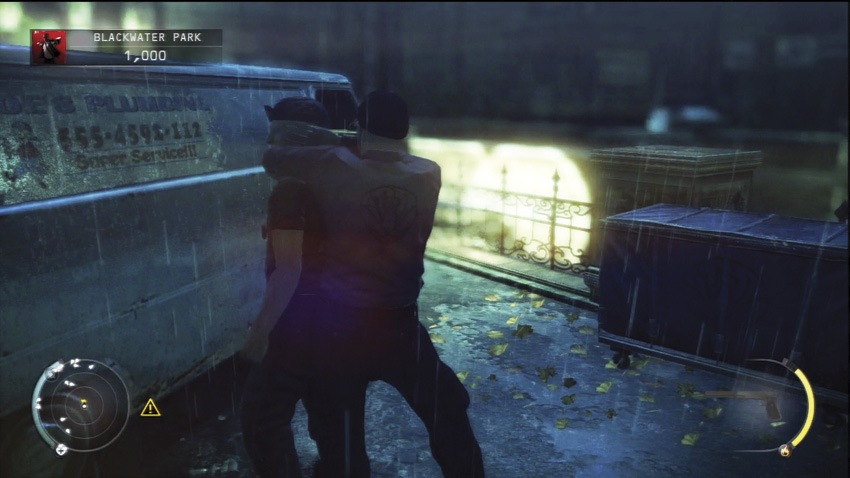
This challenge requires you to wear the plumber disguise throughout the level and not be spotted. The plumber is located near his van by the staff entrance. Sneak up and hide behind a car to the left of the van. Throw an object to the side of the van so that the van blocks the view of the security guards at the staff entrance. Follow the plumber as he investigates and subdue him. Put on his outfit and hide the body in the nearby container. Since there is only one plumber, you can go anywhere in the lobby with the exception of the security room. Continue to wear the disguise while in the penthouse until the level is complete.
The Penthouse
Mockingbird
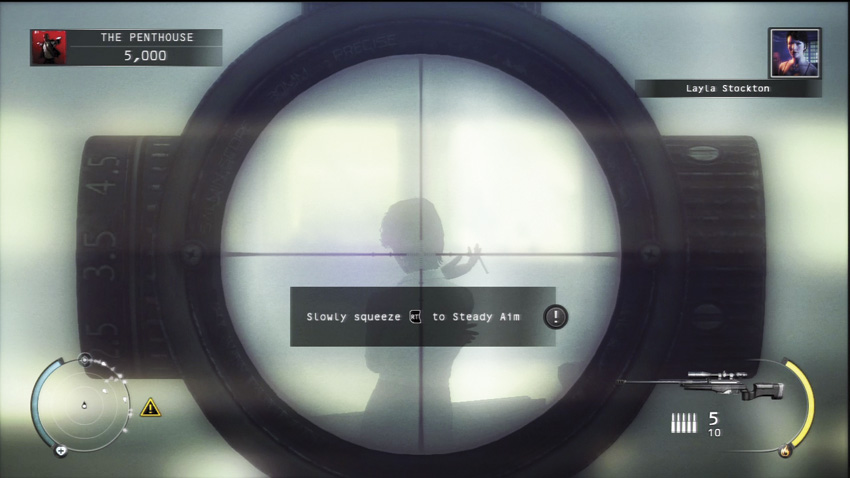
You can find a number of items in the room with the checkpoint, including a sniper rifle. Look out of the window and wait for Layla to show up on the balcony outside of the penthouse. Wait until she walks over to a section where the railing is broken and begins smoking a cigarette. Then, take a carefully aimed headshot to kill her. Layla’s body falls over the edge and appears to be accidental since your sniper rifle has a silencer attached.
Savage Sushi
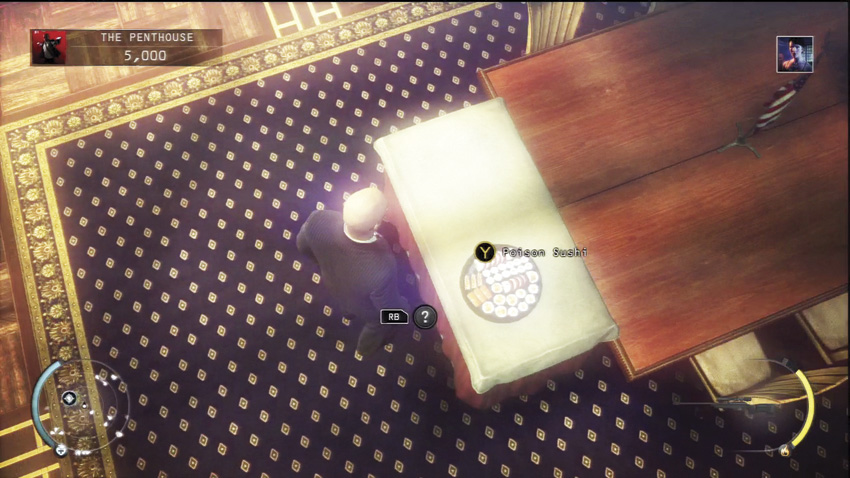
Pick up the bottle of U’wa tribe poison from the weapons room with the laser security. Go to the dining room and pick up the statue bust that is near the stairs that lead down to the dining room. Throw it to the right of the guard by the stairs. As he goes to investigate, move to the sushi platter at one end of the table and use the poison on it. Then, leave the area before you are spotted. As Layla makes her way around the penthouse, she stops and has a bite of sushi—her last bite.
Bones
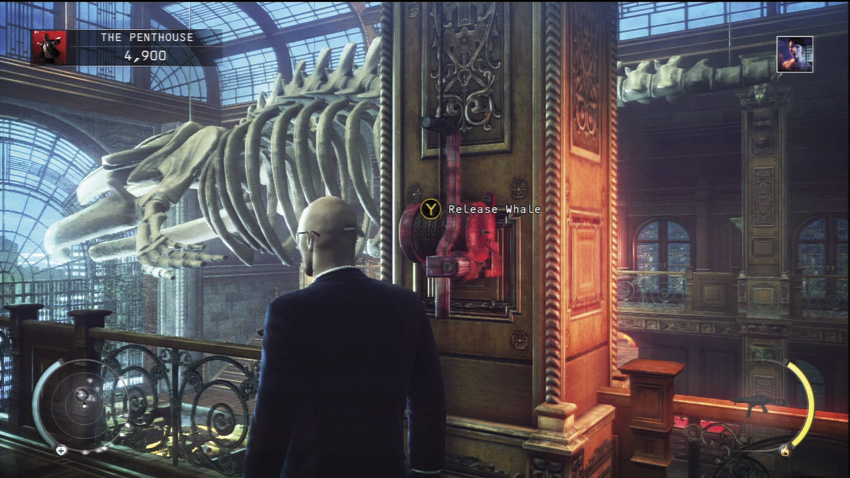
From the checkpoint room, head down the stairs and then walk to the right. Follow the hallway to the end and turn to the left to enter a long room. There are two guards here facing an opening to the left. Stand up and walk behind them. Use Instinct as you turn left and go up the stairs. Once out of their sight, crouch down and move along the balcony walkway. Head down the stairs and take cover. Switch cover to the model of the Dexter Industries factory, and then keep going until you reach the flight of stairs on the other side of the room. Climb up to the balcony walkway and continue to the lever that releases the whale skeleton. Wait there until Layla walks in and is looking at the model. Pull the lever and the whale comes crashing down to kill Layla. Again, it looks like an accident.
Straight to the Heart
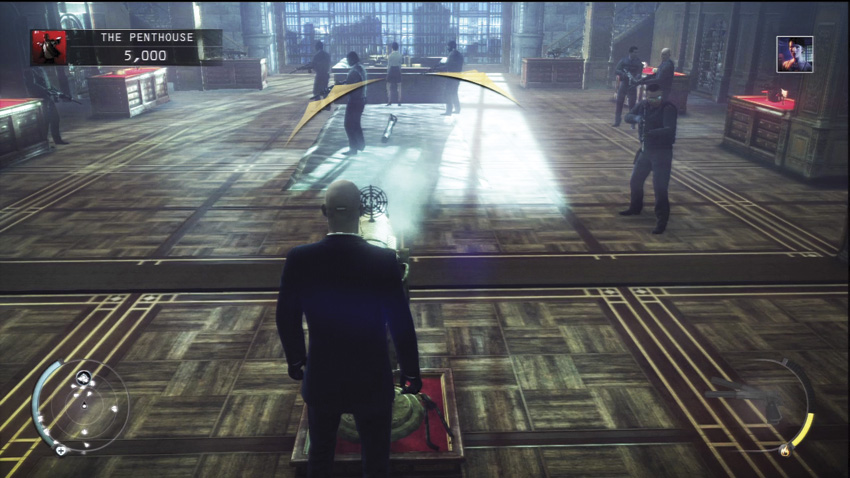
Leave the checkpoint room and head down the stairs. Go to the doorway leading into the large room containting the whale. There are two guards nearby. Use distractions to lure them into the room with the proximity mine. Kill each in turn and hide their bodies. Then, move to the large room to the right of the room with the whale. Use distractions to neutralize the two guards in here and hide their bodies. Move into the whale room and hide behind a pillar near the harpoon gun so that the other guards in the room can’t see you. Wait until Layla walks in and looks at the model. Then, make your move. Walk up to the harpoon gun and fire it to kill Layla with the harpoon. Quickly get out of the room and find a place to hide until things die down.
Skin Trade
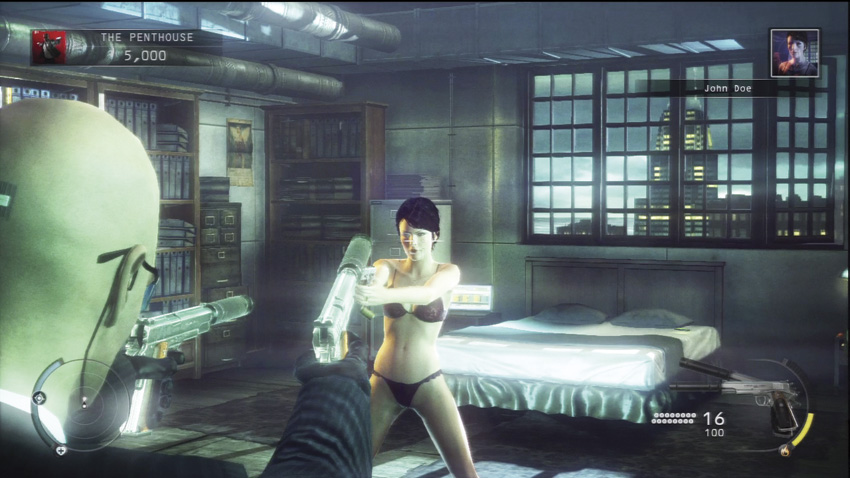
When Layla tries to seduce you, kill her instead.
Fired Up
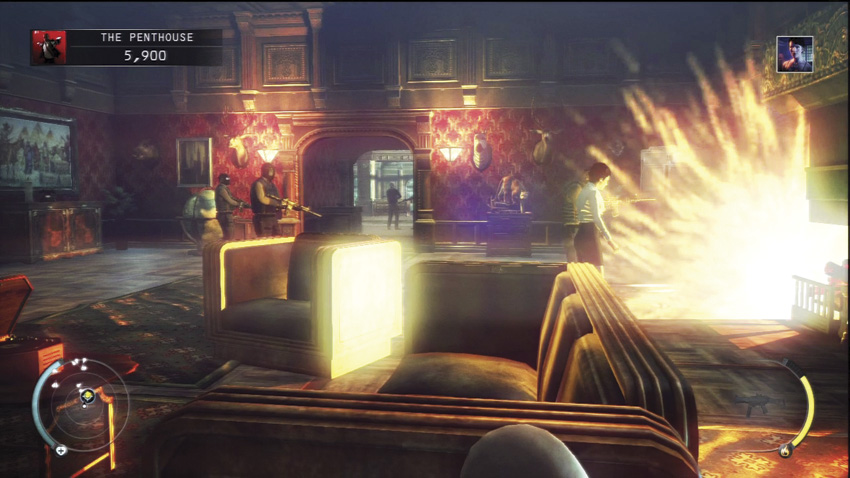
Walk down the stairs from the checkpoint room and continue toward the dining room. As you enter the dining room, turn to the left and head through the door leading out onto the balcony. To the left of the door is a barbecue. Look for a gas can next to it. Pick it up, and then backtrack through the dining room to the stairs. Continue down the hall and into the long room to the right of the whale room. Move past the two guards to the doors at the end of the room. Make sure no one is inside, and then hide in the container. Wait until Layla and her entourage come into this room and stop for a bit. Quietly climb out of the container, take cover behind a couch, and throw the gas can so it lands in the fire. The resulting explosion kills Layla. Quickly get out of the room or use point shooting to kill the surviving guards in the room. Get to a hiding spot and wait until things die down.
Horn of Plenty
Complete Savage Sushi, Straight To The Heart, Bones, Mockingbird, Fired Up, and Skin Trade to get this challenge.
Evidence Collector (2/2)
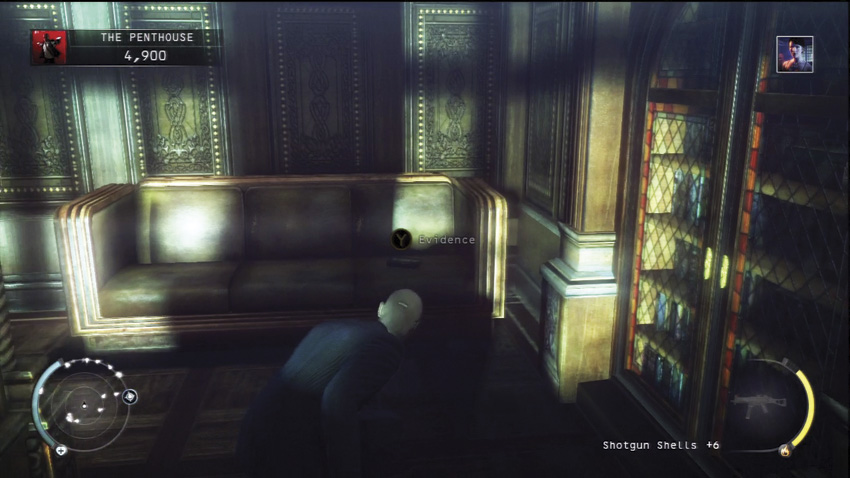
The second piece of evidence is located on a sofa couch to the left of the harpoon gun. You can get it by sneaking from the model around the side of the whale room. Use the display cases as cover and switch cover to get from case to case. Then, quickly sneak up to the evidence and grab it.
Cetacea
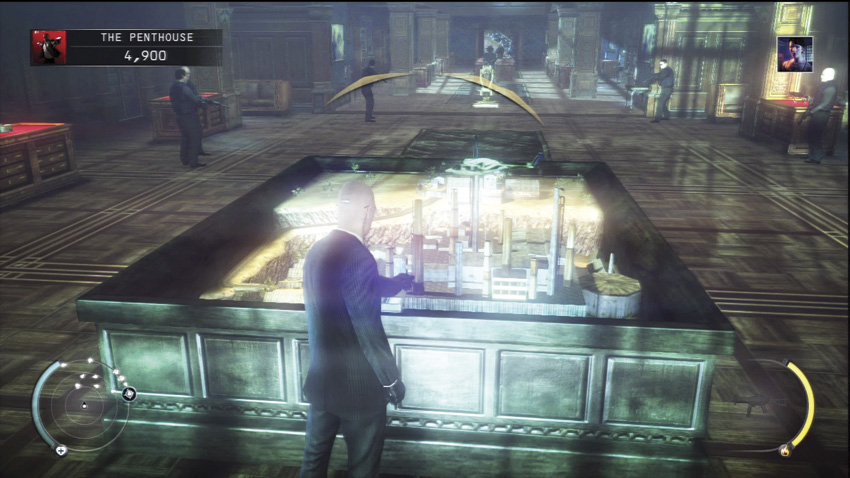
To complete this challenge, start up the model in the whale room and get up to the balcony walkway. Wait until at least five guards are under the whale, and then pull the release lever to drop the whale on them. You need to kill at least five guards to complete this challenge.
Whaling
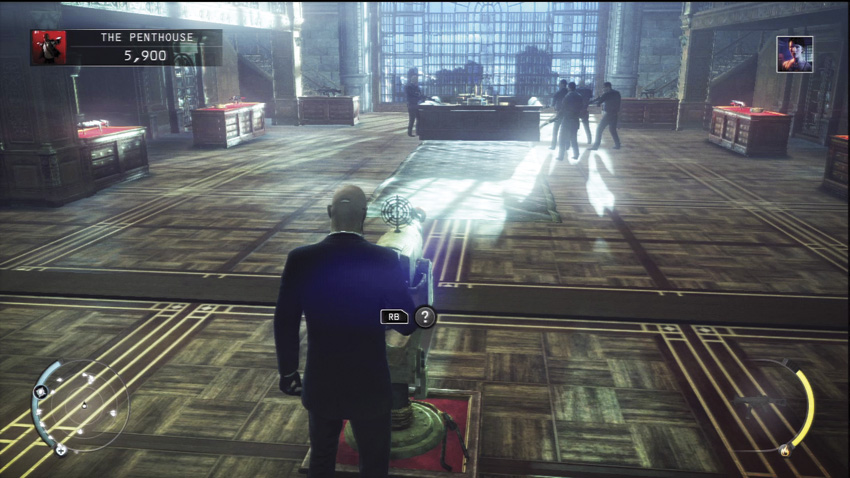
Set up the whale room just like you would for the Straight to the Heart challenge. This time, however, you need to kill three guards with the harpoon gun. Sneak around and start up the model to lure the guards in close. Then, make your way to the harpoon gun and fire it to complete the challenge.
Halleluja
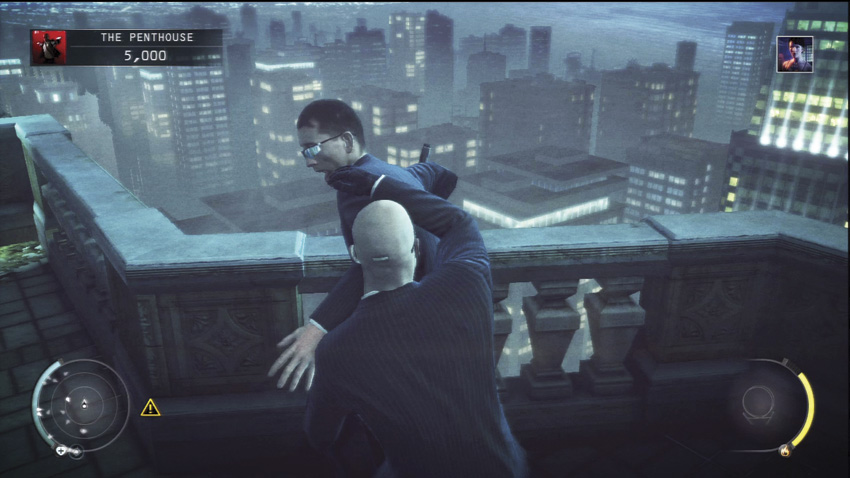
To complete this challenge, throw five guards (or their bodies) over the side of the building out on the exterior balcony without being spotted. This is cumulative, so you don’t have to do it all in one playthrough.
Ronin—Part 1
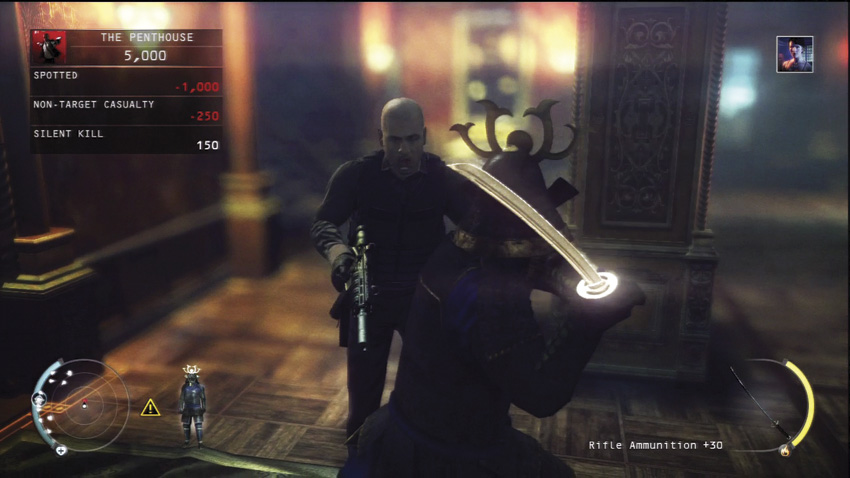
This challenge requires that you acquire the samurai disguise from one of the armor displays in the penthouse, as well as a katana sword. Then, kill one of the guards with the katana.
Ronin—Part 2
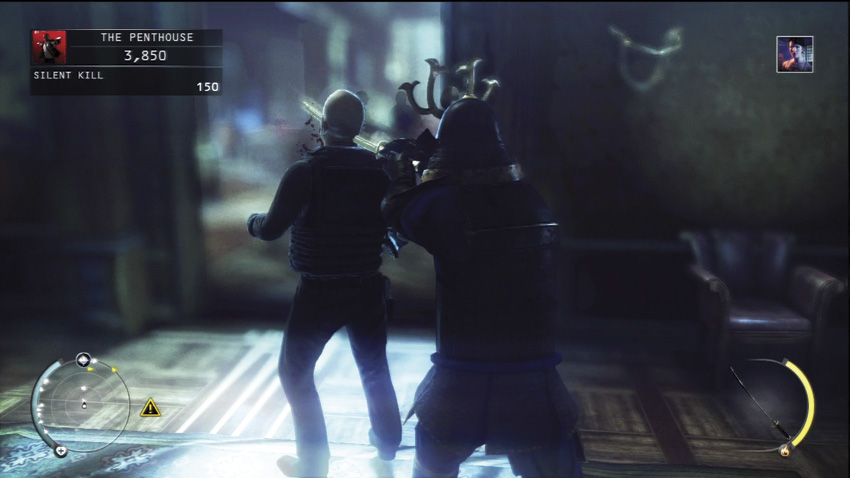
After completing part one, you unlock this challenge. This time you need to kill seven guards using the katana while wearing the samurai disguise and remaining unseen.
Ronin—Part 3
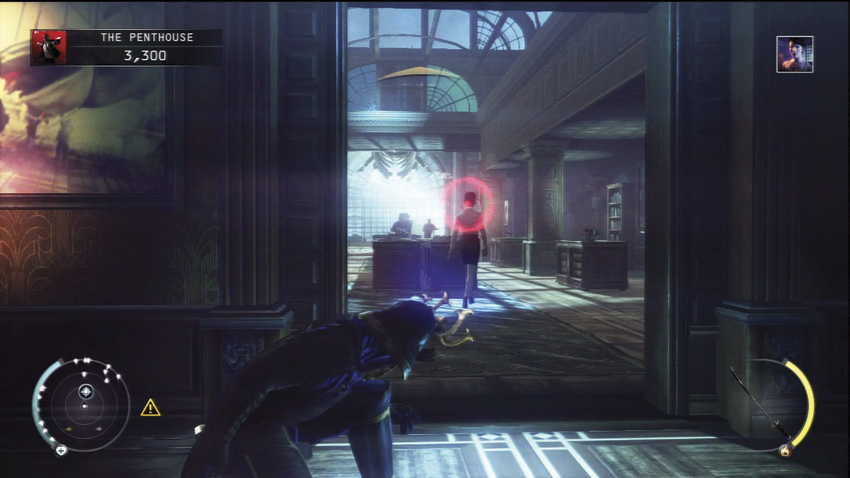
Unlock this challenge by completing part two. Now you must kill Layla with the katana while wearing the samurai armor. Remember that you can throw the katana, as well as slash and stab with it.
Infiltrator
Get through the entire mission without being spotted.
Hit Him Where It Hurts
Eliminate Layla and complete the level to get this challenge.
Suit Only
This level is tough to complete in just your suit. You will need to use a lot of distractions, and you will have to subdue or kill several people to get through the lobby and into the elevator. Then, when you are in the penthouse, the easiest way complete this level is to kill Layla with the sniper rifle as described in the Mockingbird challenge. Then, sneak through the penthouse to get to the panic room.
Mastery: Blackwater Park
Complete all of the challenges for this level to get this final challenge.
Countdown
Blackwater Roof
Chameleon
Acquire the Blackwater tactical team disguise to complete this challenge.
Face to Face
Eliminate Dexter and save Victoria to complete this challenge.
Stay on Target
Get to Dexter and kill him within 3 minutes (before the timer counts down to 2:00) in order to get this challenge. If you follow the walkthrough and don’t waste time, you can complete this within the shortened time limit.
It’s Personal
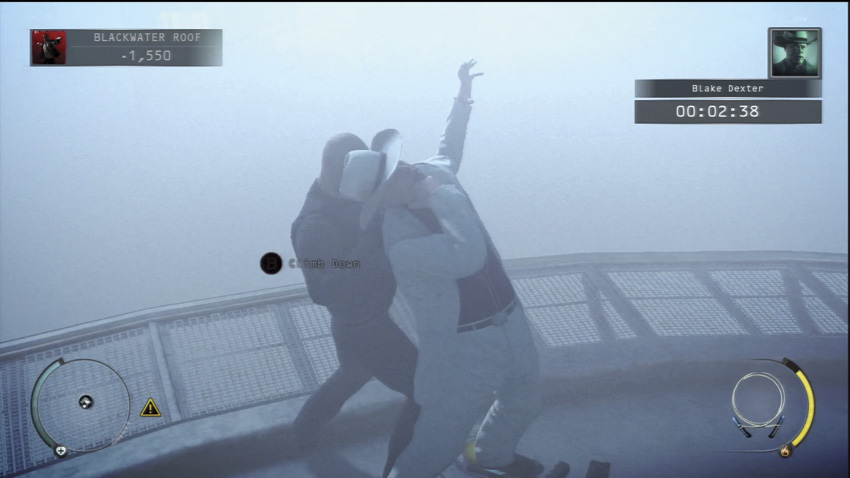
In order to complete this challenge, you need to use the fiberwire to kill Dexter. To do this, climb the ladder and wait until he receives the call that Layla is dead. While he is distracted, climb the rest of the way to the helipad, and then move to the side and drop down off of the edge to hang by your hands. Move around the helipad to the left. Dexter can’t see you. Get behind him, and then get back up onto the helipad. Sneak up behind him and garrote him to finish the level.
All Roads Lead to Dexter
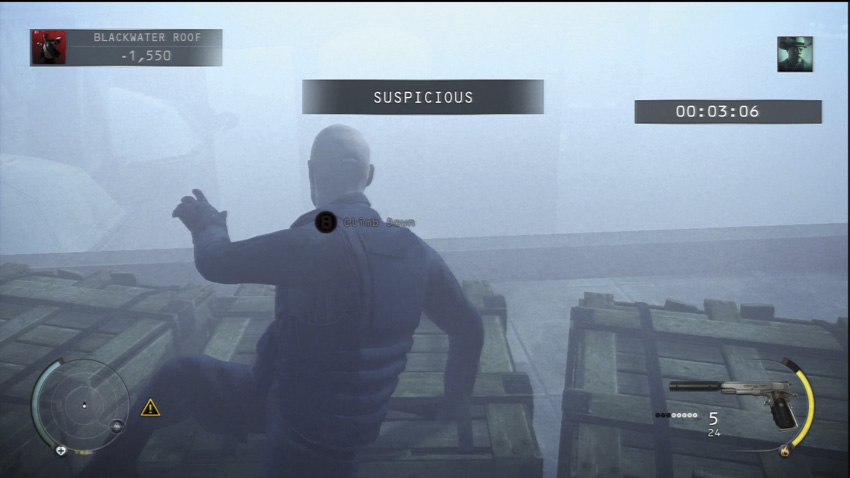
This is another way to get to the helipad. Go past the minefield and up the stairs. Take cover against the boxes on the left side, and then climb over them. Drop down onto the ledge and go hand-over-hand to the left to reach a gap in the mines. Move to the helipad, and then jump up to grab onto the edge. This completes the challenge and gives you a way to get in behind Dexter.
Evidence Collector
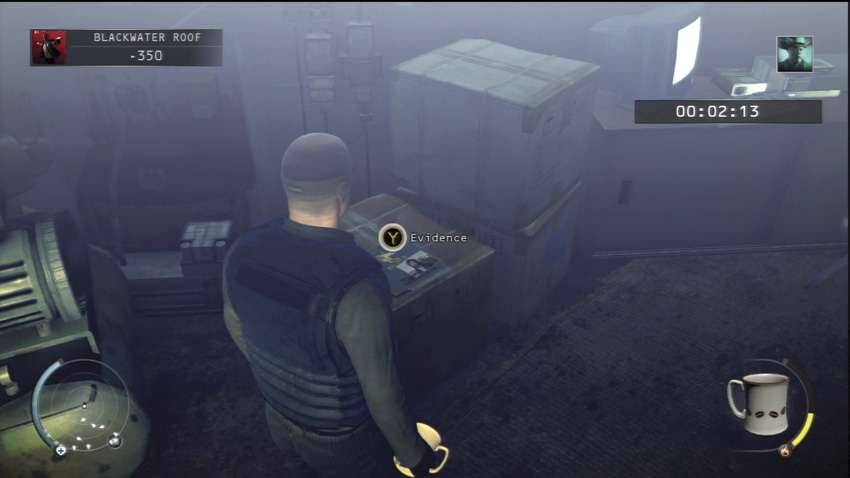
There is one piece of evidence. It is located inside a locked room on the left side of the upper roof. First, get the keycard from the room under the helipad. It is on a desk. Then, head back out onto the rooftop and get to the keycard lock. Enter a passageway and go to the right to enter the next room and get the goods. Hustle to get to Dexter before the timer runs out.
Axed
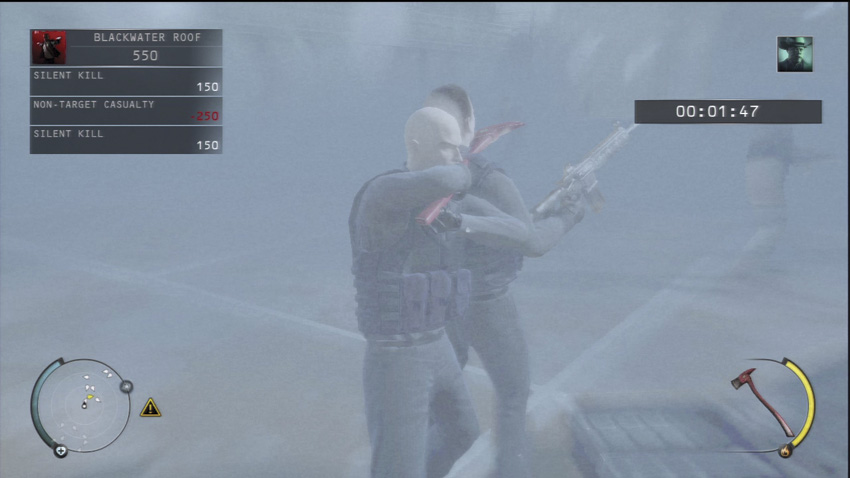
Get the axe from the locked room containing the evidence. Then, eliminate 5 guards with the axe to complete this challenge.
Hazardous
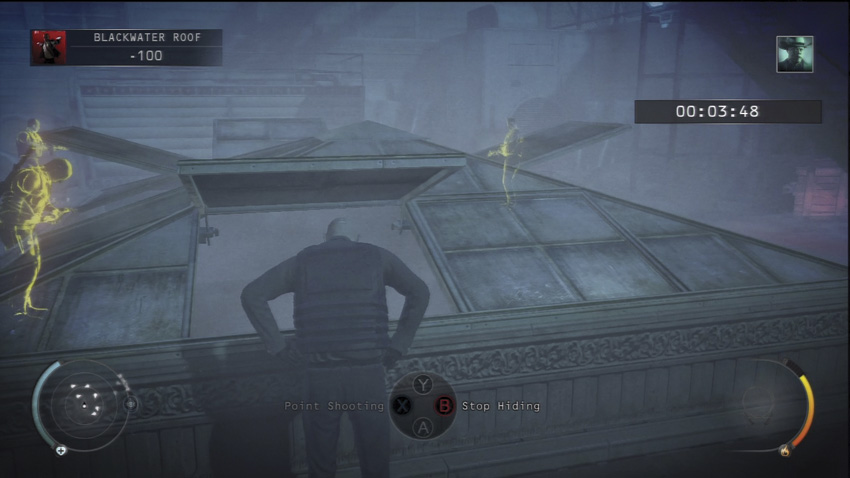
You have to eliminate two guards with an accident to complete this challenge. This is tough. After killing the first guard to get the uniform, kill the guard next to the second skylight with a single headshot. Quickly hide by the explosives on the second skylight. The guard by the stairs should join the one under the pallet and search around. As they are walking back to their positions, there is a brief moment where both of the guards are directly under the pallet. You have to shoot a bit early to catch them since it takes a second for the pallet to fall, and it may take several attempts before you get the timing just right.
Take ’Em Down—Part 1
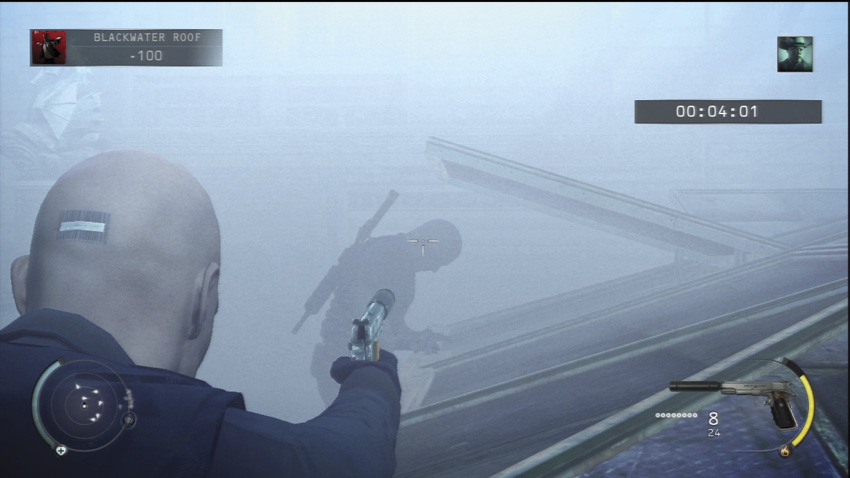
Eliminate three guards with headshots to complete this challenge and unlock the next part.
Take ’Em Down—Part 2
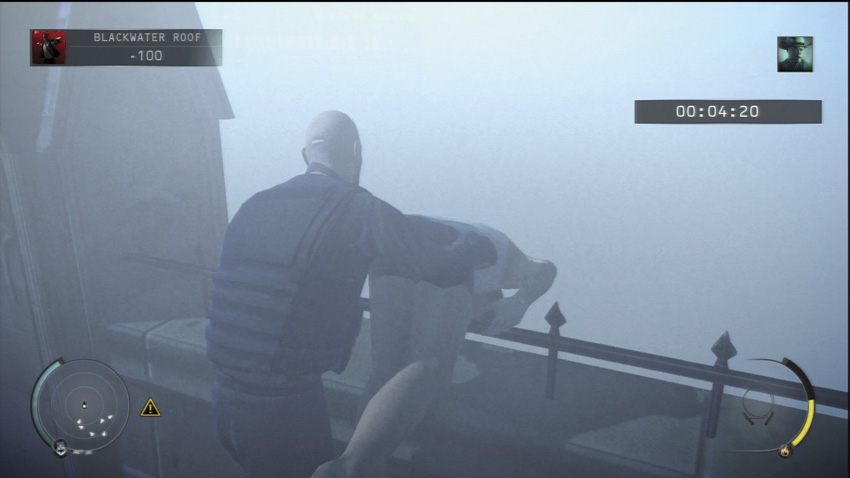
To complete this challenge, drop six guards over the edge of the building. You can either drag their bodies and dump them over the edge, or push them over the edge if they are standing next to it. You can complete part one on the first rooftop, and then complete this part by killing more guards and dragging their bodies and dumping them over the edge. This unlocks part three.
Take ’Em Down—Part 3
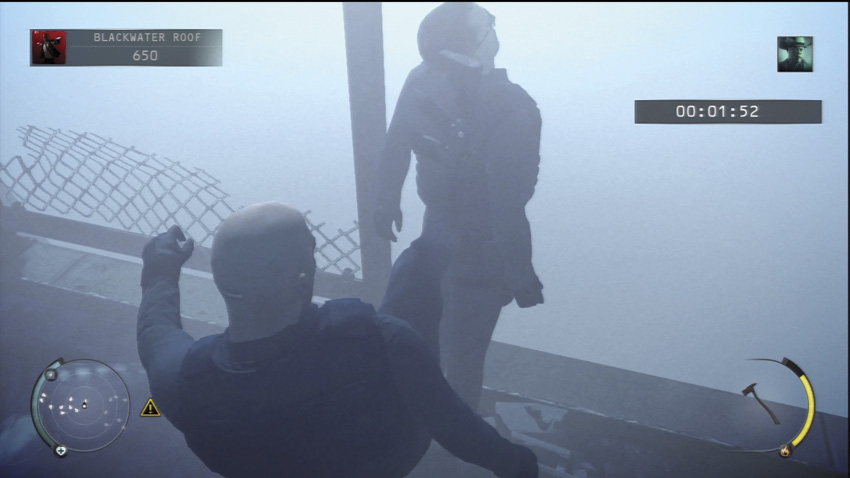
This challenge requires you to eliminate 10 guards without being spotted. Try to kill all seven on the first level during a subsequent play through, and then just get three more on the upper level. If you have built up enough Instinct, you can easily get this with point shooting.
Infiltrator
Get through the entire mission without being spotted.
Mastery: Blake Dexter
Complete all of the challenges for this level to earn this final challenge.
Absolution
Cemetery Entrance
The Higher Ground—Part 1
To complete this challenge, get three headshots using the sniper rifle. This also unlocks part two.
The Higher Ground—Part 2
Perform five headshots within 10 seconds with the sniper rifle in order to complete this challenge. Look for a group of guards patrolling around and wait until there are five near each other to try for this challenge. Once you complete it, part three is unlocked.
The Higher Ground—Part 3
This challenge is completed when you get seven headshots using the sniper rifle without alerting anyone.
Chameleon
To complete this challenge, you need to acquire three disguises: Agency grunt, Agency technician, and Agency heavy trooper.
Evidence Collector (1/3)
The first piece of evidence is located on a low wall along the brick walkway on the cemetery’s left side. It is near where the walkway intersects with another walkway in front of the raised area at the rear of the cemetery. Make your way to the back, over near the gate. Then, use distractions to deal with the guards on the raised areas at the center and left of the back of the cemetery. Systematically neutralize or distract guards so that you can get to the evidence unseen.
Burnwood Family Tomb
Wolf in Sheep’s Clothing
To complete this challenge, you must first acquire the Agency technician disguise. Then, kill Jade while wearing it and hide Jade’s body without being seen.
Evidence Collector (2/3)
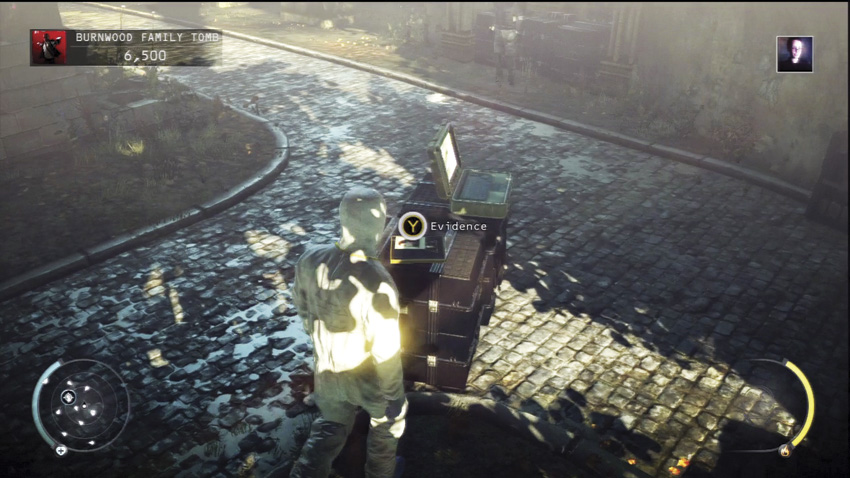
The second piece of evidence is located on a crate near the crane. It is easy to get if you have the technician disguise.
Heart of Stone
While disguised as the Agency technician, follow Jade to the crane holding the stone lid to a crypt. Wait until she is standing directly under the lid, and then press the button on the crane to drop the lid on top of Jade, killing her instantly. This appears to be an accident, so you can walk away without any trouble.
Crossed Out
There are two short tunnels through which Jade passes while making her rounds. The supports are weak. Cause them to collapse on Jade to kill her in another accidental death. In order to do this, get the remote-controlled explosive from a crate along the wall near the evidence. Then, drop the explosive in one of the tunnels. When Jade walks through, detonate the explosive to complete this challenge.
Numb
Complete both Heart of Stone and Crossed Out to earn this challenge.
Suit Only
The Burnwood Family Tomb is the only area that is a bit tougher to get through without a disguise. The best way to complete this challenge is to clear out the mausoleum as indicated in the walkthrough. Then, hide and wait for Jade to walk in. Kill her and make your way to the gate. In the other two areas, the cemetery entrance and the crematorium, you don’t need a disguise since you are staying hidden and behind cover almost all the time.
The Crematorium
Predator
Kill all three Praetorians with the fiberwire to complete this challenge.
Evidence Collector (3/3)
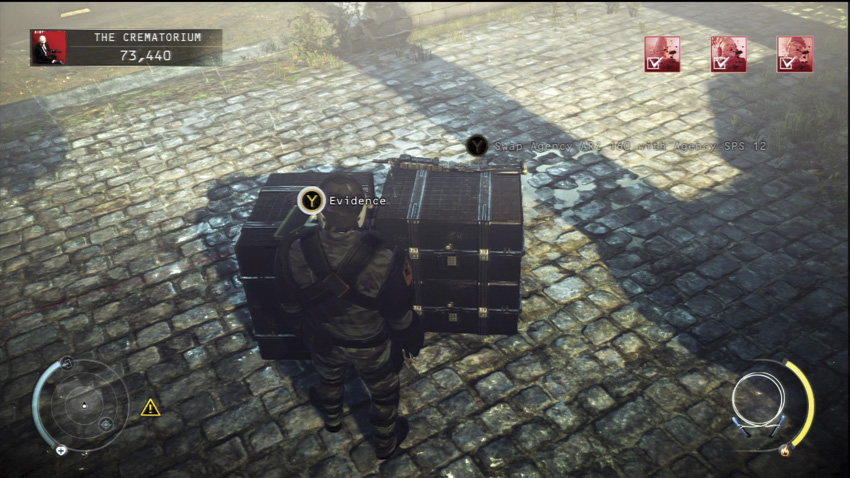
The last piece of evidence is on top of a crate near the steps on the right. When you get it, carefully avoid the laser tripwire and explosives that are also on the crate.
Arms Length Principle
To complete this challenge, you need to eliminate a Praetorian by shooting one of the explosives. Try this on Scutum. Crouch down near the left stairs so that you have a clear shot at the explosive on the crate. Then, as Scutum walks near the crate, fire a single shot with your silenced Silverballer to detonate the explosive and kill the Praetorian. Once you make the shot, quickly take cover in case Hoplon comes to investigate.
Infiltrator
Get through the entire mission without being spotted.
A Personal Contract
Eliminate Travis and finish the level—and the game—to complete this challenge.
Mastery: Absolution
Complete all of the challenges for this level in order to earn this final challenge.
The Complete Assassin
Complete all of the challenges for all of the levels to get this ultimate challenge.