
Hitman: Absolution Guide Campaign Campaign
Prologue: A Personal Contract
Briefing
According to ICA division chief Benjamin Travis, my former handler Diana Burnwood has gone rogue, taking with her a valuable Agency asset; a girl named Victoria. My objective: eliminate Diana and retrieve the girl. Personal note: Diana saved my life. Although grounds for termination are just, I take no pride in this assignment. She is my target. I must not get personally involved.
Initial Equipment
- Twin Silverballer Pistols
- Fiberwire



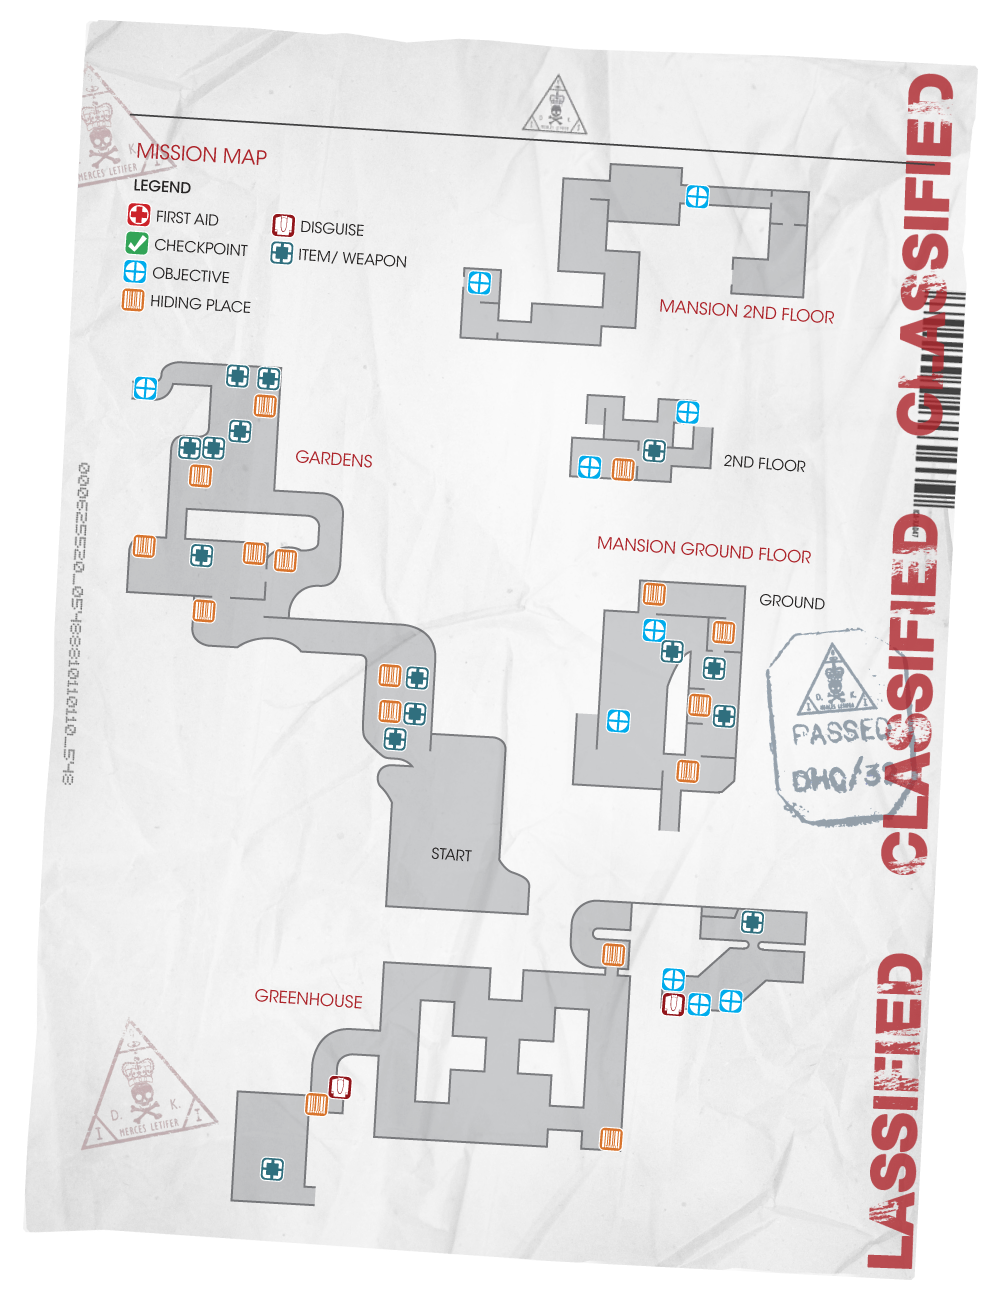
Gardens
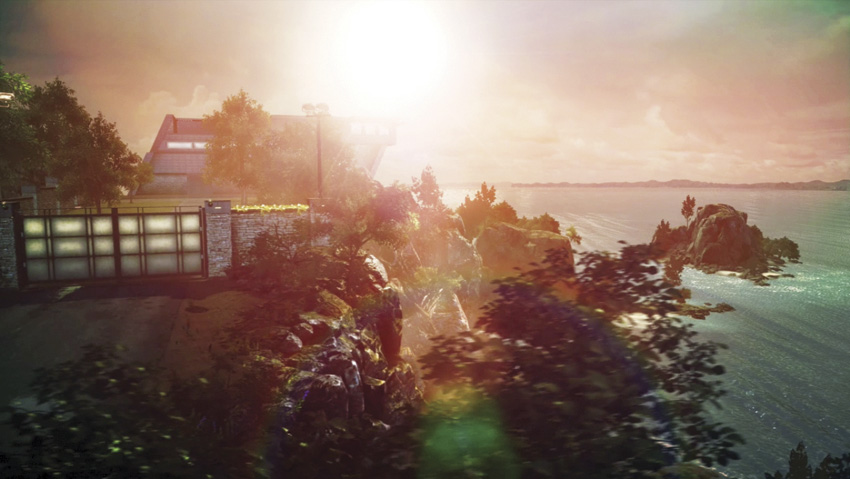
Agent 47 drives up to the mansion where Diana Burnwood is hiding out. She is obviously expecting trouble and has guards patrolling inside and out. As an assassin of the highest caliber, you could just rush in and kill them all to get to your target. However, as a professional, you should only kill when you have to. If your employer wanted a bloodbath, they would have hired a paramilitary unit to wipe out everyone in the compound.
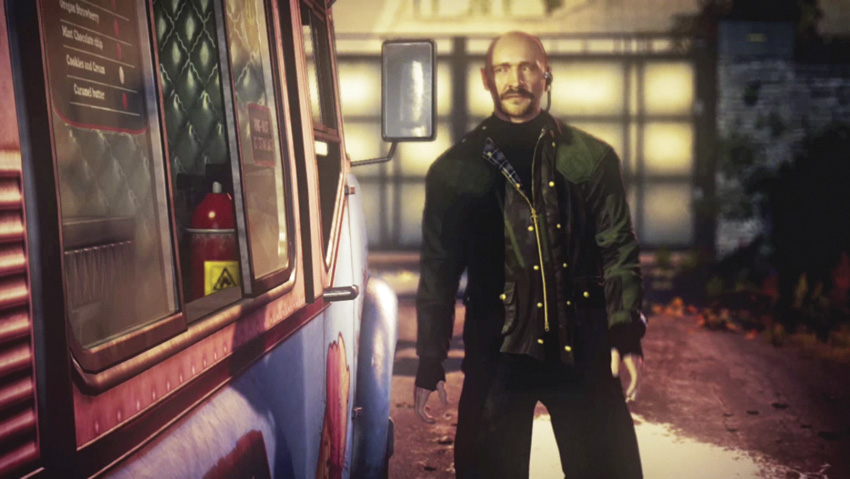
Your ride is an ice cream truck. While it allows you to arrive at the mansion without arousing suspicion, it is not up to your usual standard of transportation. After dealing with the guard at the gate and exiting the truck, start walking down the road. Take this opportunity to press the notebook button. This opens up a screen where you can learn more information about your current mission.

Notebook
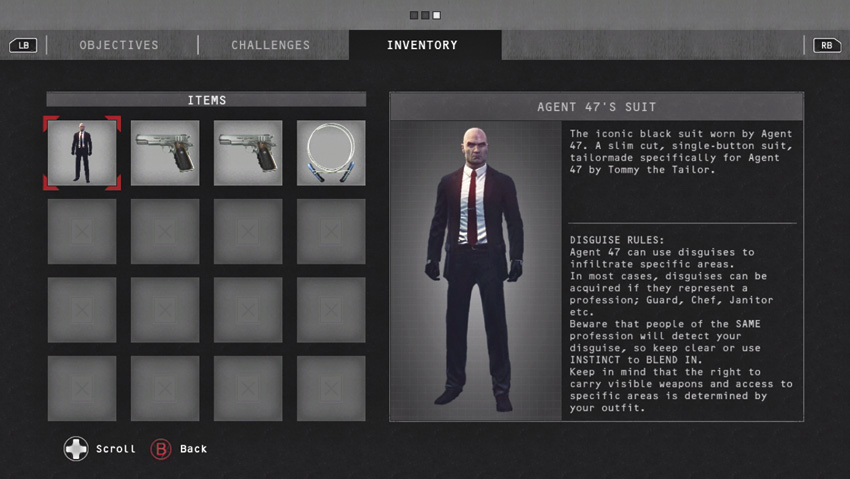
At the start of each mission, and even several times during it, you should refer to the notebook. The notebook contains three different sections.
Objectives: This section provides backstory for the mission and details what you must accomplish in order to complete the mission successfully. Always read this at the start of each mission. You may also receive new objectives during the mission, so check the notebook every so often for updated information.
Challenges: This section lists all of the challenges available for the current mission. For most missions, it is impossible to complete all of the challenges during a single playthrough. You’ll need to play a mission several times in order to meet all of the challenges. Highlight a challenge to display information about that challenge on the right side of the screen. At the start of a mission, peruse the challenges and become familiar with them so that you can try to complete them while going after your main objective. Not only can these challenges add variety to your missions, each completed challenge also adds a score modifier. The more challenges you complete, the greater the modifier. Some challenges have checklists that help you keep track of the requirements for that challenge.
Inventory: This last section shows what you are currently wearing, as well as the weapons and items you are carrying. As you pick up items, they appear here in your inventory. While you can pick up and carry multiple guns, you can only pick up and hold one item from the environment at a time. For example, if you are carrying a brick and want to pick up a wrench, you must first drop the brick, removing it from your inventory. However, picking up an item gives you credit for that item in your collection at the end of the mission; you don’t actually have to have the item in your possession at the end.
Access Mansion Grounds
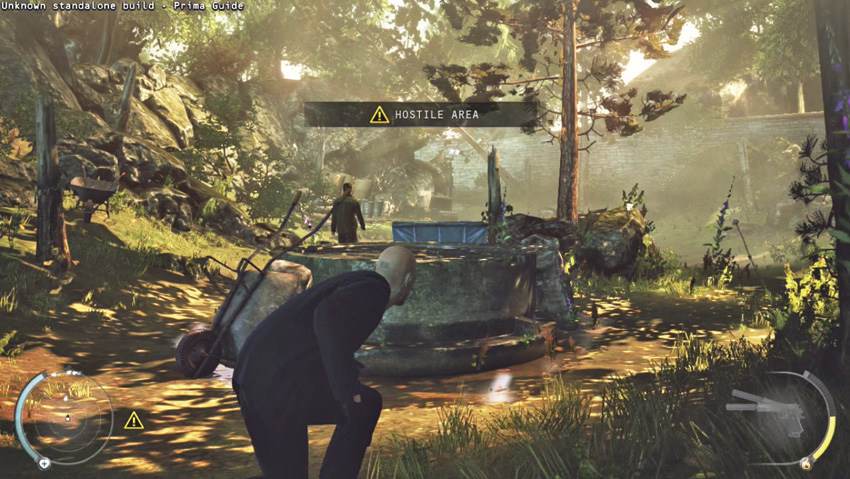
Sneak along the garden path and take cover while you look around and plan your next move.
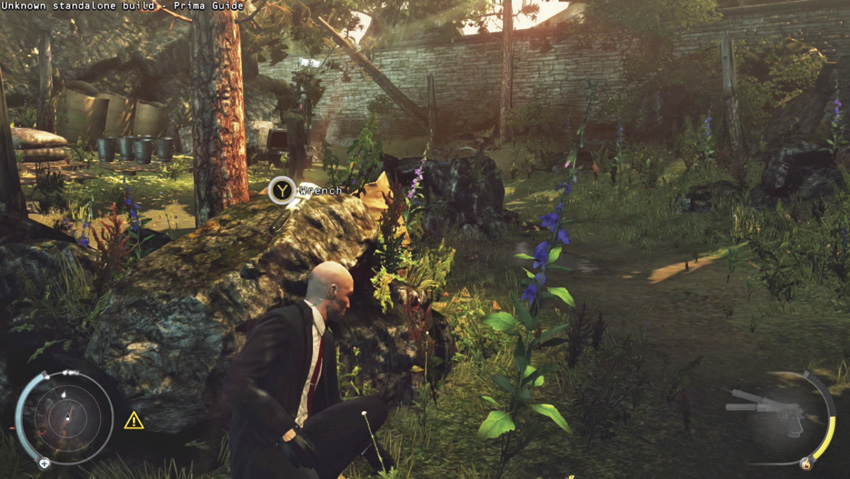
Take cover behind an object to avoid being seen by the guard.
After checking your notebook, continue toward the gate of the mansion. Since the gate is most likely well protected and alarmed, veer off of the road and follow the path to the left that leads into the garden. Crouch down by pressing the sneak button and advance along the dirt walkway that leads to an area with garden tools and a guard. Since you’re in a hostile area, make sure to avoid being seen by the guard. Ideally, you want to reach your main target without anyone knowing that you are there. As you get next to the concrete or rocks in this area, press the take cover button to move right up next to the object. While you are taking cover, you duck in behind an object. You cannot be seen as long as the object you are taking cover behind is between you and the observer. Keep in mind, however, that you can be discovered if an observer walks around the object.

Agent 47’s Suit
The iconic black suit worn by Agent 47. A slim-cut, single-button suit, made specifically for Agent 47 by Tommy Clemenza. While you can wear this suit in public without attracting attention, in the mansion and surrounding gardens it stands out and makes people realize that you do not belong there.
As you are hiding behind the cover, take a moment to observe the guard. If you try to move past him, he will see you. In this area there is a wrench, a brick, and an axe. The axe is stuck in a tree on the left, so you will probably be detected if you try to get it right away. The wrench, on the other hand, is on some nearby rocks. You can get to it while staying behind cover. Move next to the wrench and pick it up. Since you want to avoid hurting or killing non-target persons as a professional assassin, you can instead distract him. Hold down the aim button and an arc appears showing you the flight path of the wrench if you throw it. Place the end of the arc over the buckets near the guard and press the throw button to toss the wrench. It hits the buckets, and the screen momentarily brightens as a visual cue that the sound attracts the attention of the guard. As he walks over to the buckets to see what caused the noise, start moving and pass by him on the right. Stay crouched down in sneak mode and the guard will not hear you move past him.
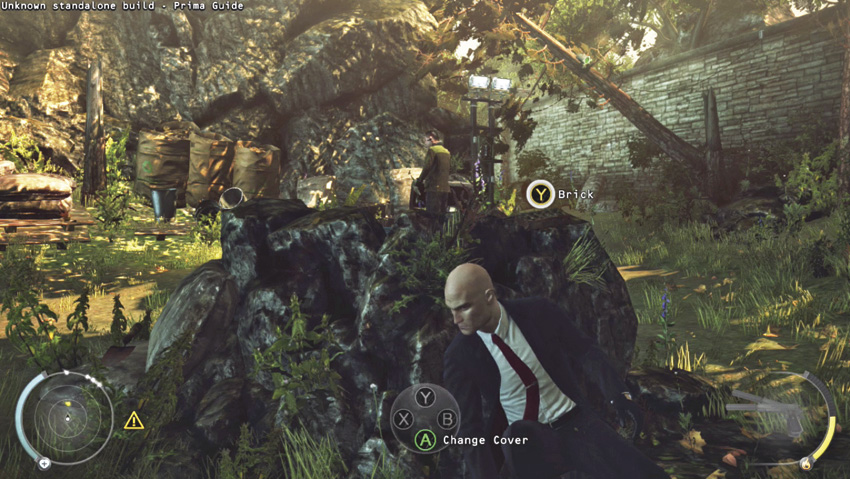
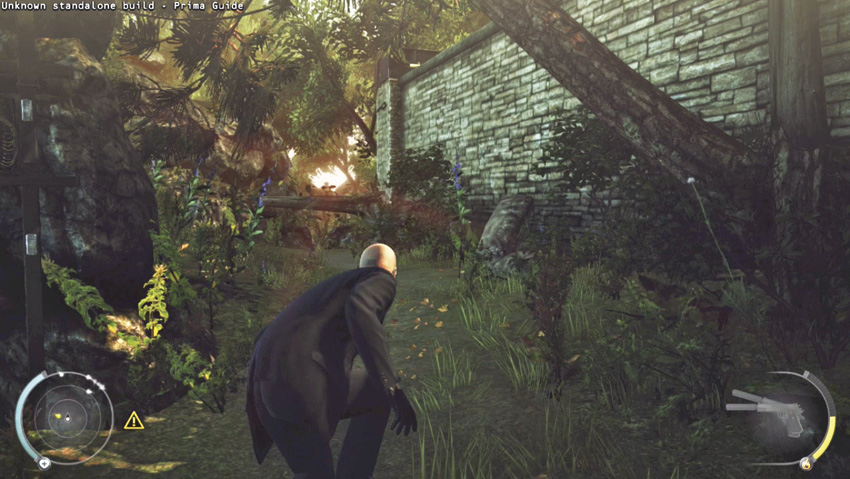
Throw the wrench at the buckets to distract the first guard. While he is looking at the buckets, sneak around him to get further into the garden.
Stop and take cover next to the trunk of the fallen tree. There is another guard up ahead by the gardening container. Since there is a lot of open ground between you and the guard, it’s a good idea to take him out. Select one of the silenced Silverballer pistols and take aim at the guard’s head. Pull the trigger and fire to kill him with a single shot. Once the guard is down, scale the tree to get over it and approach the body. If you leave the guard lying in the grass, he may be discovered, causing the guards to go on alert and actively search for you. Drag the body over to the gardening box and then hide it inside by following the on-screen prompts. As a general rule, if you have to kill or subdue a person, then hide the body. This makes the mission easier, and you also earn points for hiding bodies.
Silverballer
A high-powered semi-automatic pistol with adjustable sights and a grip safety. Damage, precision, and accuracy make it the perfect choice for Agent’s 47’s signature weapon. You have a pair of Silverballer pistols during this mission, each equipped with a silencer for stealthy killing.
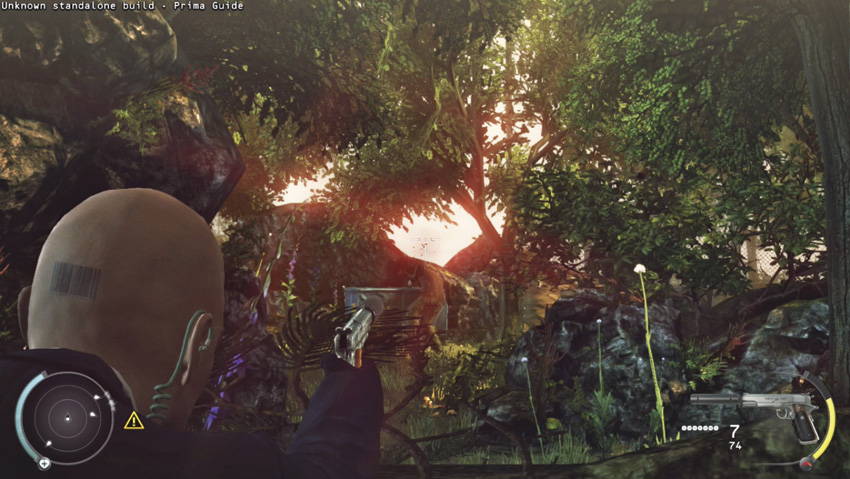
Take careful aim and kill the guard with a single shot to the head.
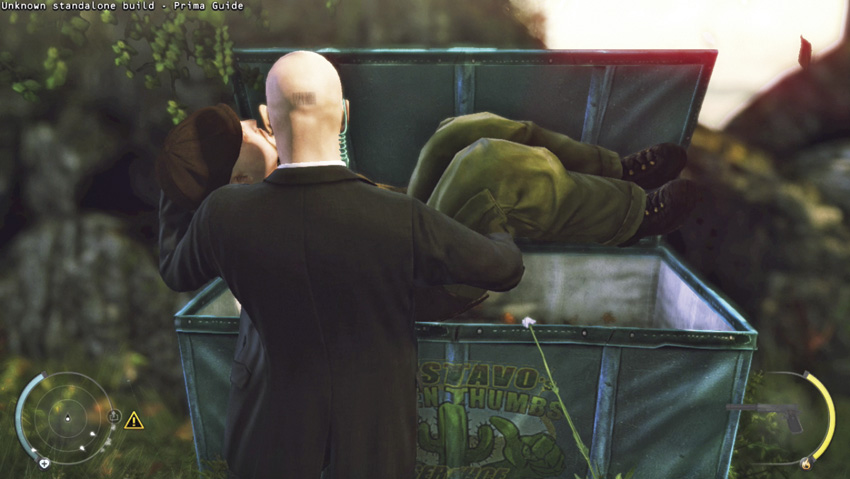
Drag the body over to the box and hide the guard inside it.
Infiltrate Gardens
After hiding the body, turn to the right and sneak toward the tennis court. To the right of the entrance is a checkpoint. Move over to the checkpoint and follow the on-screen prompts to activate it. If you die, you can now restart the mission at this checkpoint rather than from the beginning. As you advance through missions, there are additional checkpoints that you can activate when necessary.
There is another guard on the tennis court. He is looking over the garden below. Since you need to move through that garden, this guard must be neutralized. Switch to the fiberwire and move in behind the guard. Press the melee button as you get in close and wrap the fiberwire around the guard’s neck to choke him. As you lower the body to the ground, you are already in a dragging position, so drag the body over to the garden box on the right side. There is a coffee mug on a table next to where the guard was standing. Pick it up so that you can add it to your collection. You might want to keep holding it since it can be thrown to distract guards.
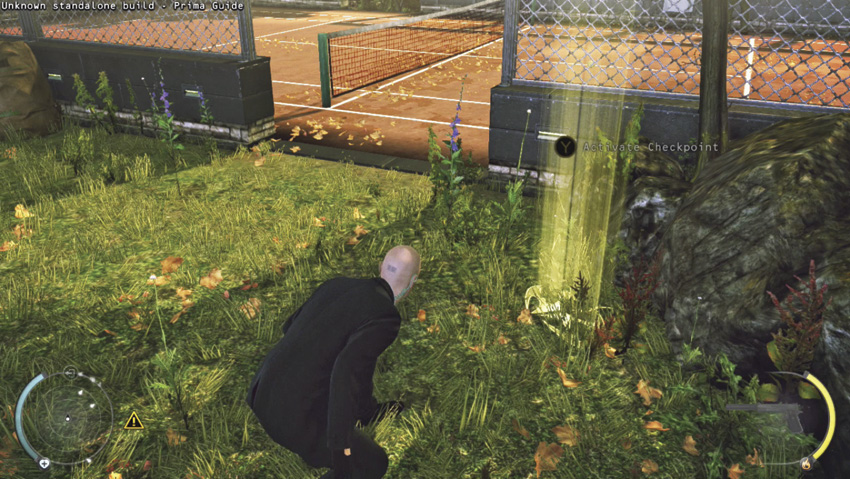
Activate the checkpoint by the tennis court.
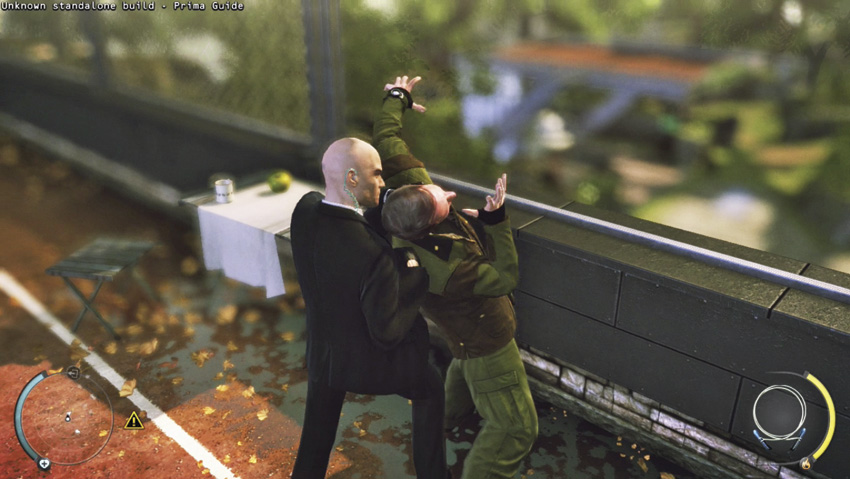
Use the fiberwire to silently kill the guard on the tennis court.
FiberWire
A strand of non-metallic fiber wire. The handles allow Agent 47 to apply all of his strength into pulling the wire tightly around the victim’s neck.

Modern Art
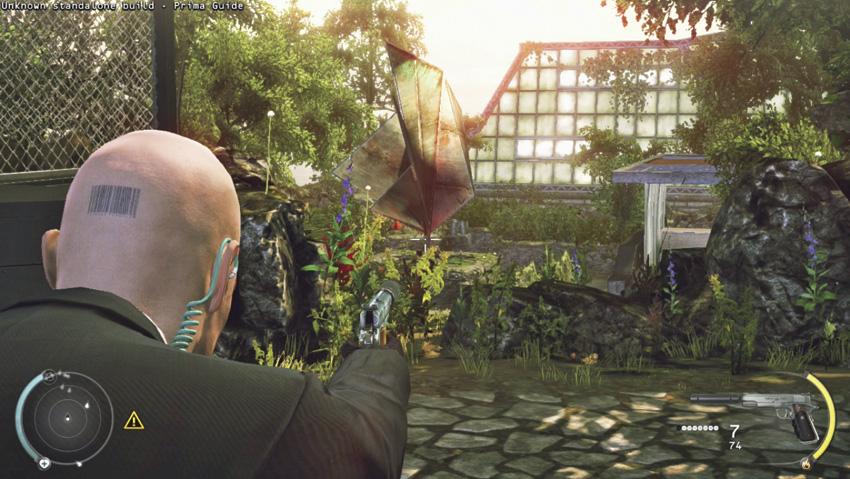
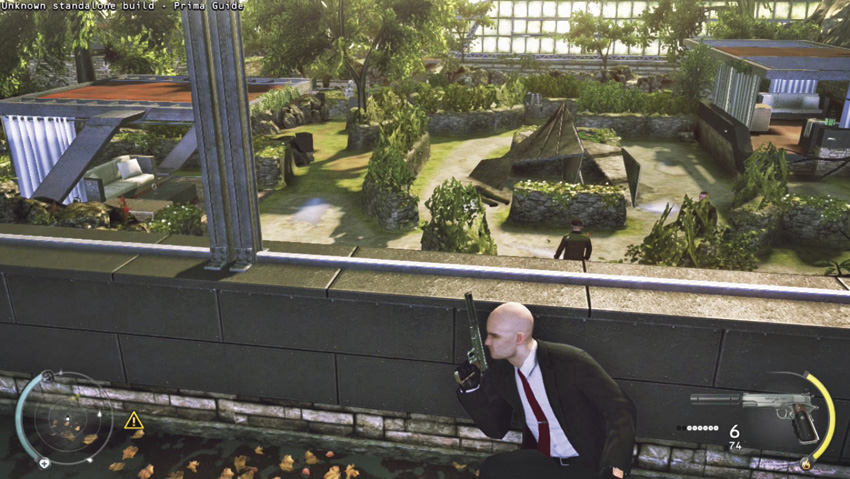
After killing the guard on the tennis court, you have your first opportunity to complete a challenge. Take cover behind the wall where the guard was standing. In the middle of the garden is a large sculpture. There are usually one or two guards standing beside it. Use Instinct to see if there are any guards in the garden looking in your direction. Wait until it is clear, then take aim with one of your silenced Silverballers and aim for the single metallic support at the base of the sculpture. Carefully squeeze the trigger to fire a single round. As you hit the support, the sculpture crashes down on top of any nearby guards, killing them instantly. Quickly take cover behind the wall since you are exposed while shooting. If guards head your way, climb into the garden box and hide there until the guards’ alert level goes back down.
You now need to get through the garden. You have two choices. If you take the path to the right of the tennis court, you need to subdue or kill a guard along the path. This is easy. Just sneak up behind him and use the fiberwire, and then hide the body in a nearby tennis box. However, you can avoid killing anyone else if you move to the left side of the tennis court and then follow a path leading down into the garden. Take cover next to the rock border. When you get to the edge, wait until no one is looking and follow the on-screen prompts to roll across the path to the cover on the other side. Follow the cover to the rear of the covered seating area. Depending on whether you attempted the Modern Art challenge, there may or may not be a guard in front of the covered area. You can kill him and hide the body in a nearby box, but try distracting him instead. Throw the nearby book, or the coffee mug if you picked it up, to a spot along the path to the right of the guard. As he moves to investigate, sneak past where he was standing and continue to the left. Quickly take cover so that when the guard returns to his post you are hidden from his view.
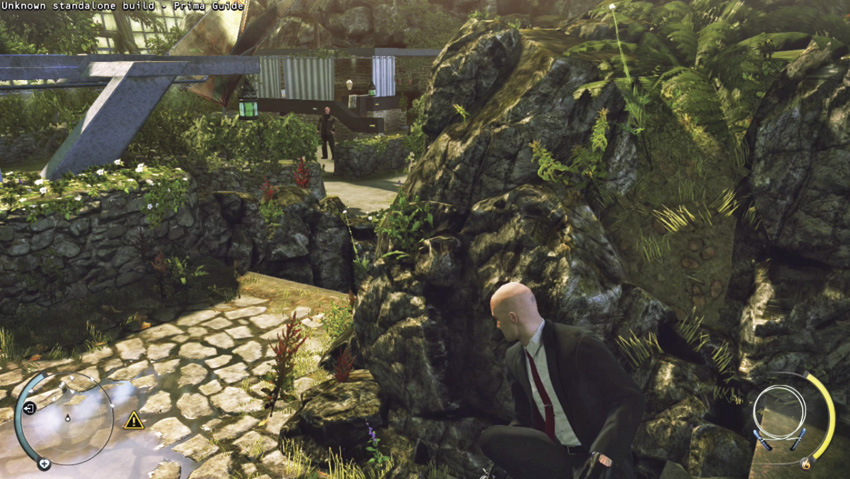
Move cautiously down the path, staying next to the rocks for cover.
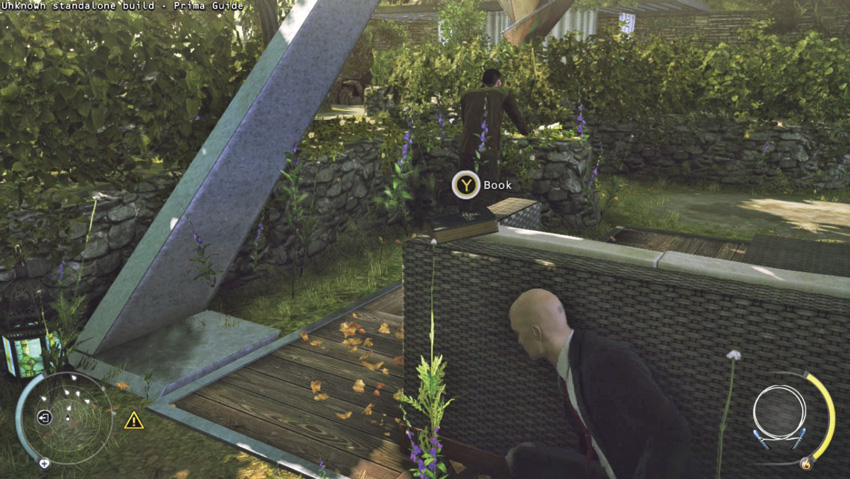
Distract this guard and move past him to make your way toward the exit of the garden.
There is a stream at the far end of the garden. Depending on the effects of your actions, there may be one or two guards by the stream. Wait until they finish their conversation, and then move toward the exit of the garden. If there is only one guard, you may need to find an object to throw in order to distract him. If he is facing the stream, then quietly sneak past him and continue across the bridge and on through the door to exit the garden area.
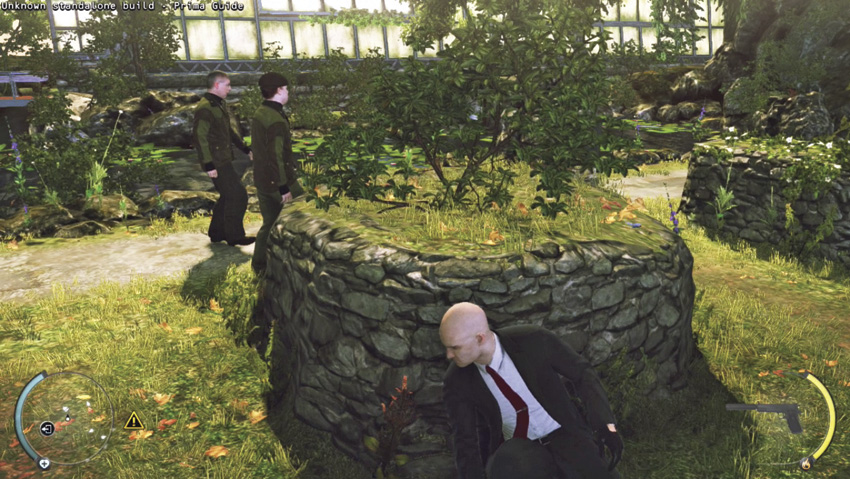
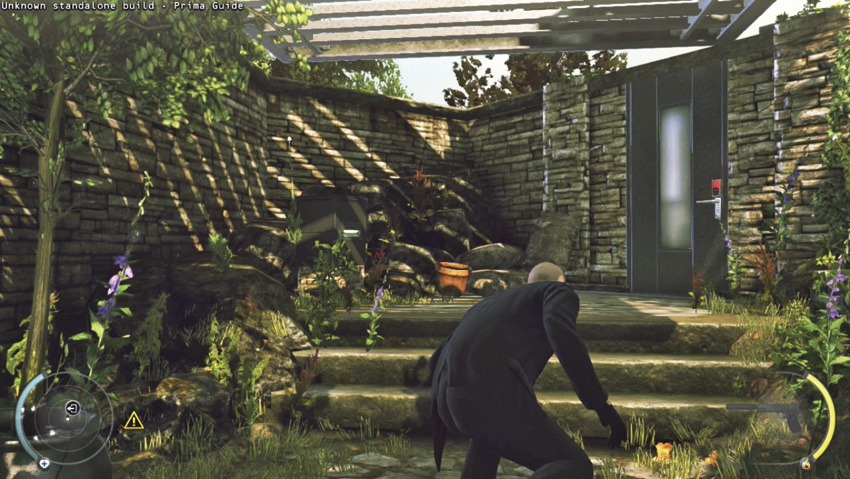
Take cover behind this planter and wait until the way is clear. Then, sneak your way to the door in the far left corner of the garden area.
Greenhouse
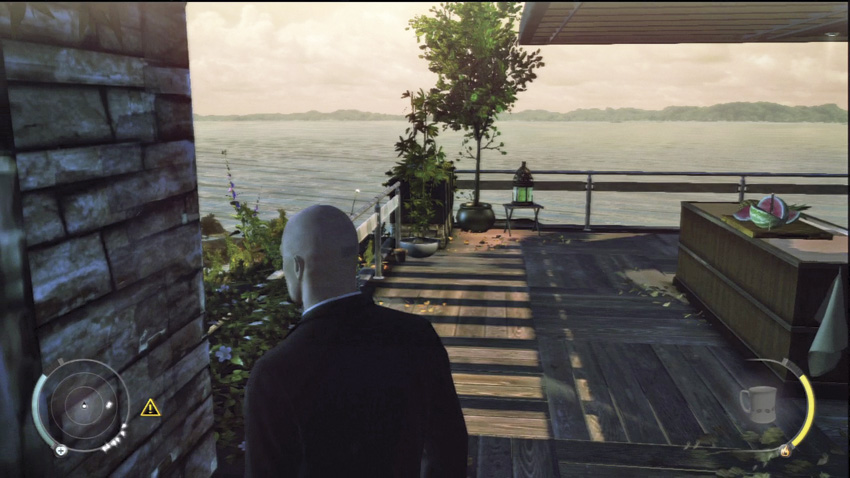
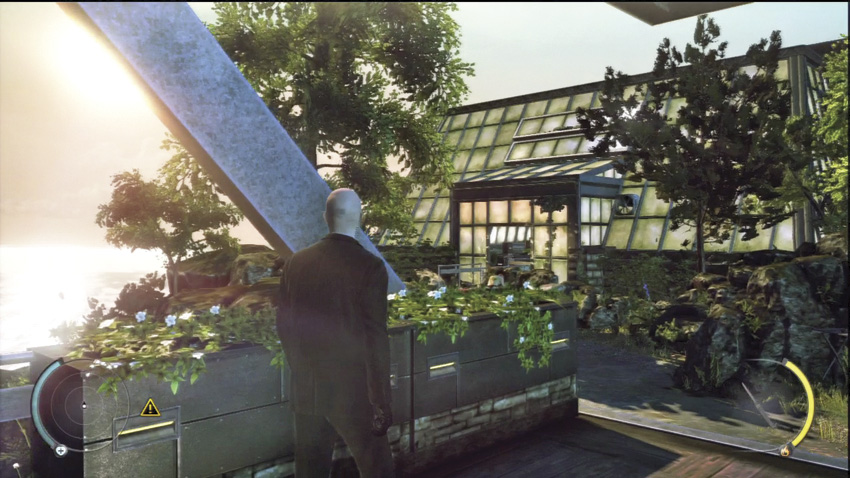
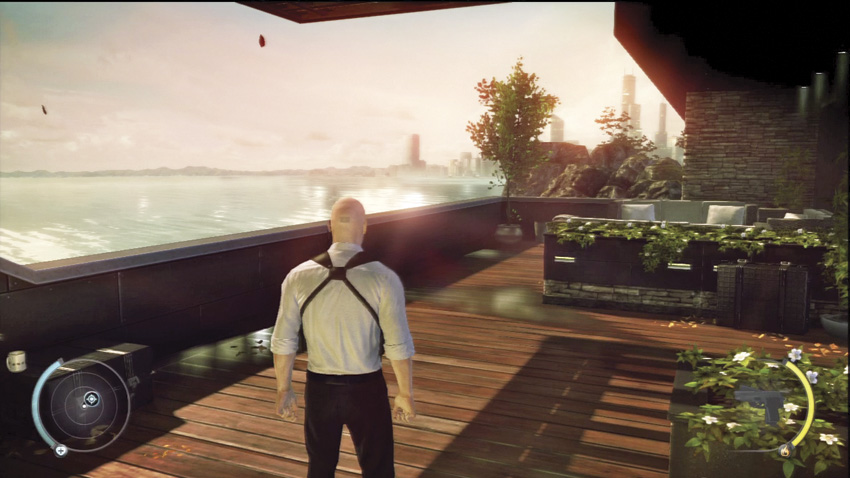
After moving through the door, you find yourself on a deck overlooking the sea. Quickly take cover behind the counter with a watermelon on top of it. You can pick up the fillet knife while you are hiding. Use Instinct as a guard walks toward you. A fiery path appears on the ground, showing you the route the guard takes right past you before he stops at the railing. Since you have a knife, you can use it to kill the guard. Move to the edge of the counter, hold the aim button, and then press the throw button once your aiming reticle is over the head of the guard. The knife flies through the air and kills the guard. Now move over to the guard and pick up the knife as well as his Jagd P22G pistol. You can also steal his clothes for your first disguise. The other guard on the deck is facing away from you. Move in behind him and push him over the railing to his death.
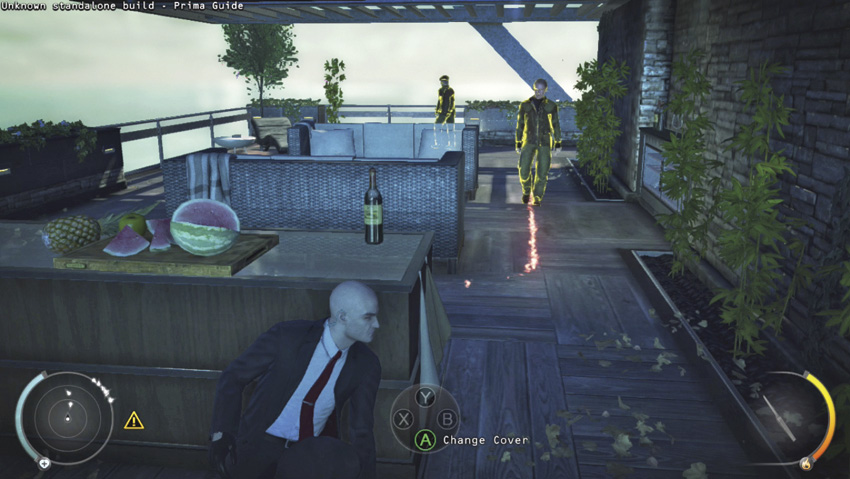
Instinct shows you the path the guard will take.
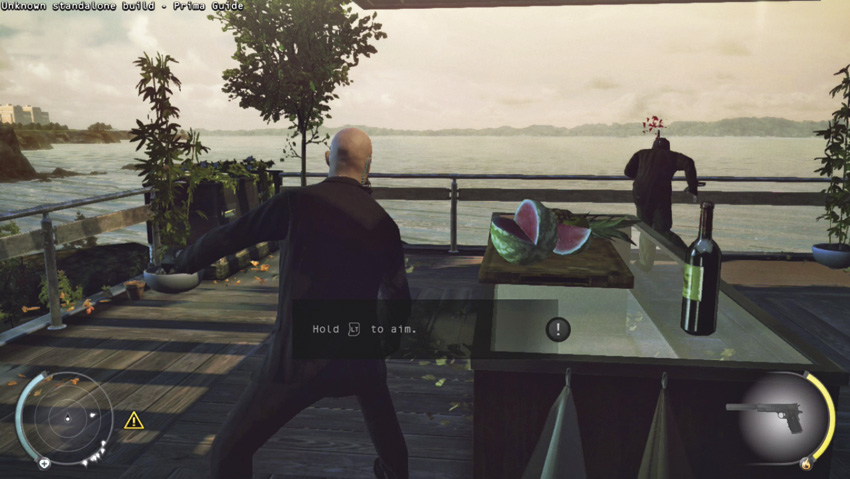
Throw a knife at the guard for a silent kill.
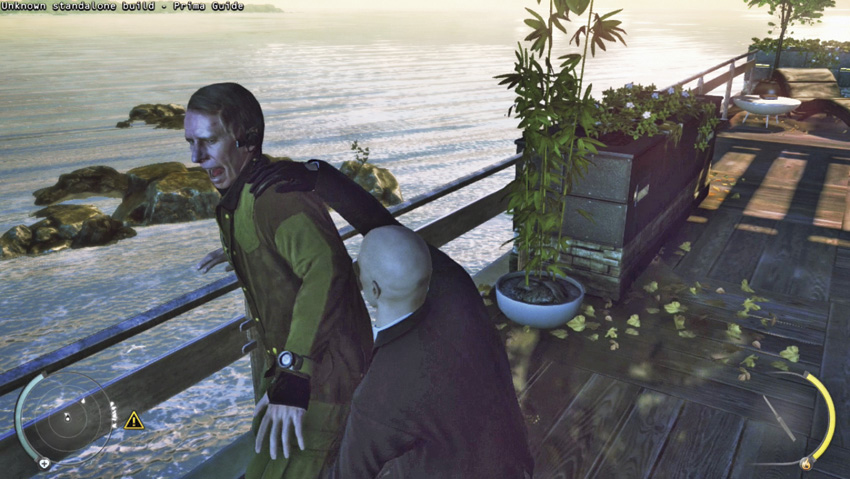
Push this guard over the railing to get rid of him.
Chameleon
This mission has four disguises you must use in order to complete this challenge. The first is the outside guard uniform, which you can get from the guard you killed with the knife. The other disguises are a gardener, an inside guard, and a chef. In order to begin working toward this challenge, take the uniform from the guard on the deck.
Jagd P22G
A modern and reliable top-tier pistol, the weapon’s high accuracy makes it the preferred choice of professionals.
Mansion Exterior Guard
This outfit is worn by the lower level security guards patrolling the outside perimeter of Diana Burnwood’s mansion. While wearing this, you can move throughout the garden and greenhouse areas.
Infiltrate Greenhouse
Using Disguises
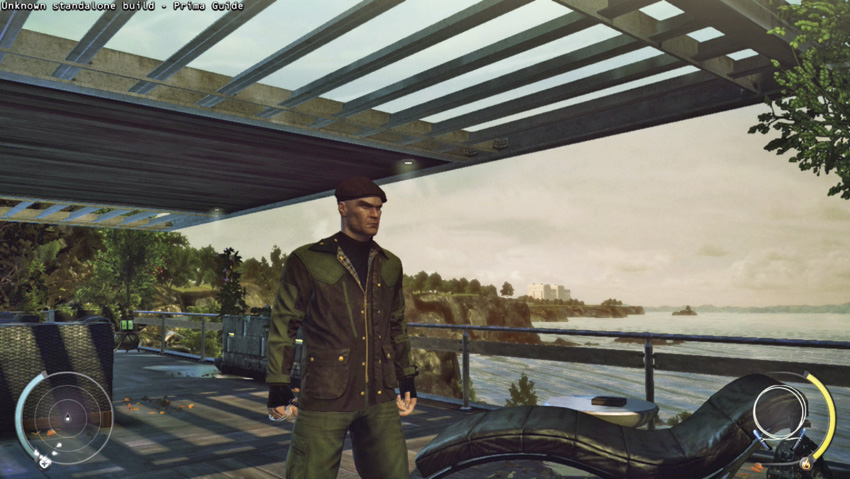
Agent 47 can use disguises to infiltrate specific areas. In most cases, disguises can be acquired if they represent a profession: guard, chef, janitor, etc.
Beware that people of the same profession will detect your disguise, so keep clear of them or use Instinct to blend in. Keep in mind that the right to carry visible weapons and the right to access specific areas are both determined by your outfit.
Just to the right of the location where the second guard was standing is a wood chipper and a small table with a disguise sitting on it. Since you need to get through the greenhouse, a disguise will come in handy. While the guard uniform would work, if you want to complete the Chameleon challenge, you need to put on the Gardener disguise. Now you can move into the greenhouse. As you begin walking toward the entrance to the greenhouse, you see a gardener and a guard standing right outside the greenhouse. In order to enter, you must pass right between the two people. No matter which disguise you are wearing, one of the two might see through your disguise. Hold down the Instinct button as you walk by and continue on into the greenhouse.
Gardener
This outfit is worn by the garden staff attached to Diana Burnwood’s mansion. While wearing this, you can move about the greenhouse and the area between the deck and the greenhouse without arousing suspicion.
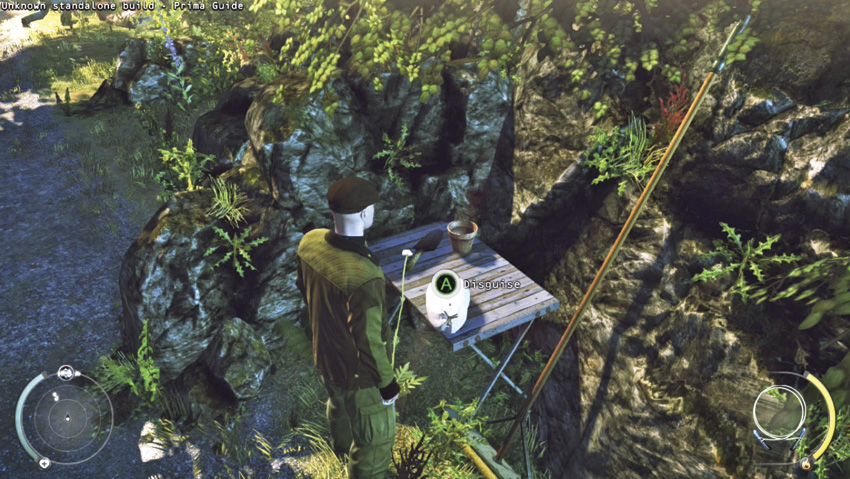
Pick up a second disguise near the wood chipper.
Once inside the greenhouse, you need to get to the door on the far side of the structure. There are two different paths you can take toward the door. The one you choose depends on your disguise. There are several gardeners on the left side, and the right side of the greenhouse has a few guards. If you are in the guard disguise, go to the left past the gardeners so that you can save your Instinct. If you are wearing the gardener disguise, go to the right. As you approach the door leading out of the greenhouse, you see that there are a couple of guards and a gardener blocking your way. While you can burn a lot of Instinct to get past them if you are wearing the guard uniform, gardeners are not allowed to exit through that door. You need to find a way to get the three men to move out of your way. Walk to the back wall of the greenhouse and look for a valve on a pipe. Turn the valve to activate some sprinklers over the three men by the door. As the water falls on them, the guards move through the door and the gardener walks away from the door. Here is your chance to leave the greenhouse. Follow the guards out the door. Be careful that they do not see or hear you as they turn their backs to the door and provide an opportunity for you to slip past.
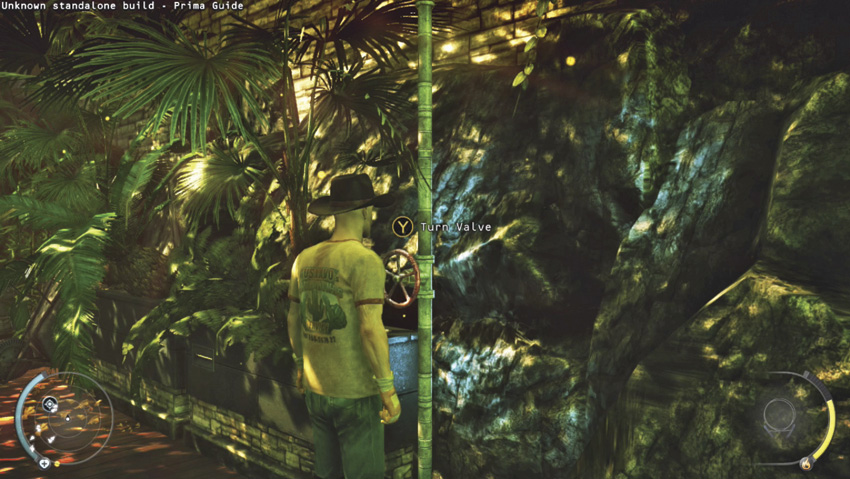
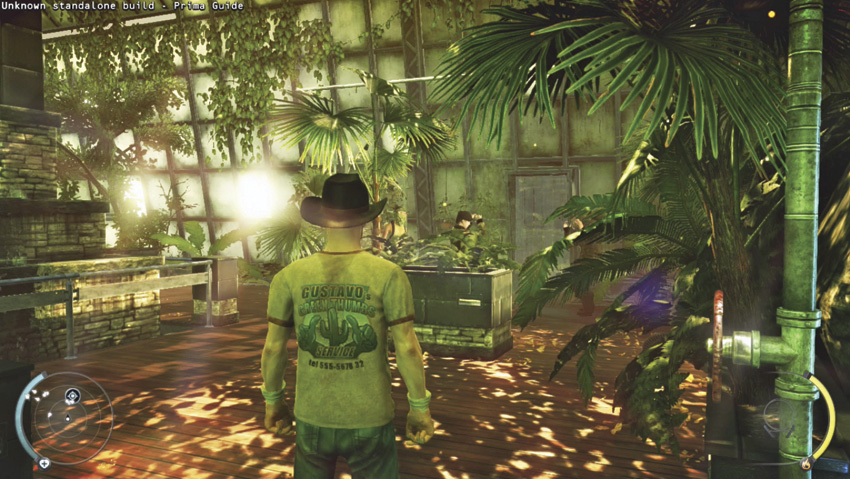
Walk through the greenhouse toward the back and turn the valve to force the men blocking the door to move out of your way.
Suit Only
If you are trying to complete the Suit Only challenge, you cannot put on a disguise. Therefore, getting through the greenhouse can be difficult. You will have to do some killing. Try to lure the guard near the entrance toward the wood chipper and then subdue him after pretending to surrender. Once inside the greenhouse, sneak and use cover to move around. Also use objects to distract the guards on the right side of the structure by throwing them to one side of the area so they move away from your path to the valve. Turn the valve to clear the men away from the door, and then slip through behind the guards as they leave the greenhouse.
Cliffside
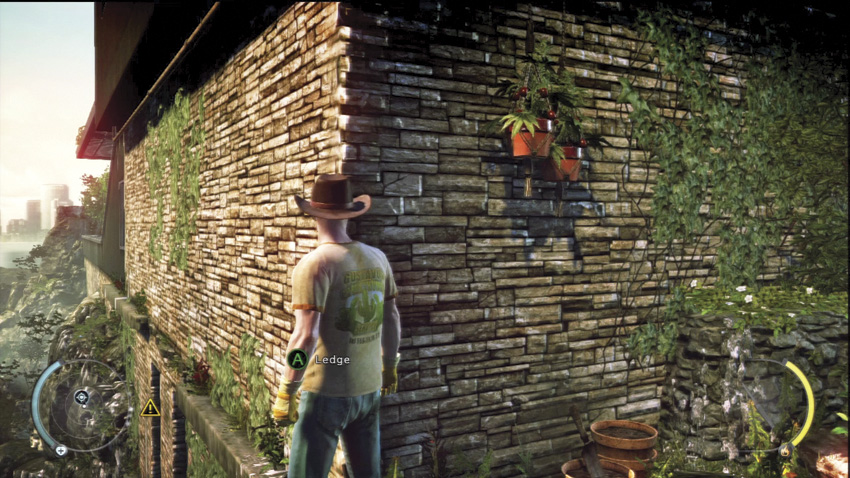
The two guards walk to the edge of the path and continue their conversation while looking out toward the sea. This is your chance. Walk past them and up some steps to get to the edge of the mansion. There is no door here, so you need to move out onto the ledge. After moving along the edge, you reach a gap. Drop down to a lower ledge. Slide past two windows, careful not to be seen by people inside the mansion, and then jump back up to the upper ledge.
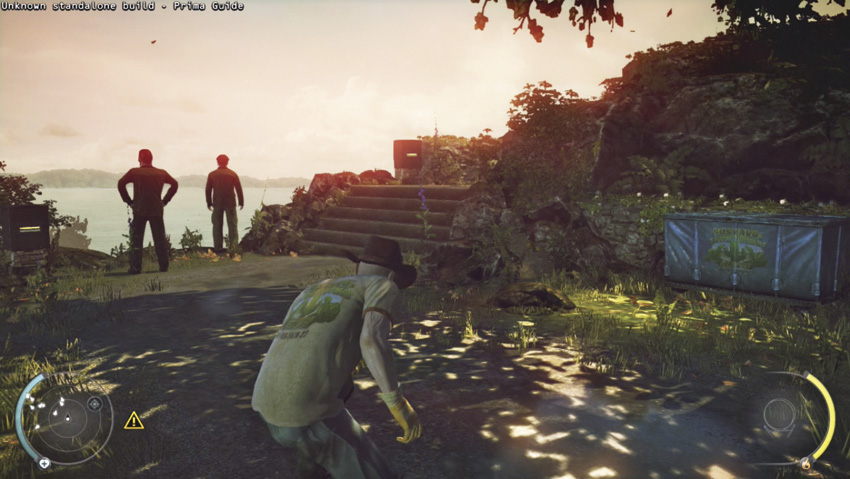
Slip past the guards as they are talking. Gardeners are not allowed out here, so your disguise will not help if you are seen.
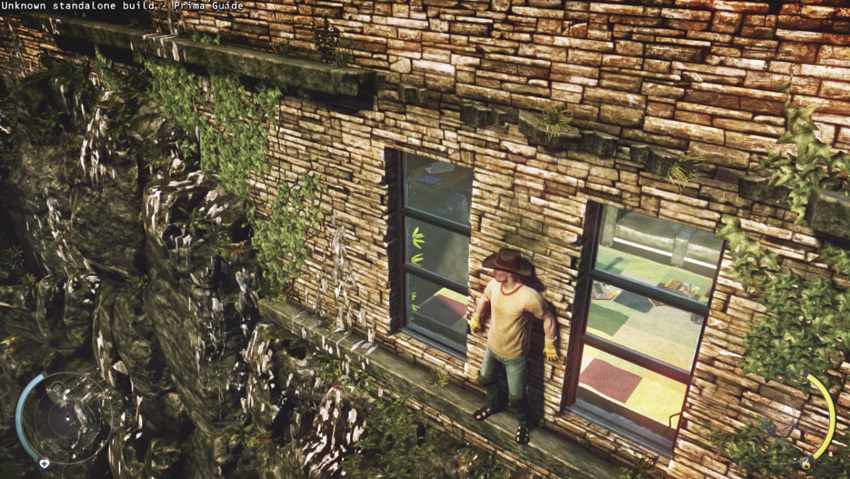
Cautiously move along the ledge past the windows.
Gain Access to the Mansion
Once back on the upper ledge, slide to the left until you are right next to the window. A guard is looking out the window while talking on a phone. Move closer and grab him to throw him out of the window and complete a challenge. Climb through the cleared window and get up onto the balcony.
Geronimo
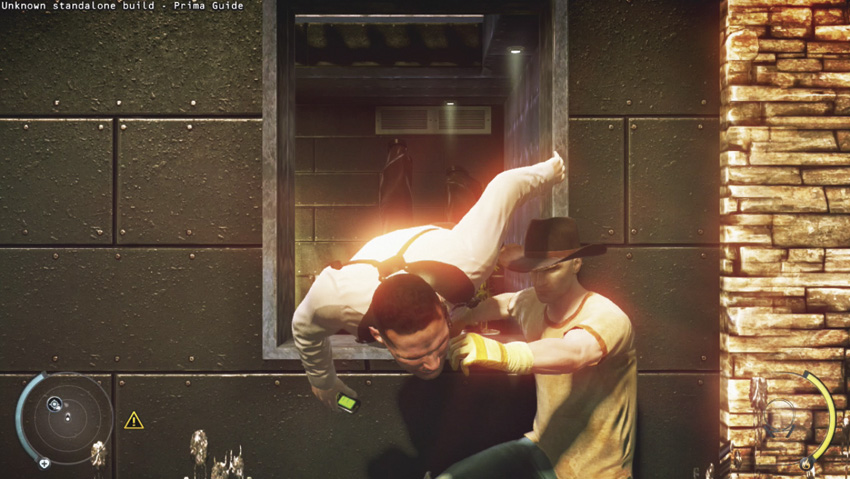
In order to complete this challenge, you must push or pull a guard out of a window in order to eliminate him. The best place to do this is while you are on the ledge.
Climb through the window and immediately take cover behind the counter before the guard on the balcony sees you. There is a coffee mug on the counter that you can pick up and throw past the guard to distract him. Or you can just wait for him to move over to the railing. Stop by the nearby checkpoint and activate it. You can either move behind the guard and push him over the railing to his death below, or just quietly slip through the door and into the mansion while the guard’s back is turned to you.
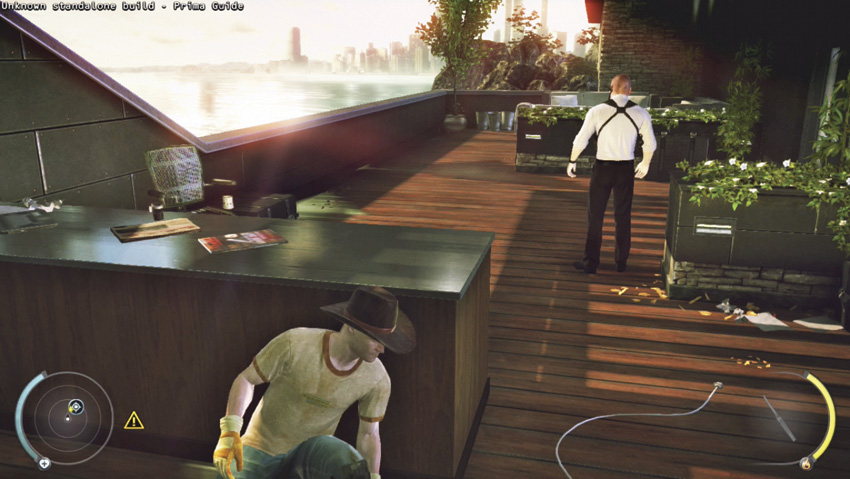
There is no need to kill or distract this guard if you are patient. Wait until he moves away from the door, and then take the opportunity to get into the mansion.
Disable Security System
Once inside the building, move toward the security console to the right. The door to the interior of the mansion is alarmed and locked. Disable the security system at the computer terminal. Also, pick up the disguise next to the terminal. Dressed as a mansion interior guard will make it easier to move around the mansion. Pick up the evidence while you are in this area, too. Now that you are ready to proceed, move to the door and pick the lock.
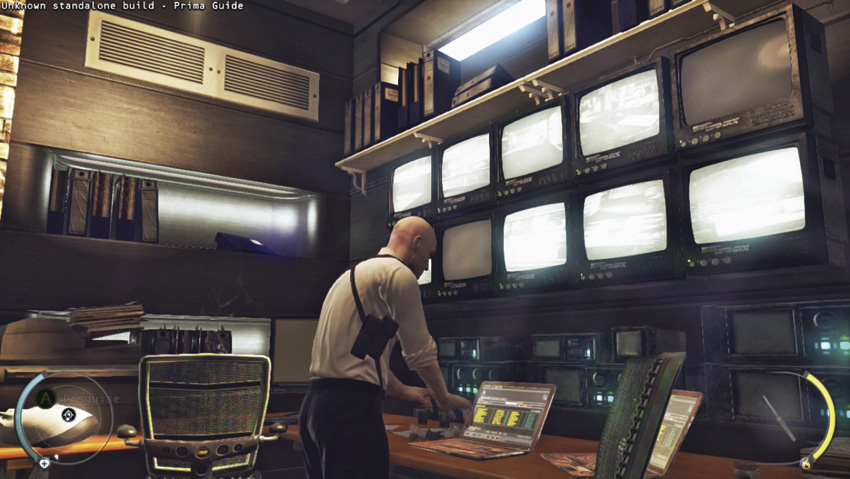
Get a new disguise and disable the security system so that you can get into the mansion interior.
Mansion Interior Guard
This outfit is worn by the elite security force assigned to Diana Burnwood. These are primarily close-protection specialists and ex-special forces officers. While wearing this disguise, you can move throughout the mansion interior. If you get too close to other interior guards, however, they will be able to see through your disguise.
Evidence Collector (1/2)
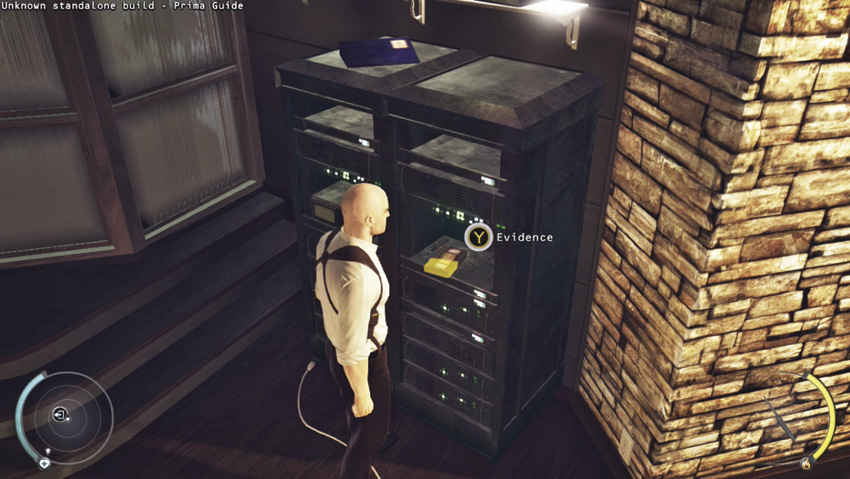
While on a mission, it is important to collect any evidence that might link you to either the hit or other actions you take. Look for video tapes or other evidence and pick it up. In this mission, there are two pieces of evidence you must collect in order to complete this challenge. The first piece is on an equipment console to the left of the disguise.
Mansion Ground Floor
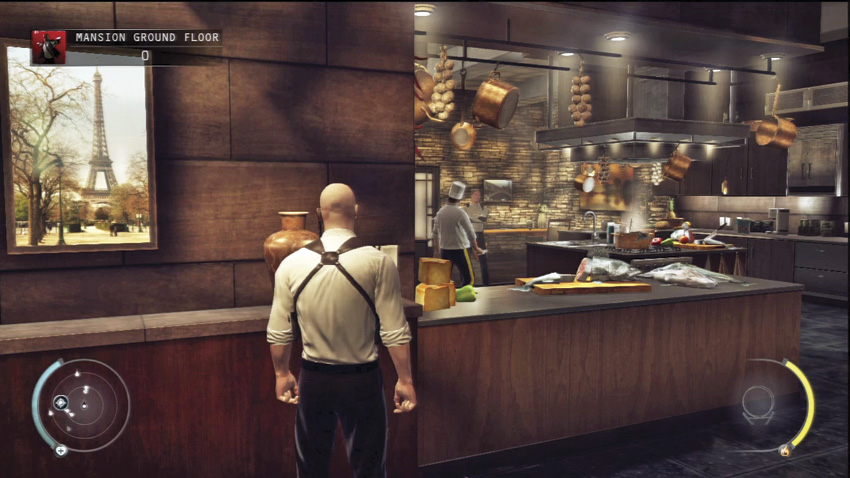
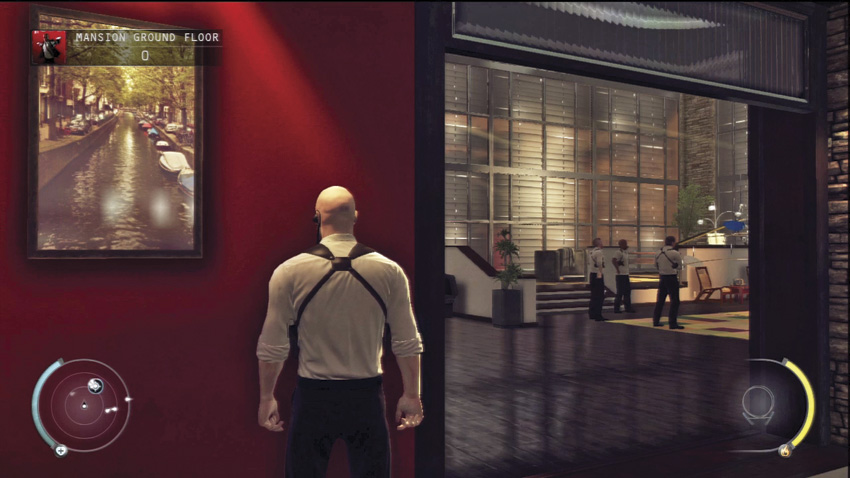
Get Keycard from Head of Security
Scoring
During the first part of the mission, you have only been learning how to play the game. Once you enter the mansion ground floor, you are being scored. Every action you take has the potential to affect your score. You lose points for being spotted while not in a disguise or when someone sees through your disguise, as well as for killing or pacifying enemies. You can also earn points by killing your target, completing objectives, removing evidence, hiding bodies, making headshots, performing silent kills, and performing signature kills. Completing challenges also provides bonuses to your score. If you want to maximize your score, then complete as many challenges as possible. Once a challenge has been completed, that bonus remains for future playthroughs of the same mission. Therefore, during your first few plays through a mission, go after the challenges (some of which may require killing civilians or non-target persons). Then, once you have the bonuses, go through again and focus on doing a clean playthrough to avoid those penalties. Your running score is displayed in the upper left corner of the screen and instantly updates to reflect your actions in real time.
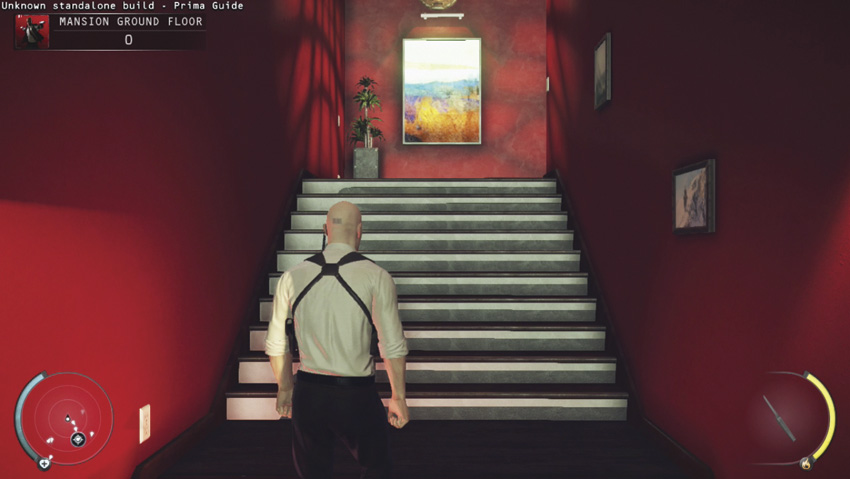
Now that you are in the mansion, you need to get to Diana on the second floor. However, the door to her quarters is locked and only the head of security has the keycard. To get the card, you must find a way to get the head of security away from the other guards in the mansion. Start off by waiting until a guard comes down the stairs to the left of the door you just came through. Then, walk up the stairs—running may attract unwanted attention. If a guard gets close, use Instinct to move past them unnoticed. At the top of the stairs, go through the door directly ahead and enter the bathroom. There are some sleeping pills on the counter. Pick up the pills and activate the checkpoint while you are there.
Exit the bathroom and head back down the stairs. Watch for the guard next to the railing on the second floor. While he usually stays by the railing, he occasionally walks into the bathroom and then back out again. At the bottom of the stairs, turn right and move toward the kitchen. A guard is talking to the chef. Hide behind the wall to the left of the kitchen so that the guard does not see you and realize you are an imposter. Wait there for him to leave and then enter the kitchen. The chef believes you are just one of the guards. While he is not looking, put some sleeping pills into the pot cooking on the stove. Then, back away and wait. The chef comes to taste the food in the pot and after a few seconds, walks over to a chair and passes out.
Extra Spice
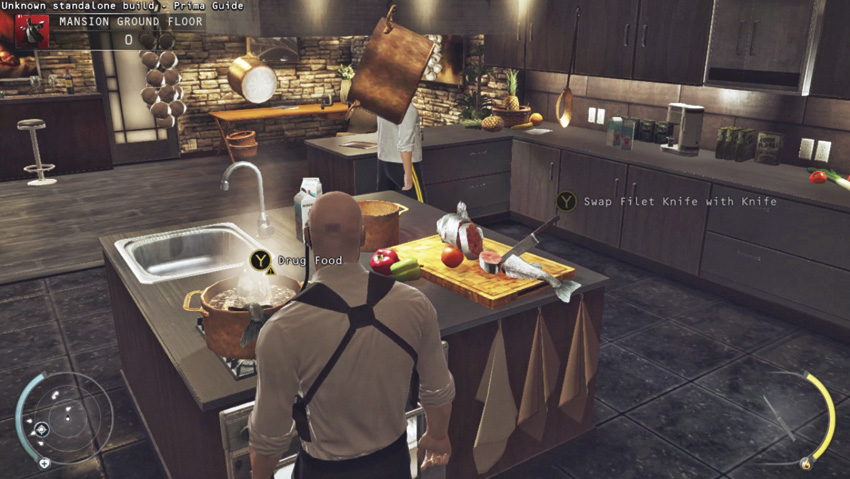
This is an easy challenge to complete. Once you have the sleeping pills from the upstairs bathroom, put some of the pills in the pot on the stove. After the chef takes a taste, he passes out and is neutralized without having to be killed.
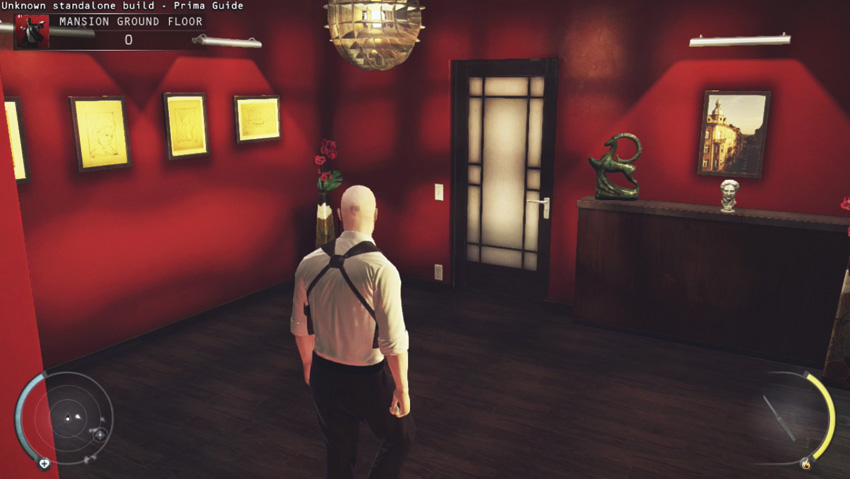
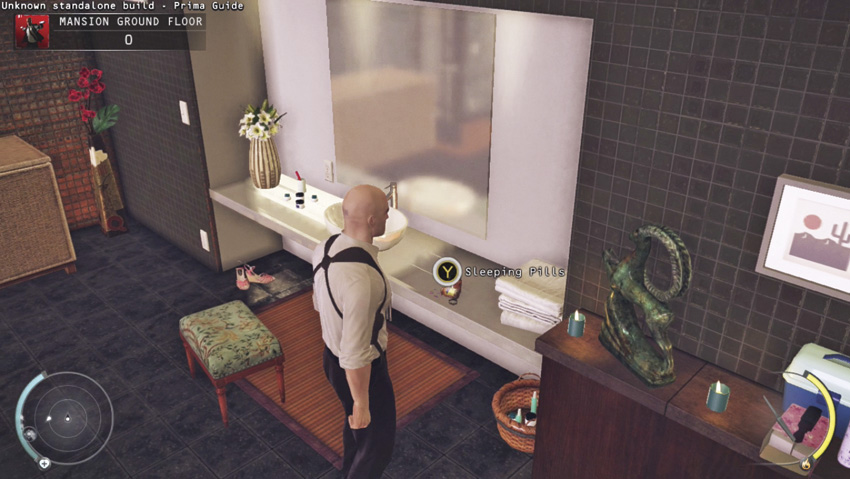
Walk up the stairs and get the sleeping pills from the bathroom. They come in very handy during this mission.
Walk over to the chef and drag his body to the chest freezer in the corner. Before hiding the body in the freezer, take his clothes as a disguise. You can now move more freely through the mansion since there are no other chefs who can see through your disguise. If you are collecting items, be sure to get the knife next to the stove, as well as the radio on the shelf near where the chef passes out.
Chef
This uniform is worn by the master chef employed at Diana Burnwood’s mansion. It is the fourth disguise you need to complete the Chameleon challenge, and it allows you to move all over the first floor of the mansion without raising any suspicion. Use it to explore the first floor.
Now that you are in the chef’s uniform, walk out into the main area of the first floor and look around. Pick up the poker by the fireplace to collect it. Don’t forget to take the evidence on the small table near the back staircase. Finally, locate a coffee mug on the bar. This belongs to the head of security. Make sure no one is looking, and then put some sleeping pills into the mug. Now all you have to do is wait for the head of security to take a drink. Follow him to a back room where he passes out. Take the keycard from him and then drag the body into a nearby closet to hide it.
Damn Good Coffee
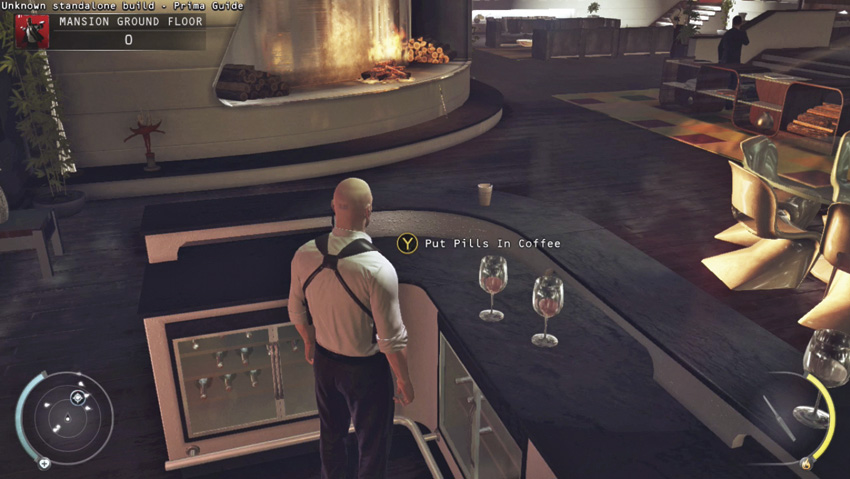
This challenge is almost a necessity for this mission if you want to avoid bloodshed. Get the sleeping pills from the bathroom and put them into the head of security’s coffee. The challenge is complete after he drinks it and passes out.
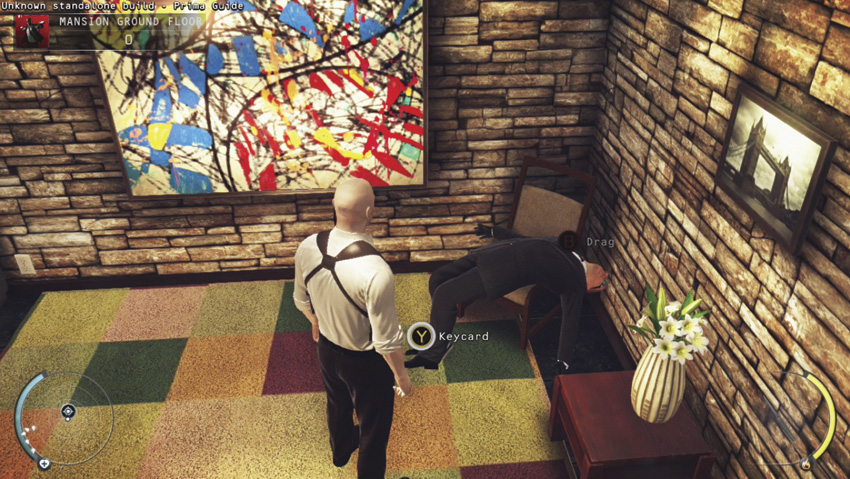
Pick up the keycard from the unconscious head of security.
Evidence Collector (2/2)
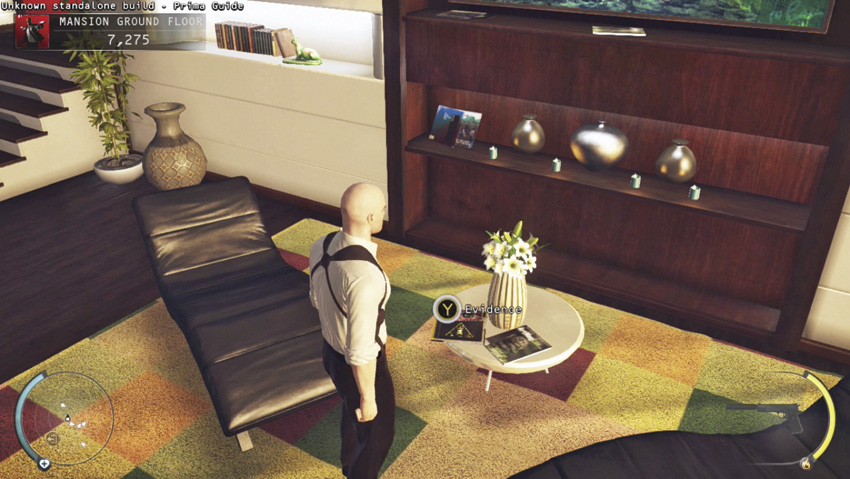
Pick up the second piece of evidence in the large room with all of the guards. It is sitting on a small table between two lounge chairs. Collecting evidence is a good way to earn lots of points, so do it every time you play the mission.
Play It Again
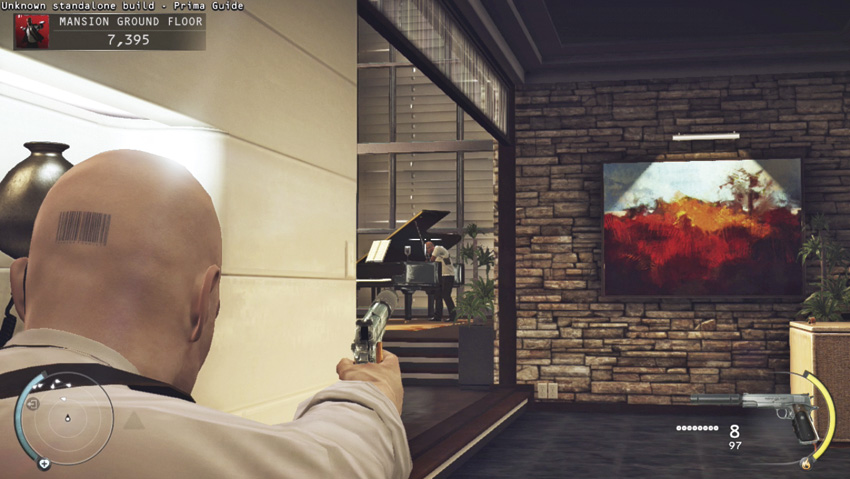
This is one of the optional challenges. While it involves killing a non-target person and gives you a penalty, it does give you a score modifier for this current playthrough, as well as all future playthroughs of this mission. To complete this objective, you must drop the lid of the grand piano on the head of one of the guards who likes to look inside the piano. There are two ways to do this. One is to find a position on the other side of the wall from the bar. Draw out one of your silenced Silverballer pistols and take aim at the support bar that holds up the lid of the piano while the guard is looking inside. Take the shot and then quickly holster your pistol before anyone sees you. The other way to do this challenge is to stand next to the piano while in the chef disguise and push the support bar out. This is tougher and you will need to make sure no one is looking if you want to avoid getting caught.
Locate Second Floor Entrance
Now that you have the keycard, head up the stairs to the second floor. Since the chef is not allowed on the second floor, you may want to change back into the guard uniform, or you can just sneak up the stairs and along the balcony to the door with the lock.
Suit Only and Well Played
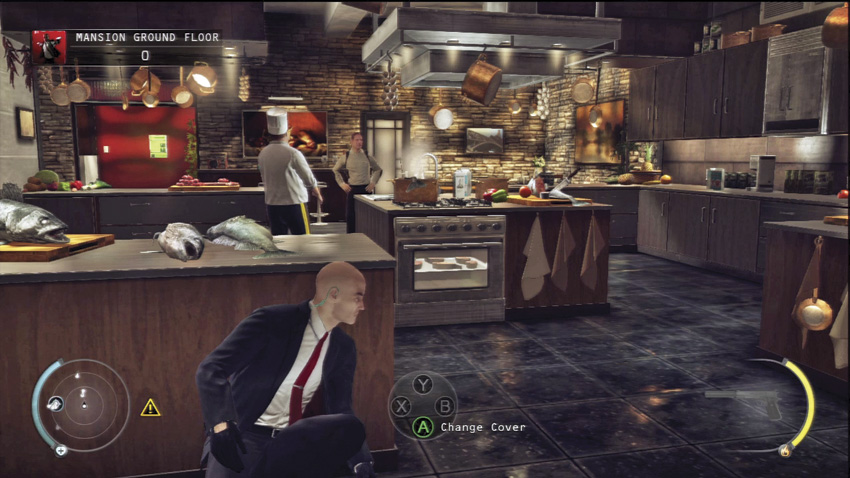
If you are going for the Suit Only challenge, this area can be tough—especially if you want to avoid killing anyone. Sneak up the stairs to get the sleeping pills. Then, sneak through the kitchen. While you can make it easier to escape detection by drugging the chef, if you are also going for the Well Played challenge, then you need to leave him alive and awake. As he moves around the kitchen, take cover behind counters and make your way through the kitchen without being seen. Stay low and get behind the bar. From there, wait until no one is looking and put sleeping pills in the coffee mug. You can also activate the switch on the balcony near the bathroom to open the window blinds. As they open, all of the guards in the lower area turn to look out the windows, giving you an opportunity to move through the large room to get to the coffee. Then, duck behind the bar. Get to the closet in the corner room and wait for the head of security to come and pass out. Sneak through the kitchen once you have the keycard and continue up the stairs. When completing Well Played, you cannot kill or subdue anyone. Only the head of security can be knocked out using sleeping pills. This is easier to do using the interior guard disguise, so consider doing the Well Played and Suit Only challenges during separate playthroughs.
Mansion Second Floor
Locate Diana
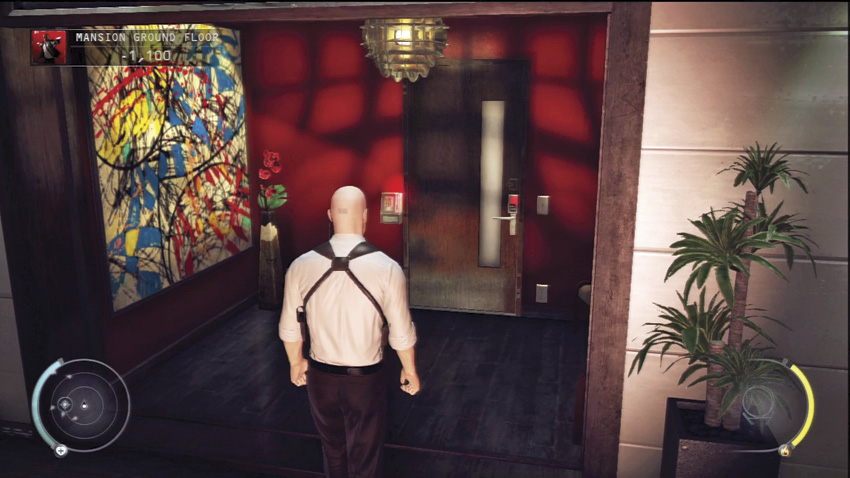
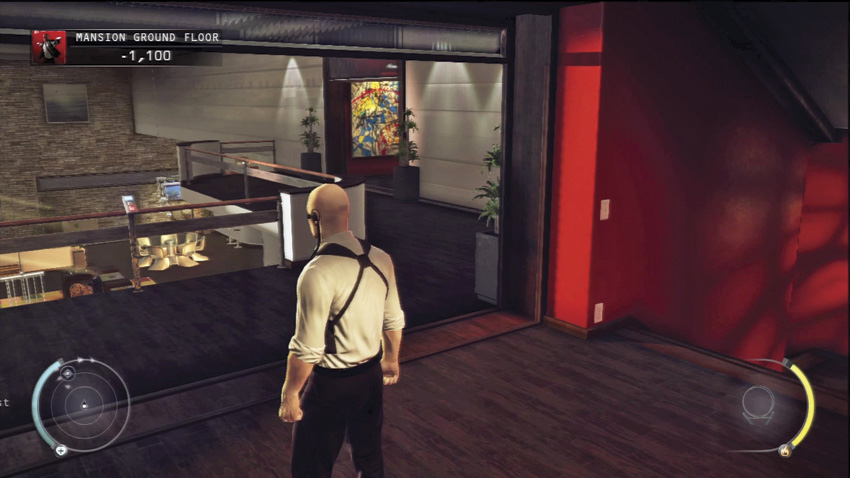
Your target is very close. Follow the hallway around to the left and out onto a balcony. Turn left again and walk down another hallway until you reach a closed door. Open the door and enter the room where Diana is taking a shower. After taking a shot, Diana explains to Agent 47 why she turned against her former employers and asks you to protect the girl she rescued. It seems like you have been used—again.
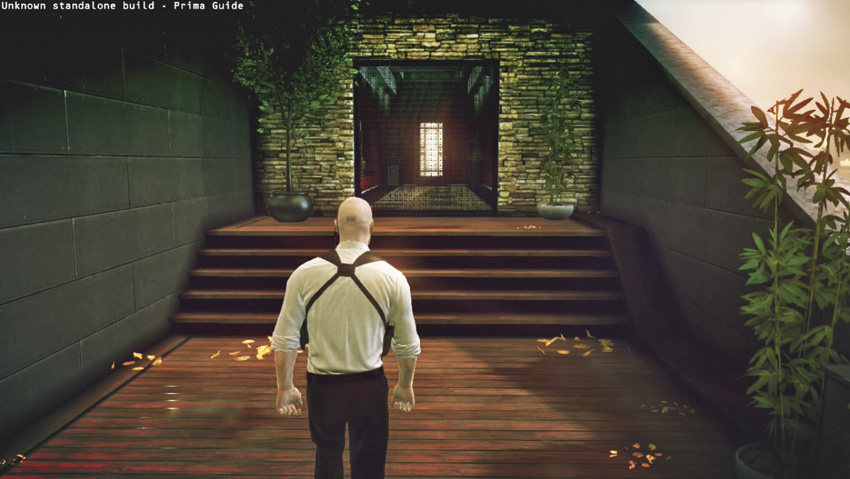
Follow the hallways on the second floor to get to your main objective.
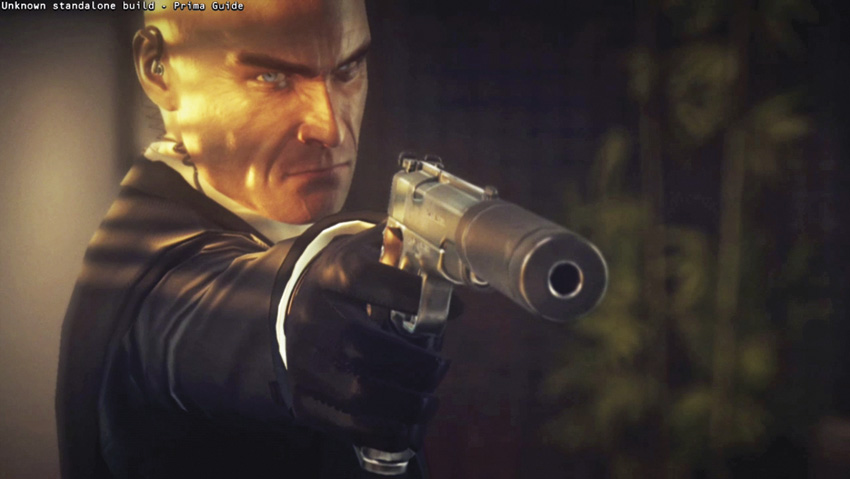
The target is in front of you and obviously unarmed.
Achievements
Heavy Burden: Infiltrate the mansion and assassinate Diana Burnwood to earn this award.
Get to Victoria
Your mission should have been completed, but Diana has given you a new objective. Move through several rooms on the second floor until you come to a closed door. There is nothing in these rooms to collect, so you may as well sprint. Open the door and take cover behind a short wall. There are four guards in the other room. Now is an excellent time to try out point shooting. Hold down the Instinct button and follow the on-screen prompts to begin the process. Place the cursor over the head of a guard and pull the trigger. Repeat this for all four guards, and then press the execute button to begin firing. Agent 47 will automatically engage all selected targets in rapid succession and clear the room.
Point Shooting
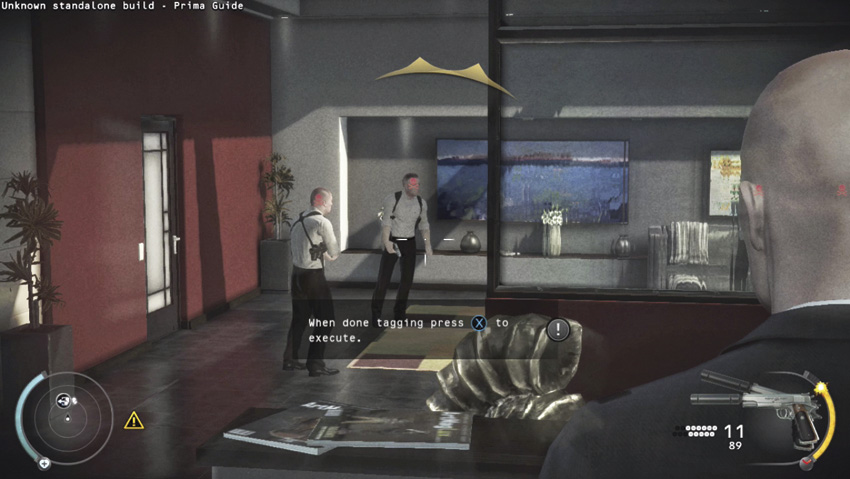
Point shooting is a great way to engage several targets using Agent 47’s lightning quick reflexes. However, in order to use it you need to have quite a bit of Instinct. Your Instinct meter depletes while you are selecting your targets, so don’t waste any time. You may only wound a target if you don’t aim for their head, so be sure to go for the head each time. A skull icon appears over the target when you pull the trigger to indicate that it will be a lethal shot.
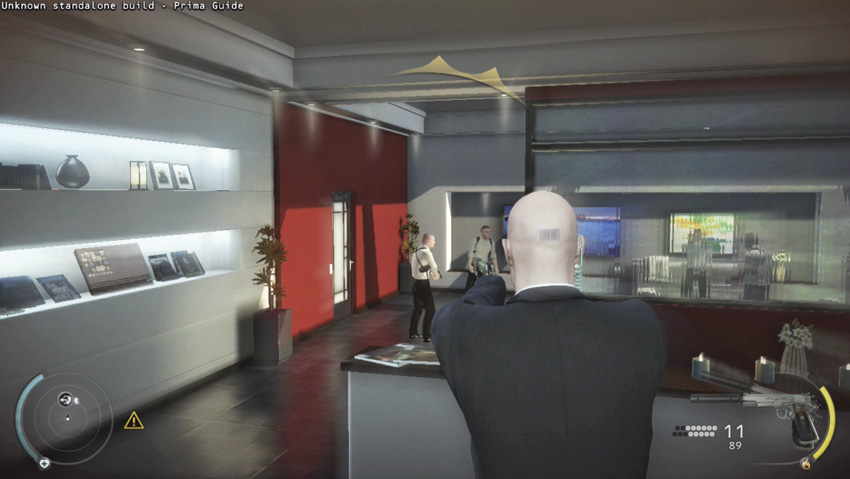
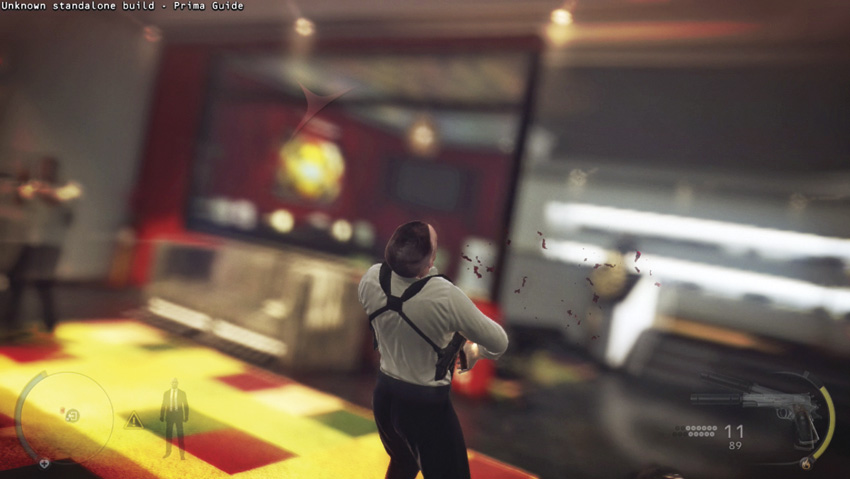
Wipe out the four guards in quick succession using Agent 47’s point shooting ability.
Now that the room is clear, walk over to the closed door and pick the lock to get to Victoria. Escort her down to a car and get out of there before your employers realize that you have gone rogue as well—just like Diana.
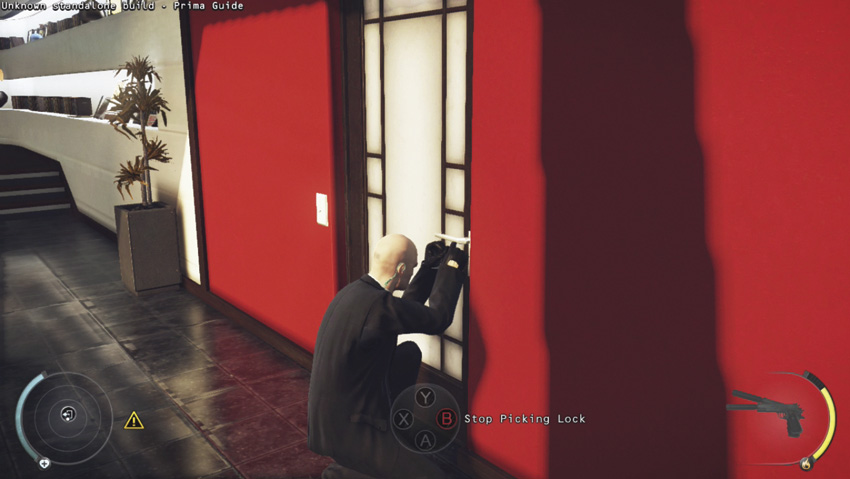
When picking a lock, you can stop the process in case someone comes by. Picking a lock is a very suspicious activity. However, since you killed all of the guards, that is not an issue at this time.
The Price of Treason
Escape with Victoria and complete the level to earn this final challenge.