Stalker 2: Behind Seven Seals Walkthrough Guide
Make tough choices and align yourself with a faction in Behind Seven Seals.

In Stalker 2, many of the main missions intertwine with optional side missions, creating a layered narrative experience. Behind Seven Seals is one such early-game mission that introduces you to the mechanics of making impactful choices and dealing with their consequences later in the game. This mission also serves as an introduction to the ongoing theme of choosing sides among the game’s factions.
In this walkthrough, we will guide you through every step you need to complete in the Behind Seven Seals mission in Stalker 2.
How to get the Behind Seven Seals Mission in Stalker 2
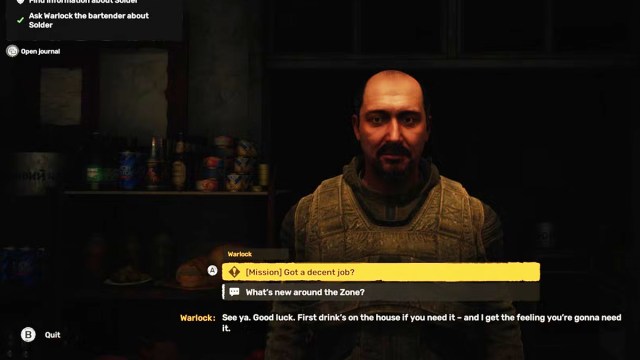
The Behind Seven Seals main mission becomes available after you reach Zalissya and speak with the Warlock to gather leads that could help you locate Solder in Stalker 2.
In this mission, you will encounter two key NPCs, Richter and Captain Zotov, who both have tasks for you. Assisting either NPC will earn you crucial information about Solder, which is the central objective of the Behind Seven Seals mission, as it ties into uncovering the whereabouts of Skif’s stolen scanner.
Information on Solder
To gain this information, you will need to choose between working with Captain Zotov, aligning yourself with the Wards faction; or Richter, who represents the Sparks faction.
Although you will ultimately discover Solder’s location by the mission’s end, your choice of faction—whether the Wards or Sparks—will significantly influence your progression in Stalker 2.
Related: Stalker 2: Kill Shah or Roosevelt in King of the Hill Mission
Ask Richter and Captain Zotov About Solder
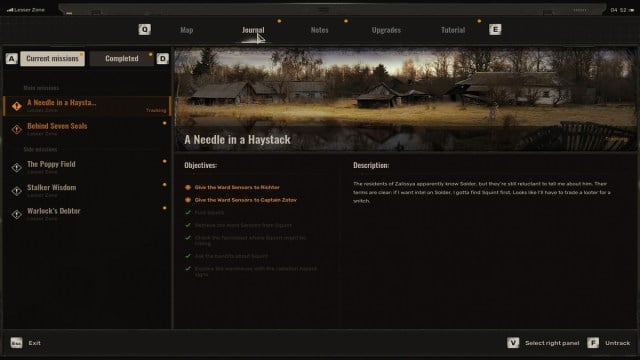
No matter which NPC you choose to speak with—Richter or Captain Zotov—both will task you with locating an NPC named Squint and retrieving the Ward Sensors. This will also begin the ‘A Needle in a Haystack’ mission following in the same vein of Behind Seven Seals in Stalker 2.
If you side with Richter, he will emphasize that Squint and the Ward Sensors must be returned to him. Captain Zotov, however, is not fond of Stalkers, to begin with, and will not take kindly to this situation if you choose Richter’s path.
Note: It is important to note that starting the mission to find Squint through Captain Zotov will lock you out of the Inevitable Nests mission.
Inevitable Nests Side Objective
On the other hand, if you accept Richter’s version of the quest, the Inevitable Nests mission will begin. In this scenario, Richter and Gaffer will instruct you to activate an antenna on the Zalissya tower so the Technician can track Squint’s PDA.
The antenna tower is located north of Zalissya and is marked by a rocket icon at its top. Once you have activated the tower, head southeast of Zalissya to find an ARMS antenna near a rundown house.
Finding Mug
Alternatively, if you choose to work with Captain Zotov, he will reveal that Squint stole the Ward Sensors and must be held accountable. This route triggers a secondary objective where you will visit a nearby warehouse and interrogate Mug, a bandit residing there, to uncover Squint’s whereabouts.
NOTE: Of the two paths, Captain Zotov’s objectives are shorter, allowing you to complete the Behind Seven Seals mission more quickly in Stalker 2.
Finding Squint
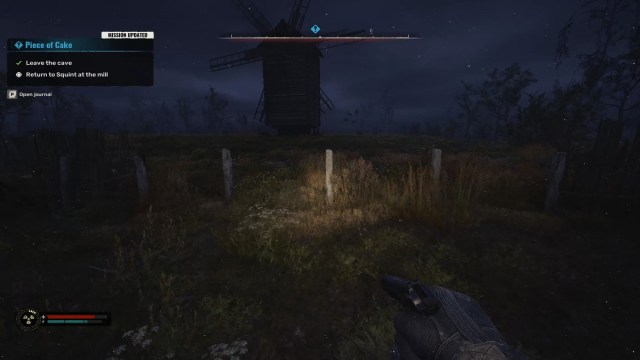
Once you have located Squint, head to the windmill near a farm to find him. Be cautious as you approach—there are several grenade traps you will need to disable to safely reach him.
When you interact with Squint, he will ask whether Richter or Captain Zotov sent you. He will then explain the situation, stating that Skif can take the Ward Sensors and decide who to return them to since Squint no longer has any use for them.
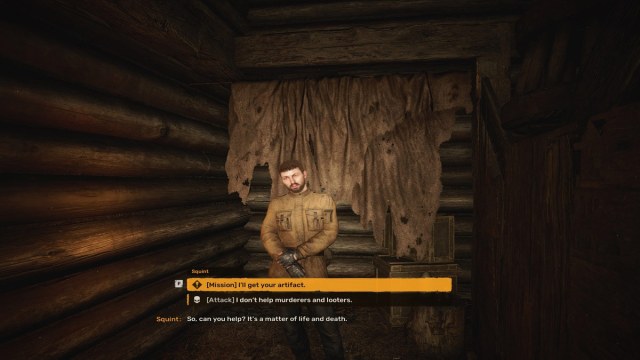
At this point, you will have a choice: kill Squint or complete a short side mission called Piece of Cake. This side mission involves retrieving an artifact from a nearby underground area, accessible through the collapsed floor of a house.
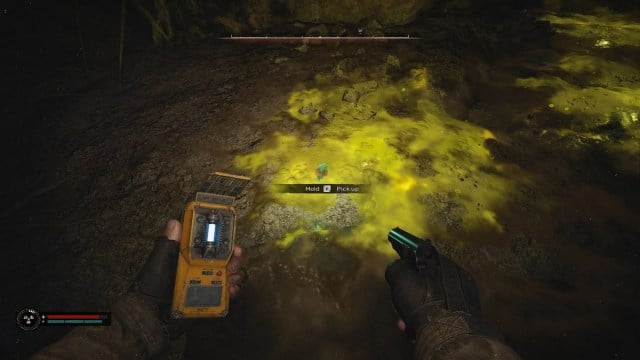
Once you bring the artifact back to Squint, you will face another decision: hand over the “Mold” artifact to Squint or kill him to keep both the artifact and the Ward Sensors. At the time of writing, the consequences of killing Squint in Stalker 2 were unclear, so we opted to spare him.
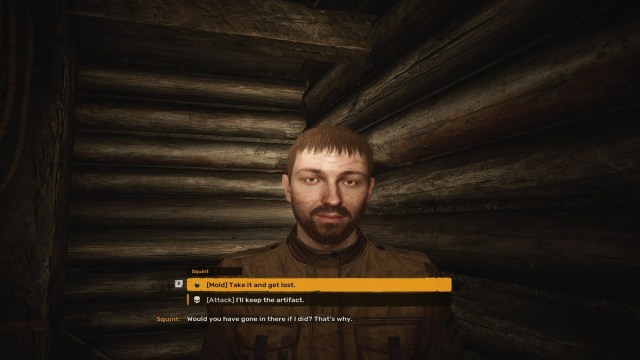
By the end of the conversation, Squint handed over the Ward Sensors willingly.
Related: Stalker 2: No Honor Among Thieves Walkthrough Guide
Should You Give Sensors to Richter or Captain Zotov in Stalker 2
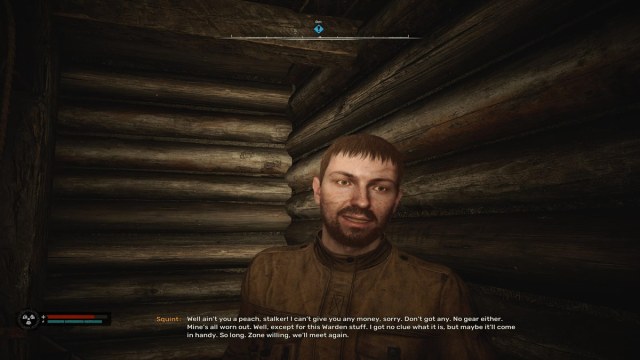
Regardless of who you choose to give the Ward Sensors to, the next set of missions will involve gaining access to the Sphere, where Solder is located.
If you hand the Ward Sensors to Captain Zotov, he will direct you to meet his contact near the Sphere. This insider will assist you in entering the Sphere discreetly, minimizing unwanted attention.
On the other hand, if you give the Ward Sensors to Richter, he will send you to the Sphere’s abandoned communication hub to gather intel on how to infiltrate the area.
While Richter’s approach takes longer, it provides access to a num-pad-locked door. This method allows you to enter the Sphere and reach Solder without attracting any attention, making it a safer option.
Exploring Abandoned Communication Hub
If you choose Richter’s method, you will first need to navigate through a gravitational anomaly to reach the door. Equip a bolt and throw it at each anomaly to trigger its activation. Once it is triggered, move quickly through the area before the anomaly reappears.
After bypassing the anomaly, proceed to the lower level, where you will come across the bodies of several IPSF soldiers who were brutally killed. Here, you will encounter a Poltergeist, an invisible enemy.
Your objective in this area is to loot the bodies of the fallen IPSF soldiers to gather valuable information that will help Skif gain access to the IPSF building, also known as the Sphere. You can either fight the Poltergeist or avoid it entirely while searching the area.
One of the bodies, located inside a cell, holds a note with the code for the num-pad-locked door: 2765. This code remains the same regardless of the difficulty level you’re playing on in Stalker 2.
How to Find Solder in the Sphere Building in Stalker 2
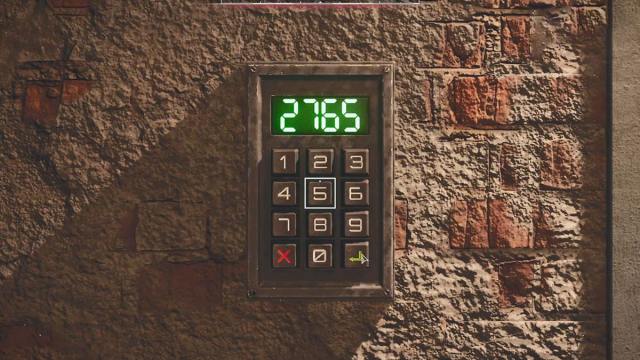
With the code in hand, you are ready to enter the Sphere. As you approach the front of the building, stick to the left side. You will notice the path slopes downhill, and partway along this route, you will find an entrance on the left side of the building.
Enter through this doorway, where you will encounter green, radiated toxic waste covering the floor. Move quickly and carefully to avoid taking damage as you make your way through. At the end of the path, you will come across the num-pad-locked door. Enter the code 2765.
NOTE: If you forget the code, you can pause the game—it will be displayed on the right side of your screen.
Once you are past the door, you will officially be inside the Sphere. From here, head to the basement by following the straightforward path in front of you.
Your destination is a room with a white door illuminated by a white light overhead. Inside, you will find Solder. As you enter, a cutscene will play, during which Skif and Solder will argue about why Solder stole Skif’s scanner.
Related: How to Make Money Fast in Stalker 2 Heart of Chornobyl
Should You Kill or Spare Solder in Stalker 2
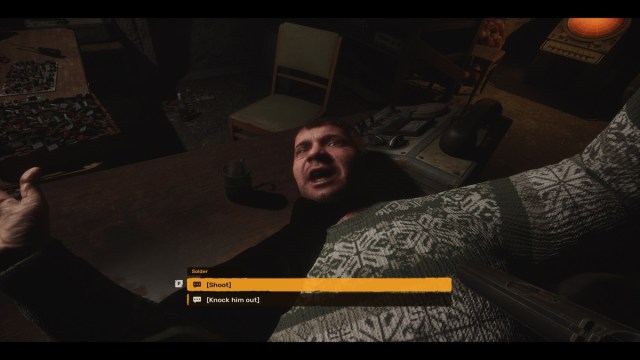
At the end of the encounter with Solder, you will be presented with a choice: kill him or knock him out. The outcomes of this decision differ, and we were not entirely sure of the long-term implications. However, since Solder attempts to kill Skif during the confrontation, we chose the more decisive route and opted to kill him.
After dealing with Solder, do not forget to search the next room for the High-Capacity PTM Magazine attachment for Skif’s pistol—it is a valuable upgrade you do not want to miss.
To exit the Sphere, you can retrace your steps and leave the way you entered, or take the left passage from Solder’s room and head upward.
NOTE: The upper route is heavily guarded and will lead to significant resistance. For a safer option, exit quietly through the sewer passage.
Once you are out of the Sphere, you’re all done with the Behind Seven Seals mission.
That wraps up everything you need to know about completing the Behind Seven Seals mission and its objectives in Stalker 2. For more tips, I recommend you check out Best Stalker 2 Graphics Settings for PC, How to Repair Weapons, and How To Adjust the Stalker 2 FOV and Disable Vignette.
