
Should You Pay or Kill Royce in Cyberpunk 2077? – Answered
Decisions, decisions...
During The Pickup mission in Cyberpunk 2077, you’re tasked with retrieving the Flathead robot from the Maelstromers, and given the choice to either kill or pay Royce. Each option has slightly different outcomes, so it’s a good idea to know the consequences going in—here’s what you need to know.
This guide contains major spoilers as it goes over every possible outcome in The Pickup. Read on at your own risk.
Do You Pay or Shoot Royce During The Pickup in Cyberpunk 2077? All Outcomes Explained
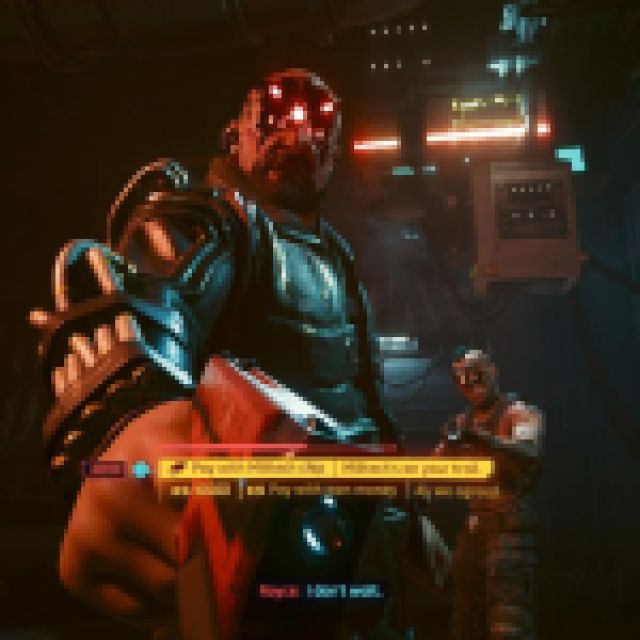
After speaking to Dum Dum and telling him you shouldn’t have to pay for the robot again since Brick, the previous, now-dead gang leader, was already paid, Royce will come bursting into the room, tired of hearing you ask for what’s fair. You’ll get a couple of quick-time dialogue options, where you can choose to pay, or, if you wait long enough, the option to shoot Royce will appear.
If you want to pay Royce, you have two options for doing so: use the Militech Credchip you got from Meredith Stout or splash 10,000 Eddies from your own pocket for the robot. We don’t recommend using your own money because not only is that a lot of cheese to drop so early on, but there are other choices you can pick that give the same outcome, and it’s literally free.
As you run through the factory to leave, you can rescue Brick, who is actually alive. Do so, and he’ll help you later on during the Second Conflict side quest. More details on this below.
These are all the options you can pick when it comes to what to do with Royce in Cyberpunk 2077:
Shoot Royce Outcome in Cyberpunk 2077
During the confrontation with Royce, if you choose the “Prepared to offer us a discount…?” dialogue choice, you’ll get the option to draw your weapon. Do so, and you’ll have one last chance to pay, either with the Credchip or with your own money, or you can opt to kill him.
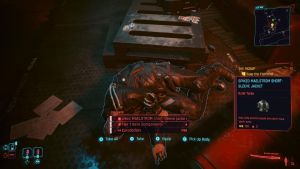
If you choose “I’ve had enough” and shoot Royce, his crew will turn on you. Take them out, and you’ll be able to loot Royce’s body for a Spiked Maelstrom Short-Sleeved Jacket, some Tier 1 Item Components, and a generous chunk of Eurodollars. Royce’s Chaos Pistol, an Iconic Tech weapon, will also be on the floor nearby.


Fight your way out of All Foods, and Meredith Stout will be waiting for you outside. She will offer you some work before heading inside the premises. After you’ve called Dexter DeShawn, The Pickup mission will end.
If you chose to shoot Royce (or if you chose to pay with the Militech Credchip), you’ll have a later option to romance Meredith Stout. She’ll contact you via text, and if you imply interest, she’ll suggest you meet at the No-Tell Motel. Take her up on her offer, and you’ll be rewarded with a good time and an iconic weapon in the form of an adult marital aid, Sir John Phallustiff.
Pay Royce With the Militech Credchip Outcome in Cyberpunk 2077
If you choose to pay Royce using the Militech Datashard given to you by Meredith Stout, he’ll accept the offer and go into the back to check the chip. Upon doing so, Royce will find out that it’s been hacked by Militech and go off the rails.


Defeat his lackeys, grab the Flathead robot, and then leave the room. As you head toward the exit, Royce will engage you in a boss fight. Beat him, and you’ll receive a Spiked Maelstrom Short-Sleeved Jacket, some Eurodollars, and Royce’s Iconic rarity Chaos Pistol.

Once you leave the factory, Meredith Stout will meet you outside, where you can choose to confront her for screwing you over with the Militech Credchip. After you call Dex, the mission will end.
Pay Royce With the Hacked Militech Credchip Outcome in Cyberpunk 2077
If you hack the Militech Credchip and neutralize the malware, V will let Royce know that Militech’s on his trail and will be there any minute. Frustrated, he tells you to grab the bot and get out. Take it, and Militech will raid All Foods. Follow Dum Dum through the maintenance shaft, and you’ll drop into an open area with a bunch of Militech soldiers. Take them out and continue through the factory.

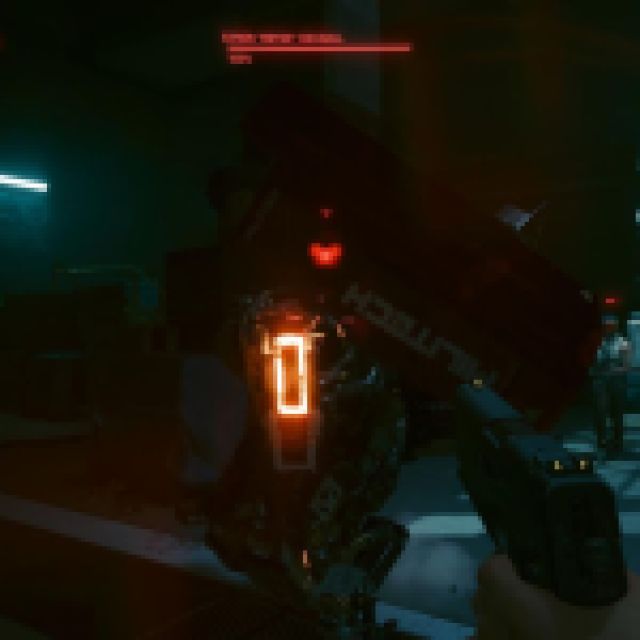
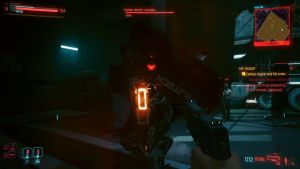
As you reach the last room standing between you and the exit, you’ll get attacked by two mechs. Use the surrounding crates to duck for cover and take them out. Once they’re down, speak to Royce and then leave the factory. Anthony Gilchrist, the guy whom Meredith Stout accused of being a mole earlier, will be outside. He’ll thank you for saving him and say that Meredith is now dead, then you’ll call Dex, and The Pickup quest will end.
Alternative (and Best) Outcome for The Pickup Mission in Cyberpunk 2077
There is another outcome for The Pickup that doesn’t involve making a decision with Royce at all, and it’s actually our favorite one because you get all the loot without Meredith Stout dying.
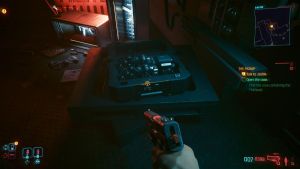
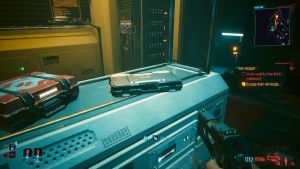
In All Foods, when Dum Dum tells you to sit down, don’t do it. Instead, stand around for a minute or so until he turns on you. Kill him, then go into the room to the left of where he was standing to find the Flathead robot. Pick it up, then leave via the maintenance tunnel.


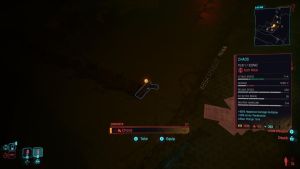
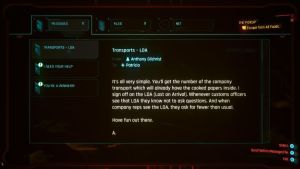
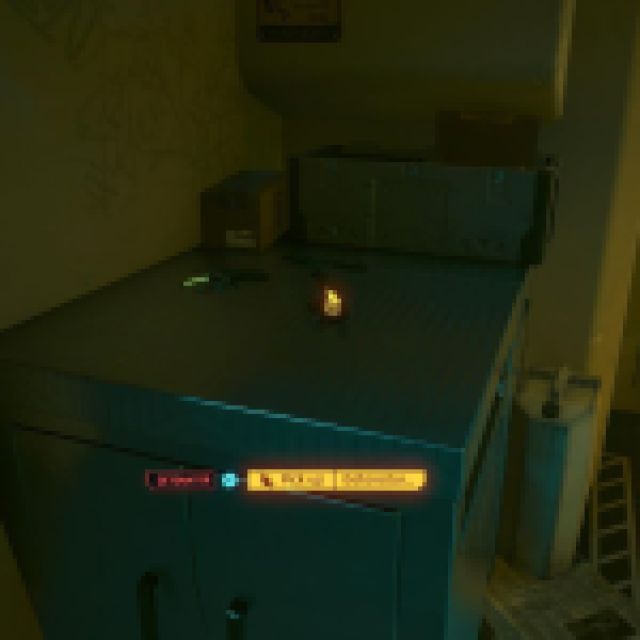
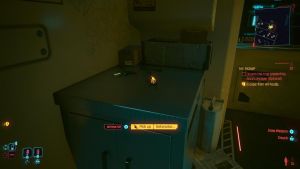
Drop down and defeat the Maelstromers in the first room, then look for a small room in the northwest. Open the door and interact with the computer straight ahead. Read the email titled “TRANSPORTS – LOA” to discover who Meredith’s mole is.

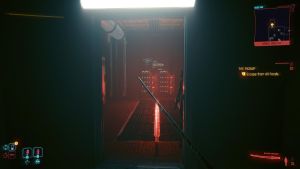
Continue through the factory, open the locked door, disarm the laser, and free Brick. With Brick freed, make your way to the final room, where Royce will be waiting for you to take him on in a boss fight. Beat him, and loot his body to receive his Iconic rarity Chaos Pistol. Leave the building, where Meredith will speak to you outside and criticize you for not following orders.
Once you’ve spoken to Dax and the mission ends, open the Shards section of your Journal and crack the security on the Militech Datashard. With the Datashard encrypted, you can now pocket the money. Nothing feels better than a free $10,000 Eurodollars!
How to Hack the Militech Credchip in Cyberpunk 2077
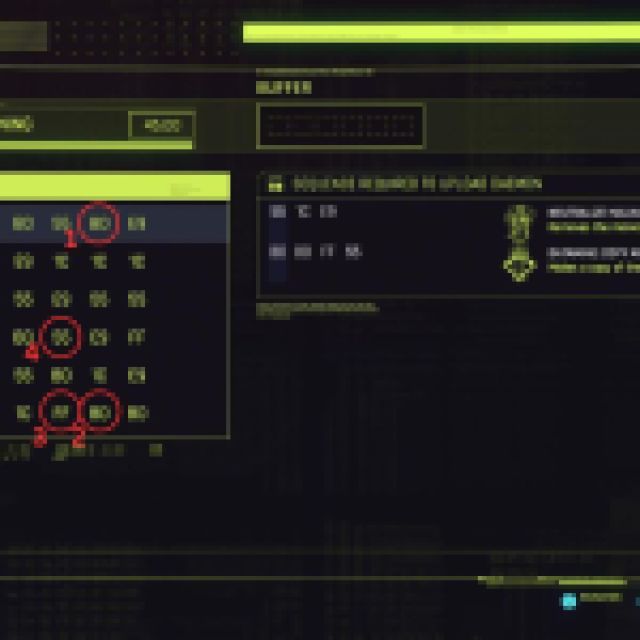
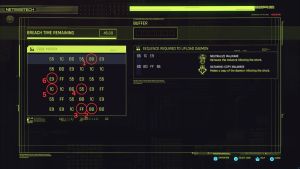
To hack the Militech Datashard, navigate to the Shards section of your Journal, where you’ll find the Datashard under “Encrypted.” Once you’re in the Encryption screen, you’ll want to make sure that you input the correct sequence to both neutralize the malware and copy the malware, which you do by selecting the following hex codes:
- BD: Row 1, column 5.
- BD: Row 6, column 5.
- FF: Row 6, column 4.
- 55: Row 4, column 4.
- 1C: Row 4, column 1.
- E9: Row 3, column 1.
View the exact order in our screenshot below. You can just neutralize the malware, but it is more beneficial to you to do both options.
How to Free Brick in The Pickup in Cyberpunk 2077
After dropping down from the maintenance shaft, you’ll be in a large room with several enemies. Defeat them, then move into the room ahead, where you’ll see two small glass rooms on the left. Between these rooms is a locked door containing Brick, who isn’t actually dead. You have three choices here: leave him, free him, or kill him.

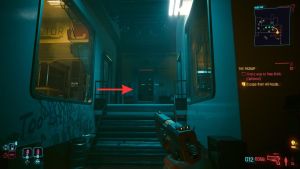
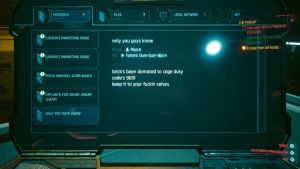
Freeing Brick is definitely the best option, as he will help you in another mission. To do this, either unlock the door by quickhacking it (if you have four or more RAM points) or input the correct code on the keypad to the left of the door. To find the code, head into the glass room to the right and interact with the closed laptop on the table. The code, which is 9691, is in one of the emails titled “only you guys know.”

With the door open, you’ll find Brick sitting down with a laser pointed at his chest. You’ll need to disarm this, either by quickhacking it or by using a Detonator. If you can’t quickhack it, you’ll find the Detonator on a table just inside the door of the glass room on the left. Make sure you choose the disarm option, or you’ll kill him.
Return to Brick, who is now free, and he’ll comment that he owes you a favor. This comes in handy later on.
How to Get the $10,000 Eurodollars From the Militech Datashard in Cyberpunk 2077
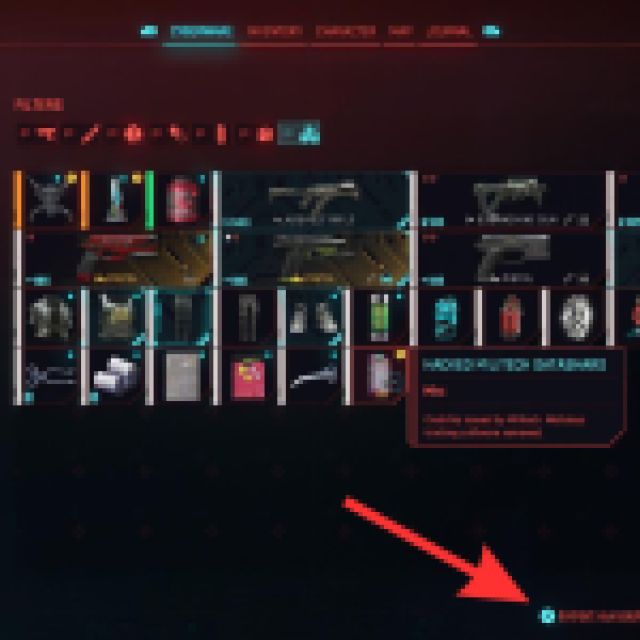
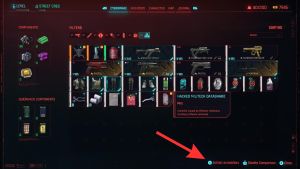
Once you’ve finished The Pickup mission, you’ll be able to transfer the $10,000 Eddies from the Militech Credchip into your own pocket, depending on whether you kept it for yourself or not. To do this, open your inventory, select “Backpack,” then find the Datashard under the “All Items” filter.
Select the Militech Datashard, then back out of the menu. A yellow bar will appear on your screen, indicating that the funds are being transferred. Once complete, the $10,000 Eurodollars will be added to your wallet.

All in all, which decision you pick is up to you. Do you want to be on Royce’s good side or Militech’s?