
Payday 3: Dirty Ice Stealth Guide
Stealthing your way to some shining pearls.

Any Payday fan can tell you without skipping a beat that trying to stealth a heist is much harder than trying to run it loud. While higher difficulties can provide more than enough challenge to overcome in decision-making, stealth is an exercise in careful planning, precision, and patience. With that in mind, you may want assistance when it comes to clearing individual heists in stealth. Here’s our stealth guide on the Payday 3 Dirty Ice heist.
Payday 3 Dirty Ice Walkthrough
Before we get started, I want to note real quick that objectives and hazards will change depending on which difficulty you’re playing Dirty Ice on. You’ll have a much easier time waltzing through on Normal, while Overkill will present a lot of unique challenges to overcome. I’ll do my best to note where higher-difficulty challenges are and how you can overcome them. With that covered, let’s get into it.
Getting Into the Jewelry Store

Before we start handling the nitty gritty, you’ll want to head through the front door and take a look around the front of the store. You should find a woman in a blue shirt who you’ll want to keep in mind for later. She’s the manager and can help you with certain objectives and getting additional loot.

Now that you’ve gotten her location, head around the right side of the building to a stairway leading down to a camera and a guard (if he’s not patrolling in the building at the time). There’s a chance this guard has a blue keycard, which you’ll want to snag for much later. If it’s not on this guard, you’ll be able to grab it in just a moment.


The next thing you will need is a QR code, a one-time-use device that’ll open up a single door featuring a QR code reader. The possible outside spawns for a QR code can be found above. It’ll either spawn on a crate or next to a car behind the jewelry store. There will also be a guard or Lead Guard here, depending on difficulty, who could have that blue keycard I mentioned above. Once you have the QR code, use it to open the back door and make your way inside.
Getting Into the Basement
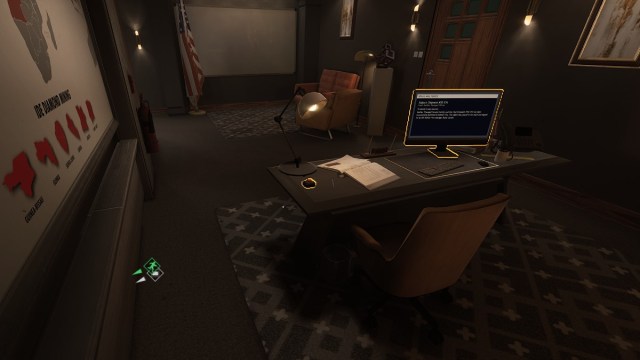
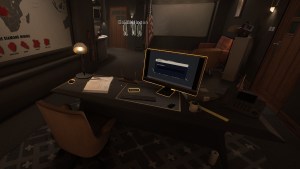
Now that you’ve found your way inside, it’s time to find a way into the basement. This will have both the security camera room and another room containing some key items we can use later. To do so, you’ll need the code. Within the hallway you come in, there should be a door you can lockpick leading into the manager’s office. On lower difficulties, this is a safe place. Otherwise, higher difficulties will have guards patrol through here.
In the office is a manager’s computer, which you’ll need to hack into. Once you’re in, you’re free to ignore all emails shown, excluding the one labeled Subject: Basement Code. This will discuss where the code for the Basement is located. It’ll point to one of three locations:

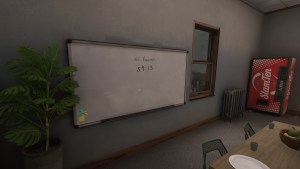


- The WiFi password, found on the whiteboard in the break room.
- A book on one of the display islands in the VIP Showroom.
- The Employee of the Month frame, located at the front of the jewelry store.
Head to one of these three locations, then note down the number displayed. In my playthrough, I found the number on the Employee of the Month frame, listed 8750. With this number noted down, head to the back entrance we went to previously. Rather than going back down the hallway, you want to head downstairs to the keypad. Put in the code, then enter the basement.
Disabling the Display Case Alarm and Turning off the Cameras
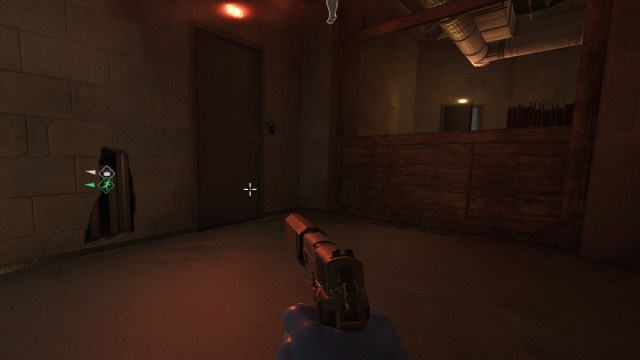
Now that you’re down here, there are two goals you’re looking to accomplish. First, you want to get into a closet located on the opposite side of the room. The other goal is to get into the security camera office and take down the guard, disabling the cameras. Be mindful of the single guard patrolling down here, as you ideally don’t want to kill him unless you have to. Make your way into the utility closet, and you’ll have a few things you’ll need to do.
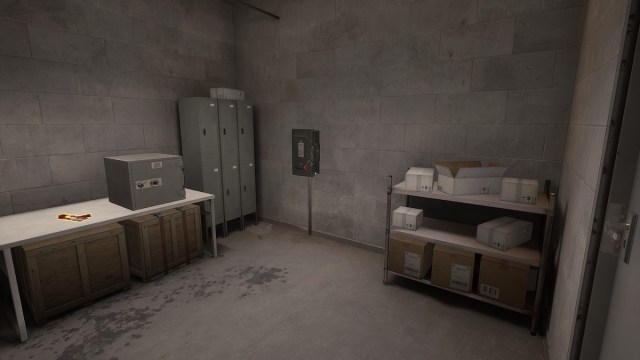
Firstly, pull the switch to disable those display case alarms. Then, if present, grab the red keycard from the table. If it’s not on the table, you’ll find it on another guard nearby. Finally, break into the safe on the table and take a photo of the evidence when Shade asks you to. This is part two of that Manager route I mentioned earlier.
All that’s left to do now is to get into the security camera room and kill the guard. You’ll need either a friend to do this or to head into masked mode. It’s up to you how you want to approach this. With the guard in the office dead, cameras are no longer an issue.
Looting the Jewelry Store

Now that you have disabled the display case alarms, you’re just about ready to loot the place. The final room you need to open is the VIP Showroom (if you haven’t already for the basement code). This will likely require another QR code. I’ve gone through the liberty of finding all the remaining potential QR code spawns, which you can find in the below images or through my list:

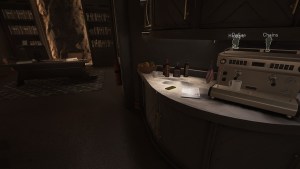


- Next to a coffee machine in the manager’s office.
- On the edge of a sink in the bathroom.
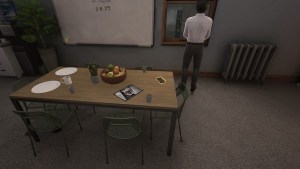
- On a countertop within the break room.
- On the table in the break room.
- On a couch in the manager’s office.
- On the desk in the manager’s office
Now that you’ve gotten into the VIP Showroom, there’s one more difficulty discrepancy to keep in mind. On higher difficulties, you’ll find a civilian in here that you’ll need to handle. Otherwise, they’ll see you start looting. Other than her, you’re free to start looting and securing any lootbags you can get from this room. I’d recommend not dealing with the front since there are so many variables to consider without a full squad of players.

While looting this room should be somewhat straightforward, there is one thing to keep in mind. In the VIP Showroom, you’ll find a room labeled Jewelry Workshop. If you manage to do this all fast enough, then the manager-side objectives you’ve been completing can finally come to fruition.
After going near the door, Shade will mention being able to use the manager to pass the biometric scanner locking the door. To lure her into the back, use the phone on the desk of her office to call her about the evidence we found downstairs. Once she comes back there, use her as a human shield and shove her into the biometric scanner in the VIP Showroom.
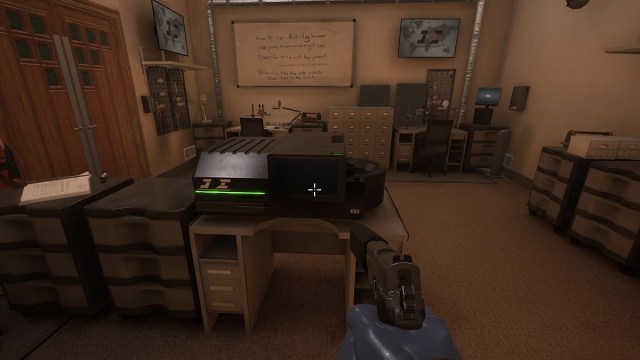
This will unlock access to the Multi-Tag Scanner. Any bags thrown into the scanner will stay there for a moment before being able to be collected again. This will increase the value of any loot bag you throw into it, making it nice for maximizing your profits. It isn’t necessary to move fast enough, but it’s a nice touch.
How to Access the Vault in Payday 3’s Dirty Ice

Besides getting the bags back to the van, there is one more place you can loot: the Vault. It’s always found in the main hallway, though how you open it can be a little confusing. To open it, take a tied-up civilian (the manager, if you got her earlier) and shove her into the button located on the manager’s desk. This will open a short window where you can use a red keycard on the vault door, letting you open it up and get a rare stone worth a considerable amount of money.
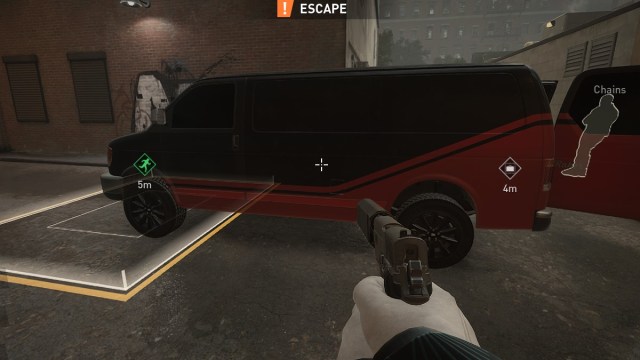
Once you have all the money you want, feel free to extract at the nearby van and enjoy your riches. Congratulations on completing Dirty Ice in stealth!
If you’re looking for help with some other heists, check out our Payday 3 No Rest for the Wicked stealth guide.