
How to Take Better Screenshots in Bayonetta 3 – Photo Mode Guide
For the benefit of those with flash photography
Many games today have a photo mode that gives players the opportunity to capture their favorite moments from the game or even take professional-looking screenshots by adjusting the camera, angles, and effects. The images from photo modes of some games are really impressive, especially when you know how to adjust all the settings correctly. Generally, photo modes work best in games with beautiful graphics, such as driving games or any open-world adventures,
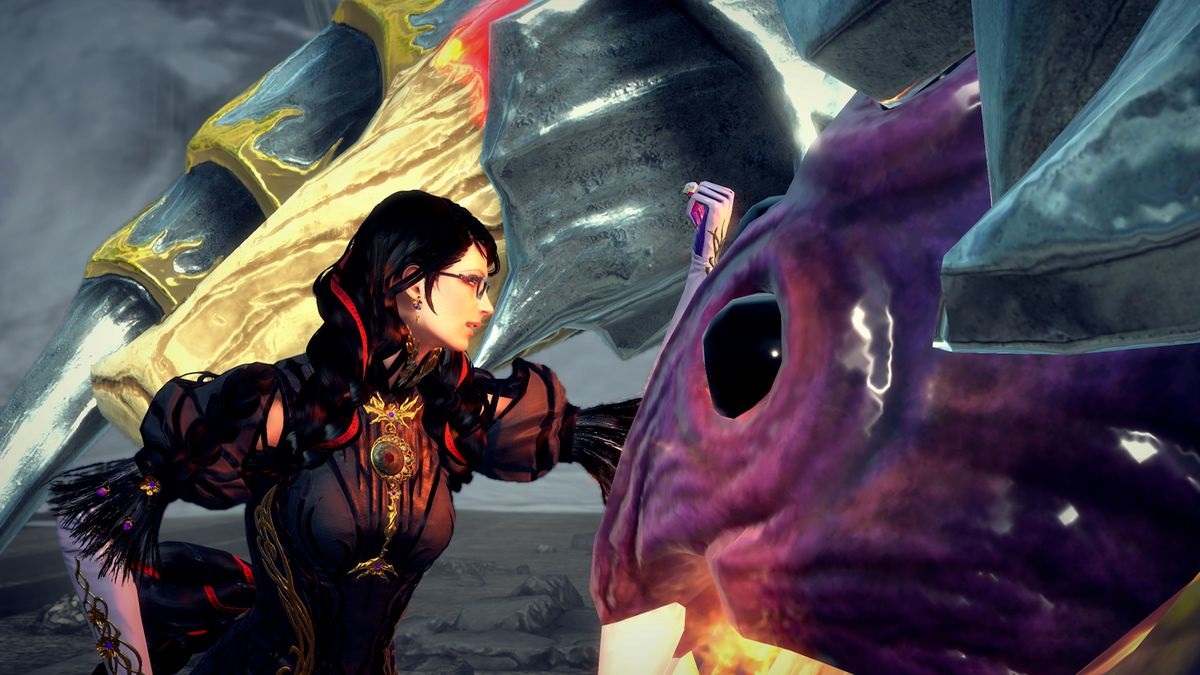
Bayonetta 3 is certainly a very nice-looking game, though due to the limitations of the Switch hardware and the desire of Platinum Games to maintain a high framerate for smooth fast action, the image quality is really not that impressive. So how does photo mode work with such a game? Not so great… But luckily there is a way to improve the quality of photos in Bayonetta 3 photo mode – check out our guide below to find out how.
Related: Will Bayonetta 3 Be Released for PC, PlayStation 5, or Xbox?
How to Take Better Screenshots in Bayonetta 3
The main problem with the photo mode in Bayonetta 3 is that the images are too dark and blurry so to get a sharper image, follow the steps below:
- Pause the game and select Photo Mode.
- Adjust Zoom, Focal Length, and Aperture as you want.
- If you are taking close-ups of Bayonetta (as you should) don’t forget to press A for “Light Position” to throw some light on the model, if needed.
- Press the Y button to enter the Detail Menu.
- Increase Brightness a lot and Exposure a little bit; most of the scenes in Bayonetta 3 are usually dark so this will work in most cases.
- Increase Saturation a little bit to make colors pop out more.
- Leave Chromatic Aberration in the middle.
- Motion Blur should be set all the way to the left.
- Sharpness all the way to the right.
- Film Grain all the way to the left.
- Vignette all the way to the left.
- Now all you have to do is press the + button and then the Screenshot Button to capture a photo.
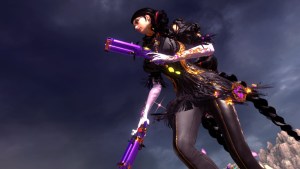
These settings, as explained above, will allow you to capture the clearest and the sharpest photo from the game that will best reveal all the details, but if you want a different effect, feel free to go wild with the pre-set Filters, Motion Blur, and other settings.
Bayonetta 3 is available only on Nintendo Switch since October 28, 2022.
For more Bayonetta 3 guides here on Prima Games, check out the following: Is Bayonetta 3 Open World?, How Big is Bayonetta 3? File Size Guide, and Does Bayonetta 3 Run Well on Nintendo Switch? – Answered.