How to Pursue Rayvis in Jedi Survivor
Don't keep him waiting.

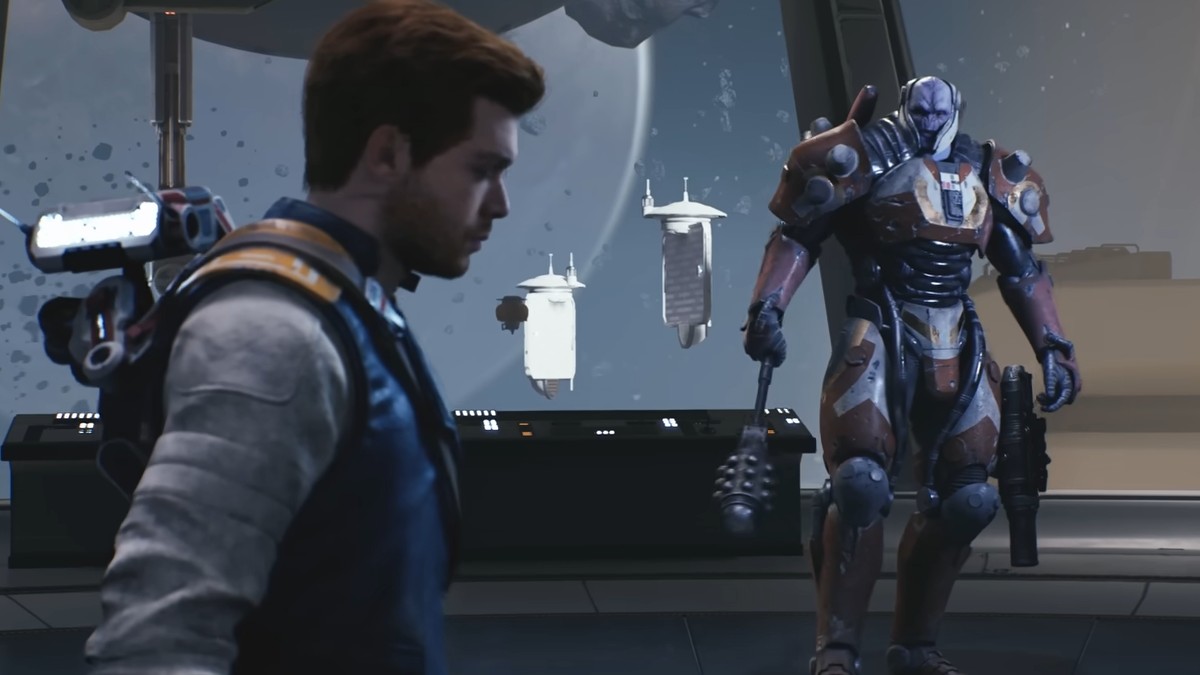
Boss fights are all over the place in Jedi Survivor, but there are a few that stand out among the rest, and one of those is the battle against Degan Gera’s right-hand man. Before you can reach Dagan, you must pursue Rayvis on the Shattered Moon, and getting there won’t be easy.
Most of the path there is fairly straightforward as long as you can avoid the massive array beam that threatens to melt Cal at any moment. After passing the array, there are some puzzles in the laboratory that were a head-scratcher for me to say the least, and we’ll outline the process here. Here’s how to pursue Rayvis in Jedi Survivor.
Jedi Survivor – How to Pursue Rayvis
This is the second major mission on the Shattered Moon, so you will have explored the first half before going on this pursuit. However, there is an entirely new area with an array beam. It won’t be a cakewalk to get through, but there are no puzzles in this section. Clear the enemies, avoid the beam, and you can make it to the Republic Research Laboratory, where Rayvis is waiting above.
This is where things get tough. There is a small lab in this area when you jump down to the left with an orb and a pedestal. The orb is on the other side of a cracked window, and you need to throw this orb with the Force to the ramp to the right. Run over to the next room and grab the Orb with the Force again before it rolls down and resets like all the Jedi Chamber puzzles in Jedi Survivor. Place the orb on the pedestal and head to the next room.
Related: How to Solve the Path of Conviction Puzzle in Jedi Survivor
Within the next room, there is a ceiling to climb that leads to the Upgraded Ascension Cable. This is the equipment you need to climb on the balloons scattered around the room. Use your cable to jump around the balloons and truly pursue Rayvis. At the top, the warrior will be waiting, and I promise you have quite the battle ahead.
