
How to Get Governing Stones and Tuning Stones in Diablo 4
Custom companions
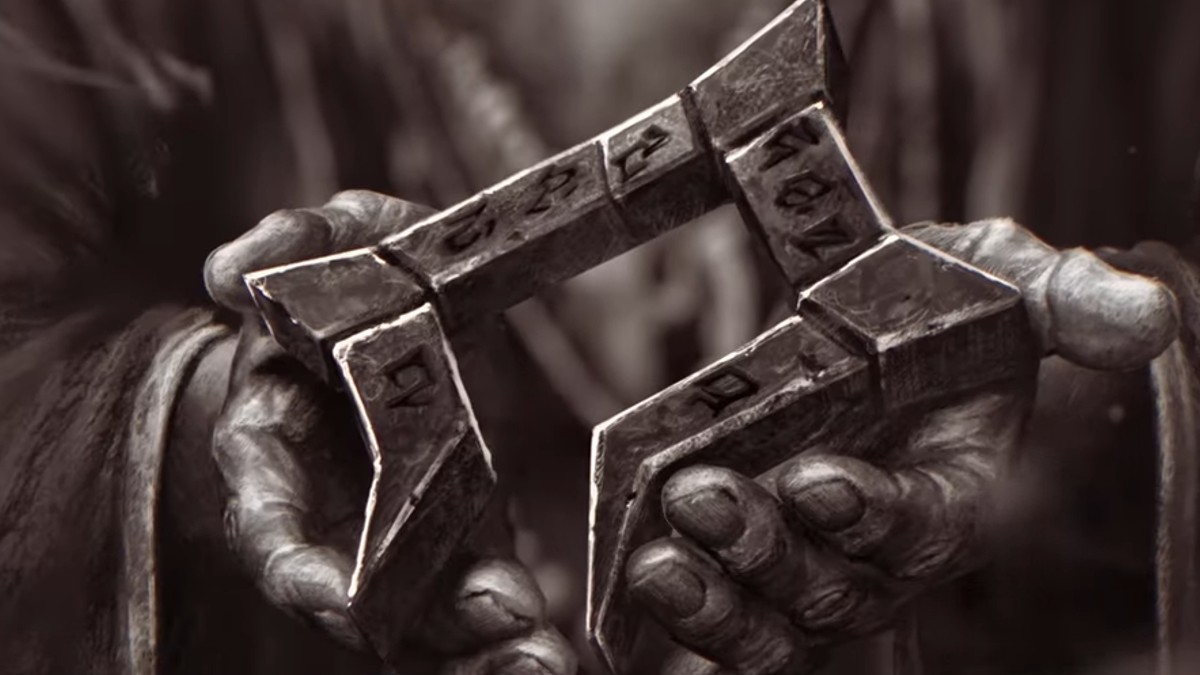
The Seneschal needs some magic before it can become a powerful companion in Diablo 4, which means you need to find Tuning Stones and Governing Stones in the Season of the Construct. My guide will cover how to earn them and what their purpose is for the season.
Finding Tuning and Governing Stones in Diablo 4 Season 3
You can get Tuning Stones and Governing Stones by completing Vaults, opening Wardwoven Chests, or killing Vault Heralds in Arcane Tremors. As you get started in the Season of the Construct, the Seasonal Journey will be your best way to get early access to the Magical Stones. However, the Vaults will end up being your best chance.
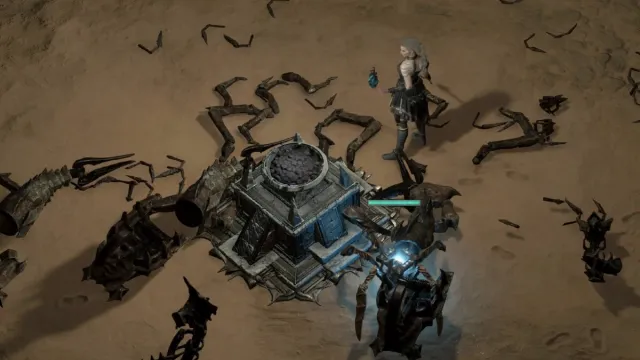
Vaults are the new dungeon type for Season 3 of Diablo 4, and upon completion of one, you will be rewarded with a random Tuning or Governing Stone. At the end of the Vault, there are two chests, including the rare Wardwoven Chest that contains even more stones. To access these, the Vault must be finished with enough stacks of Zoltun’s Warding. That means you want to avoid getting hit by traps.
How to Find Magical Stones in Diablo 4:
- Complete Vaults in Season 3.
- Open Wardwoven Chests for additional stones.
- Complete quests in the seasonal story.
- Defeat Heralds of Malphas in Arcane Tremors.
- Complete the Seasonal Journey Chapters.
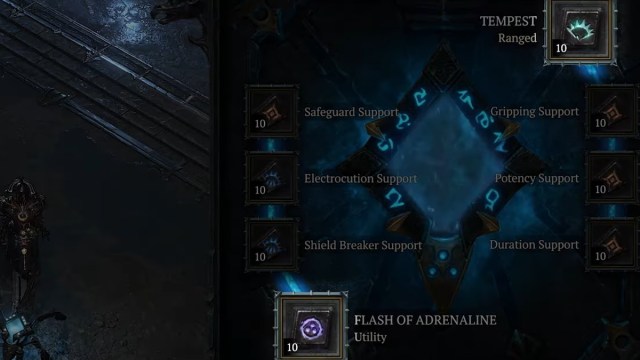
Considering Vaults are the main focus for Season 3, you just want to keep grinding them out until you have the combination of stones that you want for your Seneschal. Each construct companion can hold two Governing Stones and six Tuning Stones that allow for plenty of customization. But you need to unlock them first.
Once you earn enough stones and you have the abilities you want, you can start crafting stones. Duplicates of Magical Stones are part of the grind and they can be used to craft more or fuse them with your favorite stones. This is what leads to the leveling process, which is required if you want your Seneschal to be powerful.
Finding Governing and Tuning Stones in Arcane Tremors
You can get Tuning Stones and Governing Stones by defeating a Herald of Malphas at any Arcane Tremors. Heralds of Malphas can be summoned at any Brazier if you have at least three Elemental Cores and 50 Shattered Stone. If you defeat the Vault Herald, you will earn at least one Governing or Tuning Stone to add to your collection.
This won’t lead to some of the Unique Tuning Stones that are tied to the Echo of Malphas, but it’s a great start to leveling up the stones you already have.
All Governing Stones and Tuning Stones in Diablo 4 Listed
There are 12 Governing Stones and 25 Tuning Stones that you can collect in the Season of the Construct. The full list can be found below.
Governing Stones:
- Autodefense: The Seneschal Construct activates an antimaterial field around itself shooting down enemy projectiles. Can not shoot down Boss or Player projectiles.
- Bushwhack: Quickly ambush dealing damage to each target. May strike the same target multiple times.
- Firefly: Deploy a small construct that lands on the target and explodes 3 times, dealing damage.
- Focus Fire: The Seneschal Construct channels a ray of fire onto targets dealing damage to each over time.
- Gyrate: The Seneschal Construct whirls its legs around quickly dealing damage to all surrounding enemies.
- Impale: Perform a line attack to all enemies in front of the Seneschal Construct dealing damage.
- Lightning Bolt: Launch a bolt of Lightning at the target dealing damage. Arcs to other targets dealing a portion of the original damage.
- Protect: The Seneschal Construct materializes a protective Barrier on the player for a portion of their Maximum Life.
- Reconstruct: The Seneschal Construct channels a reconstruction beam Healing the player for a portion of their Maximum Life over time.
- Slash: Pummel enemies in front of the Seneschal Construct dealing damage.
- Tempest: Electrically charge an enemy causing it to deal damage to themselves and additional enemies each second over time. If the enemy is killed, Tempest spreads to another enemy gaining additional time and bonus damage. These bonuses are also applied if Tempest is reapplied onto the same enemy.
- Flash of Adrenaline: Administers a quick flash of adrenaline into the player, granting bonus damage for a duration.
Tuning Stones:
- Voluminous Support: The supported skill’s effect size is increased.
- Swift Support: The supported Skill gains an Attack Speed bonus.
- Breaking Support: Damage from the supported Skill instantly destroys enemy Barrier effects. In addition, there is a chance to make enemies Vulnerable for 2 seconds.
- Tactical Support: Decrease the cooldown of the supported Skill.
- Efficiency Support: When the supporting skill deals damage, you gain Critical Strike Chance to the same targets hit.
- Devastation Support: Supported Skill gains a Critical Strike Damage bonus.
- Safeguard Support: When used, the supported Skill grants Damage Reduction to you.
- Frigid Support: A portion of the supported Skill’s damage dealt is applied as Cold damage over time and applies Chill.
- Burning Support: A portion of he supported Skill’s damage is applied as Burning damage over time. Burning enemies take bonus Critical Strike Damage from the Seneschal Construct.
- Electrocution Support: A portion of the supported skill’s damage dealt is applied as Lightning damage over time and has a chance to Stun enemies.
- Bleeding Support: A portion of the supported skill’s damage dealt is applied as Bleeding damage over time. Enemies take bonus Bleeding damage from all sources while moving.
- Poison Support: A portion of the supported skill’s damage dealt is applied as Poison damage over time. This poison has a chance each second to spread all Poison damage to an additional enemy.
- Dusk Support: A portion of the supported Skill’s damage dealt is applied as Shadow damage over time. Afflicted enemies who attack have a chance for their attacks to be interrupted. Does not interrupt Bosses.
- Duration Support: Supported Skills have their durations increased.
- Fortify Support: When the Seneschal Construct uses the supported Skill, you gain Fortify. Skills with slower attack speeds or skills with cooldowns will increase the amount of Fortify granted.
- Resource Support: Player gains an amount of Primary Resource when the supporting Skill first deals damage.
- Initiative Support: The supported Skill will cause the Seneschal Construct to teleport to the target if out of range. Can only occur once every so often seconds.
- Arcing Support: The supported Skill can hit additional enemies.
- Multishot Support: Supported Projectile skills launch additional projectiles.
- Piercing Support: The supported Projectile Skill will pierce multiple enemies.
- Gripping Support: Damage and effects done by the supporting Skill to Distant enemies pulls them towards the Seneschal Construct. Can only occur once every so often per enemy.
- Registered Damage Support: Any damage caused from the supported Skill is registered. The registered damage explodes at effectiveness when the target dies as Fire damage.
- Seeking Support: The supported Projectile Skill will auto-seek enemies for a limited duration.
- Slowing Support: Damage from the supported Skill Slows enemy movement speed for a limited duration. The closer the enemy is to the Seneschal Construct, the greater the Slow amount. Enemies may be slowed up to a maximum amount.
- Mockery Support: Damage done by the supporting Skill Taunts enemies hit for a limited duration of time. This can only occur once every so often per enemy. Does not work on bosses.
Before you start the hunt for more stones, make sure you know how to keep Zoltun’s Blessing intact for Wardwoven Chests. And while you’re at it, keep an eye out for Season 3’s new unique items as a reward.