
How to Get Secret Deep Dive Exotic Wicked Implement in Destiny 2
Leave ragged the flesh of your failure or get a cool ice gun
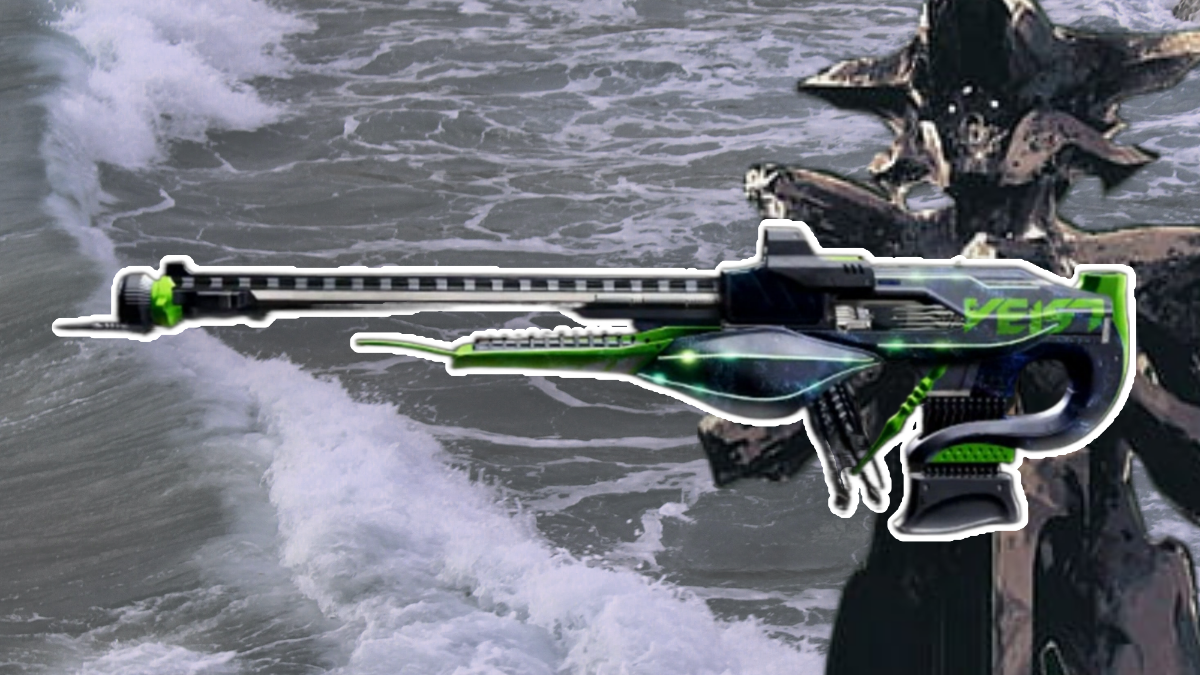
After fishing for three straight weeks, guardians will finally have a chance to get their hands on Wicked Implement, the Exotic Scout Rifle. But getting it will require jumping through some substantial hoops. Here’s how to get the Secret Deep Dive Exotic: Wicked Implement.
How to Get Secret Deep Dive Exotic Wicked Implement in Destiny 2
Wicked Implement is the Stasis scout rifle which can only be obtained by catching three Exotic fish, getting three Broken Blades, and completing two timed DPS encounters. Here’s how it breaks down.
Table of Contents
- All Exotic Fish and Locations Needed for Wicked Implements
- All Broken Blade Hive Thrall Statue Locations
- Wicked Implements Encounter: Location and How to Complete
All Exotic Fish Locations Needed For
First, to access this secret encounter in Deep Dive you’ll need the following Exotic fish:
- Mothercarp – Found in Savathun’s Throne World
- Vexing Placoderm – Found on Nessus
- Aeonic Alpha-Betta – Found on the EDZ
By turning each of these fish into the aquarium in the H.E.L.M., you’ll get a Broken Blade. The Mothercarp will give you the Broken Blade of Strife, Vexing Placoderm will give you the Broken Blade of Ambition, and Aeonic Alpha-Betta will give you the Broken Blade of Cunning.
All Broken Blade Hive Thrall Statue Locations
Once you have these Broken Blades, you’ll need to offer them on the altar of Hive Thrall statues which are hidden in the underwater section of Deep Dives. You’ll have found each of the three Hive Thrall statues before you start the second encounter.
You will need to offer all three of these Broken Blades to open the door to the Wicked Implement encounter.
Hive Thrall Statue 1 (Blade of Strife):
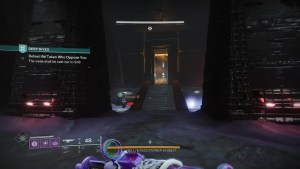
Once you start the mission and accept Ahsa’s blessing, drop into the ocean. Open the locked door. Go through the previously locked door, turn right, and drop. The path will look forked. Take the right path.
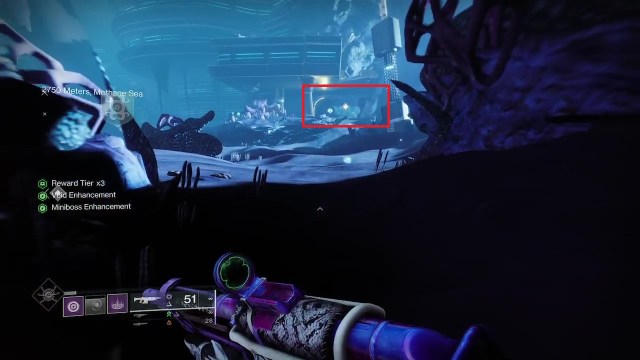
Look for a side path that looks like this.
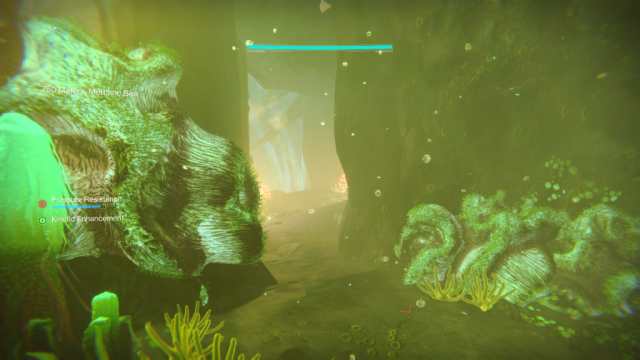
Follow this path and take the first turn right. You’ll encounter a tunnel. At the end of the tunnel will be a yellow-tipped plant. Look to the right and down. Inside a cave on the ground will be our first Hive statue.
Hive Thrall Statue 2 (Blade of Ambition):
The second Hive Statue is only accessible after completing the first drilling section. Shortly after encountering the first Hive statue, you’ll enter a large room. You’ll then begin drilling for coral. Waves of enemies will fall onto your position, including two waves of Servitors. Defeat each wave of Servitors in order to refuel the drill.
Once the drilling is 100% complete, go out into the larger, open area just past the drilling room. On the left side, there will be a platform that has a door. This door will remain closed until the encounter / drilling is complete.

When the encounter is over, go through the door to find the second Thrall Statue. This is where you offer the Broken Blade of Ambition.
Hive Thrall Statue 3 (Blade of Cunning):
When you’ve completed the second encounter, you’ll be able to return to the ocean. You’ll know you’re getting close to the third Thrall Hive statue when you must drop into a large circular hole that has a fan at the bottom of it.
Flip the switch to turn off the fan, then continue sinking. Pick the leftmost path, then keep close to the cliff wall. Do not jump down. Eventually, you’ll reach an alcove that has the last Thrall statue.
After you’ve offered all three Broken Blades of Strife, continue as normal. Finish the second encounter.
Related: What to Do with the Broken Blade of Cunning in Destiny 2 – Answered
Wicked Implements Encounter: Location and How to Complete
Complete the second combat encounter. This encounter takes place in a large, open area where you’ll face multiple waves of enemies. You might have to refuel; you might have to hack. Do whatever you need to do to complete it as normal. No need to get Toland / the Darkness Lure involved, either. There’s no Tier rewards waiting for us at the end of this sunken rainbow.
The third set of Ahsa Blessings will be available once you’ve completed the second encounter. Grab it but don’t descend. Instead, turn back to the main area and take the door to the right, which will now be open.
A new room and area will be available. In this new room will be one to three Hive statues. Each person in the activity will need to interact with one of the Hive Thrall statues, ‘carving a path of violence’. When all the people in your party have done so, the barrier on the other side of the water will drop.
Continue forward and you’ll enter a room full of Taken Hive. Kill them, then move forward into the next water section. This water section is a straight line, so head straight then jump down.
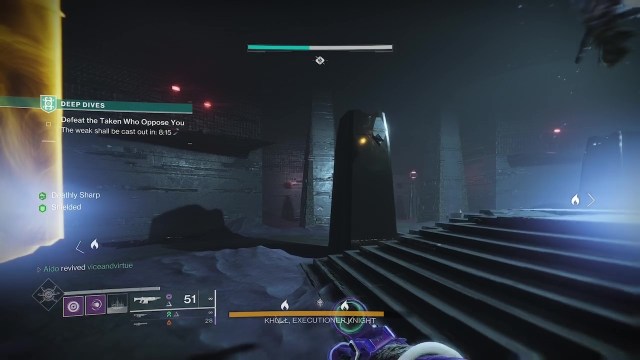
First Encounter with Khull, Executioner Knight
The Wicked Implement encounter has two bosses. The first is Kull, Executioner Knight, which you’ll encounter in this cave, along with a host of other Hive enemies. But save your Super, as your base damage to this boss will essentially be zero.
To do effective damage to Khull, you’ll need to kill each of the Servile Minotaur that spawn in. Each time you, or one of your fireteam, kills a Servile Minotaur, you’ll get a buff called ‘Deathly Sharp’. This will increase the amount of damage you’ll do to the boss.
There are three Servile Minotaur and three potential stacks of Deathly Sharp. You’ll need all three buffs to do any effective damage to Khull. And this is the mechanic of the Exotic Mission. Each of the bosses you’ll encounter will require you to kill three specific yellow-bar enemies, who will give you buffs, which are necessary to do damage to the boss.
Once you do enough damage to Khull (about one-fifth of his health bar), he’ll vanish.
Through the Pyramid
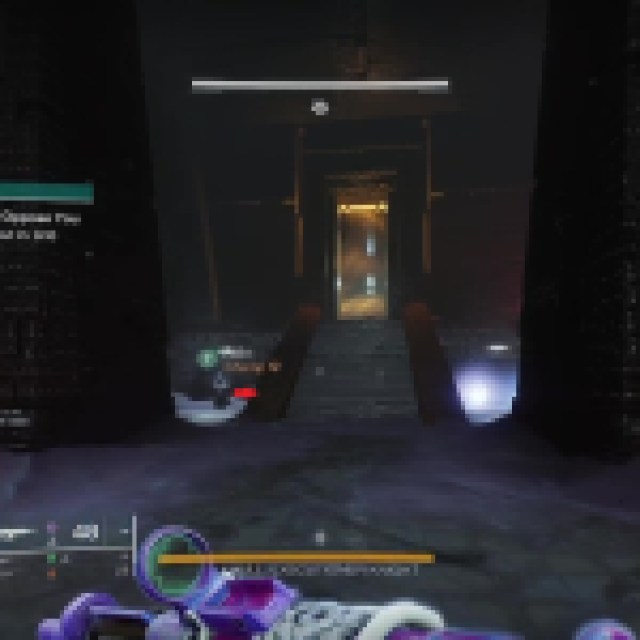
When Khull disappears, a new door will open in the cave wall with an eerie (if familiar) grey mist. Go through it to enter the Pyramid.
This section is straightforward. Kill the Taken until they stop spawning. Then shoot the floating stone beneath the stairs and on the altar in the middle of the room.
This will cause the yellow barrier to drop, giving you access to the next boss room.
Second Encounter with Khull, Executioner Knight
Now, here’s where we get to the timed part. You have ten minutes to defeat Khull.
When you enter the next boss room, you’ll find that Khull no longer takes much damage. You’ll need to regain the buffs you had in your last encounter with him.
Kill the Servile Minotaur that will spawn into the room. When that Minotaur is dead, you’ll find another black stone floating near one of the pillars in the center of the room. Shoot this stone and the yellow barriers separating you from the other Minotaur will drop.
Destroy these two Minotaur to get the last two buffs of Deathly Sharp, then defeat Khull.
Final Encounter: Omen, Blade of the Black Terrace
The last encounter is one of the most brutal. You’ll have ten minutes to complete it.
The final boss is Omen, Blade of the Black Terrace, a massive Tormentor. Like Khull, you’ll effectively do no damage to him. And to do damage, you’ll need to find three Honed Minotaur, kill them to get their buff, and then do damage to the boss.
Here’s where the issue lies. The boss arena is a giant maze, and the three Honed Minotaur are scattered around it. You’ll know you’re getting close when a grey icon pops up. Follow this icon to the Servile Minotaur’s location.
Unfortunately, the moment you have the third buff, a timer on them starts. You’ll have 1:15 seconds to do damage to the boss before the buff ends. Once the buff ends, you’ll need to find and kill the three Honed Minotaur again.
Because of that, this is a huge DPS and coordination check. It’s a good idea to have two people already at the Tormentor’s location before you kill the third Honed Minotaur to optimize how much damage you do.
Once you get Omen to half health (or possibly when you start to run out of time but you’re still alive), Taken Centurion will start spawning in the room with you, as well as the Honed Minotaur. You can kill these Minotaurs to refresh your buffs without running the gauntlet again.
Fail to kill Omen within the time limit, and you’ll be sent back to Orbit. This means you’ll need to do the first two parts of Deep Dive and all the preceding parts of the Wicked Implements quest all over again.
But it’s worth it because if you beat Omen, you’ll get Wicked Implements, the Exotic Stasis scout rifle.
If you’re somehow not sick of Deep Dives after that adrenaline rush, there are plenty more secrets in the deep. Check them all out here: All Deep Dive Secrets in Destiny 2.