
How to Find the Third Shrine in Tears of the Kingdom
Give Link a coat, he'll need it
Finding the first two Shrines is pretty straightforward in Tears of the Kingdom. NPCs show you where you should go, and the way is fairly easy to navigate. Things get tricky when it comes to the third Shrine, the Gutanbac Shrine. The game still sends the player directly into its path, but your next big objective is definitely harder to spot compared to the previous ones.
So instead of being lost for hours in the same areas, keep reading this article to find out exactly where you should go to get to the third shrine in TotK.
How to Get to the Third Shrine in Legend of Zelda: Tears of the Kingdom
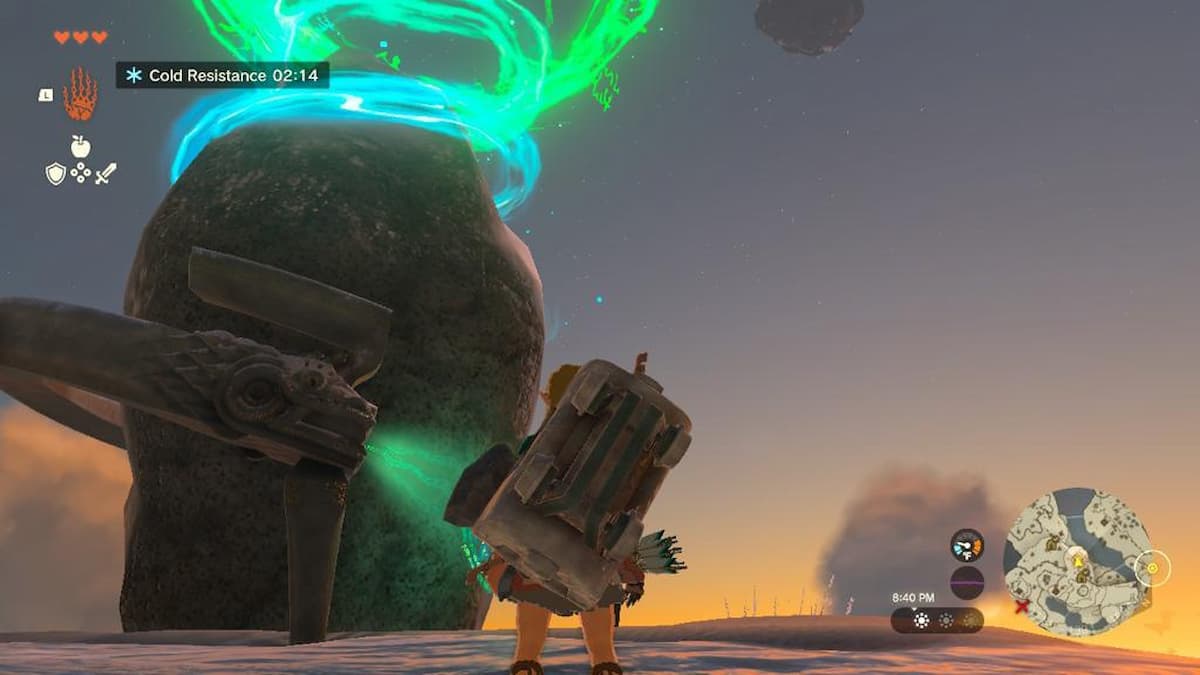
The Gutanbac Shrine is located at the top of the icy planes of the Great Sky Island at 0709, -1383, 1584. The Construct you meet after leaving the second Shrine points you in the correct direction, so keep following this same direction as you solve the various puzzles that are presented, such as building a raft and using the Fans to cross the river or using the same fan on a minecart to cross the rails.
After finding the Zonai device dispenser, you will enter another cave where you will learn how to cook. Use the nearby Spicy Peppers to make at least two Cold-Resistance dishes as you will need them soon enough. Explore a bit and head northeast until you spot a Construct using a flamethrower. They are next to the entry of the Bottomless Cave.
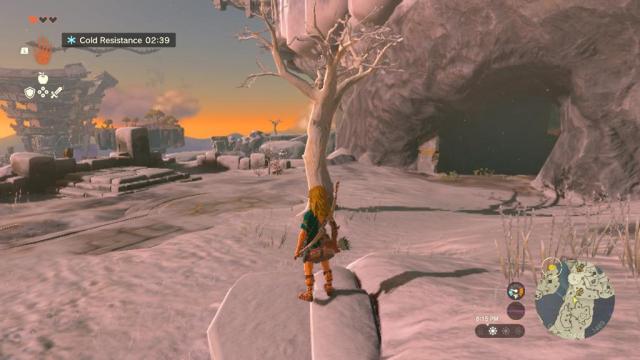
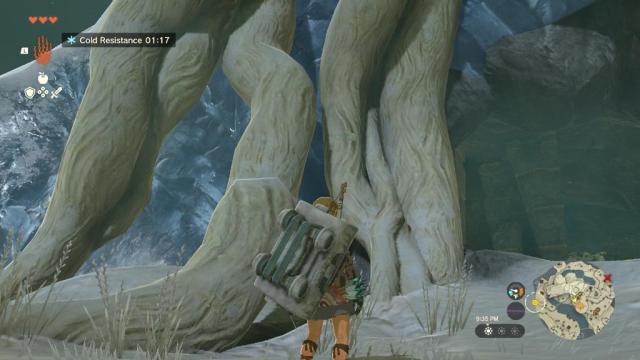
Make your way through the cave until you finally see an exit. Use another Cold-Resistance food to withstand the lower temperatures outside the cave and start climbing on the vines right next to the cave’s entrance. They should be right at your side, very hard to miss.
Related: How to Get the Archaic Tunic in Tears of the Kingdom
You will immediately see a small house containing a cooking pot, so take your time to prepare yourself a little bit more. After concluding your final preparations, just head forward and you will see the shrine right at your face. Congratulations, you can finally proceed into the game!
The temple will give you the Ascend ability, an awesome, game-breaking (or wall-breaking if you prefer) new trick to Link’s arsenal. It makes exploration in the open world a little bit better too, so enjoy!