
How to Complete Operation: Seraph’s Shield in Destiny 2
This new mission is Deep Stone Crypt lite
A new exotic mission has come to Destiny 2, giving players the opportunity to obtain Revision Zero, an exotic pulse rifle that has Hunter’s Trace. This mission will send you up to space to combat Fallen, Hive, and even Scorn, but anything for humanity, right?
Here’s how to beat it solo in Destiny 2.
How to Complete Operation: Seraph’s Shield in Destiny 2
Get to Seraph Station
You’ll start the mission outside with watch towers that will obliterate you if they’re locked on you for 15 seconds. Move from rock to rock, clearing out the Hive Knights and Thralls that will shoot at you as you take shelter. Outside the facility is an Ogre, but there are plenty of areas around this entry bit where you can hide from both his beam and the watchtowers. Whittle him down, then enter the facility.
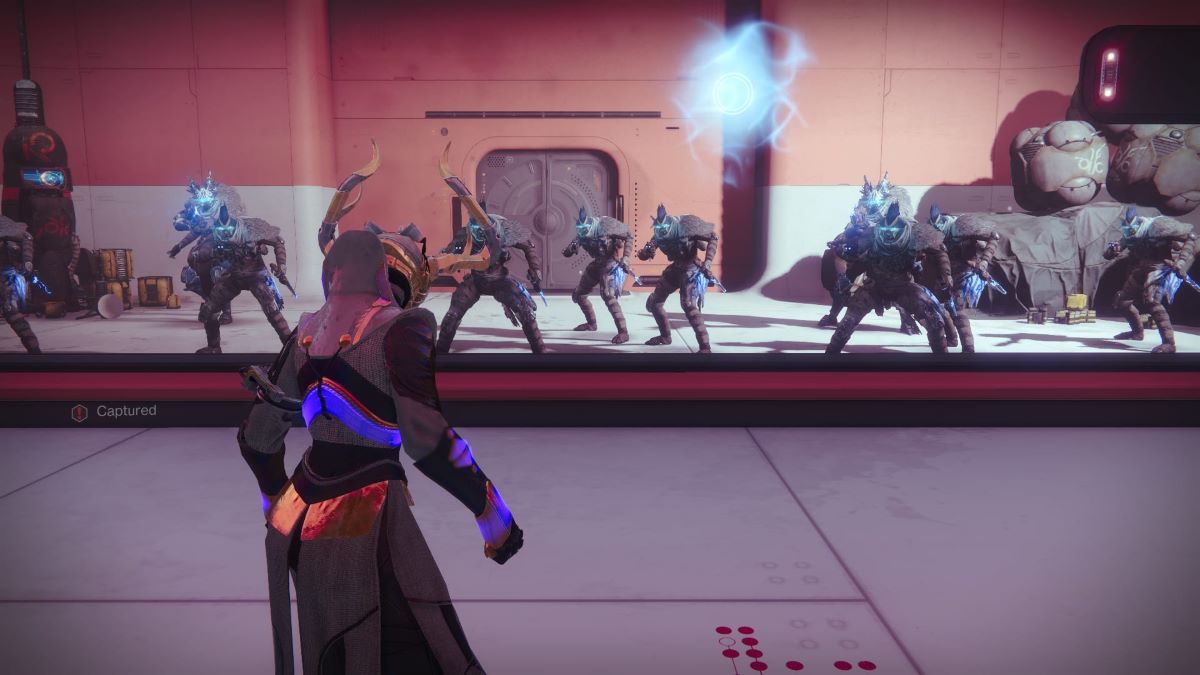
Enter the facility and make your way across the trip wires, either by jumping or crouching. You’ll enter a room that will have Fallen interacting with the panels. Kill them, then take the Scanner buff. You’ll need to make your way around the room, interacting with all of them. There is three in total.

You’ll know you’ve activated all of them as Ana will tell you good work, the orbital pods will drop into the room, and you’ll also unlock the Triumph, Aim for the Bushes (assuming you didn’t die).
Enter the launch pod, and you’ll arrive at Seraph Station.
Reach the Decontamination Room
Head into the next room, where you’ll find more Fallen. Kill them, then take the Scanner buff. Use it to interact with the glowing yellow panel in the room. There is a vent in the same room where you got the buff. Break it open and crawl inside.

You’ll emerge in a new room with a yellow glowing panel. Interact with it, and you’ll see drones spawn in the room you just came from. Head back the way you came from, towards where you initially picked up the Scanner Augment.
Clear out the new Shanks, then head into the room full of slow mines. The door will open into Geosynchronous Orbit, a giant vent area. A Servitor will be staring at you across the way. Kill it, then insert the Scanner Augment. You’ll enter a new room which will be full of Fallen, including another Vandal with a Scanner Augment. Clear the room and pick up the Vandal’s Augment, then hack the panel that’s near the yellow pillar where you first entered the room.

Clear out the new wave of Shanks. You’ll then see a waypoint that looks like it’s referring to a door, but you’ll need a higher security level. Unfortunately, we won’t be able to access these security doors in the first week that this new Exotic Mission is out. There is a shelf above the door we don’t have access to. Jump up on it, and you’ll see a vent. Smash it open, then climb inside.
Related: All Hidden Chests Currently Available in Destiny 2’s Operation: Seraph’s Shield
You’ll fall into a room with three sets of large lasers. You might be tempted to try to jump through them. Don’t. They’re on a timer, so just wait until the first one flickers away. Hack the panel, and the door behind you will open. A Servitor is disrupting the door. Kill it, and head to the yellow terminal to insert your Scanner Augment.

Head through the now-open door that opens beside it. Climb up the stairs, then hack the diamond panel. Head back into the room where you inserted the Scanner Augment. A new door will now be open, full of slow mines. Shoot the slow mines and be prepared for the line of Exploding Shanks that will swarm the room.
Work your way to the top, where you’ll enter a new room full of both Fallen and Turrets. Clear it out, then take the Vandal’s scanner. Here is the hardest section of Seraph Shield.
You have access to two floors in the room you are currently in. Both floors have windows that allow you vision into the adjacent room. On the top floor, if you have the Scanner Augment, you’ll see three highlighted panels. The highlighted panels won’t necessarily be the same for you. On my second run, I had different panels highlighted.

Head down to the first or ground floor and look through the window into this next room. You’ll see a pathway highlighted. This highlighted pathway is the only safe path through the room. Screenshot it, count the panels, and do whatever it takes to memorize this path, as the moment you step into the room, your Scanner Augment will delete and you will no longer be able to see it. This pathway remained consistent for me through different runs.

The three panels you saw highlighted on the second floor are the three you’ll need to hack once you enter the room. Work your way carefully through the room towards these three panels, not stepping off the path or touching the lasers. You will die.
Manage this, and the security protocol will end in this room, and you’ll be able to access another control room with more Fallen.
Access the Officer’s Lounge
Clear out the Fallen in this new room, then pick up the Operator Augment from the Vandal. Take the Operator Augment, then shoot the panels.

You’ll enter a room with Hive. Clear our the Knight and Acolytes, then prepare to be swarmed by Cursed Thralls. Don’t let them explode on you, then head left into the section of the room that is red-tinged. You’ll see another Operator Panel on the wall, a little higher than you might expect.
Shoot this, then return to where you killed the Knight to enter the next room. There will be two Shriekers, Knights, and Cursed Thrall. Clear them out, then head into the vent. My vent was already open, but maybe yours won’t be.
Related: How to Give Riven Cookies in Destiny 2’s Dawning Event
Go through the vent until you see a window where you can peek at some Hive. Towards the far right will be an Operator Panel which you can shoot. This will open up the locked vent that was in the room with a red side section.


Go through this vent, and you’ll be in the room you could see when you were in the other vent. Nice. Clear out the Knight and Cursed Thrall, then head towards the window. Now that you’re here, you’ll be able to see another Operator Panel against the wall. Shoot through the opening in the window to trigger it.
Go back through the vent you came in and head towards the room with two Shriekers. The door on the left will now be open.
Draw Attention to Your Location
Through this door will be another room. A turret will be in the ceiling; take that out first. There will be a large, yellow-bar Captain. Kill him to get the key card but be weary of the turret in the corner of the room where the Captain first spawns. You’ll be instructed to “make a lot of noise” so you can be kidnapped by the Fallen to be presented to Eramis as a trophy.

Deposit the Augment in the yellow structure beside the door. This will open the door beside it. Head through, and you’ll see a stack of very flammable canisters in the center of the room. Shoot them, and it will explode, summoning a Hive Knight Boss. Get him to half health, and he’ll summon 3 Brigs from House Salvation. Manage your cover, take out the Brigs one by one, and eventually, you’ll have the room cleared.
With that almost penultimate boss cleared, head towards the pink hall and descend. You’ll enter Geosynchronous Orbit. Go through the door, and you’ll enter the Security Sector. You’ll see a massive amount of Fallen, but don’t worry. They’re safely trapped behind a glass wall. We’ll get to them soon.

You’ll need to “Surrender” your weapons. Do so, and you’ll be transported to the House Salvation Ketch. Accept the weapons transmat, and kill everyone. Gain access to the ship using the control panel once you enter the next long corridor full of Fallen. BrayTech Security will then help you clear out the Dregs.

Jump to the Station Below
Use the control panel at the end of the long corridor to open the next door, then take out the two turrets. Keep heading forward, and you’ll soon be outside of the Ketch and in space. You’ll need to platform your way back to Seraph Station, which is perhaps easier said than done if you’re awful at platforms. I died no less than four times freefalling into space. Which shouldn’t be possible, but here we are.

The easiest way to make it through this section is to look for the platforms with red lights. These red lights are where you should aim while being careful not to be hit by the fans. Once you land on a platform, it’s always wise to take out the Shanks and Knights that will shoot at you from a distance. A Scout Rifle is great for this section.
Once you find the Vandal with the Operator Augment, kill him and take his Augment. There are three Operator Panels that you will need to shoot to create three platforms that will help us reach the area where the Knight is shooting us from.
The first panel is below the platform where we initially killed the Operator. Head onto the next platform immediately after the Operator’s location, then turn around and look below the Platform. Shoot it.

The next panel is on the round satellite-like protrusion beside you. To see the panel, you’ll need to go to the end of the platform you’re on.

Related: All Resonance Amp Locations in Destiny 2
The final panel is near where the Knight is shooting you from.

Once you’ve shot all three panels, climb up towards where the Knight and Shanks are until you have access to a large, open room in Seraph Station.
Access the Warsat Command Nexus
Kill the Ogres and Acolytes, then deposit your Operator Augment. In the very next room, we’ll encounter the Hive Boss that called in those Fallen enforcements. Kill him.
There are three doors, but only one that you can access. It’s full of Fallen. Kill them, then take the Operator Buff. In the center of the room will be a screen flanked by two panels. Trigger both of them, opening the locked doors. You’ll be swarmed with Fallen, including Exploding Shanks. Try not to die.
One of the rooms that will open will be the one immediately adjacent, which contains a Vandal with a Scanner Augment. Kill this Vandal. Deposit your Operator Augment, then pick up the Scanner Augment. With the Scanner Augment, hack the panel that’s in the same room.
Go into the room opposite this one (the one that had a Captain and Turret) and hack the panel there. This will unlock the door in the room where you killed the Operator Vandal.
In this new room, there will be a yellow-bar Captain and a new Operator Vandal. Kill everyone in the room, then deposit your Scanner Augment. Pick up the Operator Augment and use it to shoot the panel that will be on the hanging pillar.

Related: All Triumphs Needed to Unlock Season of the Seraph’s Seal in Destiny 2
This will open up the very small room adjacent to this one. Inside will be a Scanner Vandal. Deposit your Operator Augment at the terminal, then pick up the Scanner Augment. In the same room the Scanner Vandal was in will be the panel you’ll need to hack. Hack it, and Exploding Shank’ll swarm you. Kill them, then head to the teleportation circle in the larger room.

Kill the Servitor and Shanks, then deposit your Scanner Augmentation at the terminal. The door immediately beside it will open.
Here, we are introduced to a new augment. Kill the Vandal with the blue Suppressor Augment, then pick it up. There are four drones in the room and one Servitor with an impenetrable shield. Once you have the Suppressor augment, one of the drones will have a blue grid and a circle on the ground. Stand beneath the drone with the blue grid in its circle and you can damage the Servitor’s shield.

The blue grid will then switch to another drone, and so on. Follow the blue drone until you whittle down the shield enough that the closed door in this room will open. Enter that room, then destroy the large drone there. This will cause the Servitor’s impenetrable shield to drop, allowing you to kill it completely. Do so.
Deposit the Suppressor Augment into the terminal, then enter the room that will open up beside the terminal. Here comes the boss.
Defeat Praksis
Finally, we’ve reached the last challenge Operation: Seraph’s Shield has to offer. Praksis is a fairly tanky yellow bar whose mechanics perfectly mirror the Servitor we just defeated. Here’s what to expect.

You’ll have the opportunity to whittle his health down by 1/3. Once you’ve hit that line, he’ll gain an immunity shield. You’ll notice that there are suspended metal platforms throughout the arena.
A Vandal with a Suppressor Augment on the central middle platform will always spawn. You’ll need to kill this Vandal, take his augment, then head towards the white ball drones that will turn blue now that you have the Augment. While within the circle, the ball drones cast on the ground, briefly do damage to Praksis’ shield.
Once the drone’s circle is used up, move to the next drone. There are three total. Once you’ve done damage with each of these drones, three doors will open up. There is one on the far left of the arena, one on the far right, and one right beneath Praksis’ platform. Destroy all three.

This will allow you to do free damage to Praksis for another 1/3 of his health. Once he reaches the final third, he’ll regain his impenetrable shield. You must repeat the cycle of gaining the Suppressor Augment, shooting Praksis’ impenetrable shield beneath the blue drone, and then finally destroying all three of his shield drones.
The real challenge of this fight is the grunts. There are so many grunts in this boss fight, with many of them doing area-of-effect damage with spilled fire or ice bubbles that will slow you significantly. Use the metal platforms to your advantage to either pick these Scorn off or take a chance to heal.
Praksis himself doesn’t do much damage at all, and there’s no time constraint. The most important thing here is not to die.
Do all this, and Praksis will finally fall, and you can upload the virus. A chest will spawn, and you will have access to the Hidden Chest if you hit all the drones earlier in the mission. Congrats, Guardian.