
How to Complete First to Fight, First to Die in Starfield
Time to get some answers.
The Freestar Collective mission line has been an interesting one to say the least. After completing your first mission and helping out a farmer with some unwanted pests, you’ve somehow stumbled into what appears to be a massive conspiracy to undermine the Collective. However, all we’ve come up with so far are three Encrypted Slates that Ranger Alex Shadid has been trying to decrypt. It’s time to see what’s next in this caper. Here’s how to complete the First to Fight, First to Die mission.
Starfield First to Fight, First to Die Walkthrough
You’ll receive the First to Fight, First to Die mission in Starfield upon completion of both the previous missions, On the Run and Surgical Strike. Now that you’ve given Ranger Shadid the third Encrypted Slate, it’s time to check in with Marshal Blake in the meeting room.
Go to the Meeting Room and Meet With Marshal Blake
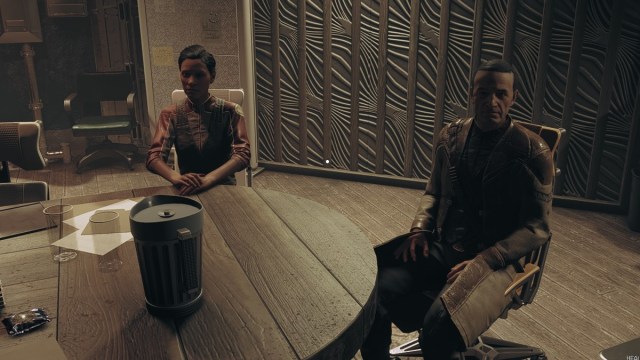
The meeting room can be found on the third floor in the meeting room at the end of the hall. Sitting in two of the chairs are both Blake himself and Emma Wilcox, the Ranger that recruited you during the first mission, Deputized. Apparently, while you’ve been investigating the First Cavalry, more farmers have been attacked, with some being killed as well. After Emma inquires about your progress and is chewed out by your companion, Blake will mention wanting to go over the other Rangers’ opinions of you.
At this point, Blake will begin going over the different opinions of each of the Rangers you’ve worked with so far. This includes Nia Kalu from HopeTown, Jaylen Price from Neon, and Autumn MacMillan from Red Mile. In the middle of the meeting, Alex will come in and mention that the slates have all been cracked and the data within is accessible.
According to Alex, the slates all mention a place called the Factory. Marshal Blake knows that the Factory was where the mechs were being built back during the Colony War. It’s situated on Arcturus II, and Blake wants you to go and investigate to see what’s going on there.
Travel to Arcturus II and Deal With the Resistance

Arcturus II is located in the Arcturus system, north of the Kryx system. As you arrive in orbit, First Cavalry mercenary ships will begin attacking you. Take the two of them down, followed by the next two that warp in. Once you’ve dealt with the six ships wishing you a warm welcome, travel to the Freestar Mech Factory down on the planet.
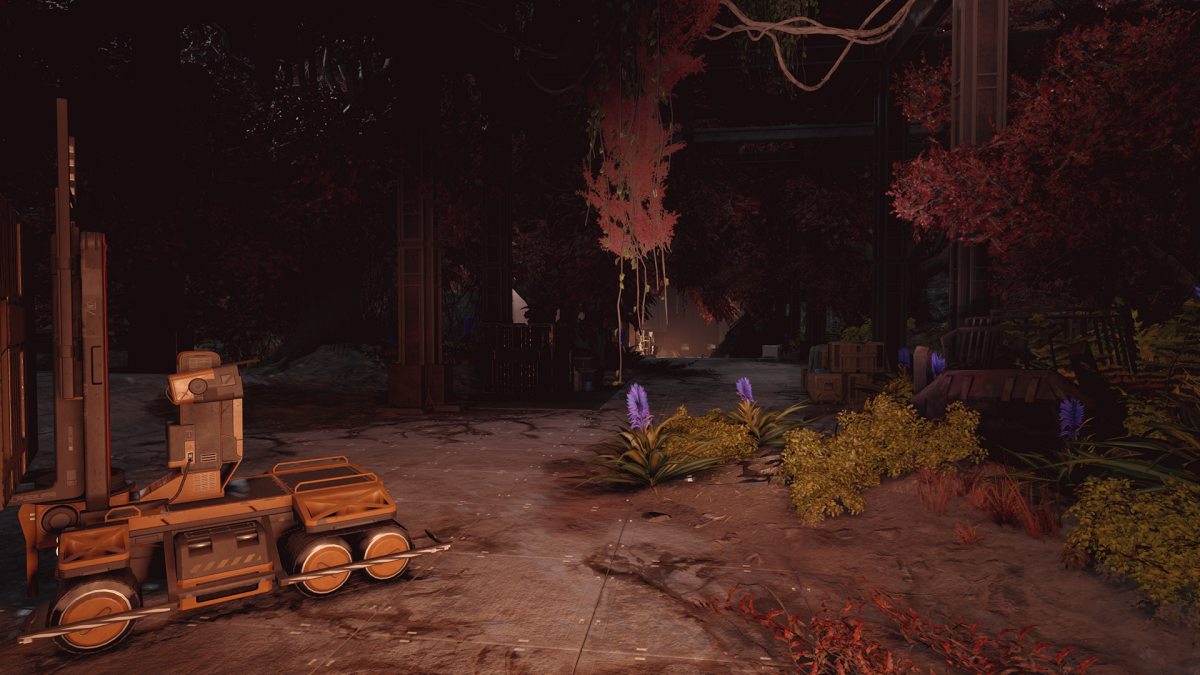
Investigate the Abandoned Mech Factory
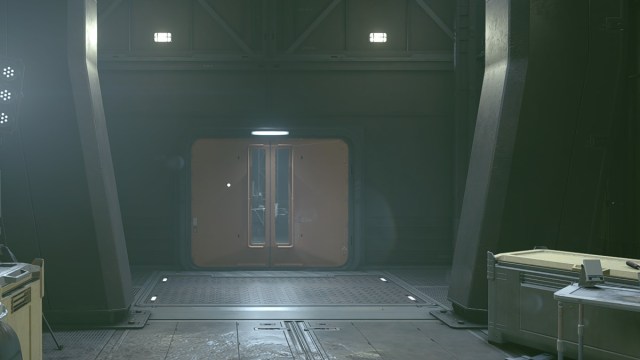
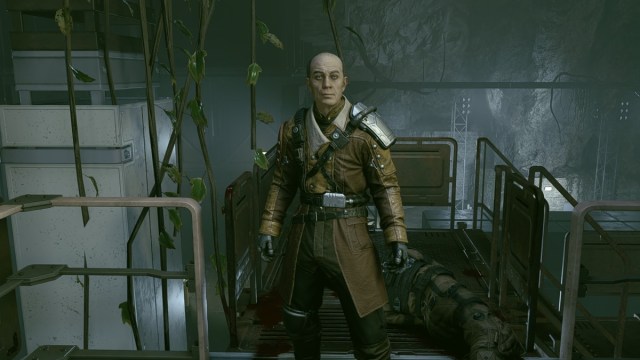
Once you’ve landed on the overgrown planet, make your way toward the front entrance while avoiding any mines along the way. When you reach the front entrance, a man named Paxton Hull will “welcome” you and promising justice can be found inside. Head inside and deal with the First Cavalry soldiers, before heading into the Smelting section of the Mech Factory.
Confront Paxton Hull
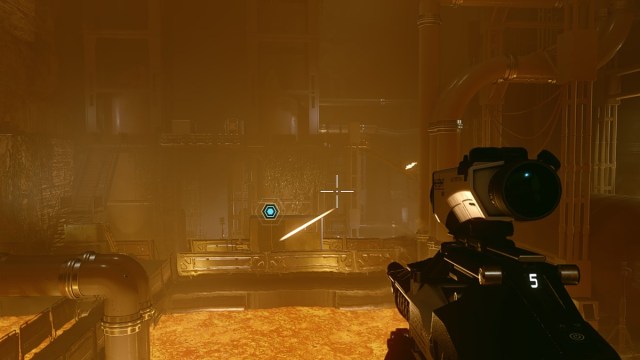
As you enter Smelting, Paxton will be monologuing about how you’re being manipulated by the Council of Governors, heads of the Freestar Collective, and Blake’s superiors. He was part of the Collective once, before realizing that the Council cared about nothing except themselves. Men were expendable, as long as it either lined their pockets or kept them afloat. His actions haunt him now, which is why he’s trying to right those wrongs by standing against the Collective.
While he’s doing his thing, continue working your way through the Smelting Room, taking out hostiles scattered all over the place. If you happen to have a sniper or long-range weapon of some kind, it’ll be incredibly helpful here. Otherwise, working your way up the right side is the easiest path for taking the First Cavalry soldiers out.
As you progress further, Paxton will speak of how his entire battalion was lost during the Battle of Niira in the Colony War, primarily due to the Council’s desire to have a cease-fire. They were extremely close to winning, but that cease-fire cost them their lives instead. He has no sympathy for cowards or the people who do their bidding, and that means you.
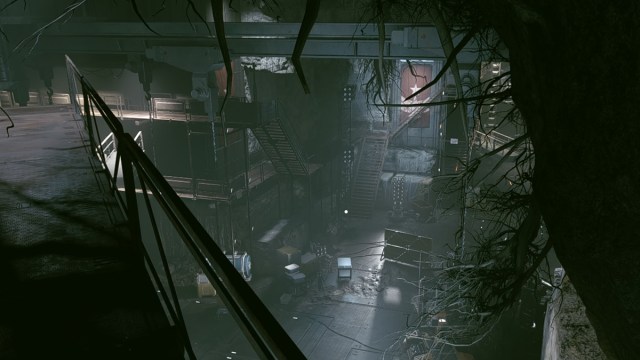
After heading down a long rock corridor, you’ll come across a large room with a ton more enemies. If I may make a suggestion, head to the right immediately and take the stairs to the upper catwalk. This high ground is essential to keeping sights on the enemies and lets you take them down much easier.
Defeat Paxton Hull and His Mercenaries
As you make it to the Command Center, it’s time for the showdown. When you enter the main room, what remains of the First Cavalry surrounds the central pillar, where Paxton resides. You’ll want to work your way around the pillar until you can reach the top floor, down Paxton, then kill all First Cavalry mercs that surround you. This can be a tough fight, so save frequently if you have to.
Talk to Paxton Hull
With his forces decimated, Paxton will commend you for your ability to slaughter some of the best mercs the Freestar Collective could’ve ever mustered up. Other than praise, it’s clear Paxton is traumatized by the war and having to lead his forces in the face of what was certain death. His men were ripped to shreds by the UC’s Xenoweapons, and even though they were still about to pull through, they were forced to die at the hands of murderous alien creatures.
After he’s done reliving his memories, he’ll reveal the truth. All along it wasn’t his hatred for the Freestar Collective that led him to begin attacking farms. It was Ron Hope, the leader of HopeTech. He paid Paxton and his forces to begin seizing farms across Freestar Collective territory. After giving you the details and handing you proof of the agreement, he goes down the only way he knows how; fighting to the last breath. If nothing else, you can’t fault the man for his honor. With the truth in hand, it’s time to cut out the rot at the heart of the Collective in the next mission, The Hammer Falls.
If you’re looking for help with some other faction missions, check out our guide on how to complete the Deep Cover mission in Starfield.