
DYN Campaign Mission 1 Walkthrough in Tempest Rising – 100% Completion
Light infantry work.

Surprisingly, DYN’s first campaign mission in Tempest Rising is straightforward, but the confusion kicks in at getting it all the way to 100%. You must finish all the main and secondary objectives, but one of them doesn’t show up until you trigger something.
Here’s a complete walkthrough of the Harvest the Tempest mission in the DYN campaign in Tempest Rising.
How to Complete the Harvest the Tempest Mission in Tempest Rising – 100% Completion
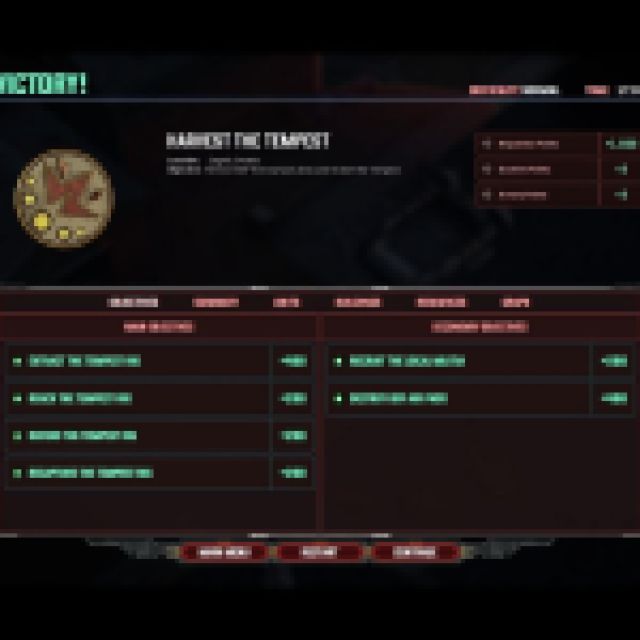
Objectives:
- Reach the Tempest Rig
- Recapture the Tempest Rig
- Defend the Tempest Rig
- Extract the Tempest Rig
Secondary Objectives:
- Recruit the Local Militia
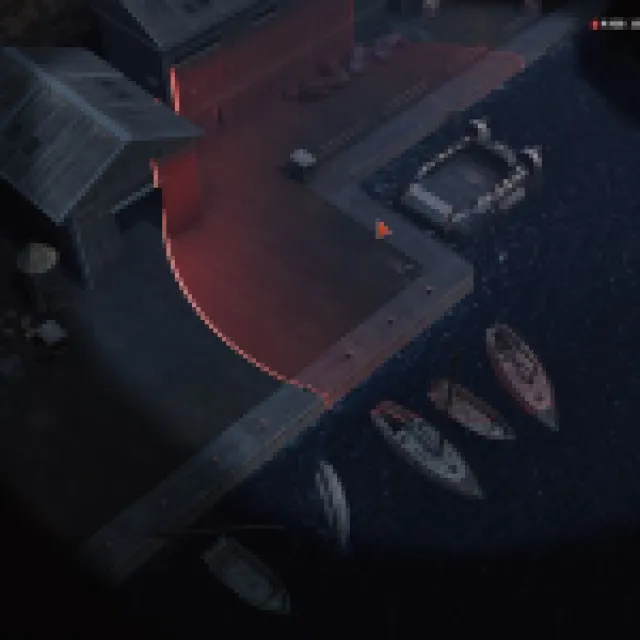
Reach the Tempest Rig
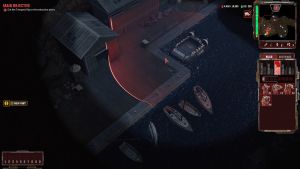
You’ll start the game with 10 Dynasty Guards, which are your basic infantry units. Make your way to the center while the game teaches you the ropes. There are explosive barrels that’ll help you eliminate enemies quickly if you shoot them, so destroy these as soon as possible.
Every time you encounter enemies, you want to switch your injured Dynasty Guard to the back and let the other healthy units tank the shots for the next encounter. However, if you are playing on easy or normal, you don’t have to micromanage as much.
If you follow the objectives, you’ll even find some crates that give you money, which you can use later. After dealing with the first turret, you’ll get some Ignitors specializing in defeating infantry, even infantry garrisoned inside buildings. Use the Dynasty Guards to destroy the barrels and other units while the Ignitors prioritize garrisoned buildings.
Make your way to the Tempest Rig and you’ll get some reinforcements.
Capture the Tempest Rig
Use the Technician and capture the Tempest Rig. Assigning the Technician to capture buildings will “consume” the Technician, which is worth remembering in future missions.
Defend the Tempest Rig


Once you capture the Tempest Rig, you’ll get a few buildings, primarily a barracks. Train infantry units while you start harvesting resources with the Tempest Rig. You can also repair the buildings, but you don’t have to. Just defend the two entrances from the east and west.
You’ll have to defend the Tempest Rig for three minutes, which should be easy, even if you lost a lot of units. The attacks are just small groups of infantry and tanks every 20-30 seconds. You’ll also have some airdrops of infantry aimed directly at your Tempest Rig, so stay close by.
Extract the Tempest Rig to the Extraction Point
Dismantle the Tempest Rig. Don’t worry; it will not get destroyed, but instead, it will automatically recall all harvesters and turn into a mobile unit.
When selecting groups of units, the Tempest Rig cannot be selected along with the units. Use a separate control group for the Tempest Rig to command it easily with your main army.
The game tells you to sell your buildings, but you don’t have to. You can keep training units as you fight through the extraction point.
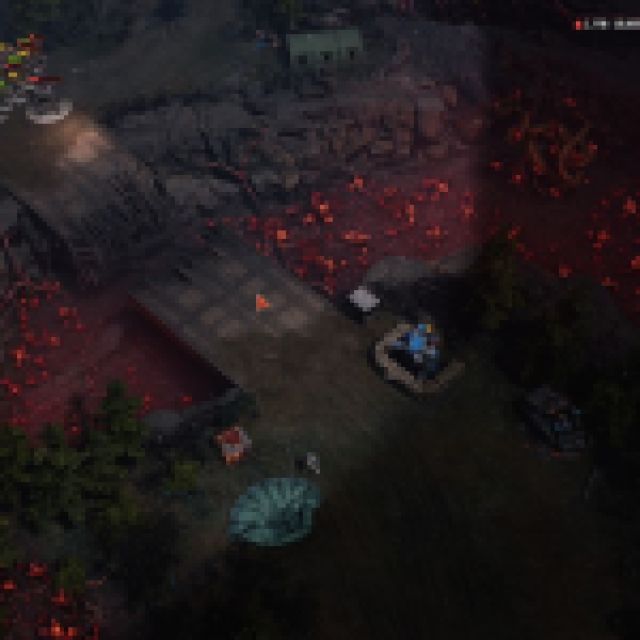
Once you reach the bridge, an occasional enemy airstrike will target your main army, signaled by a red flare. Avoid the red flare location and wait until the airstrike is over before moving forward again.
Keep moving forward and focus on shooting the explosive barrels to take out turrets faster. Then, go to the main extraction point, which should finish all the mission’s objectives.
Secondary Objective: Recruit the Local Militia
The first secondary mission technically finishes as you go to your Tempest Rig. When you get the Ignitors and start moving forward and attacking the garrisoned buildings, you’ll see militia around the area. Push forward quickly; you’ll naturally recruit the local militia if they are still alive.
Secondary Objective: Destroy GDF Air Pads

This secondary objective, which is probably the most confusing one, requires you to destroy the four GDF Air Pads. The objective won’t show up until you repair the bridge going to the southeast side of the map.
You need to train Technicians to repair the bridge. Like capturing buildings, Technicians also get consumed when they repair a bridge. Once you repair the bridge on the southeast, cross it to find a GDF base with four Air Pads there.
It is heavily guarded, so you need to send your main army. You can finish this secondary objective during the defense of the Tempest Rig or the extraction point objective. I recommend finishing everything and placing your Tempest Rig outside the extraction circle first.
The game should keep going if you don’t extract the Tempest Rig. You can leave your Tempest Rig outside the extraction point and finish this objective. If you decide to finish it before the main objective, you’ll get reinforcements after defeating the four GDF Air Pads, which should help you recover some lost units from attacking the GDF base.
With that, you’re all done here. When you’re ready, here’s our full walkthrough for mission 2 of the Dynasty campaign.