
Baldur’s Gate 3: How to Solve the Open Hand Temple Murders (BG3)
This elephant just wants to solve crimes (badly) and get drunk. Who can blame them?

The Open Hand Temple, the only way Brilgor and Father Lorgan are going to find justice is if you find out the truth. Thus, here’s how to solve the Open Hand Temple Murders in Baldur’s Gate 3.
Baldur’s Gate 3: How to Find the Open Hand Temple Murder Quest
The Open Hand Temple is a quest that centers you in the middle of a murder mystery that ties perfectly into the main plot. But it can be easy to miss if you’re not careful.
To find this quest, you’ll need to get to the town of Rivington, which you’ll find yourself in at the start of Act 3. From Rivington’s entrance, head north, past the circus on your left. Just keep following the road until you hit the very last building before the crossing.
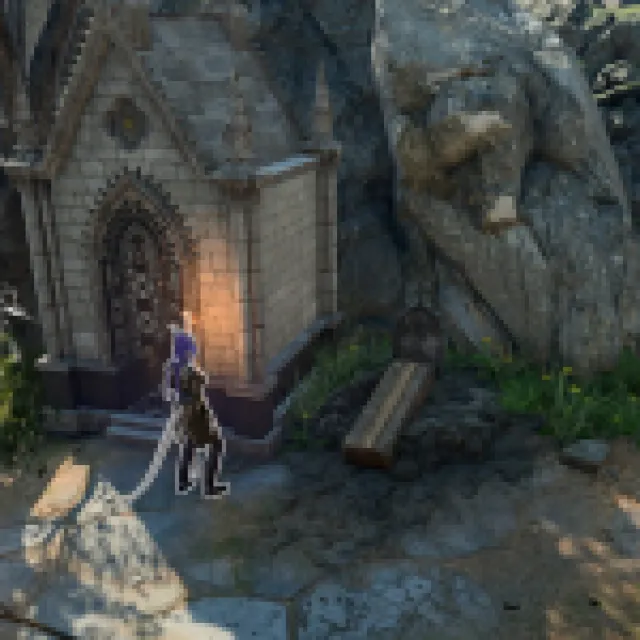
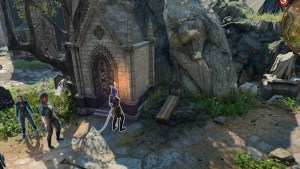
The building on your left is the Open Hand Temple. You’ll see some refugees in front of it. Head inside, and you’ll be able to speak to Sister Yannis to start the quest.
Baldur’s Gate 3: All Clues and Solutions for the Open Hand Temple Murders
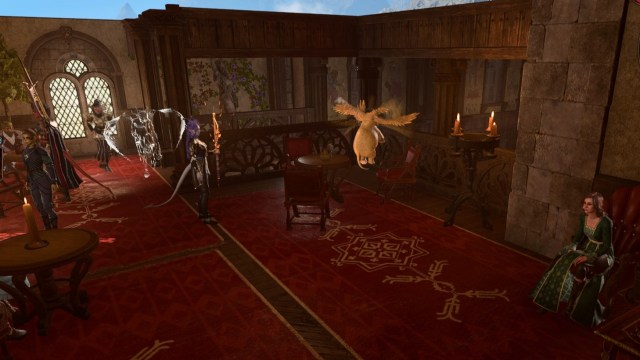
If you’ve wandered into the Open Hand Temple, you’ve likely seen the tiny flying elephant berating a gnome, which is a fun sentence. Apparently, a murder’s taken place, and to the elephant, it’s an open-and-shut case. A refugee randomly gave in to their rage, then killed Father Lorgan, then themselves. And since the murderer is dead, there’s no need to investigate further.
But Sister Yannis is certain that there’s more to the story than this. And it’s up to us to figure out what really happened. So, let’s get to it.


Map Key:
- 1 – Brilgor’s Corpse
- 2 – Father Lorgan’s Corpse
- 3 – Father Lorgan’s Diary
- 4 – Hatch to Cerllar
Clue 1: Speak to Brilgor
If you don’t mind desecrating a grave, you can speak to the accused murderer, Brilgor, yourself. He’s in the graveyard to the left of the temple. You can access it by going through the back of the temple, past the kitchens and dormitory, or by going through the Circus of The Last Days and picking the iron gate lock. The lock only requires you to pass a throw of 10.
Once you’re in the graveyard, you’ll find Brilgor’s grave set apart from everyone else’s, with a fresh mound of dirt on top. You can confirm it’s him by examining the tombstone.
Next, you’ll just need to interact with the mound. If you have a shovel, you’ll dig up his casket. You’ll need to open the casket. A menu will open, and Brilgor will be selectable. Drag his profile picture out of the menu and “drop” it on the ground. He’ll appear in the dirt.
If you don’t have Speak with Dead as a spell, scroll, or potion, get Shadowheart. It’s very likely by this point, she has the skill.
Next, ask Brilgor, the following questions.
- “Who killed you?”
- “Dwarf, red clothes, stranger.”
- “Were you alone when you died?”
- Father Lorgan… Helping me…
- “Why was he helping you?”
- “Fists… After me… Needed to hide…”
- “How did you die?”
- “Pierced… once… paralyzed.”
- “Where did you die?”
- “Tunnels… hidden from sight.”
You can ask up to five questions if your Speak to Dead spell is level 3. But if it’s level 1, prioritize “Were you alone when you died?” and “Where did you die?”
If you’ve done this, you can essentially just mosey on into the crypt, as you’ll have all the information you’ll need. But we can always get more clues!
Clue 2: Speak to Father Lorgan
If you’re not talking to the dead, you can also speak to Father Lorgan in the Open Hand Temple. He’s in the infirmary, beside Sister Rose the Pentient. Speak to her, and she’ll say that he was paralyzed and that the murderer sawed off his right hand.
Which… yeah. Gruesome.
Anyway, once you have those details, cast Speak Dead on Father Lorgan. Again, Shadowheart should have this spell in her roster if you don’t have it.


You can ask Father Lorgan the same questions you asked Brilgor.
- “Who killed you?”
- “Dwarf… dressed in red.”
- “Why did he kill you?” [Don’t ask this question]
- It does not know.
- “What were you doing when you died?”
- “Hiding… Brilgor… from Fists.”
- “How did you die?”
- “A poisoned blade. Paralysis.”
- “Where did you hide him?”
- “Took him to the tunnels… with the rest. Fool… fool.”
- “Where were you attacked?”
- “Tunnels from the cellar… refuge.”
Clue 3: The Diary
In the dormitory to the left of the kitchen also contains one more clue. Inside the dormitory, you’ll find that there are a series of beds, each with a chest in front of them. The middle chest is the one we want. It has the highest lockpick requirement at 15, all the wrong ones will have a requirement of 10.
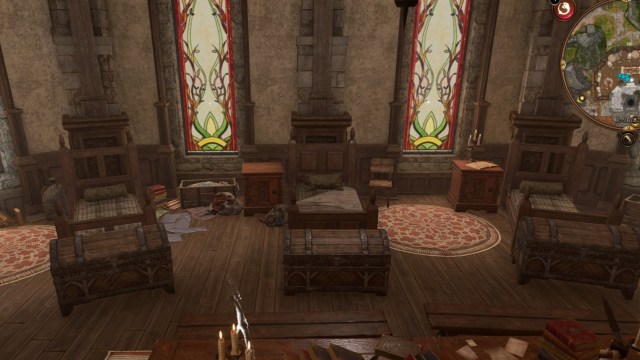
Lockpick it, then open it with a character that has high Investigation. If you pass the Investigation check, you’ll find Father Lorgan’s diary, which will say that it’s being penned from the “temple cellar”.
And that’s it! It’s not worth the lockpick, honestly. But if you didn’t speak to the corpses, this was probably your only way to find out this information.
Solving the Open Hand Temple Murder
Now that we have all the clues, it’s time to hit the basement.
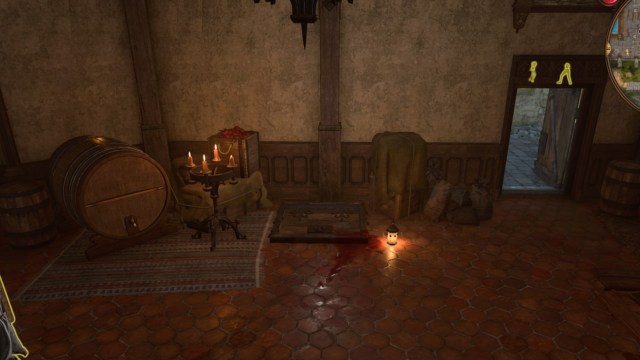
Head into the kitchen, and you’ll see an Orante Hatch with blood streaked across it. Interact with it to find your way into the cellar.
Once you’re in the cellar, you’ll find there are three rooms. The first is the main prayer room. To the back of this prayer room is the crypt, where you can find the Cursed Monk’s ancestor if you happen to pick up that quest.
Then there’s the side room, which has a few bookcases, and a trapped display case that isn’t worth disarming or lockpicking (there’s only one potion inside – Elixir of Battlemage’s Power). But note the back wall of this room is crumbled.

You can jump through it and make your way into the tunnels.
Follow the path forward, and you’ll start hearing voices. Locate the source of these voices to find three doppelgangers. Kill them, and you’ll find a Flowery Key on Zomm. We’ll need that later, to find the murderer’s hidden room opposite the Sharess Caress.

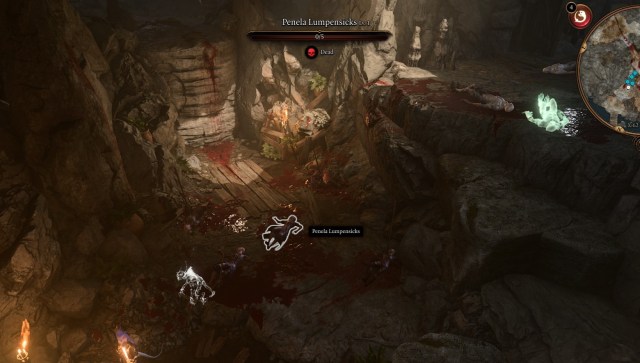
Head down into the pit with all the bodies. While it’s unnecessary for this quest, if you investigate the woman in the middle of the scene (Penela Lumpensicks), you’ll find she’s holding Dribble’s Torso. This is for the side quest “Find Dribbles the Clown”.
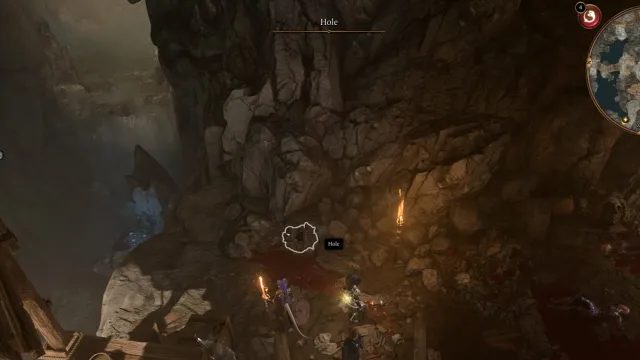
Now, to find the murder weapon, head left towards the waterfall and the wood plank platform. To the right, near the rock wall, you’ll find a hole. Investigate it to find Stillmaker, the murder weapon.
That’s all we can do in the cave. Next, we’ll need to find out where to use this key.
Related: Baldur’s Gate 3: Should You Spin Akabi’s Wheel – Answered (BG3)
Where to Use the Key with a Flower Motif in Baldur’s Gate 3
Leave the Temple of the Open Hand and head out onto the main street. Our goal? Fraygo’s Flophouse is just past the South Span Checkpoint north of the Open Hand Temple. To get to the checkpoint, just follow the main road.
There, you’ll encounter a Gauntlet demanding you prove you can afford to live in the city. This costs 200 gold, which isn’t a lot. But if you select every option available except the 200 gold, some Ironhand Gnomes will attack the guards, allowing you to run past them and into the city.
Once you’re in the city, follow the path forward and you’ll find that the large house to your left is Fraygo’s Flophouse. Climb up the stairs to the second floor, and you’ll find a room full of chests. Turn your camera so it’s facing east, or towards the street you just came from, and you’ll find that there’s a ladder against the door.
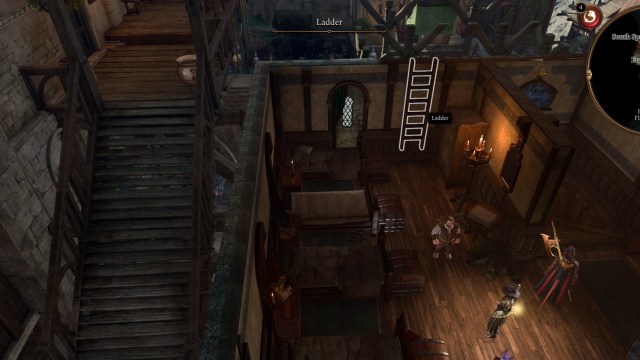
Climb up the ladder, and you’ll find yourself in an attic.
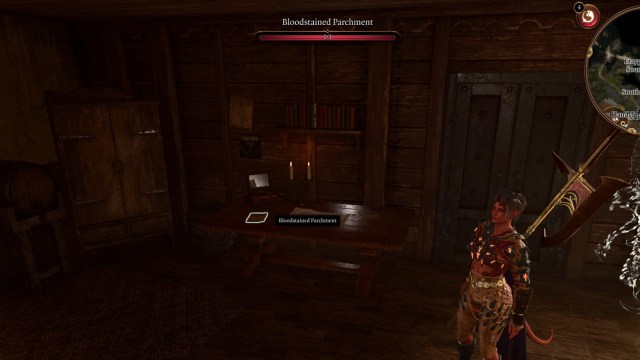
Interact with the wardrobe, and you’ll find that it’s a secret door that will allow you to access a hidden room.

Find the Bloody Parchment on the table beside the wardrobe, and you’ll find an assassin’s list, which includes, helpfully, Father Lorgan and Dribbles the clown.
But before you go, approach the bed for a perception check, followed by an investigation check. If you pass, you’ll get another Key with a Flower Motif. Though, that doesn’t have much bearing on this particular quest.
Bring the list and the rest of your clues back to the flying elephant, who’s now in the Sharess’ Caress, the building exactly opposite to Fraygo’s Flophouse. Convenient! Find him, or her, upstairs near the stairs.
If you’ve followed this guide, you’ll have ample evidence to solve the crime. And for your trouble you’ll get a pass to the Lower City, where you can continue pursuing this conspiracy.
Nice!
Now, while you’re in the Sharess’ Caress, you might as well apprehend Arfur, who’s at the center of the Investigate the Suspicious Toys quest.