
Baldur’s Gate 3: How to Find Vanra (BG3)
I thought I kicked this old biddy into a pit

Losing a child to a girl-eating hag is every mother’s worst nightmare. Here’s how to find Vanra in Baldur’s Gate 3.
How to Save Vanra in Baldur’s Gate 3
This is one of those “choices matter” quests. But it’s influenced by choices you made in Act 1. So, it’s possible that some things that appeared in my playthrough won’t appear in yours.
If you don’t have the quest yet, pick it up at the Basilisk Gate Barracks, immediately above the Basilisk City Waypoint. It’s inside the building to the right of the training yard. There, you’ll find Lora pleading with a Flaming Fist to find her child. However, the Fist has been cursed to forget when the child is discussed. Speak to Lora and offer to find Vanra for her.
Now, to the meat.
The Blushing Mermaid Tavern is unmistakable because it has the bow of a ship jutting out of it. Head inside to investigate.
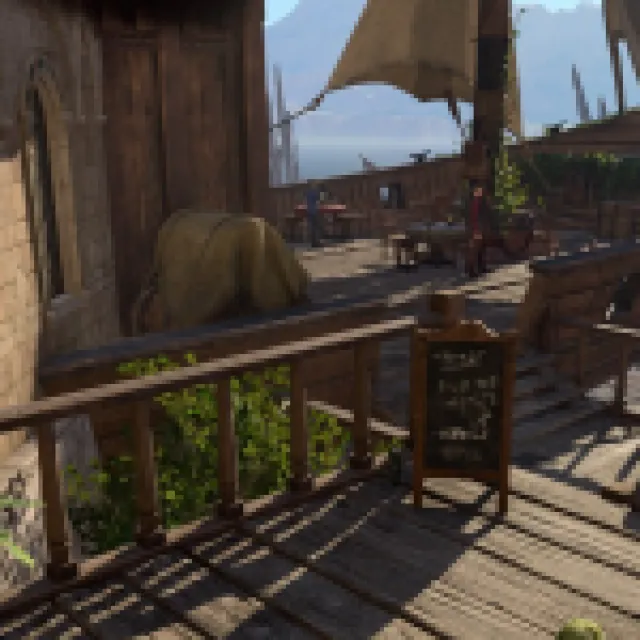

Investigate the Blushing Mermaid Tavern
Investigation is used lightly here. For this step, you can speak to Bosun behind the bar, or you can speak directly to Captain Grizly.
Speaking to Bosun offers very little information other than the fact Captain Grizly kicked Lora out of the bar the last time she was here.
Speak to Captain Grizly
Find Captain Grizly, who can be on the first or second floor. She’s made distinct by her captain’s hat and red ensemble. Ask about Vanra and select “What are you suggesting?” or “A child is missing – I just want to get to the bottom of this” in her second dialogue menu.
Captain Grizly will offer you 3000 gold to kill Lora. Tell her, “Absolutely not – I refuse to do your dirty work.”
She’ll then reveal her true form – Auntie Ethel. Yes, the wretched hag from Act 1.
Defeat Auntie Ethel’s Crew / The Patrons
Auntie Ethel will vanish, as she’s wont to do. And she’ll leave you to deal with her lackeys, six Redcaps. I preferred them when they were sheep. Once they’re dead, we don’t have to go far to find Ethel. She’s in the basement.
Now Auntie Ethel is in the basement. But we’re missing the key component that will force the kid out of her gullet. So, let’s leave Auntie Ethel alone for now and get the items we need.
Go to Old Garlow’s Place
The first step to getting old Ethel to vomit up the child is to find some allies. And, fortunately, there’s some down the street. Head to Old Garlow’s place, which is at the very bottom and center of the map. From the Lower City Central Wall waypoint, you just need to head downward until you hit the ocean.
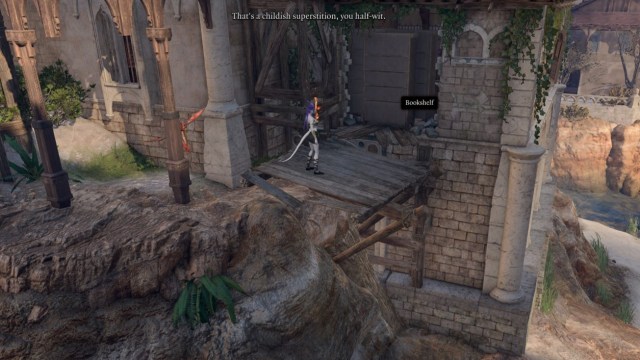
Old Garlow’s Place is the building that looks like it’s falling apart. You can get inside by breaking down the door. Or you can go along its right side, where you’ll find a hole in the wall blocked by bookcases. You can destroy these bookcases or shove them out of the way.
Inside, you’ll find a few of Ethel’s victims. To convince them you mean no harm, you’ll need to hit a 15 or better persuasion or intimidation roll.
If Mayrina lived in your playthrough, she’ll be the leader of this group. But she’s been hexed, and she needs help upstairs.
Upstairs, you’ll find her (and possibly her husband, if you revived him). She’s now a sheep. Use Speak to Animals on her, and she’ll tell you about the doll, which is what’s keeping her cursed. It’s in the house’s corner, near Mayrina. Do not try to walk over to it. The floorboards beside it are rotten. Attack the doll from a distance.


If you don’t kill the doll in one hit, it will appear someplace else on the same floor.
Once the doll is destroyed, Jalto will confront you. He’ll reveal that he’s a redcap and the doll was his doing. Then he’ll attack you. And while he’s simple enough to bring down, he’ll summon a bunch of Armored Crabs to fight you, too.
When you’re done with the fight, speak to Mayrina. She’ll give you access to the safe, which has the recipe to end the hag once and for all.
But she’ll also give you the Staff of Interruption, a rare staff that offers Weapon Enchantment +2 and Counterspell.
The safe you’ll now have access to is on the first floor, behind the stairs.

It contains two vital things: the Tear-Stained Journal, which will grant you the recipe Hag’s Bane, and the key ingredient, Ashes of Dried Fey Flower. The final book, A Hunter’s Guide to Hags, has significant information about how to stop a Hag from healing, which we’ll need for the final fight.
Crafting Hag’s Bane
Now, to make Hag’s Bane you’ll want to open your Alchemy menu. If you’re on PC, press H. Otherwise, double-click on any alchemy ingredient to be brought to the alchemy menu or select the alchemy menu in your inventory.

From the side menu, select Grenades. Then, select Hag’s Bane. From here, press Craft Item, and Hag’s Bane will be added to your inventory.
Now, let’s get back to the Blushing Mermaid.
Related: Baldur’s Gate 3: How to Find Mystical Carrion’s Thrumbo (BG3)
Find the Secret Passage in the Blushing Mermaid Basement
Head towards the bar on the first floor to get to the cellar. There’s a set of oak doors that will lead inside.

Once you’re in the cellar, jump up on the wine casks. There, you’ll find a recess in the stone wall. Pass a perception check, and you’ll find that the wall is transparent. Ethel really has a set way of doing things.
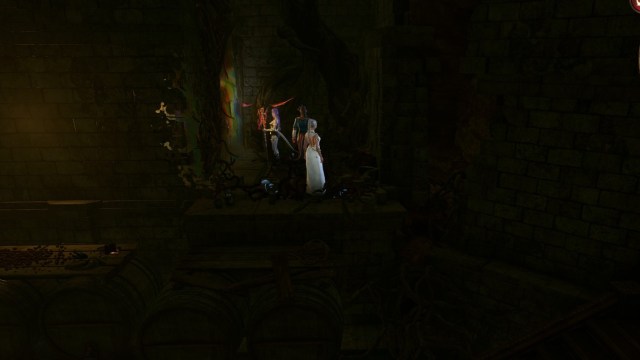
Inside this hidden lair, you’ll find there are four enemies. Three people wearing Whispering Masks who are deep under Auntie’s spell, and the real Captain. If you’re attempting not to be evil, you can save the captain by using non-lethal attacks, but the masks remain bugged and unsaveable, even if you knock them out and remove their masks.
If you want to save the captain, don’t attack the group yet and head straight to the locked doors. But note, Ethel will summon all four to fight you. Make whatever choice you feel is best for your run.
You’ll need to pass a skill roll of 20 or higher to pick Auntie Ethel’s locked door.
Now, let’s get into strategy.
How to Defeat Auntie Ethel – Round 2
Your priorities for defeating Auntie Ethel are:
- Destroying the Pearlspore Bell mushrooms
- Lobbing the Hag’s Bane at Auntie Ethel
- Defeating Auntie Ethel
The best companions to use for this are a mixture of long-range companions and a tank. The tank should be used to draw the attention of Ethel and the four Masked minions. The long-ranged units should be used to prioritize the mushrooms in the farthest corners of the room. Wyll, Gale, and Astarion are great mushroom killers, and Karlach and Lae’zel can tank.
There are three Pearlspore Bell mushrooms in the boss room. The first is in the far back left, in an alcove. The second is in the far back right corner. And the last one is to your far right, on a stone platform. You will need to destroy each of these mushrooms before their turn. If you don’t, they’ll fully heal themselves.

Likewise, the Pearlspore mushrooms will also heal Auntie Ethel, making her nigh impossible to take down until all the mushrooms are destroyed. But the fewer mushrooms there are, the less she’ll be healed.
Once you’ve successfully destroyed all three mushrooms, throw the Hag’s Bane at Auntie Ethel. You can do this by selecting the Hag’s Bane from your inventory, opening its menu, and selecting Throw. Aim it at Ethel, and don’t worry about the percentage. Just throw it at her. Ethel will then vomit up the child, who will rush to safety.
With both the mushrooms gone and the child safe, you can then pour all your resources into killing the hag.
After, if you kept the Captain alive, she’ll be very grateful, but you’ll get no tangible rewards. But the three masks remain cursed but not hostile. Remember to pickpocket (or loot) all three, as one will have the Mottled Key.
Loot Ethel’s body to get 100 gold, Potion of Angelic Slumber, and Ring of Feywild Sparks. Along with a variety of alchemic ingredients. If you’re using your Illithid powers, there’s also a Mindflayer Parasite in the larger room next to the cauldron. To get up to it, you’ll need to climb the rock platforms near the entrance of Ethel’s boss room.
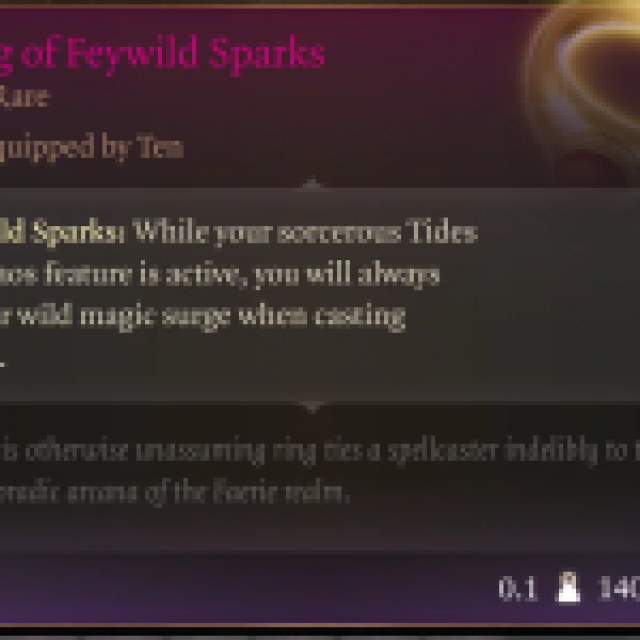

| Ring of Feywild Sparks | While your sorcerous Tides of Chaos feature is active, you will always trigger wild magic surge when casting spells. |
Speak to Lora and the Hag Survivors / Get the Rewards
Now, let’s go collect our rewards.

- 1 – Lora’s House
- 2 – Mayrina and Co.
Lora is in her house, which is just south of the Lower City Central Wall Waypoint. It’s the building immediately to the north of Beehive General Goods.
Speak to her, and she’ll give you some very nice rewards.
Amulet of Windrider (very rare), which gives you Ride the Winds and Gust of Winds, and Duelist’s Prerogative, a legendary sword that gives Challenge to Duel and Dueler’s Enthusiasm (legendary).


| Amulet of Windrider | Ride the Winds: Transform into a cloud, becoming Resistant to all damage, gains Advantage on Constitution, Dexterity, and Strength Saving Throws, and becomes Tiny in size. While transformed, the target won’t be able to attack, cast spells, or talk. Gust of Wind: Summon a strong wind that clears all clouds. Any creatures caught in the gale who fail a Strength Saving throw will be pushed back 5 m / 17 ft and be thrown Off Balance. |
The next stop is the Old Garlow Place, immediately south of Lora’s house. How convenient! Speak to Mayrina to let her know it’s finally done.
You can also convince Mayrina to let her husband go now, if he’s still with her. After, she’ll give you the Fey Semblance Amulet (very rare). This amulet gives you Semblance of Fey.


| Fey Semblance Amulet | You have Advantage on Intelligence, Wisdom, and Charisma Saving Throws. |
And that’s it! It’s been a long road, but it’s great to put an end to Ethel’s terrible chapter and see everyone through to the other side. Traumatized, scarred, forever changed. But finally free.