All Six Adamantine Mould Locations in Baldur’s Gate 3
Why settle for a mace when you can have a scimitar?

The Grymforge is a place full of the dead, slavery, plenty of lava, and the legendary Adamantine Forge, which has six moulds for item crafting. Here are all six Adamantine Mould locations in Baldur’s Gate 3.
How to Find All the Moulds in the Grymforge in Baldur’s Gate 3
As you traverse your way through the Grymforge in the Underdark towards the end of the game’s first Act, you’re almost guaranteed to stumble across the mythical Adamantine Forge. After defeating its guardian, you can claim two Mithril items, assuming you have both the Moulds and Mithril.
But did you know there are actually six Adamantine moulds in the Grymforge? Here are all six Adamantine mould locations.




How to Find the Longsword Mould in Baldur’s Gate 3
The Longsword Mould is easy to miss, and it can be obtained before you free Nere. To get it, head to the Northwest part of the Grymforge map on the first floor. There, you’ll find three dwarves goading Roth into clearing a cave-in.
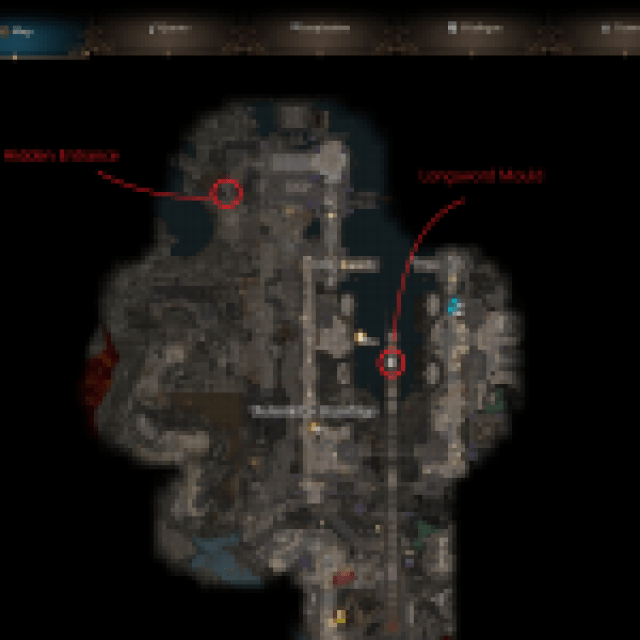


You can kill the dwarves and clear the rocks yourself or have the Roth do it. Either way, head up the stairs, where you’ll find a very trapped metal pathway. Avoid the traps, then take the ladder to the left of the metal path to get to an untrapped platform with levers.
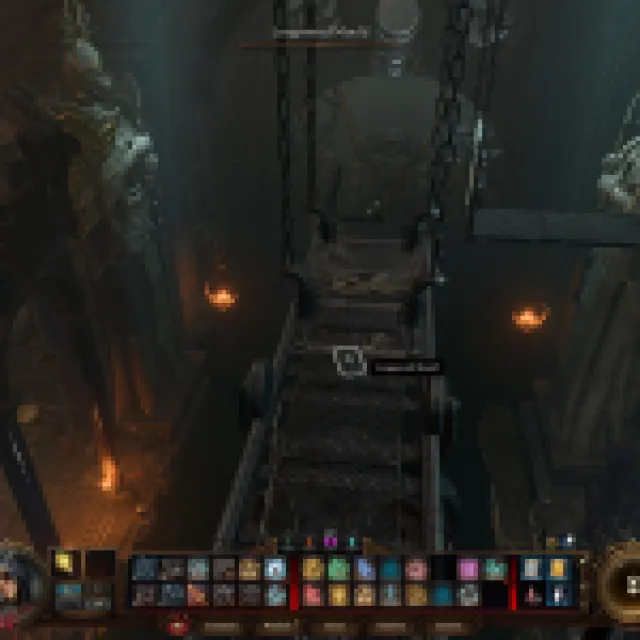

You can use these levers to move another platform back and forth, or you can just jump to the hanging metal pathway in front of you. Once you’re on this new pathway, you’ll find the Longsword Mould.
From here, you’re not that far from the Shield Mould.
How to Find the Shield Mould in Baldur’s Gate 3
From the Longsword Mould, you’ll need to jump across to the other side. You can do this by using the levers to move a platform closer to the other side.
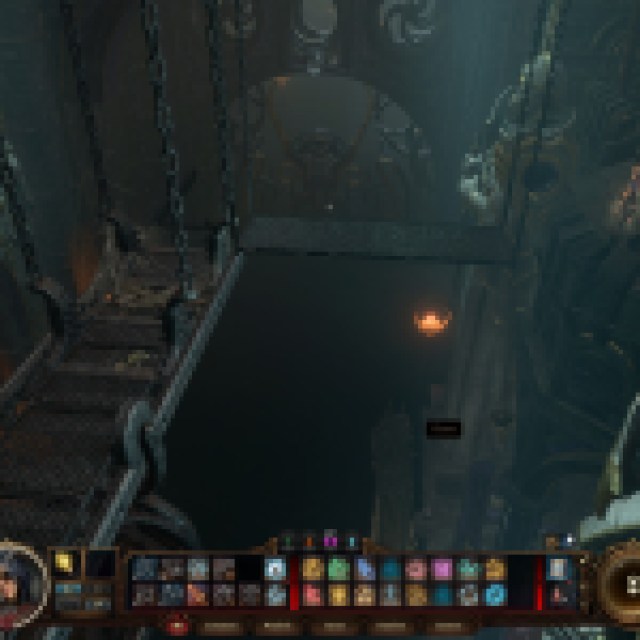

Once you’ve jumped across, you’ll encounter a locked door. This was once a dormitory, and if you lockpick your way inside, you’ll find a lot of skeletons. Head straight up the stairs, where you’ll find a skeleton amongst the rubble at the very top.
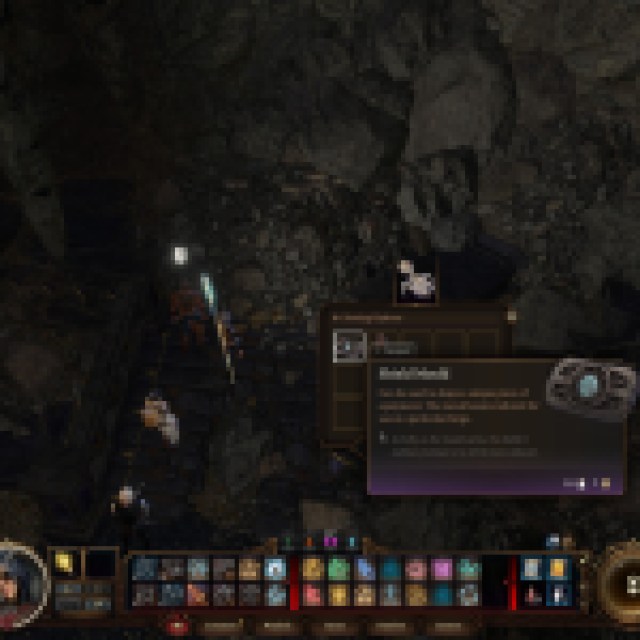

This skeleton has the Shield Mould amongst their bones.
How to Find the Scimitar Mould in Baldur’s Gate 3
The next closest mould from the Shield Mould is the Scimitar Mould. Head back out of the dormitory where you found the Shield Mould. Don’t jump back onto the metal pathway where you found the Longsword Mould.
Instead, follow the path left, heading towards the Adamantine Forge. At the very end of the path, you’ll find a platform you can jump to.

Do so, and just keep going forward. You’ll find a new set of stairs, which will lead to a skeleton beside two levers. On this skeleton is the Scimitar Mould.

From this position, you can actually see our next Mould location, the Splint Mould. And while you can technically jump to it from near where Nere is trapped, it’s easier to use the Ancient Forge Waypoint.
How to Find the Splint Mould in Baldur’s Gate 3
To gain access to the Splint Mould, you can use the Ancient Forge Waypoint. Once you spawn in, turn left and head up the short stairs. You’ll see a railing you can jump over and a skeleton on the other side. Examine it to find the Splint Mould.


How to Find the Mace Mould in Baldur’s Gate 3
The Mace Mould is likely the mould everyone found first. It’s to the right of the Ancient Forge waypoint on the stone table.

How to Find the Scale Mail Mould in Baldur’s Gate 3
The Scale Mail Mould is a few meters away from the Mace Mould. Continue straight from the Mace Mould, which is just right of the Ancient Forge waypoint. This will bring you to another skeleton, which will have the Scale Mail mould beside it. It’s also where you’ll encounter quite a few Animated Armour.

Grab the Scale Mail, and you’ll have all six in your collection!
Which Adamantine Mould Should You Use?
Once you have the moulds, you can choose what to make with them. You’ll have a choice between the 6 pieces of armor and weapons. You can check out the stats for each Adamantine Mould item below:
| Mould Item | Stats | Rarity | Weight | Value |
|---|---|---|---|---|
| Adamantine Shield | —When a melee attack misses you, the attacker is sent Reeling for 2 turns. —Shield Bash: When a foe hits you with a melee attack, you can use your reaction to knock it Prone. —Attackers can’t land Critical Hits on the wearer. | Rare | 2.7 | 190 Gold |
| Adamantine Longsword | —1d8+1 Slashing damage (one-handed). —1d10+1 Slashing damage (two-handed). —Diamondsbane: If an adamantine weapon hits an object, the hit is always critical. —Lethal Weapon: This weapon ignores Resistance to Slashing Damage. | Rare | 1.35 | 250 Gold |
| Adamantine Scimitar | —1d6+1 Slashing damage. —Diamondsbane: If an adamantine weapon hits an object, the hit is always critical. —Lethal Weapon: This weapon ignores Resistance to Slashing Damage. | Rare | 1.35 | 190 Gold |
| Adamantine Mace | —1d6+1 Bludgeoning damage. —Diamondsbane: If an adamantine weapon hits an object, the hit is always critical. —Lethal Weapon: This weapon ignores Resistance to Slashing Damage. | Rare | 1.8 | 190 Gold |
| Adamantine Scale Mail | —Medium Armour. —16 AC —Magical Plate: All incoming damage is reduced by 1. —Adamantine Backlash: When a melee attack hits you, the attacker is sent Reeling for 2 turns. —Disadvantage on Stealth Checks. —Attackers can’t land Critical Hits on the wearer. —AC Bonus from Dexterity limited to +2. | Very Rare | 12 | 1,300 Gold |
| Adamantine Splint Armour | —Heavy Armour. —18 AC —Magical Plate: All incoming damage is reduced by 2. —Intense Adamantine Backlash: When a melee attack hits you, the attacker is sent Reeling for 3 turns. —Disadvantage on Stealth Checks. —Attackers can’t land Critical Hits on the wearer. —No AC bonus from Dexterity. | Very Rare | 19 | 3,800 Gold |
Of all the items you can forge with the Adamantine Moulds, the two pieces of Armour are by far the most valuable and have the most potential to be useful late into the game. In our opinion, the weapons are mostly useless, so stick with armor. Pick either the shield, scale mail, or splint. We went with the shield in our playthrough, but we highly recommend the Armour for their value and utility.
Where to Find Mithral Ore
Each Adamantine Mould item in BG3 requires a single Mithral Ore to use at the Adamantine Forge. There are two Mithral Veins in the Grymforge where you can mine a Mithral Ore:
- (X: -645 Y: 257): Follow the rocky path southwest of the Ancient Forge Waypoint to an area filled with lava.
- (X: -555 Y: 278): Down the rocky path east of the steps leading down to the Adamantine Forge.
To get the Mithral Ore, you need to attack the Mithral Vein with Force damage from a spell or attack like Eldritch Blast or Smokepowder Bombs. Each vein will only grant you one Mithral Ore, so you’ll only be able to forge two Adamantine Mould items in total.
How to Use the Moulds at the Adamantine Forge
To use a Mould at the Adamantine Forge, you’ll need to combine the Mould with the Mithral Ore at the Crucible in the middle of the forge, then turn the lava valve. The first time you do this, the forge’s guardian, Grym, will appear, interrupting the process and requiring you to first defeat this hulking boss. After Grym is disposed of, you can then freely use the Adamantine Forge:
- Insert a Mould and a Mithral Ore into the chamber on the center Crucible.
- Use the main lever on the south edge of the platform to lower it down.
- Use the lava valve to fill the forge with lava.
- Use the forge lever at the bottom left of the forge to hammer the mould.
- Use the Platform Control button to raise the platform.
- Pick up your new item from an ejection slot on the center Crucible.
That’s it for Adamantine Moulds in Baldur’s Gate 3. But before you leave the Grymforge, be sure to open the Adamantine Chest.
