
Enshrouded Biome Guide: All Regions, Enemies, and Resources
From the Springlands to Cinder’s Cradle,


Embervale is a massive map filled with various biomes to explore. Each region has its own environment, resources, and enemies. A lot of the game’s progression is tied to these regions. As you level up, you are able to explore the more dangerous regions.
You’ll need to collect new materials, defeat stronger enemies, and upgrade your Flame Altar to survive in increasingly dangerous areas.
You start at Springlands and end the game at Cinder’s Cradle, but the journey in between isn’t going to be easy. From tar-filled swamps of Blackmire, the harsh weather in Albaneve Summits, to the dangerous enemies in Veilwater Basin, this game will test you.
Here’s a breakdown of every biome and what you can expect when exploring.
All Enshrouded Biomes in Order
The biomes in Enshrouded are generally explored in the following order. A lot of these regions also have smaller sub-regions, like Blackmire, for example. On top of that, every region will introduce you to new Shroud resources and enemies.
| Biome | Recommended Level | Flame Level |
| Springlands | 1–10 | 1–2 |
| Revelwood | 11–15 | 3 |
| Nomad Highlands | 15–20 | 4 |
| Kindlewastes | 20–30 | 5 |
| Albaneve Summits | 30–40 | 6–8 |
| Veilwater Basin | 35–45 | 8–9 |
| Cinder’s Cradle | 45–50 | 10–11 |
There isn’t really a hard lock on regions in the game. You can go to a higher-level region if you want, however, the high-level enemies will make it very hard to explore. The game’s quest system will take you through all regions gradually as you level up your character and Flame Altar.
1. Springlands
Recommended Level: 1–10
Flame Level: 1–2
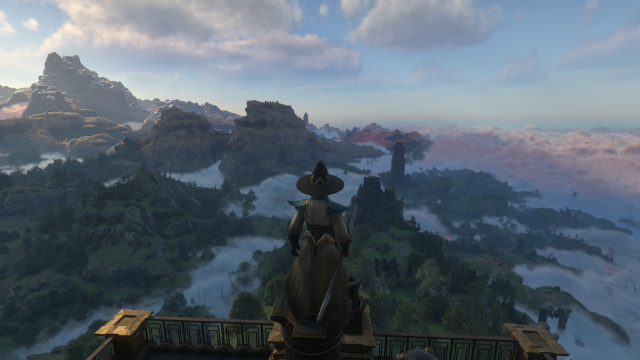
The Springlands is the starting biome in Enshrouded and where you’ll spend your first few hours exploring Embervale. It’s located in the southwestern part of the map and features green fields, forests, abandoned settlements, and several Shroud-covered areas.
This is where you’ll learn the basics of combat, crafting, and exploration while rescuing your first survivors. You’ll also find several important locations, including Longkeep, Braelyn Bridge, and Fort Kelvin.
The Springlands is home to weaker enemies, including Scavengers, Vukah, wolves, and Fell creatures. However, don’t underestimate the Shroud-covered areas, as they can still be dangerous if you aren’t prepared.
Important Resources:
- Flintstone
- Stone
- Resin
- Salt
- Plant Fiber
- Wood Logs
- Shroud Wood
- Shroud Liquid
- Shroud Spores
The eastern part of the Springlands is known as the Low Meadows. It’s a smaller sub-region with its own Ancient Spire and additional locations to explore.
2. Revelwood
Recommended Level: 11–15
Flame Level: 3
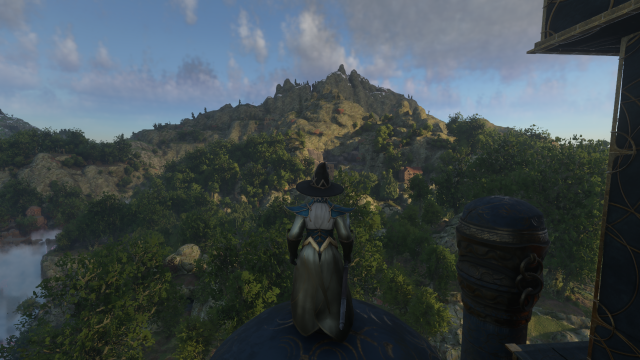
Revelwood is the second major biome you’ll encounter in Enshrouded. It will be a hard gear check initially, as enemies will hit harder and be hard to kill.
It’s located north of the Springlands; it’s a heavily forested region with dense vegetation, abandoned settlements, and more dangerous Shroud-covered areas.
One of its most important locations is Pikemead’s Reach, an abandoned city filled with enemies and valuable loot. You’ll also find several smaller settlements and dungeons scattered throughout the forest.
The enemies here are considerably stronger than those in the Springlands. You’ll encounter tougher Scavengers, Fell creatures, and wildlife, so make sure to upgrade your equipment before venturing too far.
Important Resources:
- Copper Ore
- Lump of Clay
- Amber
- Flax
- Hardwood
- Azure Russula
Revelwood is also home to Blackmire, a dangerous swamp sub-region with its own enemies and resources.
Blackmire
Recommended Level: 13–15
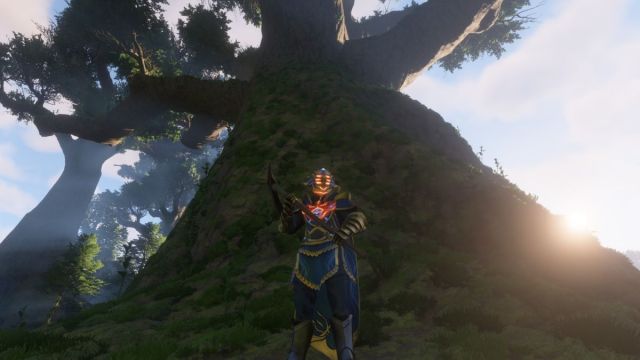
Blackmire is a swampy sub-region within Revelwood, characterised by enormous trees, tar-filled pits, and dense Shroud coverage. It’s one of the more visually distinct areas in Embervale and has its own Ancient Spire.
The region is inhabited by Vukah, Giant Wasps, and Snapjaws, which can be particularly dangerous when exploring the swamp.
Blackmire is also the main source of two unique materials: Blackmire Bark and Blackmire Heartwood. You will also need a lot of Reptile Hide in order to craft the next tier of armor, which is dropped by Snapjaws.
Important Resources:
- Blackmire Bark
- Blackmire Heartwood
- Hardwood
- Reptile Hide
3. Nomad Highlands
Recommended Level: 15–20
Flame Level: 4
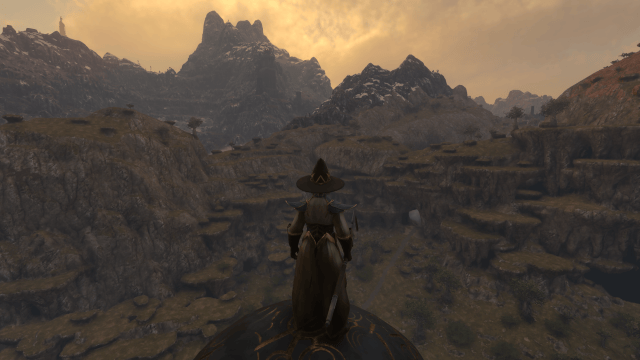
The Nomad Highlands is a rocky region located east of Revelwood, featuring dry landscapes, towering rock formations, and dangerous Shroud-covered areas.
One of its most recognisable landmarks is the Pillars of Creation, two enormous rock formations that dominate the surrounding landscape. You’ll also find locations such as Raven’s Keep and Umber Hollow.
The region introduces several new enemy types, including stronger Vukah, Scavengers, and Fell creatures. You’ll also encounter Sabertooth Tigers, which can be particularly dangerous if you’re caught off guard.
Important Resources:
- Tin Ore
- Limestone
- Fossilised Bone
- Aloe
- Copper Ore
- Azure Russula
The Nomad Highlands is an important region for progression because it introduces Tin, which is required for several mid-game crafting recipes but mainly used for making Bronze, which will help you craft the next tier of weapons and armor.
4. Kindlewastes
Recommended Level: 20–30
Flame Level: 5
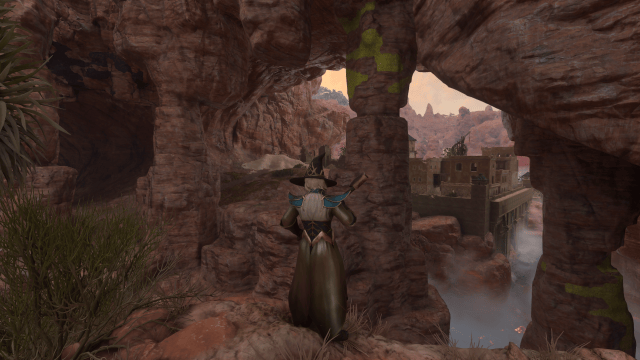
The Kindlewastes is a large desert biome located east of the Nomad Highlands. It’s similar to Nomad Highlands in design, but is much more dangerous. It’s filled with vast dunes, rocky canyons, ancient temples, and abandoned settlements.
The environment is considerably different from the forests and highlands you’ve explored so far. You’ll also encounter stronger enemies, including Scavengers, Fell creatures, Vukah, and dangerous wildlife such as scorpions and Draconian Vultures.
The region is home to several important locations, including the Sun Temples and Ridgeback Mine. These areas are worth exploring for their valuable loot and crafting materials.
Important Resources:
- Iron Ore
- Sulfur
- Saffron
- Palm Wood
- Lapislazuli
- Sandstone
Iron Ore is particularly important, as it’s used in several advanced crafting recipes and equipment upgrades.
5. Albaneve Summits
Recommended Level: 30–40
Flame Level: 6–8
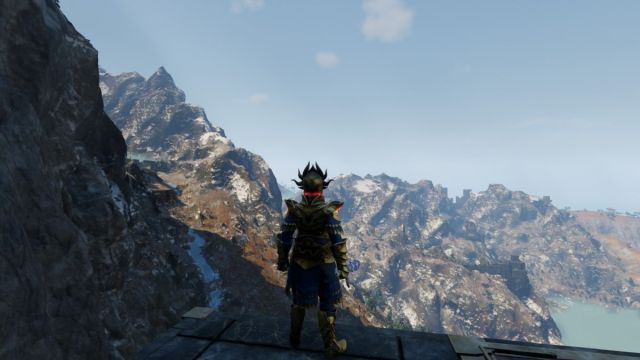
The Albaneve Summits is a snowy mountain biome located northeast of the Kindlewastes. It features towering mountains, frozen landscapes, abandoned settlements, and some of the highest elevations in Embervale.
One of its most notable landmarks is Howling Peak, the highest natural mountain in the region. You’ll also find several ruined castles and settlements scattered throughout the area.
The Alabaneve Summits not only test you with their dangerous enemies but also with their cold, harsh weather. You’ll need to manage your body heat while exploring the region, so make sure you have suitable equipment and consumables.
Important Resources:
- Silver Ore
- Coal
- Obsidian
- Amethyst
- Conifer Logs
- Archaic Essence
The Albaneve Summits is also home to some challenging bosses, including the Fell Cyclops and Fell Dragon Youngling.
6. Veilwater Basin
Recommended Level: 35–45
Flame Level: 8–9
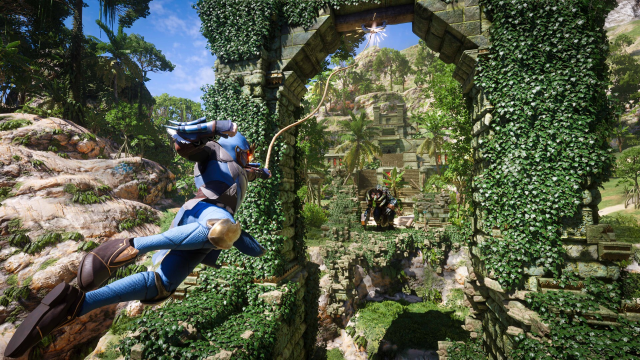
Veilwater Basin is a late-game biome located north of the central regions, between the Blackmire and Albaneve Summits. Unlike the snowy mountains and desert landscapes, this region features tropical environments, large bodies of water, and ancient ruins.
The area is inhabited by the Drak, a hostile lizard-like faction, alongside dangerous wildlife and other enemies. You’ll need stronger equipment to explore safely.
Water plays an important role in this biome, as several resources can be found underwater. It’s also home to several ancient temples and ruins, making it worth exploring if you’re looking for valuable materials.
Important Resources:
- Gold Ore
- Aquamarine
- Mother-of-Pearl
- Tropical Wood
- Bamboo Logs
- Algae
Veilwater Basin is one of the final regions you’ll explore before reaching Cinder’s Cradle. You’ll need to progress through its quests and strengthen your Flame before accessing the northern part of Embervale.
7. Cinder’s Cradle
Recommended Level: 45–50
Flame Level: 10–11
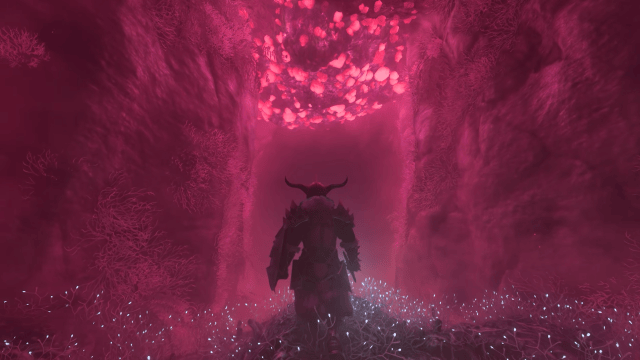
Cinder’s Cradle is the final biome in Enshrouded and was introduced with the game’s 1.0 release. Located in the northernmost part of Embervale, it’s accessible through the gates beyond Veilwater Basin.
The region features a dramatic landscape with lava-filled mountains, ancient ruins, and floating islands. It’s also home to some of the strongest enemies in the game, so make sure you have upgraded your equipment before heading there.
Cinder’s Cradle introduces a new enemy faction and several challenging encounters. You’ll also find the final story quests and face Lord Vorgoth, one of the most important bosses in the game.
Important Resources:
- Celestium Ore
- Magma Gel
- Aurora Beans
- Prickle Pearl
- Bloomheart Fruit
- Grandleaf Cabbage
- Gold Ore
- Moonstone
Several of these materials are exclusive to Cinder’s Cradle and are required for late-game crafting recipes. You’ll also find the Ancient Researcher, Loraine Crim, in this region.


