Gloomy Eyes Walkthrough – All Trophies/Achievements and Collectibles
Follow this adorably spooky story about a young girl and a zombie seeking the warmth of the Sun.

Gloomy Eyes is a cozy, unique puzzle platformer that’s perfect for the spooky season. With an emotional story and diorama-style levels, there’s plenty to keep you engaged from start to finish. Below is a full Gloomy Eyes walkthrough, complete with achievements and collectible locations.
Table of Contents
All Gloomy Eyes Trophies & Achievements (How to Unlock)

There are a total of 29 achievements (and 30 trophies) to unlock in Gloomy Eyes. Most are tied to unique actions you can perform in each chapter, while a select few pertain to collectibles and finding the Gravekeeper’s locations.
| Achievement Name | Description | How to Unlock |
|---|---|---|
| Completed Chronicle (Platinum Trophy Exclusive) | The world of Gloomy Eyes has no more secrets for you. | Unlock all other trophies in the game. |
| The Last Sunset | See The Sun one last time. | Finish the story. |
| Tale Lover | Find The Gravekeeper in every chapter. | The Gravekeeper is the game’s narrator, and the one depicted in the start menu. Find him in all chapters except 12 and 14. |
| Collector | Gather all the mementos. | Find and gather all 12 Memento collectibles in the game. Chapters 12 and 14 do not contain one. |
| Sweet Dreams | Send a zombie back to sleep. | (Chapter 1) After crossing the bridge using the coffin, hit the zombie that pops out of the coffin with a bone. |
| To Zom-be or not to Zom-be | Witness a Shakespearean performance by a zombie. | (Chapter 1) Approach the zombie holding a skull behind the outhouse with the green key. |
| Music Lover | Play a good old record. | (Chapter 3) Get the Music Record from the top floor of Nena’s house and then put it in the record player in her room. |
| Sneaky Peak | Eavesdrop on the Machiavellian plans of Nena’s uncle. | (Chapter 3) As you go downstairs in Nena’s house, interact with the crack in the wall that shows her uncle scheming. |
| Privacy Please | Open a bathroom stall door and find yourself face-to-face with a busy zombie. | (Chapter 5) On the second floor of the school, where two stalls are, open the one on the right to find a zombie inside. |
| Hoops | Score a basket. | (Chapter 5) Before leaving the level, have Gloomy grab the basketball from the bike rack near the exit. Run through the door and throw the ball through the hoop near the hopscotch area. |
| Who turned off the lights? | Burn out the light bulbs using the generator in the school. | (Chapter 5) Have Nena hit the button on the generator on the ground floor near the fuse module. |
| Refreshed | Take a refreshing shower in the hidden refuge. | (Chapter 6) Find the golden pool at the base of the tree and stand under the waterfall. |
| Without a Trace | In the forest, steal a fuse without stopping the wagons. | (Chapter 7) As Nena, steal the fuse near the tracks where a Cultist is keeping tabs on carts. Get the fuse and escape without stopping a cart for cover. |
| Oopsies | Get Gloomy crushed between two wagons. Zombie or not, that’s gotta hurt. | (Chapter 7) After Gloomy gets the fuse from the lower area near the armchair and returns it to Nena, position Gloomy on the tracks between the two carts. Once Nena puts in the fuse, the cart will roll into Gloomy. |
| Slackers | Find two lazy Cultists hiding and playing games in the forest. | (Chapter 8) At the base of the watchtower, run around until you find two Cultists playing chess. |
| They See Me Rollin’ | Make the boat’s water wheel roll for at least 2 seconds. | (Chapter 9) After getting the water wheel, roll it down the slope of the beach. |
| Eureka | Reach the boat rudder without breaking the wooden planks. | (Chapter 9) As outlined below, get the swan boat rudder without breaking the boards in the section with the pedal. |
| Boat Builder | Assemble a boat in less than 30 seconds. | (Chapter 9) Drop each boat piece off nearby without placing them, then place them all at the same time. |
| This Ain’t Texas | Ride a moving carousel horse with Nena. | (Chapter 10) While Gloomy turns the carousel, have Nena ride one of the horses. |
| Enjoy the Ride | Take a full ride with Gloomy and Nena in the same Ferris wheel cabin. | (Chapter 10) After Nena gets the Firefly Lantern to ride the Ferris wheel herself, pick up Gloomy at the top, and ride the Ferris wheel together once. |
| Hellraiser | Make Gloomy get to a pentagram. What could possibly go wrong? | (Chapter 11) After Nena activates the elevator in the north room, have Gloomy go downstairs to the red pentagram on the floor and stand in it. |
| Good Riddance | Dispose of some of the devices in the workshop. | (Chapter 11) Have Gloomy push the cart full of devices in the house’s lower level. Need the bridge from the top floor to access it. |
| Wrong Time, Wrong Place | Crush Nena under a falling wagon. Remind me, who’s the bad guy here again? | (Chapter 10) At the Ferris wheel, position Nena in the spot where Gloomy pushes the cart from the elevated area above. |
| Pardon my French | Try to behead a zombie. | (Chapter 11) As Gloomy, grab a brick from the pile on the main floor and find the zombie stuck in a guillotine. Throw the brick at the guillotine to trigger it. |
| Postponed Demise | Survive the laser canon… for just a bit longer. | (Chapter 12) Once the Priest reveals his cannon weapon, survive it as long as possible before the cutscene starts. |
| The Quickest Claw in the West | Hit a metal block back before it touches the ground. | (Chapter 12) Hit one of the metal blocks with Gloomy’s attack before it hits the ground. |
| Strike! | Hit at least 3 Cultists with a shockwave. | (Chapter 12) Use Gloomy’s shockwave move on 3 Cultists in the arena. |
| Featherweight | Fall off a cliff in the mountains. | (Chapter 13) In the area with the broken bridge, run back to the gap you can jump across, and do so when the wind blows through. |
| Can’t Touch This | Finish a fight without taking damage. | (Chapter 14) Finish the encounter with the Priest without taking any damage. |
| Second Breath | During a fight, see death up close and live to tell the tale. | (Chapter 12) When the Priest fires the laser cannon, stand close to the beam. Can be earned in tandem with Postponed Demise. |
Gloomy Eyes Walkthrough
The story of Gloomy Eyes takes place over the course of 14 chapters, and the game’s Chapter Select feature allows you to revisit any chapter you’ve unlocked. Furthermore, the game features checkpoints, allowing you to reload to the previous one if you make a mistake or miss something.
Also, make frequent use of the Diorama Mode, which allows you to view a chapter’s entire layout from above.
Finally, the game features collectibles called Mementos for you to find in each chapter. These will be noted below. Also, make sure to find the Gravekeeper in each chapter (except 12 and 14) for the Tale Lover trophy/achievement.
Chapter 1 – Gloomy
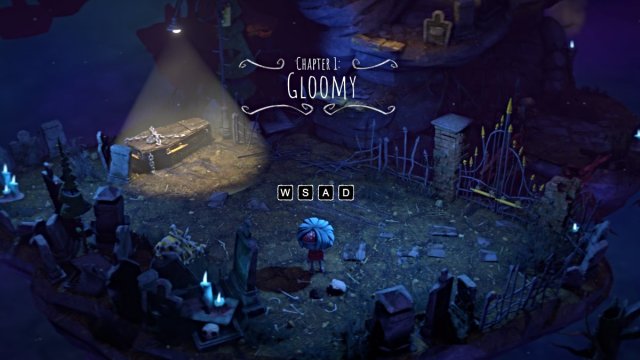
The game starts you in the shoes of a cute and peculiar zombie boy named Gloomy. Get your bearings with the movement and interaction controls, then observe the area around you.
Use the appropriate button to enter the game’s Diorama Mode, which gives you a bird’s eye view of the chapter’s entire level, like that of a diorama.
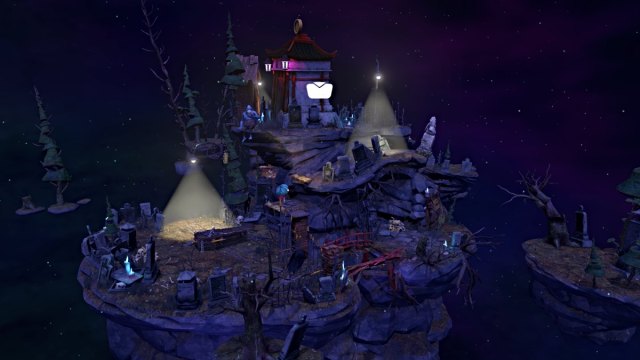
Since the game’s progression is heavily contingent on solving puzzle-type objectives, this can help you figure them out more easily.

The shackled coffin under the spotlight nearby is dangerous to Gloomy (as noted by the red skull), so don’t approach it yet. Instead, inspect the nearby bonepile to obtain a bone as a tool.
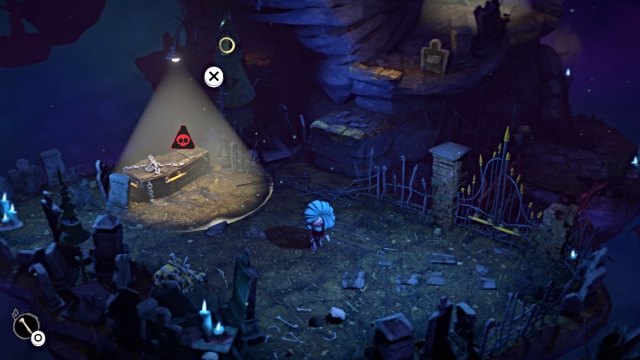
Now, go back toward the coffin and fling the bone at the lamp post when the prompt appears. This will shut off the light, so you can now approach the coffin. Be quick, though, as the light will eventually turn back on.
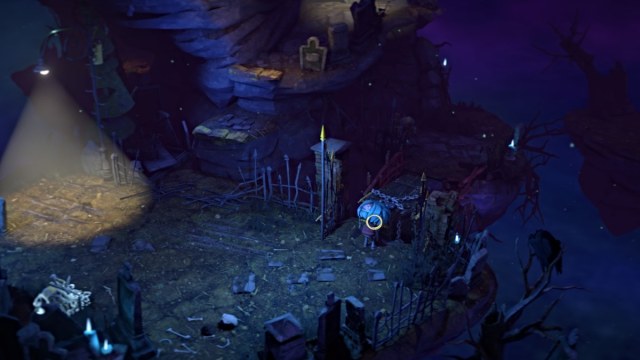
Use the yellow handles on the coffin to push and pull it over to the gate on the right side. Go and open the gate, then push the coffin through it until it slides into the gap of the bridge. This allows you to cross.
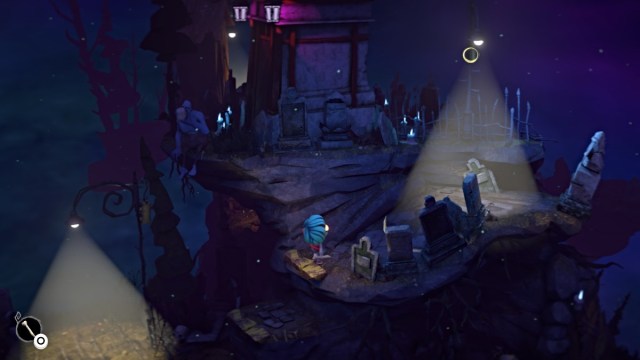
For now, however, back up, grab one more bone from the bonepile, and climb up the yellow staircase ledge. There’s another lamp post ahead, so throw the bone at it to adjust the lamp to the other side of the fence.
Next, go over to the statue that’s about to tip off the ledge and push it. This will cause it to drop onto the wooden barrier blocking the path below, shattering it.
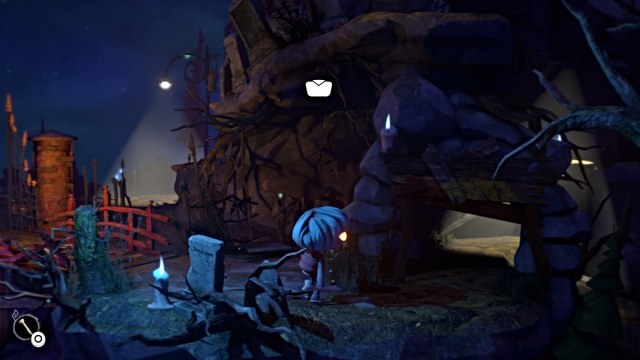
Backtrack down and across the bridge you fixed. Grab a bone from the bonepile nearby, then head through the cleared opening. You’ll see yet another light ahead, so use the bone to snuff it out and then continue.
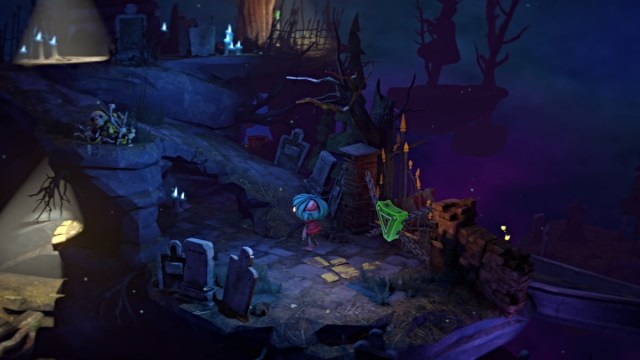
Further ahead, you’ll see a gate with a large, glinting padlock. For now, pivot and head up the ridge beside you. Grab a bone from the bonepile on the way up, then use it to swing the lamp post back over the fence.
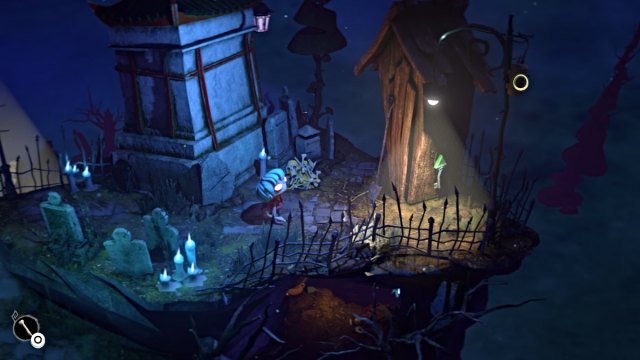
Cross the safe area and then grab yet another bone from the bonepile ahead. Use it on the lamp at the end of the pathway to snuff it out, then grab the key on the side of the shed.
Backtrack down the ridge to the padlocked gate and use the key on it to open it.
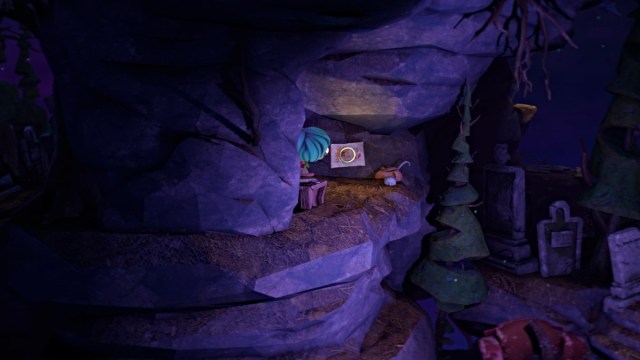
However, before continuing, crouch under the same ridge path you went up earlier until you reach a hidden nook on the other side with some kids’ toys and a drawing on the wall.
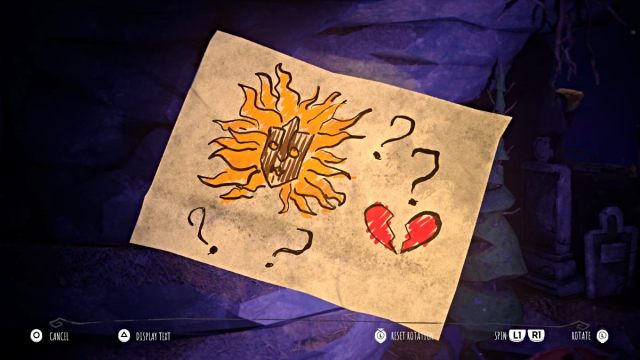
Pick it up to obtain the Gloomy’s Drawing Memento collectible. Now, backtrack to the unlocked gate, open it, and head through. This concludes the chapter.
Chapter 2 – Ceaseless Routines
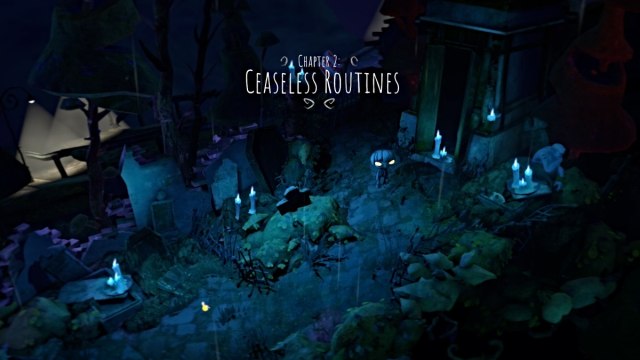
Start by heading down the path until you reach a dead end. Look to the side where you’ll see another coffin is. Pull it by its handles to unblock the alternate path, then head through.
By the direction of the camera, go down and then to the right as the firefly guides Gloomy. Follow it until you reach a boarded-up barricade.
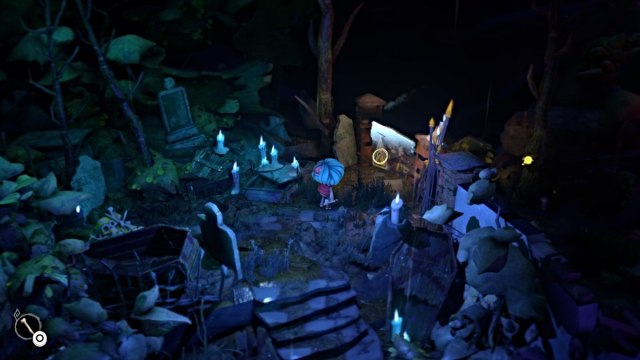
Go grab a bone from the bonepile behind you, then toss it at the barricade to break it. Head through and follow the firefly along the path and over a ledge until you reach a roadway.
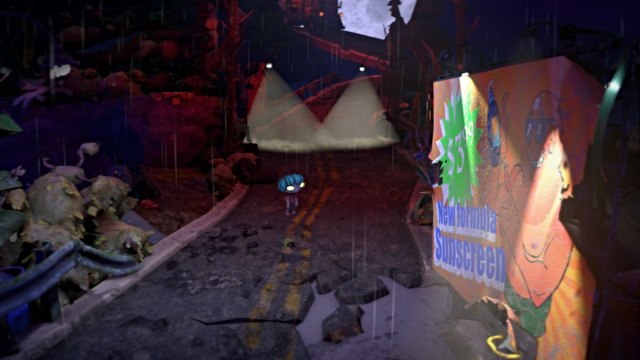
Notice that two lights are obstructing Gloomy’s path up ahead. For now, go down the roadway and past the sign until you see a pile of bricks at the bottom.
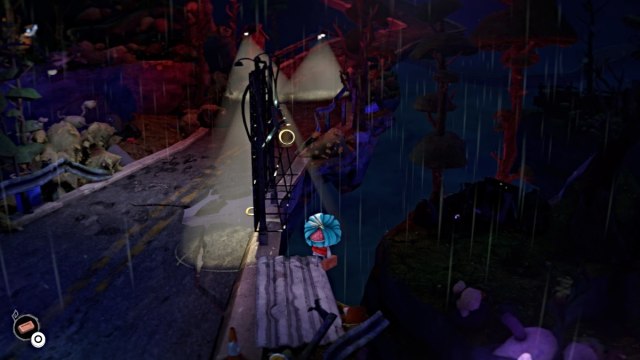
Grab one, and then maneuver around the back of the large sunscreen billboard. Toss the brick at the light once the prompt appears, and this will cause the truck at the top of the hill to start up and advance toward your position.
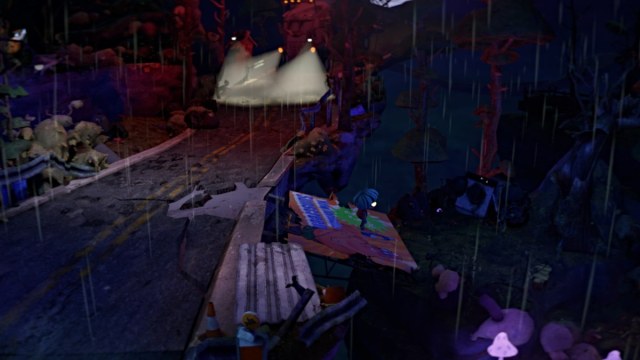
Your goal here is to escape the area before it reaches you. Use the yellow handle on the front of the billboard to push it down and make a bridge. Cross it, jump down the ledge ahead, and this brings you to a lower section of the roadway.

Lights are blocking the road on both sides, so instead, follow the firefly off the road. As you do, the same truck will advance again, with a person on the back, wielding a gun.
Keep following the firefly down the path to outrun the truck until you find a spot to hide as it passes (the firefly will stop at it for reference).
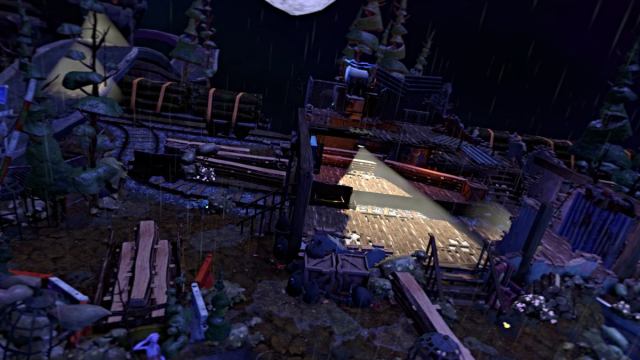
When it’s safe, continue on until you reach a large, ruined building. A light shining inside makes crossing treacherous for Gloomy, so you’ll need to use the metal barricade as protection.

Grab it by the yellow handle and pull it across the room to block the light until you can see a stairwell at the bottom of the screen. Don’t go too far, as another light facing from behind is blocking the way.
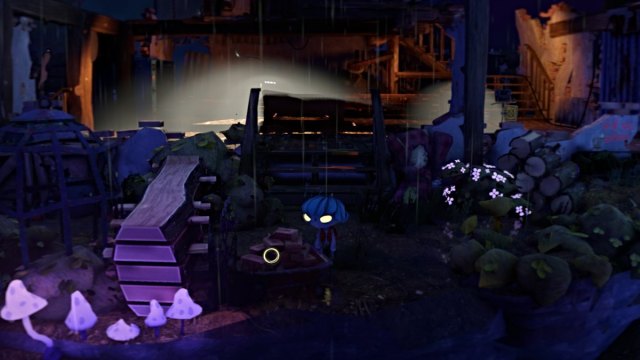
To fix that, go down the stairs outside and grab a brick from the pile nearby. Follow the path until you see the yellow target for the light blocking your way. Toss the brick at it, then backtrack inside.
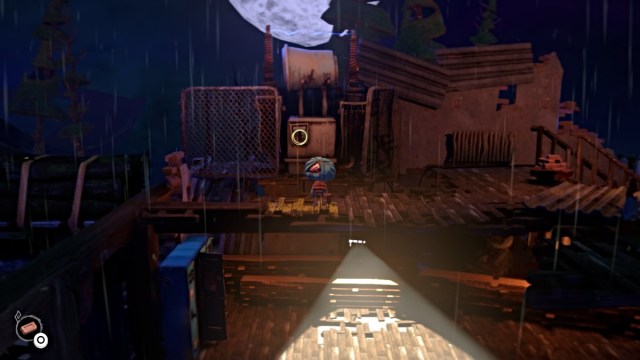
Now head up the stairs and grab another brick from the next pile. You’ll see a machine across a gap ahead. Toss the brick at it when the prompt appears, and this will cause a doorway downstairs to open.
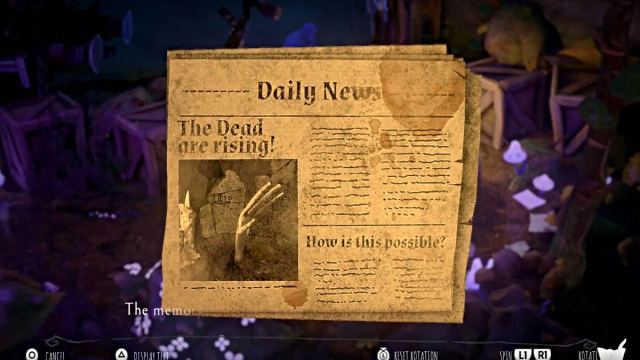
Backtrack down the stairs and head through. Follow the path ahead, and you’ll find a small detour that leads up the hill behind the road. At the end is the chapter’s Memento collectible.
Return to the main road afterward, and the chapter will conclude.
Chapter 3 – Nena
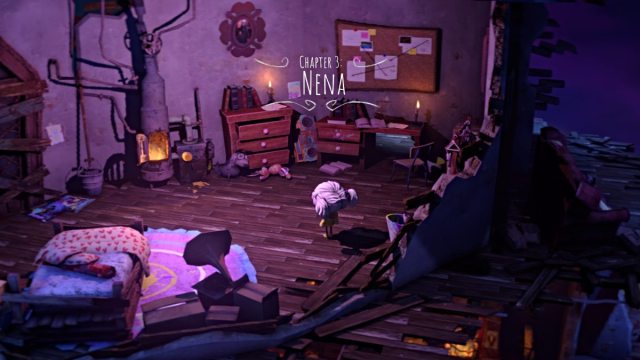
Chapter 3 introduces you to Nena, a young human girl investigating the Sun’s disappearance. Once you have control, make a note of the furnace in the room. For now, go over to her desk and crawl through the space underneath it.
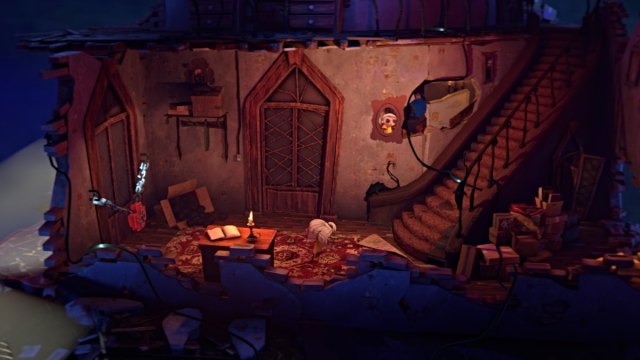
Follow the path beyond and down the stairwell to the lower level. Grab a lump of coal from the open box near the padlocked door.
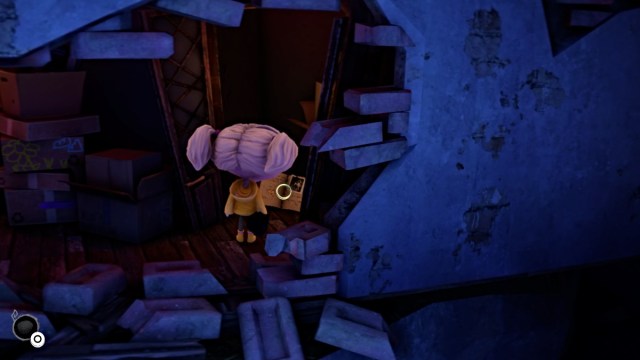
Next, go right past the stairwell to a hidden nook, where you’ll find this chapter’s Memento – Nena’s Detective Book. Pick it up, then backtrack up the stairwell and through the crawlspace to Nena’s room.
Go over to the furnace and toss the coal inside, then press the button next to it to activate the steam pipes above. This will push a yellow ball off a ledge above, and it’ll then bust a hole in the floor.
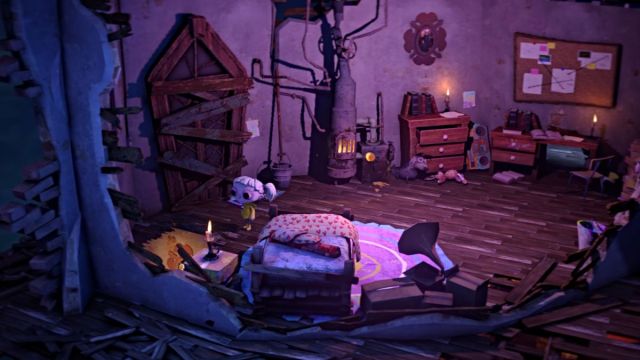
Go down into the hole, and this brings you to the dining room, where Nena’s uncle is scheming with two other individuals. Stay out of his sight and sneak under the table to the other side of the room.
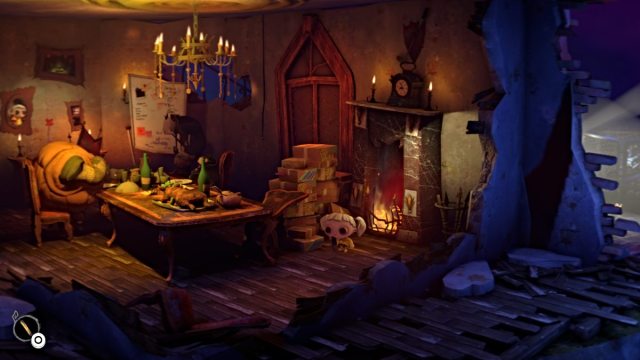
Grab the wood plank from the container by the fireplace, then backtrack up through the hole to Nena’s room. Go through the desk crawlspace again, and this time go left until you find a ladder with a broken step.
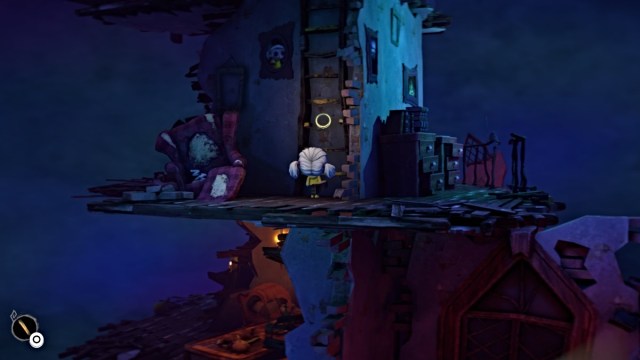
Use the plank to repair the step, then climb up the ladder. At the top, go over to the pedestal with a yellow button.
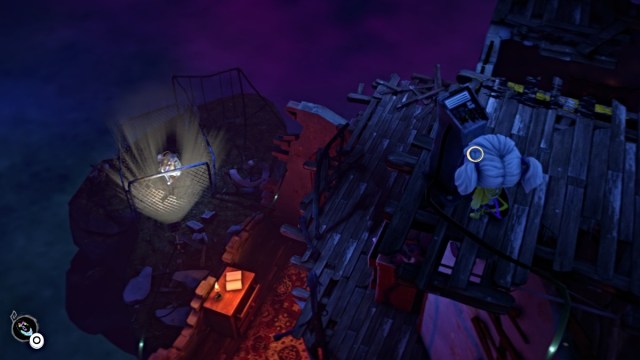
Press it, and this will cause the light shining on the trapped zombie below to go out. This will distract Nena’s uncle, so head back down to the dining room while he’s away.
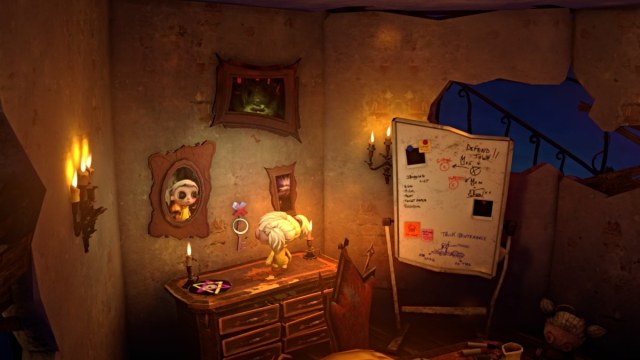
Once there, climb up the dresser on the left side and grab the Red Key off the wall. The light outside now repaired, Nena’s uncle will return, so quickly retreat and head back up the hole to Nena’s room.
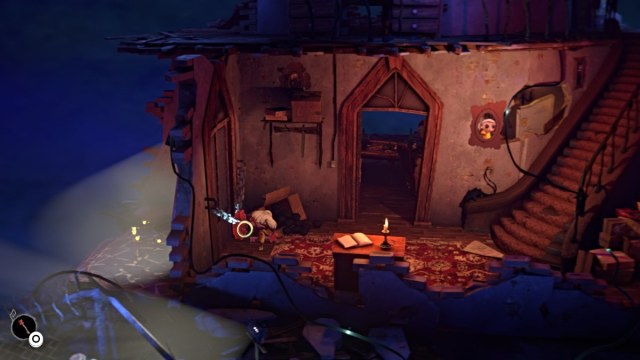
Again, go through the desk crawlspace and back down the stairwell to the padlocked door. Use the Red Key on it to unlock it and leave the house. This concludes the chapter.
Chapter 4 – Into the Woods
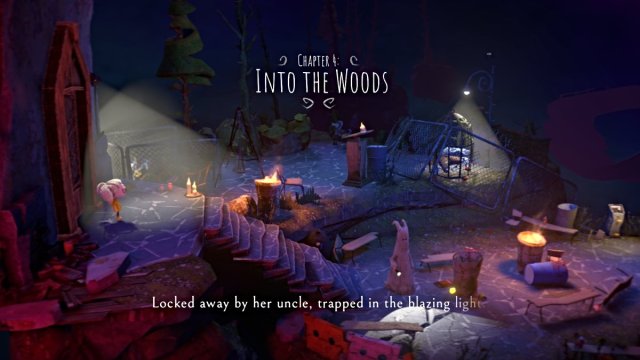
Outside of Nena’s house, you’ll need to maneuver past the obstacles and patrolling watchmen to reach the woods. Start by heading down the stairs, and to progress, you’ll need to get the canister off the watchman’s back.
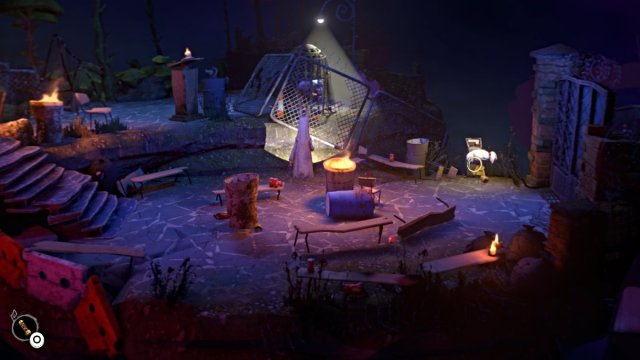
Wait until they stop to look around, and then grab the canister. When it’s safe, approach the pedestal near the locked gate and place the canister when prompted. Once the gate’s open, head through to the next section.
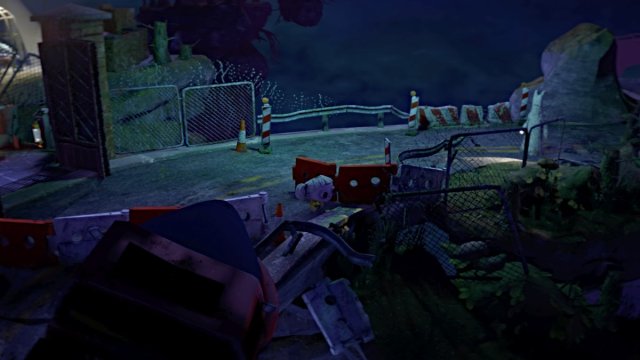
There’s another watchman on the road ahead, but you don’t need to head that direction anyway. Instead, look towards the bottom of the screen where there’s a break in the barricade. Go through it to the wooded area below.
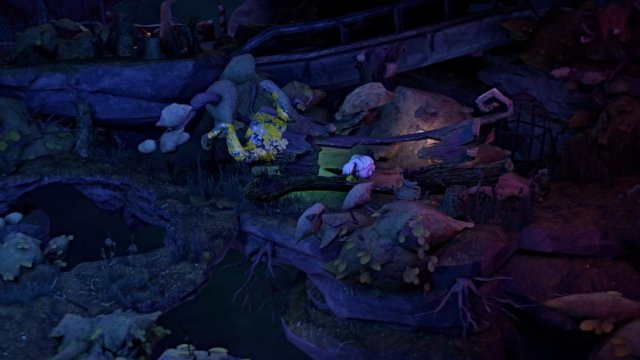
Follow the path until you reach a collapsed log with yellow markings on one side. Crawl through the log and continue on the path ahead. Jump across the gap, then continue until you reach a cliff with vines.
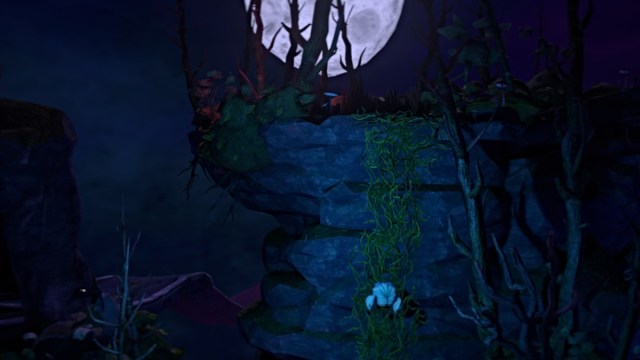
Use the vines to climb up, then at the top of the cliff, head right and run along the log across the wide gap under the moonlight.
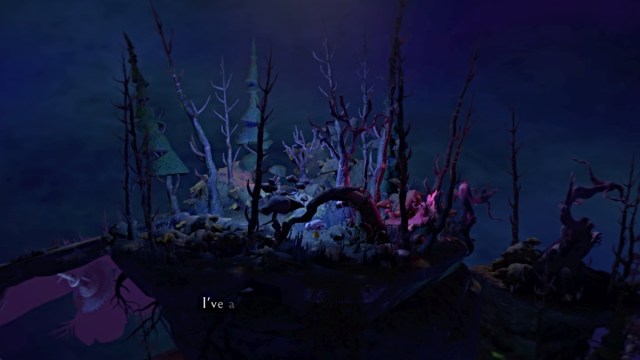
On the other side, continue right along the path and under a tree overhang (seen above). Follow the path until you reach the edge of the cliff and then climb down another set of vines.
Once on the ground, pivot left and you’ll find the chapter’s Memento collectible at the end of the passage.
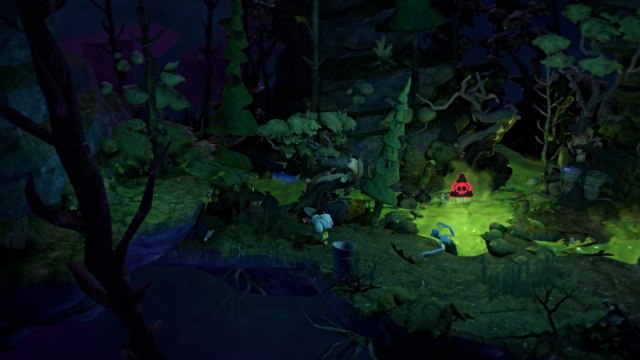
Now head right and follow the path, where you’ll come across some zombies. These pose a threat to Nena (like light does to Gloomy), so stay out of range of their clutches.
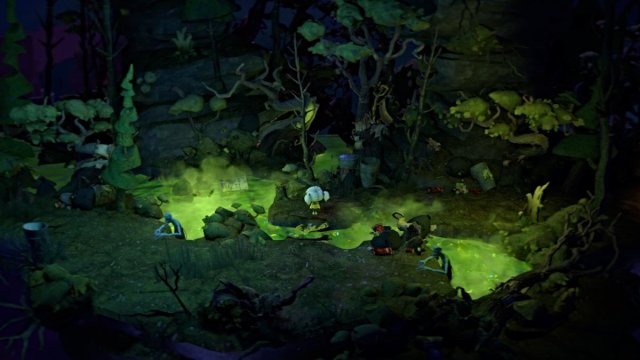
Go past the first zombie, then cross the goo swamp at the midway point, where Nena can jump across. From there, head right until you reach a circle of fireflies. This concludes the chapter.
Chapter 5 – An Awaited Encounter
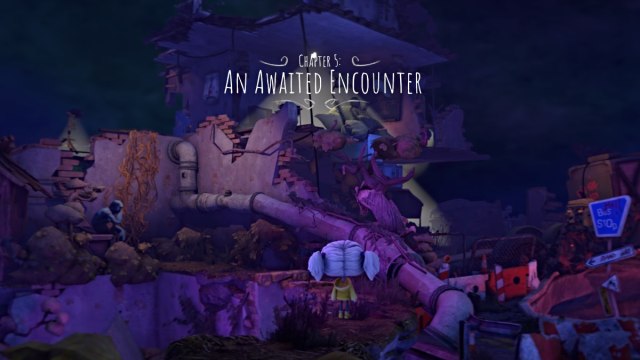
Both Nena and Gloomy arrive at the school they both went to, destined to bump into each other. For now, you’ll automatically start as Nena. The path ahead is blocked by a zombie sitting near the vines you need to climb.
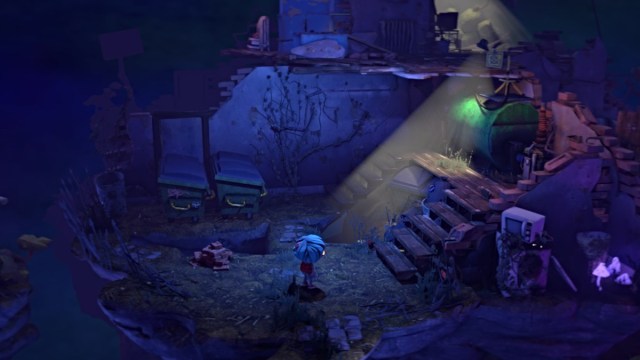
Use the appropriate button to Character Swap to Gloomy (check your Controls menu if needed). Start by grabbing a brick from the nearby pile, and then carefully approach the stairs to throw it at the light pole above.
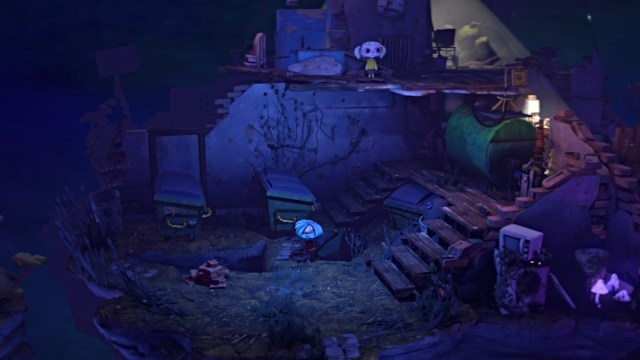
This will swing the light to the other side, where it’ll shine on the zombie blocking Nena’s path. With it subdued, switch back to Nena and have her climb up the vines to the platform above.
Now switch back again to Gloomy and have him move the two dumpsters out of the way of the blocked door on the left side.
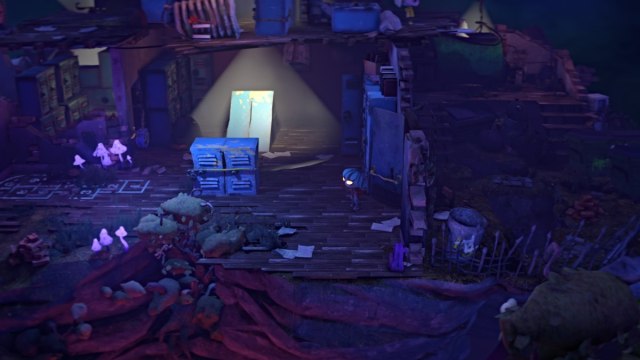
Once they’re moved, go through the door to the next section inside the school. Now switch back to Nena on the platform above.
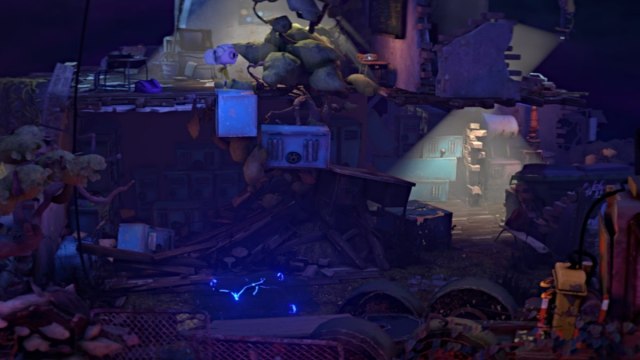
Head right over to where you can see a tree poking through the floor. Next to that is a stairway path leading down (seen above), so follow it.
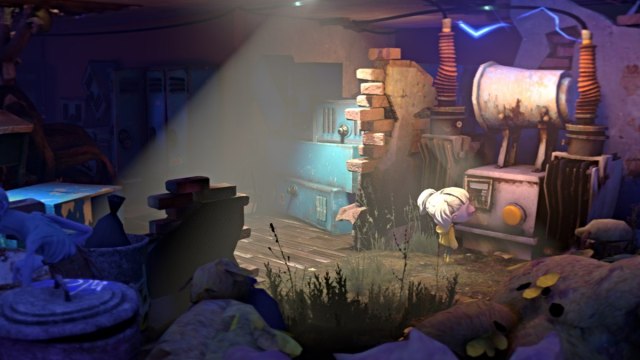
At the bottom, go over to the power machine and press the button to turn off all the lights in the school. This makes it safe for Gloomy to move around.

Switch back to Gloomy and have him move the set of lockers to the back of the room, behind the blue ramp. Push the lockers as far left as possible until they make a path.
Before you go up, go over to the nearby brick pile and grab a brick, as you’ll need it soon.

Climb up the sets of lockers until you reach the floor above. The stalls around the corner are guarded by a light, so this is where your brick comes in handy. Throw it at the light to snuff it out temporarily, then go open the stall door on the left.
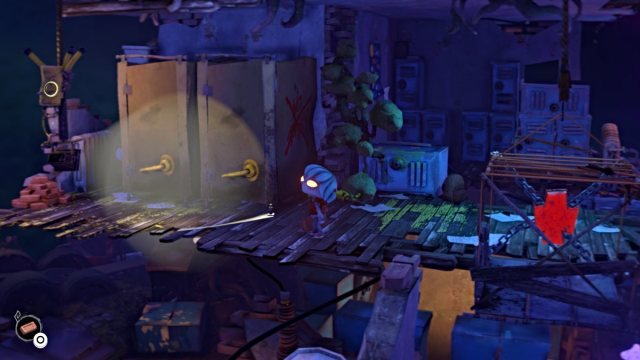
Inside, you’ll find the Blue Key for the lock on the ground floor. Grab it, then open the right stall to unlock the Privacy Please trophy/achievement.
Now, have Gloomy grab the branch of the tree nearby and push it until it opens a path for Nena on the other side to the power canister.

Switch back to Nena, and go forward to grab the canister off the table. With that in hand, go back down the stairwell path nearby to the ground level.
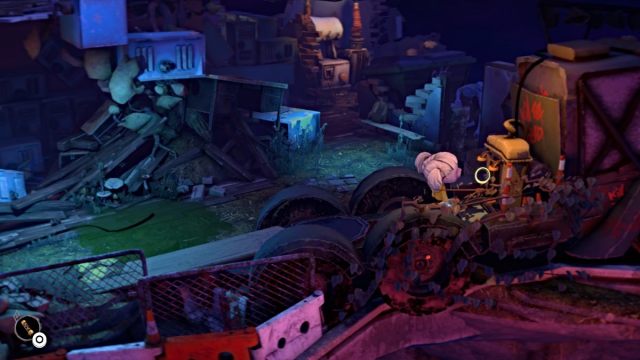
Go left across the green pond and then around and up the ramp to the power hub, where two canisters can be placed. Put in the one you have.

Switch back to Gloomy and head down to the ground level to use the Blue Key on the respective blue lock.
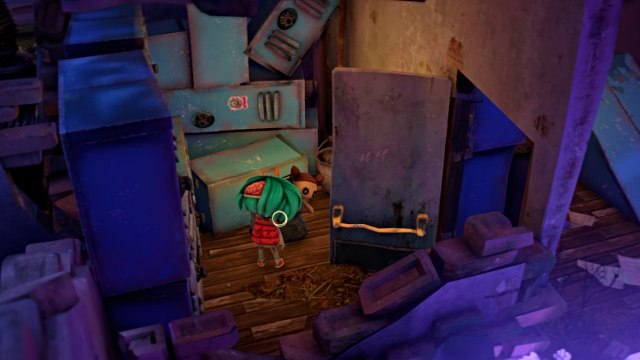
Go through the door, and in the small room ahead, you’ll find a kid’s backpack. Pick it up to claim the chapter’s Memento collectible.
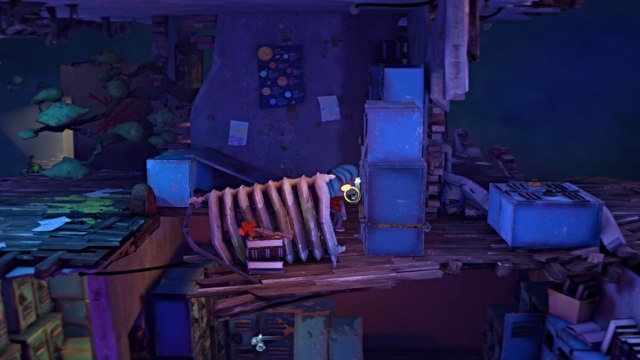
Now head back up the lockers to the upper floor and climb your way across the right path until you reach a set of lockers you can push (seen above).
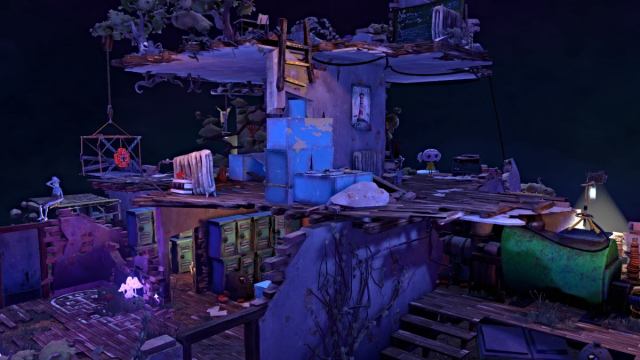
Do so, and this not only creates a path for Nena (seen above), but it also allows you to reach the Red Key behind the radiator.
Grab it, and then go use it on the makeshift elevator to the left on the same level. Jump onto it, and Gloomy will ride it down to the ground level just outside the school. Meanwhile, this raises a light up to the very top floor that subdues a zombie guarding the other power canister.
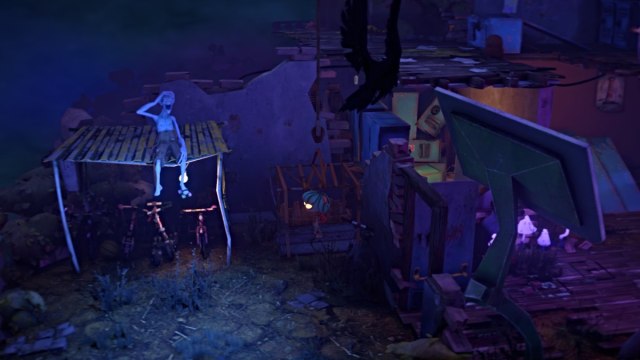
Make sure not to step off the elevator as Gloomy, or it will reset, and you’ll have to run back up and jump on again. Now switch back to Nena, and go over to the new climbing path Gloomy placed for you.

Climb up to the top floor, and run around to the right where the power canister is. Pick it up, and then descend all the way back down to the ground floor.

Once there, go over to the back of the truck where you placed the first canister, and now place the second one in. This activates the truck’s lights, subduing the zombie guarding the doorway next to it.

Go through the doorway and follow the grassy path ahead until you reach the circle of fireflies. Now switch back to Gloomy and step off the elevator. Follow his side of the grassy path until you reach another circle of fireflies.
This will trigger a cutscene between Gloomy and Nena, and then conclude the chapter.
Chapter 6 – The Hidden Refuge
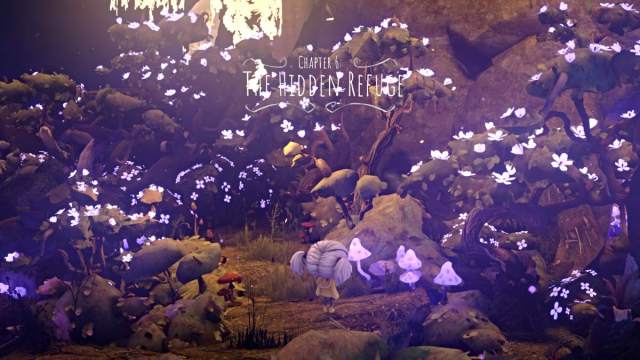
Separated from Gloomy, you’re back solely in Nena’s shoes for now. Start by taking in your surroundings via Diorama Mode, as this area can be a bit more confusing with its winding, similar pathways. Make sure to keep track of your location while progressing.
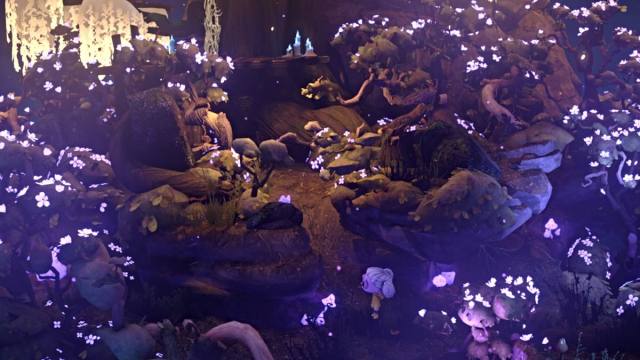
For now, go forward and follow the path to the left until you come to a fork, where it diverts north. Follow that route up and ahead, past an elevated wooden platform with a broken ladder.
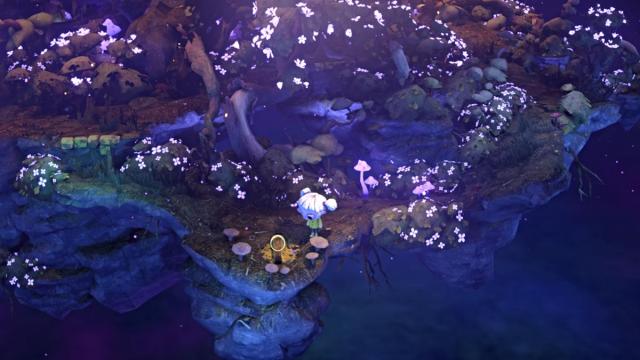
Keep following the path left and down until you reach a yellow plank on the ground. Pick it up, then backtrack the way you came to the broken ladder.

Use the plank to repair it, then climb up the ladder. At the top, go left and use the vines on the tree trunk to climb across to the next platform.
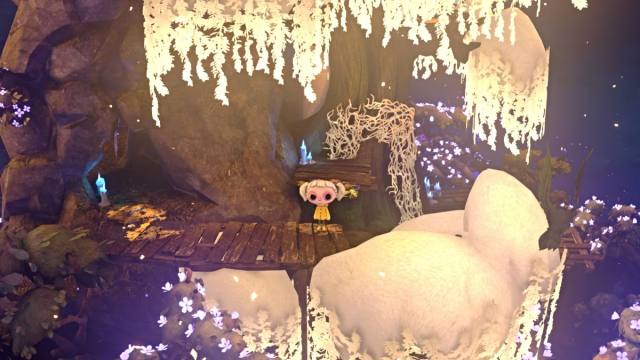
From there, jump to the next one, and then run left until you can jump again to the rocky ridge. Follow it, and at one point, you’ll notice another vine path leading up (seen below).
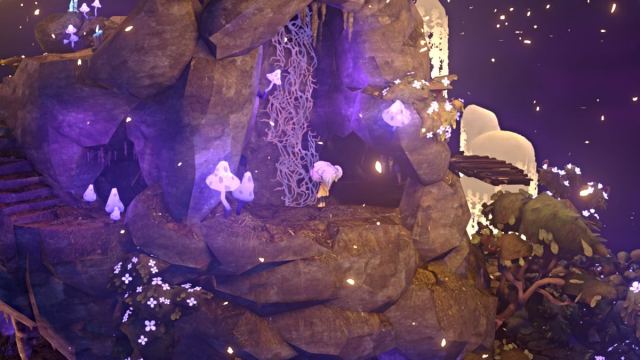
This leads to the treehouse where Gloomy is holed up, but the ladder leading to him is currently broken. For now, go past the vine path and head up the stairwell to the left.

Jump across the wooden platforms further ahead, and on the last one, you’ll find another plank. Grab it, then backtrack to the vine path you passed earlier.
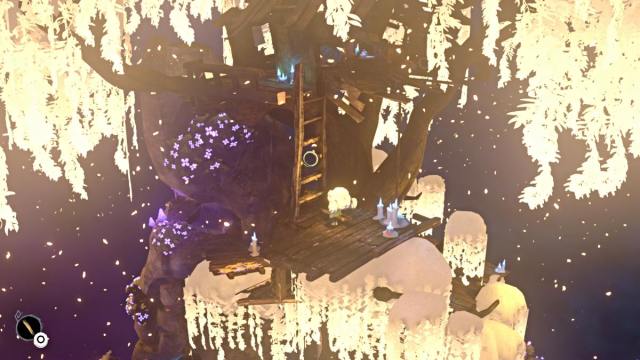
Climb up it and then jump across the platforms to the ladder leading up to Gloomy’s treehouse. Use the plank to repair it, then climb up.

Before you go inside the treehouse, run past it and around the corner, and you’ll find this chapter’s Memento collectible on the ground.
Afterward, double back and head inside the treehouse.

A cutscene will play between Nena and Gloomy, and the chapter then ends as they set off together.
Chapter 7 – A Perilous Venture
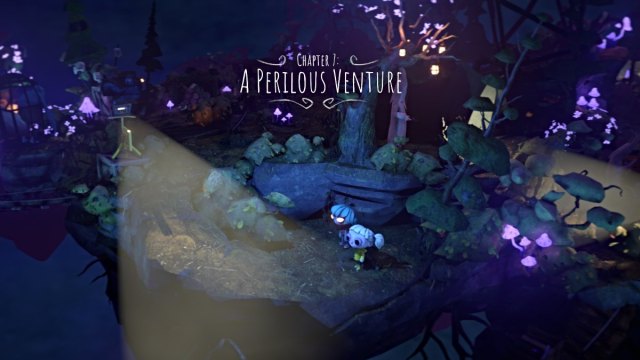
This chapter will have Gloomy and Nena working together again. Notice that there’s a light immediately blocking their path, so you’ll need to start as Nena.
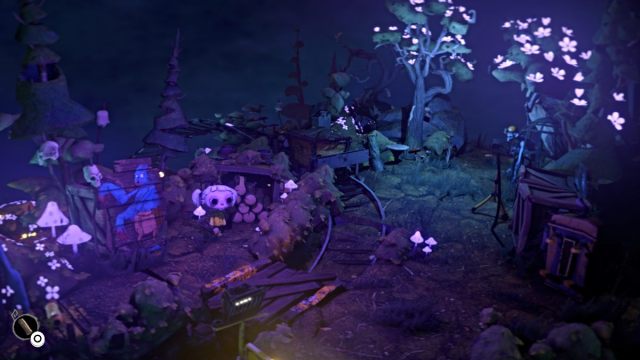
Switch to her, then follow the path around and over to the left, where you can see a pile of logs. Grab one from the pile, then return to Gloomy.
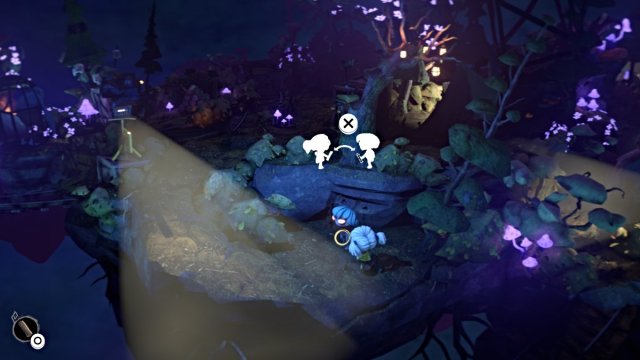
Pass the log to him when the prompt appears (seen above), and have Gloomy throw the log at the light. This will make the light swing around to the bridge leading to the log pile.
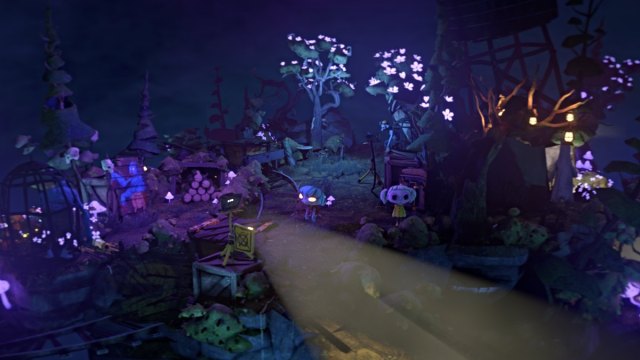
Now usher both Gloomy and Nena far enough up the path, then have Nena go and fetch another log from the same pile. Return and give it to Gloomy, and then have him hit the light again to swing it back to its original spot.
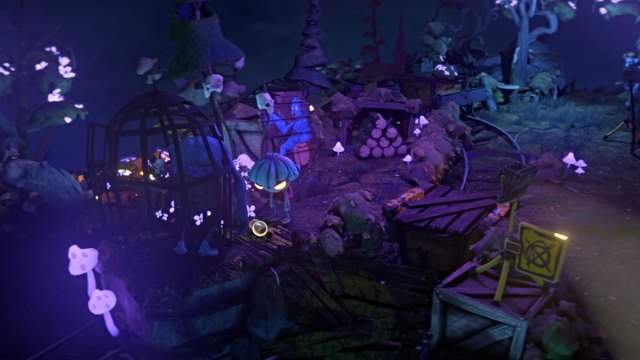
With that done, have Gloomy cross the bridge and grab the power canister on the ground in front of the zombie’s cage.
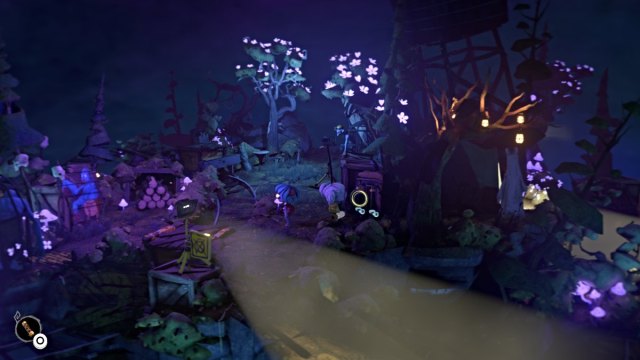
Return and pass the canister to Nena, and then have her place the canister in the nearby power module to the right. You’ll need one more to power it up.
Now, as Nena, make your way past the power module to the right, where a watchman is patrolling around a tent.

At the right moment, sneak into the tent and grab this chapter’s Memento collectible. When it’s safe, leave the tent and make your way forward to the narrow ridge path that leads down to the lower area.

Once down there, use the boxes and incoming train cars to sneak past the watchman to the control panel and power canister at the far end. Press the button on the panel at the right moment when a cart passes in front of the watchman, to give you cover.
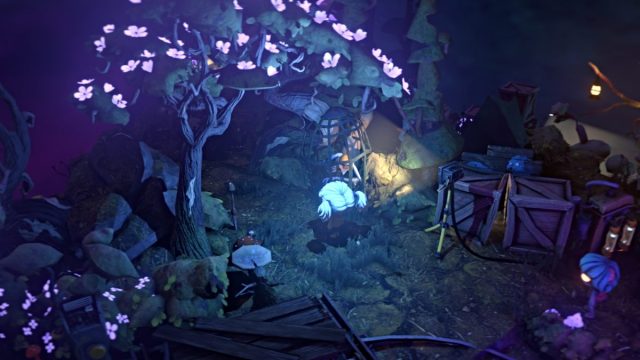
Grab the power canister and sneak back up the ridge to the power module. Place the canister in the module, and this will shine a light on the zombie blocking the path to the other side of the level.
Now that Nena can progress safely, move both her and Gloomy through the passage to the other side. Once there, have Nena jump over the gap to the right.
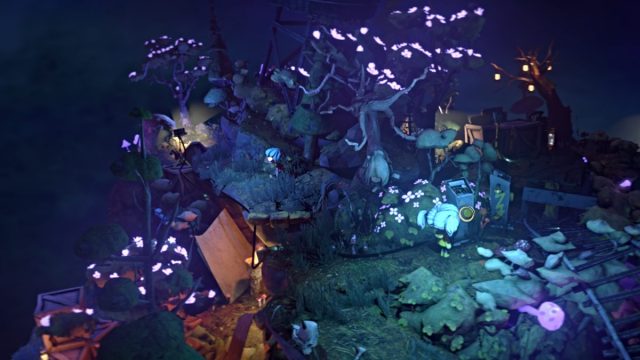
Around the corner is another control panel with a button, so press it. This will turn off the light on the path to the left. Switch to Gloomy and go down the path until you can hide behind the boxes from the Watchman.

You need to get the power canister beside him, so grab a log (if you don’t already have one) from the nearby pile. Approach the outhouse to the right and throw the log at the bell when prompted.
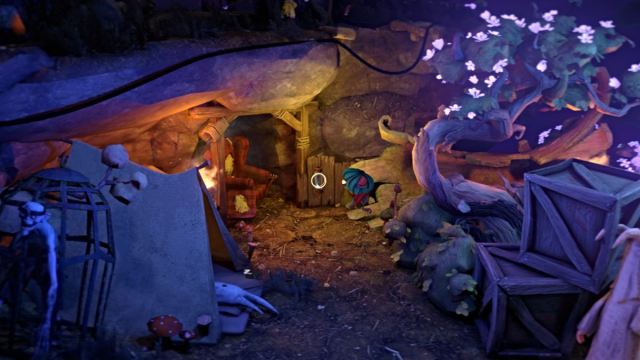
This will get the watchman’s attention, so sneak past him through the log behind the outhouse and go grab the power canister. Backtrack once the watchman returns to his chair, and head back up the ridge to Nena.
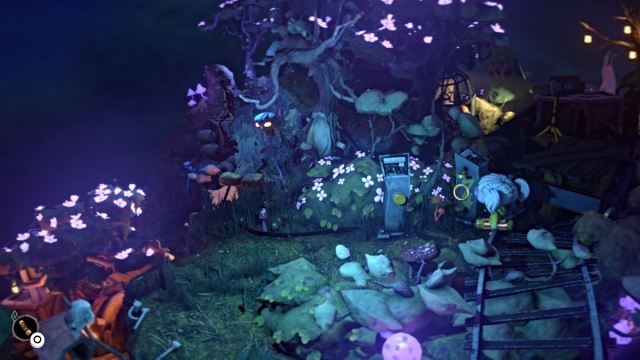
Pass her the power canister and then switch to Nena. Jump over the gap to the right again, and go to the broken control panel with a power module slot. Place the canister in it, and this will send carts down the tracks to form a path to the bottom, where the firefly circle is.
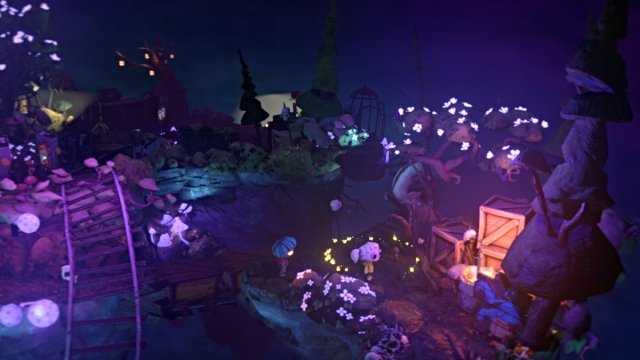
Maneuver both Nena and Gloomy down to the firefly circle, and then the chapter will end.
Chapter 8 – Rising Threats
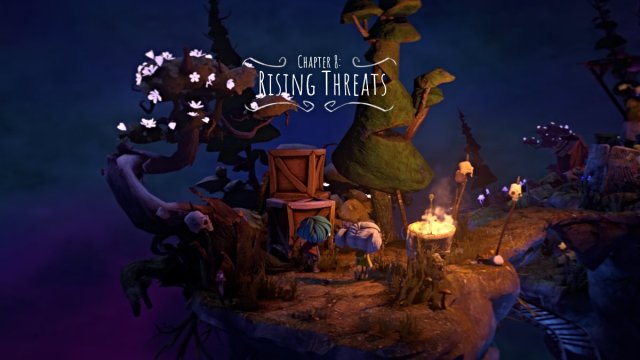
This chapter sees Nena and Gloomy arrive at a mining facility. Start as Gloomy and make your way up the path ahead.
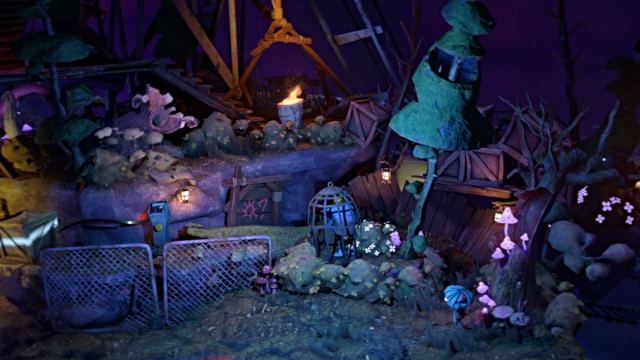
Soon, there will be a fork in the path, so take the narrow one furthest back that leads to a control panel with a button (for Nena). For now, have Gloomy push the box left of the control panel to the ground below.
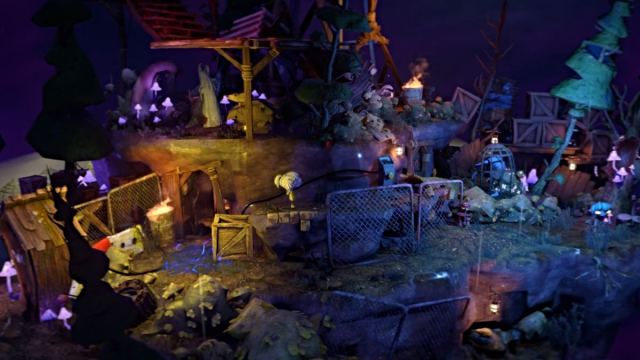
Backtrack to the main path, then switch to Nena. Run along the lower path until you can climb up the ledge where the box was. Go over and press the button, which turns off the wires electrifying the puddle on the ground.

Now maneuver both Gloomy and Nena through the tunnel ahead and past the patrolling watchman.
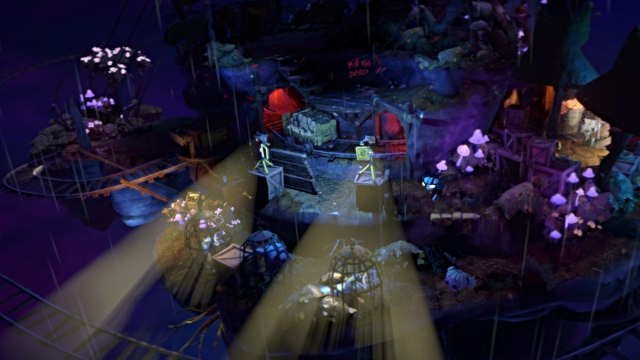
You’ll come to a two-level section that requires a sequence of mechanics to get past. Keep Gloomy situated up top while Nena stays on the bottom level to reach the control panel at the far end.
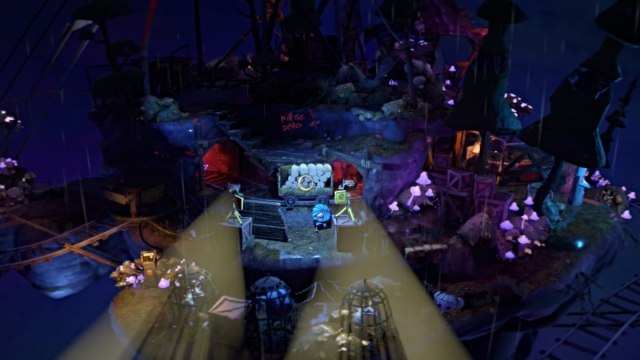
Start by having Gloomy go and grab a log from the carts moving along the nearby track. Now, have Nena carefully move left until the zombie cage in the middle, which isn’t lit.
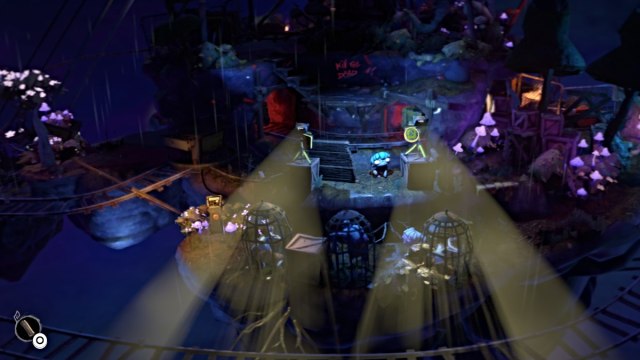
Next, have Gloomy throw his log at the right-side light, which will adjust it to the middle zombie cage. With the path now safe, have Nena go to the control panel and hit the button.
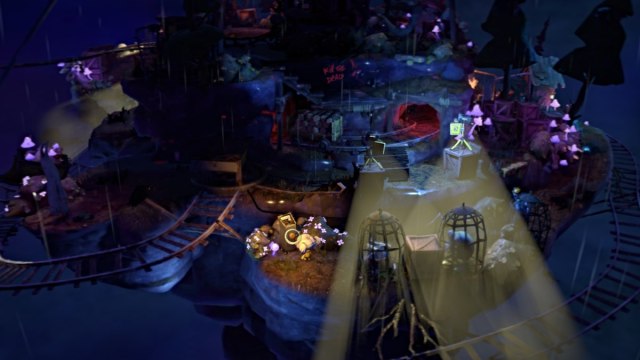
This will send the cart nearby down along the track to the area where the firefly circle is, completing one part of the path to reach it. This also opens up the passage to the next section, where a watchman is patrolling.
Safely maneuver Nena back along the path (remember to swing the light back to the first zombie cage) until she reaches the top level, where Gloomy is.
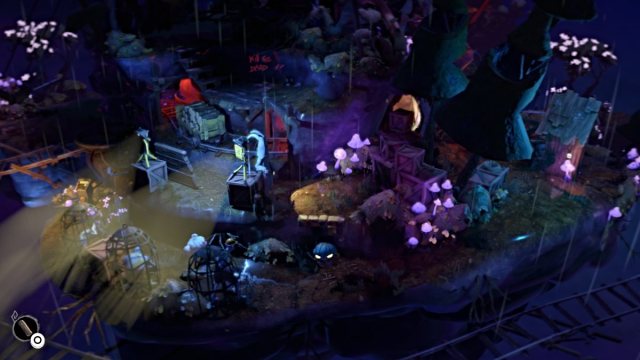
Bear in mind that the watchman will also patrol the top level and can catch you if you’re up there. Hide on the lower level when necessary, and get Nena across to safety.
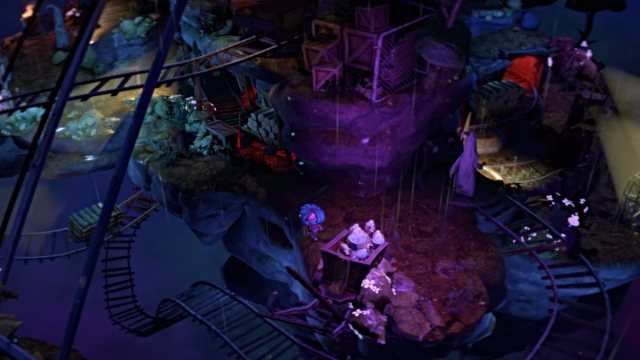
Now usher both Nena and Gloomy across the top level while avoiding the watchman. At one point, you’ll receive a safe spot (seen above) just outside the watchman’s route. From there, send Gloomy left to where more carts are moving along a track.
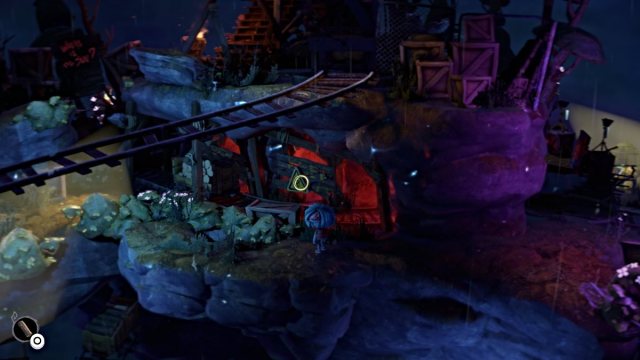
Grab a log from one of the carts, and then throw it at the barricade behind the track when the prompt appears (seen above). Grab another log from a moving cart, then do the same for the second barricade to the left.

Switch to Nena, and use the spaces behind the barricade to move safely along the track to the next grassy path on the left. Beware that another watchman is patrolling there, so time your crossing when they walk away.
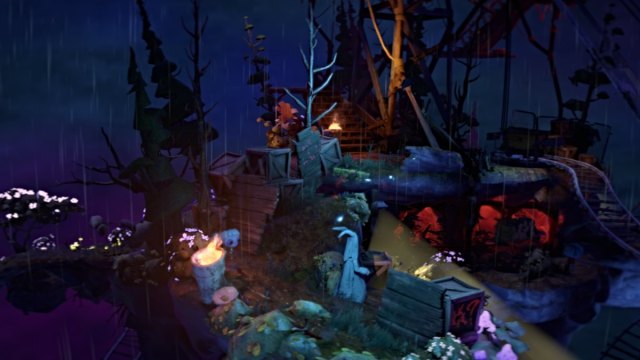
Make your way up the ridge and have Nena hide behind the board to the left. Wait for the watchman to walk back down the ridge, then head up and jump across the gap ahead.
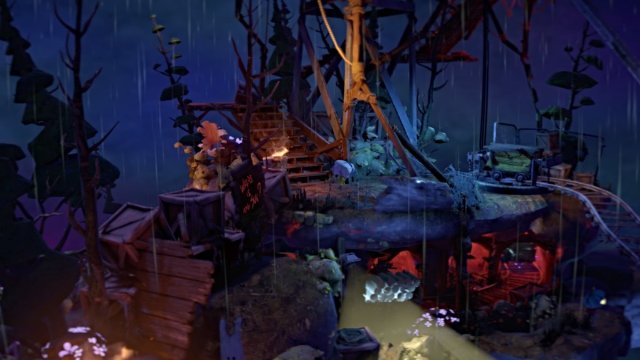
This brings you to the bottom of the watchtower. Head up the stairs, where you’ll see a burly henchman patrolling at the top.
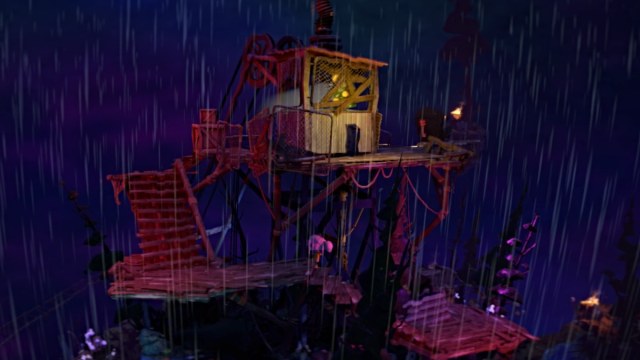
Sneak up and hide behind the tower room until the henchman turns his back, which has a Red Key on it. Run over and grab the key from his back when you have the chance, then duck behind the room again.
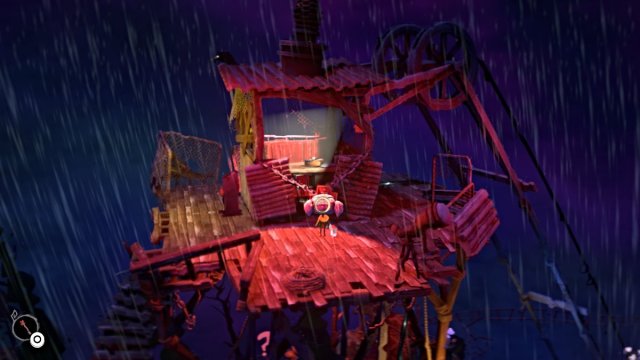
Hit the button on the nearby control panel to trigger a red alert. This sends the henchman literally rolling down the stairs, and another cart will roll down the tracks to the bottom, where the firefly circle is.
Now have Nena use the Red Key on the padlock to the tower room. Go inside and hop onto the table to grab the chapter’s Memento collectible. Now head back down the watchtower stairs and stop at the base of the tower.
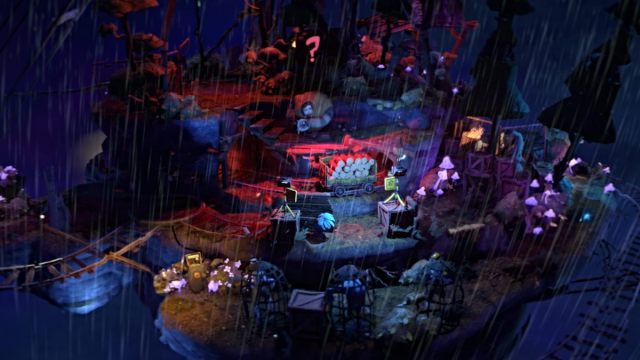
Switch back to Gloomy and have him make his way to the firefly circle first. Backtrack through the two-level section, where the burly henchman is searching from overhead. Make sure to duck in cover behind the wood barrier halfway across (seen above) if he spots you.
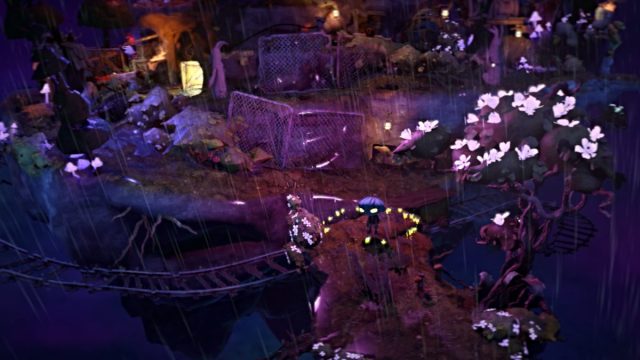
Continue when it’s safe, and head down the ridge past the outhouse. Use the carts to cross to the area where the firefly circle is.
Now switch back to Nena and follow the same course to the firefly circle. Once she reaches it, a cutscene will play, and the chapter will end.
Chapter 9 – The Sunken Light
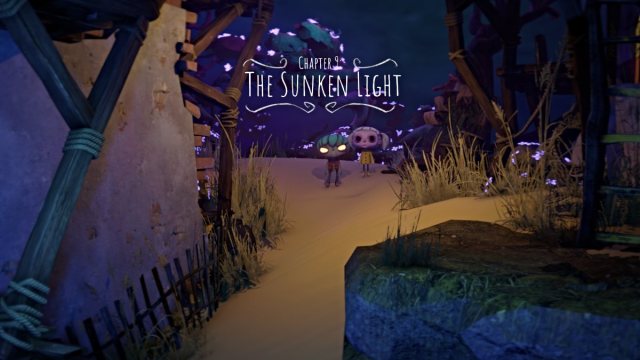
This chapter brings Nena and Gloomy to a beach with a lighthouse. Start by switching to Nena and going back instead of forward along the sand.
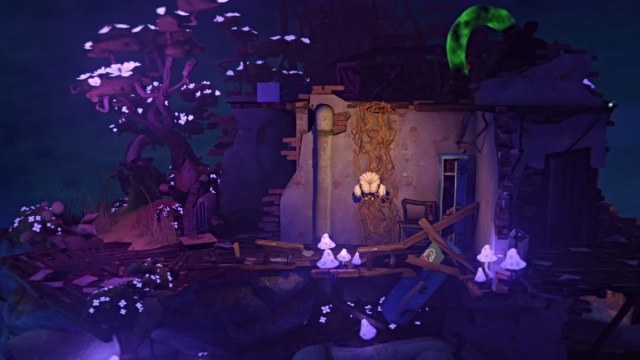
Follow the path to a ruined building and climb up some vines ahead.

At the top, turn left and pick up the Memento collectible, which appears to be a report about bioluminescence. Now, backtrack to the beach where Gloomy is.
Switch to Gloomy and head forward down to the beach, and then onto the pier.
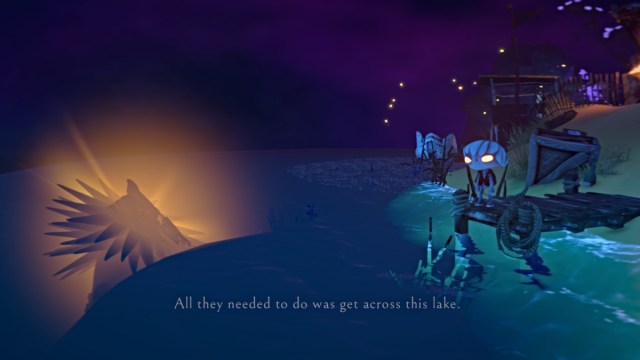
The Sun can be seen beneath the water’s surface, and the narrator notes that they just need to get across the lake. Now leave the pier and head right until you see what looks like a swan head on the beach.
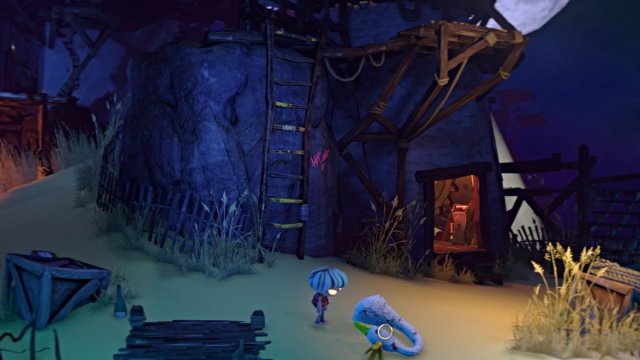
Pick it up, and then head left across the beach until you find a broken swan boat and a blueprint behind it.

Approach the boat and place the swan head onto it when prompted. Now head back up the beach, and this time head up the wooden walkway around the ruined building to the left.
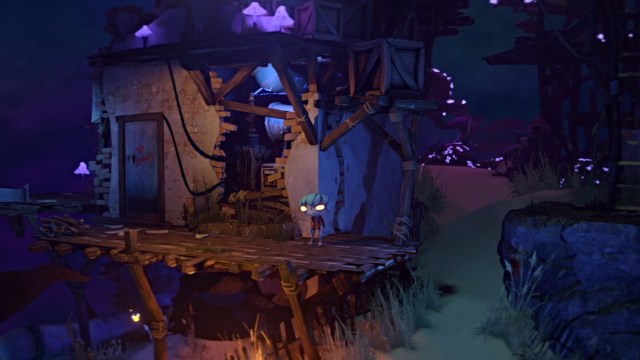
Go left and pick up a plank from the woodpile in the corner. Bring it over to the exposed machinery in the building and throw the plank at it.
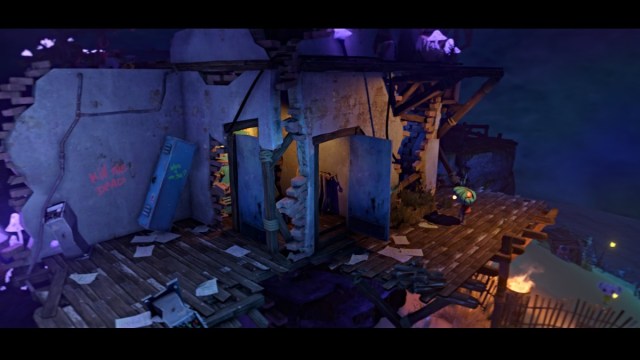
This will cause the door to the left to open while the one across the gap closes. Go inside the room and pick up the Water Wheel. Carry it back down to the beach.
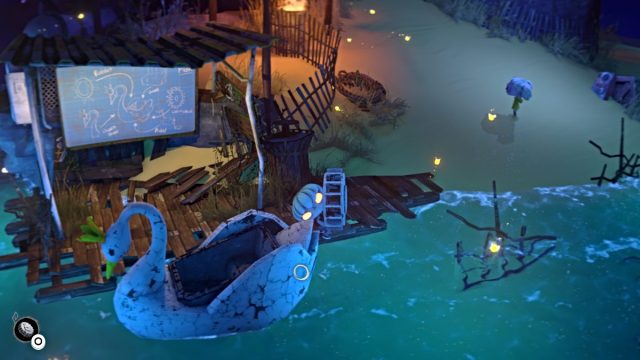
Go over to the swan boat and place the Water Wheel piece onto the back of it. Join Nena back on the beach, then switch to Nena.

Head up the sandy slope to the lighthouse on the right, then climb up the ladder to the upper walkway. Step onto the nearby elevator lift, which will send you back down to the lower level. Don’t move Nena off the lift.
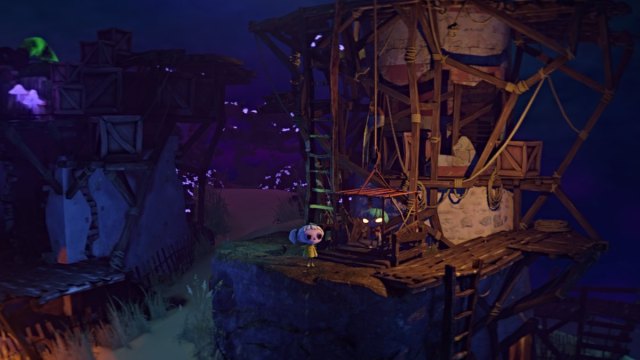
Switch to Gloomy and have him join Nena on the lift. Now switch back to Nena and step off, while Gloomy stays on (as seen above).

Have Nena climb up the nearby ladder and head to the top of the lighthouse. Once there, step onto the elevator by the walkway and ride it down to a platform where the Rudder for the boat is located.

Now switch to Gloomy and have him step off his elevator. Head up the walkway to the top of the lighthouse and hide from the light behind a wooden barrier.
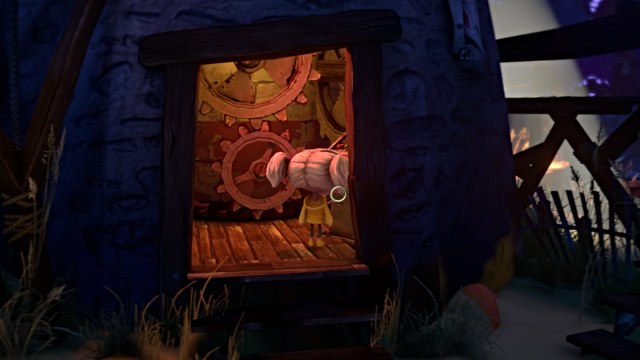
Switch to Nena, step off her elevator, and then climb down the ladder nearby to the ground level. Go inside the lighthouse’s gear room and flip the switch on the control panel. This will cause the lights up top to reverse and move in the opposite direction.
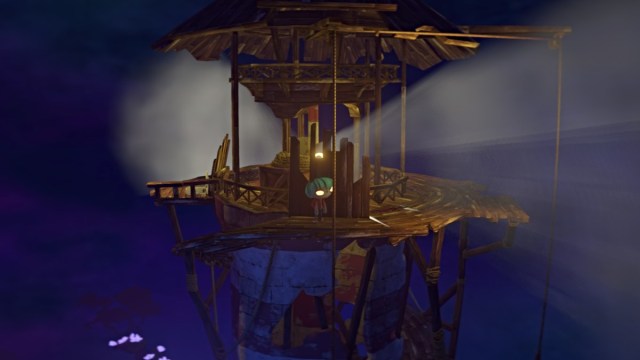
Switch back to Gloomy, and carefully move along the walkway between the lights until you reach the end, where you find the boat’s Seat Bench. Pick it up and wait.

Switch to Nena, and flip the control panel switch again to have the lights reverse back to their original path. Switch to Gloomy, and carry the Seat Bench back along the pathway, and then continue down around the path to the elevator below.
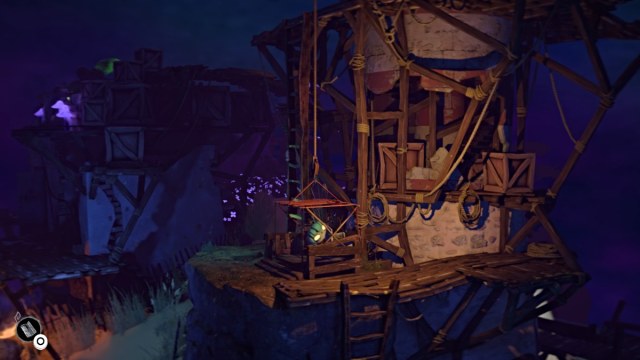
Ride the elevator down, but don’t leave it yet. Switch to Nena, leave the gear room, and climb up the ladder to where Gloomy is. Step onto the elevator, then switch to Gloomy and have him step off.

Carry the Seat Bench down to the beach and then to the swan boat. Place the bench inside it, then return to the elevator where Nena is. Step on, and then switch to Nena.
Head up the nearby ladder, and then head up the walkway to the top of the lighthouse. From there, hop on the elevator and ride it down to the platform with the Rudder. Have Nena step off to that platform.

Switch to Gloomy, who gets sent back down to the lower level. Step off his elevator and run right to the ledge where the other elevator stops at (since you need to get him up there via that elevator).
Now switch to Nena and have her step back onto the elevator. It’ll descend to where Gloomy is waiting, so have Nena hold the elevator and switch to Gloomy.
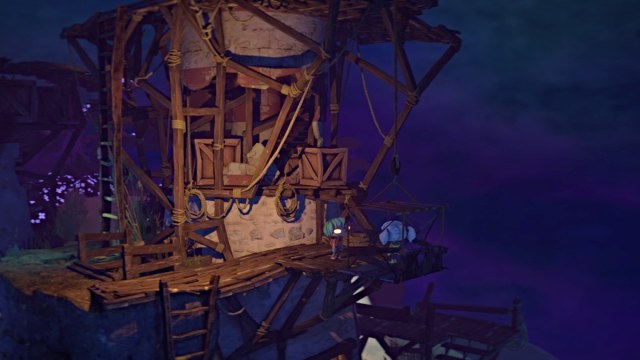
Step onto the elevator, then switch back to Nena and have her step off.
Climb your way back up the ladder and run to the top of the lighthouse, step onto the elevator there, and this will send Gloomy to the platform.

Step onto the platform and go pick up the Rudder. If you followed this process, then the Eureka trophy/achievement should unlock.
Switch to Nena, step off her elevator, and this will send the other back up to Gloomy. Switch to Gloomy, step onto the elevator, and ride it down with the Rudder in hand.
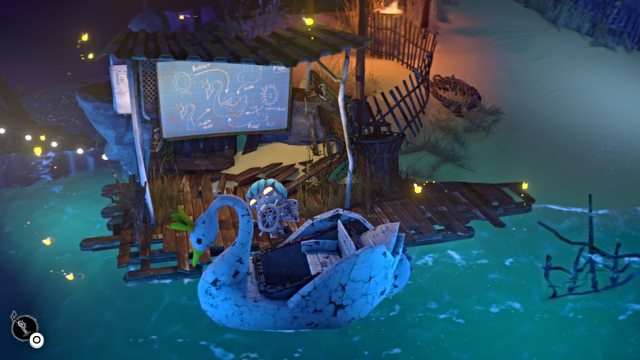
Head down to the beach and place the Rudder in the swan boat. The last piece you need is the Pedal. Usher both Gloomy and Nena to the stairs past the lighthouse gear room on the right.

In this section, have Nena stay on the wooden platform above and send Gloomy down to the beach underneath it. Your goal here is to have Gloomy run left under the walkway to grab the Pedal at the far end and escape safely.

Position Gloomy as close to the Pedal as possible. Next, have Nena flip the light switch above, which will turn off the lights, move them left, and then turn them back on.
While they’re off and moving, have Gloomy run and grab the Pedal, then wait safely at the far end.
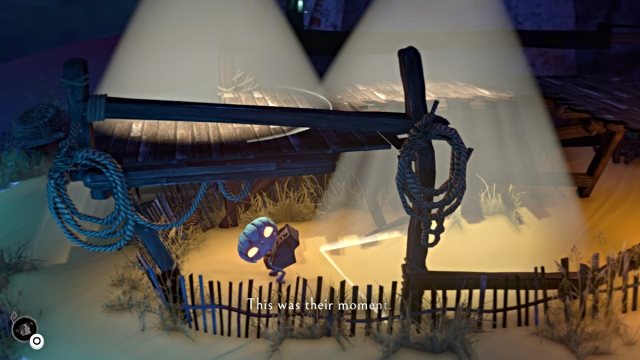
When you’re ready, have Nena flip the light switch back, and then have Gloomy make a break for it to safety. With that done, have Gloomy take the Pedal back to the swan boat.
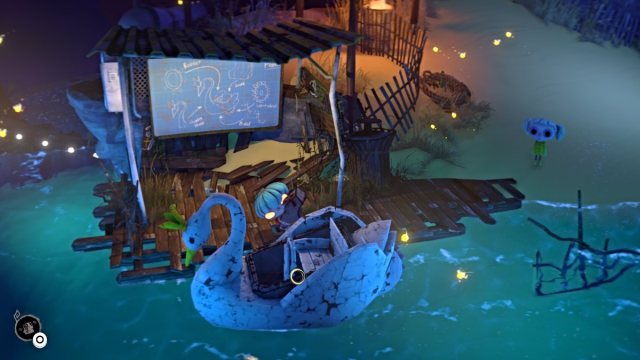
Once both he and Nena are there, place the Pedal in the boat, then step into the firefly circle. A cutscene will play and the chapter will end.
Chapter 10 – Shimmers of Hope
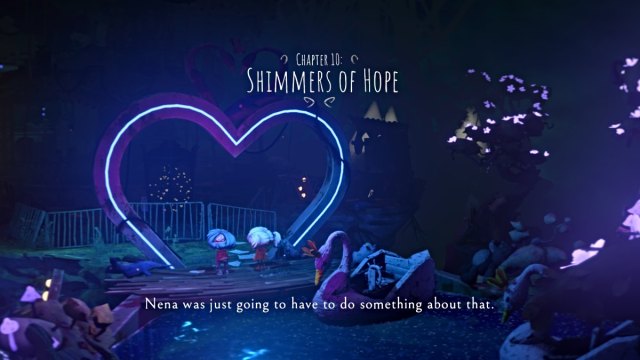
After being chased by the Priest to the carnival, Gloomy and Nena need to find a way to free the caged fireflies.

Start with Nena, and follow the path ahead and to the left until you find a gap jump that leads to the caged fireflies. Jump across it, then head left onto the carousel.
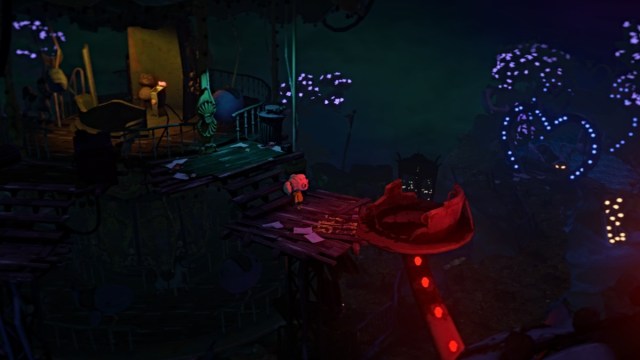
Go up to the second level of it via the ladder, then find the spot where you can cross to a teacup seat on the teapot ride. Once Nena is on it, the seat will lower to the ground level. Switch to Gloomy and run to Nena’s position.
Use the teacup seat to cross to the other side of the area, and then look for a broken teacup with a zombie inside it.
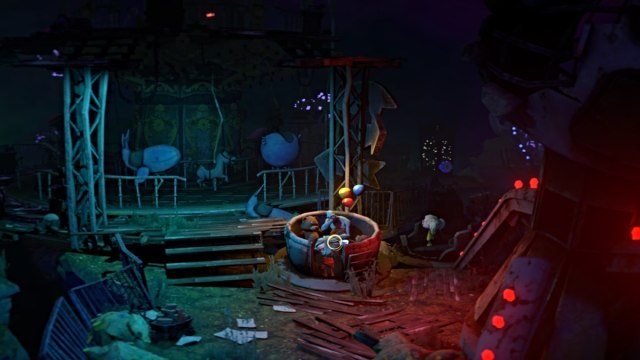
Grab the Blue Key that’s also in there, and then run up and across the carousel to the other side, where the firefly cage is.

Use the key on the cage to free the fireflies, and this will make the entire carnival come to life. The lever to turn the carousel also becomes accessible, and you’ll need Gloomy for that.
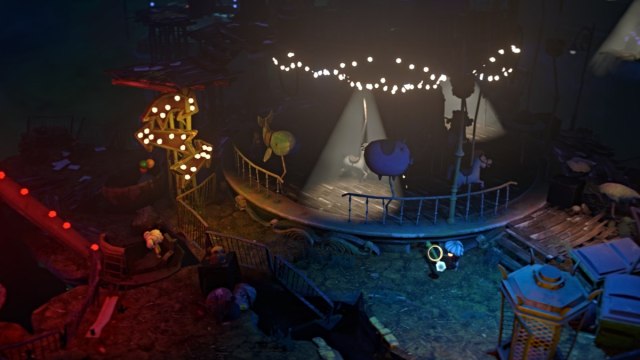
Run over to the lever, and push it to the right until you get access to a nearby area where a power canister is (with a zombie guarding it).
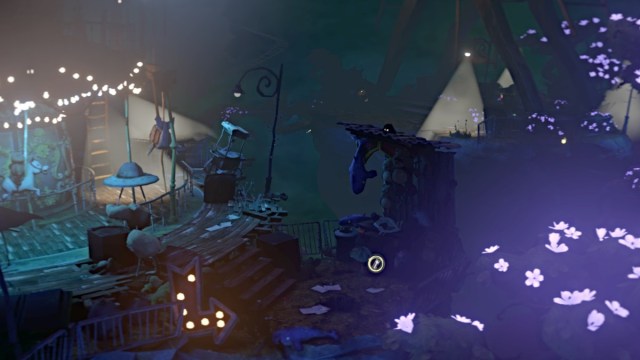
Run over there as Gloomy and grab the canister, then step back onto the carousel in a safe spot. Switch to Nena, and run across the carousel towards Gloomy.

Near where he’s standing, go over to a broken display and recover the chapter’s Memento collectible. Next, go to Gloomy and take the power canister from him. Head up the nearby ladder to the carousel’s second level.
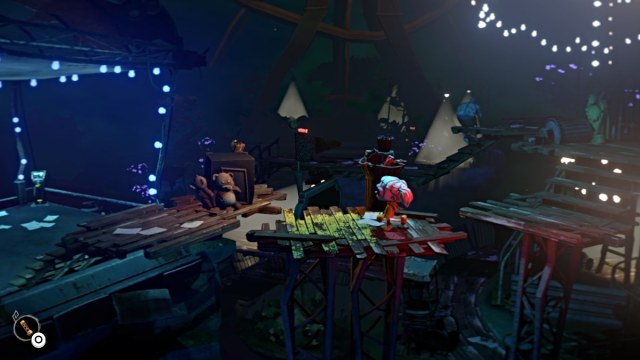
Run around the outside of the center area, until you find a pathway leading to an elevated platform area with bumper cars. Place the canister into the control panel in the corner of that area.
This will power up the lights on the ferris wheel in the distance. Now, still as Nena, backtrack onto the carousel and go to the control panel in the center. Make sure that Gloomy is still on the carousel.
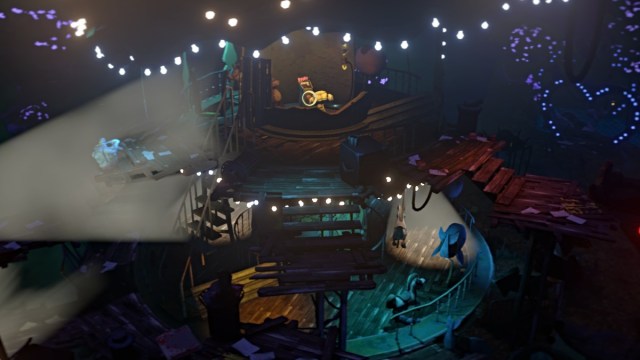
Press the button on the control panel, and this will temporarily switch off the light below, allowing Gloomy to pass through. Switch to Gloomy, and quickly do so. Head for the area where the zombie in the broken teacup is (where you got the Blue Key earlier).
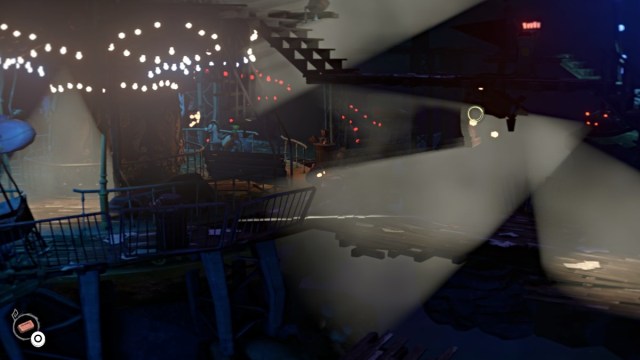
Pick up a brick from the nearby brick pile, then run back onto the carousel and continue left. Soon you’ll come to a pathway blocked by spotlights. Throw the brick at the first light to divert it away.
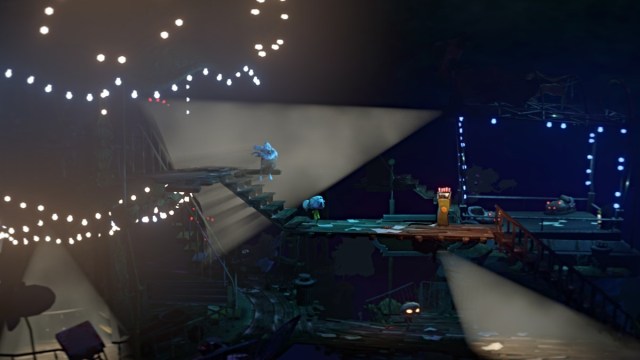
Switch to Nena, and have her run down the stairway path straight ahead from the center, where a zombie is shielding itself from a spotlight. Cross the pathway and hit the button on the control panel ahead.
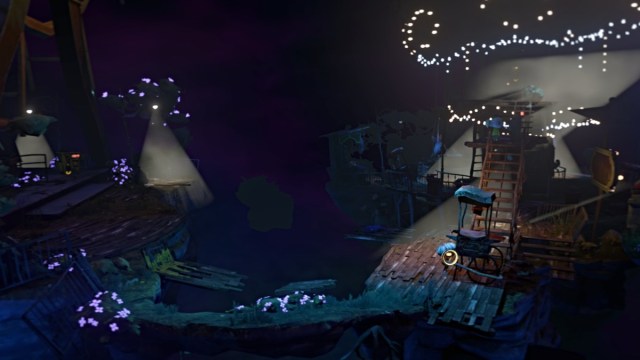
This will temporarily turn off the second light for Gloomy, so switch to him and run ahead. Pull the popcorn machine away from the stairs so Nena can come down.
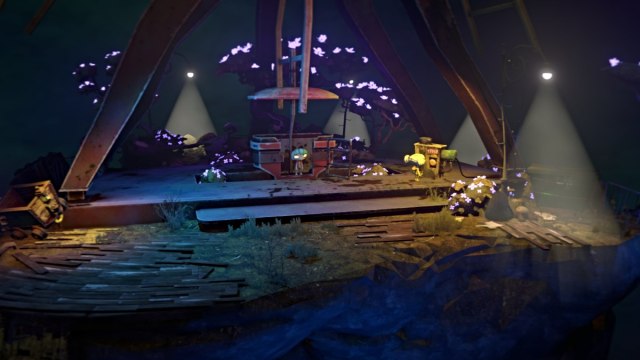
Now usher them both to the ferris wheel. Have Gloomy enter the open cabin, and then have Nena press the button nearby to turn the wheel until he reaches the elevated area above.
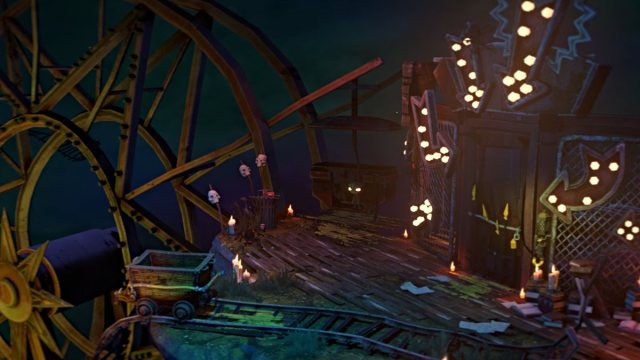
Step off the ferris wheel and head over to the cart hanging off the edge to the left. Push it, and the cart will plummet to the ground below, release a lantern for Nena.
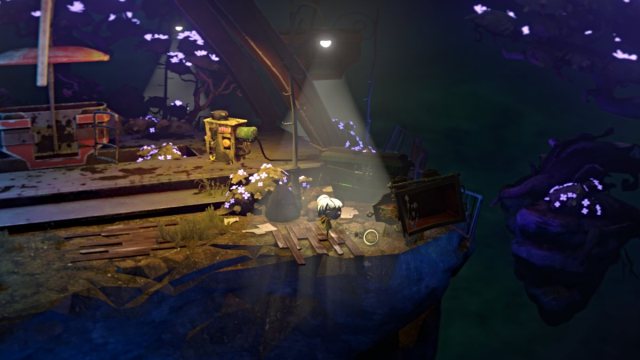
Switch to Nena, and go pick up the lantern.

Run left to the cart on the other side, and beckon the fireflies when the prompt appears. Next, go over to the ferris wheel control panel and place the fireflies inside its module.
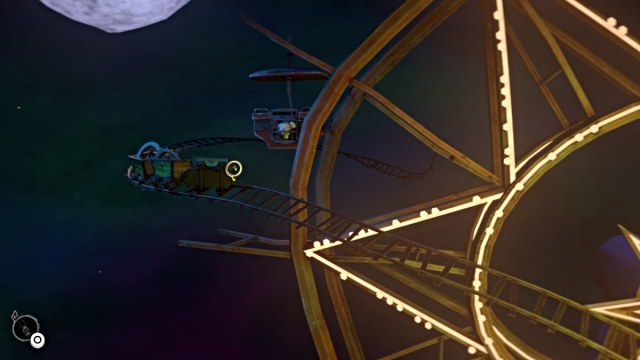
Step into the open cabin and press your interact button to ride the ferris wheel. At the first stop, beckon the next set of fireflies into your lantern (seen above).
Wait until the ferris wheel brings you to the elevated area where Gloomy is, and then step off. Bring the lantern to the locked door nearby, and use the fireflies to open it.
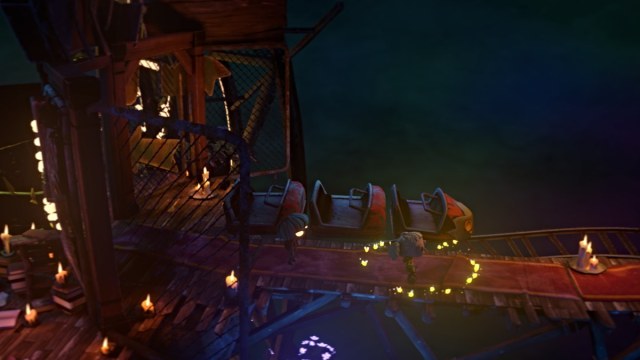
Usher Nena and Gloomy to the firefly circle beyond the door, and a cutscene will play. The chapter then concludes.
Chapter 11 – Chilled to the Bone
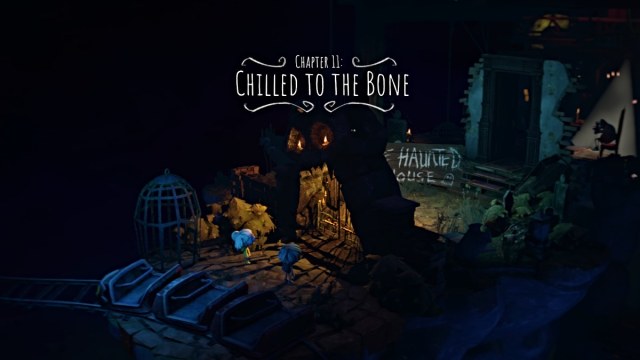
Start by having Gloomy open the front gate to the house, then head inside. Go into the room on the left, and approach the ledge.
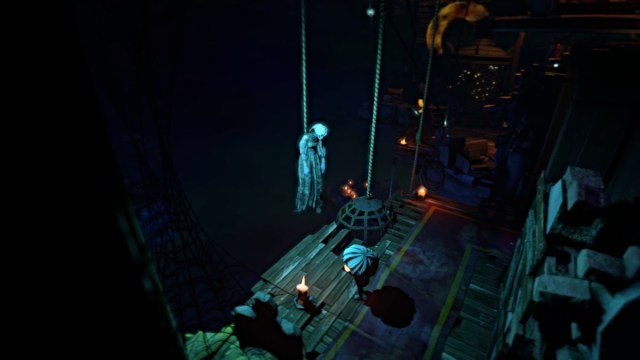
Now switch to Nena and head inside. Jump across the gap straight ahead, then turn right.

Follow the path to a hallway with a “handsy” portrait (seen above). Head down the hallway to the next room, where you’ll find two control panels.
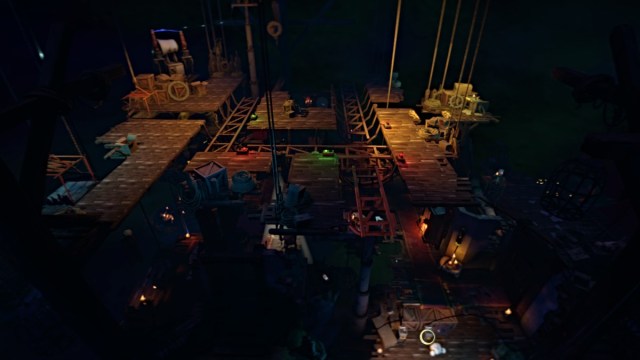
The camera will also zoom out to the top floor of the house, where a large puzzle is situated. Note the red and green lights indicated at certain junctions where pieces can be turned and moved.
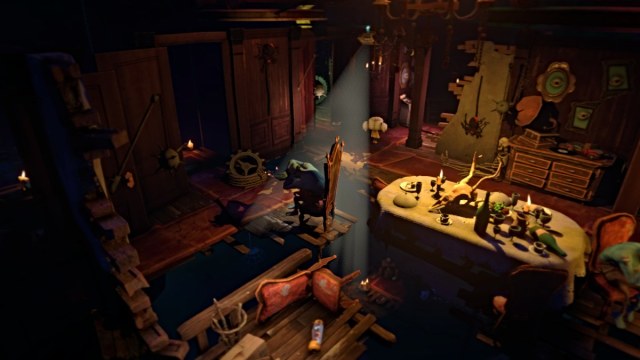
For now, backtrack to the foyer of the house, and this time head straight from the gap and then turn left to the room nearby.
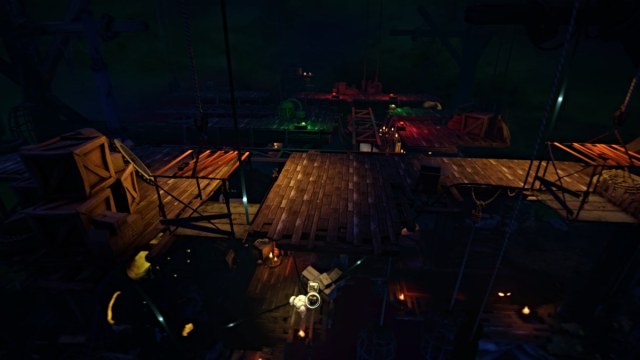
In here, you’ll find another cage of fireflies, but you can’t free them yet. For now, go over to the control panel, and the camera will tilt up to the top floor. Press the button, and two elevators will lower.

Switch to Gloomy, and get onto the nearby elevator. Now switch back to Nena and press the control panel button again. This brings Gloomy up to the top floor.
Switch back to Gloomy and have him run over to the other elevator and get on. As Nena, press the button again to lower him down.
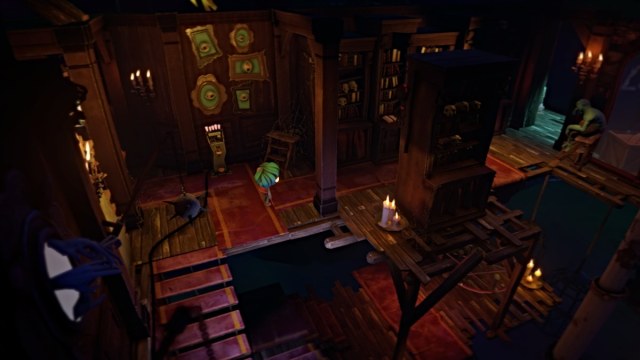
As Gloomy, leave the room and then turn left to go to the room straight ahead. Run across the walkway through the door at the far end.
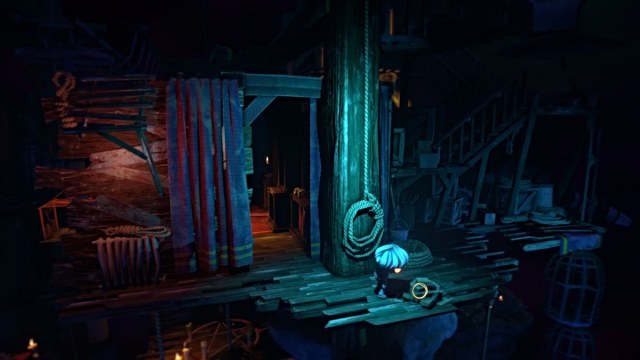
Look for a pile of bricks near a ledge ahead, and go grab a brick from that pile. Now, backtrack to the room Nena’s in, and step back onto the elevator.
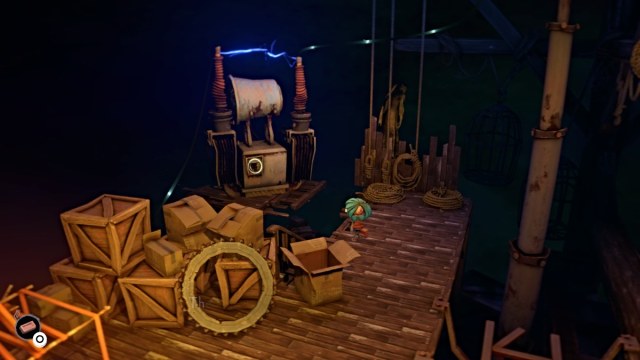
Have Nena send Gloomy back up to the top floor, and then switch to Gloomy. Run over to the large machine in the back corner and toss the brick at it.

This will lower a bridge to Gloomy’s level that can be moved back and forth. Pull the bridge down as far as possible, and then cross it to the other side.
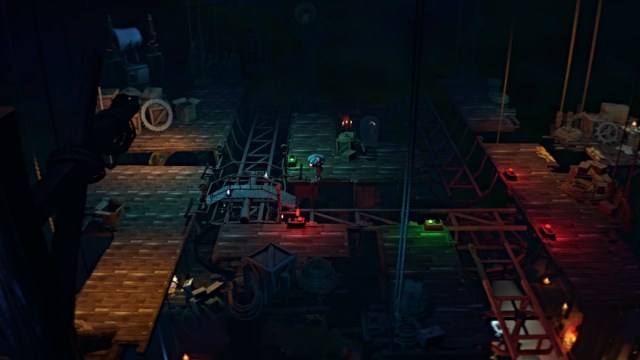
Now pull the bridge down further from this side, as far as you can. Once done, switch to Nena. Have her backtrack to the room across the house where the two control panels are.
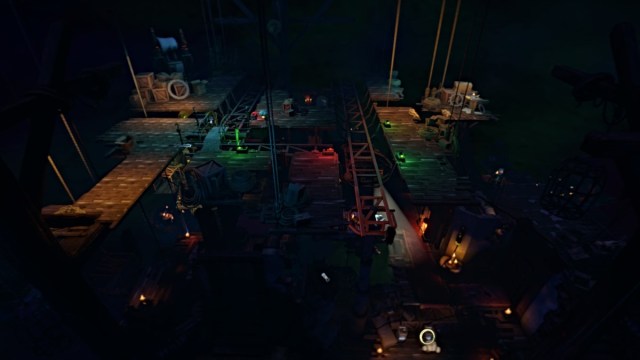
Once there, hit the button on the right panel once to turn the bridge (as seen above). Now switch to Gloomy, and have him pull the bridge right across the track.
Switch to Nena, and press the button again to turn the tracks. Once done, switch to Gloomy and have him push the bridge further to the right. Next, switch to Nena and have her press the button again to turn the bridge horizontal.
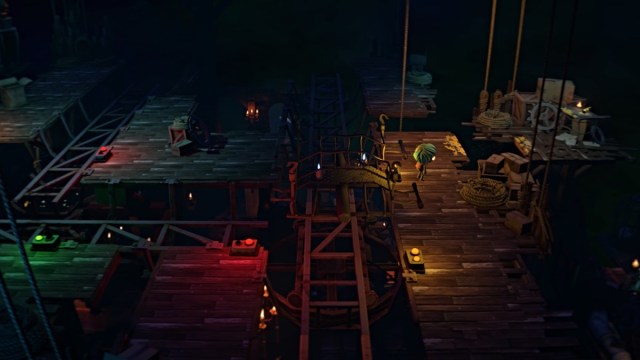
As Gloomy, pull the bridge north until the lights turn yellow, then cross the bridge to the far side (seen above). Now pull the bridge south as far as possible, and then have Gloomy step onto it.

Switch to Nena and press the left control panel to lower the bridge into the foyer. As Gloomy, step off and grab the power canister nearby. Then cross back over the bridge and into the foyer near the gap jump.

Switch to Nena and have her reunite with Gloomy in the foyer and take the canister. Run into the room to the right and place the canister in the control panel.
This will activate another elevator nearby. Have Nena go stand on it and ride it to the top floor.
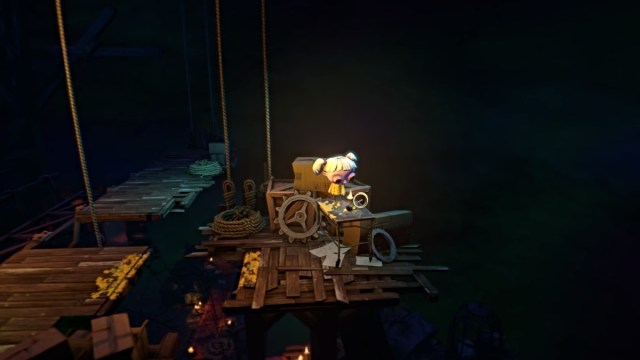
From there, jump across the gap to the right, and then hop onto the crate to retrieve a firefly lantern. Return to the elevator and ride it back down to the main floor.
Have Nena backtrack to the room with the two control panels, then switch to Gloomy. Have him ride the same elevator up to the top this time. Run south the edge of the platform, then switch to Nena.
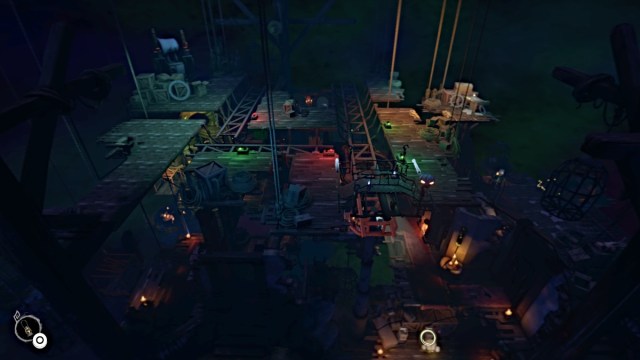
Use the left control panel to send the bridge back up to Gloomy. Now have Gloomy pull the bridge all the way north, and use the elevator to cross and pull it to the far end. Once that’s done, step onto the bridge.

Switch to Nena, and press the left switch to send Gloomy down with the bridge. Switch to Gloomy, and step off to follow the right path.
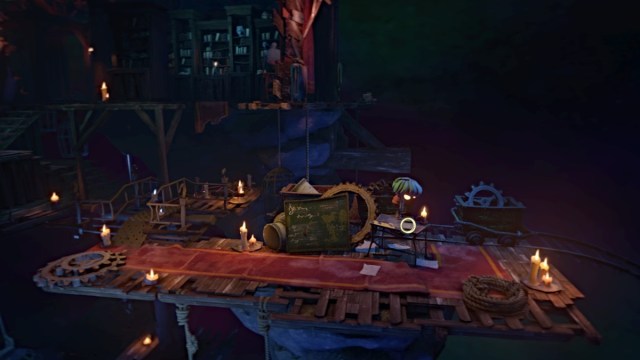
Climb onto the table and pick up the chapter’s Memento collectible. Jump off and continue right to the cart on the tracks. Push it, and this unlocks the Good Riddance trophy/achievement.
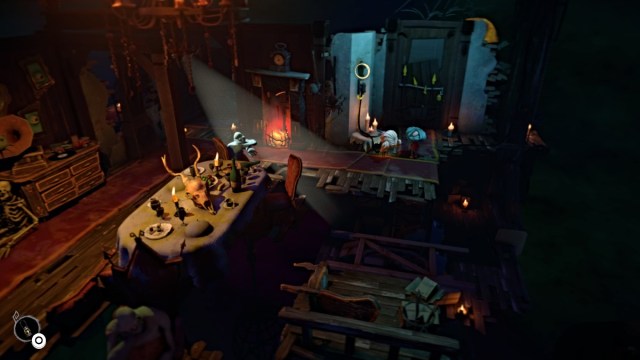
Now use the bridge to cross to the other side and return to the foyer. Switch to Nena and have her return to the foyer as well, but run over to the right side, where a locked door is.
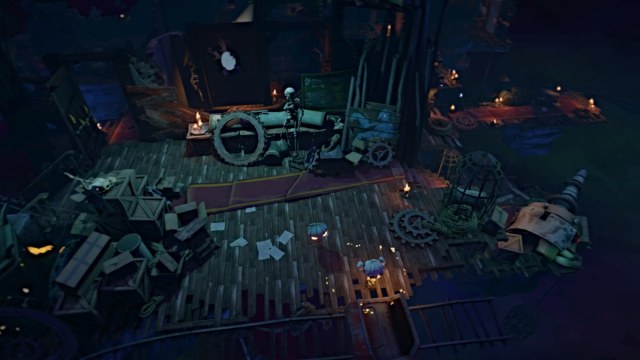
Use the firefly lantern to unlock it, and head through where the chapter’s firefly circle is. Have Gloomy join her, and the chapter will conclude.
Chapter 12 – The Salvaged Sanctum
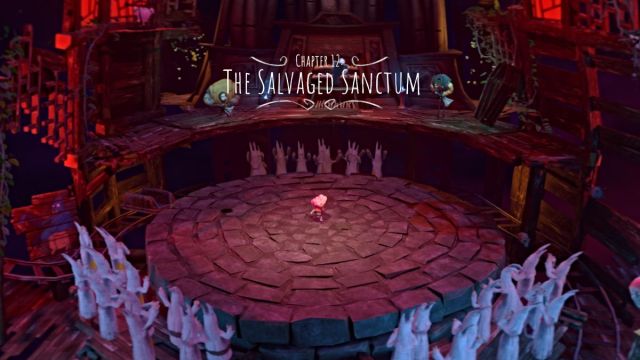
This chapter contains the game’s one and only boss encounter with the Priest, who captures his niece Nena and traps her in a cage. This sends Gloomy into a rage, and it’s up to you to fend off the Priest and his cultist minions.
The fight consists of a few phases with several moving parts, so being nimble and vigilant is key. Boxes will fall into the arena that you then want to kick toward the Priest.
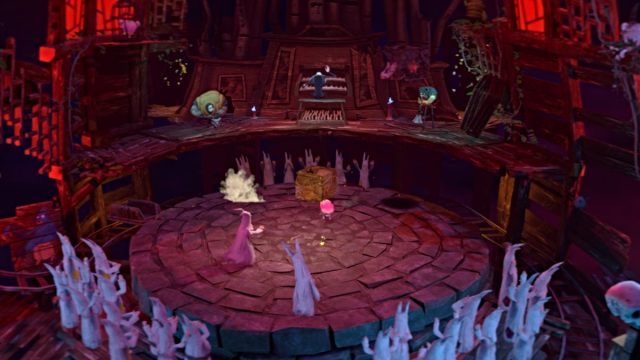
Meanwhile, his minions will attempt to grab Gloomy while the burly henchman above will occasionally fire nets toward you. Essentially, you’ll want to keep moving as much as possible while kicking away all these threats.

Once you do enough damage to the Priest, he’ll reveal his grand weapon and open fire on Gloomy. This particular attack isn’t survivable, so just have Gloomy succumb to it, and a long cutscene will play.
Once it’s over, the chapter will conclude.
Chapter 13 – Fading Hope
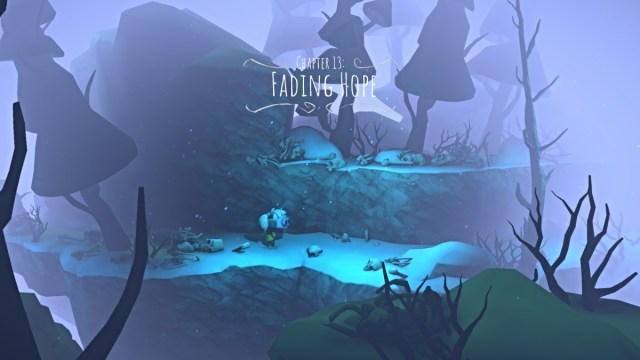
The start of this chapter is fairly straightforward. As Nena, follow the linear path up the mountain.

Make sure to duck into warm, lit areas along the way when cold winds blow through. Keep going until you reach an area to climb up.
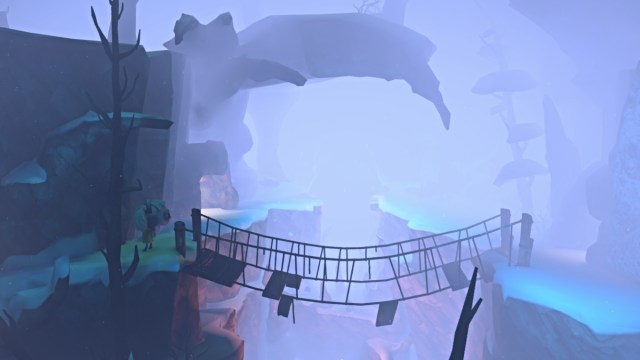
Do so, and then continue until you reach a broken bridge. Since you can’t cross it, pivot and follow the path ahead. There’s a warm spot to use nearby, so take your time while progressing.
Use the yellow gap further back to jump across, and then continue ahead. There will be another wall to climb, so scale the cliff and then head right.
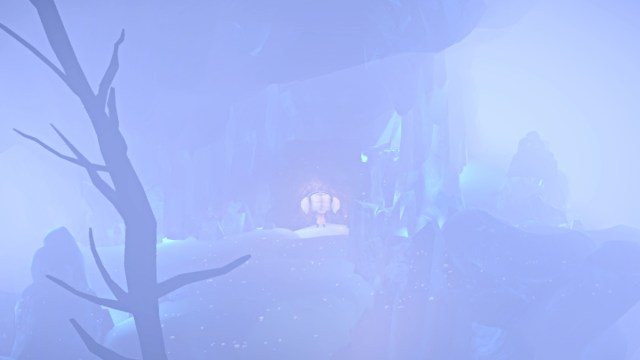
Continue along the path and remember to use the lit warm spots to hide from the winds. Keep going until you have to climb up another cliff wall.

At the top, run ahead and you’ll soon arrive at Gloomy’s grave. A cutscene plays, with Nena recovering Gloomy from the ground. With the two reunited, you can continue on.
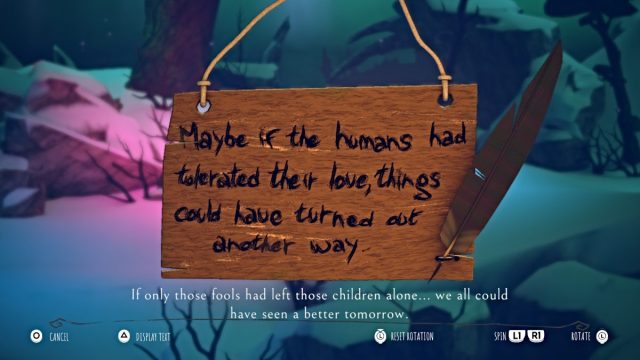
Before you do, however, examine Gloomy’s grave for this chapter’s Memento collectible.
Now usher the two down the path to the next section, where a large wall of ice is blocking the passage ahead.
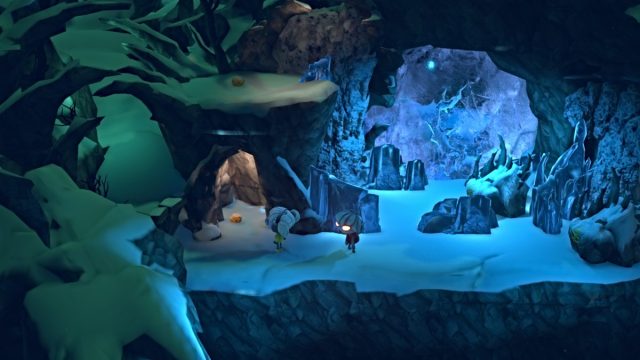
Have Gloomy move the icicles out of the way, and grab the yellow rock from inside the nook nearby. Give it to Gloomy, and have him throw it at the ice wall, which cracks it.

Now have Nena climb the accessible wall on the left to the platform above the nook, where another yellow rock is. Grab it, climb back down, and pass it to Gloomy.
Have him throw it at the ice wall, which forms more cracks.
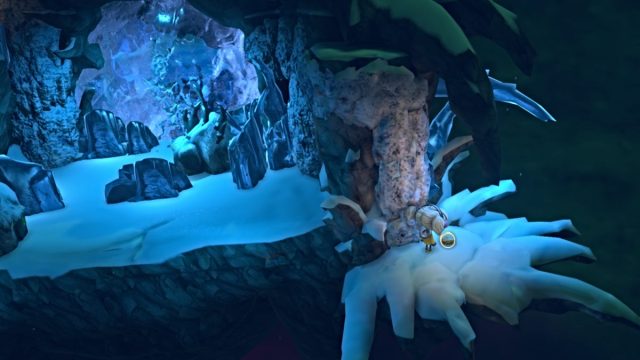
The third and final yellow rock is over to the right. Have Gloomy move the bottom icicle rock back to the left, then have Nena go over and climb the wall to the platform where the rock is.

Retrieve it, then climb back and pass the rock to Gloomy. Have him throw it at the ice wall, and this time it shatters, opening the passage ahead.
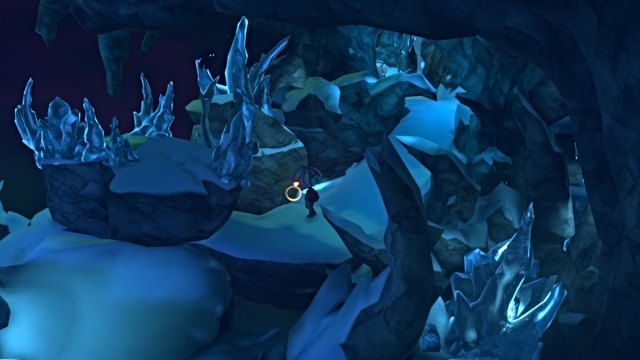
Usher them both through, and once on the other side, have Gloomy go through the passage behind the icicles. Behind there is a rock for him to push forward, so push it all the way until it forms a complete climbing path for Nena.
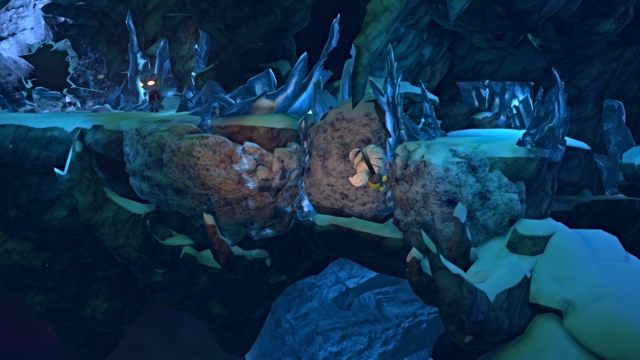
Bring him back to the front, then switch to Nena and have her climb across the cliff wall. On the other side, continue ahead and jump across the gap. A section of rock will lower, opening a path for Gloomy.
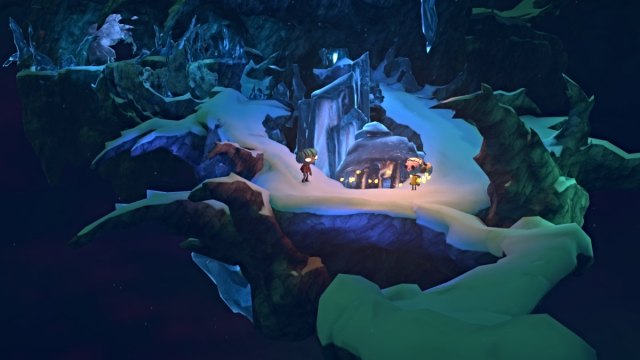
Run Nena down the slope ahead to the firefly circle, then switch to Gloomy. Have him follow a similar path down and join with Nena. The chapter then concludes.
Chapter 14 – The Last Glimmer
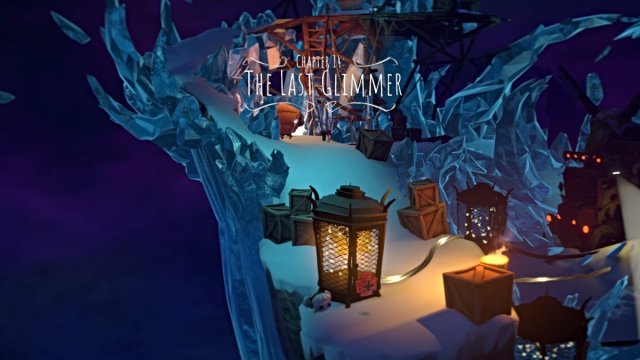
This is the final chapter of the game, and the Priest emerges for a final confrontation with Nena and Gloomy. With Gloomy ensnared in a light trap, Nena will need to find a solution.
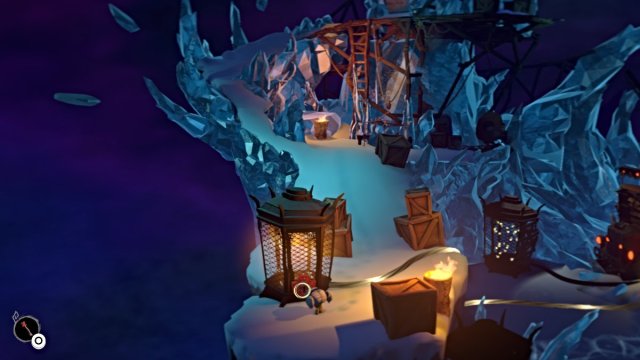
Start by having Nena sneak up on the burly henchman with a Red Key on his back. Grab it when the opportunity arises, then use it on the nearby firefly cage with a red padlock.
This will free a set of fireflies, depleting some of the Priest’s power. In a rage, he turns to Gloomy, and another pseudo-boss encounter begins with him.
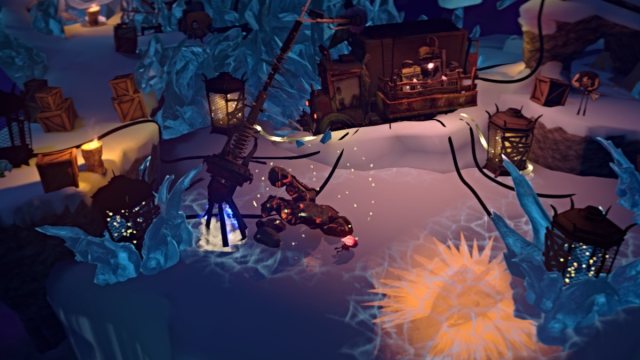
While you’re not attacking the Priest directly this time, you need to avoid the attacks from him and his henchman (similar to Chapter 12). While doing so, go for the two boarded-up firefly cages and hit them until the fireflies are freed from each one.
The Priest will then bring out his laser cannon from the previous encounter, pinning Gloomy behind a glacier. Now Nena needs to find a way to help.
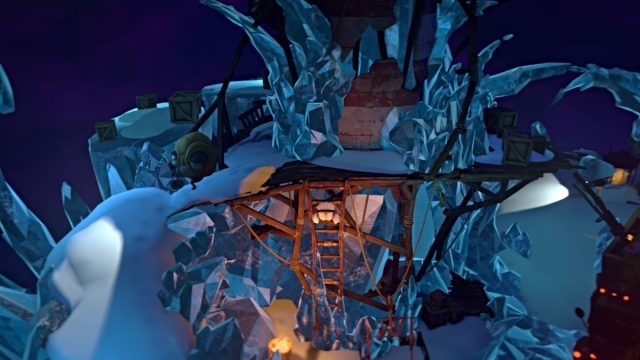
Have her run up the slope ahead to the ruined tower and follow the walkway around it. Be careful of the henchman patrolling there.
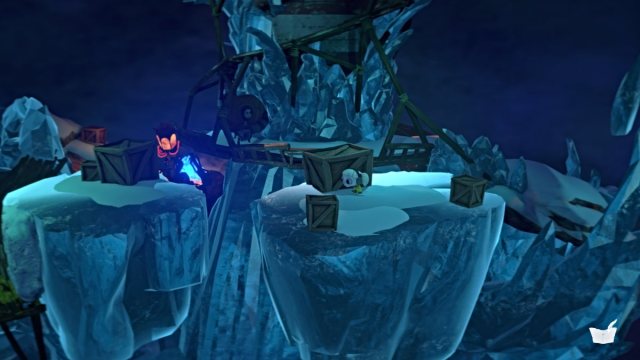
Once you reach the back side of the tower, jump across the gap to the snowy platforms behind it. Use the boxes for cover from the henchman when needed.
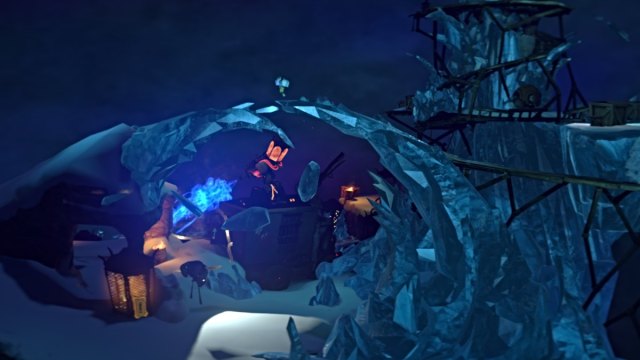
Continue left until you reach a wall to climb down, then run across the wooden catwalk onto the ice ahead. Jump across the gap to the other side and head down the slope.
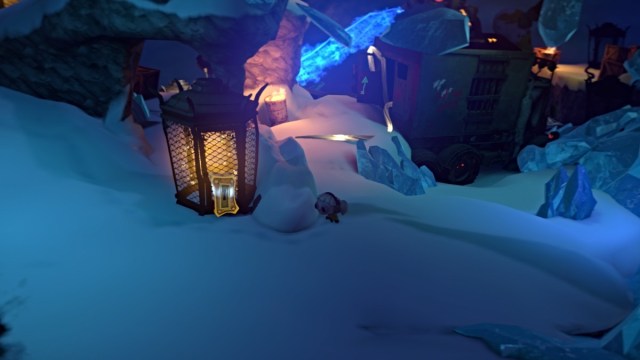
Notice the two firefly cages here have different padlocks, meaning you’ll need two keys for them. The henchman patrolling down here has one of them on his back. The other is on the back of the door of the Priest’s van.
Sneak over and grab the key on the door first. Go use it to free the fireflies from the cage on the slope. Next, sneak up behind the henchman and grab his key. Use it on the other firefly cage to free them.
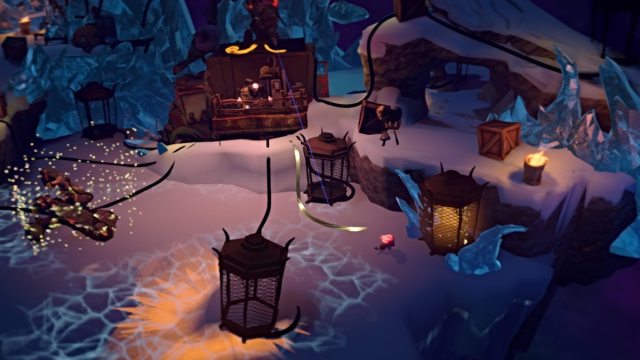
The fight then shifts back to Gloomy, and you’ll need to evade the Priest’s laser cannon and the henchmen’s nets while freeing the rest of the fireflies.

Once done, a long cutscene will play, and this concludes the story of Gloomy Eyes.
Make sure to check out more walkthroughs courtesy of Prima Games, such as Stalker 2: The Forge of Progress Walkthrough.
If you’d like to see more helpful guides, news, or features from Prima Games, please consider adding us to your preferred sources (available to users in the US or India).
