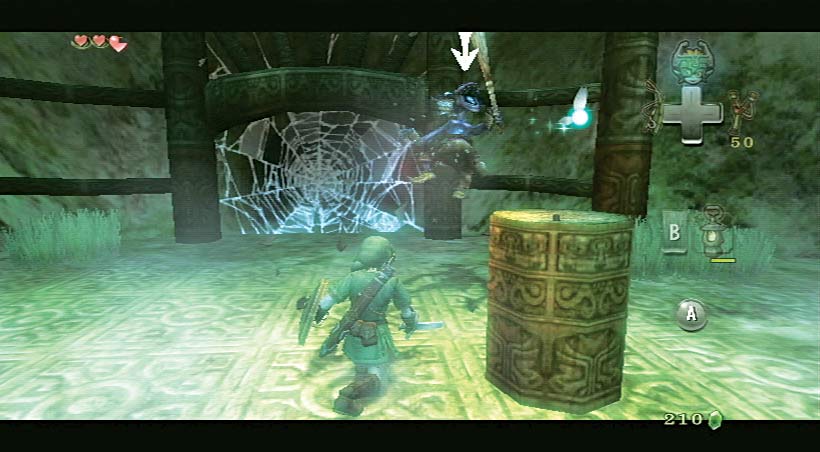
The Legend of Zelda: Twilight Princess Wii Guide Walkthrough Walkthrough
Overworld: A Wolf Howls in the Night
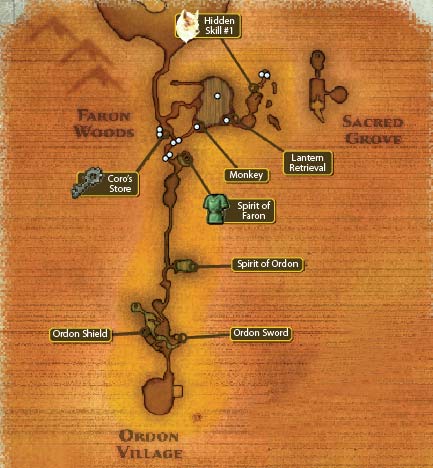
A Wolf Howls in the Twilight: Overview
After a startling transformation into a wolf, and an even stranger meeting with an impish creature of the twilight, you begin an uneasy alliance with your new rider: a shadow creature named Midna.
She rides you through a series of sewers, a tower, and up through the battlements of what appears to be Castle Hyrule, to gain an audience with the Twilight Princess.
It seems the King of Shadows has spread twilight across the realm, turning people into spirits and casting the world into permanent gloom. But a hero shall rise, learning the old ways to triumph over this menace, once the light has been restored to three provinces: Faron, Eldin, and Kakariko.
Your epic quest has only just begun, but the heroic outfit you’re about to be given has been passed down through generations….
A Link to ththe Present
Overworld Denizens
Items to Obtain
|
Ordon Shield |
Ordon Sword |
|
Vessel of Light |
Hero’s Clothes |
|
Small Key |
Lantern |
|
Hidden Skill #1 |
Task 1: Escape to the Castle Tower
Imprisoned in the sewers
You awaken in wolf form, chained to the ground. You’re in a cell, deep inside a dungeon catacomb. You look up to see a strange, cherubic figure floating near you. You must be obedient!
After some teasing, she severs the chain link and makes you a deal. If you can reach her, she’ll tell you what the deal is!
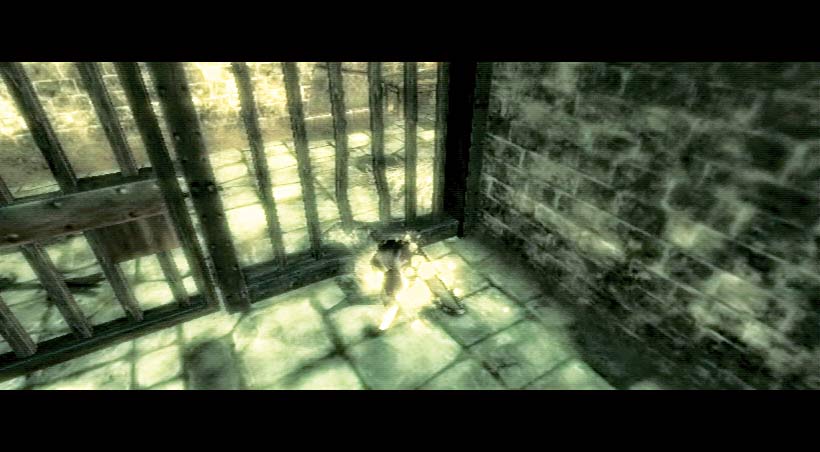
The weird little imp has a giant pink arm flailing out of her helm, and if you talk to her, she hints there’s a hole you can squeeze through.
It’s in the front-right area of the cell, blocked by a crumbling crate. Move to this area, and execute a spin attack. This occurs with your tail now, instead of a sword! Then press down to dig under the bent bars, and scramble out of your prison.
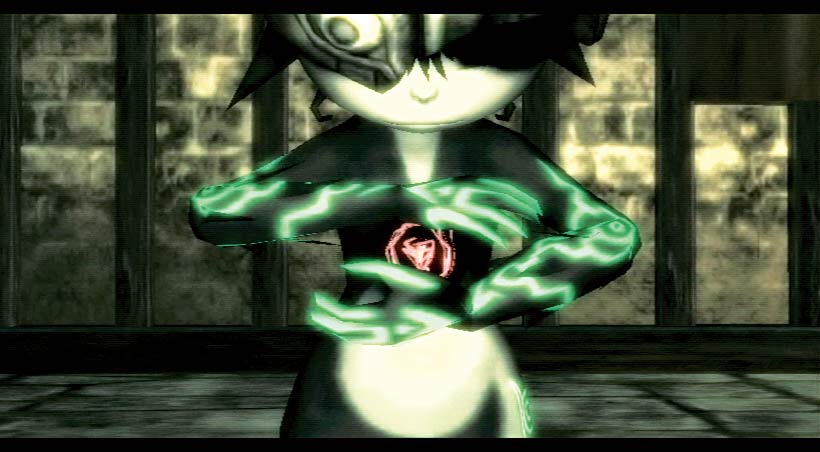
You reach the jail corridor, and Midna disappears, then sits on your back. You’re captured and must obey her! Should you need her advice, press t for information. “Are we clear?” she asks. “Good! Now get moving!”
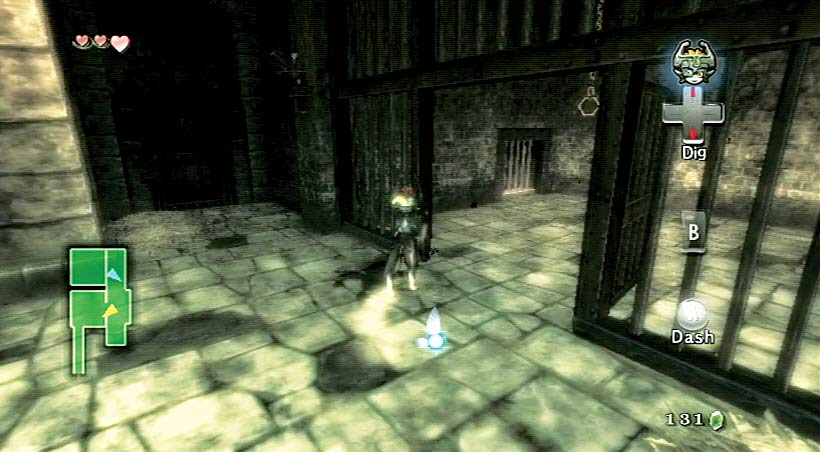
Midna has ordered you to escape, but the door at the south end of the corridor is firmly sealed. Instead, open the door to the adjacent cell, and enter.
Inside is a long chain with a pull-handle at the end. Midna requests to speak with you, telling you to press [Z].
This locks onto the chain, and you can walk around it, while Midna’s strange ethereal arm grabs and grasps. When you “bite” with A, you grab the chain and pull it down. This releases the small barred gate leading to a sewer channel. Run south, down there.
Castle Sewers
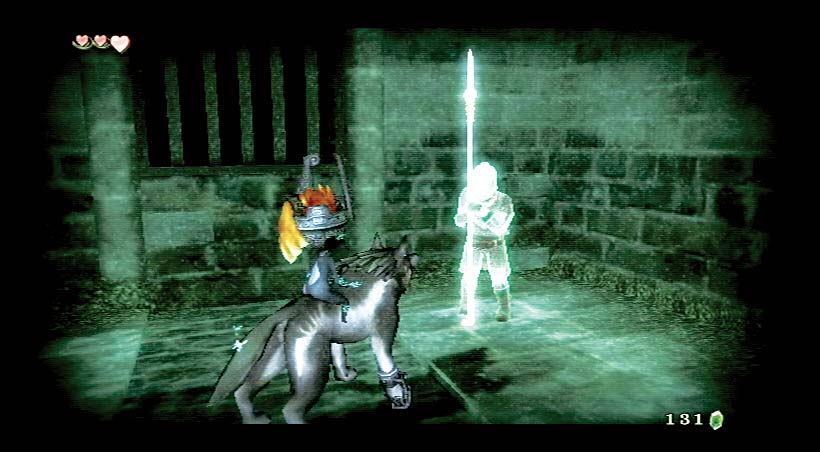
Scamper down the narrow outlet, into the main catacombs area, and stop to check the strange light in the corner of the first passage. Use either left or right to view your world through an ethereal sense.
You’ll see the spirit of a castle guard! He talks about something chasing him! This is a spirit and others are around….
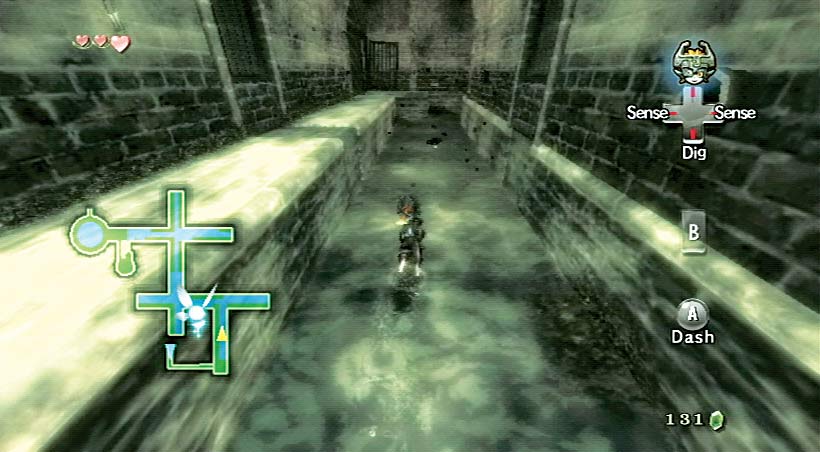
For now, turn and face north. You’re in a castle of some kind, and a sewer channel stretches off to a T-junction at the far end. Drop into the shallow water (you can run through it), and investigate the black blob moving around ahead. What is this creature?
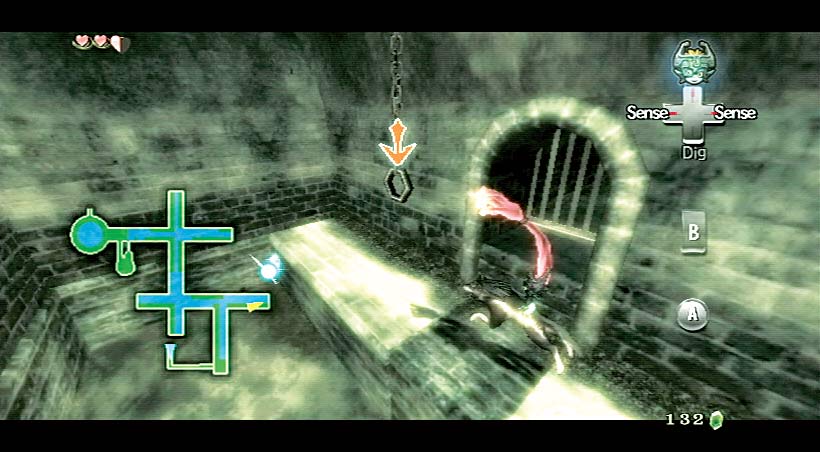
At the T-junction, make a right turn, and trot to the end of the sewer passage. Midna’s giant arm appears, indicating that there’s a chain to pull nearby. It is on the southern side of the sewer channel.
Pull it, then leap into the conduit nearest the end of this passage. The chain has opened it up, and at the far end is a small crate to destroy. Inside the crate is a blue Rupee (5)!
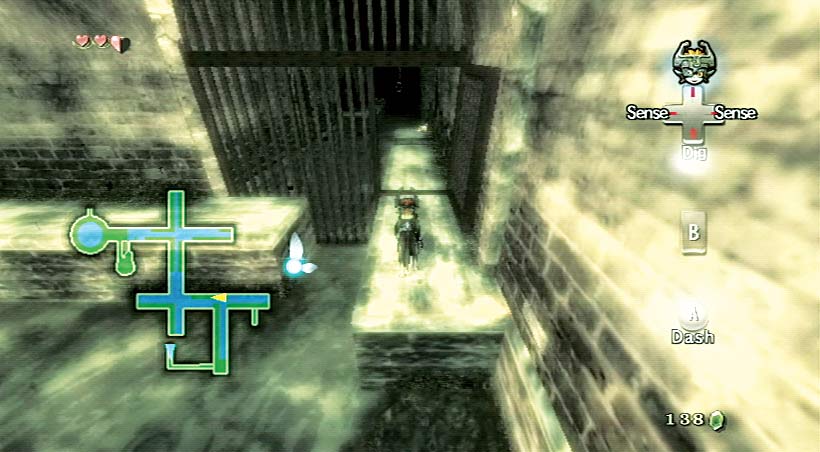
The other three arched conduit channels are sealed, so dash westward to the T-junction, and head through the open barred door. Midna speaks to you, telling you to use your attacks.
Stop at the next conduit on the north wall. Pull the chain, leap into the now-open channel, and bite the Twilit Vermin inside! Smash the skull for a Heart, then head back to the main sewer.
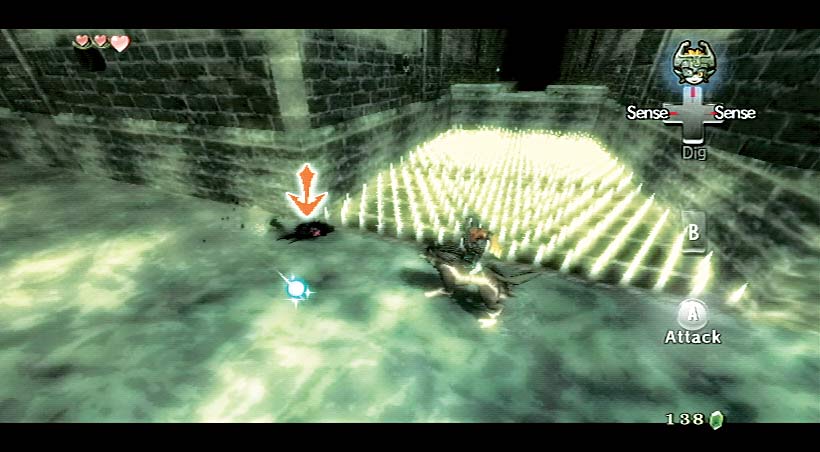
You reach a crossroads, with a nasty set of spikes on the floor to your right. Don’t stand on them! Instead, try your spin attack on a roaming Twilit Vermin in the shallow water. Then dash to the western end of the sewer area and smash a couple of skulls.
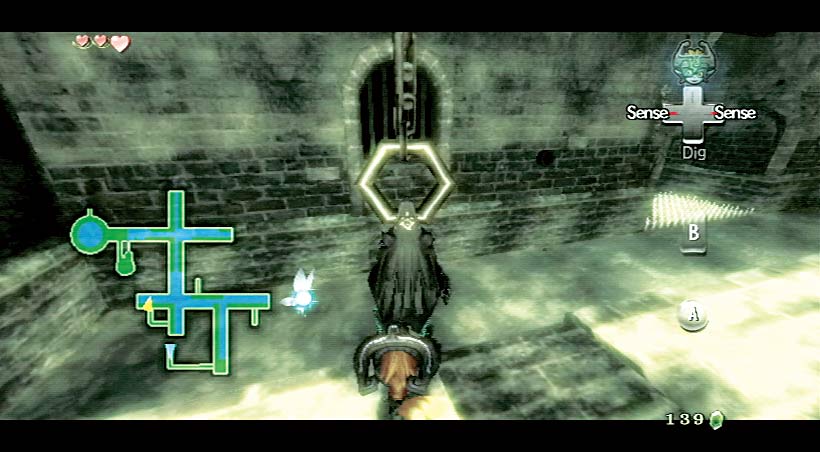
In the southwestern corner of this area is another chain to pull. It releases a Twilit Vermin, so dodge its leap, then devour it! The channel is now open, and it bends around to the east.
Jump inside, then flick your sense view on and you’ll see a patch of sparkling black earth.
This is a dig spot! There’s another around the corner. Dig up both spots for a green Rupee (1) and Heart.
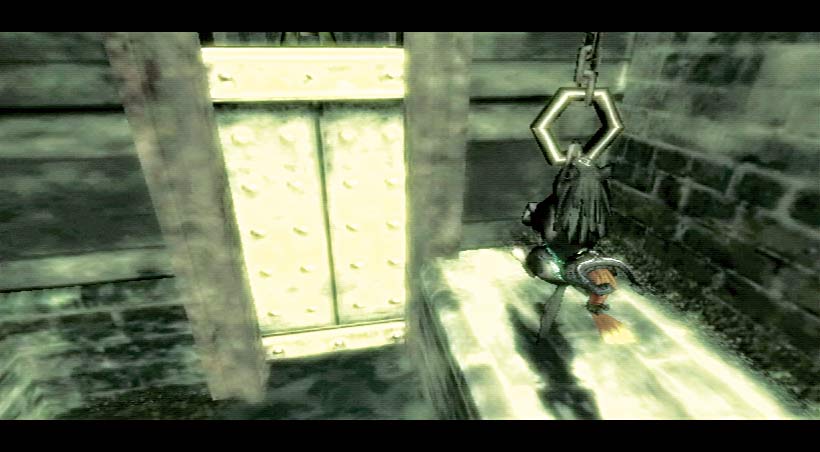
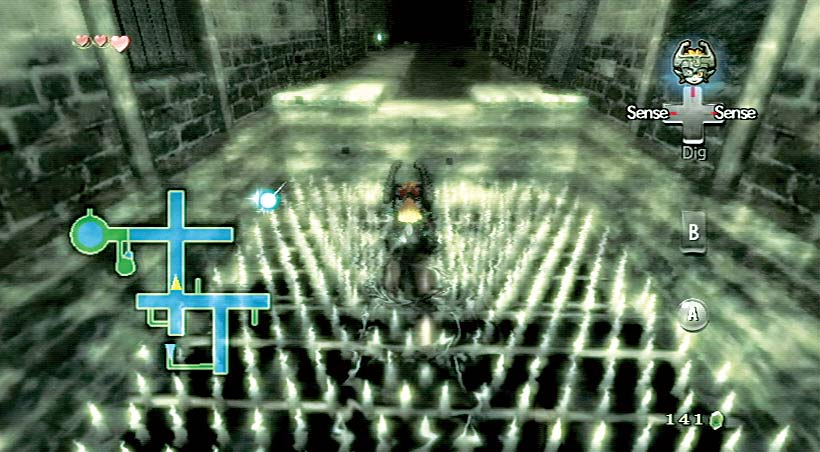
Flick your sense view back to normal and investigate the southern end of the crossroads, opposite the spiked floor. Near a skull on the right walkway is a chain. Pull it and a metal dam wall rises up, filling the sewer with water!
You can now dog-paddle northward, over the spikes, to the northern part of the sewer system. Stand on the ground and wait for a swimming Twilit Vermin to meet you, then defeat it. Remember that when you swim near a Twilit Vermin, you are defenseless.
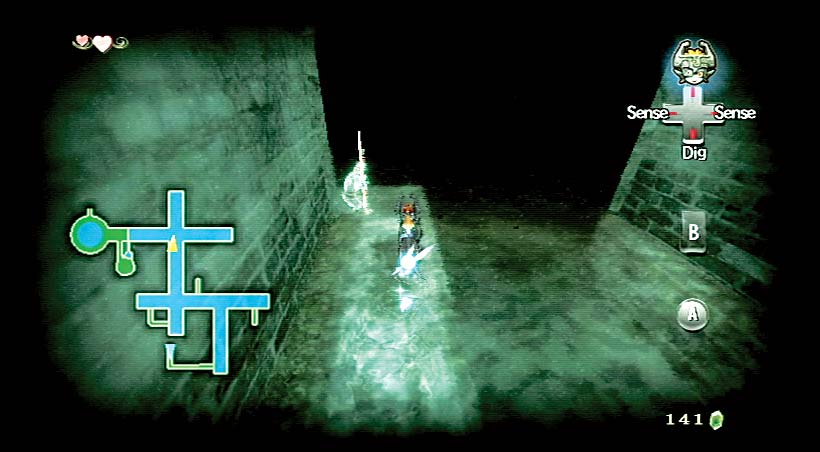
With your sense view engaged, run to the northern crossroads along the walkway to the side of the sewer, and look for the floating light. It is another guard. Now turn right at the crossroads, and pull the chain on the southern side.
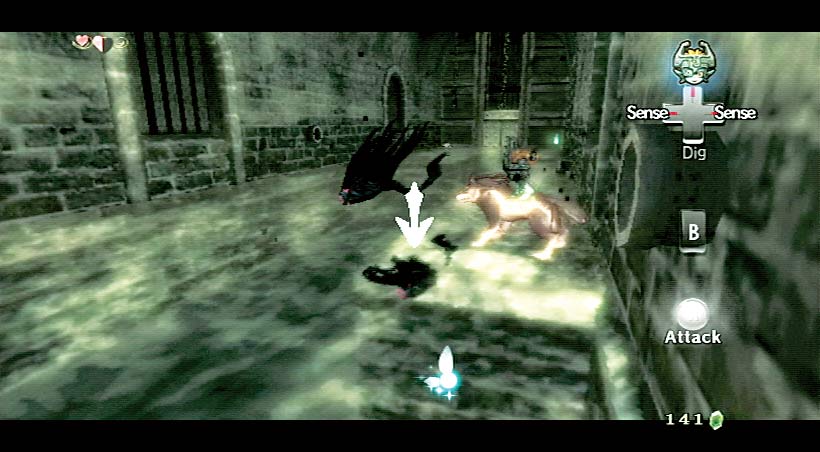
This opens a small conduit next to the chain, and two Twilit Vermin spring out! Don’t follow them into the water; either attack them from land or ignore them until later. Check the conduit for items and dig spots.
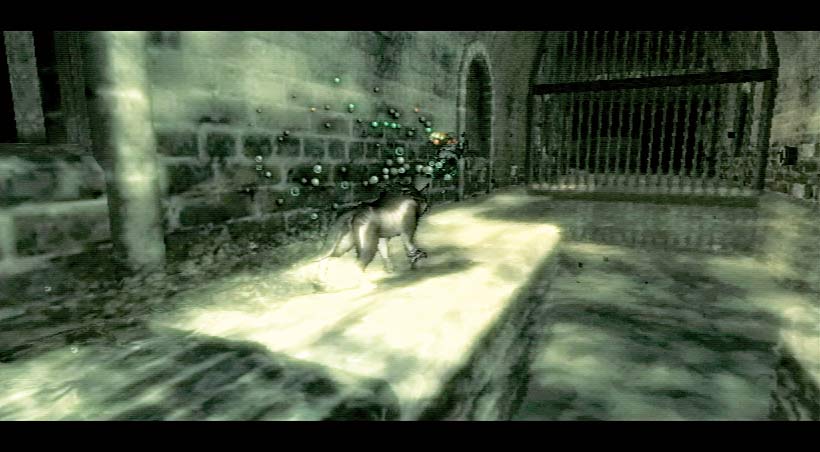
Move to the northwestern end of this sewer area and Midna departs from your back and goes through a barred fence. She wants you to follow her. There’s a small passage under the water, just below and left of the fence. You need to drain the water.
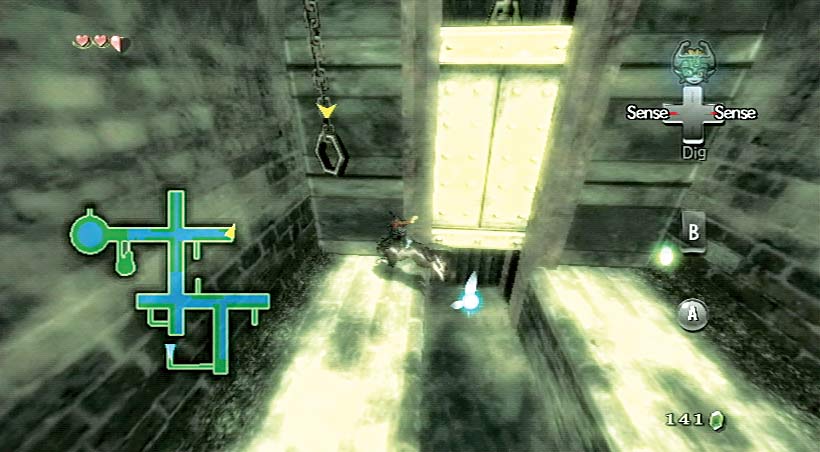
Do this by trotting all the way back to the opposite end of this east-west passage, then grabbing the chain near a second metal dam wall. It empties the water from this area. A second yank on the chain refills the area. A cowering spirit of a soldier in one corner warns you about monsters!
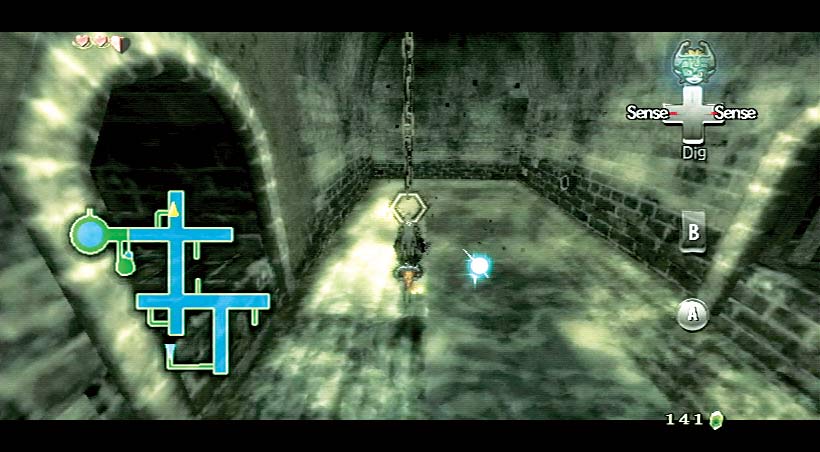
With the water level dropped, move westward, optionally pausing in the northernmost point to grab a final chain, releasing two Vermin and allowing access to a final conduit containing a crate with a Rupee inside.
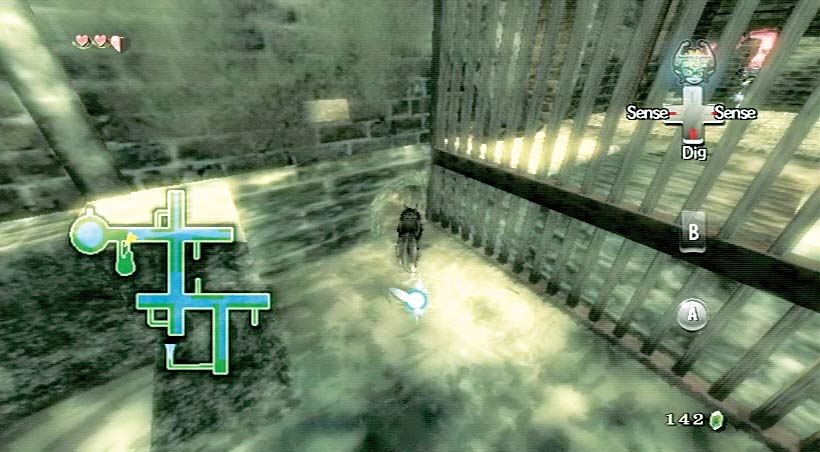
Head back to Midna and peer down to locate a narrow tunnel. Midna leaves you for a moment, so enter it and you emerge in a small earthen area leading around to Midna herself.
Use your sense view to crack more than Hearts from skulls. There are two dig spots near another cowering soldier—expect a Heart and a blue Rupee (5) for your troubles. Now bound out of the earthen ground to meet Midna, and move west.
Task 2: Gain an Audience With the Twilight Princess
Climbing the Castle Tower
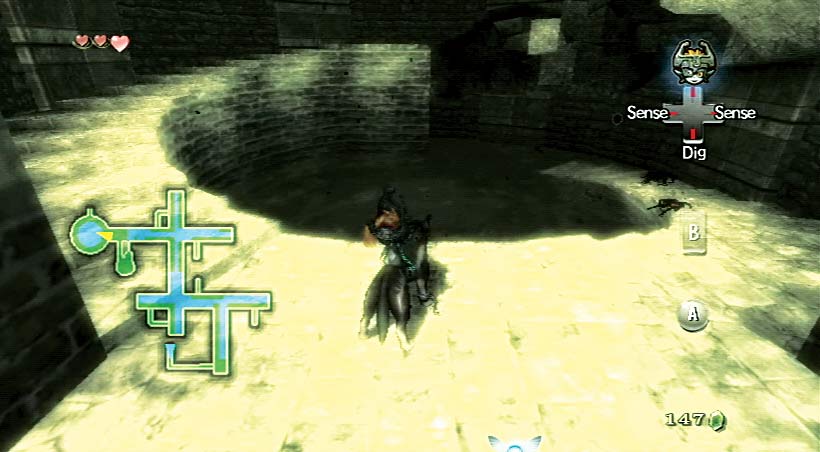
You arrive at the base of a tall tower with a winding staircase around the perimeter. First, optionally attack two Twilit Vermin splashing in the water at the tower’s base. Stay on the steps, wait until they leap on dry land, then snag them!
Follow the staircase upward, around the tower perimeter, and leap to a piece of loose masonry that collapses. Retrace your steps and stop at the edge. Midna decides to guide you. Target her with [Z], then press [A] to follow her. You leap across easily. Do this twice.
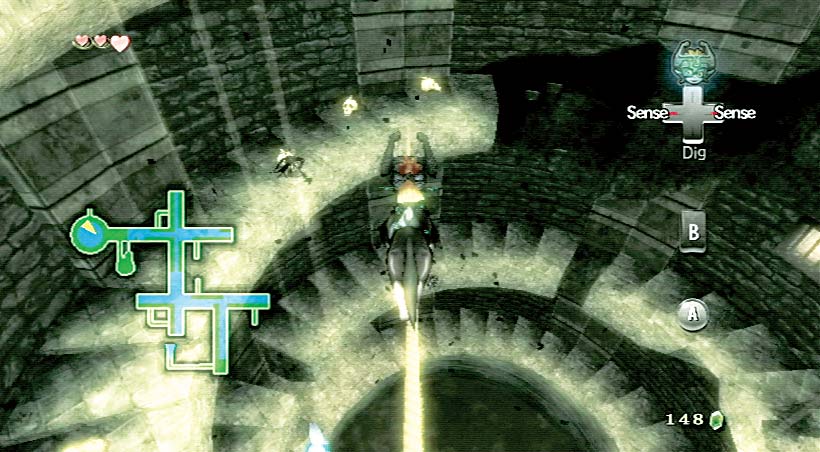
Continue to bound up the tower, leaping a couple of small gaps on your own, then using Midna again on a piece of fallen stairs to reach an upper area. Stop when you see a rope stretching out to the side.
This rope leads to the section of staircase you just avoided. Position yourself facing the rope directly, then walk onto it. Continue to the lower end of the staircase, then break the skulls and slay the Twilit Vermin.
You can target it and leap from the rope if you’re daring! Find the Rupee prize in one of the skulls, then head back up the rope, and continue to ascend to a skull with a Heart in it, and a second rope.
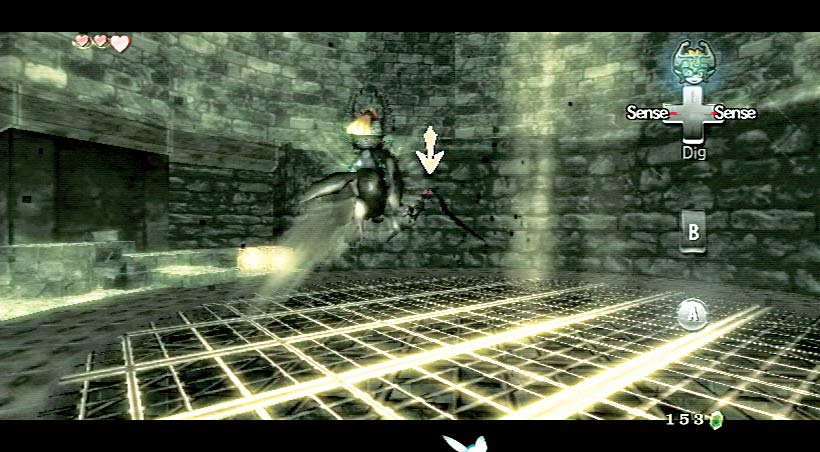
Cross the second rope, bound up and around the top of the staircase again, and use Midna to jump three long gaps until you reach the tower’s exit. Climb around the fenced stairs to the base of the tower parapet. A couple of dark, bat-like things appear!
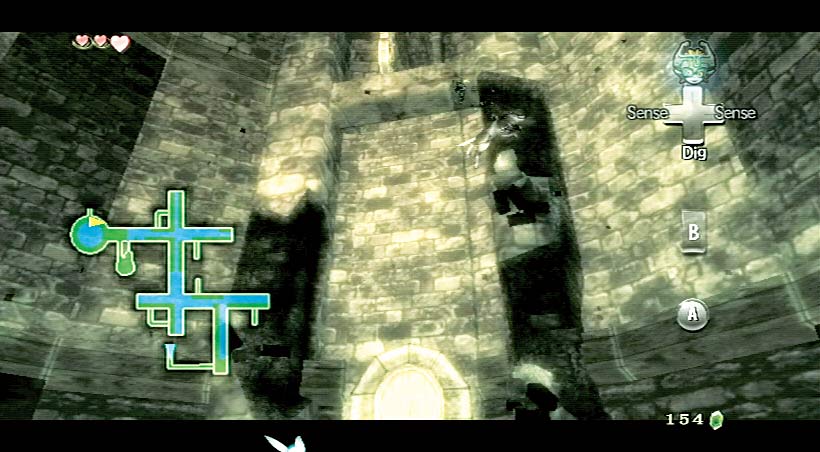
Spend some time smashing crates for Rupees and a Heart, and then inspect the door. It is firmly shut. Climb onto the rubble to the right of the door, hold [Z], and make a five-stage series of jumps up to an open door high above you.
Castle Hyrule Battlements
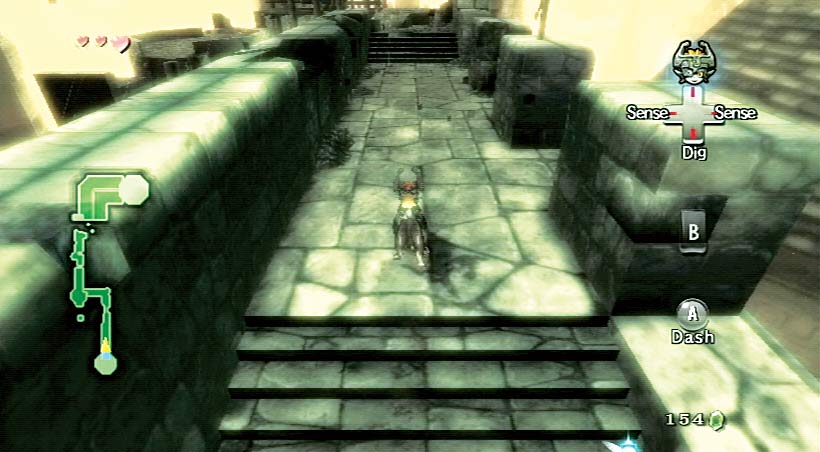
You’re traveling to another tower, where Midna wants to introduce you to someone. Bound out and down, onto the parapet. You can optionally turn south and head down the stairs to smash a skull or two for a Heart.
Head north. You can spend some time peering across to the castle’s main central keep.
When you’re done, head to the corner of the dilapidated parapet section, where a soldier spirit waits to wail about monstrous birds . He confirms where you are: Castle Hyrule!
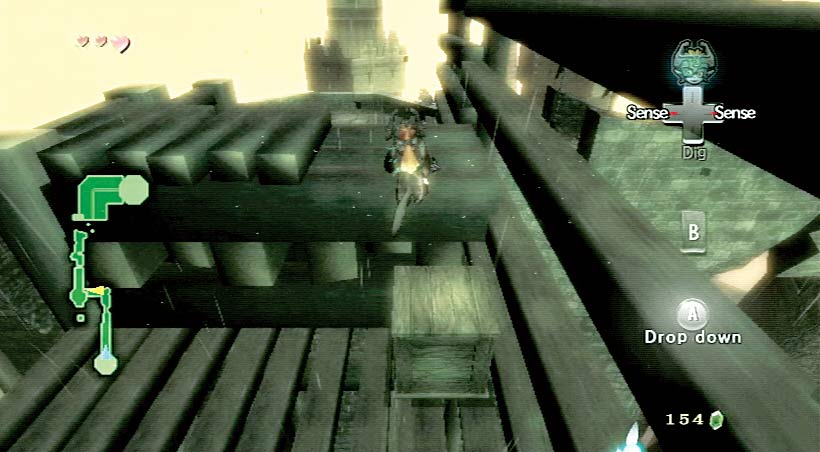
Midna urges you to the tower. Push the crate forward so it reaches a wooden blockade, then climb up and onto it, and drop onto a second stone parapet.
Drop into the hexagonal stone area, and press [Z] to target a massive, flapping monstrosity!
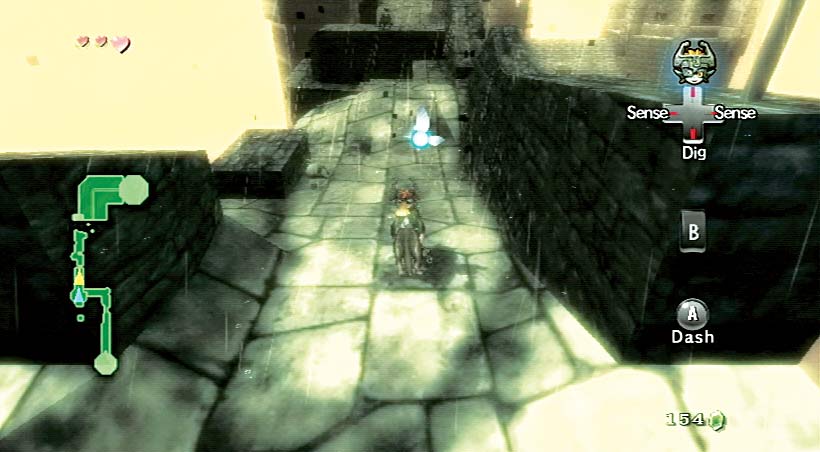
With the beast defeated, smash a skull, then ignore the small square tower with crates on it because it’s too far away to reach.
Face north and walk along another crumbling parapet until the strange music sounds the arrival of another Twilit Kargarok. Stay away from the edge of the parapet as you defeat it!
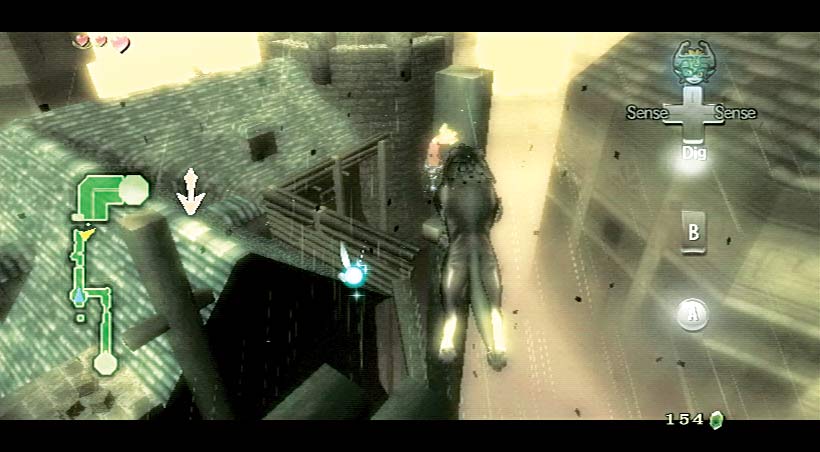
Continue to the far northern end of the parapet, where you can see another small square tower that cannot be reached because the bridge is out. Look right and smash the skull for a Heart.
Midna offers to help you leap across to the rooftop nearby. Execute a quick three-jump maneuver.
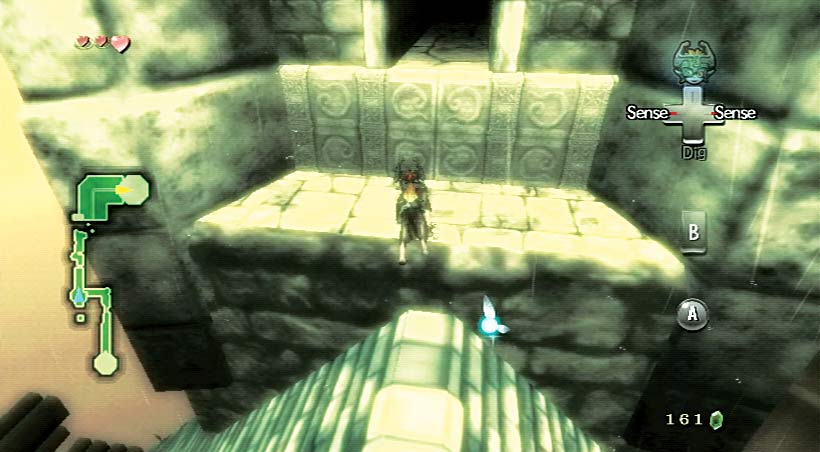
Now on a roof, canter forward, following the gable and making a turn before you’re assaulted by two Twilit Kargaroks.
Stay in the upper middle part of the roof, and leap to grab both of them. Once they’re defeated, head directly to the ledge. Climb up and into an open doorway.
Princess Zelda’s Private Quarters
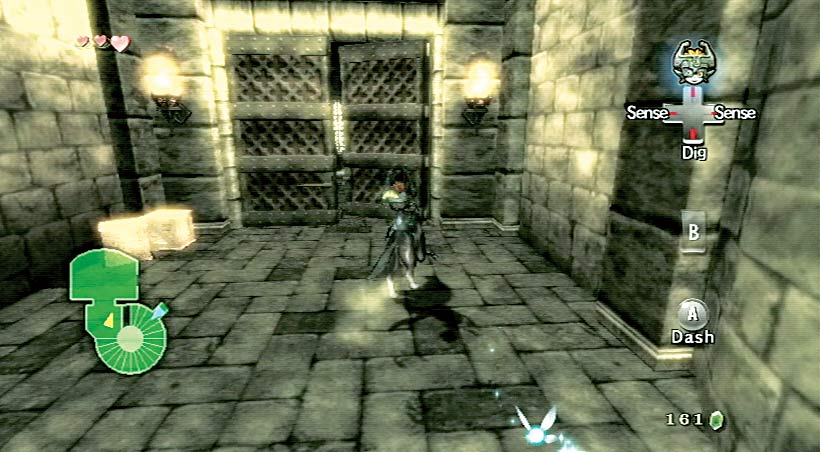
You appear in a small window halfway up a spiral staircase. Drop down and optionally head downward; there’s little here except a sealed door. Move to the top of the staircase, break open two small crates for Hearts, and nuzzle open the large arched door.
A hooded figure is watching the enveloping twilight. The figure turns. “Midna?!” she says. The figure kneels down next to you. Midna tells her she should explain what she managed to do…. “Twilight Princess!” she finishes.
The figure explains that the kingdom of Hyrule has been transformed by the king that rules the twilight. She recalls how Princess Zelda and her troops valiantly defended the throne from the creatures of shadow.
A figure strides to the throne, dressed in shadow armor and flanked by two Twilit Messengers. Princess Zelda drops her sword. The Triforce is cast in shadow. Castle Hyrule burns as the townsfolk turn to spirits.
The figure removes her hood, declaring “I am Zelda.” The princess explains that shadow beasts are looking for her. You must find a way to remove this permanent twilight!
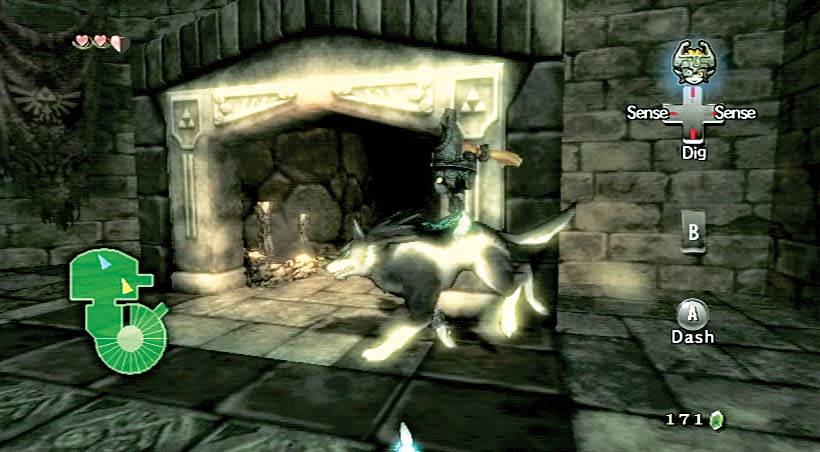
Although you can speak to Princess Zelda, she tells you to leave quickly before the guards arrive.
She doesn’t mind you climbing on her bed, checking the book on the table, or even dousing the fire with a spin attack to claim a yellow Rupee (10)! Now leave, heading down the spiral steps.
A guard is coming! Midna transports you across the castle roof, where she asks you what you want to do next. Quickly transforming into the terrified forms of Colin and Ilia, Midna supposes you’ll want to help them.
She’ll help, as long as you do exactly what she says! You land back at the Ordon Spring, still in the shape of a wolf!
Task 3: Find a Sturdy Sword and Shield
Ordon Province: Roaming in Wolf Form
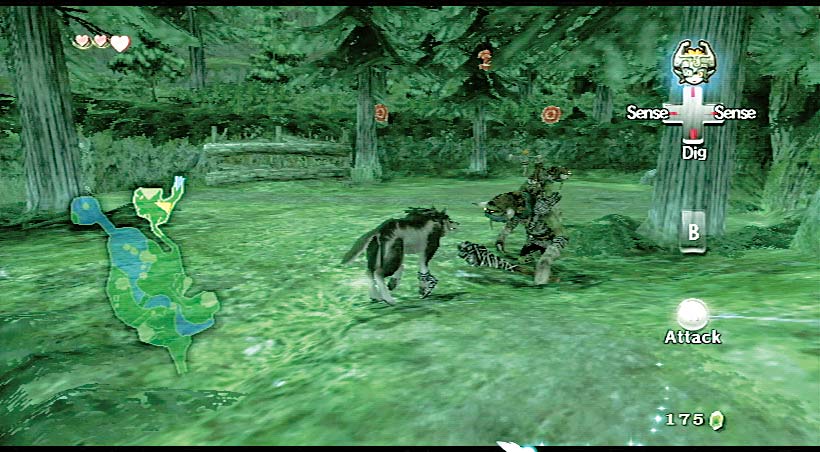
You cannot count on the help of your village friends, as you’re a fearsome furry beast, but you do have an extra sense to help you! Use it to find multiple dig spots at the springs, each containing a Heart!
Then exit via the gate. Midna appears. She wants a sword and shield that suit her. She’s very demanding! Check the dig spot near the bridge, then head south. There’s another dig spot in the clearing.
A Bulblin warrior wanders around—target and bite or spin attack it. Move to your home, and more appear!
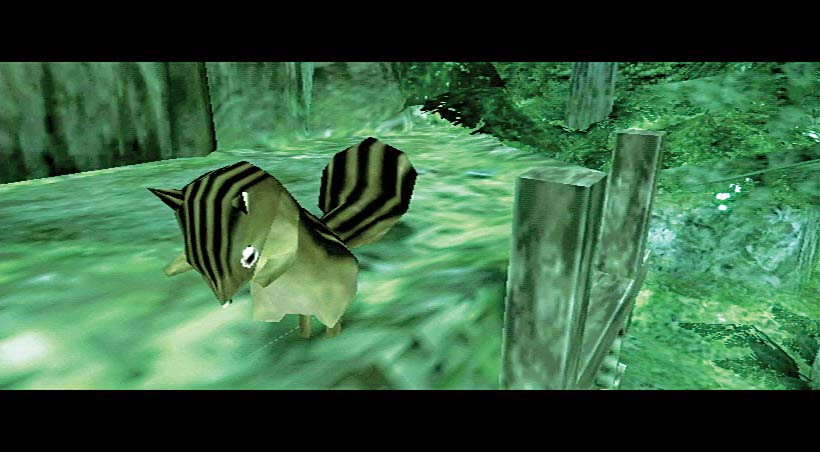
When you’re done, head toward the village. A voice thanks you for dealing with those Bulblins. It’s the squirrel! It seems you can talk to animals in wolf form; try this out on every animal you spot! Now head into the village itself.
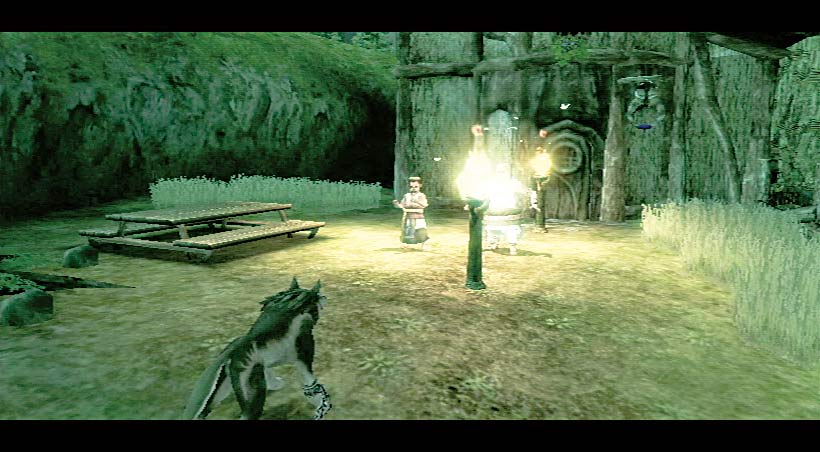
Enter Ordon Village. All the homes are locked up. The pasture is closed. But there’s a Cucco to speak to, clucking near the mayor’s house. It tells you of a ruckus in the village: monsters stole the children!
You can talk to the frogs at the stream or more Cuccos, but the most interesting area is the ground near the waterwheel, where Jaggle and the mayor are asking about the shield and sword.
Listen to them explaining where these items are. They spot you and flee inside the house.
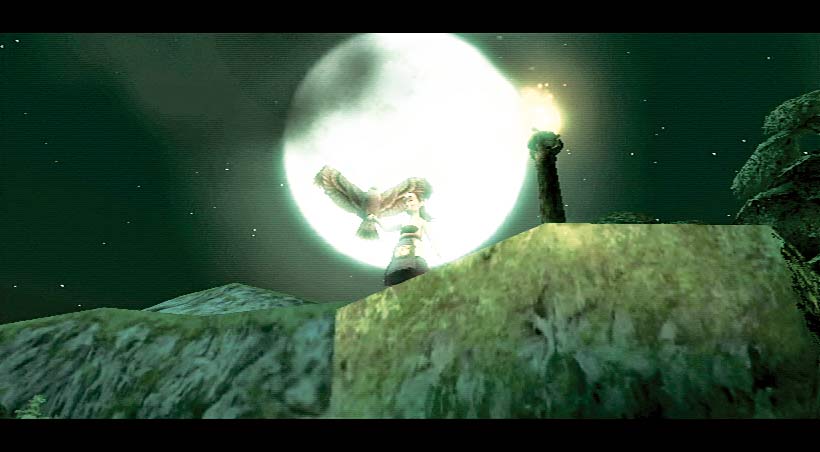
Midna tells you that the village is full of idiots. There’s an entrance left open on the roof of the waterwheel house. Run back over the bridge, and move toward the pumpkin patch.
Hanch now notices you and summons the hawk! It swoops down and knocks you about!
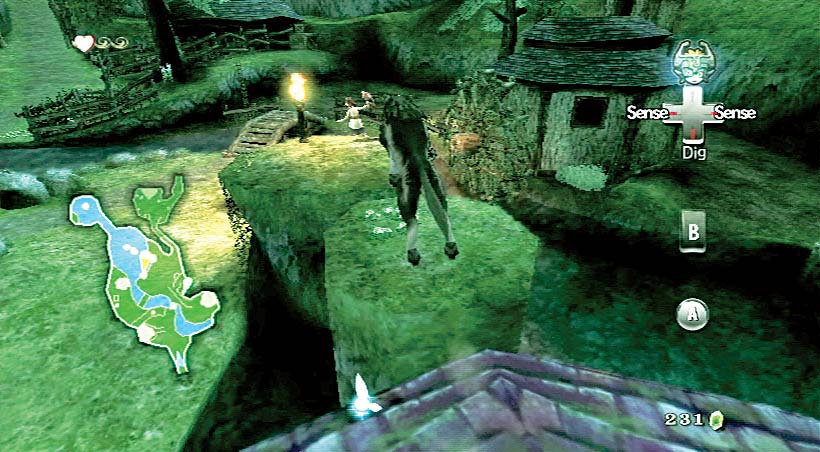
The hawk can seriously devour your energy, so move back to the village entrance, out of range of its talons, and stand on the small rock jutting out of the grass.
Midna appears, and so does Sera’s cat! She tells you to sneak up and scare Hanch!
Use Midna to double-jump onto the roof of the store, then leap across two flat stone pillars and land on the one Hanch is standing on. He jumps into the pond while the hawk flies off.
You can optionally stop here and summon the hawk with your howl. Or, you can use Midna to jump onto the waterwheel, then the roof beyond.
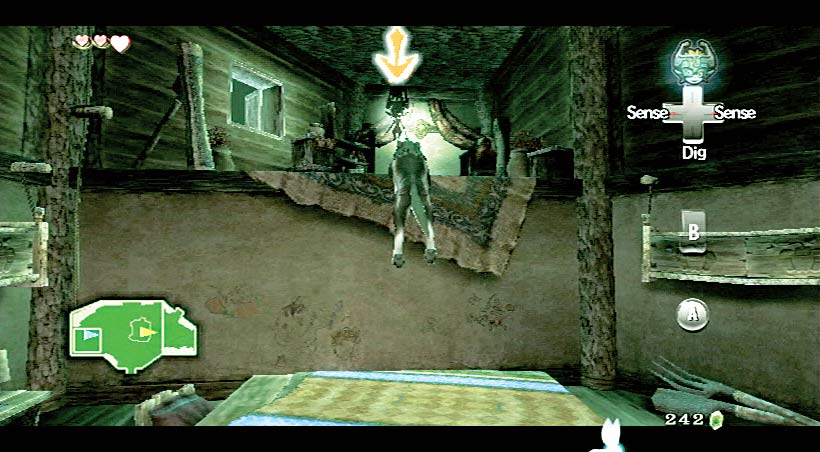
Enter Jaggle and Pergie’s house and drop down to the ground. Optionally smash the pumpkins and pots as before, then stand on the main table.
Midna wants you to find the shield.
It’s up on the eastern ledge. Use Midna to bound up there, then dash into the wall to dislodge the shield, and again to drop it. Pick it up.
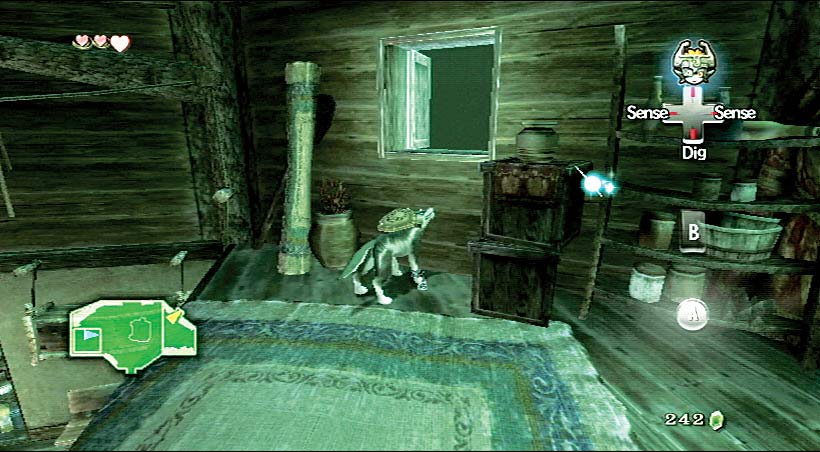
Midna thinks the shield looks cheap, but it’ll do for the moment! Exit the house via the open window on the right wall, just along from the shield on the upper area. You land in the pond.
The sound startles Rusl, who is arriving at his house with Uli. He tells her to go inside while he checks the area for beasts! Swim to the bank, then run south and east toward the house. Rusl stops you!
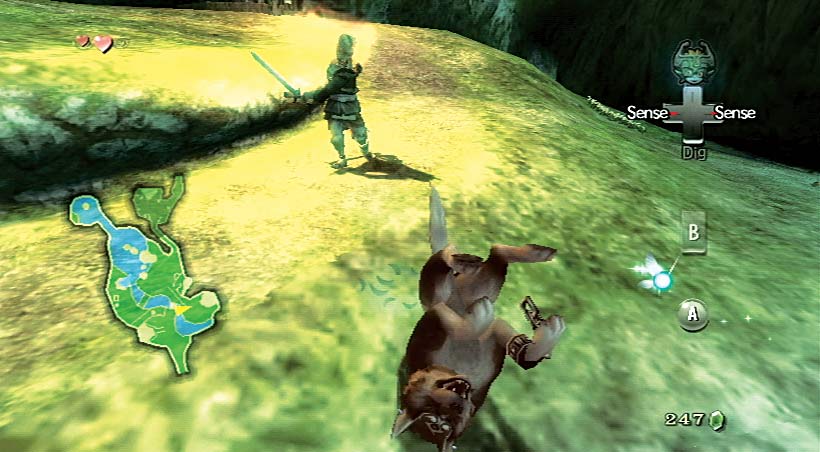
He waves his torch and sword at you, which is a good deterrent; you can’t harm him, and he can strike you back! Run around Rusl, and optionally approach Uli. She screams, and Rusl leaps in front of her and viciously swipes at you! Back up, away from both of them!
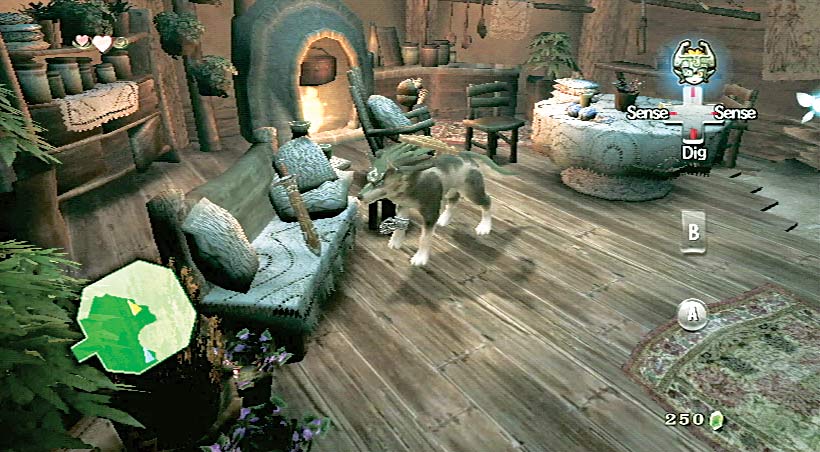
You need some way to enter Rusl’s house, so head around the right side of it, near the small pumpkin patch, and switch your sense view on.
There are a couple of dig spots, and a larger dig area near the stack of logs. Dig down under the house, and you appear inside! Quickly search around and you discover the Ordon Sword on the sofa!
Midna appears and tells you to head back into the woods.
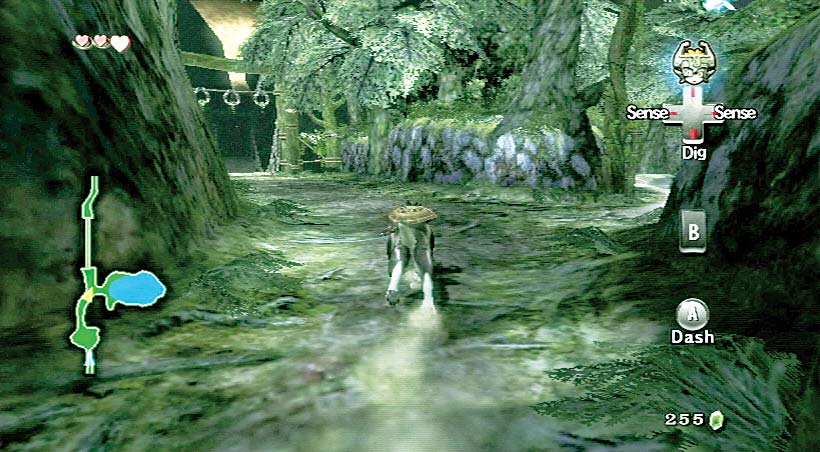
Carrying both shield and sword on your back, emerge from Rusl’s house. “Foul beast!” he shouts, and swings his weapon at you.
Avoid him, and dig around for Hearts if your energy is low. Then flee back to the area near your house (there’s grass to slice for Hearts and Rupees), and dash into the woods.
Task 4: Speak with the Spirit of Faron Spring
The Spirit of Ordon Spring
Run as far north as you can go, to the bridge. Then a strange voice calls you into the springs. It is the spirit of Ordon Spring. Too late, it realizes a shadow being approaches!
Black, glowing monoliths fall to earth. A portal above you appears! A Twilit Messenger falls out of the sky!
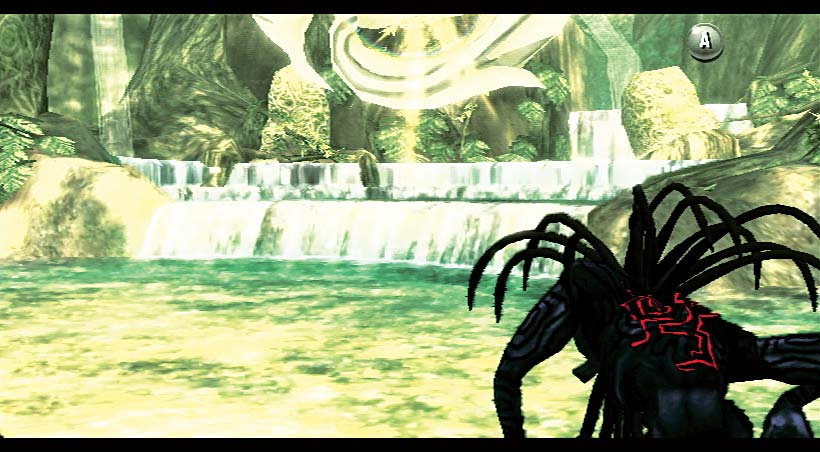
The beast dematerializes and is sucked back into a differently colored glowing portal vortex. Out of the pool comes a ball of light energy that takes the form of a goat. It is Ordona, one of four light spirits.
Ordona’s brethren have started to lose their power thanks to attacks from these shadowy Messengers. The kingdom is now a netherworld of darkness!
And yet, a hero has risen who can revive the light from the three remaining spirits. Your true power has not been revealed yet, but a journey to Faron Woods, and the revival of the light spirit there, should lead you on your path.
Optionally dig for Hearts in the spring, heal, then leave and journey north, across the bridge (watch you don’t fall off the side!), and dash into Faron Woods. The realm has been transformed with twilight hues and echoing sounds of darkness!
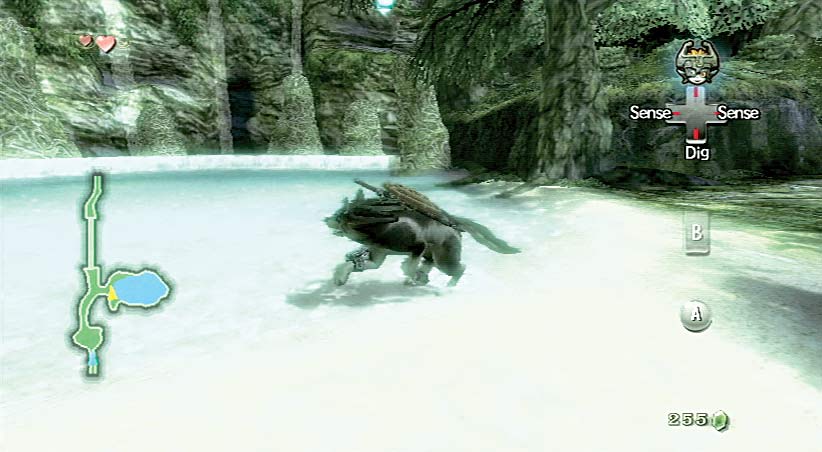
When you’ve finished foraging, move into the next glade and watch as three Twilit Messengers fall from the sky! Midna flees your back, leaving you to fend for yourself!
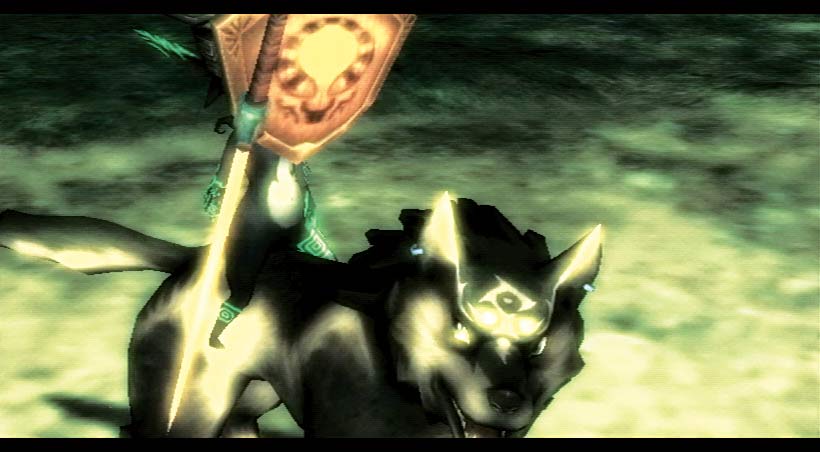
Fighting three Messengers at once isn’t as difficult as you’d expect. However, there’s a special stipulation for dispatching all of them: you must defeat the last two Messengers at exactly the same time!
Otherwise the last Messenger left alive shrieks to bring the others back, and combat begins anew! Start with a spin to stop all three, then gnaw on one with multiple bites.
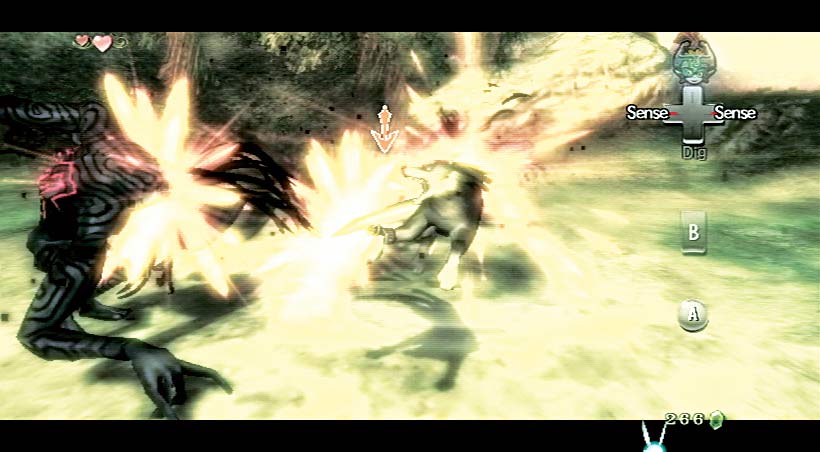
Keep fighting until Midna appears. She helps you by giving you a new attack. Hold down B for an energy field. Enclose all the enemies in it (so they sparkle with pink charges), then release the button!
When the Messengers are defeated, continue your journey northward to Faron Spring. There are numerous dig spots to find here.
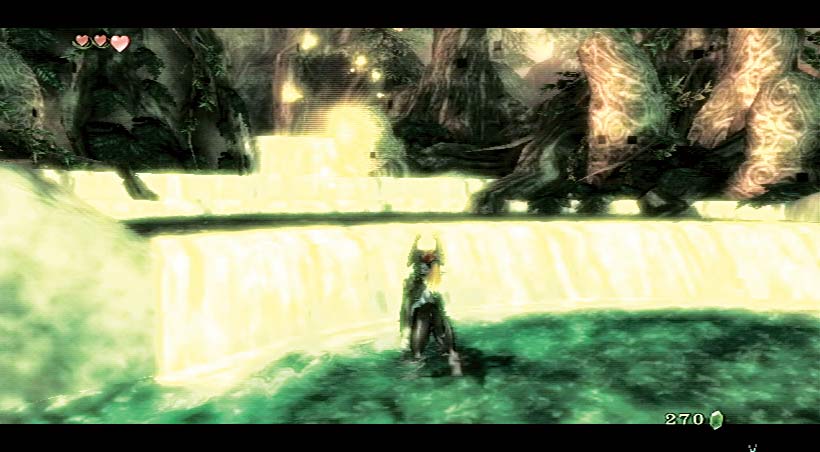
When you’ve had your fill, move to the ball of spirit energy in the middle of the pool near the waterfall. The spirit gives you a Vessel of Light. Set off, following the path to the northwest.
Task 5: Locate all 16 Twilit Parasites
Locating Twilit Parasites #1 and #2
The first two Twilit Parasites are scuttling about the path next to the Twilit Baba. Just target and pounce on each of them and secure your first tears. Once they appear on your Vessel of Light, continue along the path. Dispatch two more Twilit Babas.
Twilit Parasites #3 and #4
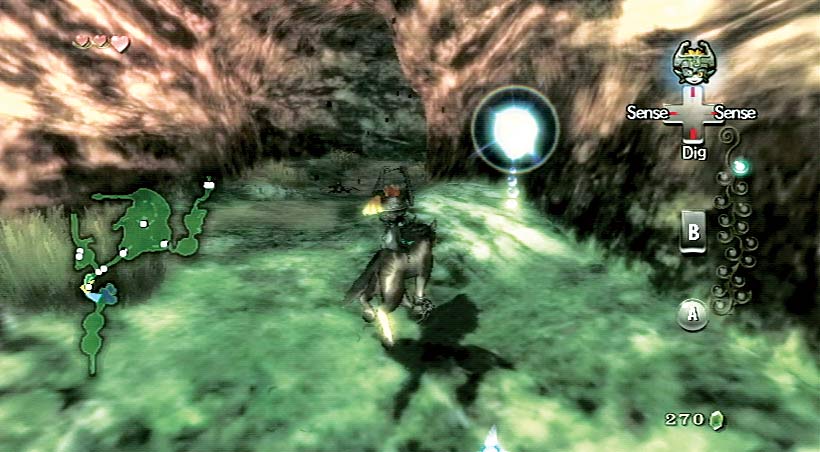
Move to the Dark Tunnel entrance. The gate is locked again, so return here in a moment. For now, turn and visit the area where Coro resides. Head around and up the ramp, passing the scarecrow. At the end of the ramp, Midna appears to allow you to leap into Coro’s hut!
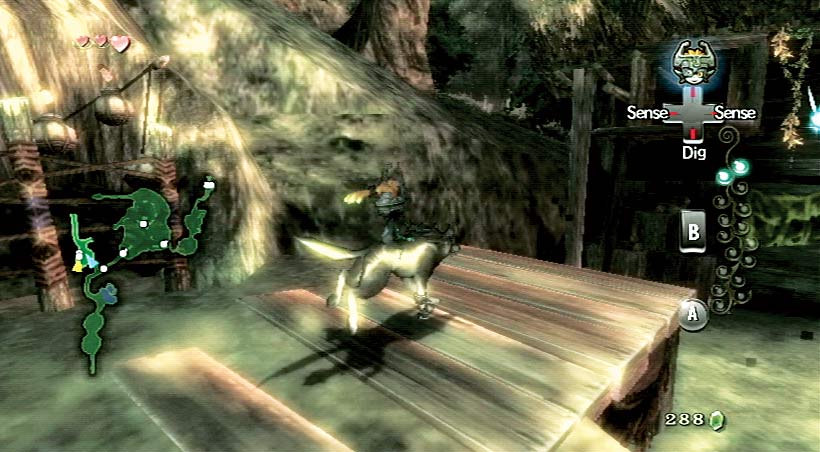
Leap down into the interior of the hut and use your sense view to make out the ghostly form of Coro. He’s freaking out about the bugs! Two of them appear, buzzing with electricity and scuttling about the floor.
With your sense view on, leap at them; you can defeat both with one jump! After they explode, Coro is even more puzzled!
Take the orbs of tears, then exit the way you came in, climbing up the furniture and out the window.
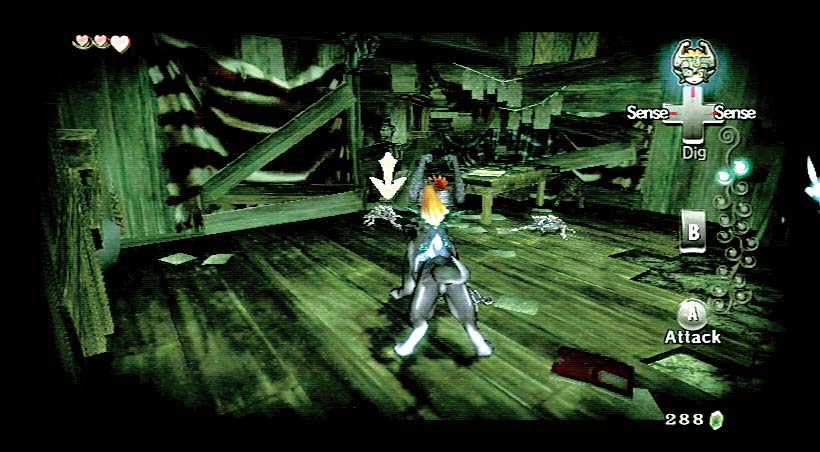
Twilit Parasite #5
Journey around to the north (far) side of Coro’s house, past the campfire, and check the wall. A Twilit Parasite is crawling around here. Target it with your sense view, and grab it!
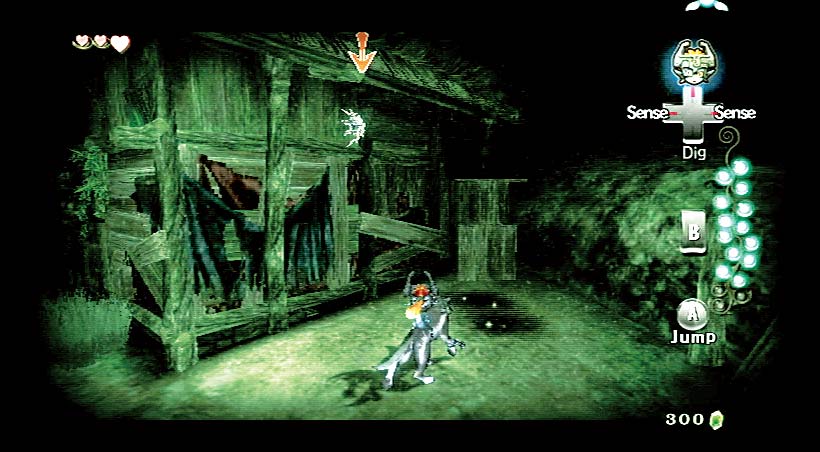
Twilit Parasites #6 and #7
Journey back to the entrance to the Dark Tunnel. If you inspect the gate, you’ll see it is firmly closed. However, there’s a dig spot just to the right of the gate, allowing you to tunnel under the gate.
Crawl out, into the tunnel entrance, and target the two Twilit Parasites maneuvering about in this area. Bite them, and collect those orbs of tears!
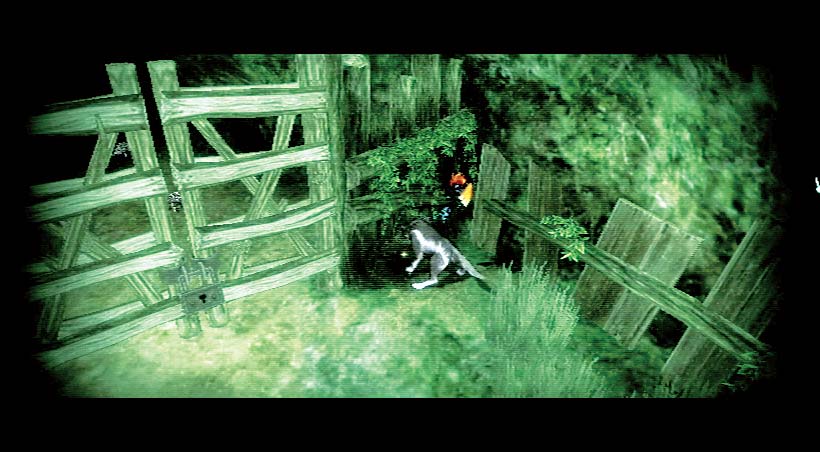
Twilit Parasites #8 and #9
You can use the tunnel shortcut (see Missing Links), or run through the twilight version of the Dark Tunnel. The creatures (Deku Babas and Keese) have been replaced with twilit versions that are just as easy to defeat. Collect the Rupees from the usual places.
Emerge into Faron Woods, and you’ll see the lower area has been completely submerged in thick, evil, purple mist. Move to the northwestern side of the higher ground you’re standing on, and locate the two Twilit Parasites on the rock wall.
Now defeat them without accidentally leaping into the mist! Wait for each Twilit Parasite to descend if they start to fly.
Twilit Parasites #10, #11, and #12
There must be some way to cross the mist-filled woods, and there is. Move to the flat stump at the northern part of the wood entrance, and Midna appears. She can transport you across to higher ground after a three-leap maneuver. Don’t forget to hold Z to target her!
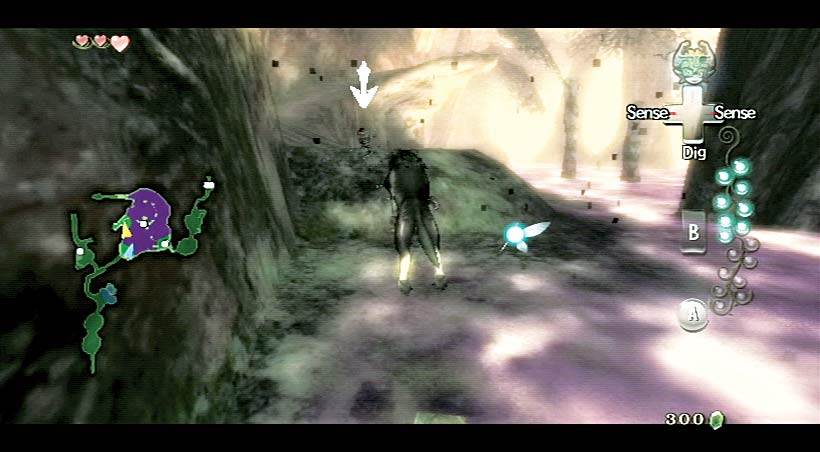
Run to the top of the overhang in this western part of the woods. Summon Midna, then leap three times to the inside of a giant tree in the middle of the woods. Three Twilit Parasites are in here. Don’t leave until you collect all three orbs!
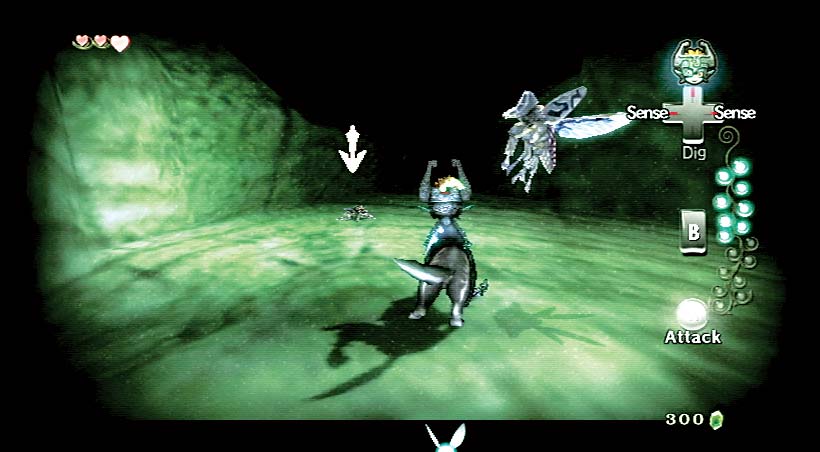
Twilit Parasites #13 and #14
Now for a giant series of leaps! Use Midna and hold down Z to jump eight times across the tree branches to the top of the Faron Wood trees.
Jump another four times, avoiding three Twilit Babas (if you’re too slow, you’ll be knocked off the branch and into the mist).
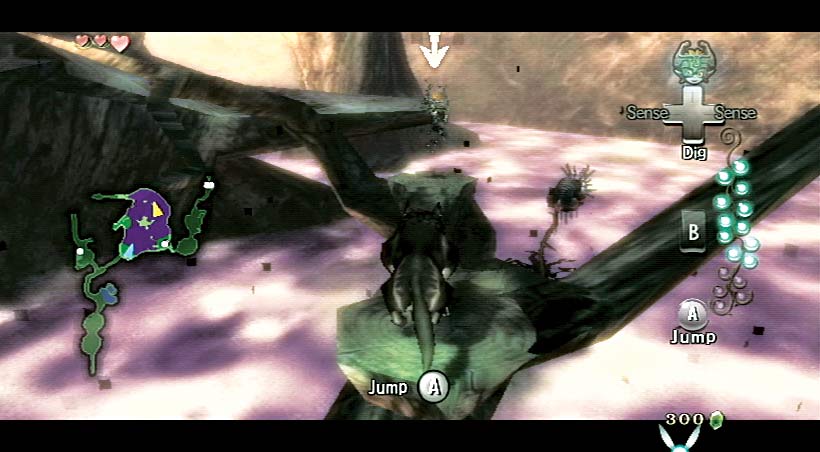
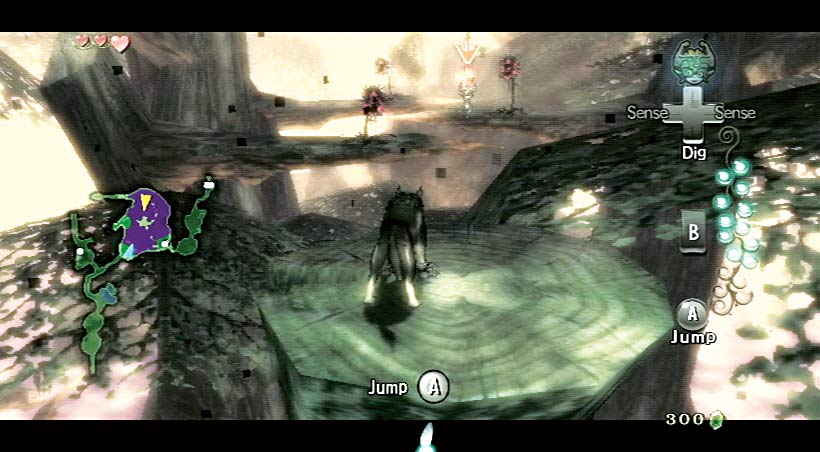
Move to the other end of the massive tree stump and use Midna again to leap across a large gap, after the swinging log has passed to one side. Make seven more leaps down some trunks and platforms to reach the southeast exit.
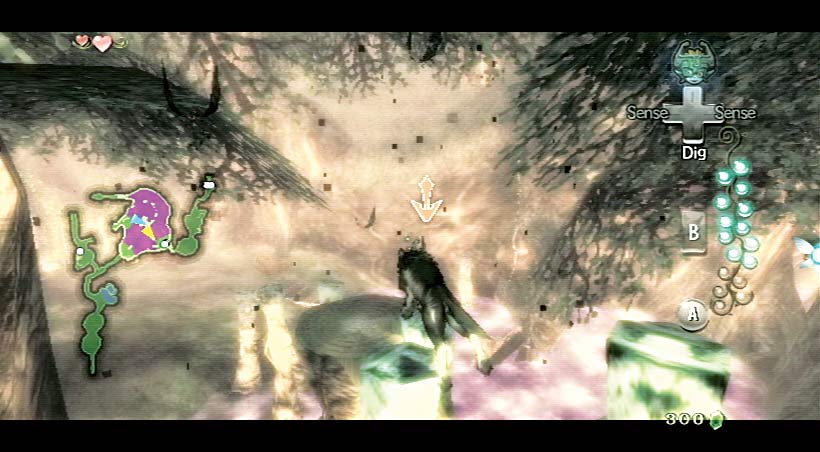
Here, you can spot two more Twilit Parasites, but they are traveling through the earth. You must target them, then run to where they are buried, and dig them up! Once they surface, attack them.
When you collect both orbs, you can search for the final two Twilit Parasites!
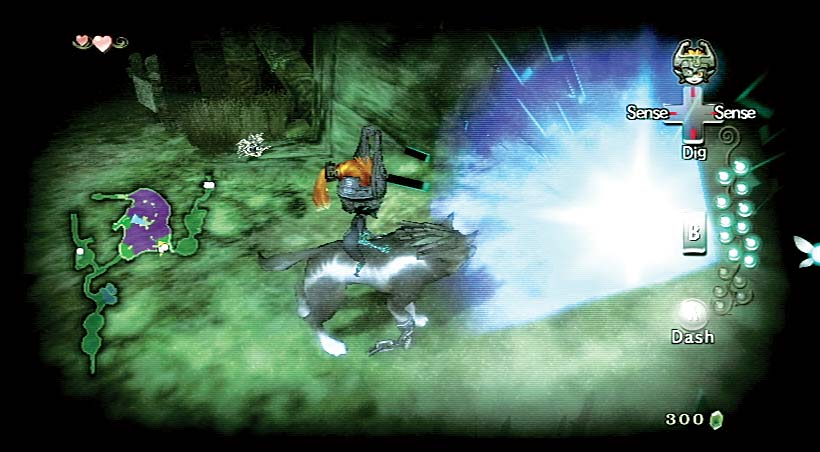
Twilit Parasites #15 and #16
Step out of the tunnel and you’ll notice that the energy walls of the Twilit Messengers have appeared, and three of them are advancing on you! Target, leap, and grab the nearest one, and pummel him with teeth and tail until he falls. Then press and hold B for Midna’s energy attack, targeting the final two. Catch them both, and all three disappear.
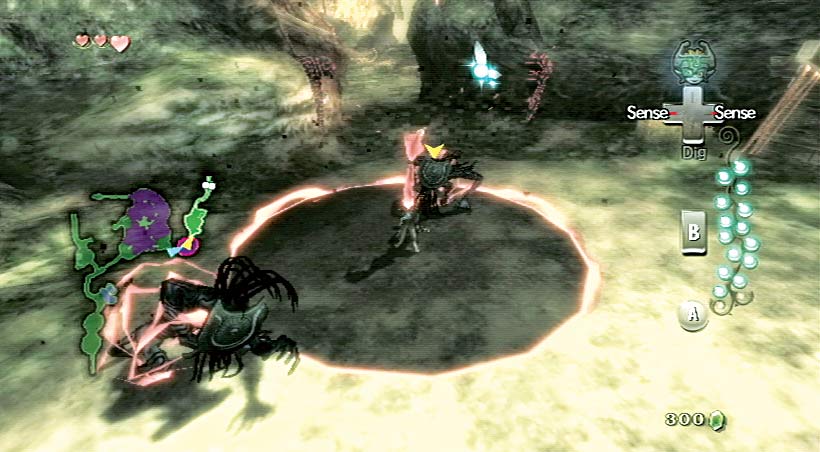
The three Twilit Messengers form a portal in the sky, and you’re free to continue. Trill’s Shop is completely empty, but you’re a wolf and can’t steal anything!
The Twilit Babas are in the same places that the Deku Babas were. Now head along the winding trail toward the entrance to the Forest Temple.
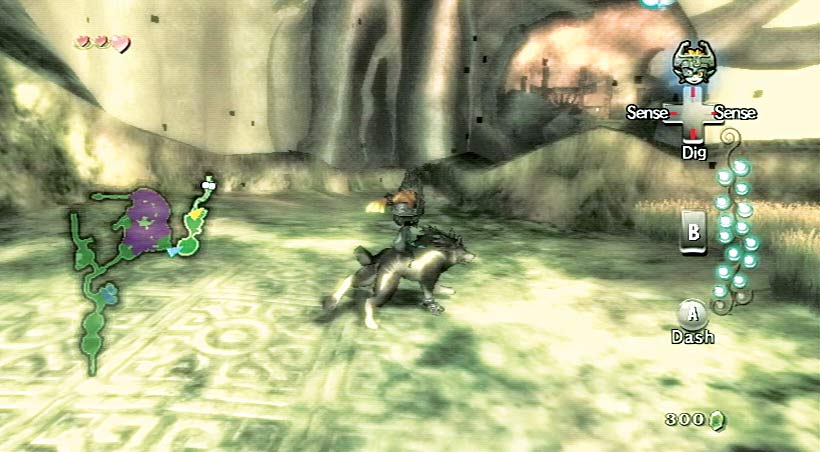
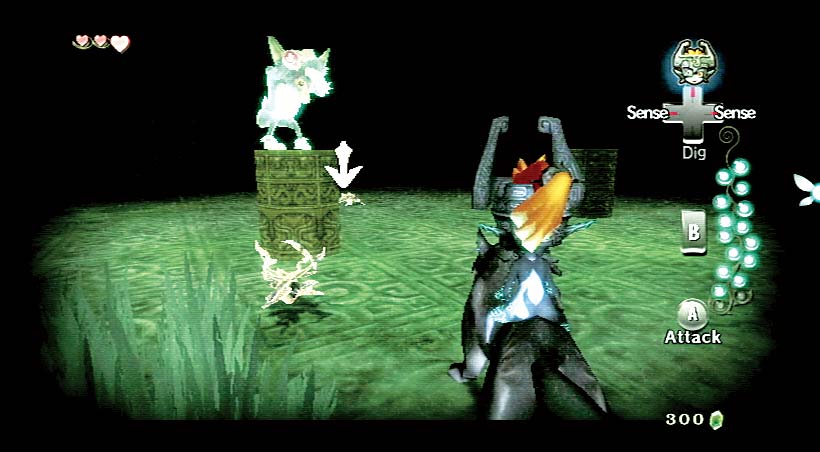
As you reach the entrance to the Forest Temple, you see a monkey spirit standing in fear on one of the short columns. Target the final two Twilit Parasites and bite them to complete your Vessel of Light collection.
The monkey is astonished, and as a wolf, you can understand her! She is relieved, although “ever since the boss went funny in the head, there’s been scary monsters everywhere,” she says.
Task 6: Learn Your First Hidden Skill
and Enter the Forest Temple
The Light Returns to Faron Province
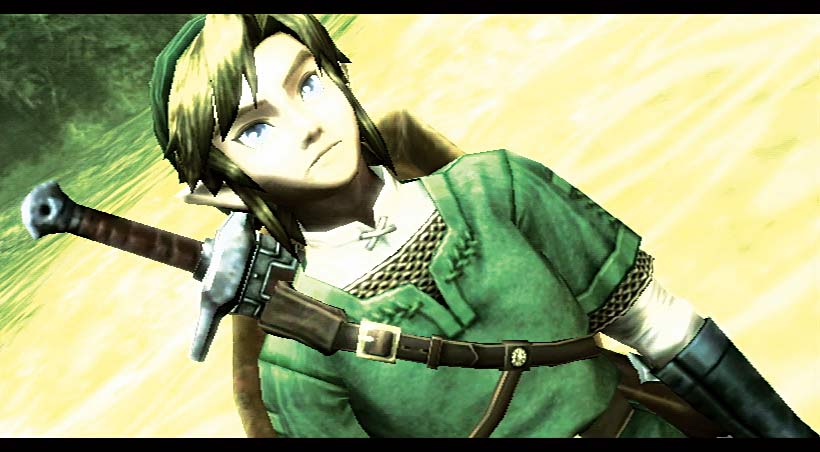
As soon as the last Twilit Parasite is captured, no matter where you are, you’re whisked back to the Faron Spring. The spirit thanks you and Midna leaves you. Then the spirit returns in the form of a giant monkey.
Your own form has changed, too!
The green tunic that is your garb once belonged to the ancient hero chosen by the gods. Now that hero is you!
You must now attempt to seek a forbidden power deep inside the Forest Temple. Midna returns to push you toward that Forest Temple.
Head to the Forest Temple entrance at your earliest convenience. If you decide to return to Ordon Village, you can visit Fado in the pasture, but Epona cannot be summoned.
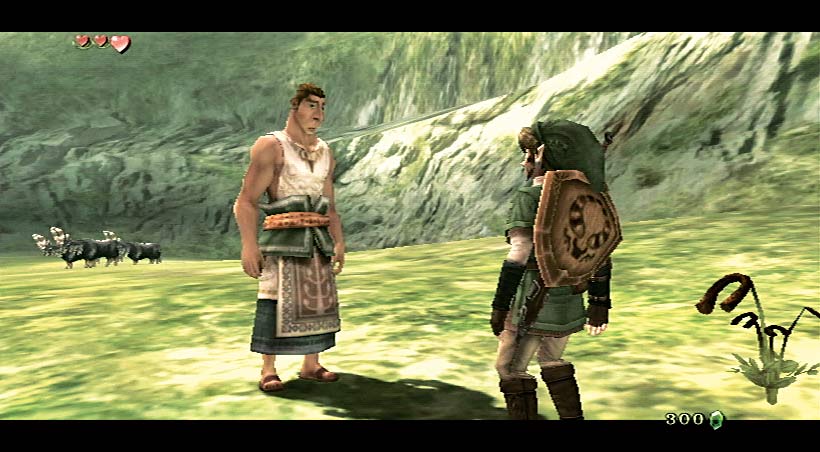
Fado remarks on your outfit and tells you to find the children. The rest of the villagers have the same request.
Sera, in the shop, is worried about Beth. Hanch is on the rock, fearful of the fate of the tots.
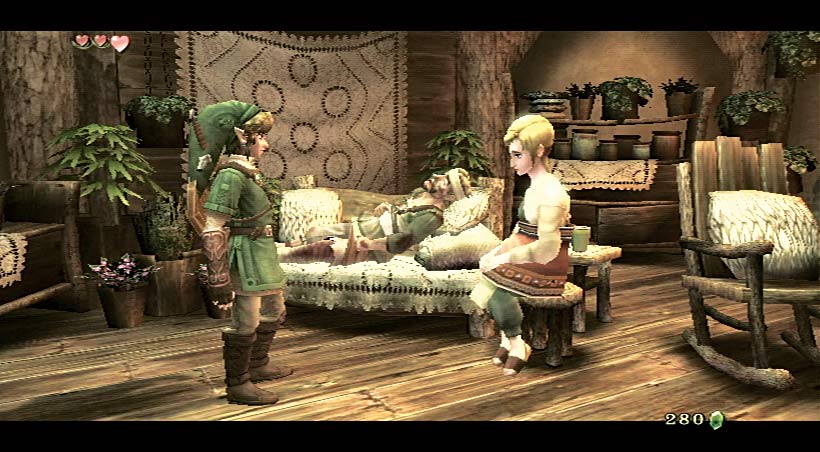
Jaggle is standing by his bench, and Pergie is sitting dejected in her house. Even the puppy is yelping!
Rusl and Uli are inside their house. They remark on your clothing, as Rusl is nursed back to health. They’re happy you managed to get the sword back from that evil wolf who stole it!
Into the Murky Mists and
An Audience with an Old One
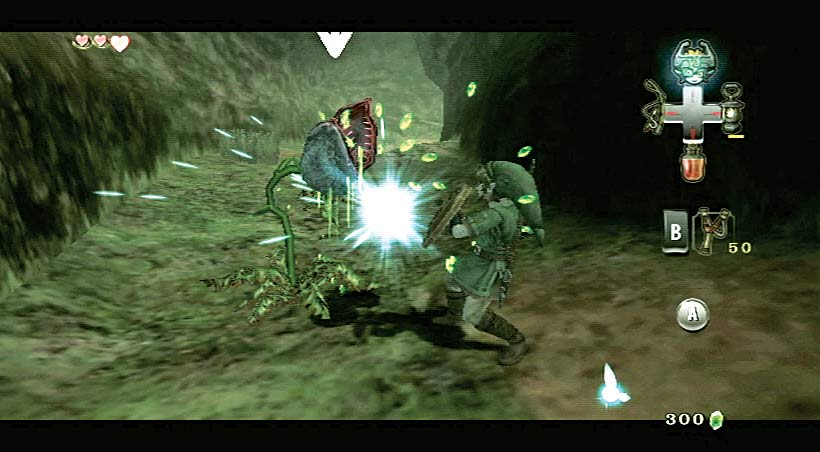
The mayor is away, so head north, over the bridge and into Faron Province. When you’re battling the Deku Baba in the winding path to the Dark Tunnel entrance, Midna tells you how to block with your shield: hold Z. #
Try it! It makes combat much easier, as the Deku Baba usually hits your shield and is stunned. Finish it easily, and the two others!
The gate to the Dark Tunnel is locked, and you can’t use the dig hole as Link, so head toward Coro and speak with him. He looks you up and down.
You seem to be ready for the challenge, so he hands you a Small Key that opens the gate to the Dark Tunnel leading to Faron Woods. If you need Lantern oil, now’s not the time to buy it.
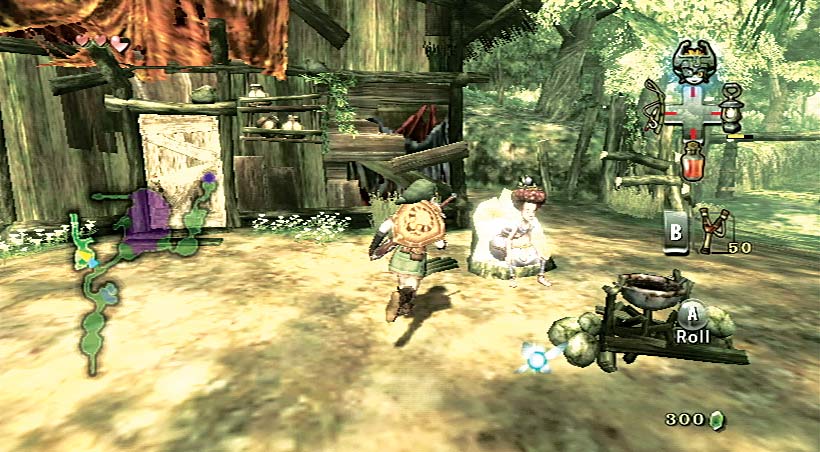
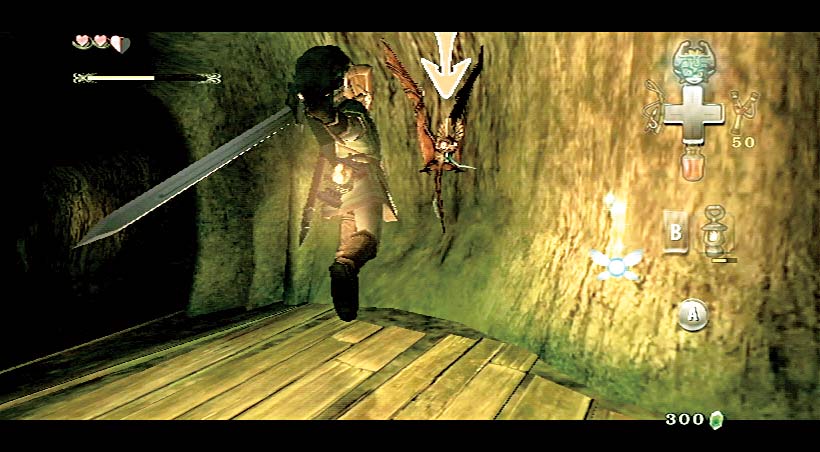
You can’t head north (Midna doesn’t let you), so unlock the Dark Tunnel entrance and head inside. The same enemies and tactics apply during this run-through of the area.
Keep moving and take the left fork to appear at Faron Woods.
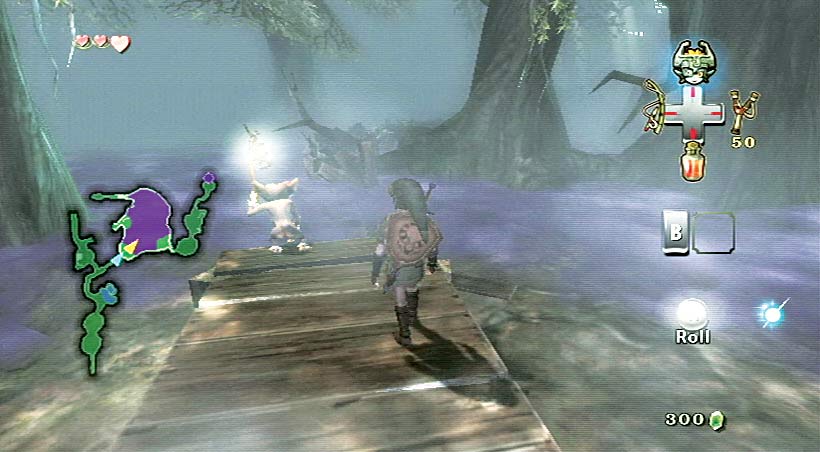
The lower ground is still filled with mist! Bring out your Lantern. As soon as you do, that cheeky monkey grabs it and waves it about.
She hasn’t stolen it; she’s beckoning you to follow her! Drop off the wooden pier and draw your sword. Carefully follow the monkey northward, into the woods.
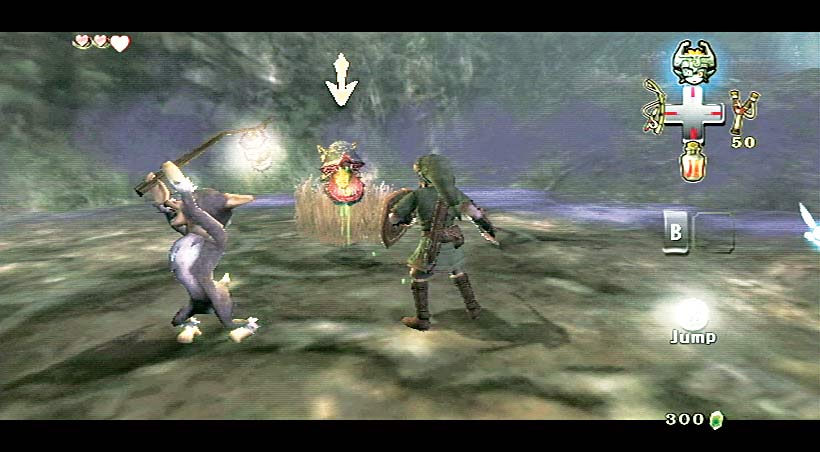
The monkey takes you on a long route, around the left side of the giant tree. On the other side, tackle a Keese, then keep up with the monkey. She runs through the arch in the tree and is scared by a Keese.
Keep going, and defeat a Deku Baba. Do not try leap attacks that take you into the mist, or you’ll have to retrace your steps!
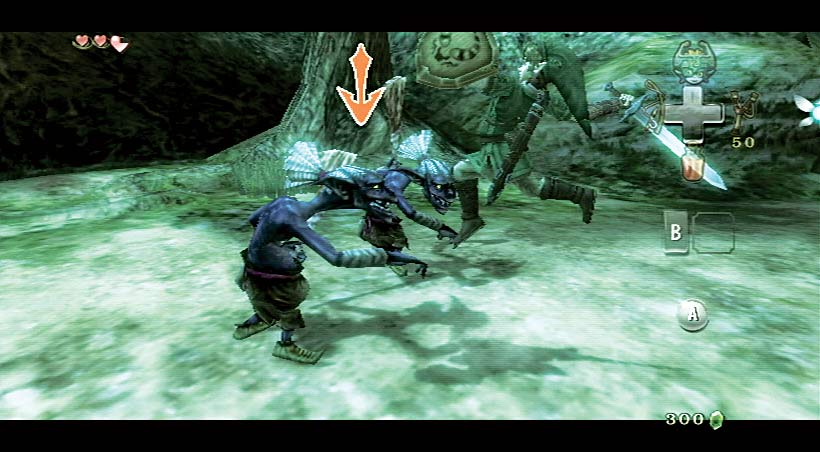
The monkey throws the Lantern down and escapes toward the Forest Temple. Pick up your Lantern again. It is empty, so head directly toward Trill’s Shop.
Slay two Bokoblins along the way, then dip your Lantern into the oil, and optionally fill your bottle. Don’t forget to pay the bird!
Did you notice a chest that appeared in Faron Woods? It was on the upper of the two stump platforms on the giant tree in the middle.
It wasn’t there before! If you’re after every chest, head back to the mist-filled woods, bring out your Lantern, and wave it using 4. Step into the mist!
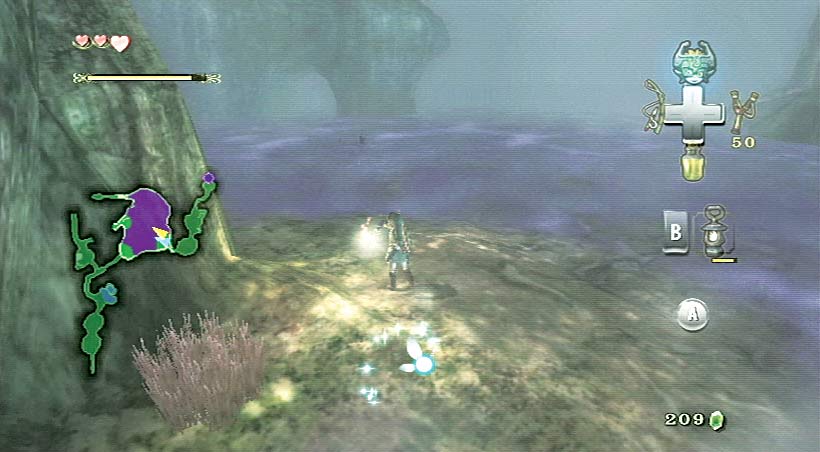
Follow the path the monkey made in reverse. Move left around the base of the giant tree, then to the edge of the mist that has receded, and wave your Lantern again.
Keep this up until you reach the two stump ledges. Climb to the upper one, and open the chest.
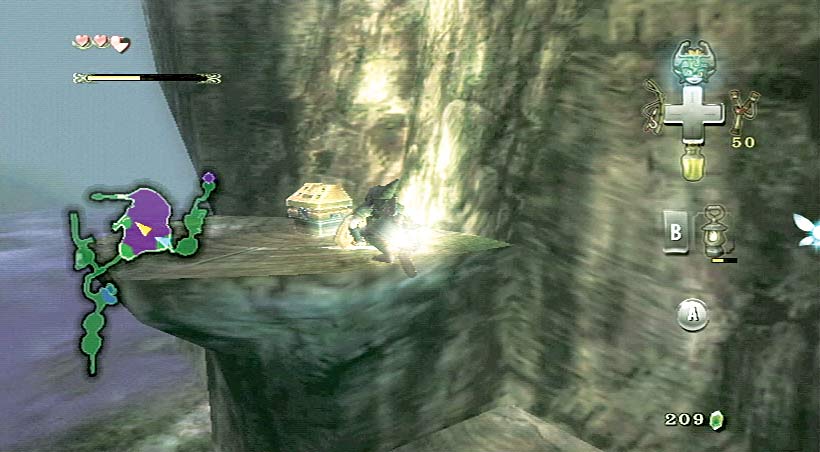
You can actually leap off and succumb to the mist now! You’ll teleport to the entrance to the Forest Temple and Trill’s Shop, and lose only a quarter Heart energy!
Or, drop slowly down, wave the Lantern, and carefully head southeast out of here! Head back toward the Forest Temple immediately!
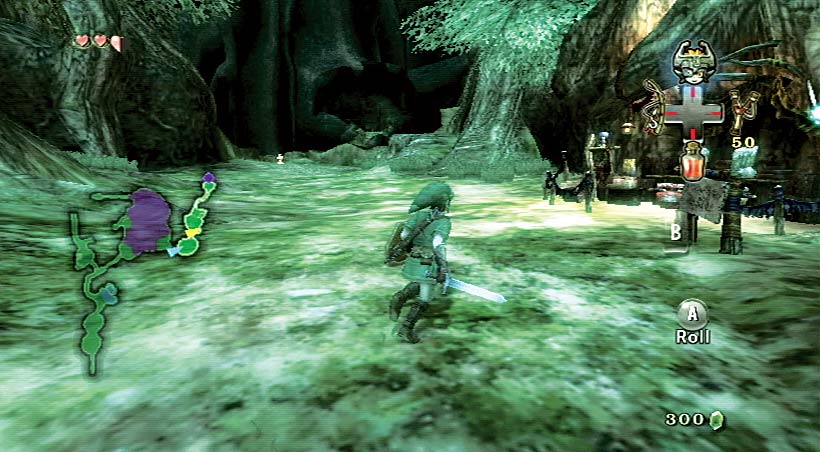
Hidden Skill: Ending Blow
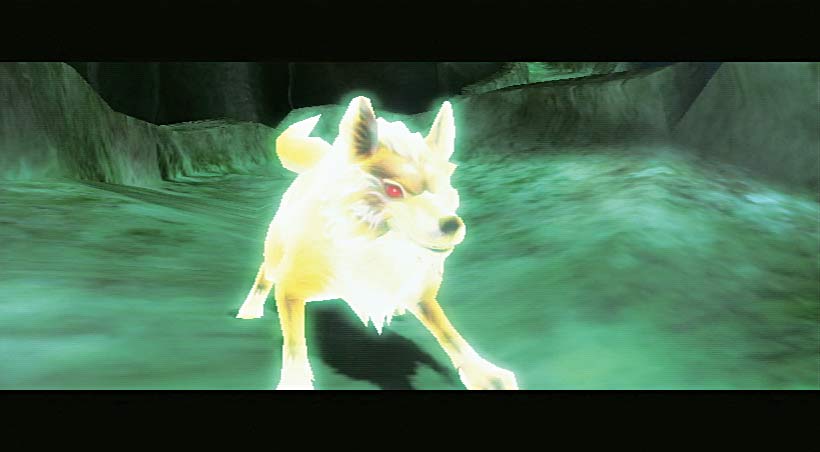
As you reach the entrance trail to the Forest Temple, you spot a ghostly White Wolf with red eyes. It looks fearsome, but strangely, you feel you know this creature! It pounces on you, and you both disappear into the ether!
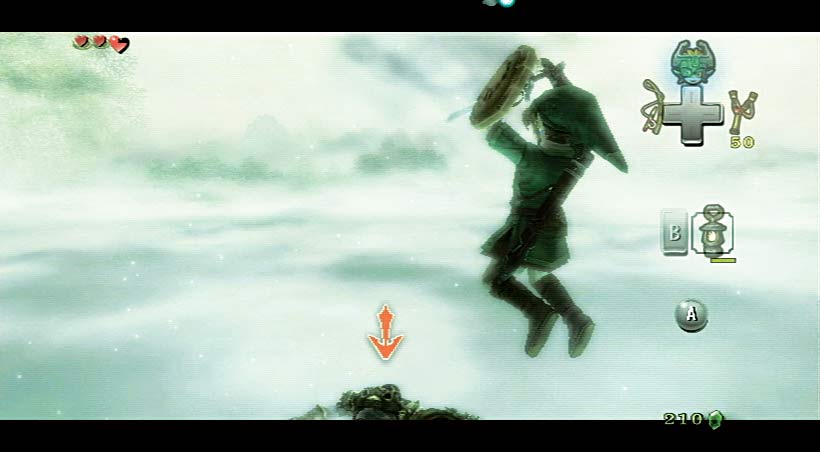
You are transported into a strange, cloud-like area with Castle Hyrule partially submerged in the distance. The White Wolf has turned into a heroic, armored skeleton of old.
Could this be a past adventurer, appearing from beyond the grave to teach you new combat techniques?
Target the undead hero, and attempt to strike him. You are knocked back. “A sword wields no strength unless the hand that holds it has courage.” But you are still ready to learn the ending blow.
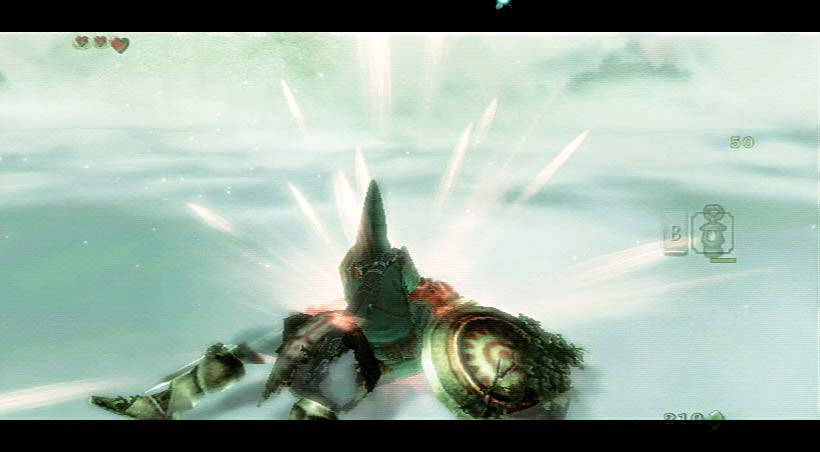
“Enemies that are filled with energy will quickly recover and attack again even when stunned by a powerful strike. The ending blow is a secret technique you can use on stunned enemies to end their breath before they spring back into action.”
Knock the undead hero on his back or front, then complete this technique.
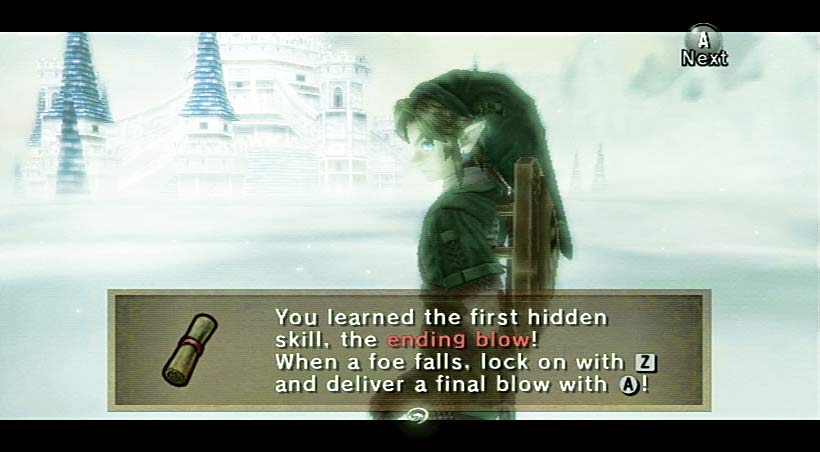
Ending blow
You learned the first Hidden Skill, the ending blow! Hidden Skill 1 of 7.
Run up the trail to the Forest Temple entrance, and attack two Bokoblins.
Try knocking them off their feet with an ending blow. Then burn the Skulltula web with your Lantern, and enter your first dungeon, the dank and murky Forest Temple!