
The Legend of Zelda: Twilight Princess Wii Guide Essentials Friends & Fiends
Big Bosses
The Big Battles
Here we give you an overview of the meanest and most difficult enemies you’ll come across: the bosses. In this section you’ll get your first look at them, a quick overview of what they’re about, and where you’ll encounter them. Find the detailed, nuts-and-bolts strategy for dealing with these bruisers in the walkthrough. There we’ll provide you with rock-solid tactics for defeating these aggressive beasts.
Ook
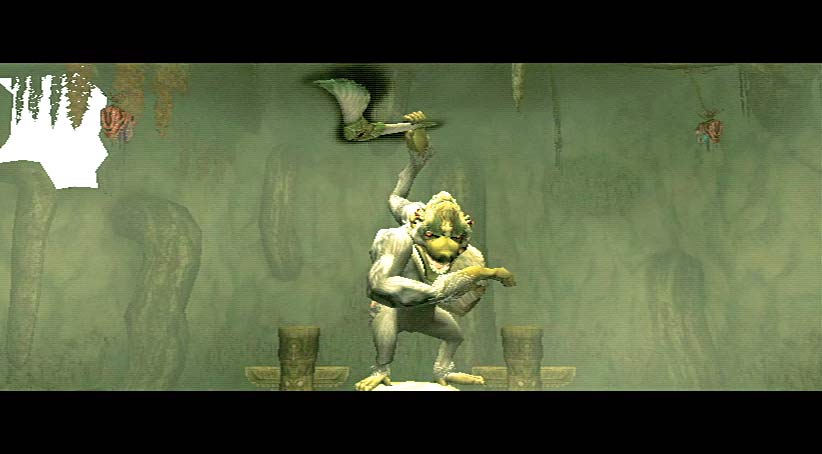
Ook is a crazy baboon who’s mad for dancing and has a weapon you need. There’s a trick to defeating him that brings him down from on high and lands you the Gale Boomerang, a very useful tool for your adventures. Knock into Ook’s perch and you’ll soon get him on your level.
Encountered In: Dungeon 1: The Forest
Twilit Parasite Diababa
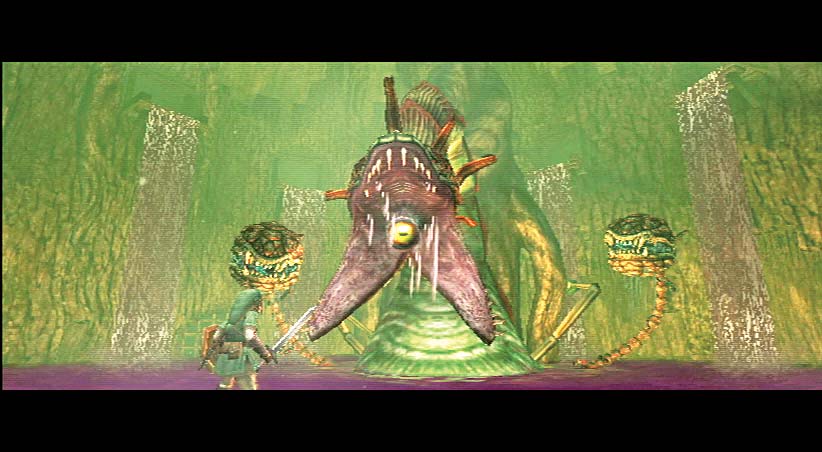
This deadly creature comes in two forms, and neither is happy to see you. It takes some coordination between you and an earlier enemy to take down this out-of-control weed, but when it’s down, it divulges a Heart Container and a piece of Fused Shadow for your troubles.
Encountered In: The Forest Temple
King Bulblin
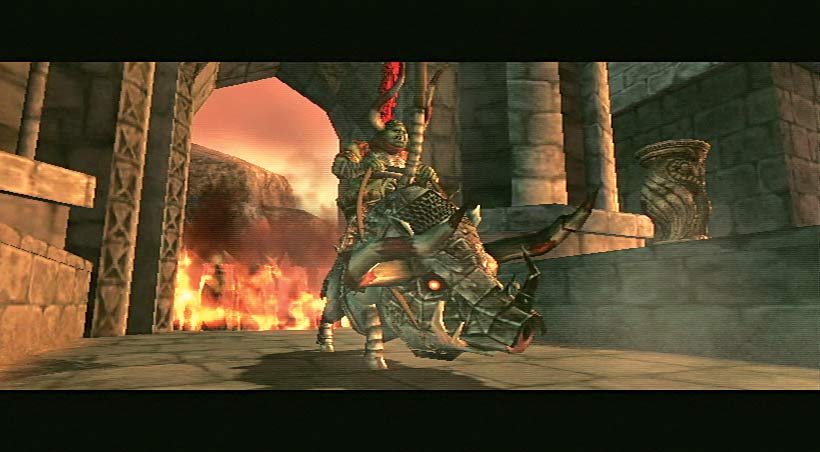
King Bulblin is a thorn in your side throughout the game. You encounter him time and again in various guises and for each fight he has some new trick. It’s fitting for you to keep jousting with this evil beast as he was the one who first broke the calm pattern of your once-peaceful life!
Encountered In: Ordona Province
Dangoro
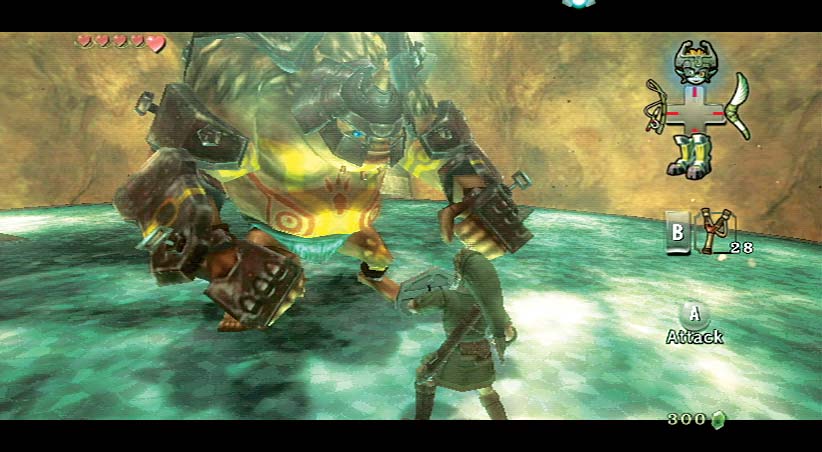
The way past Dangoro is through his stomach. It’ll take a lot of skills when you face off with him. You’ll have to use sword, sumo, and shoes to best this hulking brute—and not necessarily in that order. It’s a chance to show off what you’ve learned in the various arts of battle.
Encountered In: Dungeon 2: Goron Mines
Twilit Igniter: Fyrus
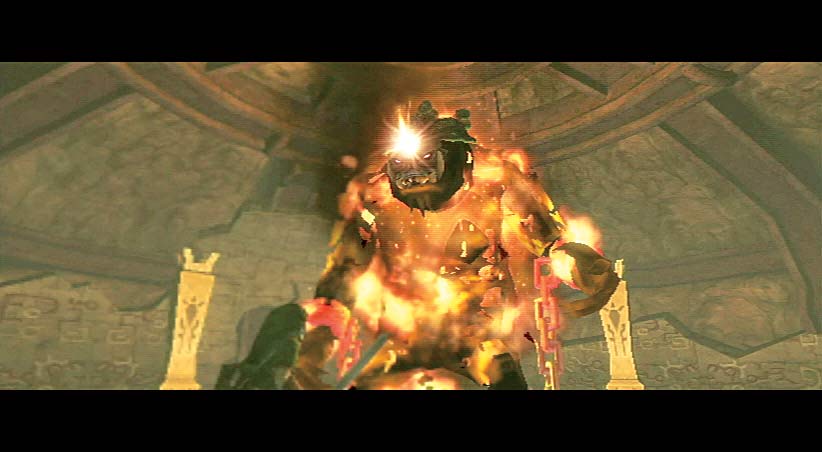
Fyrus is a huge beast whose body is a raging inferno. His blasts of heat and fire can be lethal if you get caught napping. It takes a lot of footwork and some decidedly accurate bow shots to defeat this twilit nightmare. And it takes several tries before he’s down for the count.
Encountered In: Dungeon 2: Goron Mines
Twilit Carrier Kargarok
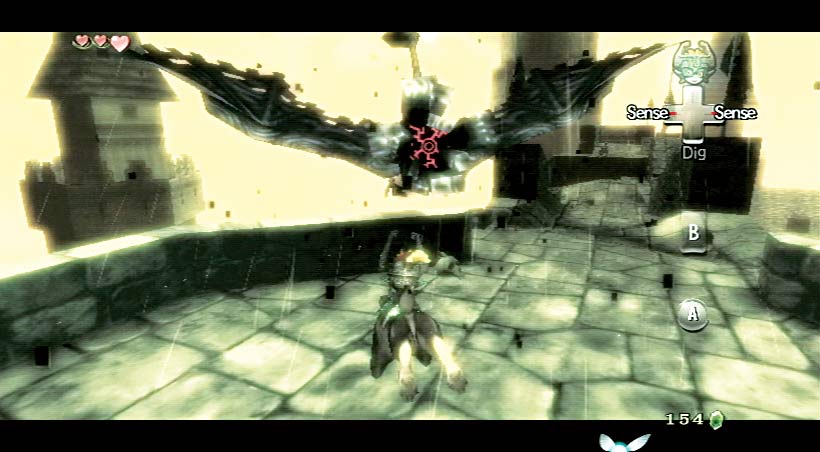
This enemy is a combo of archer and giant flying beast. You have to dodge and duck missile fire before getting a chance to retaliate. Be patient, wait for your moment, and then pounce!
Encountered In: Lanayru Province
Twilit Bloat
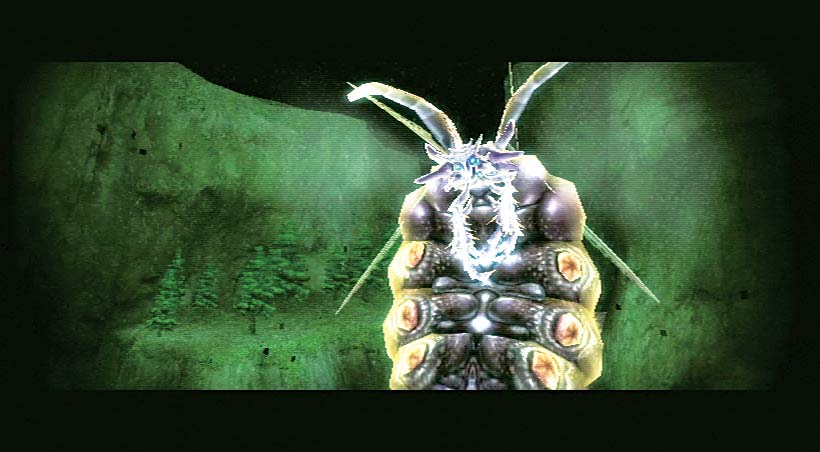
Disturbing as it may seem, you have to defeat this bloated creature with bite attacks. It will be a true measure of your heroism. And it’s the only way to fill the Vessel of Light to restore the spirits!
Encountered In: Lanayru Province
Deku Toad
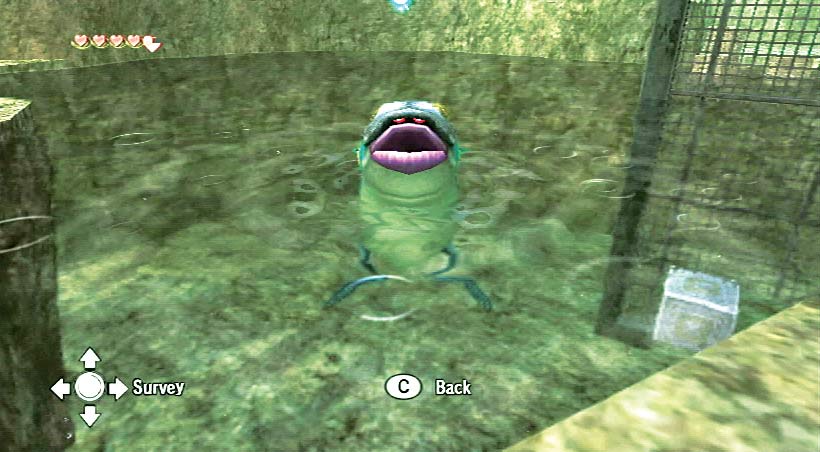
The Deku Toad is a vile beast and it has vile little beasts to send after you while it readies its attack. You’ll not only have to fend off minions but when the big beast leaps, watch the skies! Luckily the Deku Toad doesn’t have much energy and needs to take a breather after each attack. And that is the perfect time to strike!
Encountered In: Dungeon 3: Lakebed Temple
Twilit Aquatic Morpheel
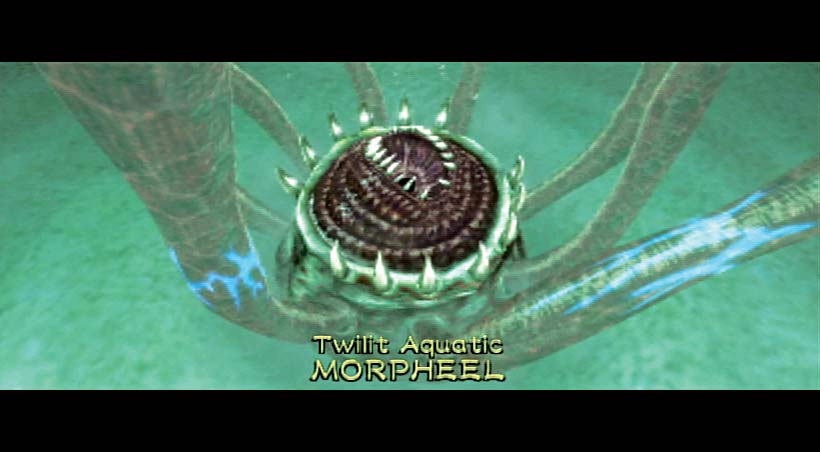
This sneaky monster has a two-stage attack, and both stages are deadly. Just when you think you’ve got a handle on things, the Morpheel proves that you should always look below the surface. You’ll be tested on your targeting abilities and your swimming control. Stay the course and you’ll come out on top.
Encountered In: Dungeon 3: Lakebed Temple
Skull Kid
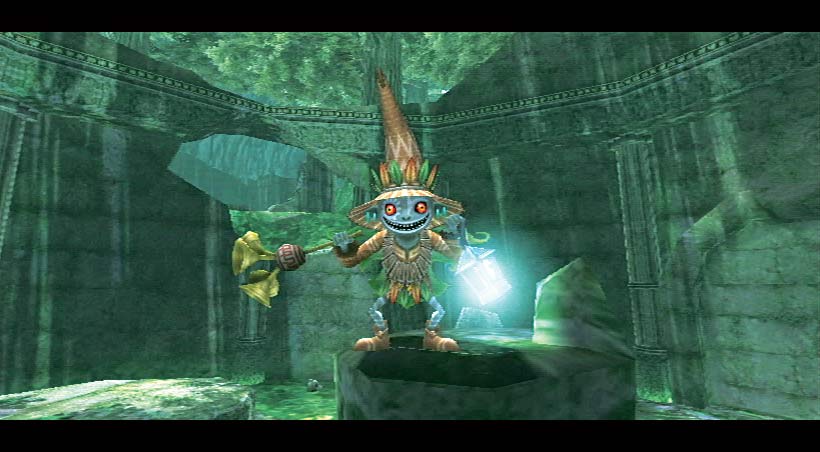
The unsettling Skull Kid has creepy Puppets at his command and he seems bent on having them bring you harm. When you finally confront the puppet-master, you have to keep a sharp eye out for him while dodging or destroying his grisly toys. The Skull Kid pops from one location to the next as he torments you, so react quickly when you see him!
Encountered In: Faron Woods
Twilit Fossil Stallord
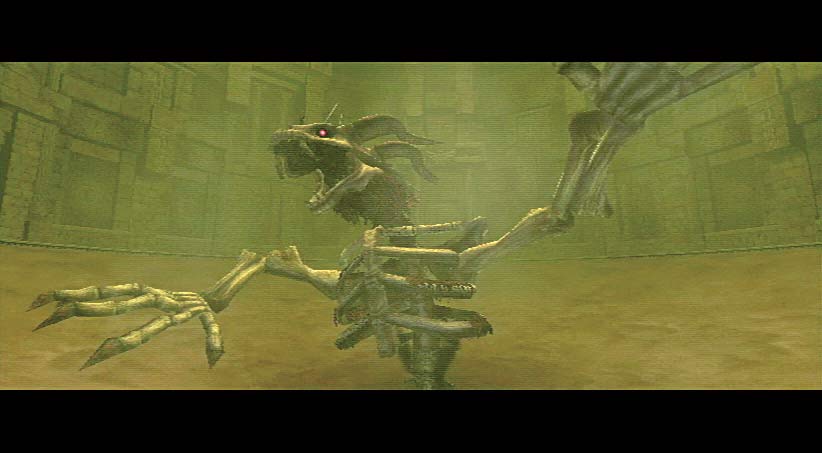
No one said that saving the kingdom would be easy. The Stallord tests your mettle as you negotiate the Spinner around the arena, dodge the Staltroops, weave away from the monster’s purple toxins, and smash into the creature’s back. You’ll get the hang of it, or you’ll pay the price! And even then, it’s not over. The Stallord has an evil surprise for you just when he seems defeated. This battle will challenge your endurance as well as your skill.
Encountered In: Dungeon 4: Arbiter’s Grounds
Death Sword
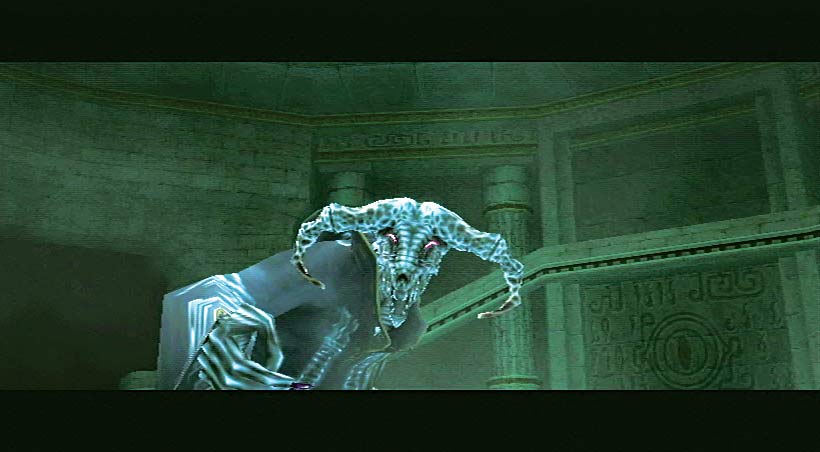
This undead creature won’t fall without the abilities of both your forms. You need the sharp eyes, and teeth, of the wolf as well as the quick sword and bow of the boy who would be a hero. It’s about speed and accuracy when facing off against Death Sword. During this battle you’ll find out if you’re lacking in either.
Encountered In: Dungeon 4: Arbiter’s Grounds
Darkhammer
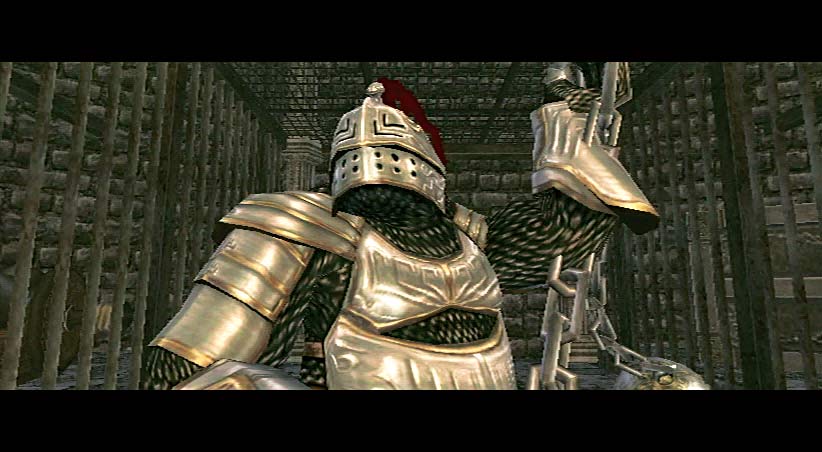
The wicked Ball and Chain of Darkhammer can quickly be your undoing if you’re not careful. Judicious use of the Clawshot or your roll move can keep you out of harm’s way, but you have to exploit the monster’s weakness (in the form of an exposed tail) to stop his onslaught. It can be a long fight, but wait for the right moment and then strike!
Encountered In: Snowpeak Mountain
Twilit Ice Mass Blizzeta
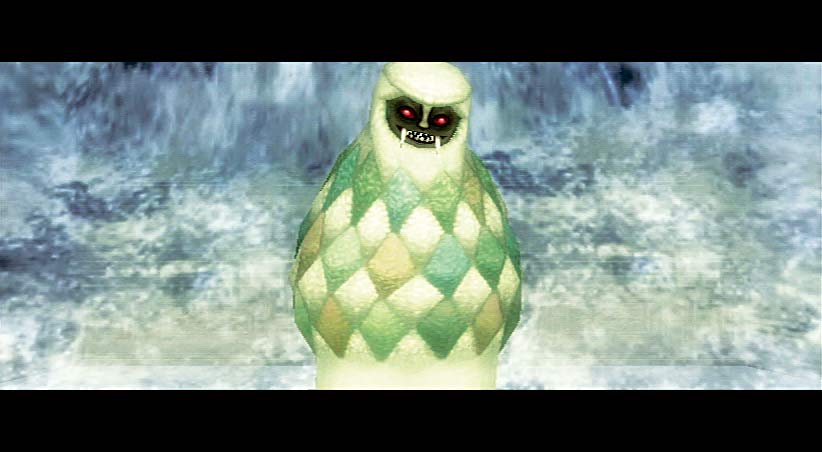
Blizzeta has control over ice, and she uses it with deadly purpose. Between her dangerous shards and frozen minions you have to make good use of the Ball and Chain to stay alive. Fight ice with steel and bash away at Blizzeta’s weapons before taking the fight directly to her.
Encountered In: Snowpeak Mountain
Darknut
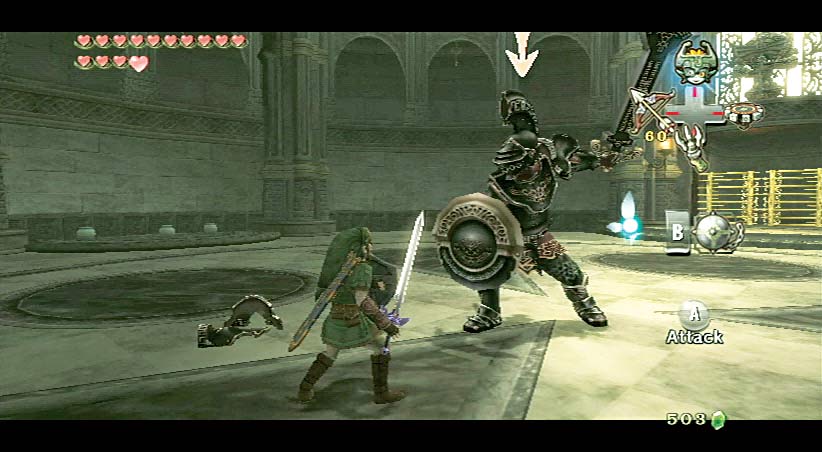
Simply attacking Darknut will not win this battle. You need quick reflexes and patience to properly disassemble this armored foe. Throwing yourself at him will only get you hurt. It’s all in the timing and the rolling. If you do it right, Darknut won’t be able to land a single blow on you.
Encountered In: Dungeon 6: Temple of Time
Twilit Arachnid Armagohma
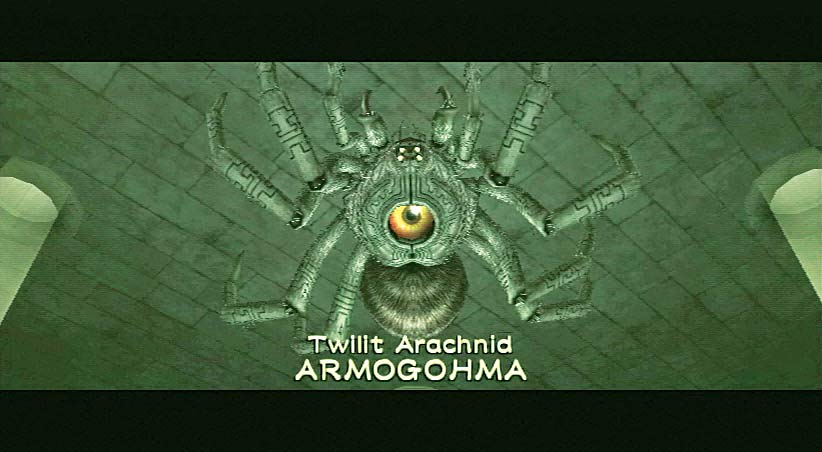
Armagohma is a fierce arachnid with the power to make your time with her memorable, though not pleasant. With rays of fire and fearsome offspring, this arachnid monster will harry you about her lair. You need a steady bow hand and some fast sword work to make it through. And if you do, you’ll be rewarded with a Mirror Shard and a Heart Container.
Encountered In: Dungeon 6: Temple of Time
Aeralfos
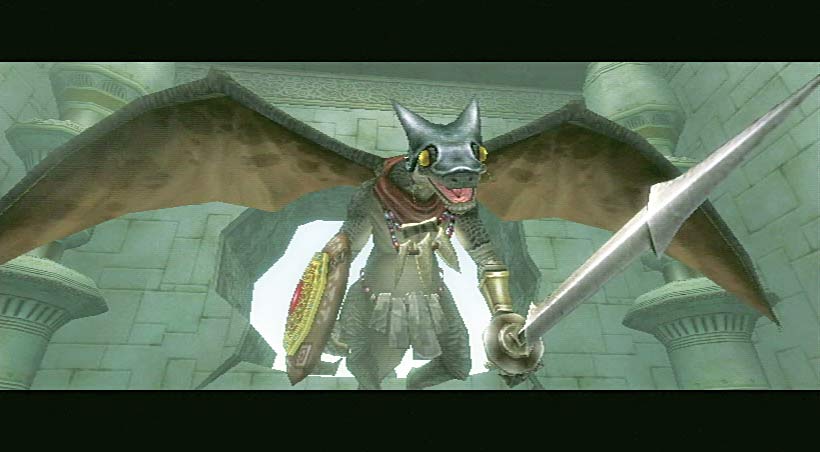
You encounter your first Aeralfos about halfway through the City in the Sky dungeon. This guy’s tricky at first, but once you figure out his weakness, he’s easy to ground-and-pound! Defeat this mid-boss to claim the awesome Double Clawshot, which allows you to move about the City in the Sky more freely.
Encountered In: Dungeon 7: City in the Sky
Argarok
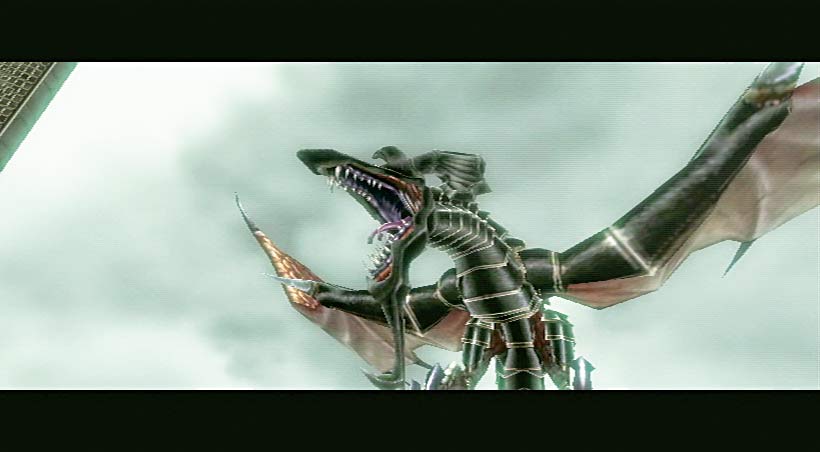
This massive black dragon has taken over the City in the Sky and is terrorizing the poor Ooccas who live there. It is well-armored and tough to track, but the Double Clawshot provides a way for you to bring this flying monstrosity to the ground.
Encountered In: Dungeon 7: City in the Sky
Phantom Zant
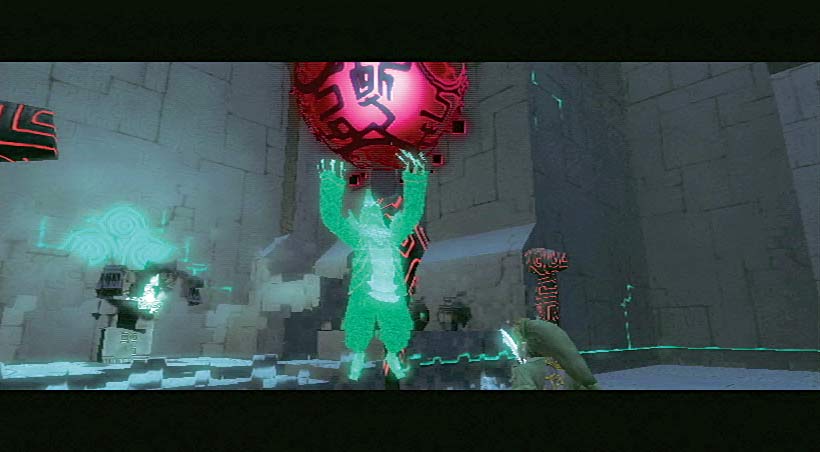
You combat Zant’s phantasmal form on two separate occasions during your trek through the Palace of Twilight before reaching the final showdown against him. Phantom Zant doesn’t combat you directly; instead, he summons hordes of twilit fiends to do his dirty work for him! Track his movements carefully and interrupt his summoning attempts at every chance.
Encountered In: Dungeon 8: Palace of Twilight
Zant
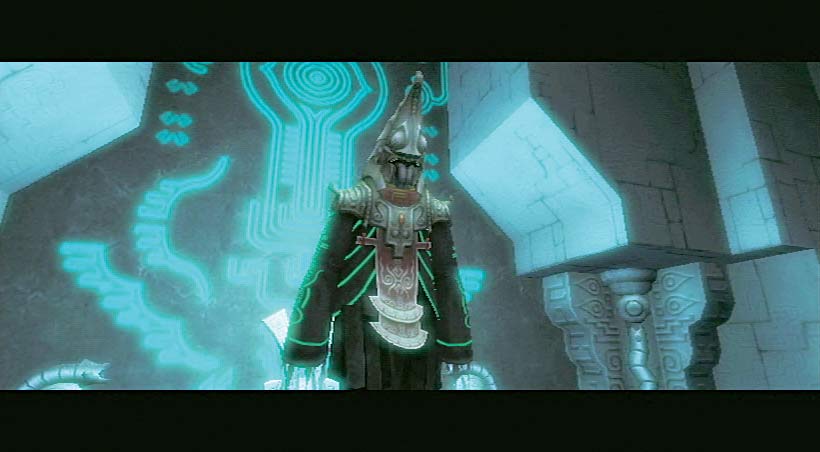
Though Zant torments you at numerous points throughout the adventure, you don’t actually get to fight him until you infiltrate the Palace of Twilight and breach his throne room. A powerful being of shadow and deception, Zant uses a variety of nefarious tactics to assault you over the course of the battle. Keep an eye on your surroundings and remember all that you’ve suffered through, and you’ll find a way to see through his every guise.
Encountered In: Dungeon 8: Palace of Twilight
Possessed Zelda
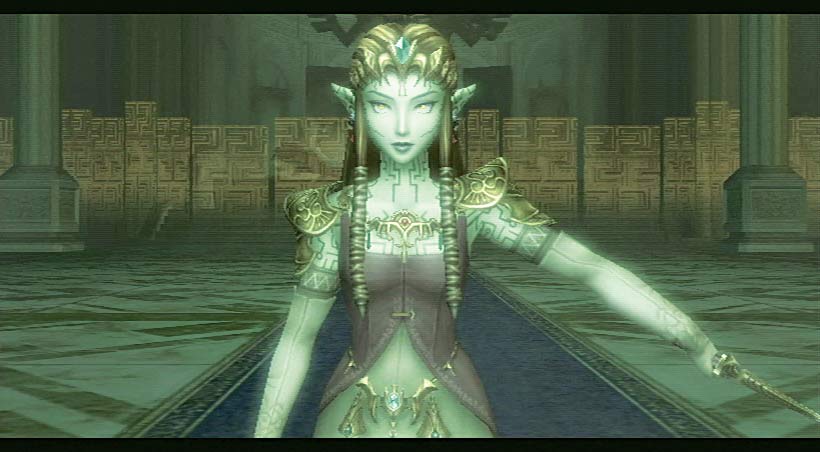
Ganondorf’s villainy knows no bounds. After you storm Hyrule Castle and threaten him with the might of the Master Sword, Ganondorf possesses Princess Zelda, using her body as a host for his wicked soul. Turn the possessed princess’s light-based attacks against her to rid her of Ganondorf’s vile influence.
Encountered In: Dungeon 9: Hyrule Castle
Ganon
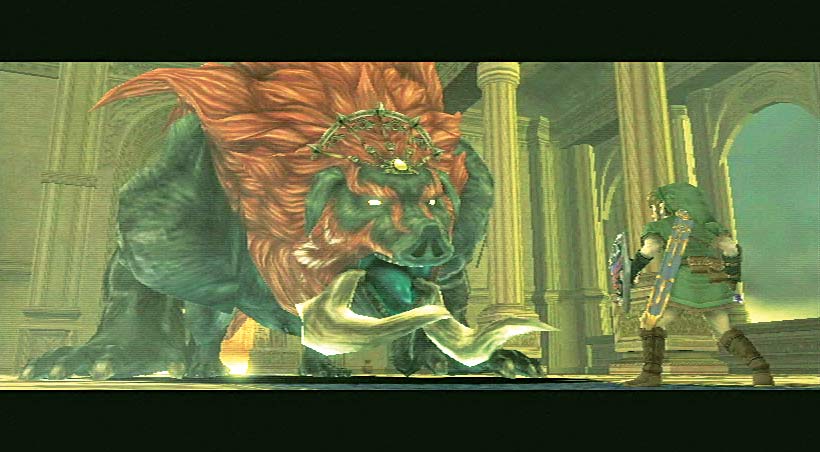
A massive, hulking pig-beast, Ganon is the physical embodiment of Ganondorf’s unbridled power and rage. In this terrible form, Ganon can teleport about at will and attack without warning. Track his movements carefully and have the courage to stand him down!
Encountered In: Dungeon 9: Hyrule Castle
Ganondorf
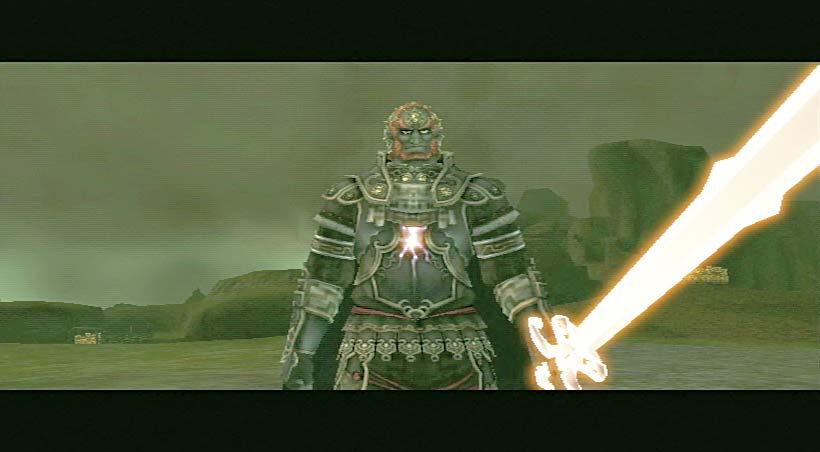
The epic final battle against Ganondorf occurs in two stages. In the first, you face the demon thief on horseback, and must rely on Princess Zelda’s help to slow him down. The second stage of the fight is a one-on-one duel to the finish; bring all the techniques you’ve learned to bear against Ganondorf and defeat him to save Hyrule from the darkness he represents!
Encountered In: Dungeon 9: Hyrule Castle