
The Legend of Zelda: Twilight Princess Wii Guide Walkthrough Walkthrough
Ordon Village; Tranquility Before the Twilight
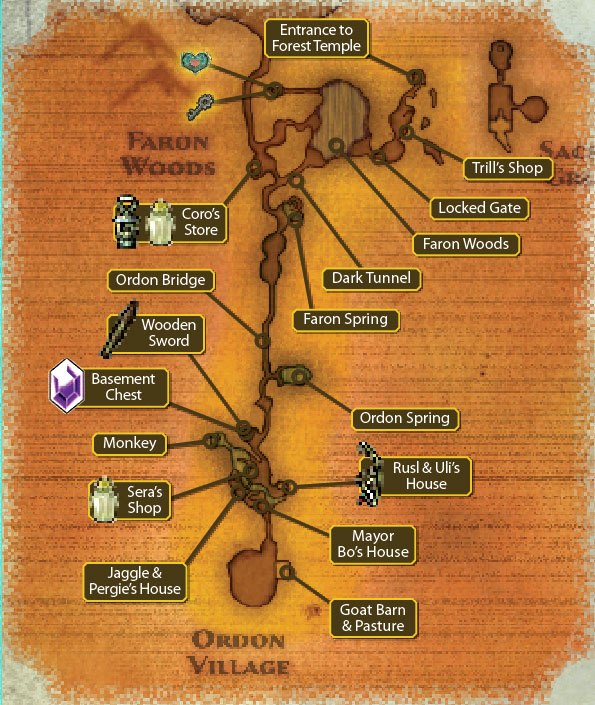
Ordon Village; Tranquility Before the Twilight: Overview
You have a peaceful life as a goat herder, animal wrangler, and keen friend of the forest, and the tiny community you call home is filled with cheer.
When you’re not riding your faithful steed Epona and rounding up those wayward goats in the pasture, you’re using the famed whistling grass to summon a hawk, or wishing you had a Fishing Rod; the Greengills are biting at this time of year!
But the mayor of Ordon has something special for you: you are to be an envoy to Castle Town, across the Hyrule Field, and present a specially forged sword at a ceremony.
You must leave your tranquil life, after finishing up your chores naturally, and begin to explore the world around.
The arrival of a pesky monkey from nearby Faron Woods is but a tiny prelude of the adventure to come!
Items to Obtain
|
Blue Rupee (5) |
Fishing Rod |
|
Fish Journal |
Yellow Rupee (10) |
|
Milk in a Bottle |
Slingshot |
|
Milk |
Bee Larva |
|
Seeds |
Wooden Sword |
|
Lantern |
Lantern Oil |
|
Purple Rupee (50) |
Small Key |
|
Piece of Heart |
|
A Link to ththe Present
Overworld Denizens
Task 1: Enter Ordon Village
Sunset At the spring
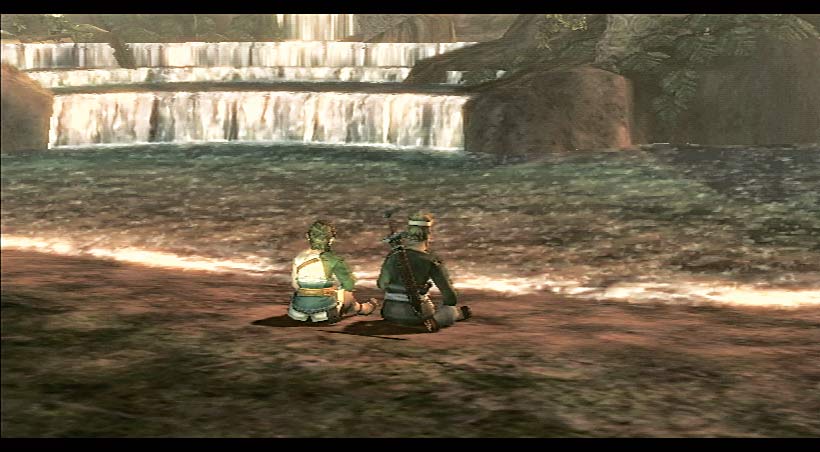
Near the settlement of Ordon Village, you sit and admire the serene view. “Tell me…” Rusl asks you, “Do you ever feel a strange sadness as dusk falls?” But enough of this melancholy! Rusl is delivering something to the royal family of Hyrule in two days’ time.
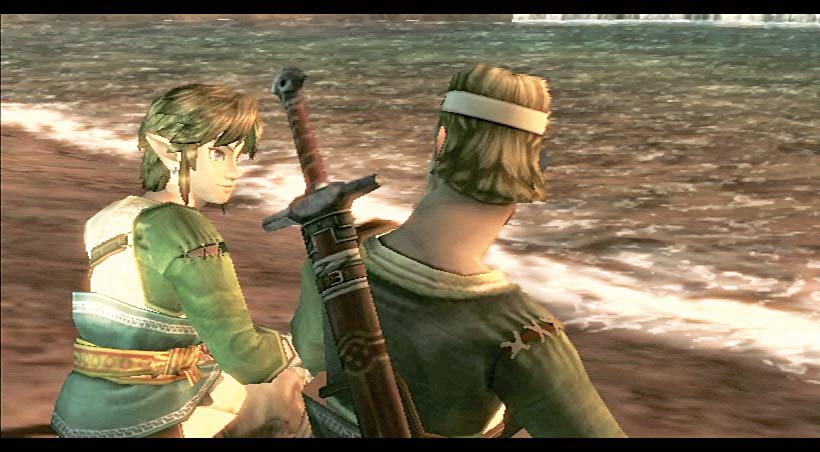
Rusl encourages you to explore the kingdom and the world around it. You lead your horse, Epona, who is carrying some bundles of kindling you both gathered, over the Ordon Gorge Bridge. Rusl locks the bridge gate.
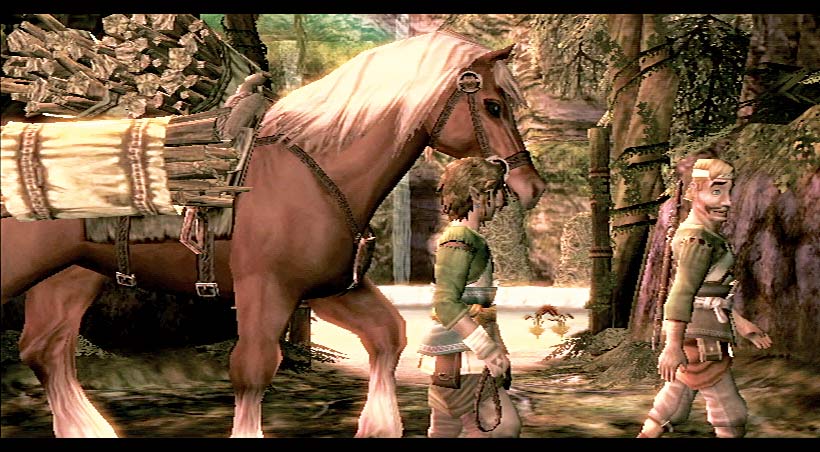
Rusl rejoins his family, Uli and Colin. He leaves you and Epona at your woodland home, and heads to the village entrance. Colin takes Epona’s reins and leads her off to rest. You climb up into your home. A moment later, Fado yells up to you. He needs help wrangling a few goats!
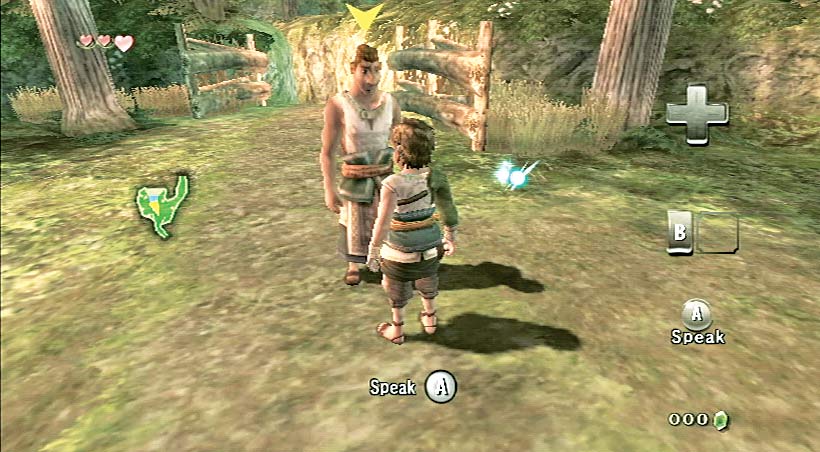
Head on over to Fado when the opportunity presents itself, and speak to him [A]. He tells you to hurry up and bring Epona with you.
You saw Colin leading Epona down the forest path to the right of your house, so go this route.
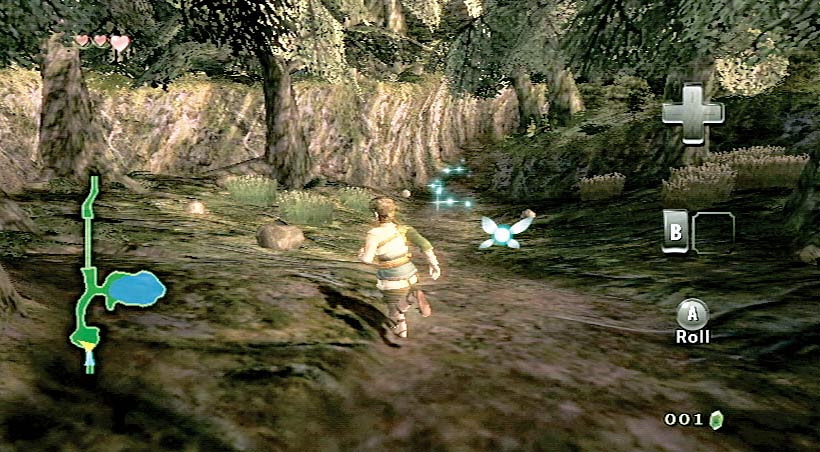
Run northward, to the right of Link’s house, into the Ordon Woods. Follow the path onward toward the bridge, or stay and inspect the area for interesting items under the rocks and in the reeds.
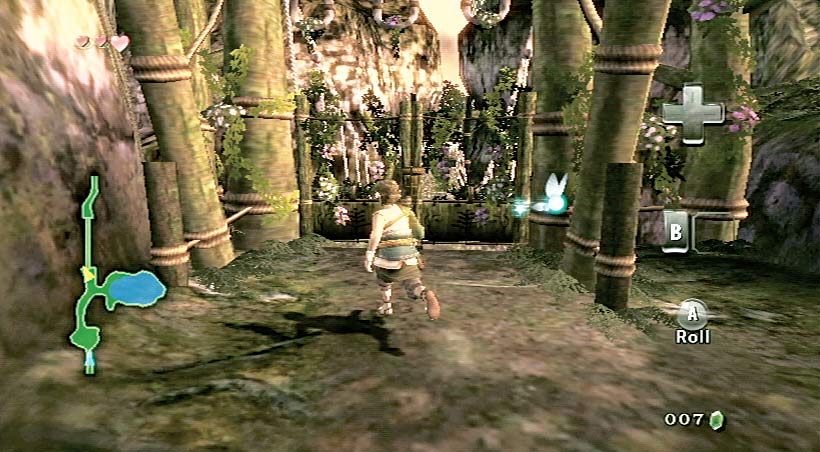
You’re looking for a way to the Ordon Spring, where Colin has taken Epona. As you reach the bridge, you’ll see Rusl has locked it, and you cannot move farther northward.
Instead, choose one of two paths to the spring: one is hidden, the other not.
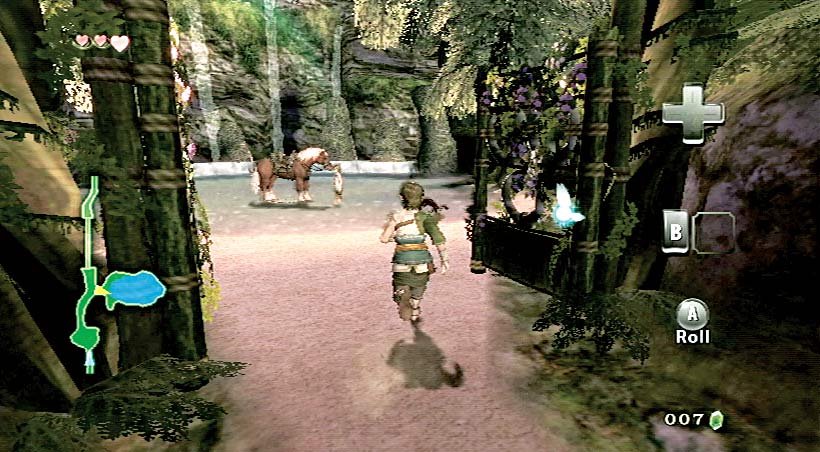
Follow the Path: Follow the main path northward, then turn right at the sealed bridge entrance. The radiant spring is inside this entrance.
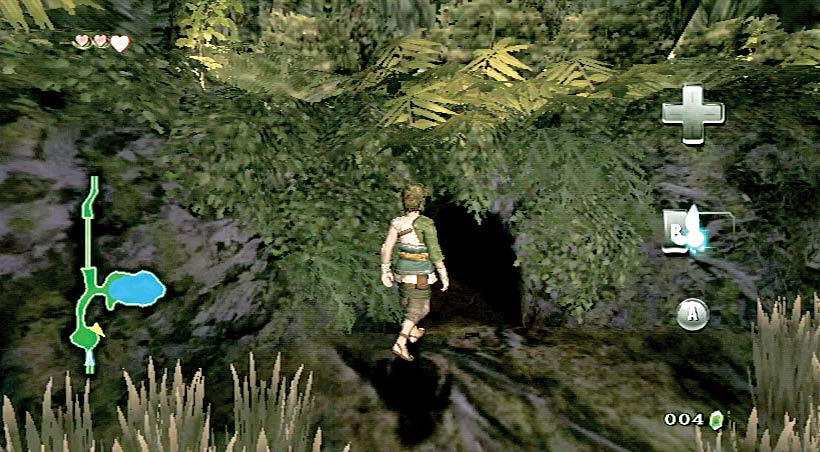
Warren Peace: A sneaky way of entering the spring is to backtrack to the grassy wood area and check the eastern bank. Among the gnarled tree roots and grass is a small warren! Press A to enter when you’re near.
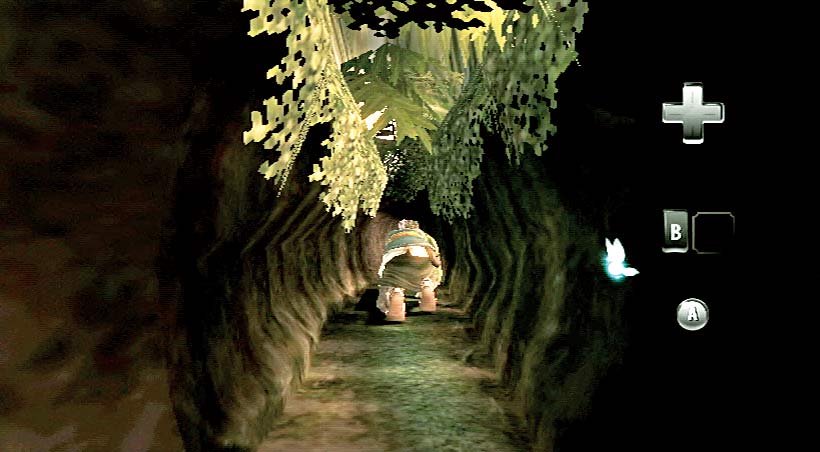
Crawl along this tunnel until you reach the corner, then make the turn when you’re prompted. You shuffle 90 degrees and continue your progress.
Keep on crawling until you reach the light at the end. Step out into the spring, and head for your horse.
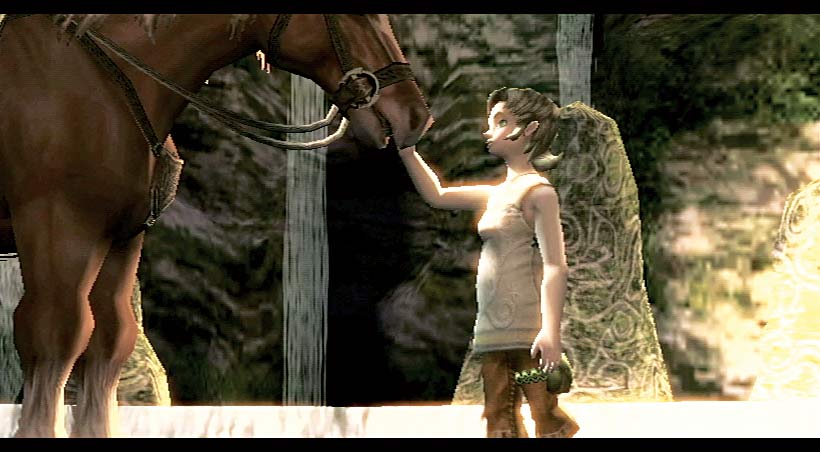
You step into the pool, and watch as a girl steps forward toward Epona. It is Ilia. She looks radiant in this dappled light. She’s washed your horse for you. You smile at her. When you catch your breath, head on over and talk to her.
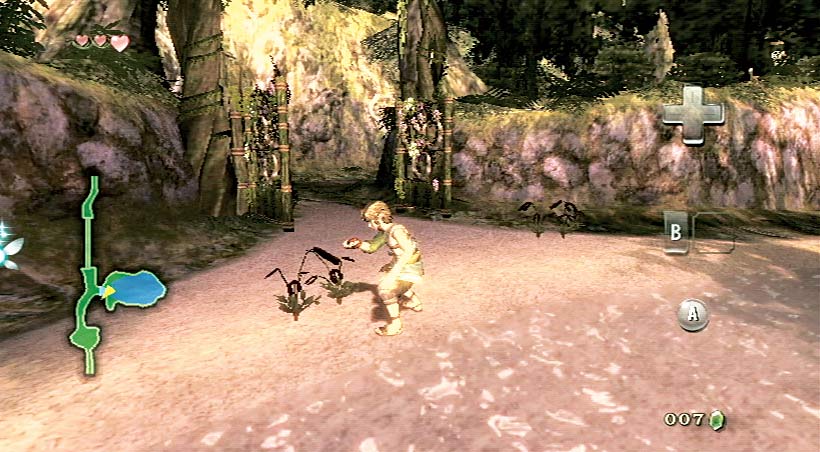
Epona is ready for you to ride. Ilia reminds you that you have work to do at the ranch; Fado will be getting antsy.
You should also pick up a piece of grass shaped like a horseshoe, also known as Horse Grass. There are two clumps on either side of the spring entrance.
You play a sweet melody, and Epona canters to you.
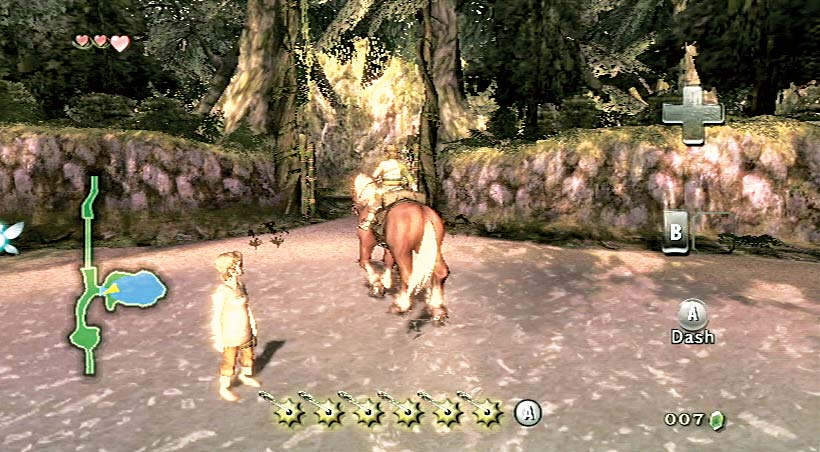
Get onto Epona by moving to her side and pressing [A]. Dismount by pressing the same button, but only when Epona isn’t moving! Trot back the way you came. Head out of the spring.
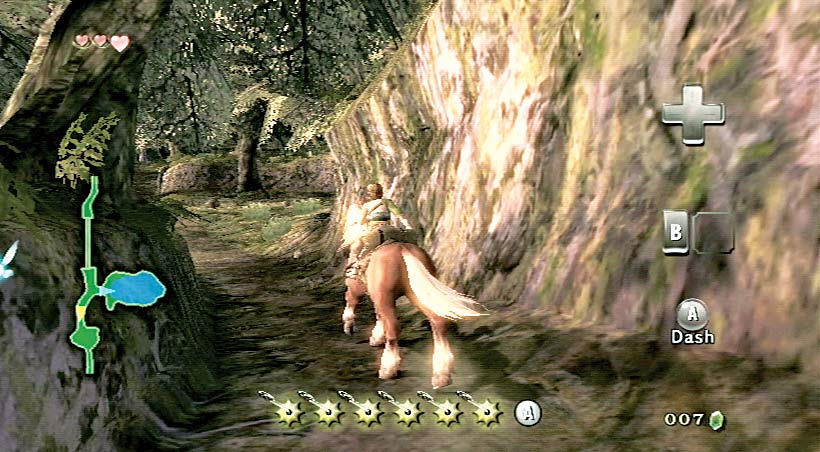
Turn left, heading south toward your home. Pass the woods and your house, and head straight for the entrance to Ordon Village to the south. Spur Epona with [A] if you require extra speed.
Task 2: Explore Ordon Village
Ordon Village at Sunset
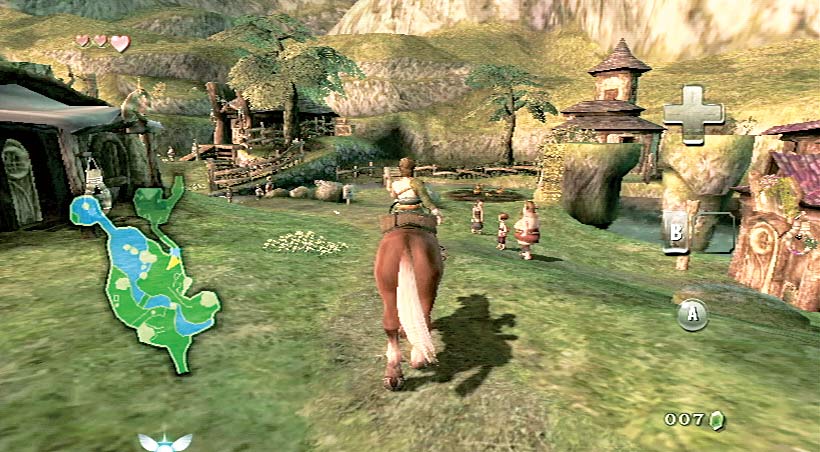
Welcome to Ordon Village! The people are friendly, unless you’re out to destroy their pumpkins.
As twilight leads to night, you enter Ordon Village and watch the villagers as they stand around, talking. By a shallow stream, Rusl practices his sword-swinging while Uli and Colin watch.
In the distance, a large man is waiting at the goat enclosure entrance. Dismount from Epona if you wish.
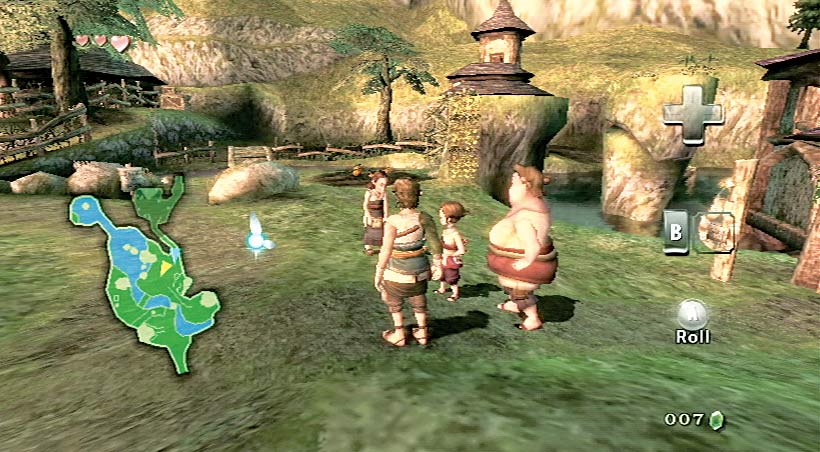
Get off your horse, and speak to the trio of villagers standing near the first house on the right. The man, Hanch, and his jolly wife Sera, tell you of the mischievous monkeys pilfering from the village.
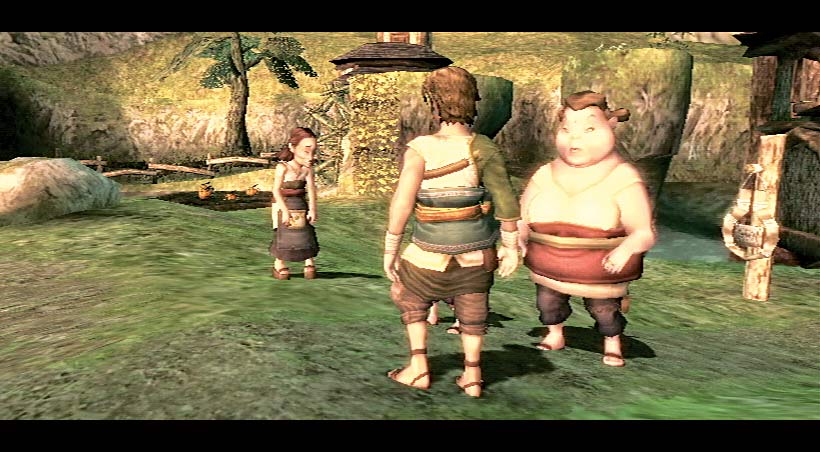
Everyone’s locked their homes and businesses because of this simian stealing. Sera and her daughter Beth admonish Hanch for his inability to catch the monkeys.
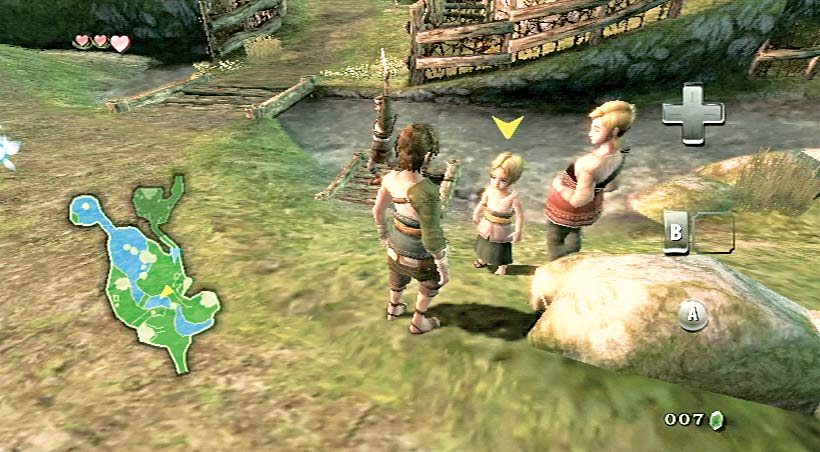
Move down the main village path and stop when you see Colin, Uli, and Rusl at the shallow stream jetty. Speak to Colin and he tells you he’s making you a Fishing Rod.
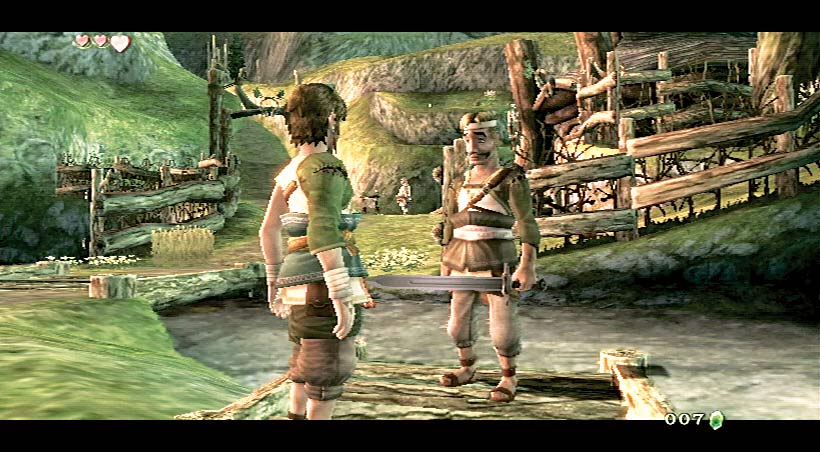
Rusl, who’s nearby, testing the metal of a sword, also lets you know about Colin’s Fishing Rod. It should be ready for you tomorrow.
When you’re done talking, optionally explore the area more before heading south toward the exit.
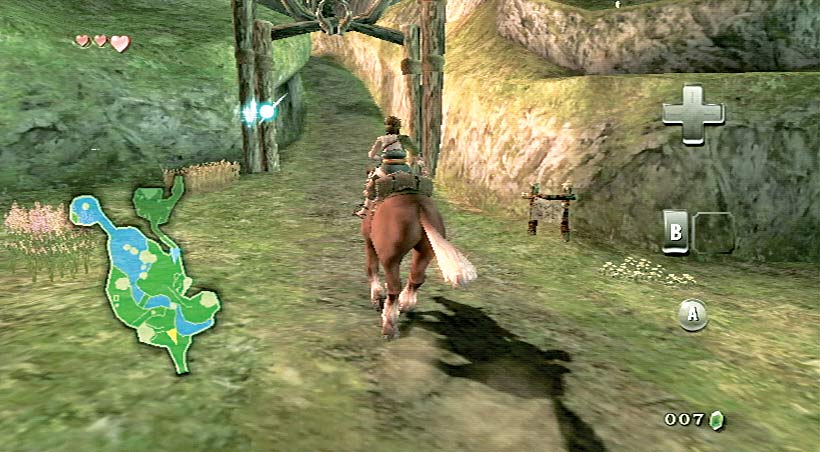
Crossing the stream leads you to an imposing fellow with a frankly incredible moustache. This is Mayor Bo, who’s standing outside his impressive hut. His dwelling is sealed.
There’s much you can do in the village, but it’s easier to perform these feats in daylight. Refer to the next Missing Link section for details.
Instead, return to your steed, and ride her south, past the mayor’s house, and up the narrow banked path to the goat pasture at Ordon Ranch.
A Goat of a Chance: Herding Time
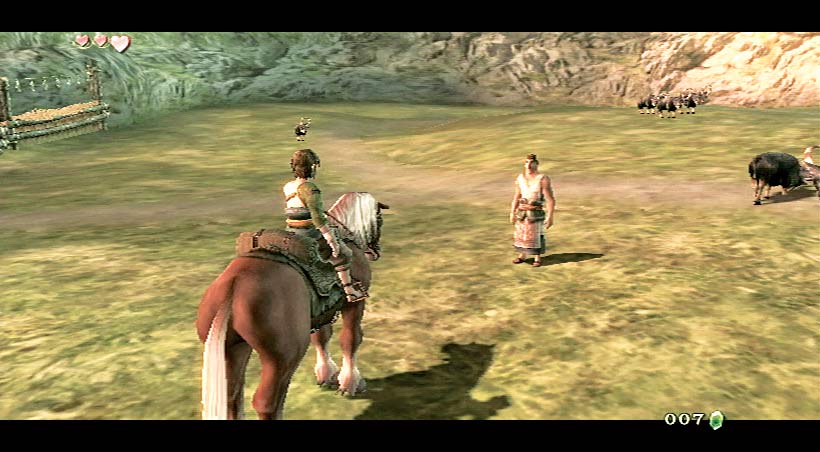
When you arrive at the goat pasture, Fado greets you. He needs you to herd 10 of the goats into the barn. Agree to this task, or you can’t progress.
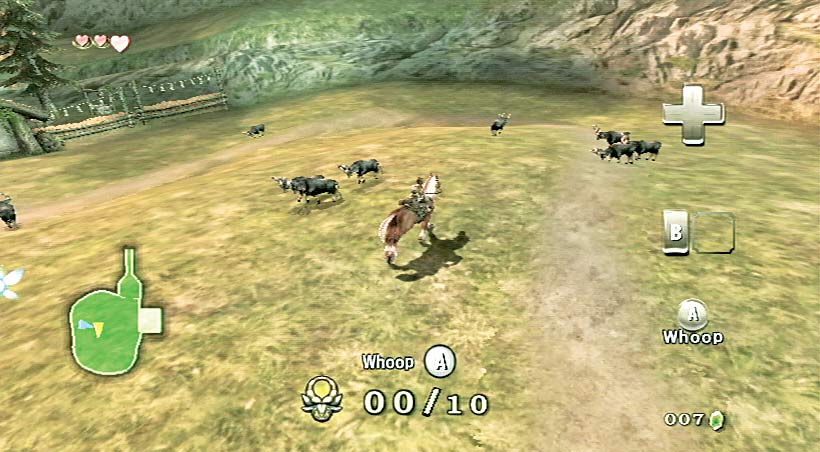
After you begin the task, a running total of how many goats you have successfully herded into the barn appears at your screen’s bottom.
You also have a new tactic: the “whoop.” Press A to let out a sharp yell. This gets the goats moving quickly!
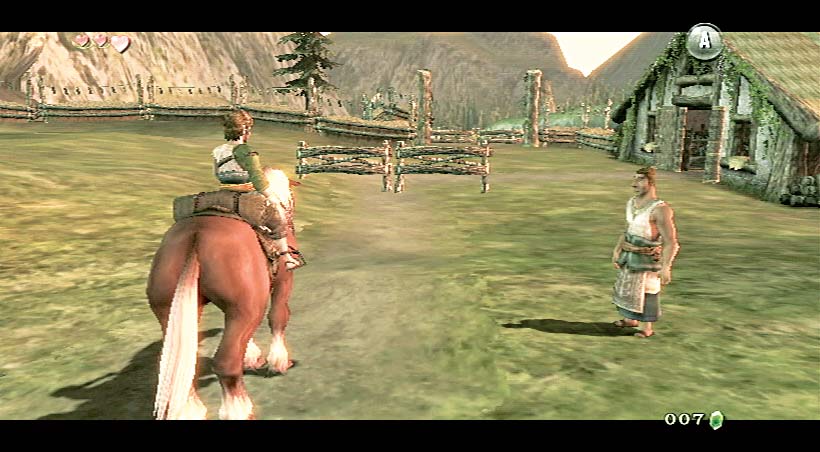
Take as long as you like with the herding. After you’re successful, Fado comes in and thanks you for your help.
He says he can handle wrangling duties tomorrow while you head toward the main city with that gift Rusl is making.
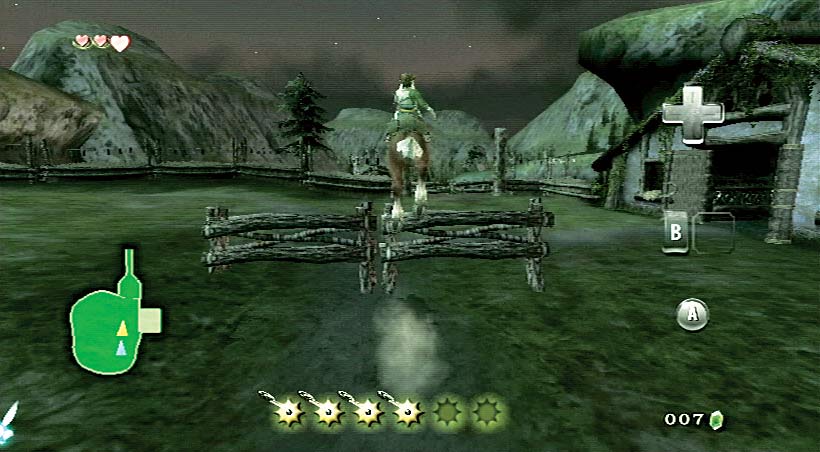
Fado sets up some fences for you to leap over. Make sure Epona is facing the fences directly, and not approaching from the sides or an angle, or she refuses to jump.
Use the spurs (3) to gain enough speed to leap each fence. There are two in the pasture. When you’re finished, bound over the fence leading back to the village, and to your home.
Task 3: Rescue the Cradle From the Monkey
Monkey Business: Ordon Village Objectives
You awaken the next morning. Three children shout to you from in front of your house. Optionally, you can peer through your upper window at the view.
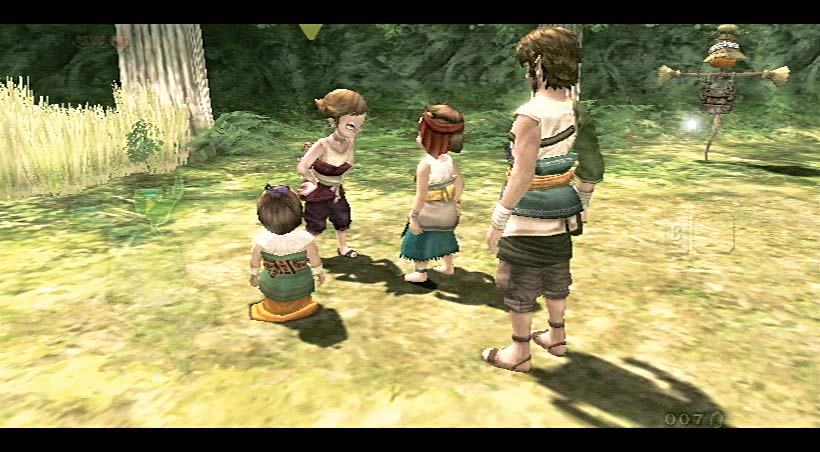
Head down two ladders to the main floor, and exit your home. Beth is here along with two young tykes, Talo and Malo. Talo explains with glee that there’s a Slingshot for sale at the store!
Leave those three to argue, and talk to Colin, who’s tending to Epona near your house. He’s finished the Fishing Rod, but you’ll need to find Rusl to get it.
Hive Inspection, and Hawk Summoning
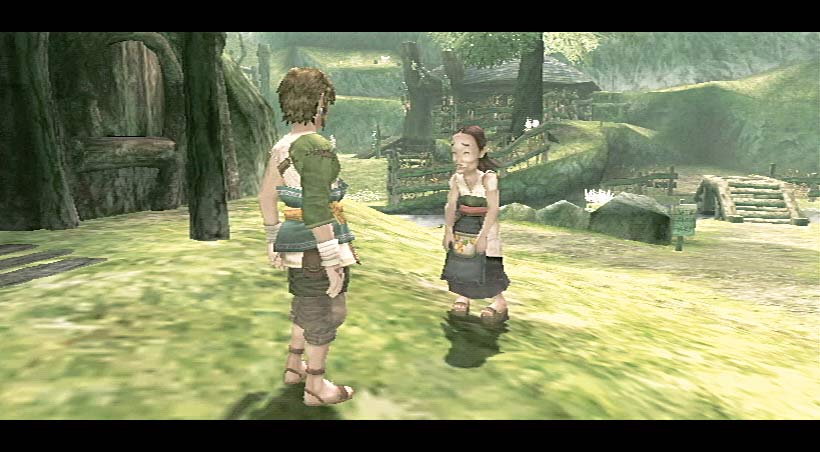
Run down the path to the village, and spot Hanch looking up at the tree above Fado’s house.
Head on over and speak with him. He has to restock the store and he has spotted some Hylian Hornets nestled in the branches.
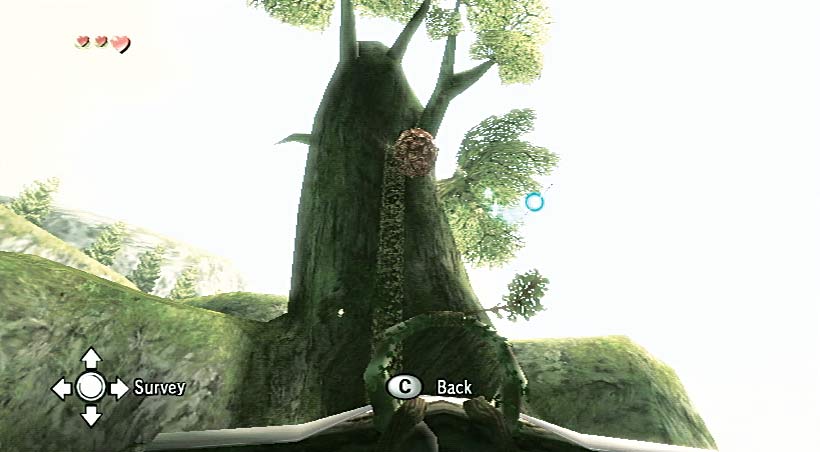
The moaning and groaning doesn’t end there, either! The family cat hasn’t come home since yesterday, and Sera’s in a bad mood.
Hanch is thinking the Hylian Hornets might help his situation, as he can at least return to Sera with Bee Larva. Use your free-look and check out the hive.
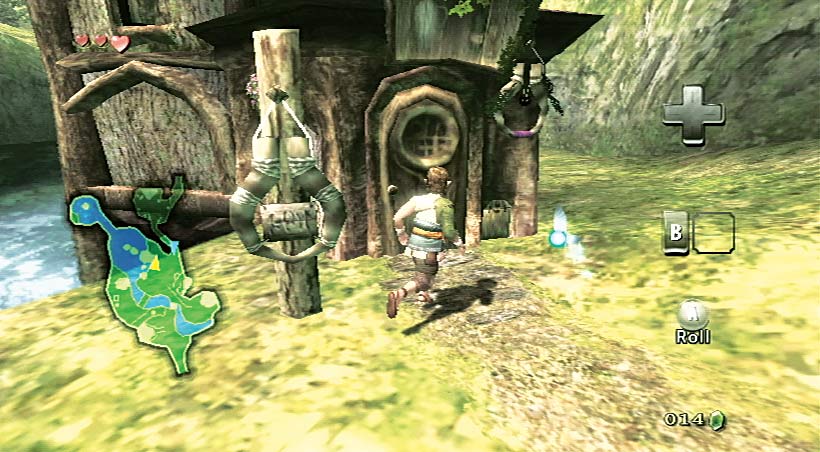
Keep the hive on your mind, then ignore Fado’s house (it’s locked) and run across to Sera’s Sundries: One-Stop Shopping.
There’s a sign to one side and a cat-flap next to the door; you can’t miss it. Open the door, and head inside to meet Sera.
Sera is draped over the table, looking at a Bottle of Milk. She scolded the family cat, and he hasn’t returned.
She’s so fraught, she has exhausted herself. Leave the shop; she isn’t in the mood to sell the Slingshot, pot of Bee Larvae, and Bottle of Milk.
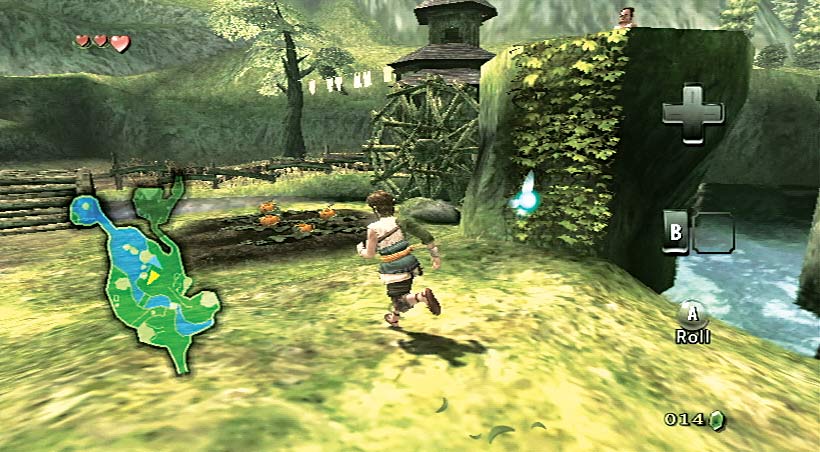
Exit Sera’s house and inspect the main sign in town, then inspect every part of the village you can.
There’s a wide variety of extra fun to be had (see the Missing Links list nearby). On your way to checking the area out, move to the pumpkin patch. You’ll hear a hollering!
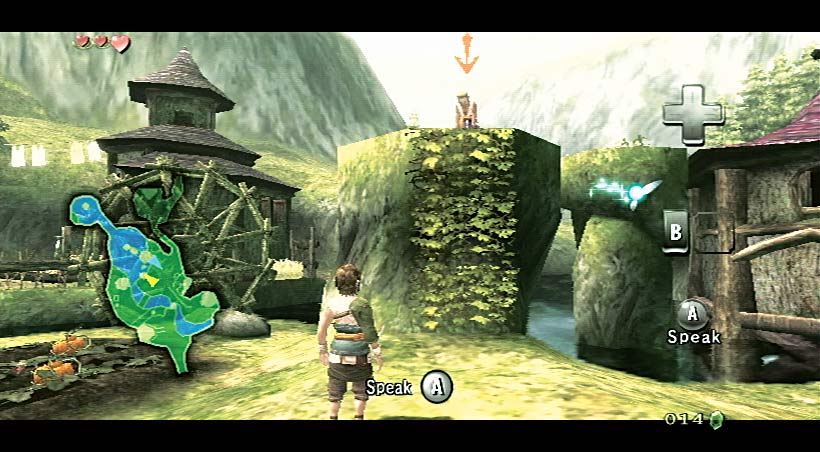
It’s Jaggle! He’s standing on a nearby rock between the waterwheel and Sera’s Sundries. Follow his instructions, and talk to him by [Z] targeting, then pressing [A]. He asks you to do the same with Talo and Malo.
Jaggle asks you to climb the vine up to the top of the rock he’s standing on. Once you’re up there, he points down to the creek near his house (the one with the waterwheel) at the cat. He wonders if the cat can catch a fish….
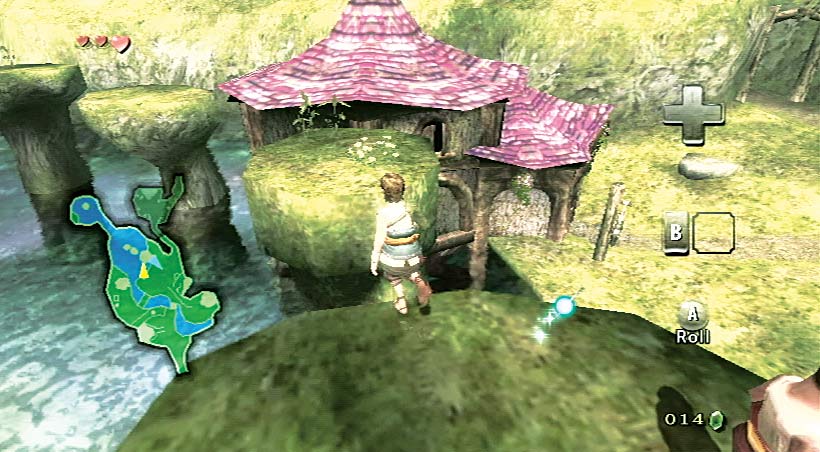
The cat isn’t Jaggle’s reason for getting you here, however. He points to some Hawk Grass growing out of a nearby rock.
He tells you to hop across the rocks to check it out. Use the analog stick pushed forwards to jump the gap.
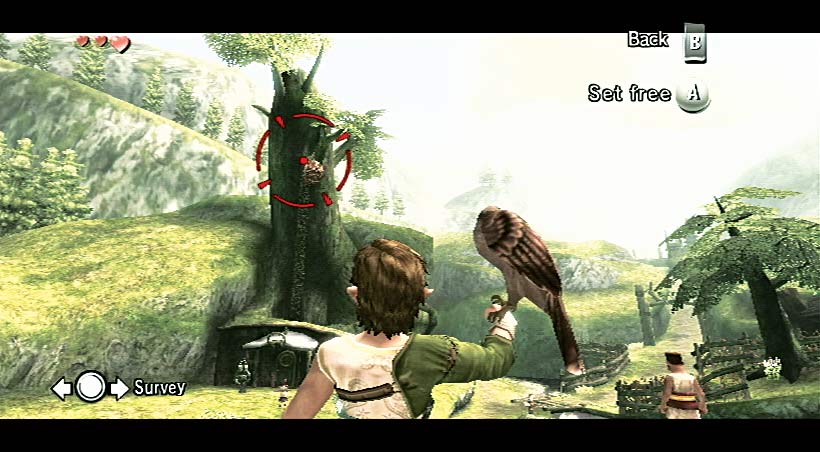
Head to the rock with the Hawk Grass, then pick it and blow it. A hawk (the one you saw from your window earlier) swoops down and lands on your arm.
You can now rotate your view, and use the red target to line up a location for the hawk to fly to when you set him free (with [A]).
Face the tree above Fado’s house. You can see the Hylian Hornets’ hive from here. Line up the hive and set the bird free.
It flies at the hive, knocking it to the ground and smashing it. This is the first method of dealing with the Hylian Hornets.
The Monkey and the Cradle
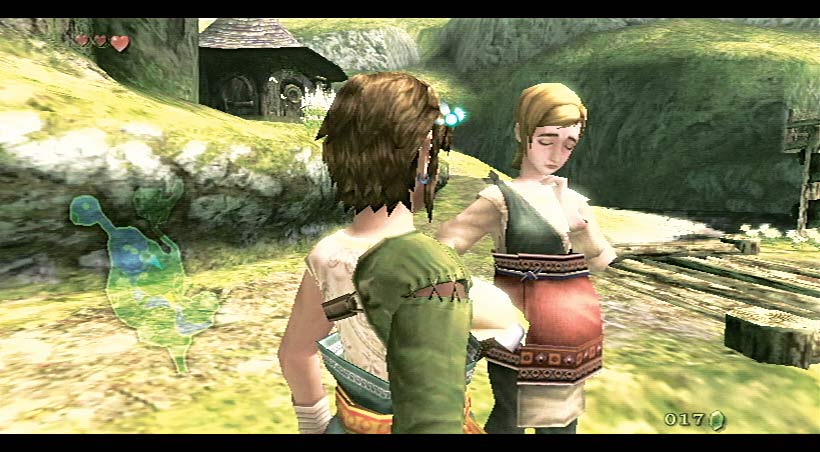
When you learn to summon the hawk, head to the stream in the village center and speak with Uli. Rusl has already left the village with the sword.
But Uli seems worried; she’s lost a cradle made from finely woven tree bark. She made it when Colin was born, and she cherishes it.
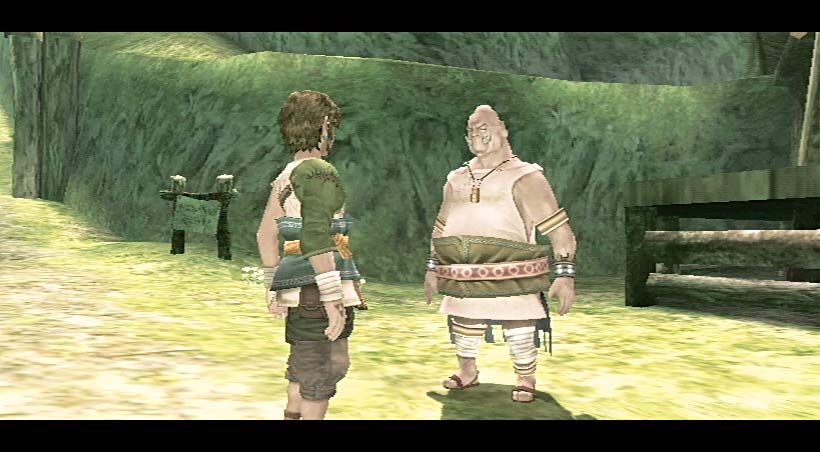
It’s time to look for the cradle! First though, as you’re near the mayor, head over and talk to him. He’s fearful of Fado handling the goat ranch today. He’s right to be nervous!
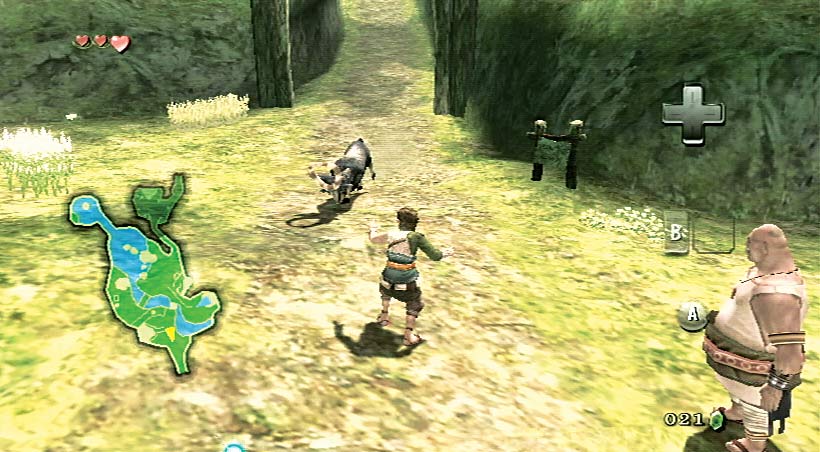
A goat bounds down the path toward you both. It’s up to you to stop it! Move left and right so you’re blocking the goat’s path, then grab it using [A]. You automatically swing it around, throwing the goat to the ground.
The mayor thanks you for stopping the goat. If you try to enter the mayor’s house, he tells you Ilia is inside, working like crazy on something.
You can’t disturb her, so head toward the house with the waterwheel on the side of it.
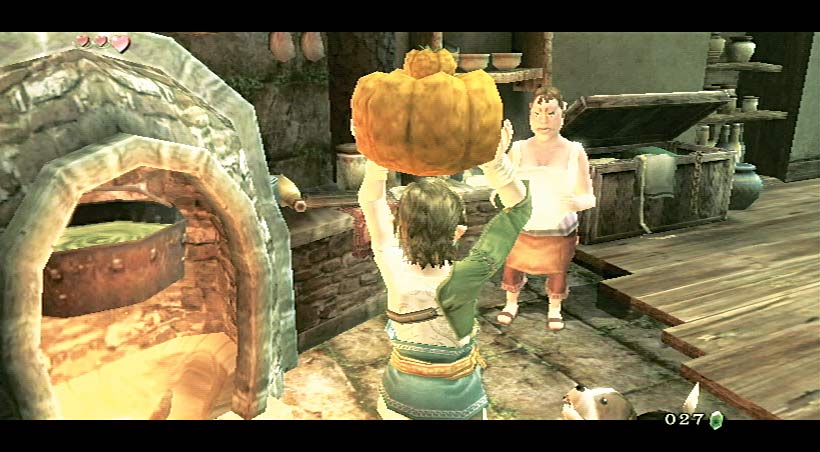
Enter the home of Jaggle, Pergie, Talo, and Malo and after optionally inspecting the residence, walk over to Pergie and talk to her.
She says Jaggle’s probably asleep somewhere (he’s actually on that rock), and he’s making a shield for Rusl.
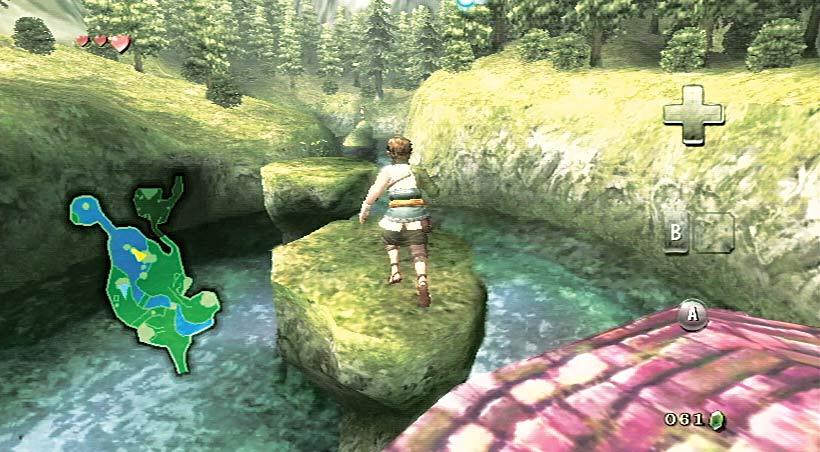
Head out of Pergie’s home, and climb up on the rock where Jaggle is standing.
Hop across the flat rocks, onto the roof of Sera’s Sundries, then to the rock in the middle of the pond, heading northwest. Check the narrow stream ahead.
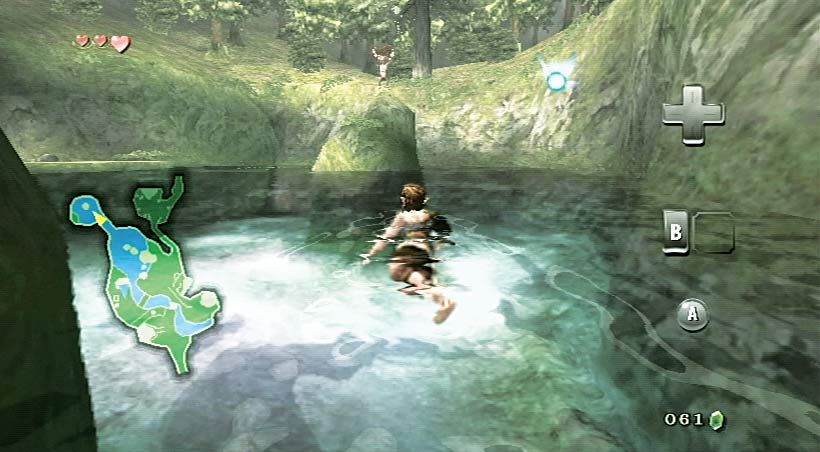
Optionally, you can investigate the leaping figure atop a rock ahead of you. Dive into the water, and swim up the narrow gap between the hillsides.
As you close in on the figure, you can hear eeping and monkey calls. It’s the cheeky monkey!
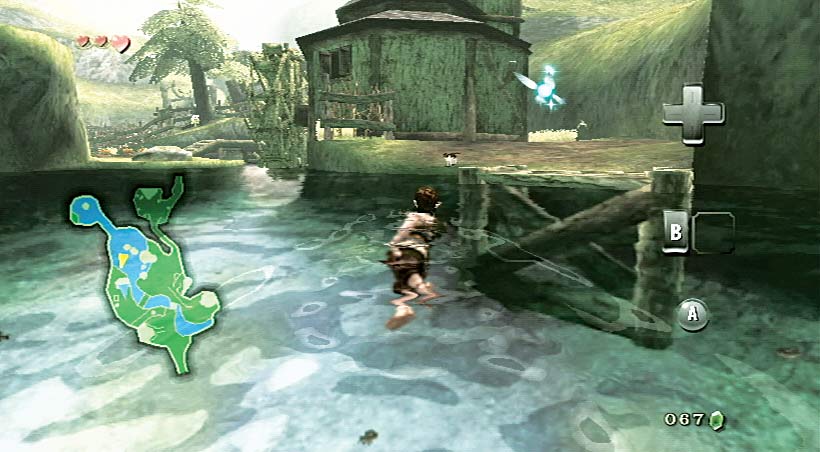
Swim left and clamber onto the pond-side bank. That monkey is leaping up and down, carrying Uli’s cradle.
This will not do! Optionally inspect the rocks for Rupees (one has a blue Rupee), then swim to the jetty where the cat waits. She runs when you approach her.
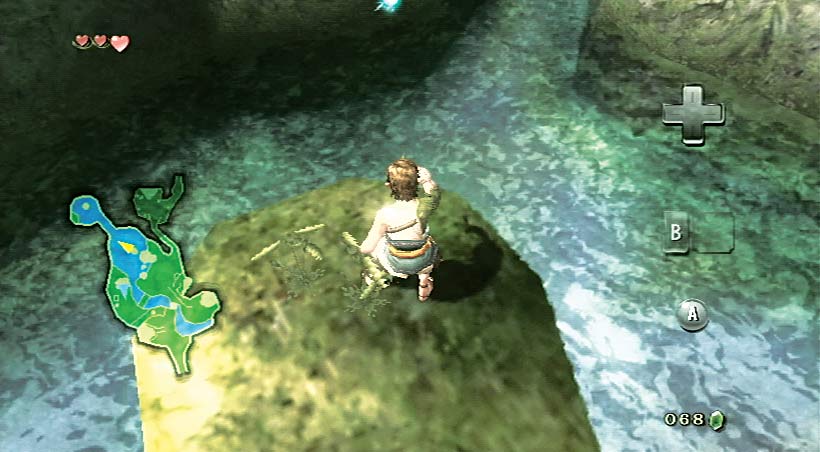
Run to the rock on which Jaggle is standing. Return to the end rock, and use the clump of Hawk Grass to summon the hawk.
During the cutscene, carefully look for the 10-Rupee piece. It’s on a tree somewhere. You’ll get that in a moment.
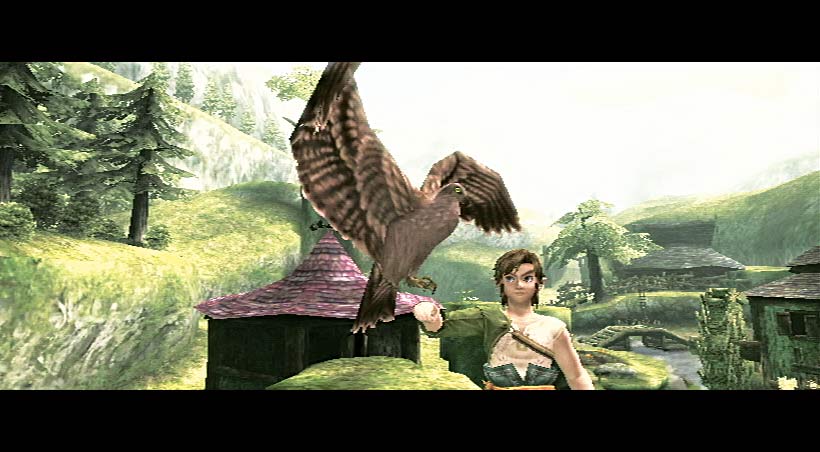
You can get the cradle thanks to the hawk! All you need now is a lady who’s a fan of intricate woven furniture.
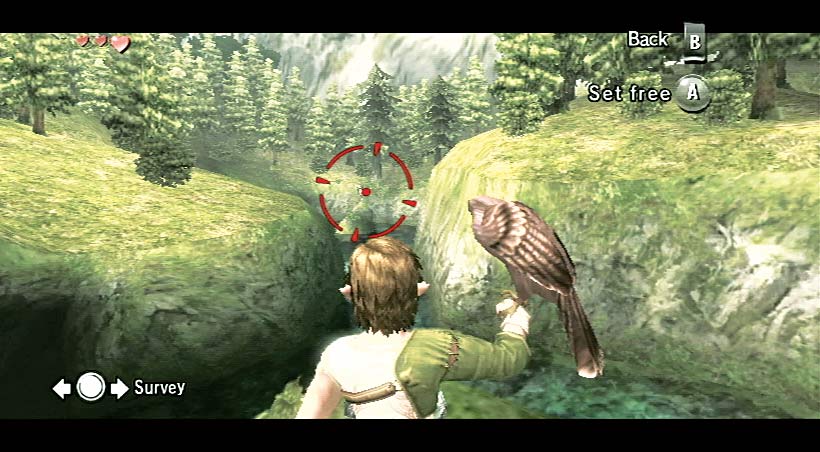
Although you can’t hit the Hylian Hornets from here, you can strike something equally important: that pesky monkey!
You can’t attack or approach him from the ground or water, so aim and send in the hawk. The bird steals the cradle back from the monkey, and drops it at you.
You catch it. Now return (carefully) to Sera’s roof, and drop down to the grass below. You can fall into the pond, but you need to push the cradle to shallow water.
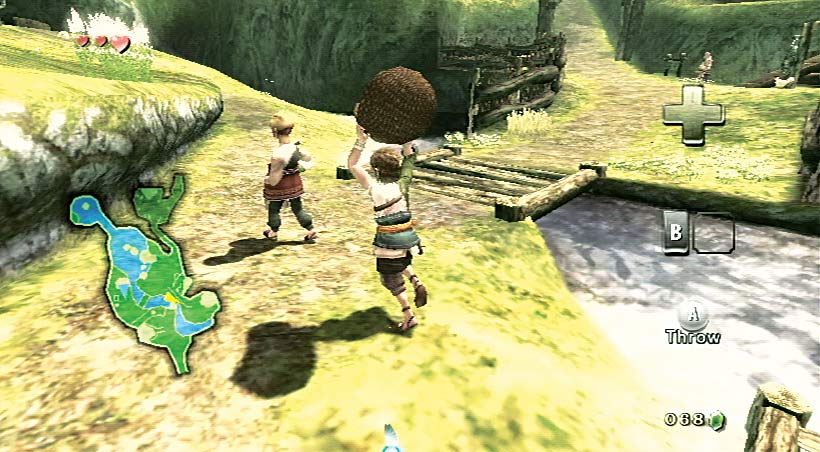
Head toward Uli’s location and give her the cradle. She’s thankful and realizes she needs to give you something.
She wants you to accompany her to her home. Follow slowly behind, or run up and around to the front door.
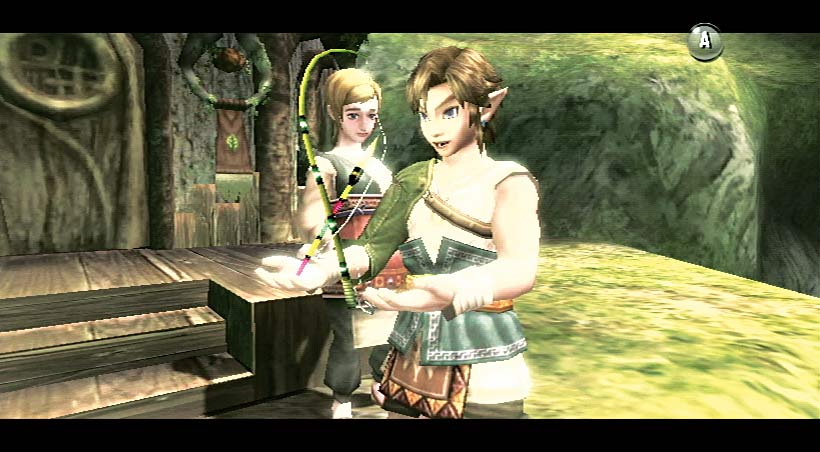
Uli presents you with the rod Colin made. It is simple (it lacks a reel), but finely crafted. Set it to B on your Main Items screen. When it’s equipped, press B to hold it. Lower the Wii Remote to cast your line into the water. Raise the Wii Remote to pull the line in, like a real rod!
Task 4: Removing the Buzzing Threat From the Tall Tree
Slingshot Shenanigans
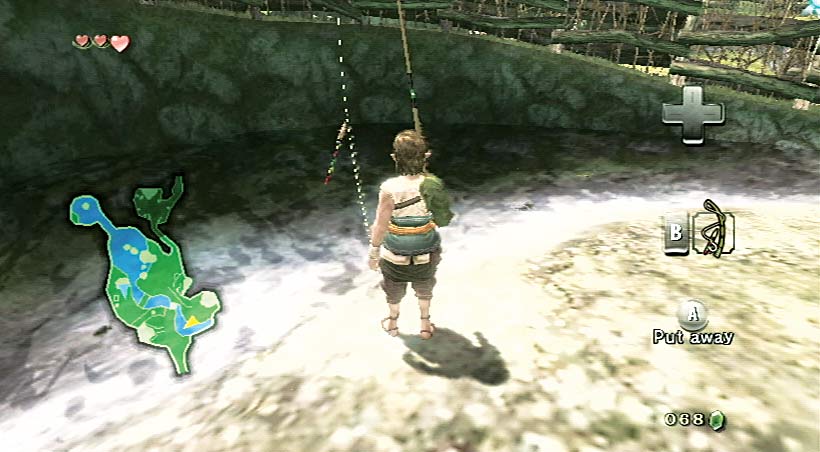
Optionally try out your Fishing Rod at the shallow hillock’s bottom. Stop at the stream edge and test the rod. If you’re patient, you can catch a Greengill here.
This is one of three good fishing spots in the village.
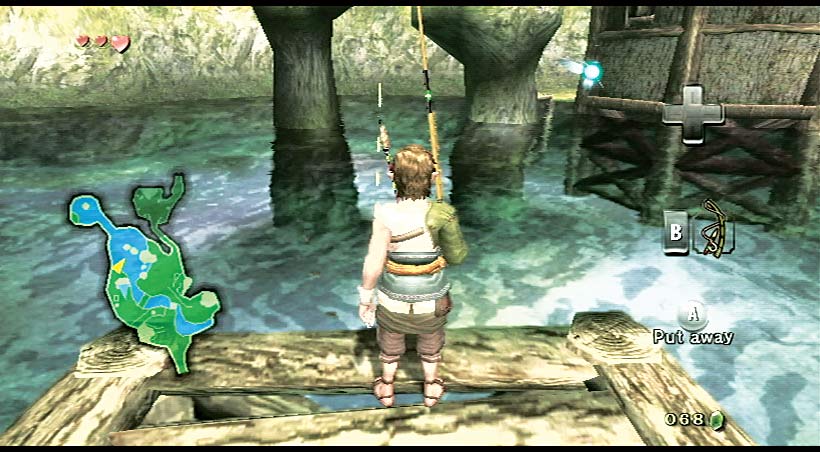
Now to befriend the cat! Move to the fishing spot behind Jaggle and Pergie’s wheelhouse, and stand at this jetty’s edge.
Cast your line, and wait for a moment or two. The bobber slowly sinks until it’s vertical. Wait for it….
Fish on! Pull the rod up (using the Wii Remote; move it so it’s vertical) and gently pull back when the floater bobs down slightly in the water.
If you miss, re-cast your line. Keep this up until you land a fish! This is likely to be a moderately sized Greengill.
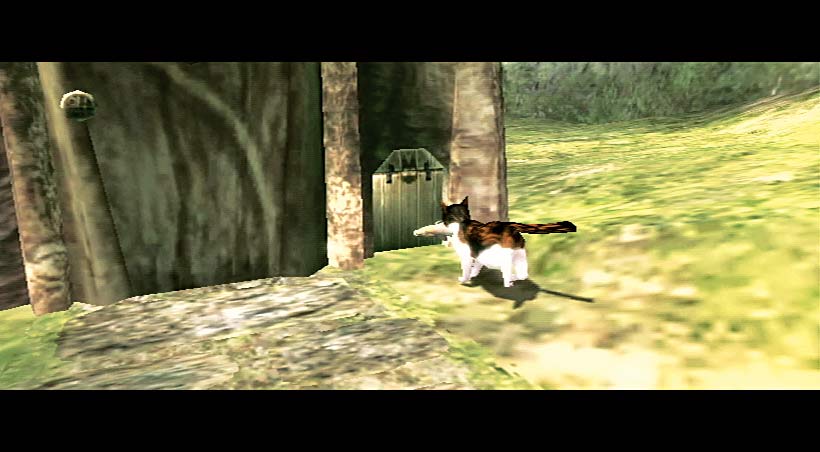
When you reel in your first fish (from any location), Sera’s cat can smell it! The cat now becomes much more friendly.
Now reel in a second fish from where the cat is by the wheelhouse jetty. The cat plays with your prize, then scampers away with it, all the way to the cat-flap at Sera’s house!
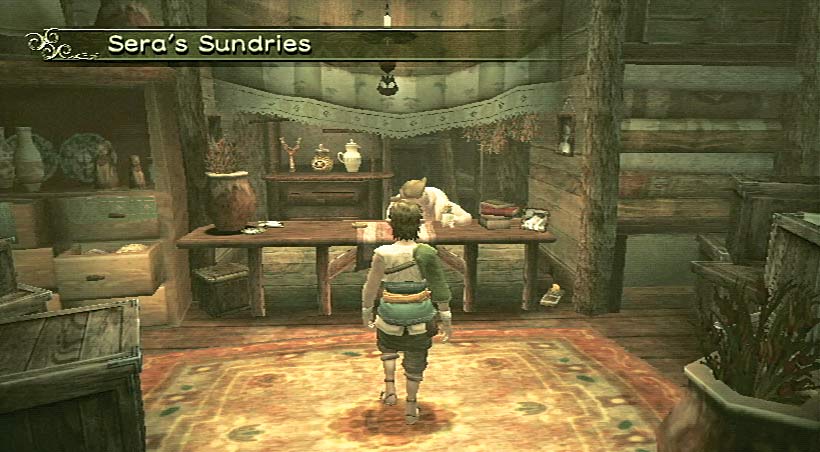
Head to Sera’s Sundries! Sera is inside, both surprised and delighted. That cat “brought a fish back with him.
He was worried about me being angry!” She’s feeding the cat some Milk, but she kindly gives you the dregs in a Bottle for free. How kind!
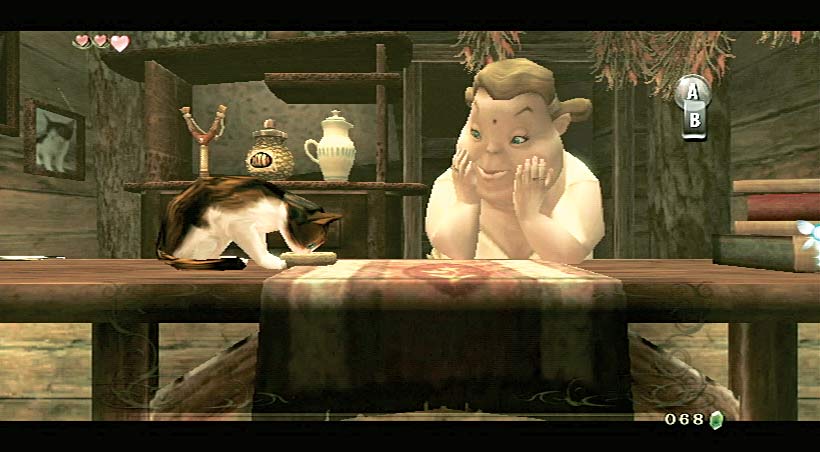
Set your Bottle to down, swig the Milk (even if you have full health), and then inspect Sera’s Sundries, as she’s happy to sell you some items.
The three in question are all behind her. Use the analog stick pushed right to access them.
Store
Store: Sera’s Sundries
|
Item |
Name |
Price |
Effect |
|---|---|---|---|
|
X |
Milk |
10 Rupees |
Two helpings; each replenishes 3 hearts |
|
X |
Bee Larva (10 |
10 Rupees |
Fishing bat, minimum life energy gain |
|
X |
Slingshot and 50 Pellets |
30 Rupees |
Projectile weapon |
Don’t buy the jug of Milk. It fills up the Bottle, and you need it empty later.
You also must keep the Bee Larvae in a Bottle, so they aren’t ideal, either (and you can claim free Larvae in a moment). However, purchase the Slingshot. Hand over the 30 Rupees; it’s worth it!
Hornet Keeping
Head out of Sera’s shop, and walk to where Hanch is standing. It’s time to bring an end to these pesky Hylian Hornets. Achieve this in one of three ways:
Plan 1: Hawk Strike
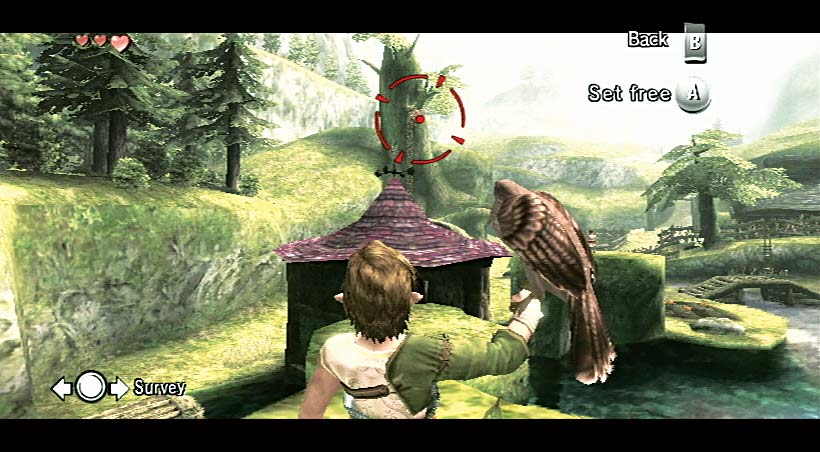
You may have launched your bird of prey at the hive from the flat rock near Sera’s store roof, aiming at the hive.
The bird knocks the hive down, and the Hylian Hornets are far enough away to dissipate.
Plan 2: Slingshot Strike
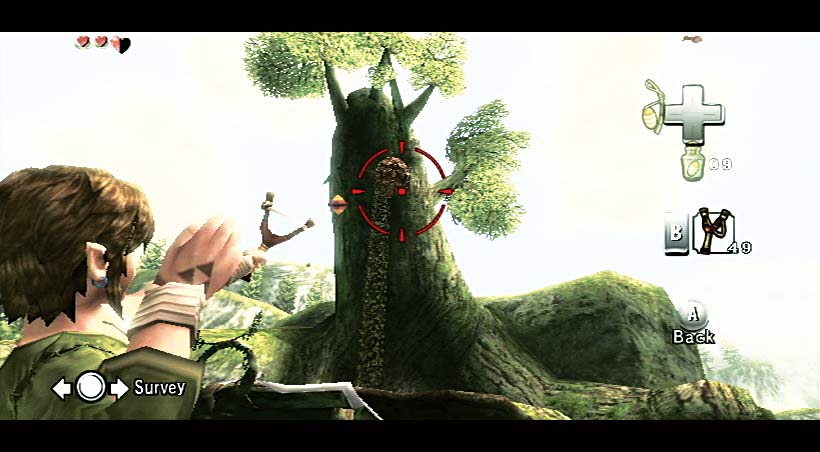
The second plan is to stand by Hanch and aim up at the hive with your Slingshot, whacking it with a pellet until the hive falls and smashes.
The Hylian Hornets don’t take too kindly to this and swarm you. Run!
Plan 3: Headbutt Strike
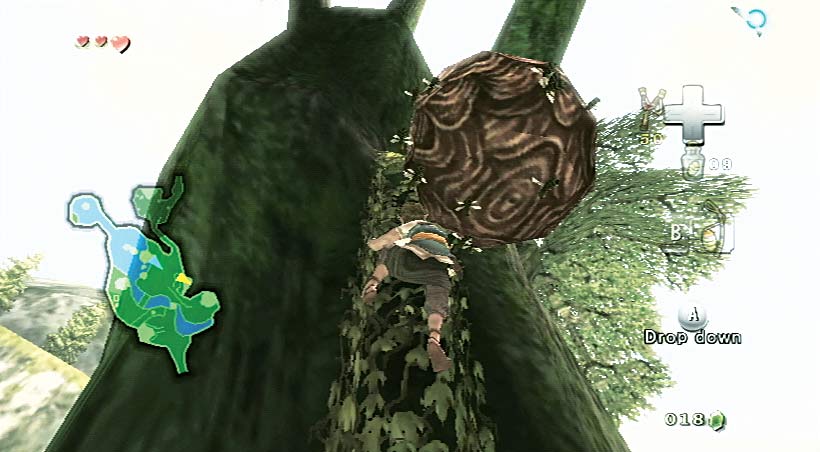
A final plan, which is only slightly less insane than it sounds, is to head around and up to the vines on the tree, climb them, and head up, dislodging the Hylian Hornets with your head!
You’ll lose about one Heart dropping and fleeing the swarm.
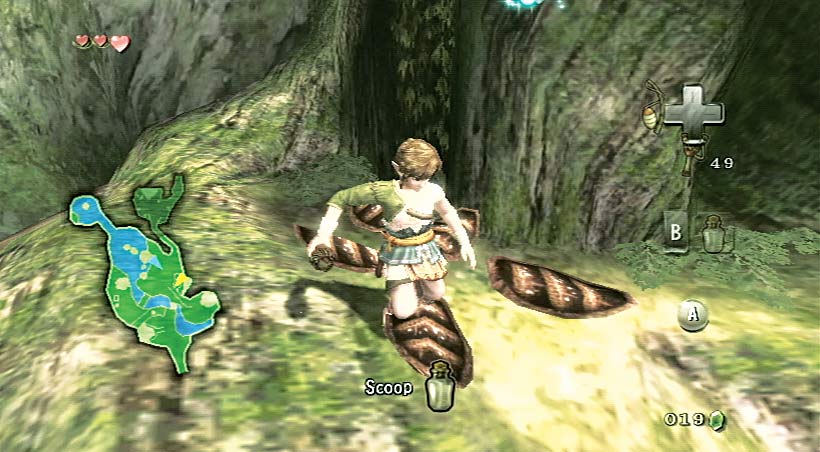
After the hive explodes, talk to Hanch, who was throwing stones at the nest ineffectually. Head up to the hive’s remains.
Empty your Bottle and stand near the nest. Use 3 to scoop Bee Larvae into your Bottle. That way, you get these for free! Don’t pay Sera’s outrageous prices!
Task 5: Leave Your Home, and Explore Faron Woods
Slicing Mr. Scarecrow
Leave the village by the only exit, and meet Rusl at the woodland glade where your home is. He tells you he’s delivered something to your room. Before you find out what it is, head to Talo, Malo, and Beth, who are waiting near that scarecrow. They’ve spotted your Slingshot and want a demonstration of its power!
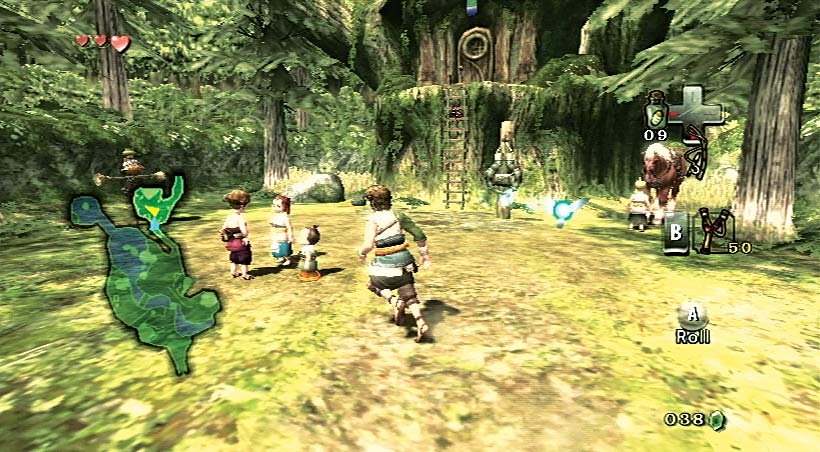
Use Z to target the scarecrow, then fire at him. Blam! That pumpkin head is split wide open. Beth and Talo are wowed. Move the analog stick left and right to look around.
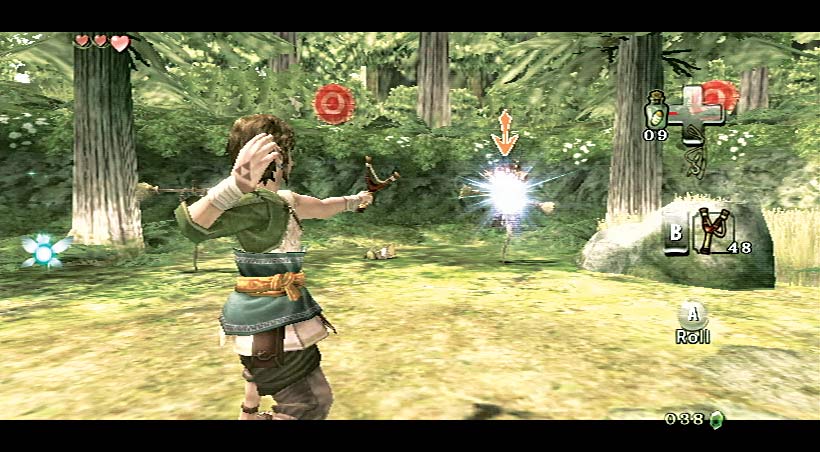
Now spend some time shattering a second scarecrow that’s appeared, and then use your s to manually aim at the collection of five targets on the trees. Pan left to spot them all, with your Slingshot out. Then fire! Speak to the children, and they pester you about that present Rusl left for you. Check your home, but remove the arachnid pests, first.
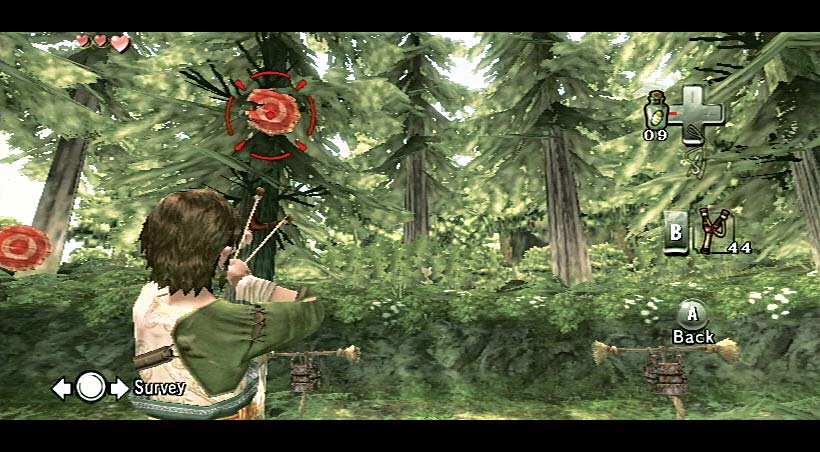
With the Walltulas defeated, climb the ladder, and enter your home. Inside the main level, a chest has appeared! Open the chest, and you’ll discover your second weapon: it’s the Wooden Sword that Rusl made for you!
Exit your house, and spend more time with the trio of tykes. Talo is excited about your sword; he wants to use it on some troublesome monkeys who’ve been seen in the woods. Agree to teach them how to use your sword, and in turn, learn yourself.
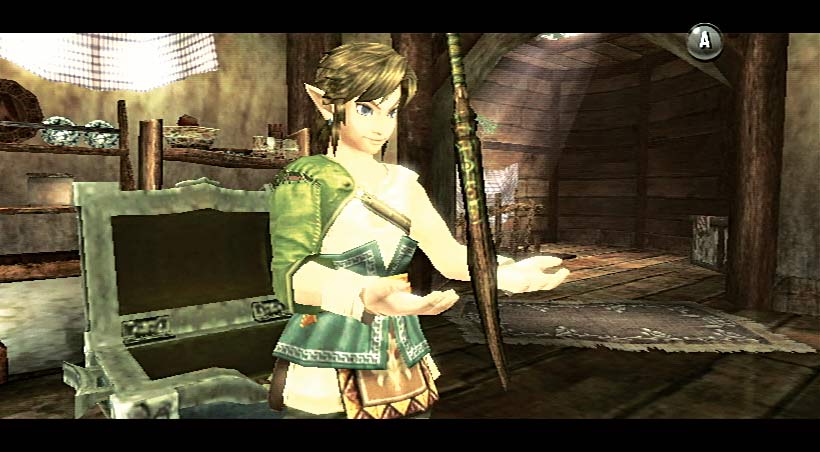
The Wooden Sword
Talo asks you to show off a slice move on the scarecrow. Waggle the Wii Remote to unsheathe your sword. Swing the Wii Remote from left to right (or right to left) to execute a horizontal slice.
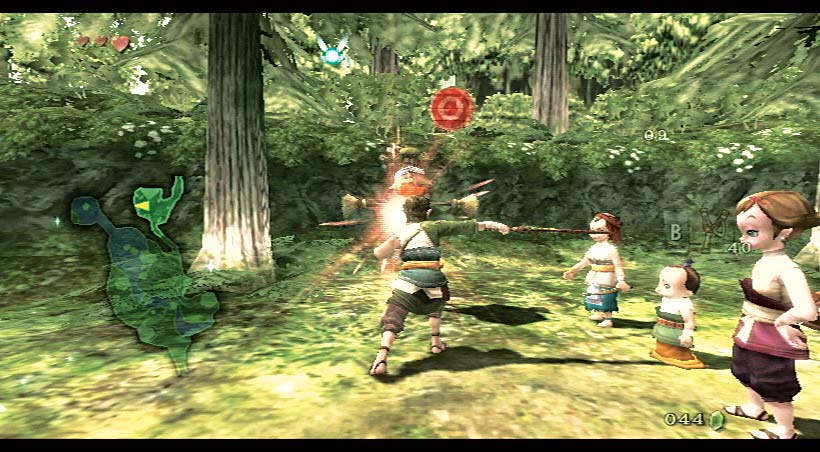
Use Z to target the scarecrow, then swing like you did before. Although Beth wants to see a stab, try the vertical slice first.
Attempt a stronger attack, the stab. Start by targeting a foe with Z, push up on the analog stick, then swing your Wii Remote.
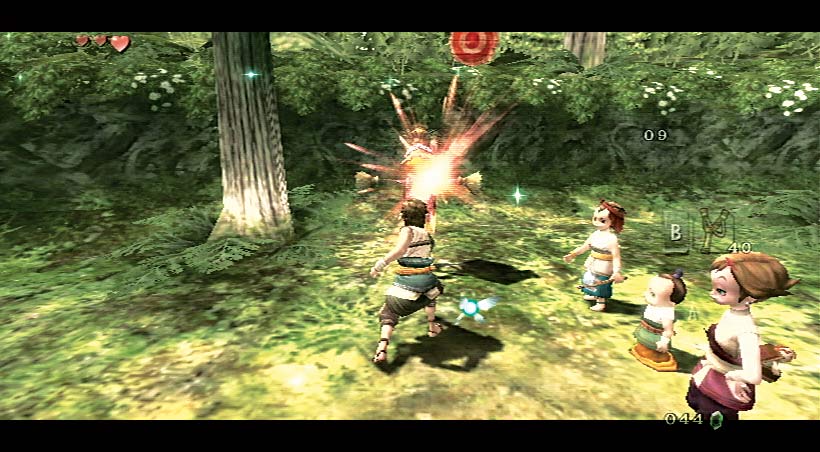
Beth asks you to show off your spin attack. Malo murmurs that it’s easy to pull off. Lightly shake the Nunchuk from side to side to launch it. A couple of seconds later, your sword recharges, and you can try again.
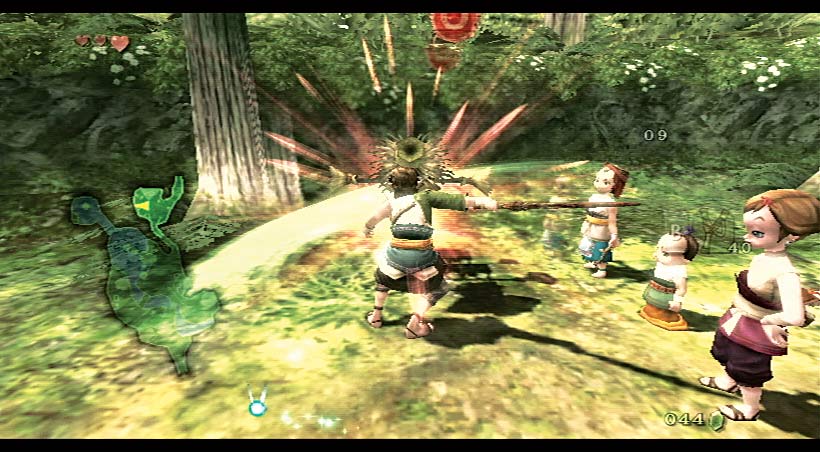
Talo isn’t ready to let you leave before you show him the jump attack. Malo mutters that it’s achieved with A while you target with Z.
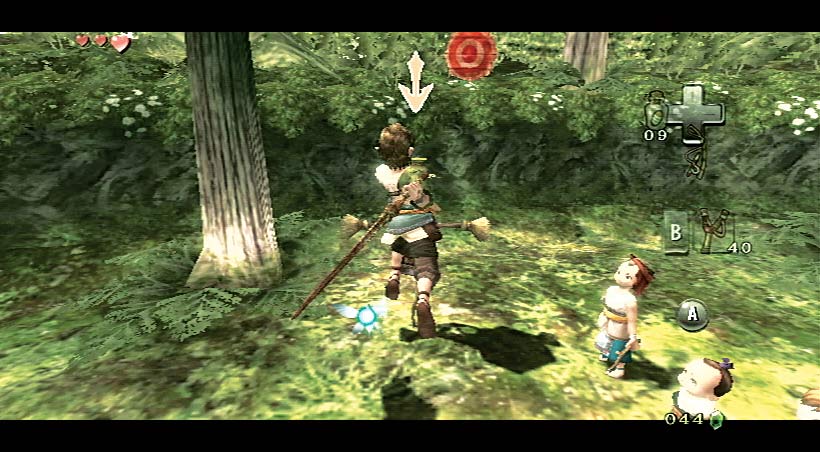
The children are impressed, you just learned all the main sword strikes. They spot a monkey nearby and run after it, leaving you alone.
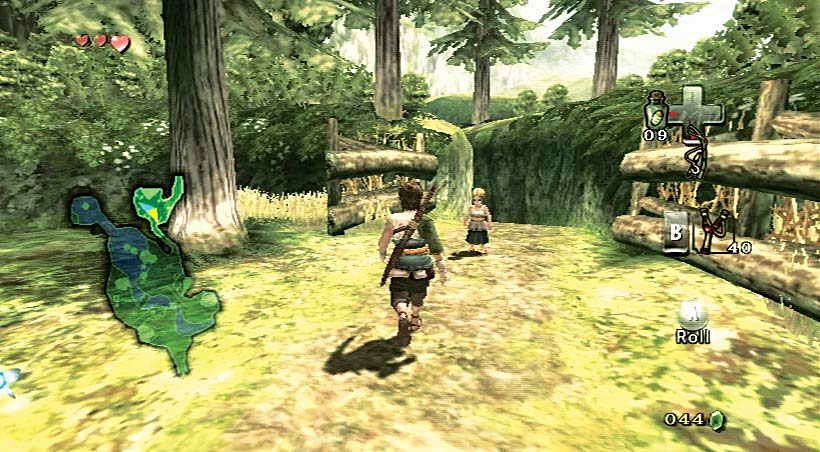
Spend some time practicing the four techniques shown on the scarecrow. Be sure you can remember how to damage foes in those four different ways. When you’re done, speak to Colin, who’s standing at the village entrance. He tells you the children have run into the forest.
Chase after them. Mount Epona, and head northward, down the woodland path. You can’t take Epona into the village, as Colin stops you. Remember to sparingly use the spurs to increase Epona’s speed. In the next glade, Beth is waiting to the side. Talo and Malo have both gone on ahead, and she can’t catch up to them. Chase down those troublesome tykes after optionally checking the glade for items. In the next glade, the weird Malo tells you Talo went across the bridge. Follow him!
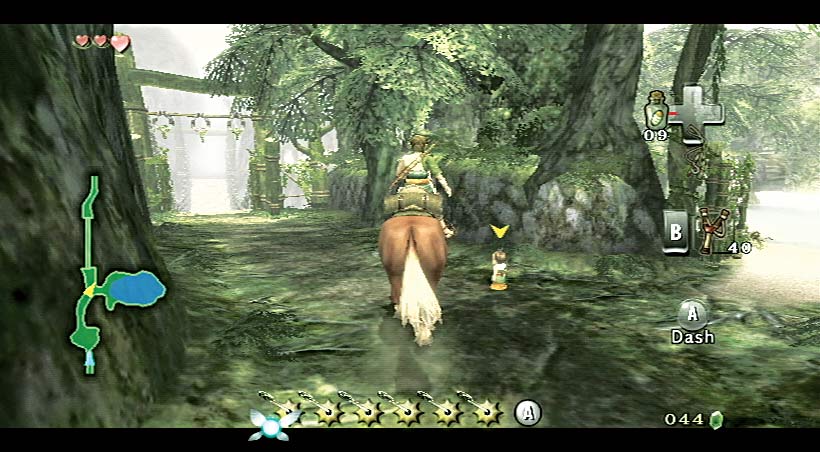
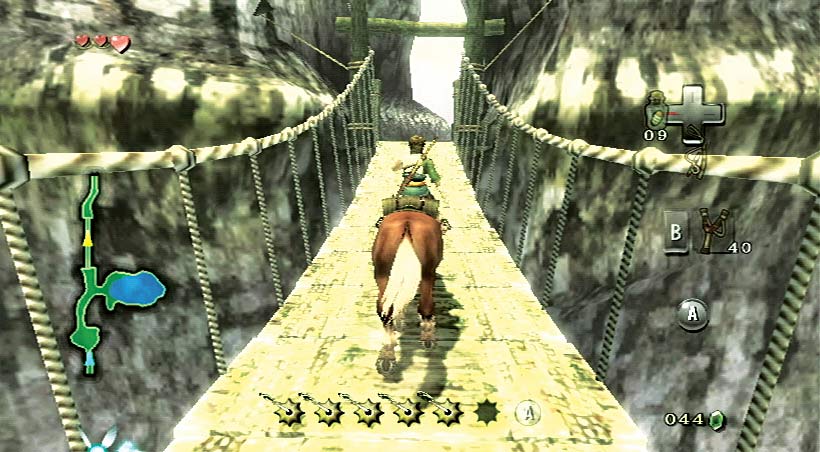
Gallop over the now-unlocked Ordon Bridge after passing the spring, and don’t stop. Epona isn’t going to leap off the bridge’s sides, so don’t worry about falling. Continue to the other side, into the more dangerous hillocks and glades of Faron Woods….
Missing Links
1. Horsing About in the Grass
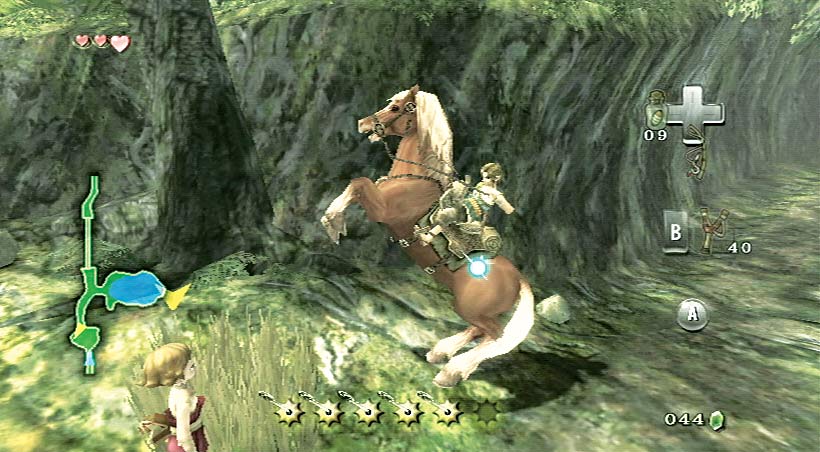
You don’t need to dismount when investigating grassy areas; running through them with Epona usually results in hidden items appearing.
2. Sword Swiping in the Grass
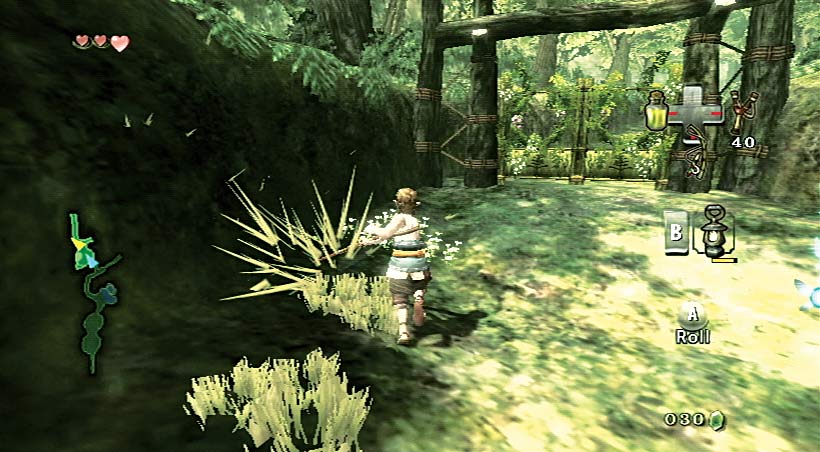
As soon as you’re granted the Wooden Sword, you can swipe at long grass instead of running about in it. Run, and swing the Wii Remote from side to side. For some real grass clearing, try a cool spin attack (rock the Nunchuk side to side).
Task 6: Investigate the Dark Tunnel
Wander Into Faron Woods
Speed up from a canter to a charge and steer Epona through the glade, and into a smaller glade with a low fence ahead of you. Spur Epona on, and leap the fence. Make sure you’re dead-on, or Epona refuses to jump. After the jump, you land near Faron Woods Spring.
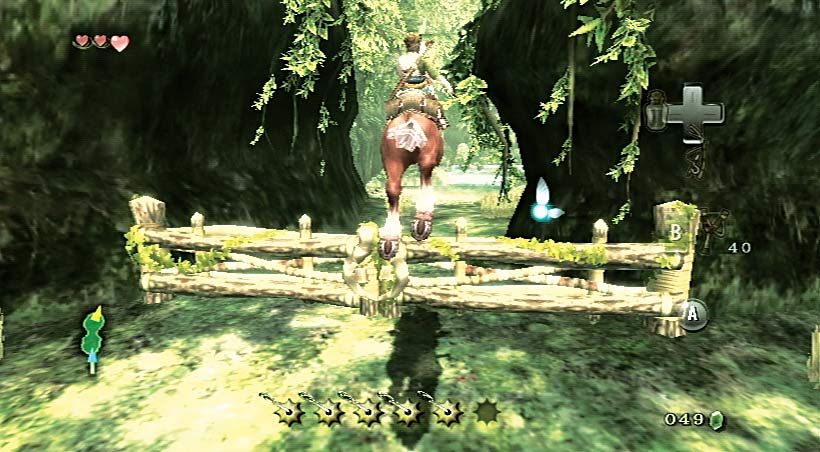
Ignore the spring for the moment, and take the cave entrance on your left. Gallop through the tunnel-like cavern until you reach a fork in the road. Pull up beside the sign and read it. You need light before you venture farther!
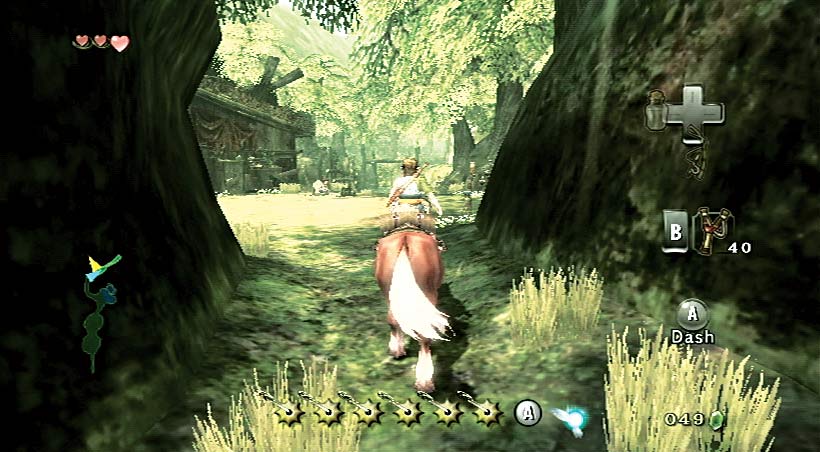
Turn left, and head down the sunlit trail to a clearing. A chap with excellent hair is sitting near his campfire. Dismount and head over to talk to him. This guy’s name is Coro, and he wrote the sign at the junction. He warns you not to venture around these parts without illumination, even in the daylight. After this warning, he gives you a special gift.
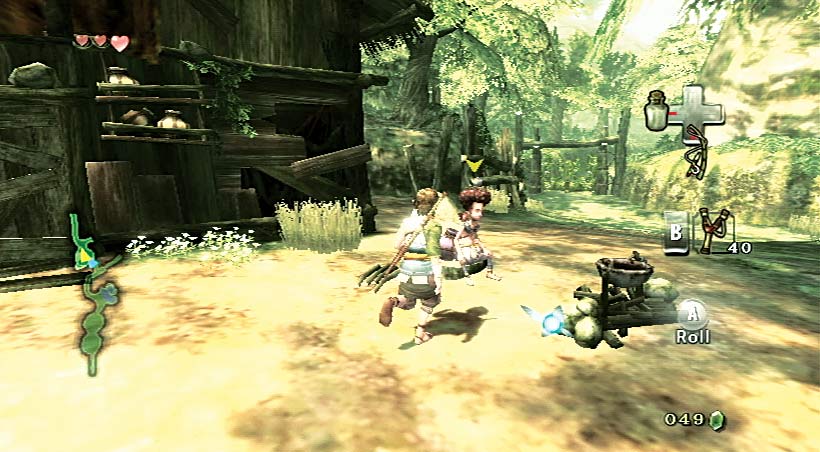
Coro
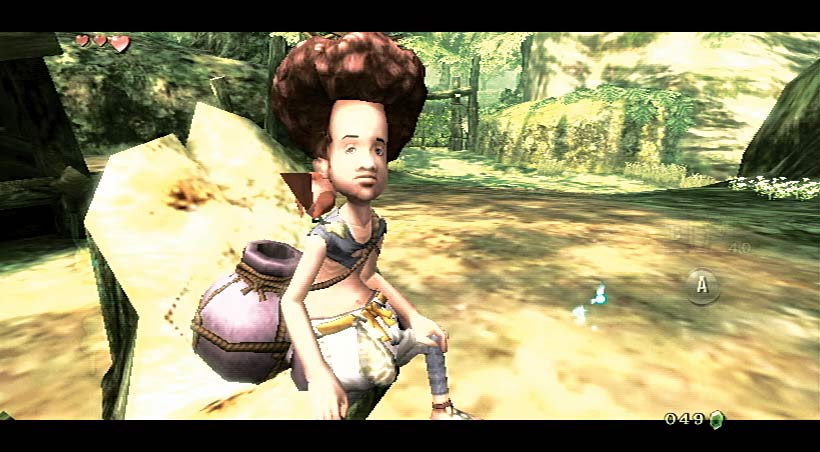
A gatekeeper living in a cottage and eking out a subsistence in the woods, Coro is content with his primitive surroundings. He’s between 15 and 16, and he loves the animals and birds of the woodland. City dwellers refer to him as a “bumpkin.” Coro is the younger brother of Iza and the older brother of Hena. He’s a little timid, but jocular.
Coro also sells extra Lantern fuel, but you’ll need an empty Bottle (like the one Sera gave you) to hold this liquid. Practice lighting bits of the clearing on fire! Move the Lantern onto the g of your Wii Remote. Access it using one of the g directions. Press 4 and light the stove. Now make sure you keep a lookout for the Lantern fuel meter under your Hearts. It is slowly depleting, so don’t hold your Lantern for long.
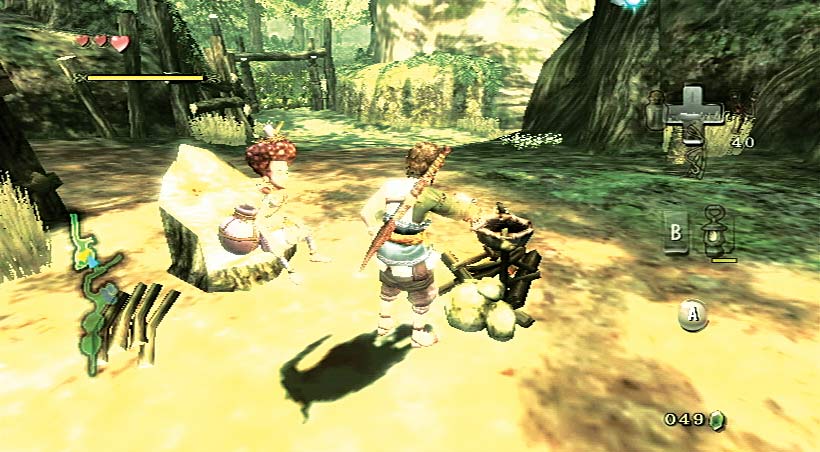
Coro’s Clearing: Lighting Supplies
|
Item name |
Price |
Effect |
|---|---|---|
|
Lantern |
Free |
Lights your way in the dark |
|
Lantern Refill |
20 Rupees |
Refills your lantern |
|
Lantern Fuel |
20 Rupees |
Refills Lantern Completely, fuel needs a container |
After you light the stove, and Coro congratulates you, move to one of the two unlit torches on the clearing’s opposite side. Practice your lighting skills by waving the Lantern at both of them. When you’re done, put the Lantern away (stand, then A).
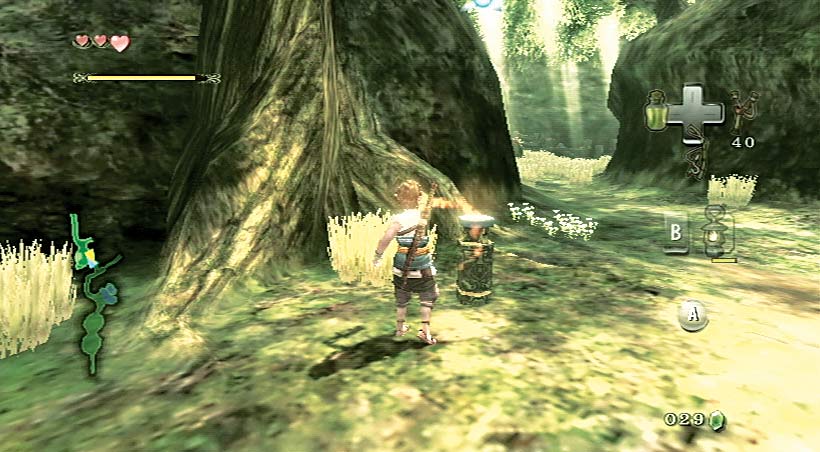
Optionally explore the clearing. Currently, the place is a dead end. At the clearing’s northern end is a vine-filled gate preventing your progress. On the east side, a boulder stops your path. Head back to Coro.
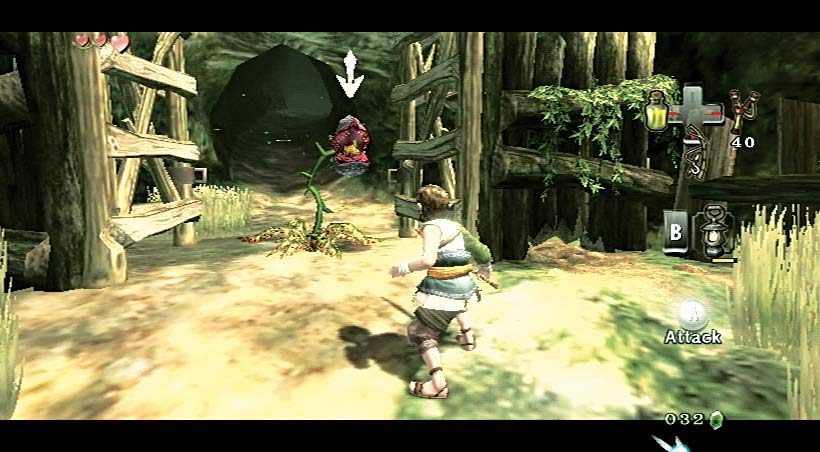
If your Lantern is near full, and you’ve bought more fuel and filled your Bottle, it’s time to investigate that dark, dank tunnel! Head to the long grass and sign, and bring out your sword. A Deku Baba plant rears up and tries to strike you! Fight back, then enter the cave, or head back to your house.
Missing Links
1. Grass, Trees, and Rock Inspection
Inspect the first and second glades in Faron Woods, plus the spring and Coro’s clearing. You’ll get Rupees, Hearts, and other items from horseback or by rolling into trees, picking up rocks, and sword slicing through the grass.
2. Coro’s Clearing: Scarecrow Tactics, and Low Ramp
Investigate the area southwest of where Coro sits to get more practice time with a scarecrow. A ramp leads up to a corner and an upper window into Coro’s house, but you can’t reach there for the moment.
3. Coro’s Clearing: Deadheading Flowers
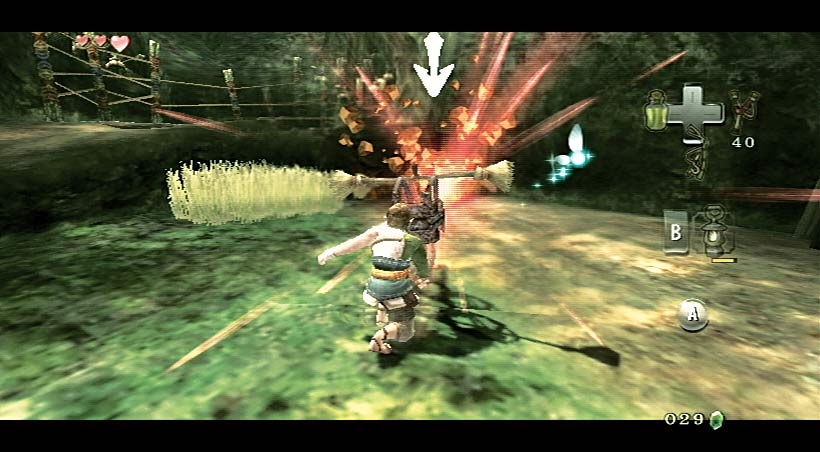
You’ve tried slicing through the long grass with your Wooden Sword, but those small patches of white flowers are impervious to your swings. However, if you use the spin attack, you’ll deadhead the flowers. This is the only way to cut into them!
4. Inside the Hut
Coro is a messy little pup, as a quick peek inside his home will tell you. Garbage, old lanterns, drapes, and other debris is scattered about here. Unfortunately, none of it is useful.
5. Dark Tunnel Entrance: Spinning in the Grass
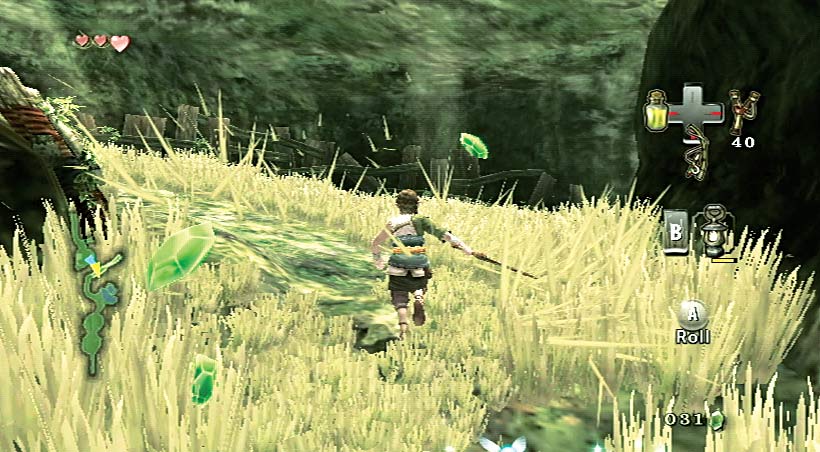
The Dark Tunnel entrance is the best spot to execute a few good 360-degree spins, as the amount of grass you cut is more than with slashing. Grab those Rupees!
Returning to Link’s House: Basement Investigation
Head to Ordona Province and your treehouse, enter it, and run to the ladder leading to the dark basement. Remember to equip your Lantern! Step forward and turn your Lantern on. The room illuminates, revealing a chest ahead. Open it! The prize is well worth it. Now head back to the Dark Tunnel.
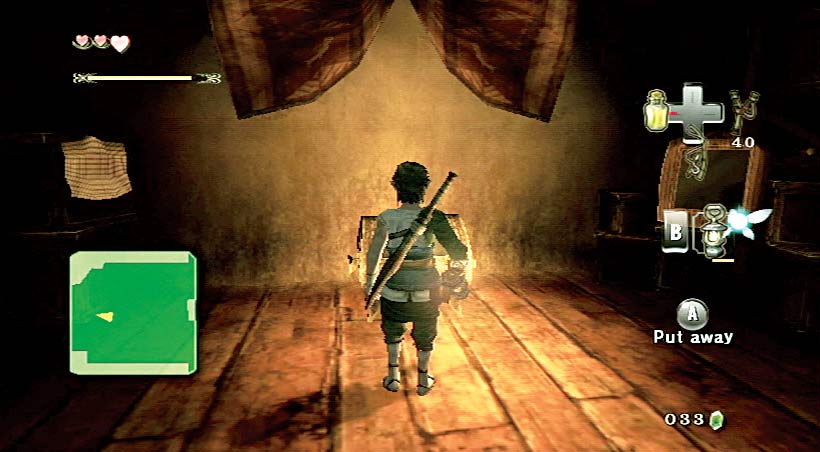
Missing Links
1. Link’s Looking Lovely
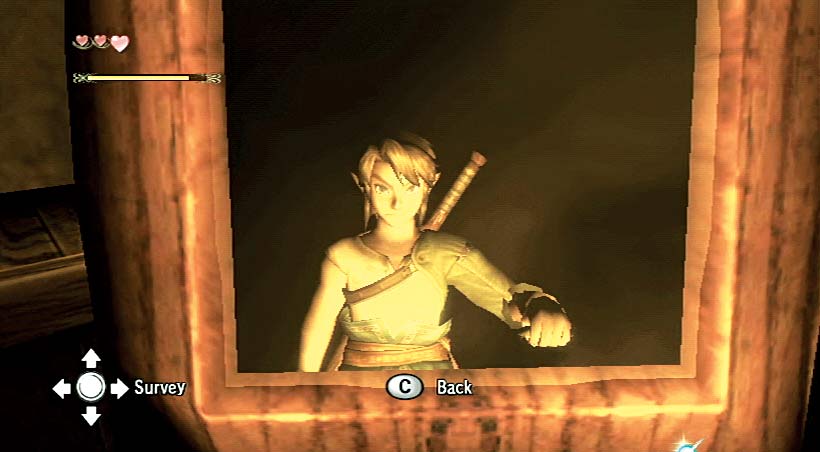
Before you leave, check out the basement more thoroughly. Amid the supplies and debris is an old mirror. Step up to it to inspect yourself. (Use 5 for a close up!)
The Dark Tunnel
After you defeat the Deku Baba, you can enter the Dark Tunnel. Note the suspicious patch of earth to the gate’s side. Don’t worry about it now. There’s also a play Wooden Sword. It’s Talo’s and you can’t pick it up, so enter the cave tunnel.
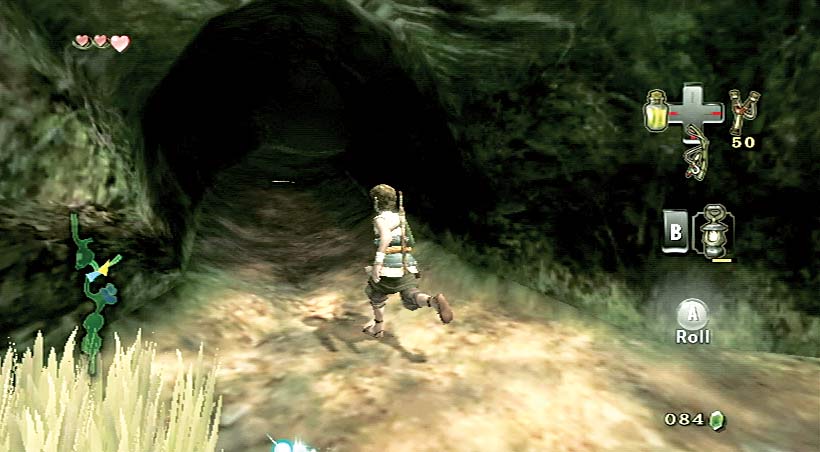
Inside, the cave is gloomy, so edge forward and press B to swing your Lantern near a torch, lighting it. Put your Lantern away to conserve fuel. Optionally slash the nearby grass for Hearts and Rupees before you continue. Up ahead, you can hear a squeak and flapping!
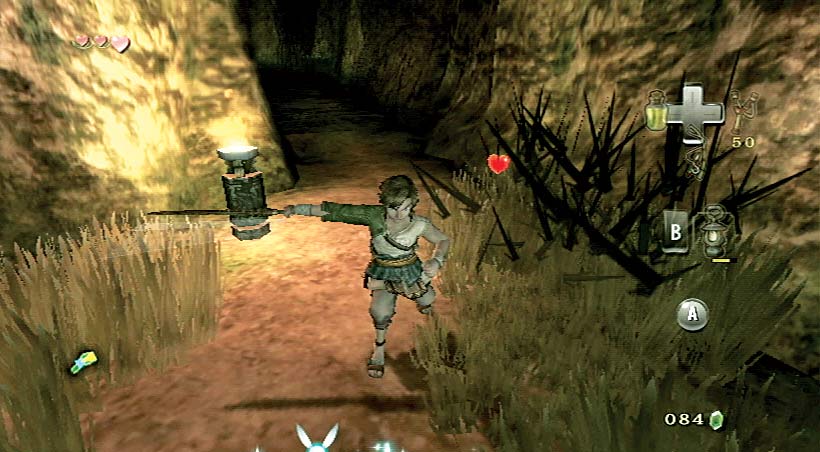
Engage the Keese, then run to the next torch and light it with your Lantern. You have plenty of fuel left, so keep the Lantern out, produce your sword, and head up the tunnel. As it bends to the right, a Deku Baba rises to scare you. Battle back with sword swipes!
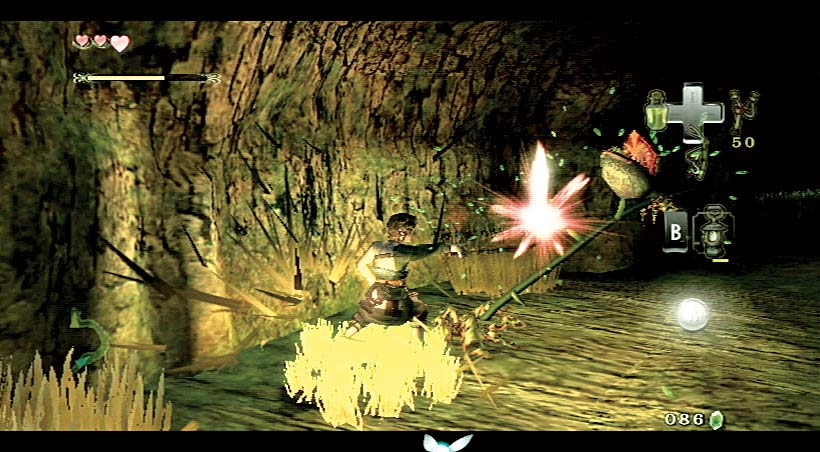
Beyond the Deku Baba is a web a Skulltula (a giant arachnid you heard adventurers tell stories about) spun. It’s blocking your path, so wave your Lantern at it, and it burns up quickly. Press on, heading around the snaking corner, to encounter a Rat!
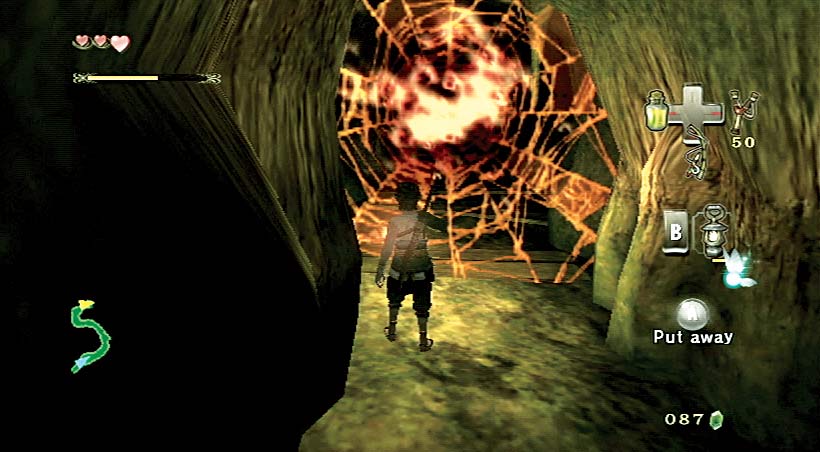
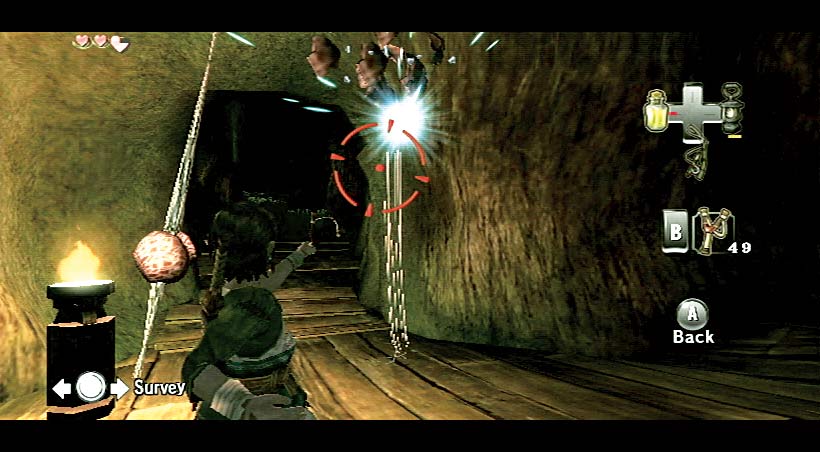
The Rat was guarding a junction in this Dark Tunnel. Swipe the torch and put your Lantern away for a moment. Interestingly, there are two suspended pots and the entrance to a side tunnel and two more behind you. Shoot them with your Slingshot to retrieve a total of 12 Rupees.
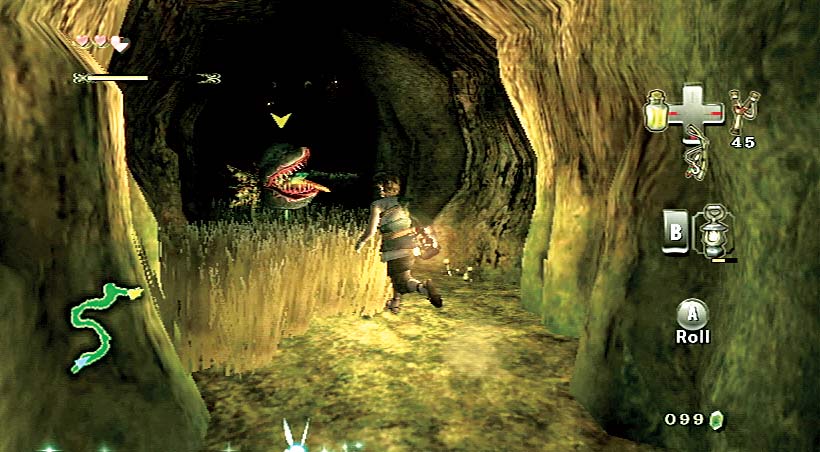
Investigate the side tunnel on the right wall, and bring out your Lantern and sword as you enter this dark place. A Deku Baba halfway up here needs trimming! Then immediately slice into a Keese. Remember that you can also mow the grass with your blade, too!
The side tunnel ends abruptly, but don’t head back until you light the torch and check out the object next to it. This is a small chest, but it contains a few Rupees. Kick it open, then head to the junction and make a right. Slicing grass on the way yields a Heart.
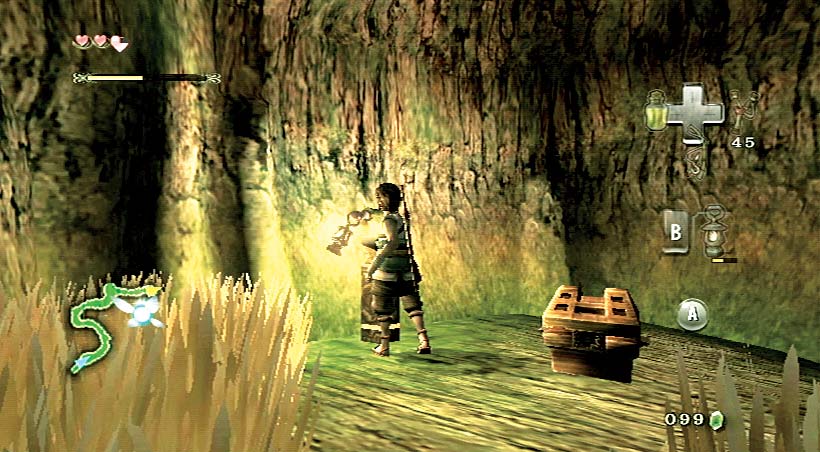
Bring the Lantern out and burn through a large web. This is the final part of the Dark Tunnel, and you can see the forest ahead of you. Dash out, and remember to put away your Lantern (stand still and press A).
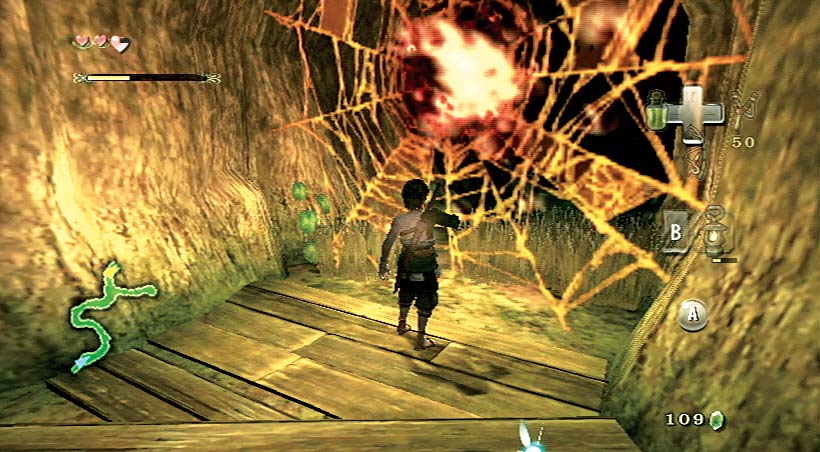
Task 7: Unlock the Gate to the Forest Temple Woods
Fighting Fiends in Faron Woods
After you emerge from the Dark Tunnel, you can explore the first large environment away from your village. The Faron Woods area is large, but safe if you keep your sword ready and your Slingshot as backup. Head northeast to encounter a Deku Baba.
In the middle of this woodland is a giant tree, with two large stump platforms on which you can climb. Although there’s nothing interesting here at the moment, make a mental note of where these stumps are because you’ll be returning here later!
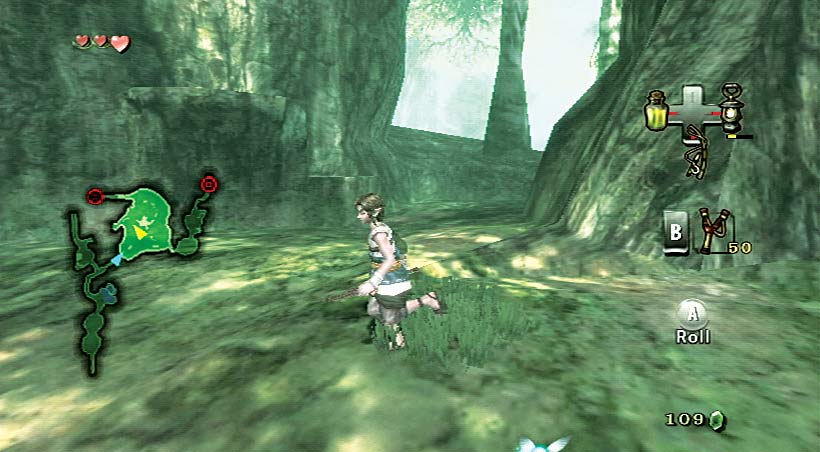
Move to the eastern part of the woods to encounter your first two Bokoblins guarding a gate that’s firmly locked. The sign points to the Forest Temple ahead. The gate seems to require a key, so now you know what to do next. Well, apart from battling these two fiendish foes!
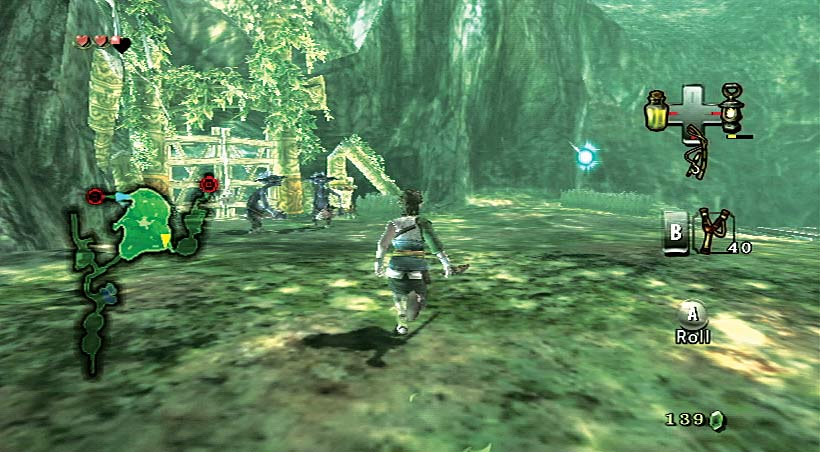
Head to the western part of the woods, and you’ll encounter another Bokoblin! These purple fiends are nasty, and they love to club innocent villagers who’ve strayed too far from home. In your case, they’ve made a terrible mistake!
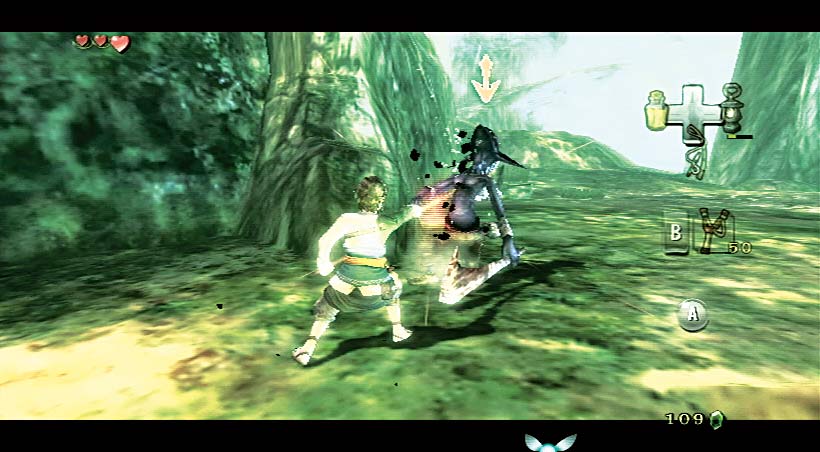
If you head along the western edge of the woods, there’s a small hillock and an overhang you can leap off. Look back with C to spot a chest sitting high out of reach; you won’t claim this until later. Drop and fight a Keese!
Fight around the large central tree; there are openings to scoot through, and a couple of Keese and a Bokoblin to target. Try using your Slingshot on a Keese; it’s a quick hit that works well if you auto-target. When a second Bokoblin comes at you, don’t use the Slingshot because it takes eight or nine shots to bring him down!
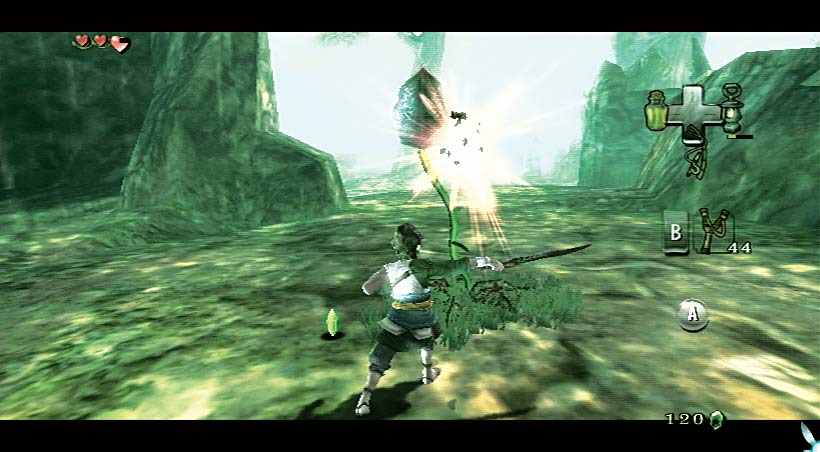
Explore the northeast corner of the woods. Find three Deku Babas and some nesting Keese to slice and dice. Fire a Slingshot into a Deku Baba. It stuns the plant, after which you can follow up with a sword to finish!
It’s time to enter the tunnel at the north end of the woods to search for a key. Expect a Deku Baba and one or two Bokoblins to greet you. After you dispatch them, bring out your Slingshot, and tag the three nesting Keese at the tunnel entrance.
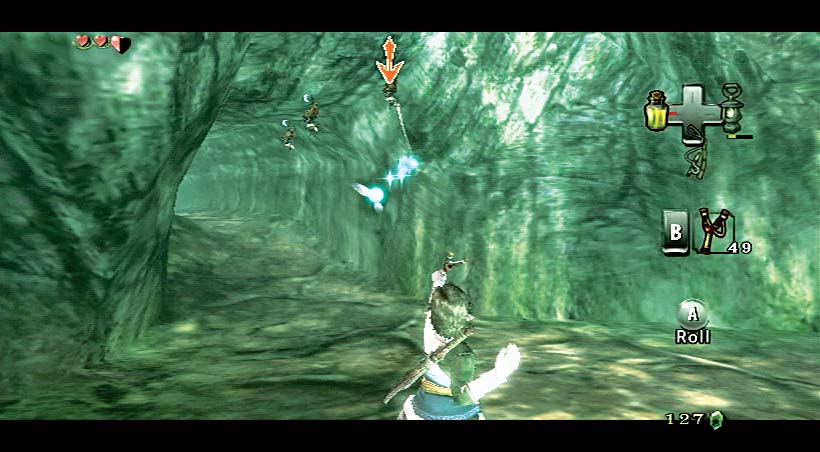
As you emerge in the tunnel’s far end, you’ll spot a dead end, and an incoming Bokoblin. He’s not tough if you slash and bash him with your sword. Then tackle a Keese who’s flapping in your face. The Bokoblin seemed to be guarding that small chest. Open it!
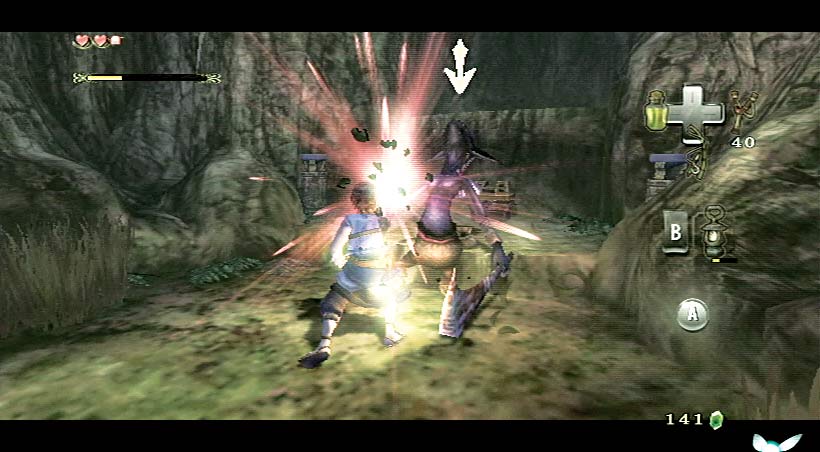
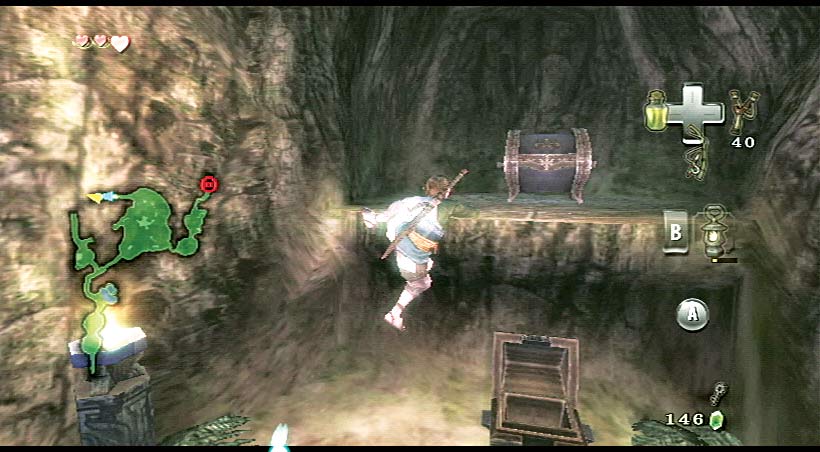
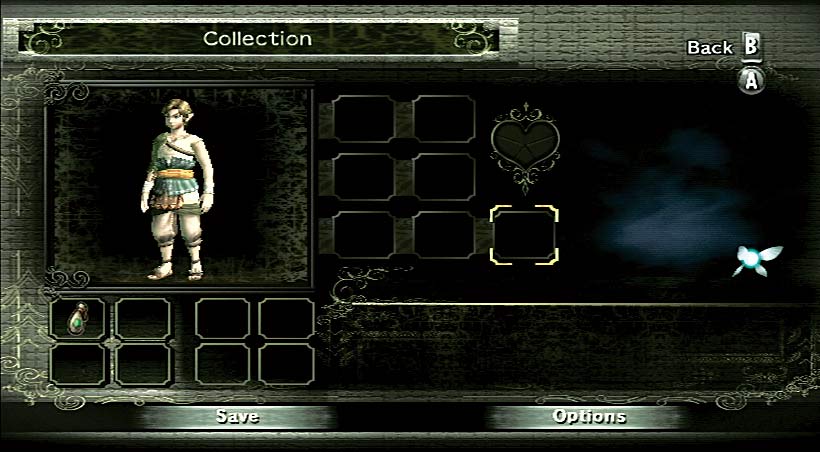
Check your Collection menu, where your Piece of Heart is now visible. You need four more for an additional life energy Heart! You can have a theoretical maximum of 20 Hearts of life energy. Here’s how this breaks down:
|
Location |
Pieces? |
Total |
|---|---|---|
|
Starting Life Energy |
X |
3 Heart Containers |
|
In Dungeons (Pieces) |
2 x 8 Pieces |
3 1/5 Heart Containers |
|
In Dungeons (Containers) |
X |
8 Heart Containers |
|
In The Overworld |
29 Pieces |
5 4/5 Heart Containers |
|
Grand Total |
45 Pieces + 8 Heart Containers |
20 Life Energy |
With the Small Key (which appears on your screen above the Rupees you’ve collected) stored, and your first Piece of Heart found, run to the eastern part of the Faron Woods. Slay or avoid the woodland foes on the way. Move up to the gate and unlock it. Defeat the Bokoblin inside.
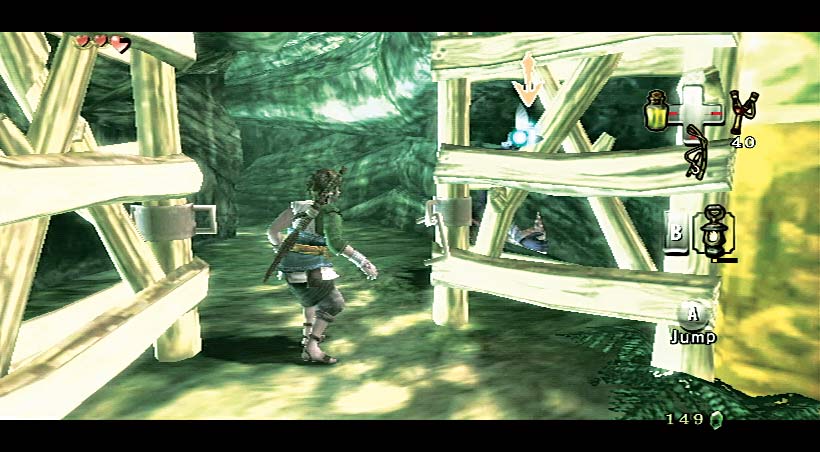
Missing Links
1. Larking in the Long Grass
There’s grass to cut, and Rupees plus Hearts to harvest. Watch you don’t stand on a Deku Baba, as they lurk near patches of grass, too! You can turn Deku Babas’ heads into Slingshot ammunition, so pick them up and break them after combat.
Task 8: Return to Ordon Village, and Prepare For the Big Day
Deeper into the Faron Woods
You emerge from a short tunnel into a large curved clearing where two Bokoblins are talking. Ready your sword’s spin attack, and engage them in combat. If you need healing, seek out a Heart in the grass clump at the foot of the large tree to your left. Continue northward.
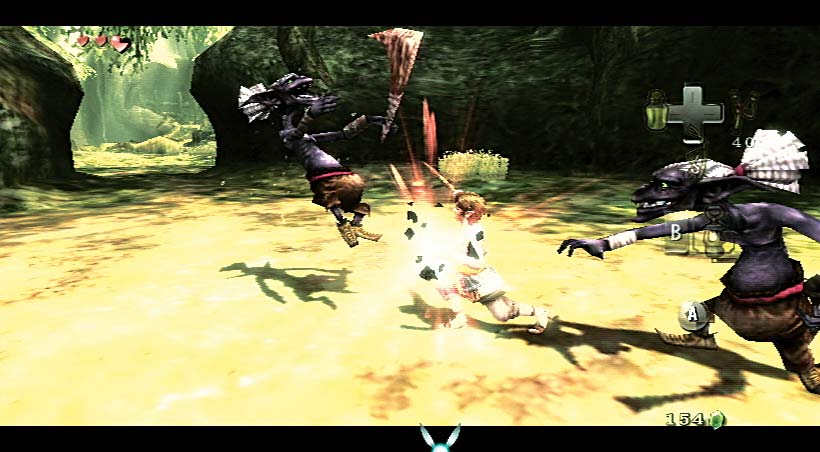
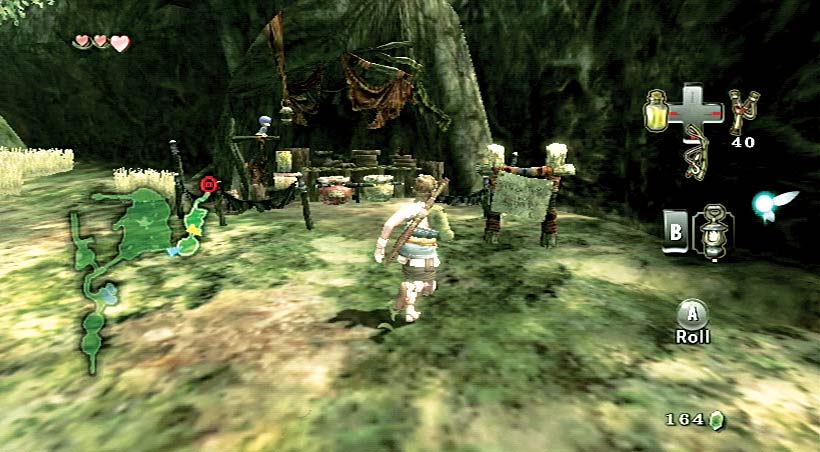
Attack another Bokoblin, before a bird with the biggest head you’ve ever seen beckons you over! This is Trill, and his forest store is a perfect place to spend those Rupees you’ve been unearthing.
|
Item |
Cost |
Notes |
|
|---|---|---|---|
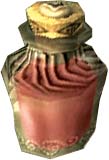
|
Red Potion Refill
|
30 |
A blend of mushroom and herbs replenishes 8 Hearts. Bottle Needed |
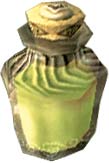
|
Lantern Oil Refil |
20 |
The woods are dangerous at night! This fills your Lantern or Bottle. Bottle or Lantern needed. |
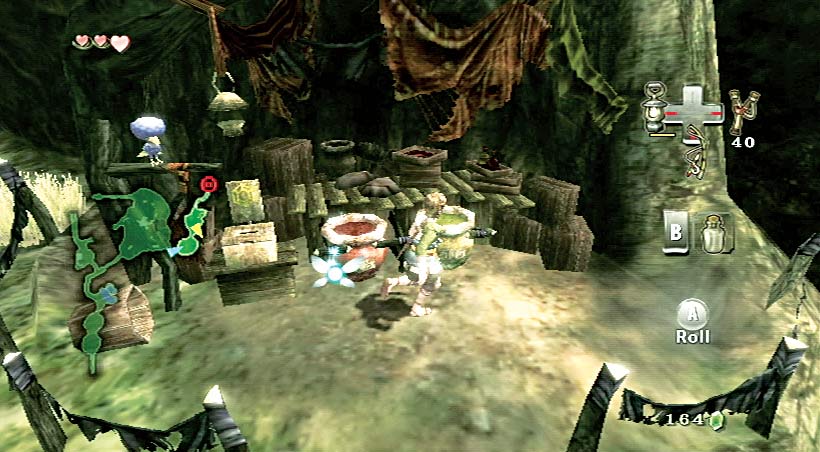
Trill
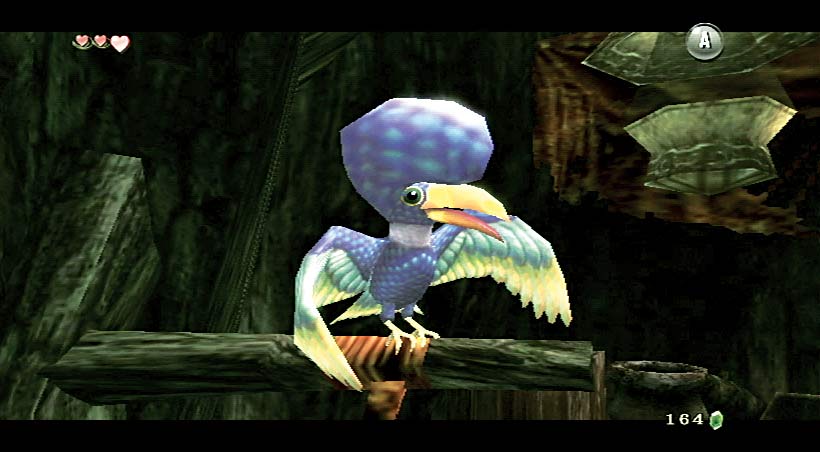
This intelligent myna bird, owned by Coro, watches over the unattended shop in the Faron Woods. Trill is friends with Plumm, another myna bird who lives somewhere near the great lake Hylia.
Check your Lantern oil levels. You should be close to empty with your Lantern, but still have a full Bottle of fuel. Either pour the fuel into the Lantern and use the Bottle to store the Red Potion, or dip the Lantern in and refill it yourself, and ignore the Red Potion.
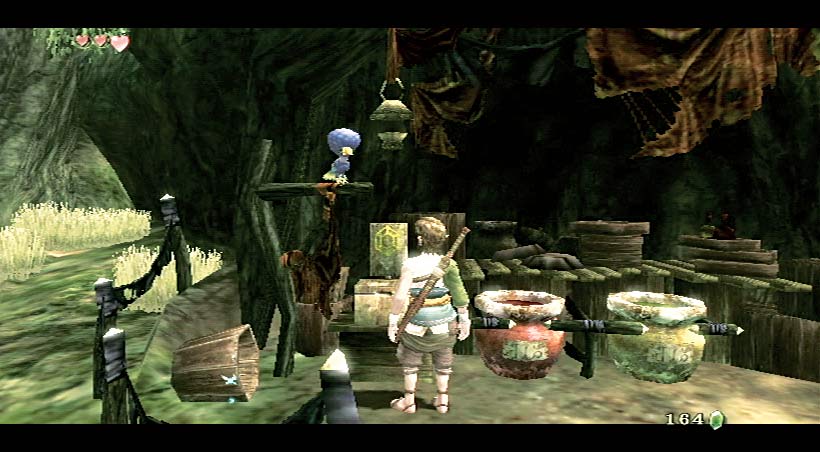
Before you leave the store, pay up! There’s an honor system in play, so cycle through how much you want to pay, and Trill tells you if you’ve paid too much or too little. Pay the rest if you shortchanged the bird, or he’ll peck you the next time you use the shop!
After you finish shopping, slash by heading north and west toward a patch of long grass. A Deku Baba is hiding inside. Not for long! Find Rupees and Hearts in the grass around here, as usual.
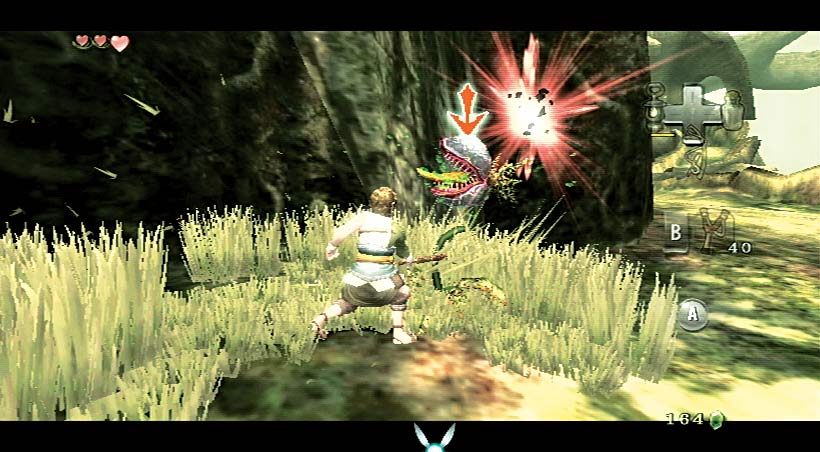
Now head northeast to spot a winding road leading northward. However, to your right is a patch of grass with a Deku Baba to slice up and a small chest to open! Remember this area for later; this is the entrance to the Sacred Grove, but you can’t enter it yet.
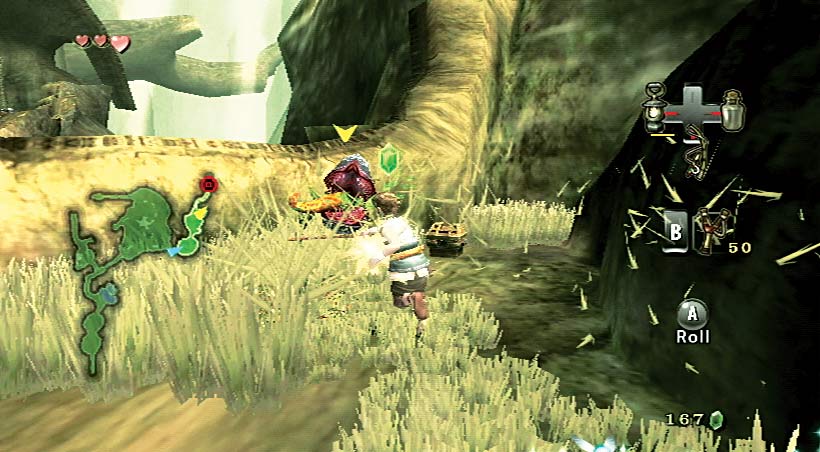
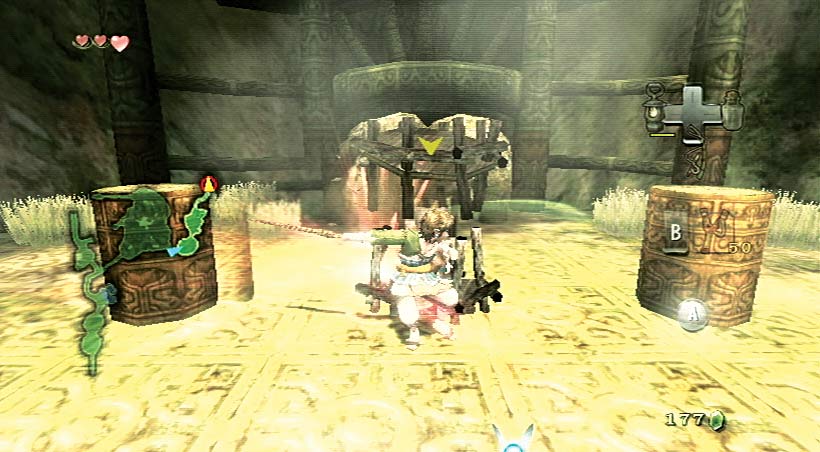
Move to the entrance of the winding path northward. At the foot of a giant tree, you spot Talo and that cheeky monkey placed in a cage! Perhaps the monkey isn’t to blame after all! Draw your sword, race up the winding path, and sure enough, strike down the two Bokoblins guarding the pair. Use a spin attack to smash the wooden cage!
1. Thieving from Trill Part 1
This doesn’t affect anything during your adventure, but you can steal from Trill by walking away from the store after filling a Bottle! Trill calls you a thief, but nothing happens. You can escape!
2. Thieving from Trill Part 2
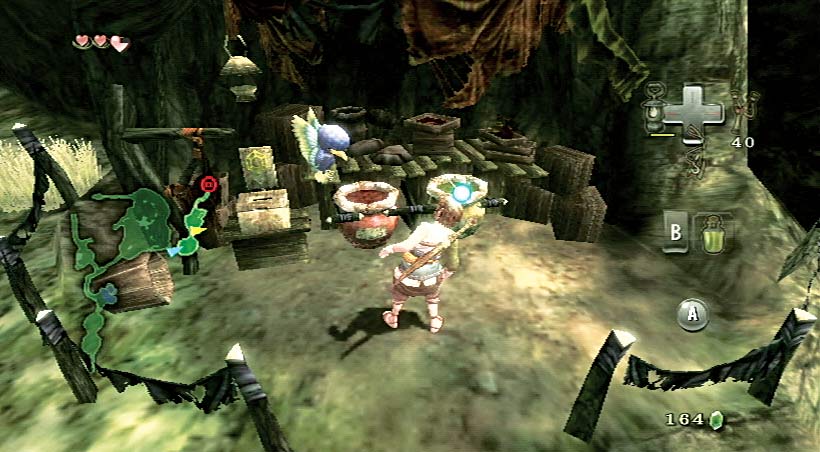
That is, until you enter the fence. Trill launches an attack, and he’s deadlier than any foe you’ve faced thus far! He can take a quarter of a Heart life energy every couple of seconds. Pay what you owe, and he halts his pecking!
3. Thieving from Trill Part 3
Or, ignore Trill’s pecking, run in, scoop up the Red Potion, restore eight Hearts, and leave with minimal damage! This isn’t heroic, but it’s possible!
Ordona Province: A Big Day of Transformations
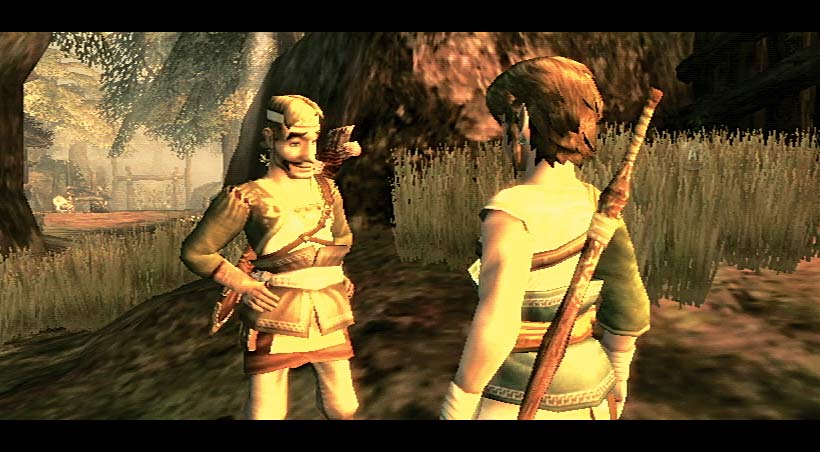
Walk Talo out of the Dark Tunnel, and he begs you not to mention this to his dad. He runs off, and Rusl strolls in and greets you. He mentions how strange the woods feel. He wishes you luck tomorrow; you might even meet Princess Zelda!
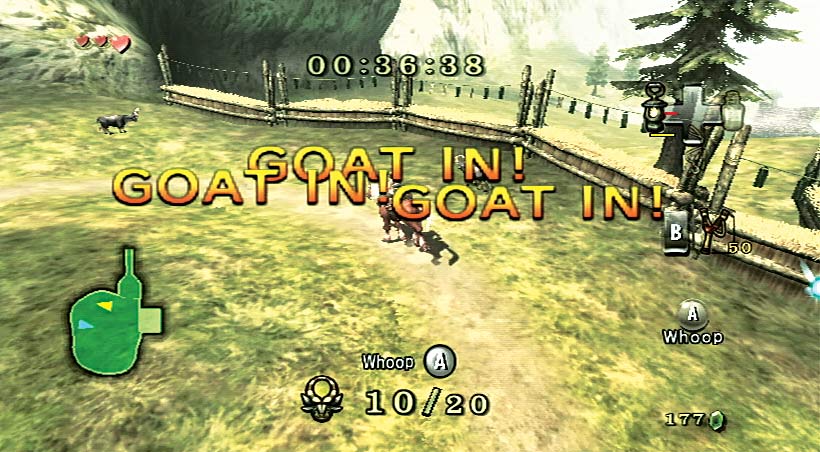
The next day, Fado asks you to finish the chores at the ranch. Use the Horse Grass to call Epona and wrangle those goats using the techniques taught earlier. A time of 26–30 seconds is excellent. The best time on record? 23 seconds! Try it when you wrangle goats here a second time. When you’re done, leap over the northeast corner’s fence.
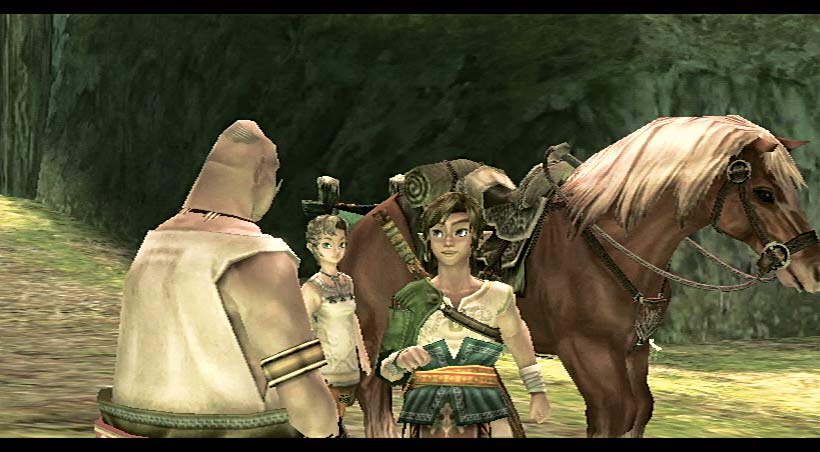
You ride down to meet Ilia and Mayor Bo. Everything is ready and the royal gift is here. Ilia isn’t happy, and she scolds you for pushing Epona too hard! Then she scolds her father for sticking up for you. She takes Epona to the spring; that’s where you’ll find her!
When you finish talking with the mayor, Fado yells. Another goat is loose! Stand and move left or right to catch it, then press A to toss it. Optionally pat it afterward so it bleats happily. Say good-bye to the mayor (his house is locked).
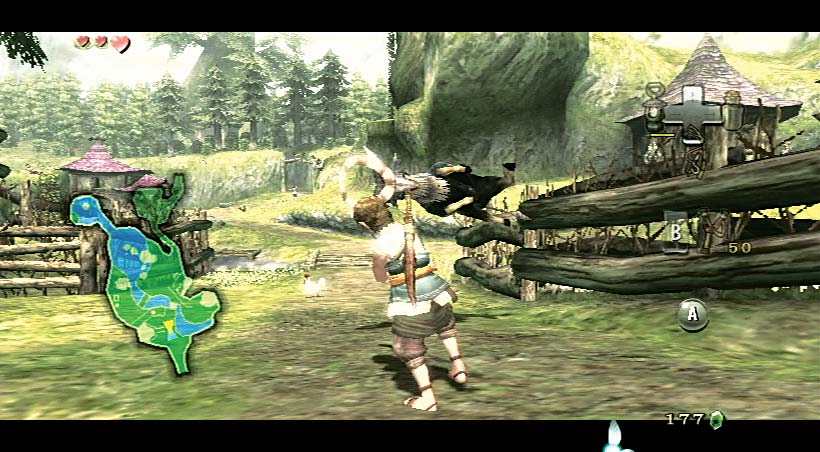
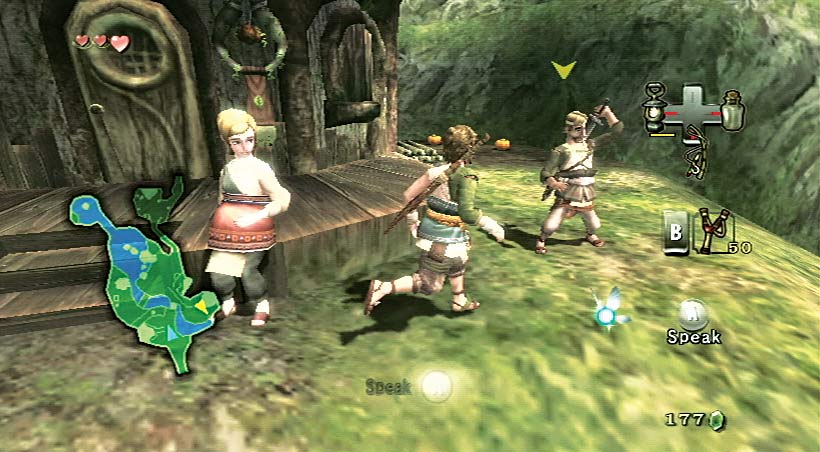
Run to Rusl and Uli’s house, where Uli asks you to take care of yourself. Rusl is practicing sword moves; he’s impressive! He offers to teach you when you return. You can also visit Pergie in her house, and she thanks you for rescuing Talo and Malo. Up on the flat rock with the vines stands Jaggle, who tells you to have a safe trip! You can even speak to miserable Hanch. He is spending his day stocking shelves! Hanch’s wife hears the city stores are really ritzy! Buy her wares if you need them.
Missing Links
1. Cucco or Cuckoo?
This is the first time you’ve encountered a Cucco while carrying a sword. If you’re feeling malicious, you can run after a Cucco, slicing it with your blade! Feathers fly off everywhere, and it squawks like mad. Spend too long striking a Cucco, and something strange happens: you become the Cucco! You have 10 seconds’ worth of flying, dashing, and flapping until you return to your human body.
Head out of the village, and speak to Colin, who isn’t being let into the woods by Talo and Malo. Optionally speak to Beth, then entertain Talo and Malo by giving them the Wooden Sword when Talo asks for it. You can’t enter the woods otherwise!
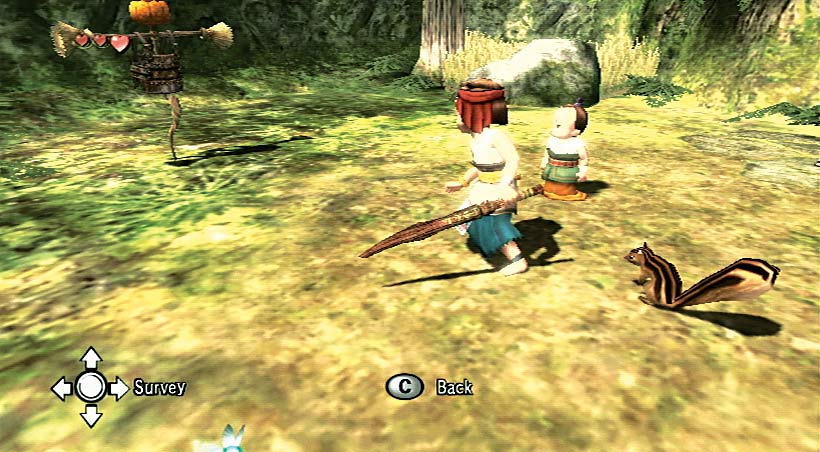
Talo screams with joy, and the brothers head off to the scarecrow. Colin asks if you could teach him to ride a horse sometime, then he disappears into the woods. Follow him to the spring. This time, don’t miss a couple of squirrels scampering about. Head to the gate.
The gate to the spring is locked, and so is the one to the bridge! Ilia isn’t letting you in, and Colin says he’ll talk to her about you rescuing Talo. Colin tells you to try the tunnel entrance (which you found earlier). Head to the woodland glade and enter the narrow tunnel on your knees. Collect a couple of Rupees on the way. Exit and meet up with Ilia.
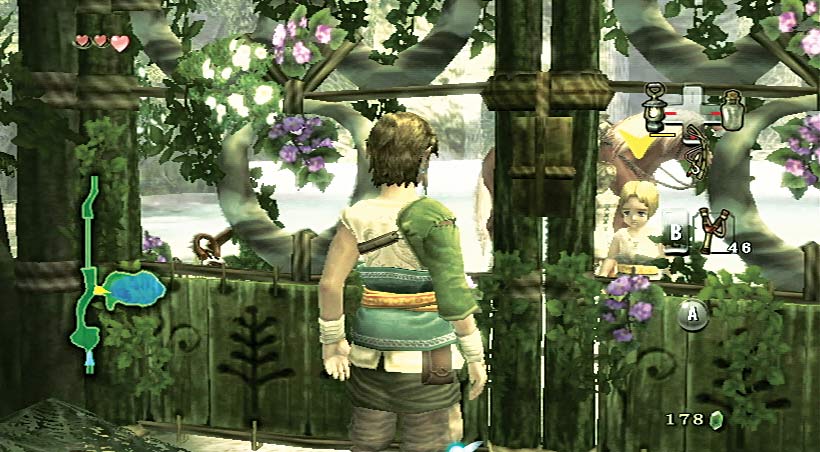
Ilia realizes that you helped Talo, and she tells you Epona is feeling better. But she wants you to promise her not to try anything out of your league! Suddenly, Epona lets out a startled whinny!
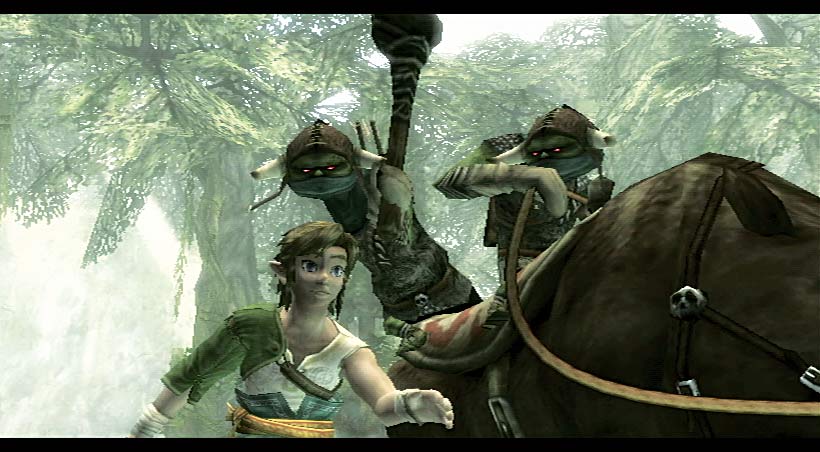
A massive Bullbo crashes through the gate with two Bulblin Riders. One strikes Ilia with an arrow. You fall, clubbed in the head! The riders gather up the bodies of Ilia and Colin. The raiding party is joined by a massive Bulblin on Bullbo-back!
This is King Bulblin riding Lord Bullbo! He blows a huge horn, and something strange appears out of the sky. You waken, run to the bridge, and an inky black arm pulls you into another world!
A strange and alien being holds you by the neck. This is a Twilit Messenger. Your Triforce glows. The Messenger flees. Your body twitches. You scream, and transform into a black-and-white wolf! You collapse and the Messenger slowly drags you away. Silently, a strange figure watches….