
The Legend of Zelda: Twilight Princess Wii Guide Essentials Friends & Fiends
Enemies
Enemies
Link has plenty of friends in Hyrule, but there are also scores of fiends who wish him harm. Studying the strengths and weaknesses of every villainous creature is vital to survival in Link’s world. Here you’ll find the quick breakdown of the foes you’ll face. The walkthrough will have even more details on how to best these creatures and keep Link intact.
Aeralfos
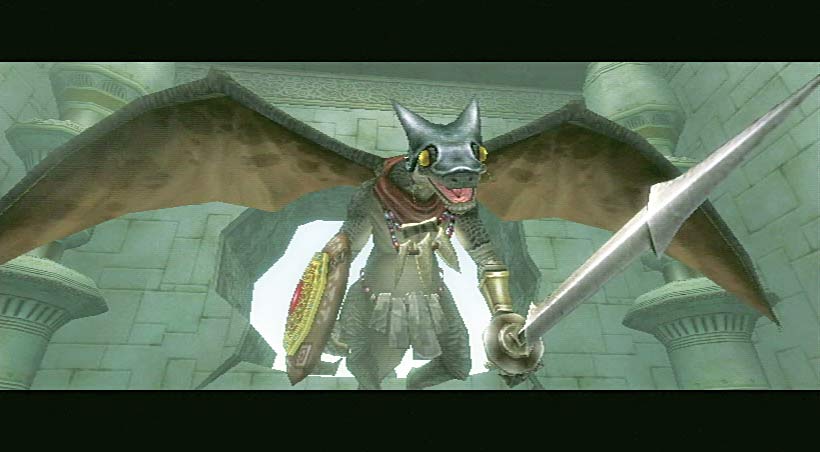
Winged, flying lizard-beast armed with a sword and shield
Z-target when airborne, wait for it to raise its shield, then fire the Clawshot to latch onto its shield and ground it
Punish Aeralfos with fast attack combos once it’s grounded
Don’t Clawshot its shield while it’s grounded or you’re pulled toward it and exposed to counterattacks
Encountered In: Dungeon 7: City in the Sky
Armos
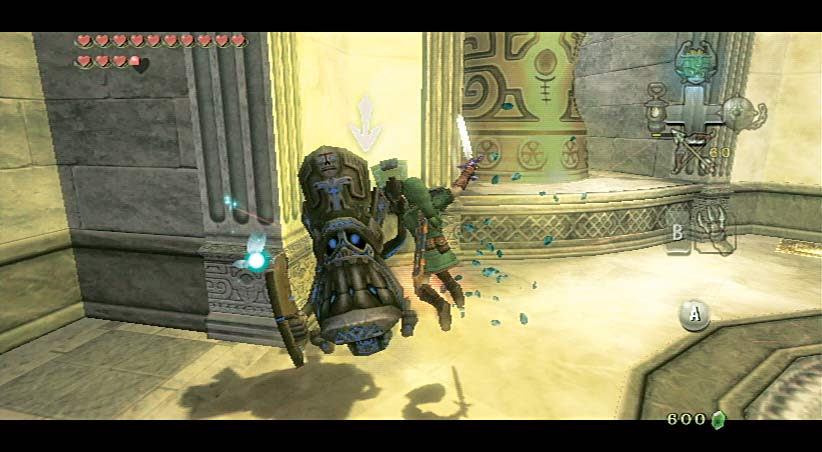
The Armos is impervious to frontal attacks
Roll around to its weak spot, then execute an attack
When the Armos begins to glow, get away quickly because it is about to explode
Alternately, run behind it without targeting and use Hidden Skill #5 to quickly dispatch the Armos
Encountered In: Dungeon 6: Temple of Time
Baba Serpent
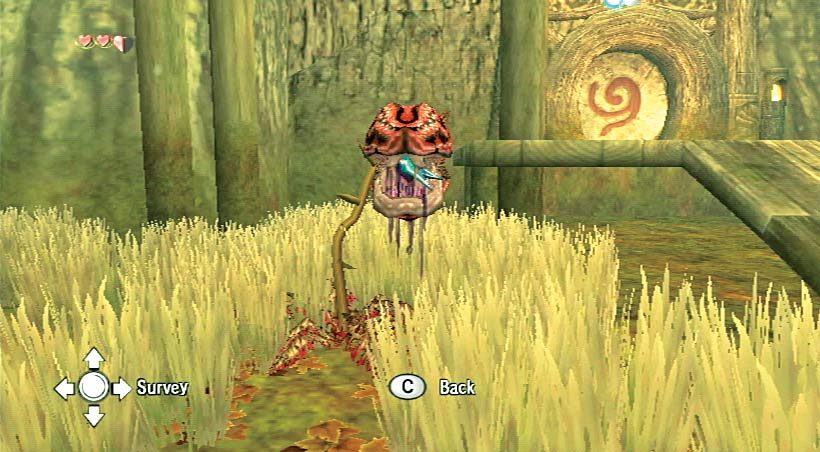
The Baba Serpent’s head is invincible
Wait for the creature to rise up and expose its neck, then slice it or fire at it with a ranged weapon
After you separate the Baba Serpent’s head, shoot it again or finish it with sword swipes
If you’re caught in its mouth, you can escape with a spin
Encountered In: Dungeon 1: Forest Temple
Baby Gohma
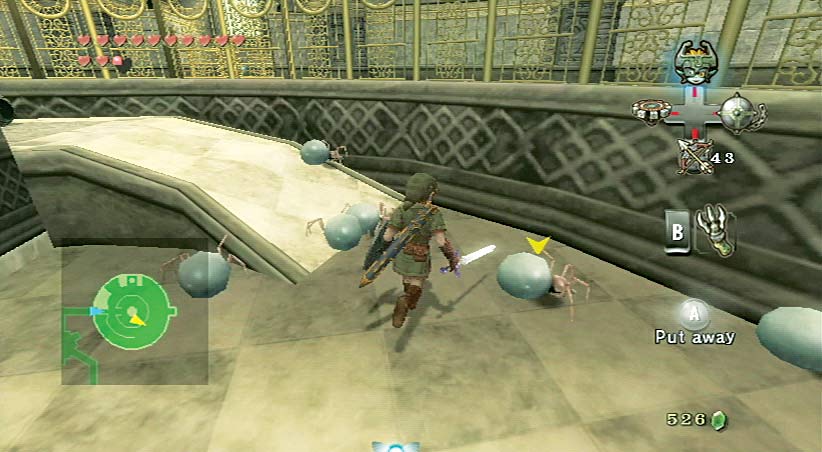
Baby Gohmas are not aggressive; in fact, they run directly away from you
Bomb Arrows or the Clawshot will dispatch them
Slashing with the sword while running forward also proves effective
Encountered In: Dungeon 6: Temple of Time
Bari
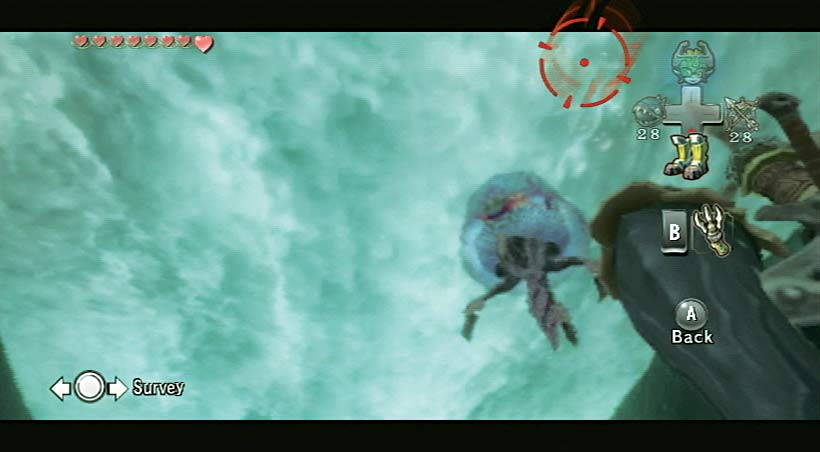
The Bari is impervious to most attacks
The Clawshot is the most effective; target the creature and fire for interesting results
Encountered In: Dungeon 3: Lakebed Temple
Beamos
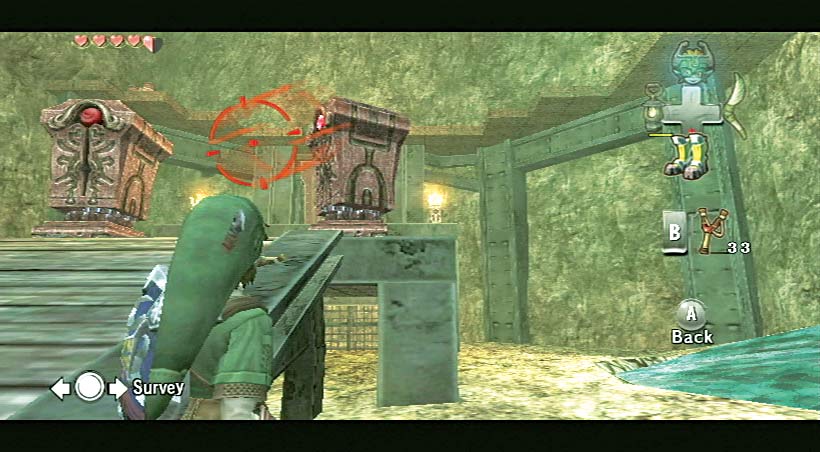
The Beamos shoots a jet of fire from its “eye” that will damage and stagger you
On your first encounter, the Beamos are impervious; use your shield to block their attacks and get by them
Once you receive the Hero’s Bow, you can target the eye and defeat the Beamos with a shot
Encountered In: Dungeon 2: Goron Mines
Beamos (White)
.jpg)
The pink laser the Beamos fires will drain your energy
Step back out of the laser’s range and fire a regular arrow
You cannot harm the White Beamos until it activates
Encountered In: Dungeon 6: Temple of Time
Big Baba
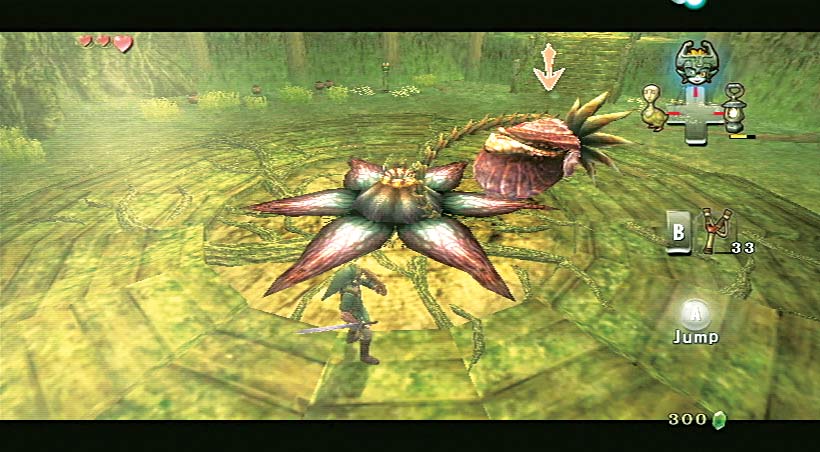
You must use your shield to block and target (both with Z) as you advance
Sidestep when the Big Baba’s head strikes at you, then spin or slice it
When the head is destroyed, throw a Bombling (target with Z) to blow up the creature
Encountered In: Dungeon 1: Forest Temple
Bokoblin
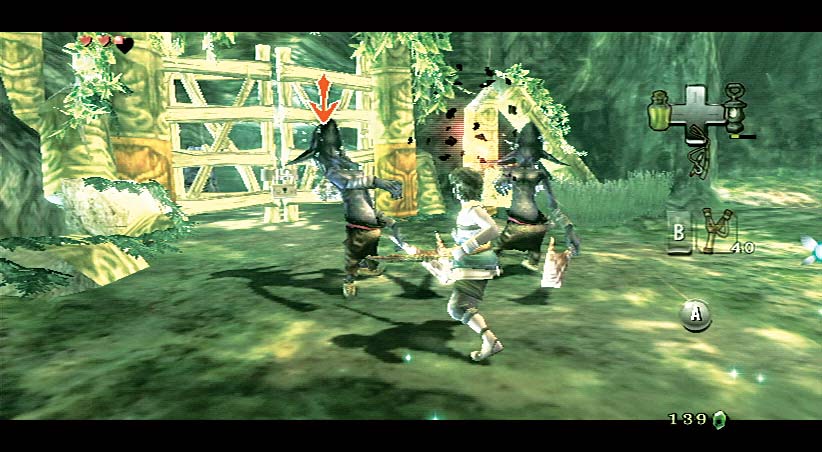
Watch for the Bokoblin bash attack
Target a Bokoblin and use a four-hit combo
If several attack, use your spin move
Encountered In: Ordona and Faron Provinces
Bombfish
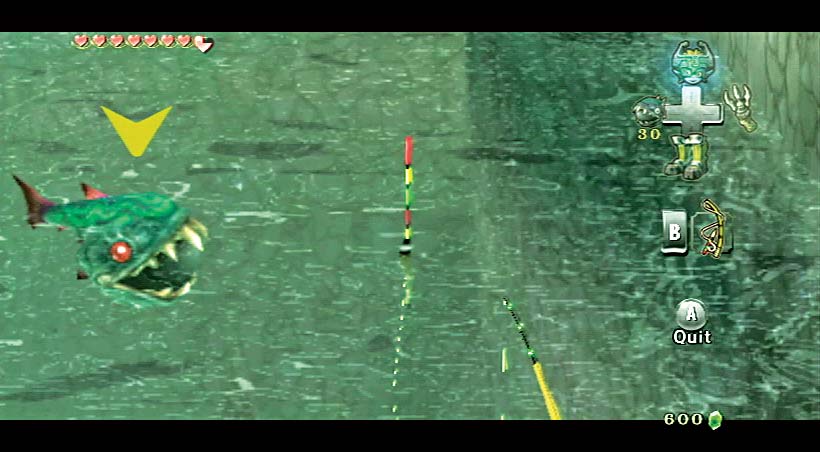
The Bombfish explodes as a defense mechanism, damaging you and destroying itself
Attack from dry land, or underwater with your Iron Boots on, and Z-target with your Clawshot
If you lure the fish to you, it can explode nearby features
Encountered In: Dungeon 3: Lakebed Temple
Bombling
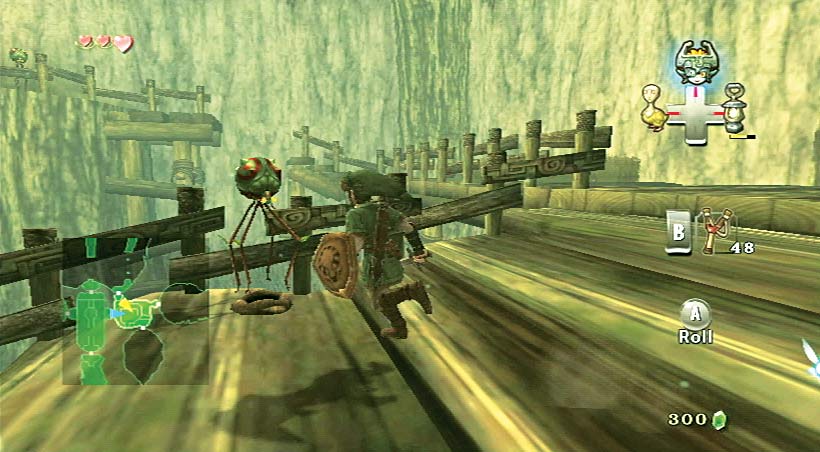
When struck, a Bombling will collapse, flash red, and (seven seconds later) explode
Use Bomblings to clear obstacles or defeat tough enemies
They pose no threat if you stay away from them
Encountered In: Dungeon 1: Forest Temple
Bomskit
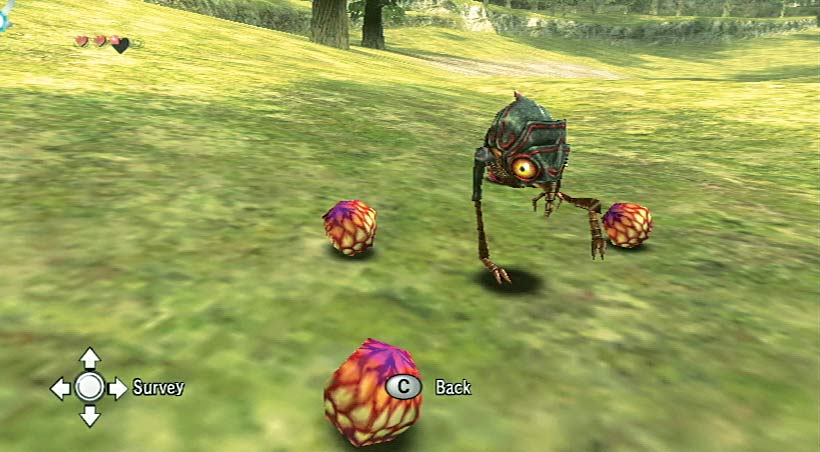
Bomskits pose no threat if left alone, though they will drop bombs if chased
Use a projectile weapon to dispatch a Bomskit
When defeated, the Bomskit’s remains can be scooped to get Worm Bait for fishing
Encountered In: Hyrule Field
Bubble, Fire Bubble, Ice Bubble
Bubble
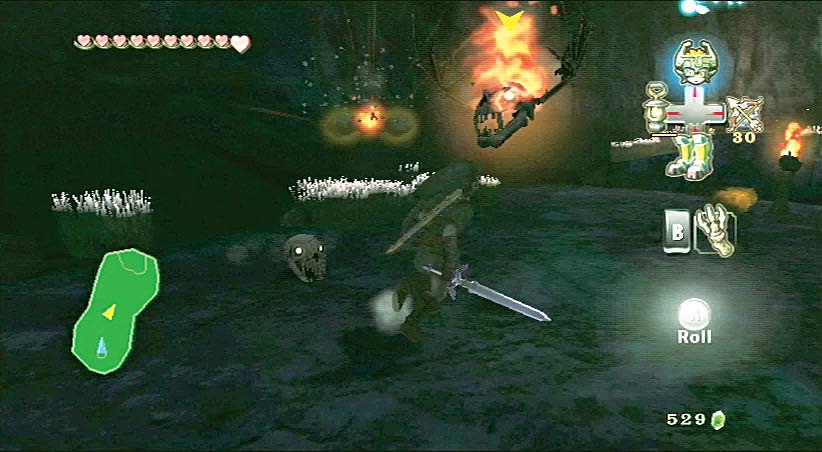
Fire Bubble
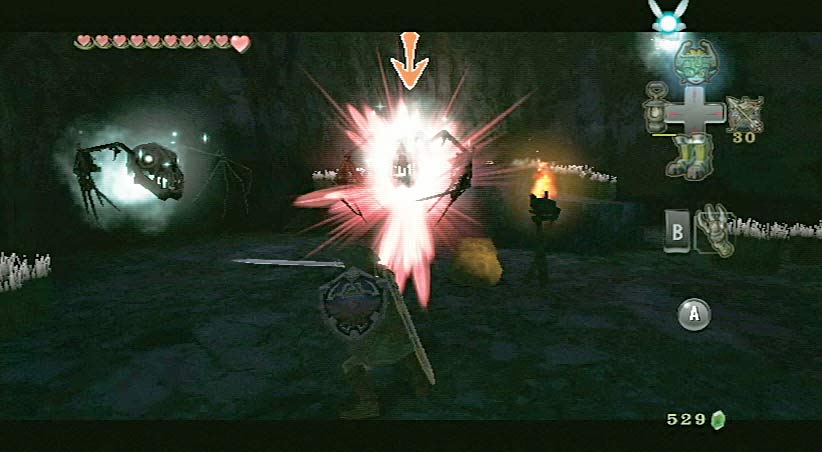
Ice Bubble
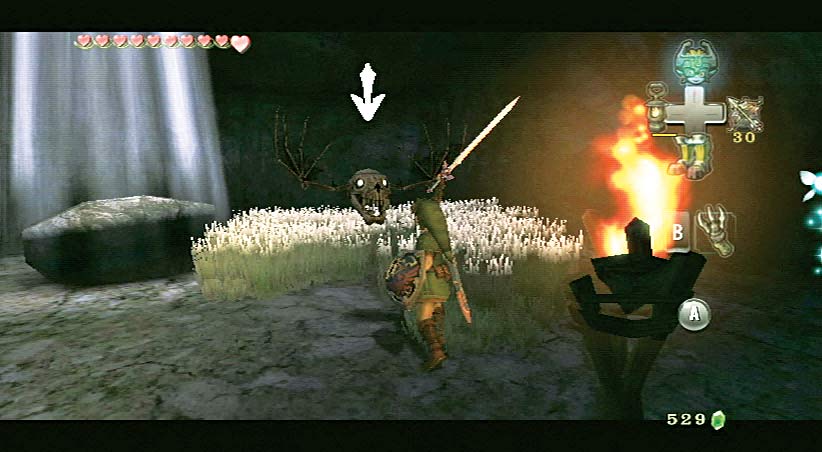
Normal Bubbles simply attack, Fire Bubbles damage wooden shields, Ice Bubbles can freeze you
Attack at range with arrows (bomb or normal)
Avoid finishing moves, as the Bubbles usually dodge, leaving you stuck for a moment and vulnerable
Encountered In: Hyrule
Bulblin Infantry
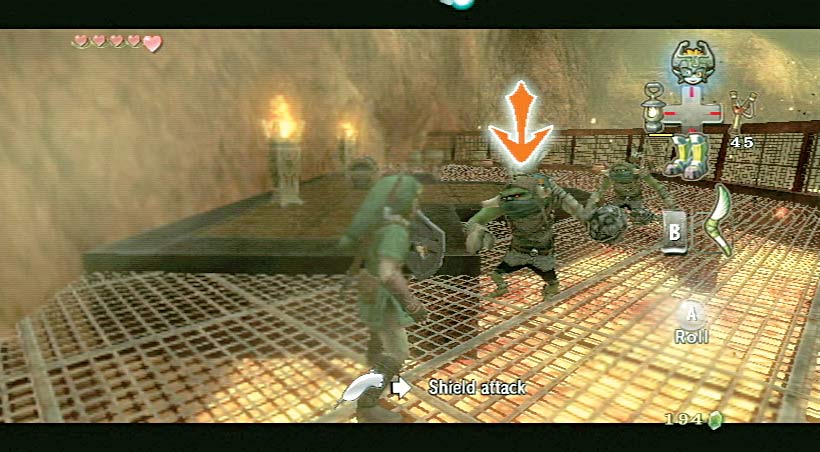
Bulblins are foot soldiers that carry primitive clubs
Use your shield and Z-target to push back the initial attack, then counter with three regular slices, comboed into a spin to finish them off
Multiple Bulblins can be simultaneously defeated with this technique
You can also knock a Bulblin back with your shield, leaping and slicing, then (with the Bulblin lying on its back) finish it with your first Hidden Skill
Encountered In: Dungeon 2: Goron Mines
Bulblin Riders
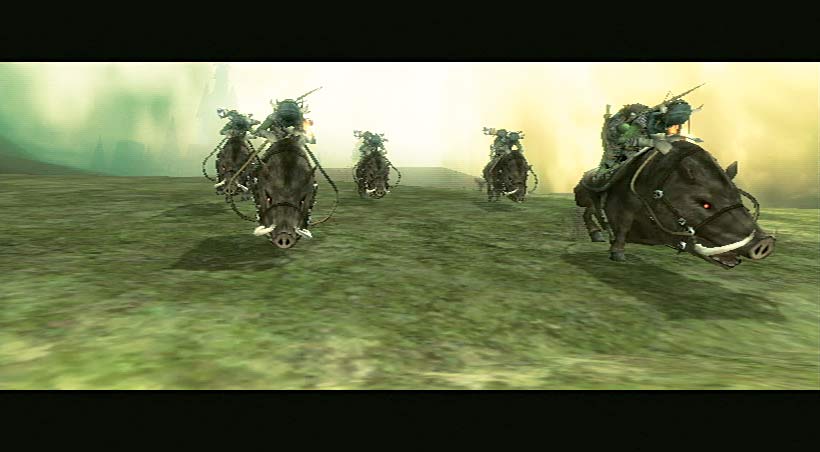
The Bullbos carry two passengers each: one a rider and the other an archer
Use your spurs to catch up, draw your sword, then hack away to slice rider and archer in one swipe
Charging in, using the spin attack, and charging away is the other option
Encountered In: Kakariko Village
Bulblin Warrior
Defeat Bulblin Warriors with your wolf form’s sharp teeth and whipping tail
Target one and leap for a bite, follow up with a spin attack to strike more than one
When a Bulblin’s knocked down, pounce on it to finish it off
Encountered In: Ordona and Faron Provinces
Chilfos
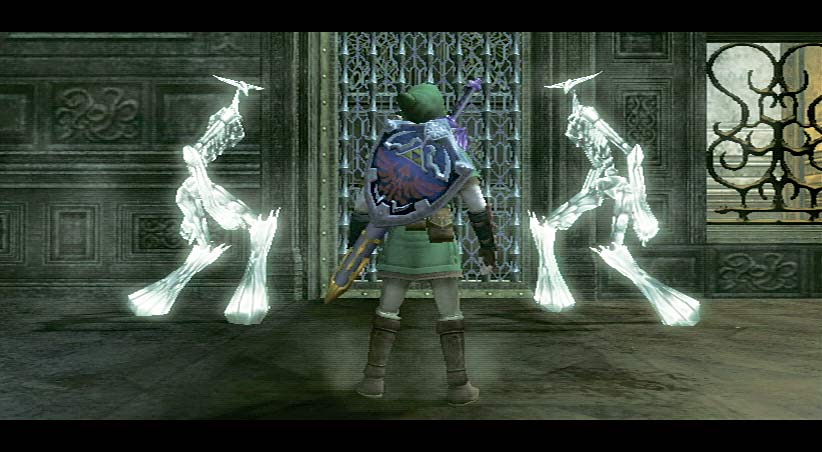
A difficult enemy, the Chilfos uses a thrown spear that knocks you down and leaves you vulnerable
From long range, fire two Bomb Arrows in rapid succession
At close range, slice rapidly until the spear breaks, then spin attack, and use more slashes to defeat the creature
Encountered In: Snowpeak Mountain
Chu
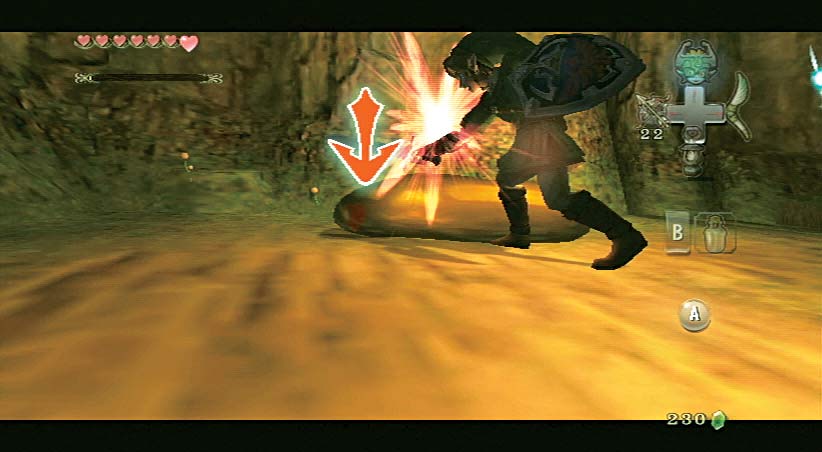
Chus come in various colors, denoting the healing properties their remains have
Sword strikes work well against the creatures
Scoop Chu remains into a bottle for later use
Encountered In: Lanayru Province
Chu Worm
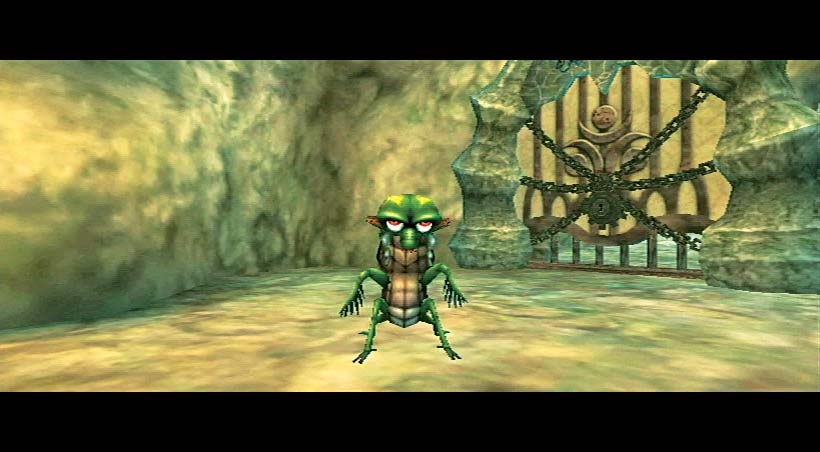
The worm’s Chu Jelly bubble is impervious to your sword strikes, but not Bomb Arrows
Use Z-target and launch a Bomb Arrow, then use sword swipes to finish it
The Clawshot also proves effective against the Chu Worm
Encountered In: Dungeon 3: Lakebed Temple
Darknut
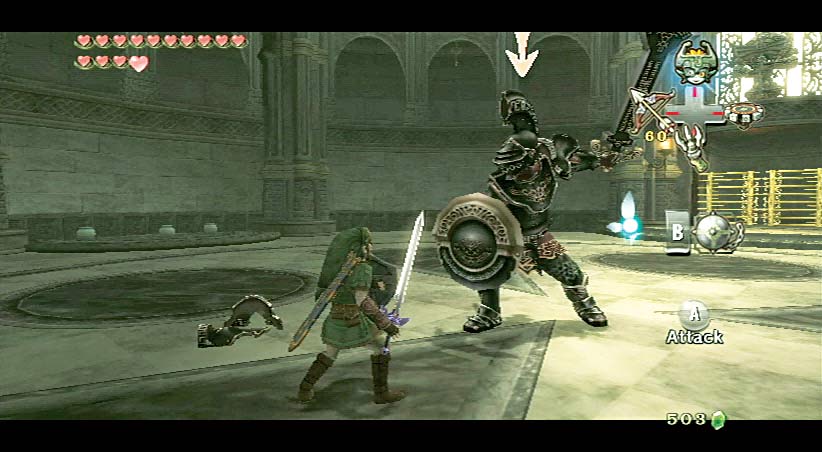
Slow-moving, heavily armored knight with powerful attacks
Z-target and backflip to dodge its attacks, then quickly follow up with a jump attack (3), and repeat
After taking heavy damage, Darknut sheds its armor, becoming more agile and dangerous
Use the back slice maneuver to stagger an unarmored Darknut, then quickly follow up with fast attack combos
In groups, try to defeat each Darknut in turn
Encountered In: Dungeon 6: Temple of Time
Deku Baba
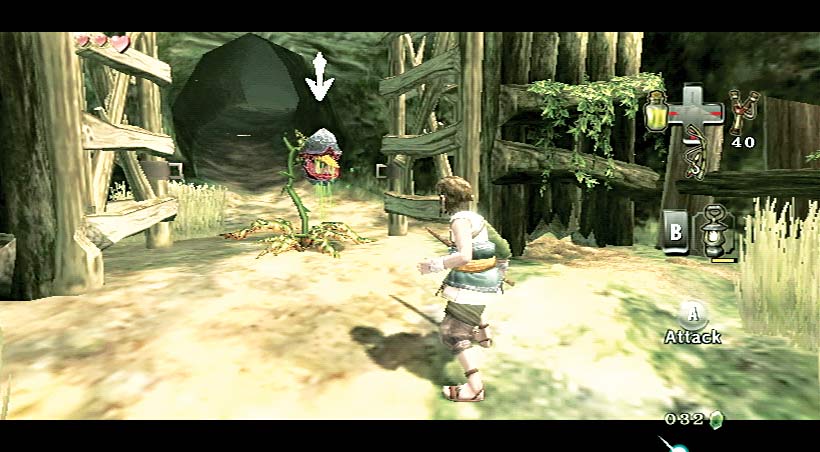
A carnivorous weed that can only reach, not walk, from its planted spot
Slice with a couple of well-timed strikes or a spin
Find Deku nuts, for your Slingshot, in the Deku Baba’s head
Encountered In: Ordona and Faron Provinces
Deku Like
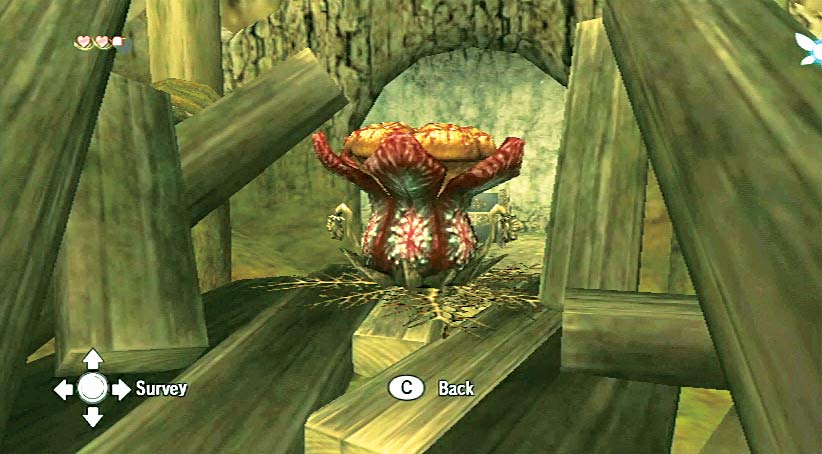
The Deku Like can be harmed only if it swallows something explosive
Find a Bombling to drop into the Deku Like’s mouth from above
Encountered In: Dungeon 1: Forest Temple
Dodongo
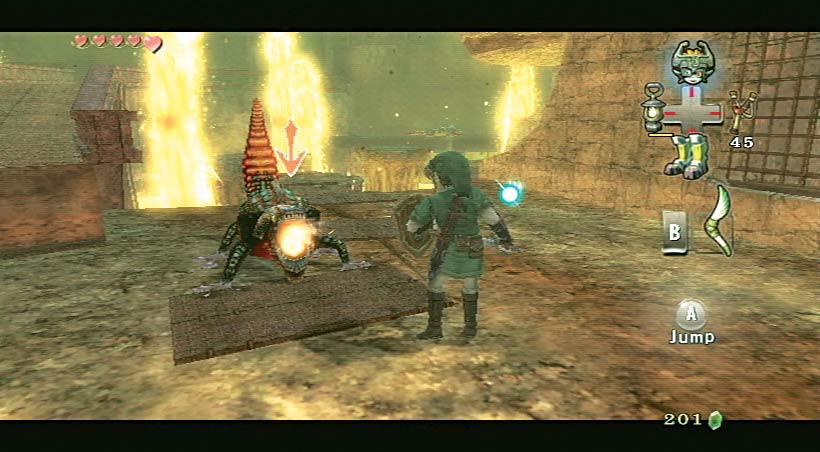
Dodongos breath fire in a wide arc and are impenetrable from the front
To defeat Dodongos with your sword, circle around to target the tail
Three slices at the tail finish off this scaly threat
A spin attack works well at hitting multiple Dodongo tails
Encountered In: Dungeon 2: Goron Mines
Dynalfos
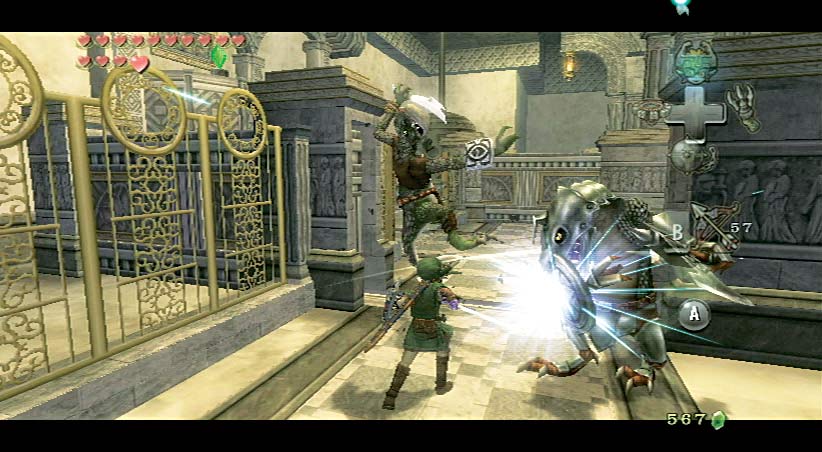
The Dynalfos can be harmed only by counterattacks
Wait for the monster to make a swing, block it, and immediately retaliate with a spin attack or helm splitter
Back striking the creature’s tail also works
It takes three or four successful attacks to defeat a Dynalfos
Encountered In: Dungeon 6: Temple of Time
Fire Keese
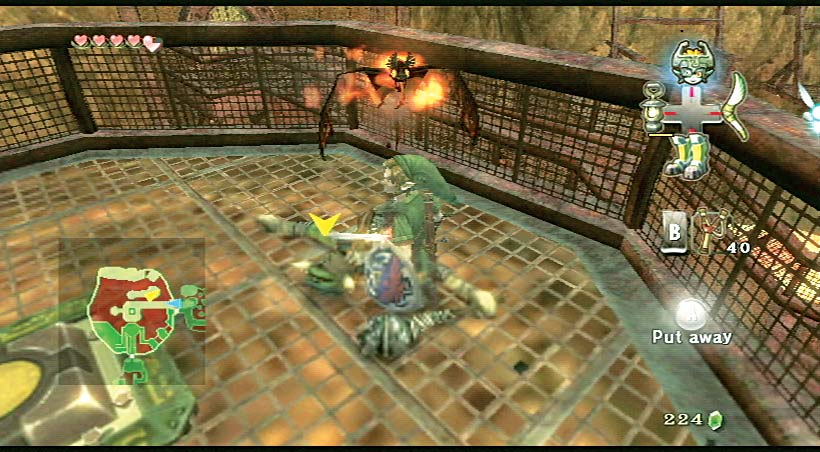
Deal with Fire Keese the same way as the other Keese
Use the Z-target and slice, or shoot with a ranged weapon
Encountered In: Dungeon 2: Goron Mines
Fire Toadpoli
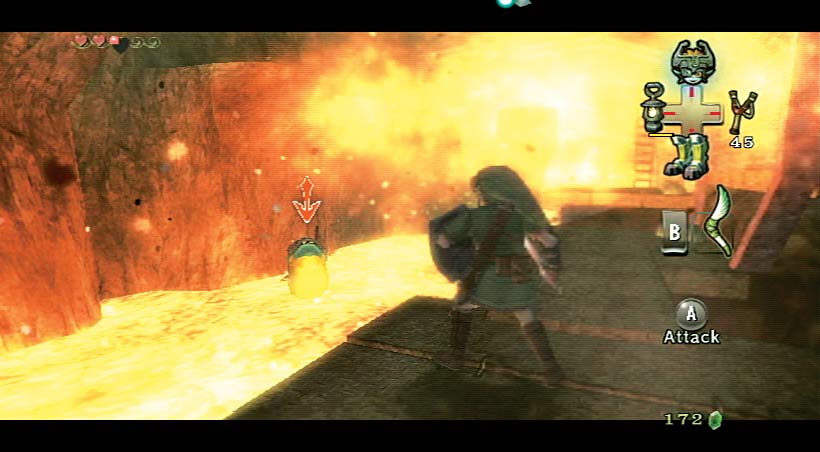
The Fire Toadpoli spits out a fireball that can damage you and knock you off ladders
Raise your shield and Z target the Fire Toadpoli, when it spits the fireball, knock the fireball back with your shield (move your Nunchuk forward)
Time it early for best results; one fireball strike will defeat the beast
Encountered In: Dungeon 2: Goron Mines
Freezard
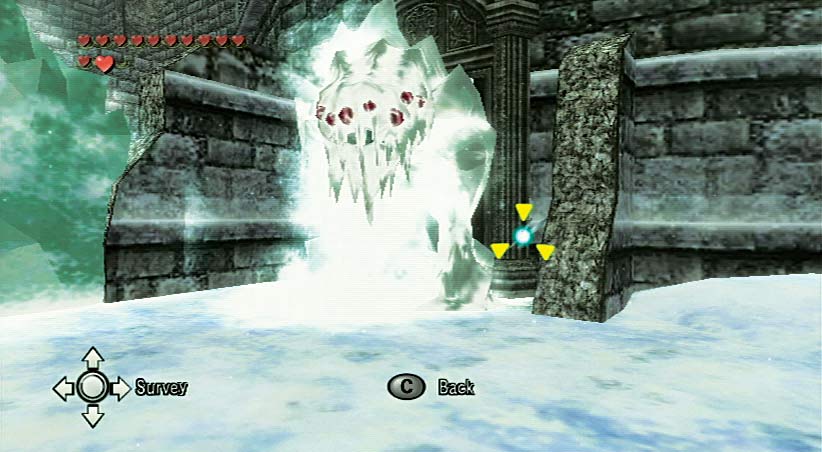
Though the Freezard is immobile, its breath freezes you in place and saps energy
Target with the Ball and Chain and attack or retreat from its breath
Beware other enemies in the same area, because if you are frozen, they’ll take advantage of your vulnerability
Encountered In: Snowpeak Mountain
Ghoul Rat
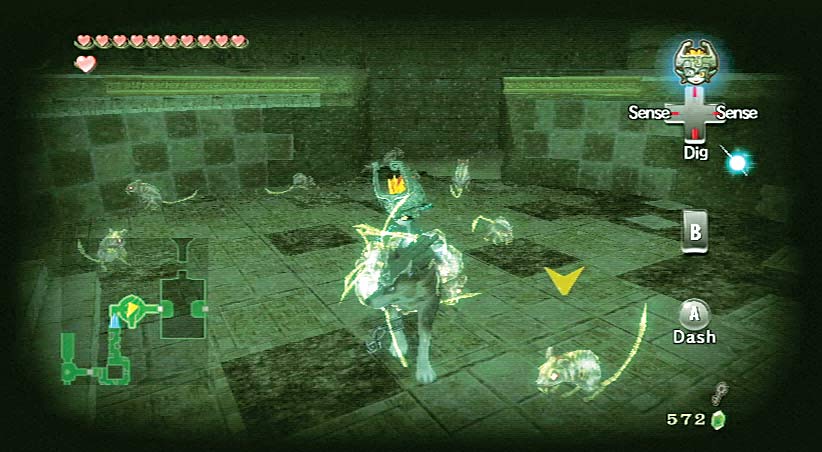
The Ghoul Rats don’t actually do damage
The Ghoul Rats cling and slow you down, making you vulnerable to other monsters
Transform into a wolf, turn your sense view on, and spin attack to shake them off, then bite
Encountered In: Dungeon 4: Arbiter’s Ground
Guay
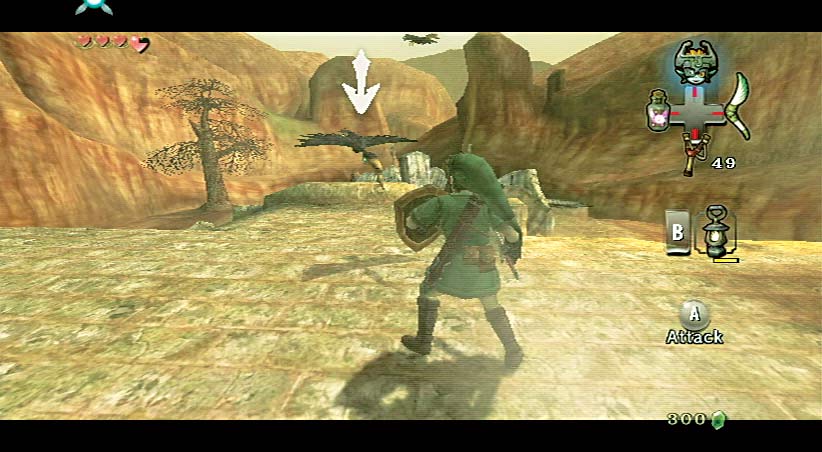
Guays are easy when encountered singly but difficult in a flock
Each swoops down to dive bomb you, then flies away while another attacks from a different direction
Block with your shield, then slay the Guay as it flies away
After you gain the Hero’s Bow or Clawshot , auto-target each bird and fire
Encountered In: Kakariko Village
Helmasaur
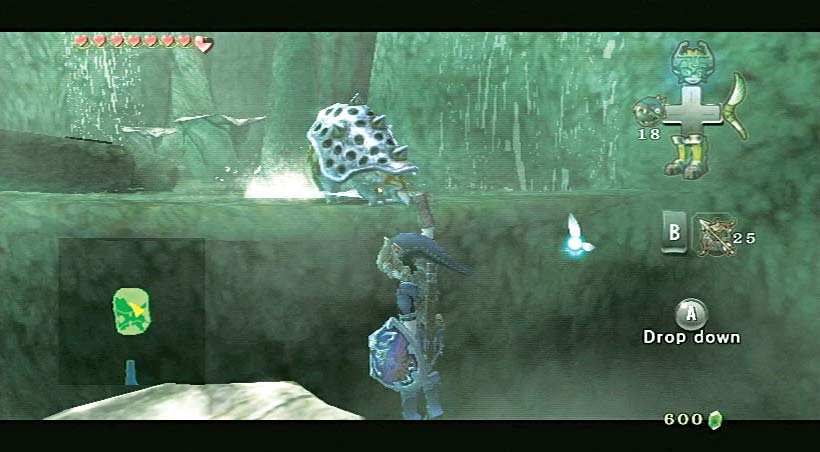
You cannot hurt the Helmasaur by hitting it from the front or sides
It can push you back even if you’re blocking
Target the Helmasaur, maneuver to face its rear, then strike (with spin attack, or Hidden Skill #3)
The Clawshot is very effective against the Helmasaur
Encountered In: Dungeon 3: Lakebed Temple
Helmasaurus
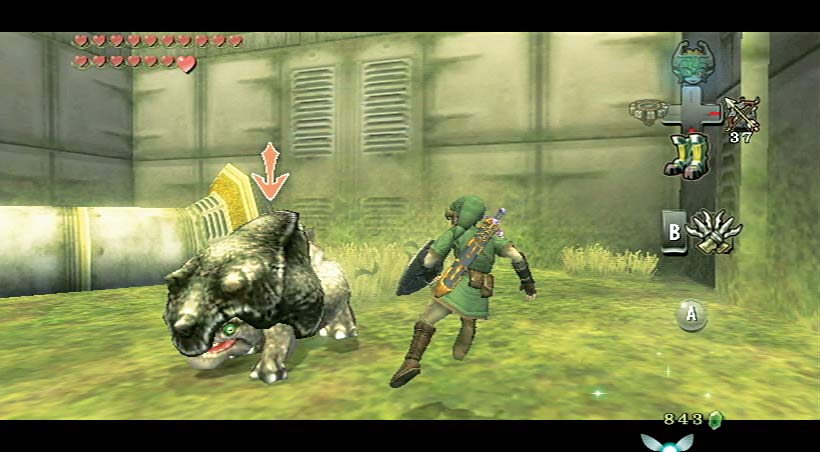
Large, boar-like quadruped with a carapace head
Charges forward and attacks by ramming
into you
Z-target and jump to one side to avoid charge attack, then attack the Helmasaurus’s vulnerable backside
Encountered In: Dungeon 7: City in the Sky
Hylian Hornet
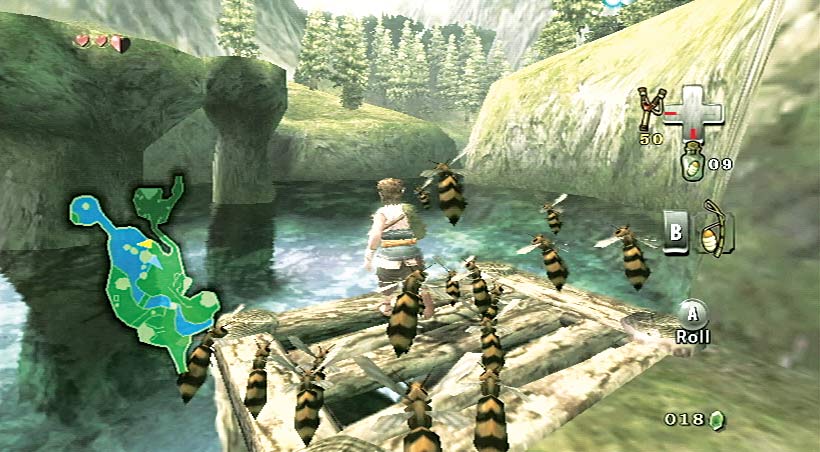
Only attack if provoked, and you cannot stand and fight
Run away from them and they give up after five seconds
Or you can dive into water to avoid them
Encountered In: Ordona and Faron Provinces
Ice Keese
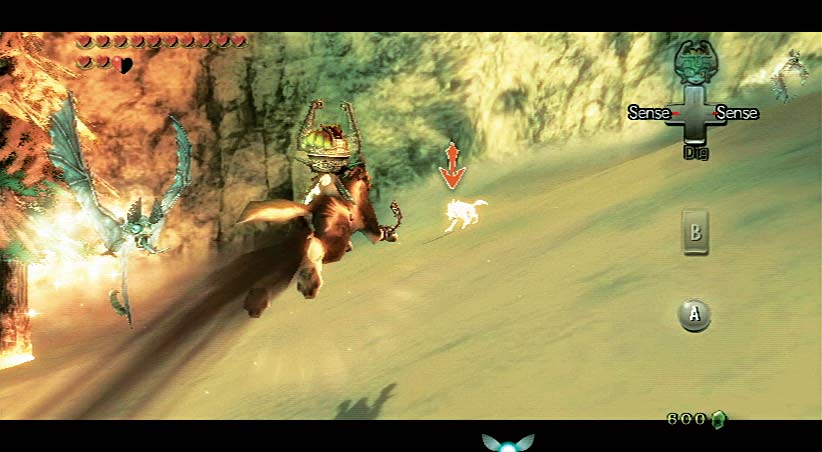
Small winged enemy
Similar to normal Keese, but this version emanates a frosty aura
Easily defeated with just about any form of attack
Encountered In: Peak Province; Snowpeak
Imp Poe
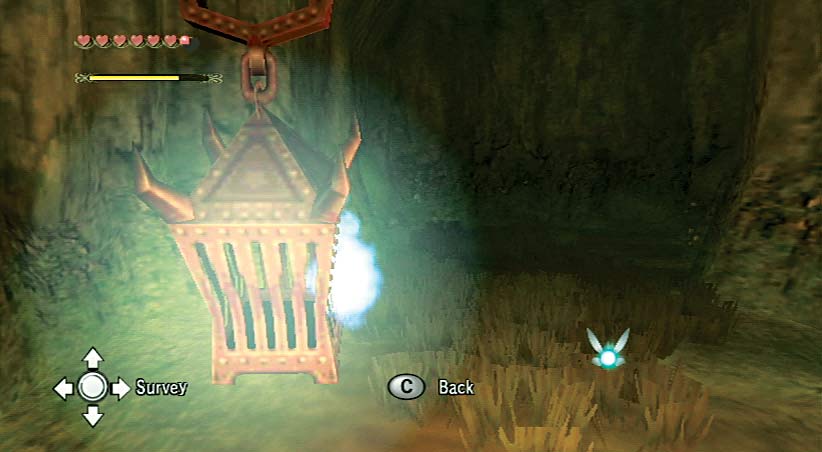
The Imp Poe is invisible to your human form; you must use sense view to see them
The Imp Poes attack with a sickle weapon
Pounce on the Imp Poes to defeat them and reveal the Poe Soul
Encountered In: Lanayru Province
Kargarok
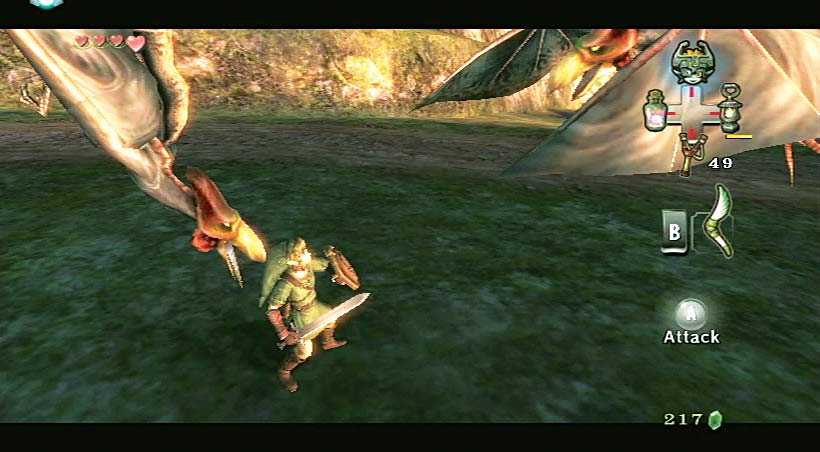
Target a Kargarok and attack with a leaping slice to bring it to the ground
Finish it with a strike
Beware: If you miss the finishing blow, your sword gets stuck, allowing the Kargarok a free attack
Encountered In: Hyrule Field
Keese
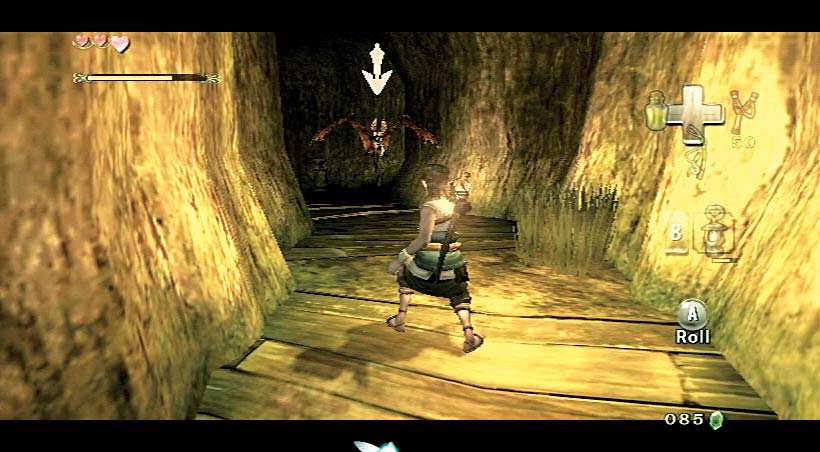
Try to spot Keese from a distance and use ranged attacks to take them down
If a Keese attacks, target with Z, then swipe or jump and swipe
Auto-target incoming Keese with ranged weapon (can be tricky)
Encountered In: Ordona and Faron Provinces
Leever
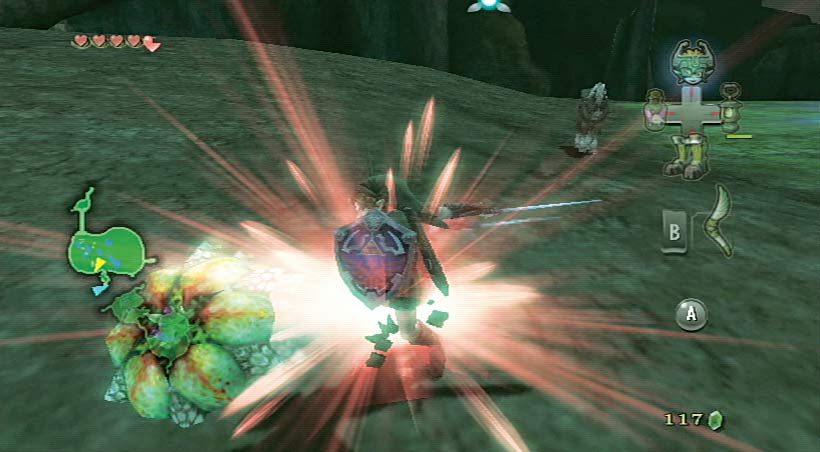
A ring of Leevers rotate and move around you, then converge and strike
Stop, stand still, and as the Leevers surround and come in for the strike, execute a spin attack and defeat them all
Projectiles (or running away) are also effective
Encountered In: Hyrule Field
Lizalfos (“Axe-tail”)
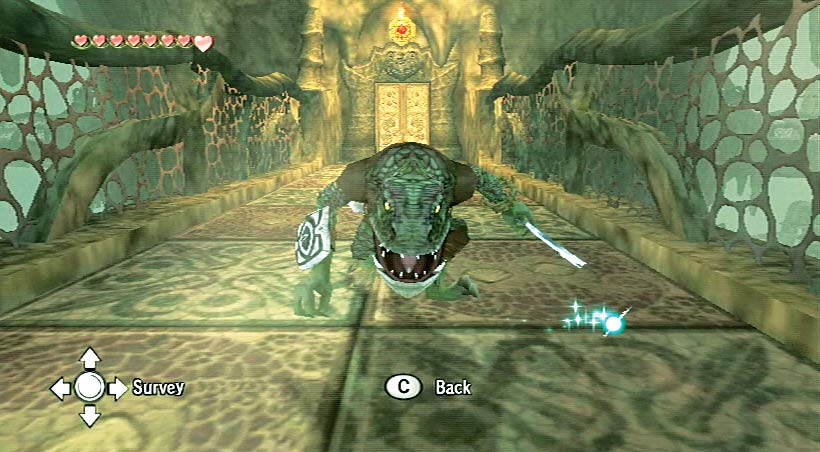
The Lizalfos has two bladed attacks: a sword it carries and an axelike tail, which can knock you down
The Lizalfos is skilled in defense, so multiple simple sword strikes are required to down it
It’s more effective to shoot Bomb Arrows or 6-target the Lizalfos, ram it with your shield, then roll around with 3 and slice its back
Encountered In: Dungeon 3: Lakebed Temple
Lizalfos (“Skull-face”)
.jpg)
This Lizalfos is very similar to the axe-tail version
Use the same strategies on this foe: maneuver to its back and slice
Encountered In: Dungeon 3: Lakebed Temple
Mini Freezard
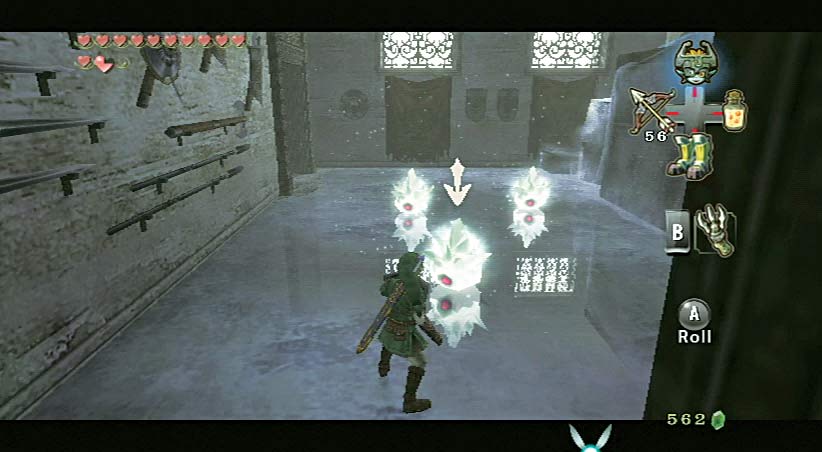
If they strike you, Mini Freezards encase you in ice, leaving you vulnerable
Strike with you sword, block, and then strike a second time to defeat them
If facing a group of Mini Freezards, concentrate on one at a time
The Ball and Chain weapon is the most effective, though you don’t have it during your first Mini Freezard encounter
Encountered In: Snowpeak Mountain
Moldorm
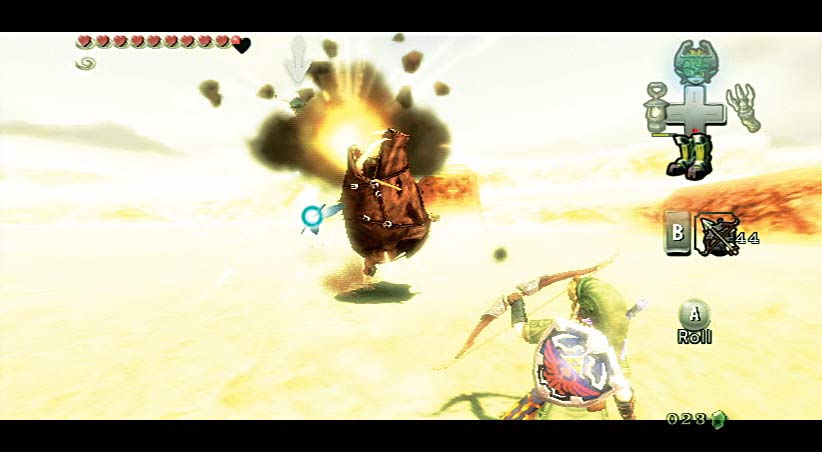
Moldorms burrow and pop out to take quick attacks
Sword attacks alone are usually futile
Use the Clawshot to pull them from the ground and then dispatch them with your sword
Encountered In: Hyrule
Poison Mite
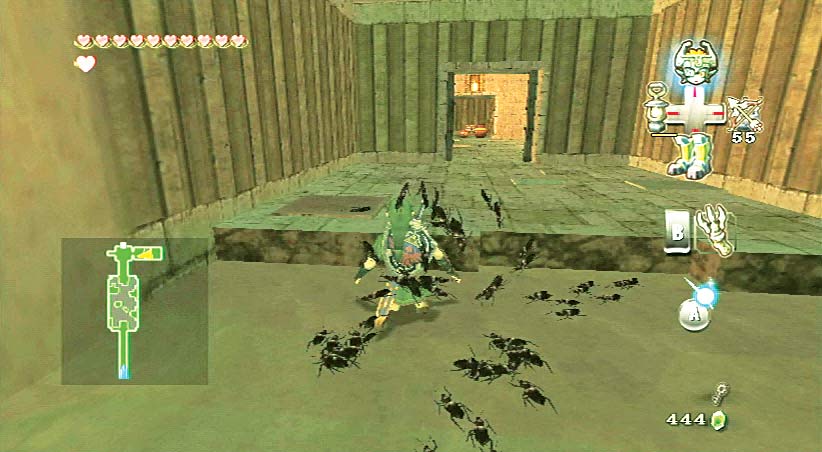
The Poison Mites don’t actually deal damage
The mites slow you down in sinking sand, threatening to pull you down
Do not fight until you reach solid ground, or shine your Lantern to scare them off
Encountered In: Dungeon 4: Arbiter’s Ground
Puppet
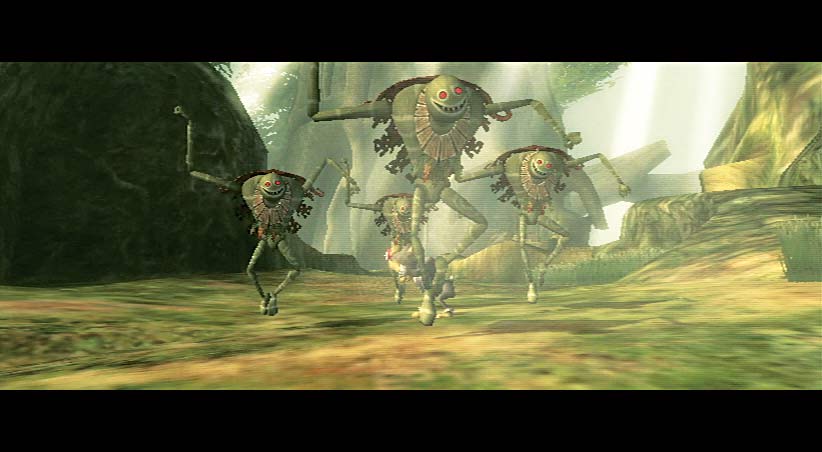
Puppets (controlled by Skull Kid) usually appear in groups of four or more
They swipe with fists; their biggest threat is their numbers
A spin attack takes out Puppets with one go
Pygmy Skulltula
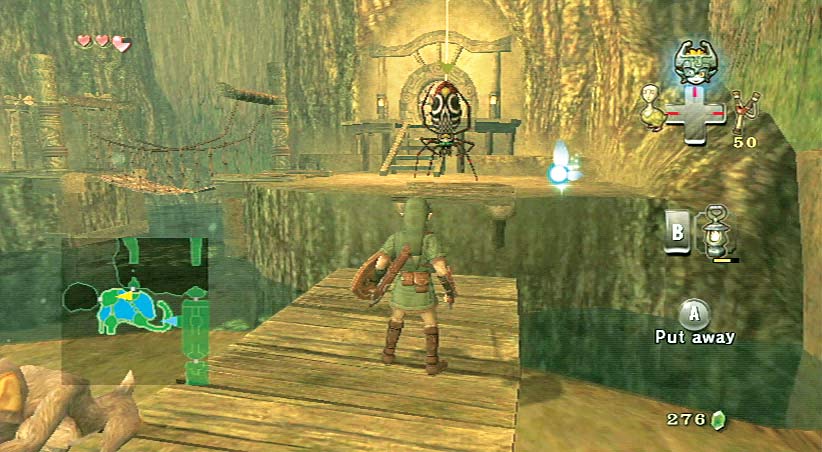
A mid-sized Skulltula that hangs from a thin web
Drops down from above just as you’re about to jump across a small gap; harms you if you leap into it
Slowly move forward until it descends, then defeat it with the Slingshot from a safe distance
Encountered In: Dungeon 1: Forest Temple
Encountered In: Faron Woods
Rat
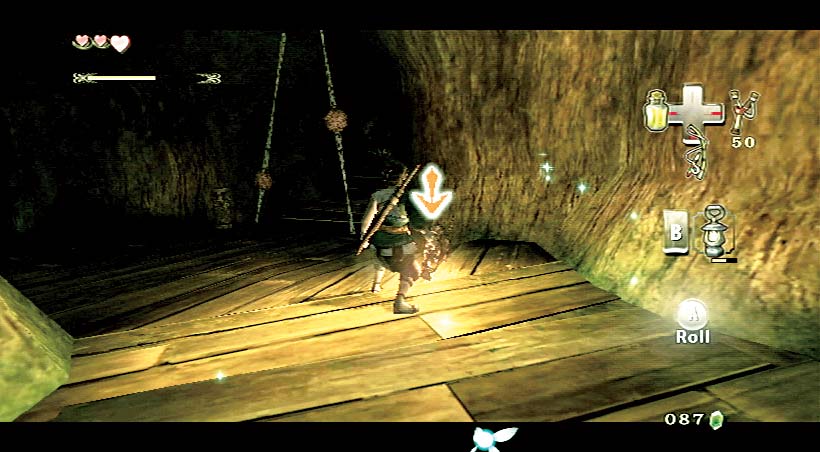
Rats are not a big threat
In the dark, listen for their squeaking, and use Z to target them
Slice or jump in and slice
Encountered In: Ordona and Faron Provinces
Redead
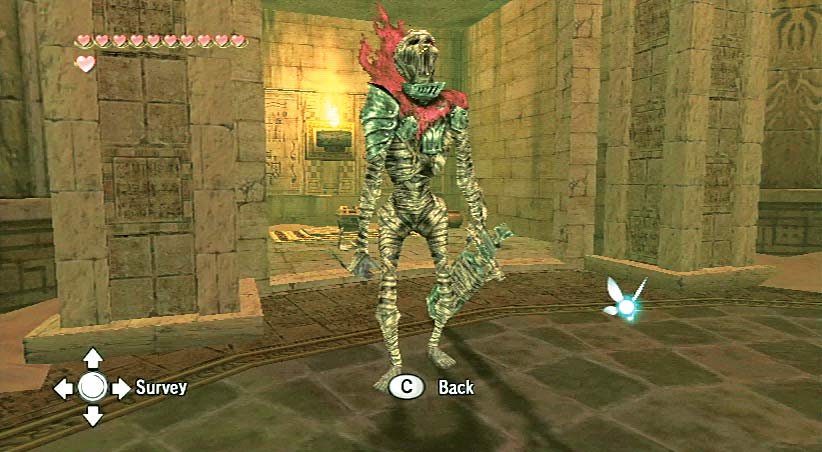
The Redead has a paralyzing scream that stops you, and then a sword attack to damage you
Use Bomb Arrows from range
Alternately use your wolf form and bite the Redead
Encountered In: Dungeon 4: Arbiter’s Ground
Shell Blade
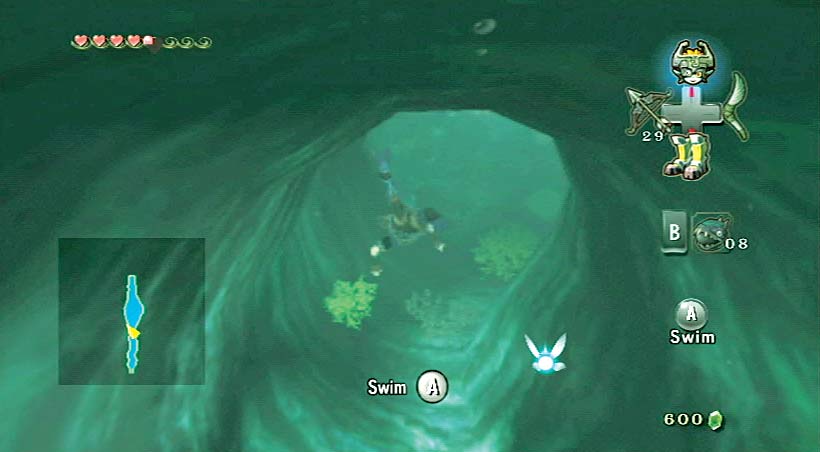
The Shell Blade is impervious to vertical slashing moves
The creature’s interior is vulnerable to any horizontal slice
The spin attack is excellent against the Shell Blade
Encountered In: Dungeon 3: Lakebed Temple
Skullfish
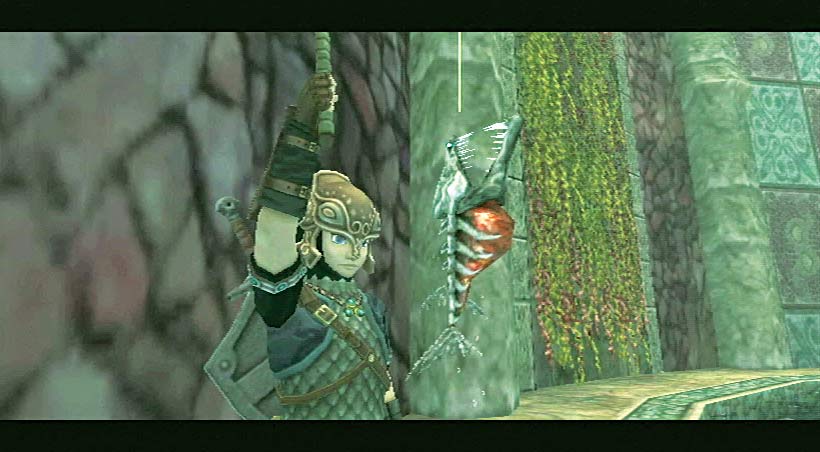
There are many ways to defeat Skullfish, such as the Gale Boomerang, Clawshot, or dropped bombs when you’re on dry land
If in the water, use the Iron Boots and sword or simply swim away from them
Catching a Skullfish with the Fishing Rod rewards you with a Heart but you must throw the Skullfish back
Encountered In: Dungeon 3: Lakebed Temple
Skulltula
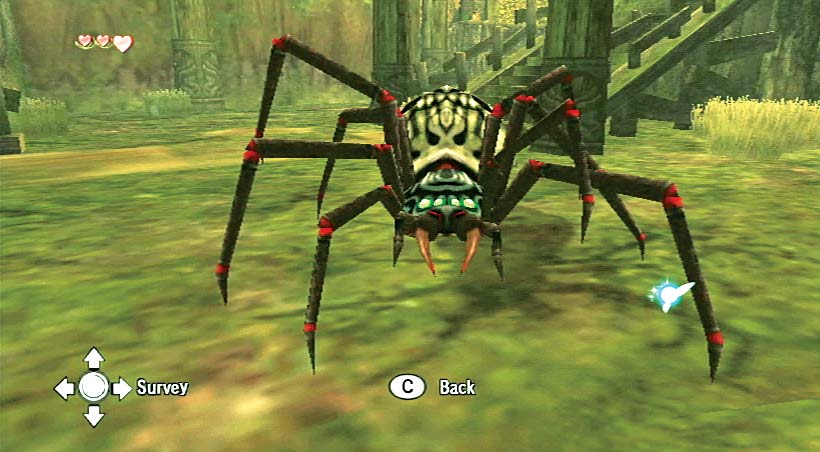
The Skulltula cannot be defeated head on
Use Z to block the leg attacks, move to either side, then strike with a combo of slashes
When the beast collapses, finish it with a leaping strike and press A when prompted to complete combat
Encountered In: Dungeon 1: Forest Temple
Stalfos
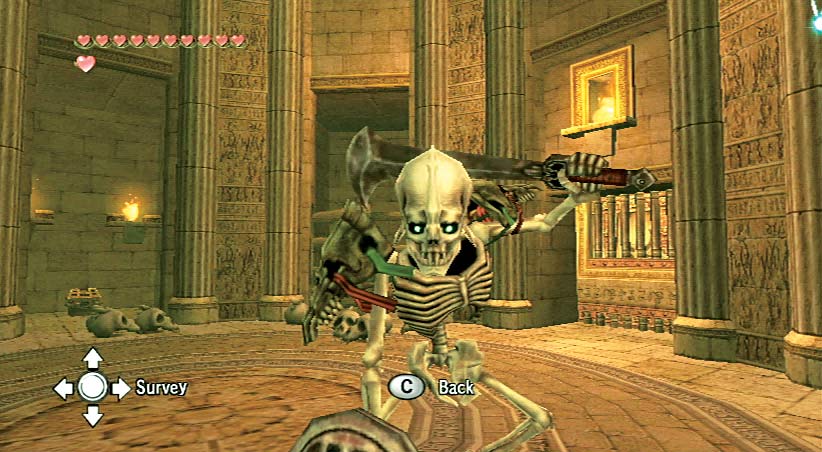
The Stalfos is an undead monster invincible to most attacks
Use Bomb Arrows or other explosive
Repeat as necessary
Encountered In: Dungeon 4: Arbiter’s Ground
Stalhound
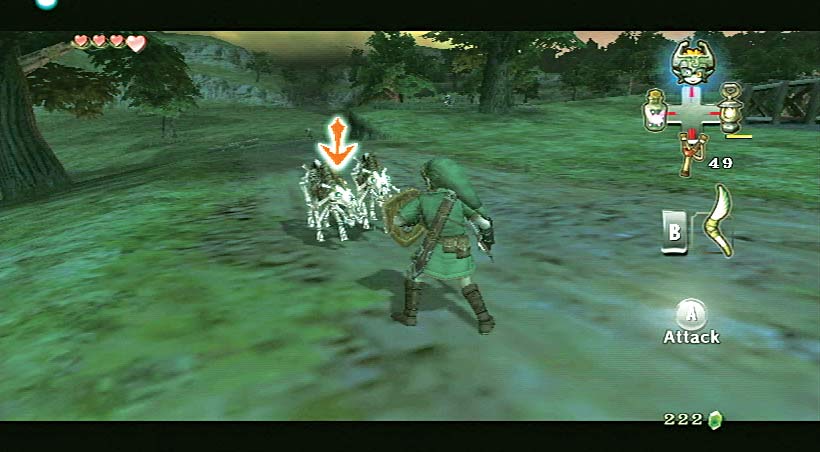
These undead beasts dig up from the ground below, attack, then burrow down back, only to reappear from the same place again
Two spin attacks or a couple of leaping strikes will defeat them
Stalhounds tend to drop Rupees, too
Encountered In: Hyrule Field
Stalkin
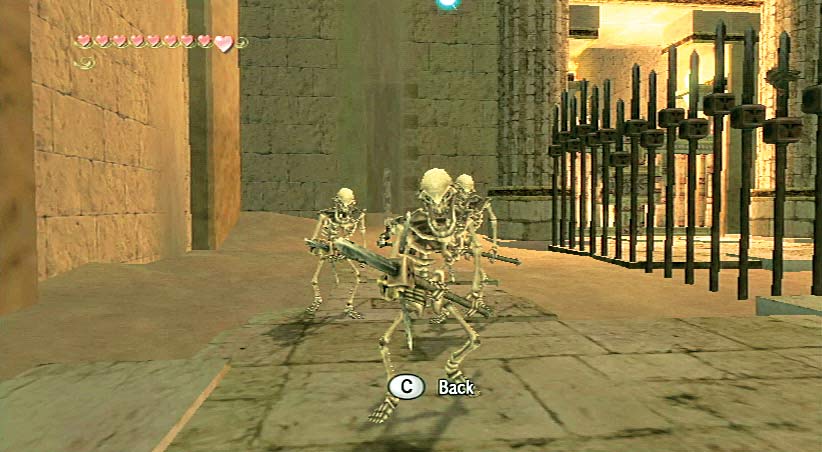
Brittle and slow, Stalkins are not particularly frightening or dangerous
They can attack in large numbers
A single spin attack will defeat all of them in a group
Encountered In: Dungeon 4: Arbiter’s Ground
Staltroop
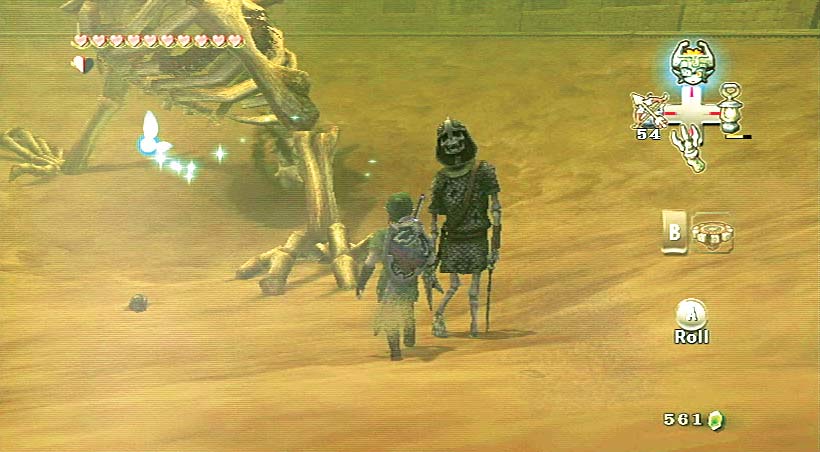
The Staltroops are the Stallord’s minions, not attackers but obstacles during your fight with Stallord
Avoid the Staltroops and don’t stop moving when on the sand
Spinning into them with the spinner will defeat them
Encountered In: Dungeon 4: Arbiter’s Ground
Tektite (Red and Blue)
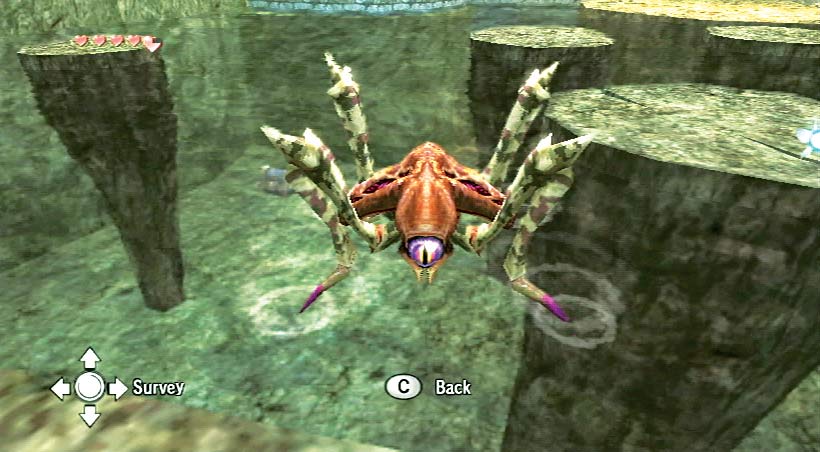
Tektites have only a single jumping attack that is damaging
Let the Tektites congregate around you
When the first one jumps, execute the spin attack as it descends to finish all of them
Encountered In: Dungeon 2: Goron Mines
Tile Worm
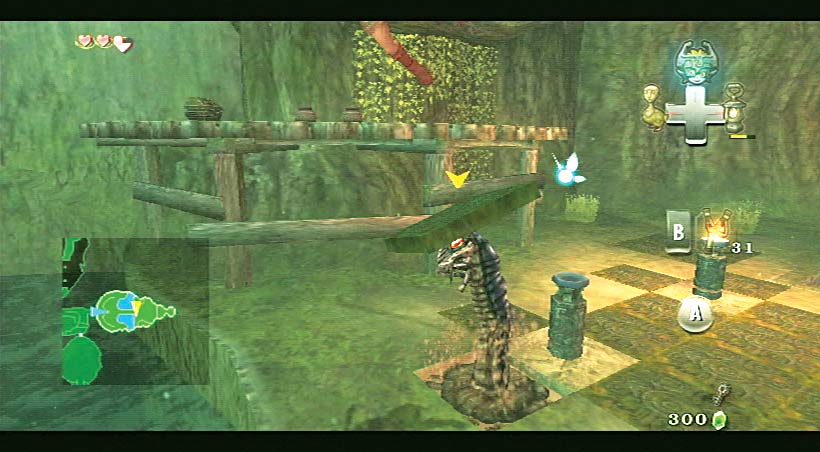
When first encountered, simply maneuver around Tile Worms
After acquiring the Gale Boomerang, target the tile the Tile Worm is under, and attack
Once the Tile Worm is exposed, finish it with regular attacks
Encountered In: Dungeon 1: Forest Temple
Toado
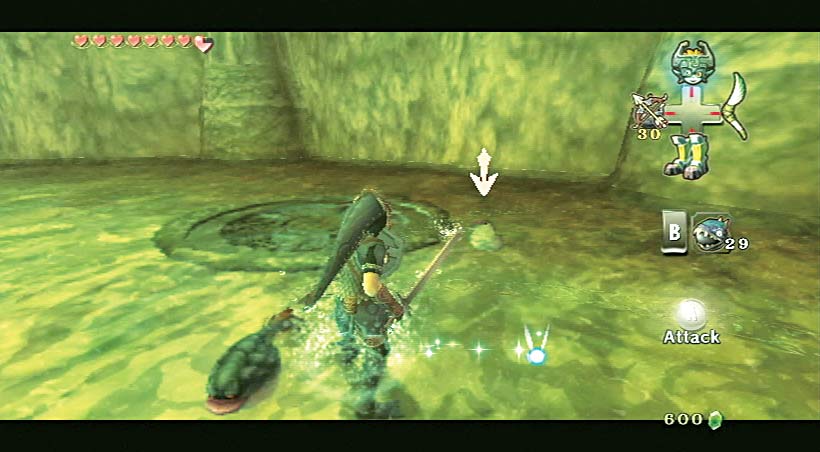
These monsters are dangerous only in large numbers
Defeat Toadoes with a single spin attack
Try to keep your back to a wall to avoid being surrounded, use spin attacks and then slashes to defeat groups
Encountered In: Dungeon 3: Lakebed Temple
Torch Slug
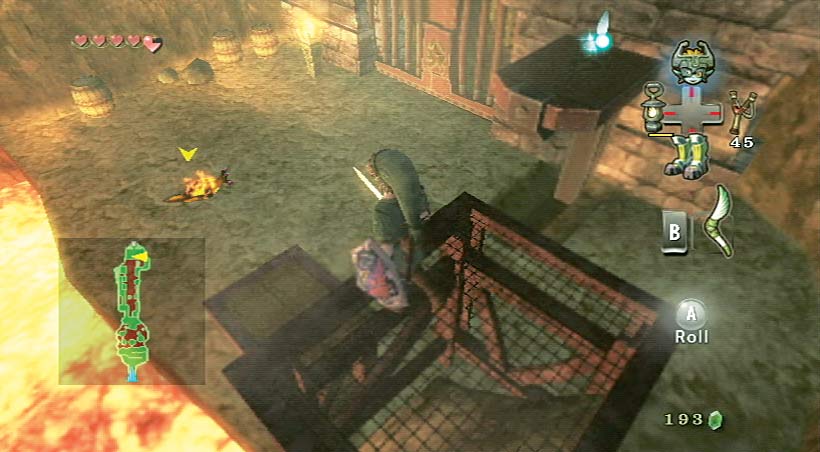
Torch Slugs are harmless until you near them
Combat them with a quick sword attack (not a leaping attack, as they can repel you)
They’re also found on cave ceilings, dropping to startle you, so use a ranged weapon from afar
Encountered In: Dungeon 2: Goron Mines
Twilit Baba
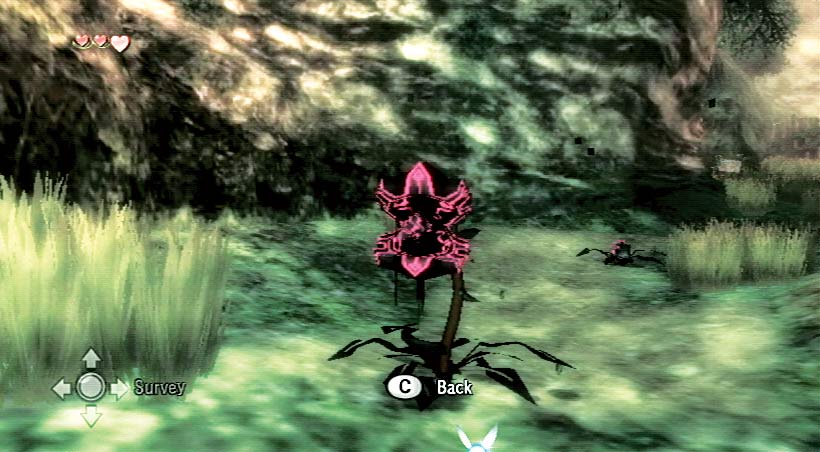
The Twilit Baba looks different from the Deku Baba but behaves similarly
It cannot attack beyond the length of its reach
In wolf form, bite twice or use a spin attack
Encountered In: Ordona and Faron Provinces
Twilit Bulblin

Twilit Bulblins attack just like Bulblin Warriors and can be dispatched with two strikes
If you knock them onto their backs you must wait because the wolf doesn’t have a finishing move
Defeat Twilit Bulblins with a couple of bites, spins, or Midna’s energy crackle
Encountered In: Faron Woods
Twilit Bulblin Archer
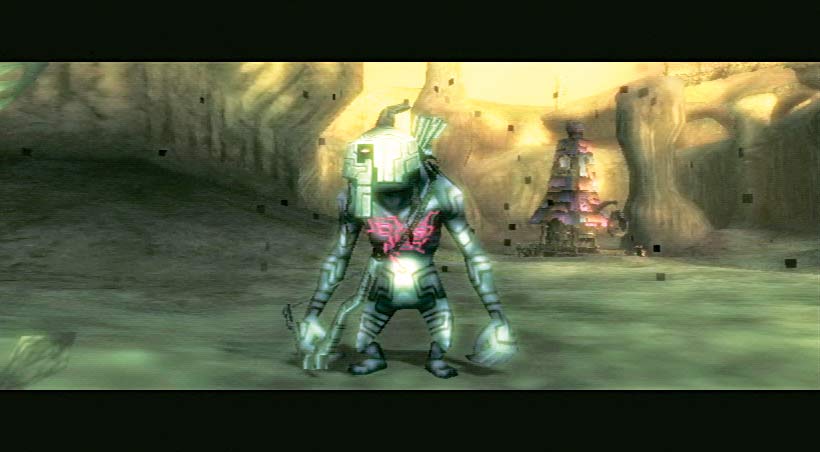
Twilit Bulblin Archers use the same tactics as their light-world counterparts
They can make life difficult for a wolf, so make these enemies a priority
Charge with your speed boost, avoid running directly at them, jump and bite, wait for them to rise, and bite again
Encountered In: Lanayru Province
Twilit Kargarok
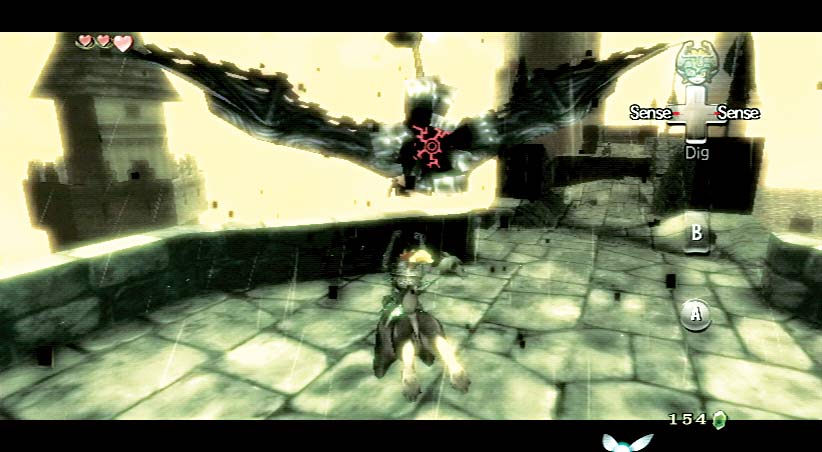
This creature’s attack deals half a Heart’s worth of damage
Wait for it to dive, while keeping a constant lock-on, and then leap and bite the bird
It takes two strikes to defeat a Twilit Kargarok
Encountered In: Castle Hyrule
Twilit Keese
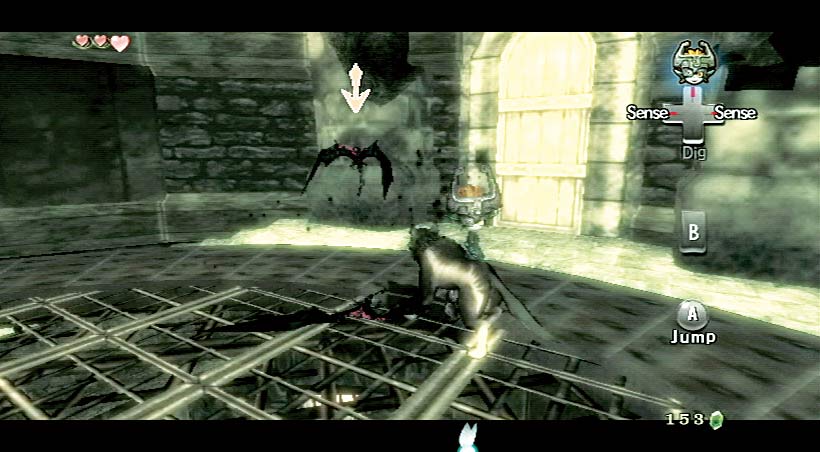
Similar to regular Keese, but longer
One strike will slay a Twilit Keese
Spin attacks also work if the Keese are flying near you
Encountered In: Castle Hyrule
Twilit Messenger
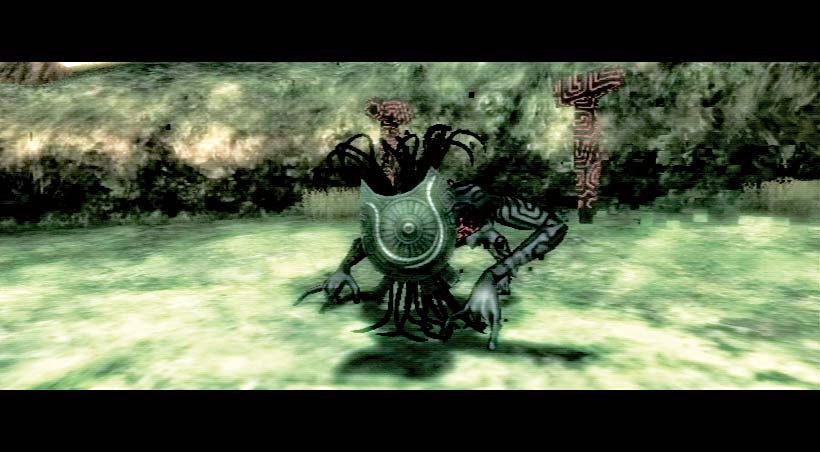
Twilit Messengers are most troublesome when encountered in groups
Target one and bite until you’re thrown off
Then finish it off with a spin attack
Encountered In: Ordona and Faron Provinces, Lake Hylia
Twilit Parasite
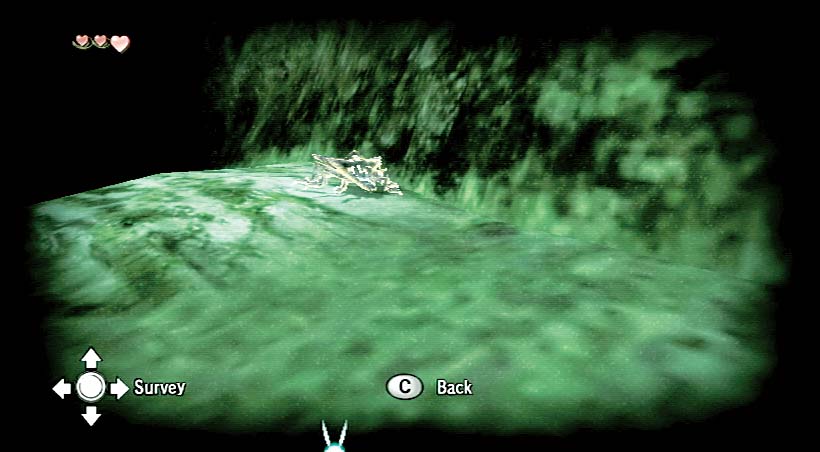
To find the Twilit Parasite, look for purple sparks and shadows on the ground
Sixteen of them roam the land; they can hide inside walls, floors, the ground, or out of reach
Use Z to target these foes then pounce with one attack
Encountered In: Ordona and Faron Provinces
Twilit Vermin
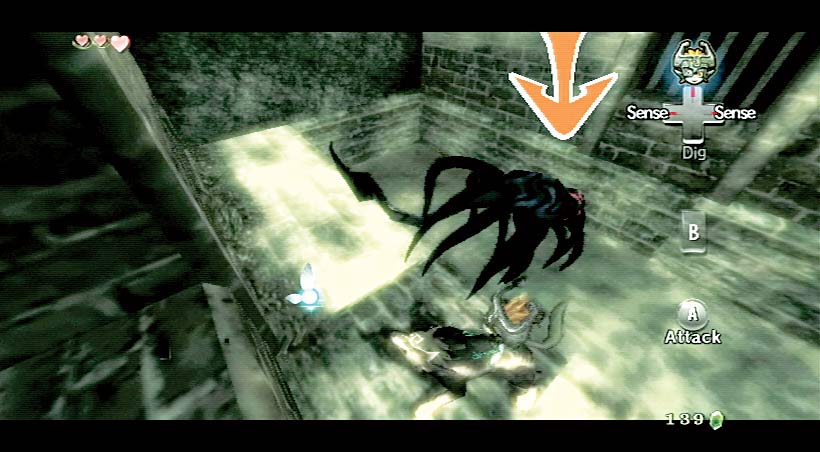
The Twilit Vermin attack mercilessly
It is very weak, so a single strike will defeat a Twilit Vermin
However, while swimming, you can’t attack them, but they can attack you, so seek dry land
Encountered In: Castle Hyrule
Walltula
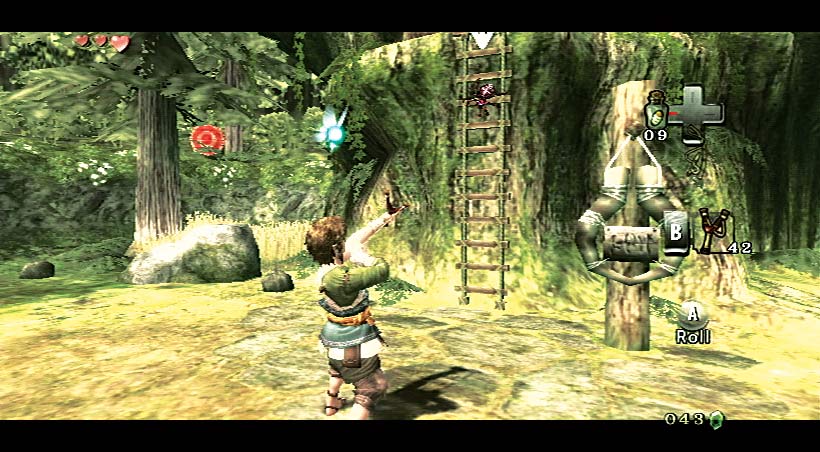
Walltulas bite if you’re right next to them
Use your Slingshot from range
Only one hit defeats them
Encountered In: Ordona and Faron Provinces
Water Toadpoli
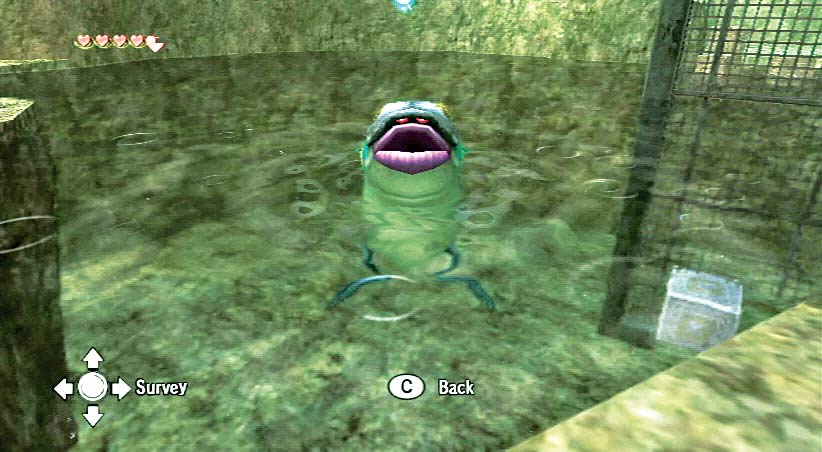
The aquatic versions of the Toadpoli, Water Toadpolis swim faster and spit projectiles
Shield block and wait to bounce back the spitball
You can also shoot an arrow, which is faster
Encountered In: Dungeon 2: Goron Mines
White Wolfos
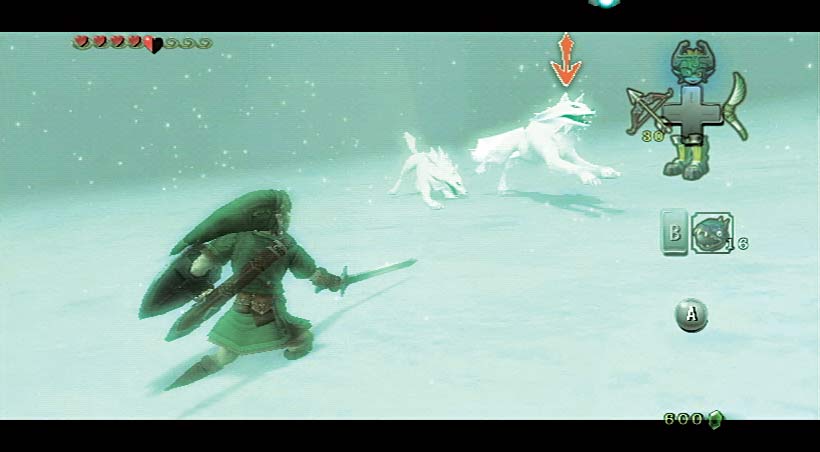
Agile and stealthy, the White Wolfos will stalk you, attacking in pairs
Shield block the first one and strike the second with a well-timed blow
You can also ignore them, run by them quickly, or go after them in wolf form
Encountered In: Snowpeak Mountain
Young Gohma
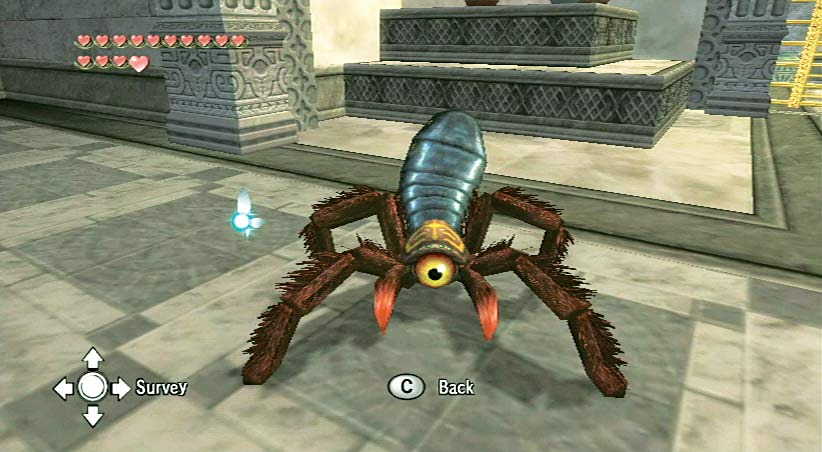
The Young Gohma leaps and strikes you with its pincers
Two sweeping sword strikes will defeat this foe
Encountered In: Dungeon 6: Temple of Time
Zant Mask
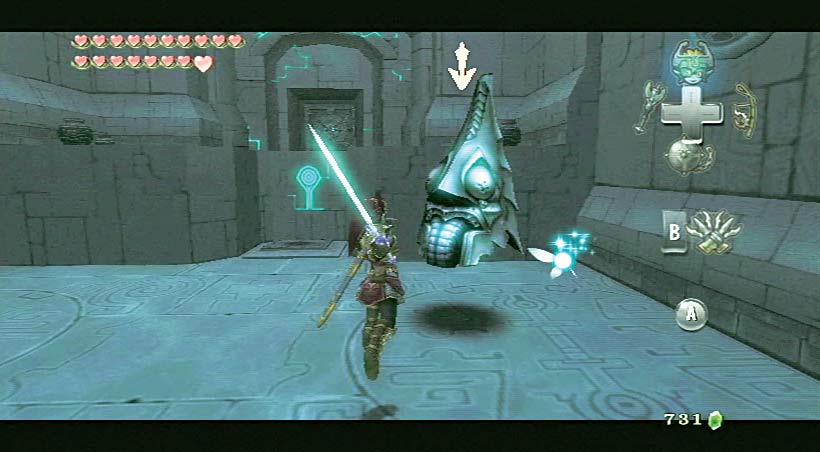
Giant floating head that resembles Zant’s armored mask
Immobile but can teleport about
Attacks after teleporting by firing purple orbs, which can be deflected via the shield attack maneuver
When they appear, simply attack them with relentless combos
Encountered In: Dungeon 8: Palace of Twilight
Zant’s Hand
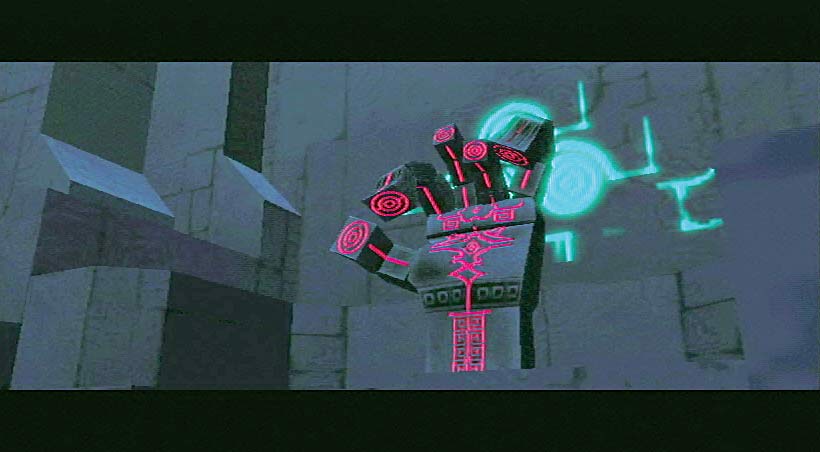
Giant, indestructible floating hand that travels very slowly
Doesn’t attack you directly, but chases after the Sol Orbs you take from it
When positioned directly above the Sol Orb, it slams downward to grab it, harming you if you’re caught
If it grabs the Sol Orb, use the Clawshot to steal it back
Encountered In: Dungeon 8: Palace of Twilight