
Battlefield 3: Aftermath DLC Guide Essentials Weapons and Vehicles
Weapons and Vehicles
The earthquake-ravaged landscapes in Aftermath aren’t the only things that are a little worse for wear. A complete logistical breakdown has forced soldiers from both sides of the conflict to wage war with what little resources they have at their disposal. The results are some truly inventive, yet crude, implements forged from scavenged weapons, vehicles, and other miscellaneous debris. The improvised weapons and vehicles introduced in this expansion may not look pretty, but they’re more than capable of getting the job done.
Xbows and Bolts
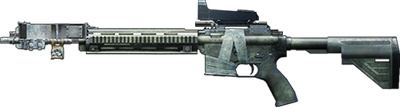
Improvised from a heavily modified M4, the Xbow is a single-shot projectile weapon, much like a bolt-action sniper rifle. The difference lies in how ammunition is handled. The crossbow fires arrow-like bolts instead of bullets. In addition to the default Standard Bolt, there are three other bolts to unlock and choose—you can only select bolts you’ve unlocked by completing specific assignments. Each bolt has its own characteristics that affect range and damage output. This allows you to choose the proper ammo for different tactical situations. For example, the Standard Bolt does nothing to vehicles, but the High-Explosive (HE) Bolt can inflict some serious damage to all units, including tanks. By pressing the fire mode select button, you switch bolt types on the fly—the firing mode icons are replaced by bolt type indicators while wielding the Xbow or Xbow Scoped. Unlike standard firearms, the Xbows aren’t fed through magazines. Instead, bolts must be loaded manually, one at a time. As a result, the Xbows are difficult to use in chaotic close-quarter firefights. It’s best to equip this weapon when engaging single, unsuspecting opponents. Each soldier can carry a maximum of 10 bolts for their Xbow. But new bolts can be acquired from the support class’s ammo box or from the new ammo crates available during Scavenger mode. The best part about the Xbows is that they’re available to all classes and don’t occupy a weapon slot. Instead, they occupy the soldier’s first gadget slot. This gives each soldier the opportunity to carry a pistol and primary weapon in addition to their Xbow. However, it also means you’ll need to leave behind valuable gadgets like medic kits, rocket launchers, and ammo boxes in favor of carrying an Xbow.
Xbow Achievements and Trophies
| Image | Name | Criteria | Gamerscore | Trophy |
|---|---|---|---|---|

|
Handyman | Unlock all Xbow parts. | 20 | Bronze |
|
Homemade Javelin | Destroy a vehicle using the Xbow. | 20 | Bronze |

|
Pockets Full of Death | Without dying, get a kill with an Xbow, primary weapon, and hand grenade. | 30 | Silver |
Xbow
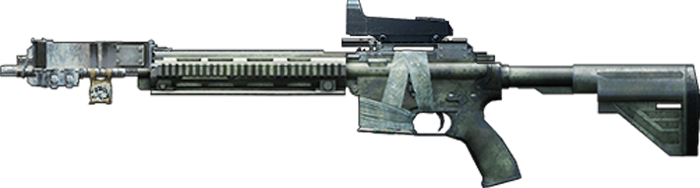
Ammo: Standard Bolt (default)
Rate of Fire: Single-Shot
Magazine Capacity: 1
Range: Short to Intermediate
Unlock: Sticks and Stones assignment
- Win 3 rounds in Scavenger
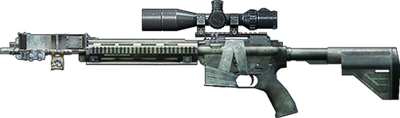
Xbow Scoped
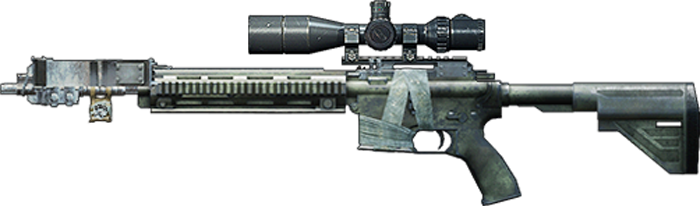
Ammo: Standard Bolt (default)
Rate of Fire: Single-Shot
Magazine Capacity: 1
Range: Intermediate to Long
Unlock: Go Play Close Quarters assignment
- Total of 150 meters headshots with sniper rifles
- Total of 150 meters headshots with assault rifles
- Total of 150 meters headshots with carbines
Bolts
Bolts are smaller and heavier than arrows fired by bows. They use similar ballistics as bullets, but travel slightly slower. Cumbersome to load and slow in travel, bolts make up for their drawbacks by packing some serious power. As long as a target is within optimal range, scoring a center mass hit or headshot with a bolt is almost always lethal.
Standard Bolt

Damage: Medium
Range: Short to Intermediate
Unlock: Default ammo for Xbow and Xbow Scoped
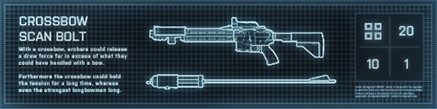
Scan Bolt

Damage: Medium
Range: Short to Intermediate
Unlock: It Is OK To Thank Me assignment
- Get 20 spot assists
- Designate 10 vehicles
- Get 1 designated assist
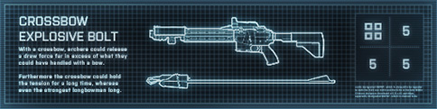
HE Bolt

Damage: High
Range: Short
Unlock: A Good Demo Man assignment
- Get 5 kills with hand grenades
- Get 5 kills with underslung grenades
- Get 5 kills with C4
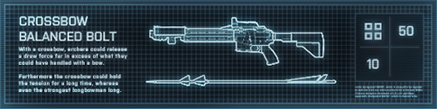
Balanced Bolt

Damage: Medium
Range: Long
Unlock: Stay Away From My Tent assignment
- Get 50 kills with sniper rifles
- Get 10 headshot kills with sidearm
Xbow-Related Assignments
Sticks and Stones
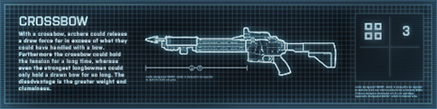
Criteria:
- Win 3 rounds in Scavenger.
| Reward: | |
| Xbow |
|
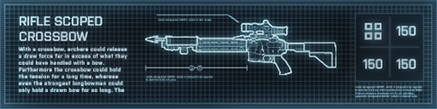
Go Play Close Quarters
Criteria:
- Total of 150 meters headshots with sniper rifles.
- Total of 150 meters headshots with assault rifles.
- Total of 150 meters headshots with carbines.
| Reward: | |
| Xbow Scoped |
|
It Is OK To Thank Me
Criteria:
- Complete Sticks and Stones assignment.
- Get 20 spot assists.
- Designate 10 vehicles.
- Get 1 designated assist.
| Reward: | |
| Scan Bolt |

|
Stay Away From My Tent
Criteria:
- Complete Sticks and Stones assignment.
- Get 50 kills with sniper rifles.
- Get 10 headshot kills with sidearm.
| Reward: | |
| Balanced Bolt |

|
A Good Demo Man
Criteria:
- Complete Sticks and Stones assignment.
- Get 5 kills with hand grenades.
- Get 5 kills with underslung grenades.
- Get 5 kills with C4.
| Reward: | |
| HE Bolt |

|
Archery 101
Criteria:
- Get 5 Xbow kills.
| Reward: | |
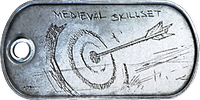
| Old School Warrior Dog Tag |
|
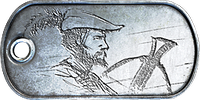
William Tell
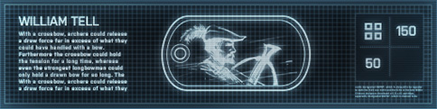
Criteria:
- Complete Archery 101 assignment.
- Total of 150 meters headshots with the Xbow.
- Get 50 kills with Xbow.
| Reward: | |
| William Tell Dog Tag |
|
Light Vehicles
The Aftermath expansion adds three new light vehicles. These heavily modified transports are the fastest land vehicles available on the new maps, useful for rushing control points and M-COM stations at the start of a battle. But their light armor and exposed positions make them death traps if they are driven into heavy action. Most explosive munitions can disable these vehicles with one hit, potentially killing the driver and passengers. Their greatest defensive asset is their speed and off-road capability. To ensure survival, use these vehicles to traverse terrain on a map’s periphery and stay away from heated battles near control points and M-COM stations. Although these vehicles can attain high speeds on roads, most roads are traveled by larger and more deadly vehicles like tanks and IFVs. When possible, stay off-road and out of sight. Such tactics are essential when staging raids on distant enemy-held control points or M-COM stations. There are no vehicle unlocks or loadout options for these vehicles.
Rhino
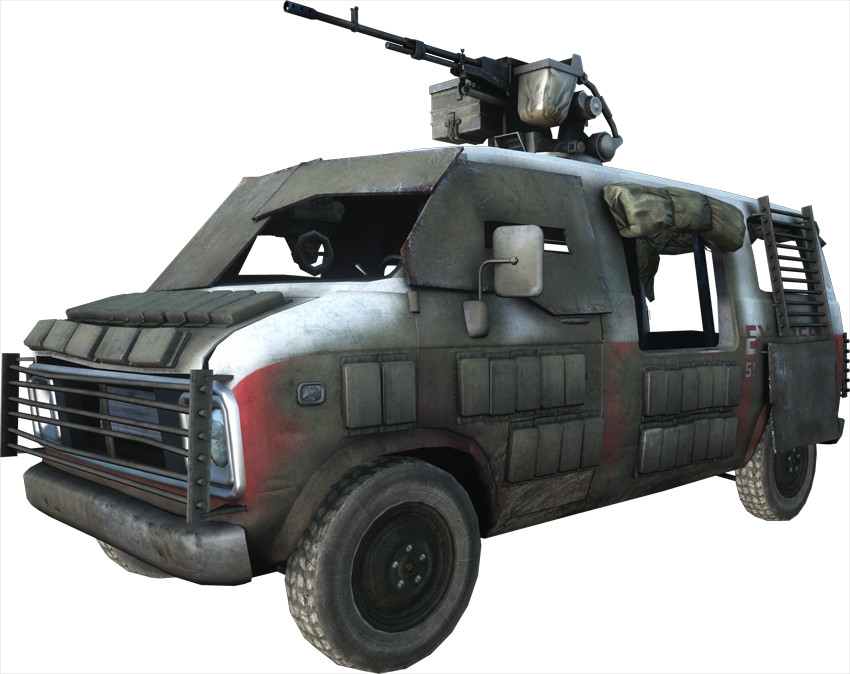
- Nationality: US and RU
- Description: Modified van with remote turret and open passenger seats.
Vehicle Performance
| Speed |

|
| Armor |
|
| Firepower |

|
Vehicle Occupancy
| Seat | Position | Weapon |
|---|---|---|
| 1 | Driver | HMG .50 |
| 2 | Passenger | Troop Kit |
| 3 | Passenger | Troop Kit |
| 4 | Passenger | Troop Kit |
Phoenix
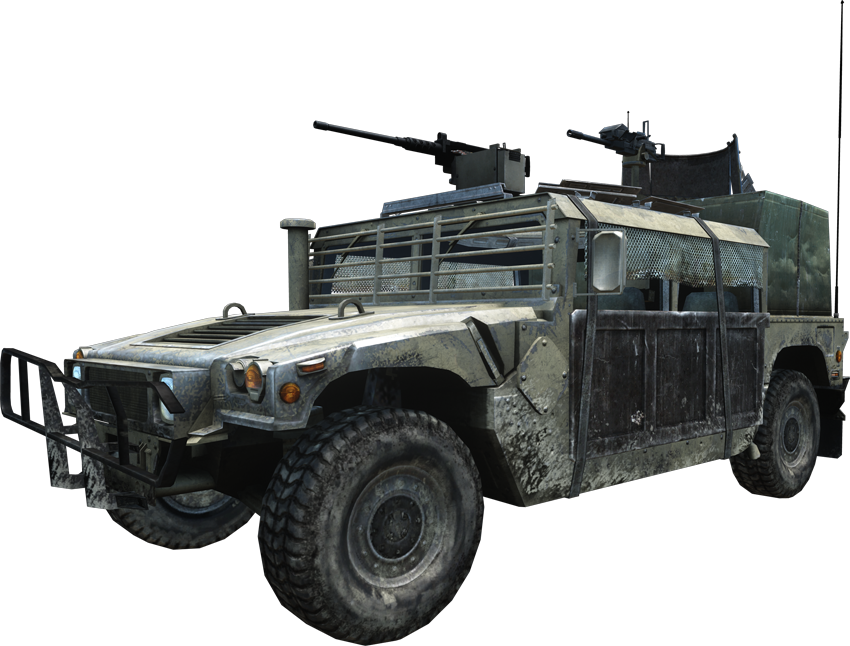
- Nationality: US
- Description: Modified armored jeep with grenade launcher and HMG.
Vehicle Performance
| Speed |
|
| Armor |
|
| Firepower |
|
Vehicle Occupancy
| Seat | Position | Weapon |
|---|---|---|
| 1 | Driver | None |
| 2 | Gunner | HMG .50 |
| 3 | Grenadier | Grenade Launcher |
Barsuk
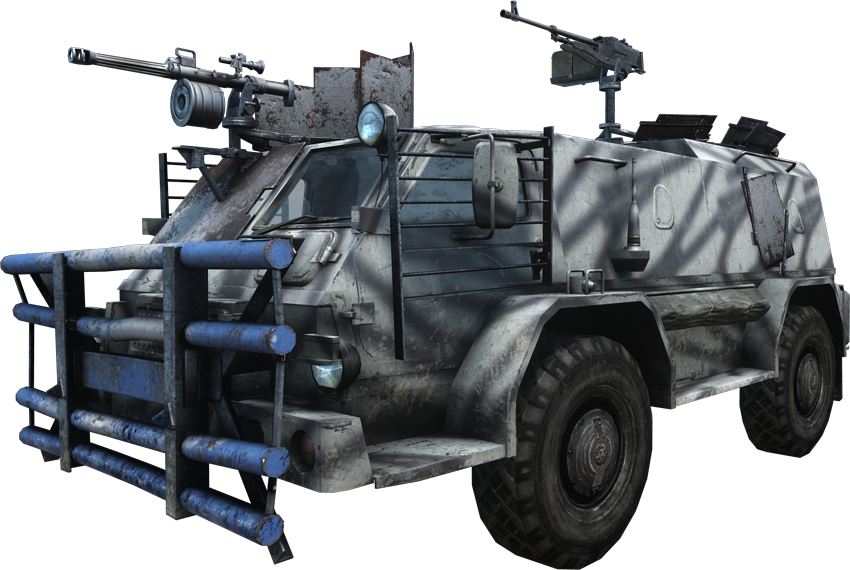
- Nationality: RU
- Description: Modified armored jeep with grenade launcher and HMG.
Vehicle Performance
| Speed |
|
| Armor |
|
| Firepower |
|
Vehicle Occupancy
| Seat | Position | Weapon |
|---|---|---|
| 1 | Driver | None |
| 2 | Gunner | HMG .50 |
| 3 | Grenadier | Grenade Launcher |
Light Vehicle-Related Assignments
Riding Shotgun
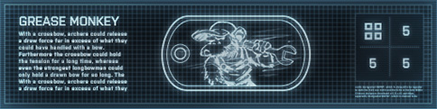
Criteria:
- Get 5 kills in the Phoenix.
- Get 5 kills in the Barsuk.
- Get 5 kills in the Rhino.
| Reward: | |
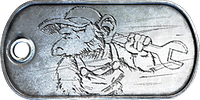
| Grease Monkey Dog Tag |
|
Light Vehicle Tips
- Park a Rhino near a control point, loaded with C4. Use the Rhino to bait enemies in, then detonate the C4 once they’re close enough.
- Avoid prolonged solo use of the Rhino, as it is prone to being disabled or destroyed if proactive repairs are not made.
- While driving the Rhino, avoid tanks and IFVs at all costs because they will quickly destroy the vehicle with one or two direct cannon rounds.
- The best method to keep this murder bus in operation is to have passengers repairing the vehicle as it comes under fire. While sitting in the passenger seat you are also able to drop ammo boxes and medic kits, in turn, healing and resupplying the occupants of the vehicle.
- The Rhino has little to no cover, which means that occupants are exposed to incoming fire. But in contrast, these openings also give a clear view of anyone attempting to plant C4 on the vehicle.
- The Rhino is also great for getting through tight spaces, so don’t be afraid to lose a tank by turning down a small alley. Driving through narrow openings also lends itself well to getting across a map quickly to flank control points during Conquest matches.
- In light engagements, the Phoenix and Barsuk are useful as a stationary turrets. Just be sure that an escape route is already available in the event that the fire-fight escalates.
- The Phoenix and Barsuk are highly effective patrol vehicles. Make use of their speed and firepower to control objectives and choke points.