
Battlefield 3: Aftermath DLC Guide Essentials Aftermath Primer
Aftermath Primer
What’s New?
The Battlefield 3: Aftermath expansion pack takes place immediately following the devastating earthquake featured at the end of Operation Swordbreaker in the single-player campaign. Fighting amongst the devastation in this urban combat setting tests players in new ways, and offers plenty of opportunity for vertical gameplay. Damaged buildings create slopes to climb and cracked streets become trenches to take cover in. The earthquake has also damaged vehicles and weapons for both fighting forces, which has inspired a number of unique features in the expansion pack and changes how the game looks, feels, and plays.
New Maps
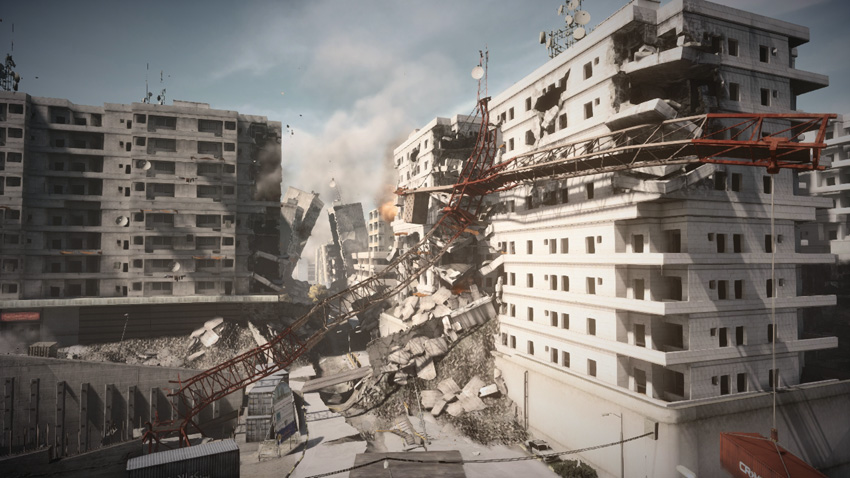
Like Back to Karkand, the four new maps in Aftermath emphasize combat in urban environments—but with a unique twist. The earthquake has completely devastated these once densely populated city centers, leaving crumbled buildings and rippled streets. So in addition to fighting pitched battles in a dangerous urban settings, soldiers must also adapt to the challenging, rubble-filled terrain before them. And in the case of the Epicenter map, the seismic activity hasn’t subsided, resulting in unsettling aftershocks—engaging opponents while the ground is shaking adds an entirely new intensity to the Battlefield experience. Each new map and its supported game modes are covered in extreme detail within the Multiplayer Maps chapter.
Crossbow (AKA Xbow)
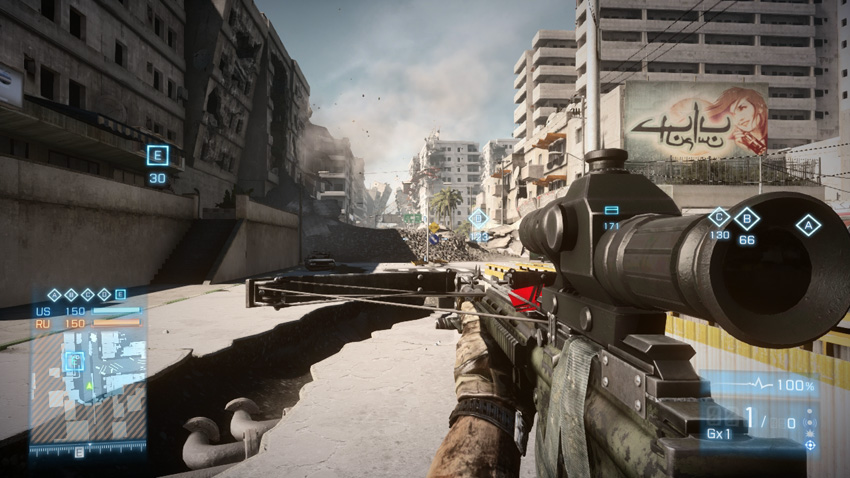
This improvised weapon, cleverly fashioned from an M4 carbine and other scavenged parts, is by far one of the most exciting features in Aftermath. With it, you can silently eliminate opponents with a variety of unique bolts. Despite their lethal capabilities, the new Xbow and Xbow Scoped are classified as gadgets and do not occupy your soldier’s primary or sidearm weapon slot. While this expands your offensive options, it also means leaving behind gadgets like the medic kit and ammo box. But the power and versatility offered by these silent, single-shot weapons is a worthwhile trade-off once you get the hang of slinging bolts at unsuspecting opponents. For more information on the Xbow, Xbow Scoped, and the bolts they use, flip ahead to the Weapons and Vehicles chapter.
Modified Light Vehicles
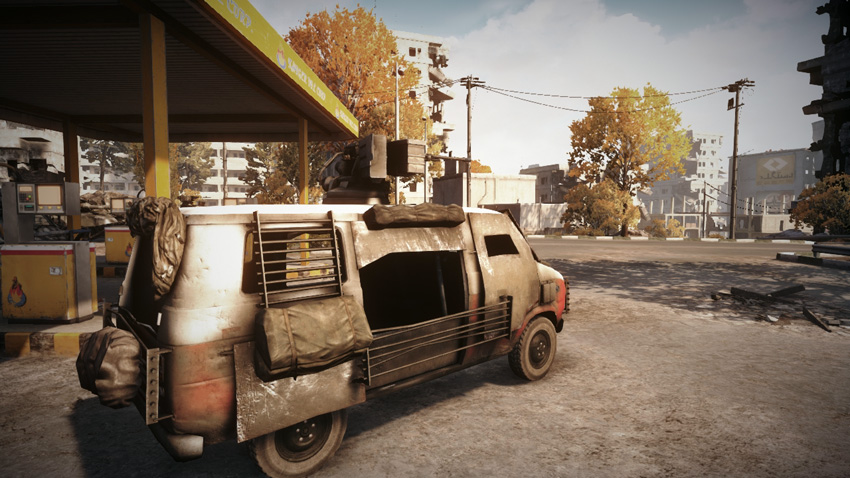
Due to interrupted supply lines that are a result of the earthquake, engineers on both sides of the conflict have been forced to improvise. They have utilized scrap metal and other materials to modify existing vehicles for combat. Such ingenuity has led to the creation of the Rhino, Phoenix, and Barsuk. The Rhino is a civilian van equipped with extra armor and a heavy machine gun turret mounted on the roof, which makes it a formidable battle wagon and troop transport. The existing HMMWV and Vodnik have also been modified to create the Phoenix and Barsuk. These two customized light vehicles are equipped with heavy machine guns as well as devastating fully-automatic grenade launchers. The earthquake-ravaged environments aren’t easy to traverse in a vehicle, so be mindful of damaged streets, sinkholes, and debris while racing through each map. Also, don’t let the makeshift barricades found in many neighborhoods stop you—vehicles can crash or blast their way through these flimsy obstacles.
Scavenger
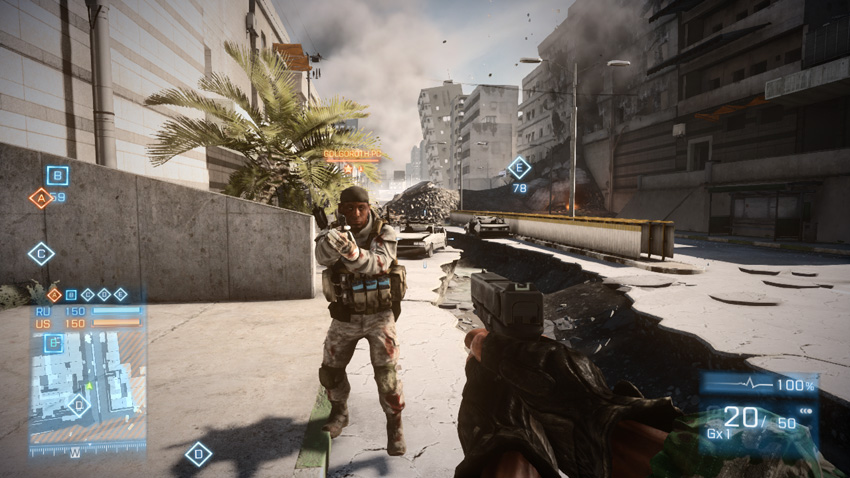
Aftermath also introduces a new game mode called Scavenger. Players experience the mad scramble for weaponry immediately following the earthquake. This infantry-only mode plays like a miniature version of Conquest, with five flags on each map serving as control points. As in Conquest, the goal in Scavenger mode is to capture and hold a majority of the flags (three or more) to initiate a drain on the opposing team’s ticket count. The team whose ticket count is reduced to zero loses the match. But in addition to capturing and defending flags, all players face a unique challenge: At the start of each Scavenger match, all players are equipped with only a pistol and a grenade. The pistol is the only piece of equipment you can choose for your soldier during this mode—you can select any pistol you’ve already unlocked. All troop kit-based gadgets are unavailable, essentially making all classes equal. In addition to selecting your pistol you can also choose one soldier specialization, which functions normally. However, in this mode, the Ammo specialization does not give you more ammo when you spawn in. Instead, the Ammo specialization will grant you more ammo when interacting with the map’s ammo crate. We’ll reveal more on this later.
Weapons
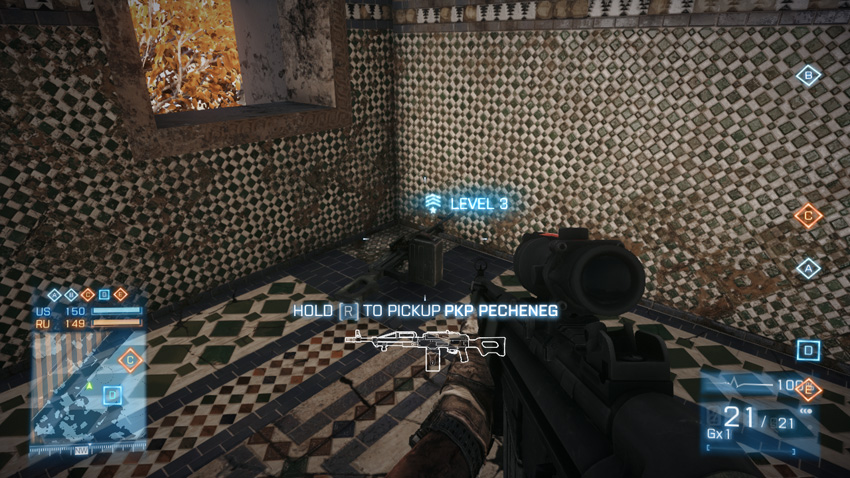
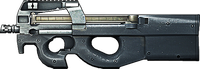
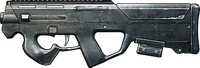
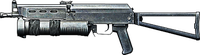
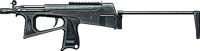
Fortunately, players don’t have to fight these battles with just pistols and grenades. Primary weapons are scattered across each map in predetermined locations called weapon spawners. There are three different levels of weapon spawners and each one produces a different type of weapon. Level 1 weapon spawners are the most common; they produce fast-firing, close-range PDWs. PDWs are a step up from the pistol you begin the match with, but you’ll probably want to find something with a bit more range and damage output. The level 2 weapon spawners produce sniper rifles and shotguns, adding more lethality to your arsenal. But for the greatest versatility, seek out level 3 weapon spawners to gain access to carbines, assault rifles, and light machine guns. Level 3 weapon spawners are the most rare and usually are located in high-traffic areas of the map, often near flags. So before rushing toward one of these weapon spawners, make sure the surrounding area is clear of threats—it’s not uncommon for opponents to camp these spots. To pick up a weapon produced by a weapon spawner, stand next to it and press the button/key shown on-screen. (This is just like picking-up a kit dropped by fallen players in other modes.) If you’re quick, you can grab these weapons while on the move.
Scavenger Mode Weapons
| Image | Weapon | Ammo | Optic Attachment | Primary Attachment | Secondary Attachment |
|---|---|---|---|---|---|
| Level 1 | |||||
|
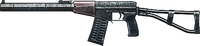
AS VAL | 42 | — | — | — |
|
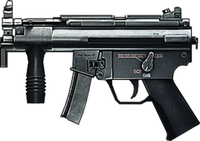
M5K | 42 | — | — | — |
|
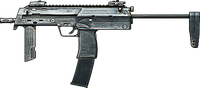
MP7 | 42 | — | — | — |
|
P90 | 51 | — | — | — |
|
PDW-R | 42 | — | — | — |
|
PP-19 | 55 | — | — | — |
|
PP-2000 | 42 | — | — | — |
|
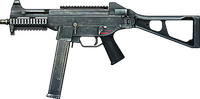
UMP-45 | 52 | — | — | — |
| Level 2 | |||||

|
870MCS | 15 | Reflex (RDS) | — | Laser Sight |
|
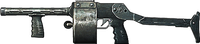
DAO-12 | 16 | KOBRA (RDS) | — | Laser Sight |

|
M1014 | 15 | Holographic (HOLO) | — | Laser Sight |

|
M98B | 12 | ACOG (4x) | Straight Pull Bolt | Laser Sight |

|
MK11 MOD 0 | 12 | Reflex (RDS) | Foregrip | Suppressor |
|
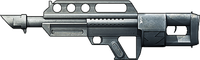
MKA3A1 | 16 | Reflex (RDS) | — | Laser Sight |

|
SPAS-12 | 15 | Reflex (RDS) | — | Laser Sight |

|
SVD | 22 | ACOG (4x) | Foregrip | Laser Sight |
|
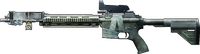
Xbow | 10 | KOBRA (RDS) | — | — |
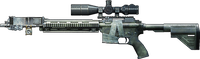
|
Xbow Scoped | 10 | PKS-07 (7x) | — | — |
| Level 3 | |||||
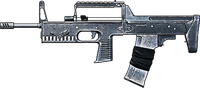
|
A-91 | 62 | KOBRA (RDS) | Foregrip | Laser Sight |
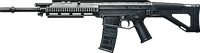
|
ACW-R | 54 | Reflex (RDS) | Foregrip | Laser Sight |
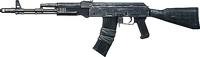
|
AK-74M | 62 | KOBRA (RDS) | Foregrip | Heavy Barrel |
|
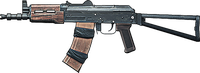
AKS-74u | 62 | KOBRA (RDS) | Foregrip | Laser Sight |
|
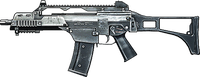
G36C | 62 | Holographic (HOLO) | Foregrip | Heavy Barrel |
|
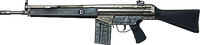
G3A3 | 42 | ACOG (4x) | Foregrip | Heavy Barrel |
|
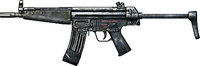
G53 | 62 | Reflex (RDS) | Suppressor | Heavy Barrel |
|
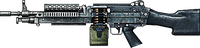
M249 | 100 | ACOG (4x) | Bipod | Laser Sight |
|
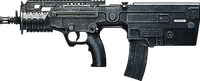
MTAR-21 | 62 | Reflex (RDS) | Foregrip | Laser Sight |
|
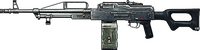
PKP PECHENEG | 100 | KOBRA (RDS) | Bipod | Laser Sight |
|
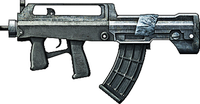
QBZ-95B | 62 | Holographic (HOLO) | Foregrip | Laser Sight |
|
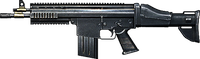
SCAR-H | 42 | Reflex (RDS) | Foregrip | Laser Sight |
|
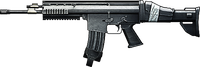
SCAR-L | 62 | Holographic (HOLO) | Foregrip | Laser Sight |
|
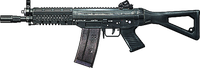
SG553 | 62 | Holographic (HOLO) | Foregrip | Heavy Barrel |
Ammo Crates
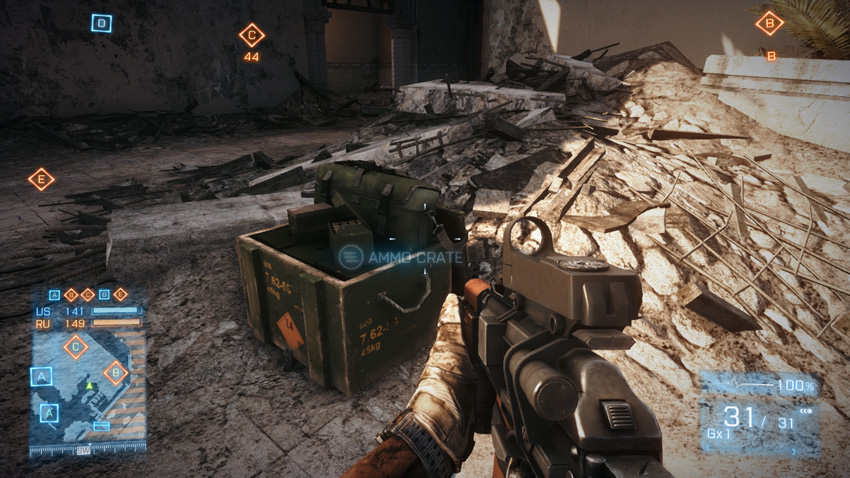
Even after you pick up a primary weapon, you usually have no more than two magazines. Given the scarcity of ammo, you’ll need to pick up new weapons often. However, if you really like the weapon you currently have, there is one way to replenish your ammo. There is only one ammo crate on each map, and it’s usually positioned in a dangerous high-traffic area. These crates are sometimes difficult to find because they do not appear on the minimap—but you can find them on our Scavenger mode maps in this guide. So once you learn the location of the ammo crate, memorize it and return often to keep your hungry weapon well fed. Like level 3 weapon spawners, ammo crates draw plenty of attention, so be aware of campers posted nearby. To interact with an ammo crate, simply stand in front of it to stock up on fresh magazines. Ammo crates also supply you with grenades—you can carry only one grenade unless you have chosen the Grenades specialization.
Gun Master
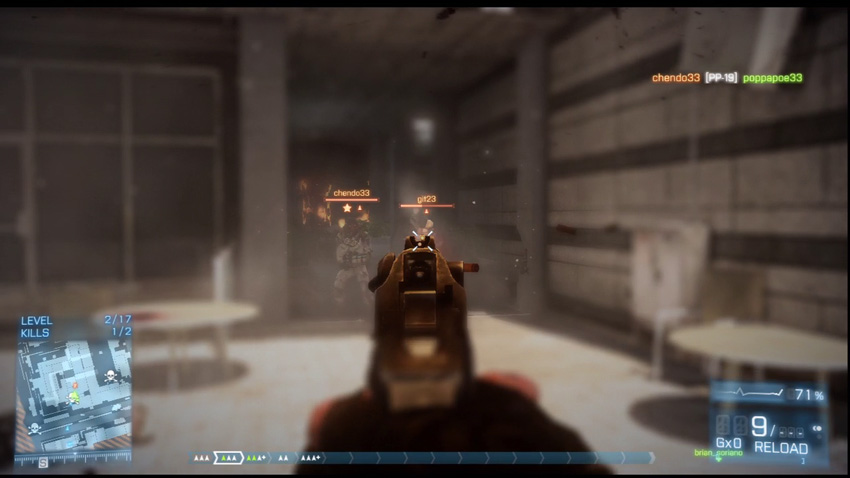
Originally introduced in Close Quarters, Gun Master makes a return in Aftermath. This mode requires you, your teammates, and opponents to progress through several levels of weapons. At each level you’re assigned a single firearm and a knife. You must score two kills with the assigned firearm before progressing to the next level, where you’re assigned a new weapon. Knife kills do not count toward the two-kill total, but they result in demoting your victim. So if an opponent is progressing too quickly, kill them with a knife to knock them back a level. In the standard variant of this mode, every player begins at level one, equipped with a MP443 pistol and a knife. But as the match progresses and some players score more kills than others, the dynamic of each engagement differs, often giving players with a particular weapon a significant advantage over their opponents. For example, the first player to reach level four gains a PP-19 fully automatic PDW. This gives them a leg up on the competition still running around with pistols. But higher-level weapons aren’t always better. The PNG-90 sniper rifle, equipped at level 15, is one of the most difficult weapons to master given the cramped spaces of each map. In the final level you’re equipped only with a knife and must score a single kill to win the match.
During Gun Master matches, players are divided into two teams. While you can utilize teamwork to hunt down opponents, all spawning is random, which often places you in a remote area of the map. You cannot spawn on teammates. So take some time moving in the direction of your teammates, who appear as green ID tags on the HUD. While it’s possible to succeed on your own, if you come across a group of players who are working together, you’ll have a tough time surviving the engagement. You’re better off moving around the map with one or two buddies. Before rushing into a Gun Master match, take a moment to review the weapons equipped at each level. Adjust your tactics at each acquired level to take advantage of the assigned weapon’s strengths.
New Weapon Lists
In addition to the standard 17-level list of weapons, Aftermath adds eight new weapon lists to the mix for greater variety. These weapon lists can only be set by server administrators.
Gun Master Weapon Lists
| Level | Standard Setup | Reverse Setup | Light Setup | Heavy Setup | Pistol Run! | Sniper’s Delight | US Arms Race | RU Arms Race | EU Arms Race |
|---|---|---|---|---|---|---|---|---|---|
| 1 | MP443 | Knife | M9 | MP412 REX | M9 | M9 Supp. | M9 | MP443 | G17C |
| 2 | 93R | M320 LVG | G17C | .44 Magnum | MP443 | G17C Supp. | M1911 | MP412 REX | 93R |
| 3 | .44 Magnum | JNG-90 | 93-R | SPAS-12 | G17C | M1911 Supp. | 870MCS | SAIGA 12K | SPAS-12 |
| 4 | PP-19 | M417 | 870MCS | MK3A3 | M9 Supp. | SVD | PDW-R | PP-2000 | MP7 |
| 5 | P90 | L86A2 | SAIGA 12K | AK-74M | G17C Supp. | SKS | M4A1 | PP-19 | UMP-45 |
| 6 | SPAS-12 | LSAT | SPAS-12 | F2000 | M1911 | MK11 MOD 0 | M16A4 | AS VAL | G36C |
| 7 | MK3A1 | SCAR-L | DAO-12 | G3A3 | G18 | QBU-88 | M249 | AKS-74u | M416 |
| 8 | ACW-R | AUG A3 | M1014 | FAMAS | 93R | M417 | M240B | AK-74M | L85A2 |
| 9 | MTAR-21 | MTAR-21 | PP-2000 | SCAR-L | MP412 REX | M40A5 | MK11 MOD 0 | RPK-74 | MG36 |
| 10 | AUG A3 | ACW-R | M5K | AUG A3 | .44 Magnum | SV98 | M40A5 | SVD | M417 |
| 11 | SCAR-L | MK3A1 | P90 | M249 | Knife | L96 | SMAW | RPG-7V2 | M320 |
| 12 | LSAT | SPAS-12 | MP7 | M60E4 | — | JNG-90 | Knife | Knife | Knife |
| 13 | L86A2 | P90 | AS VAL | QBB-95 | — | M98B | — | — | — |
| 14 | M417 | PP-19 | PP-19 | MG36 | — | Xbow | — | — | — |
| 15 | JNG-90 | .44 Magnum | UMP-45 | LSAT | — | Knife | — | — | — |
| 16 | M320 LVG | 93R | M320 | C4 | — | — | — | — | — |
| 17 | Knife | MP443 | Knife | Knife | — | — | — | — | — |
Classes: A New Look
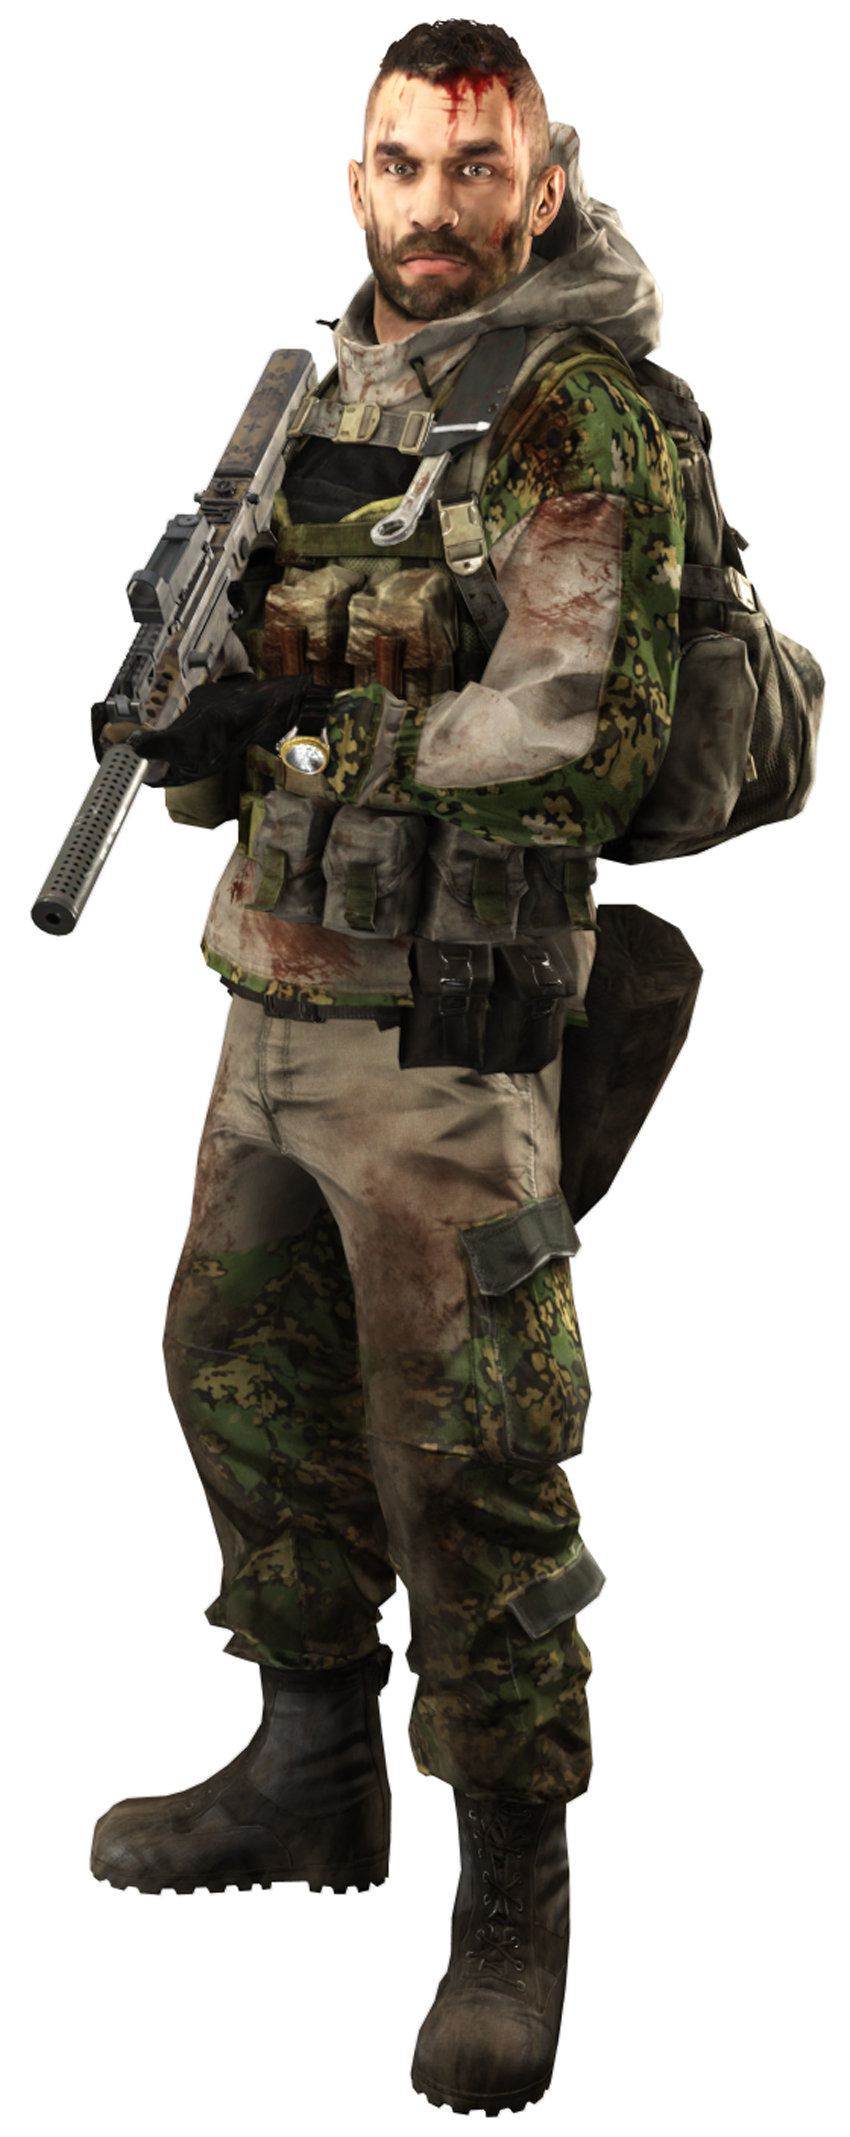
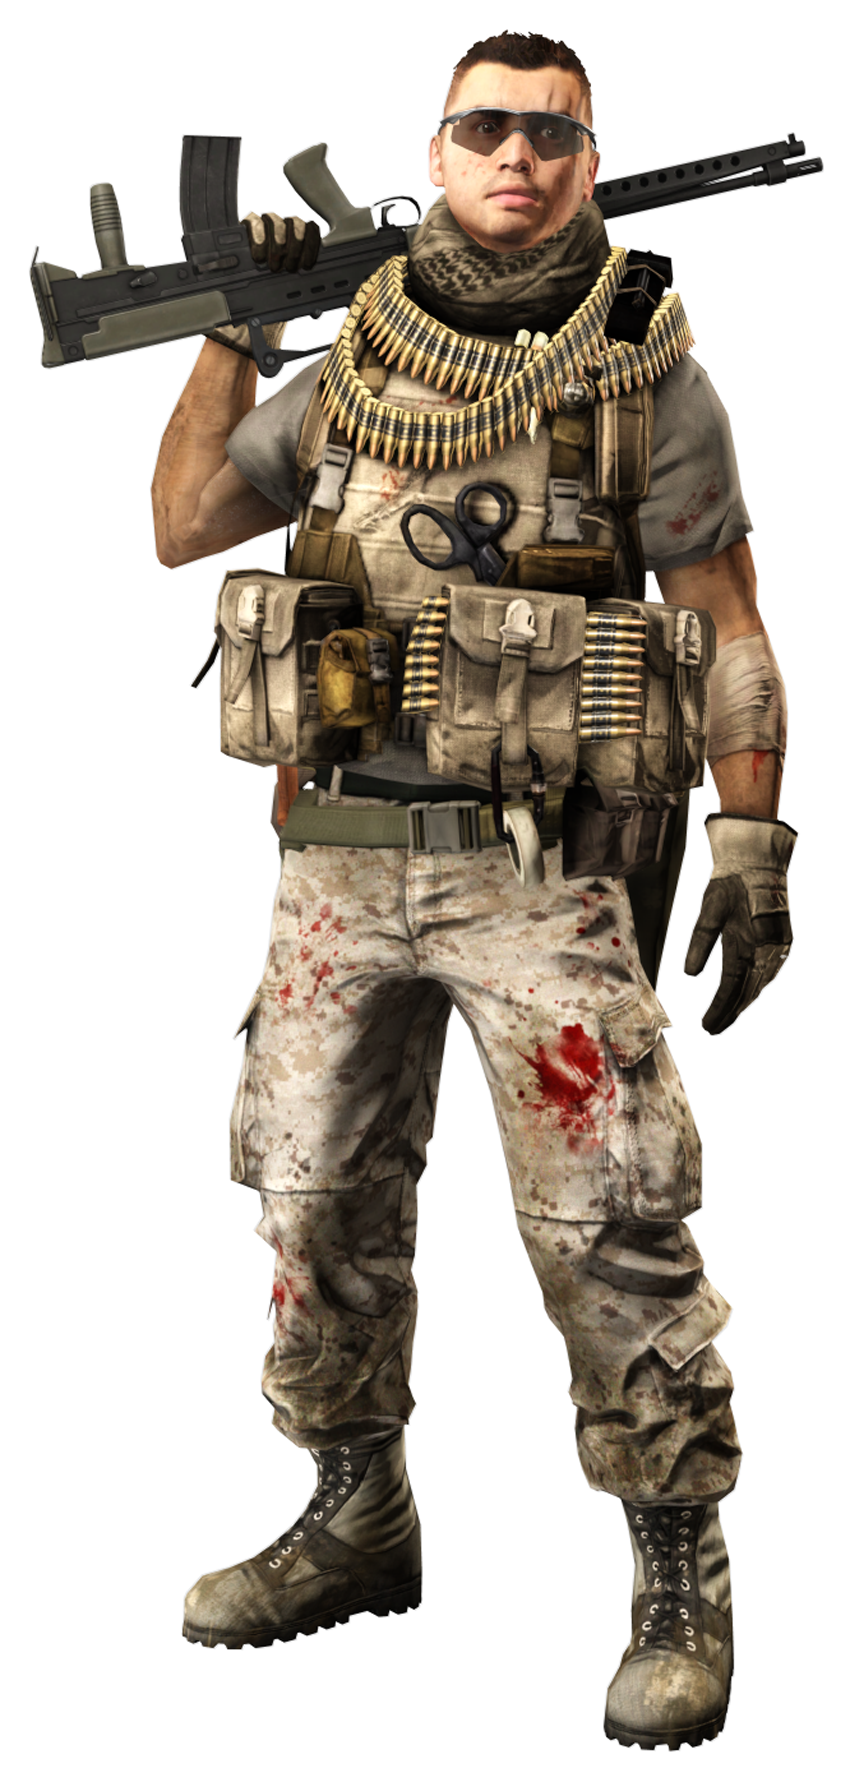
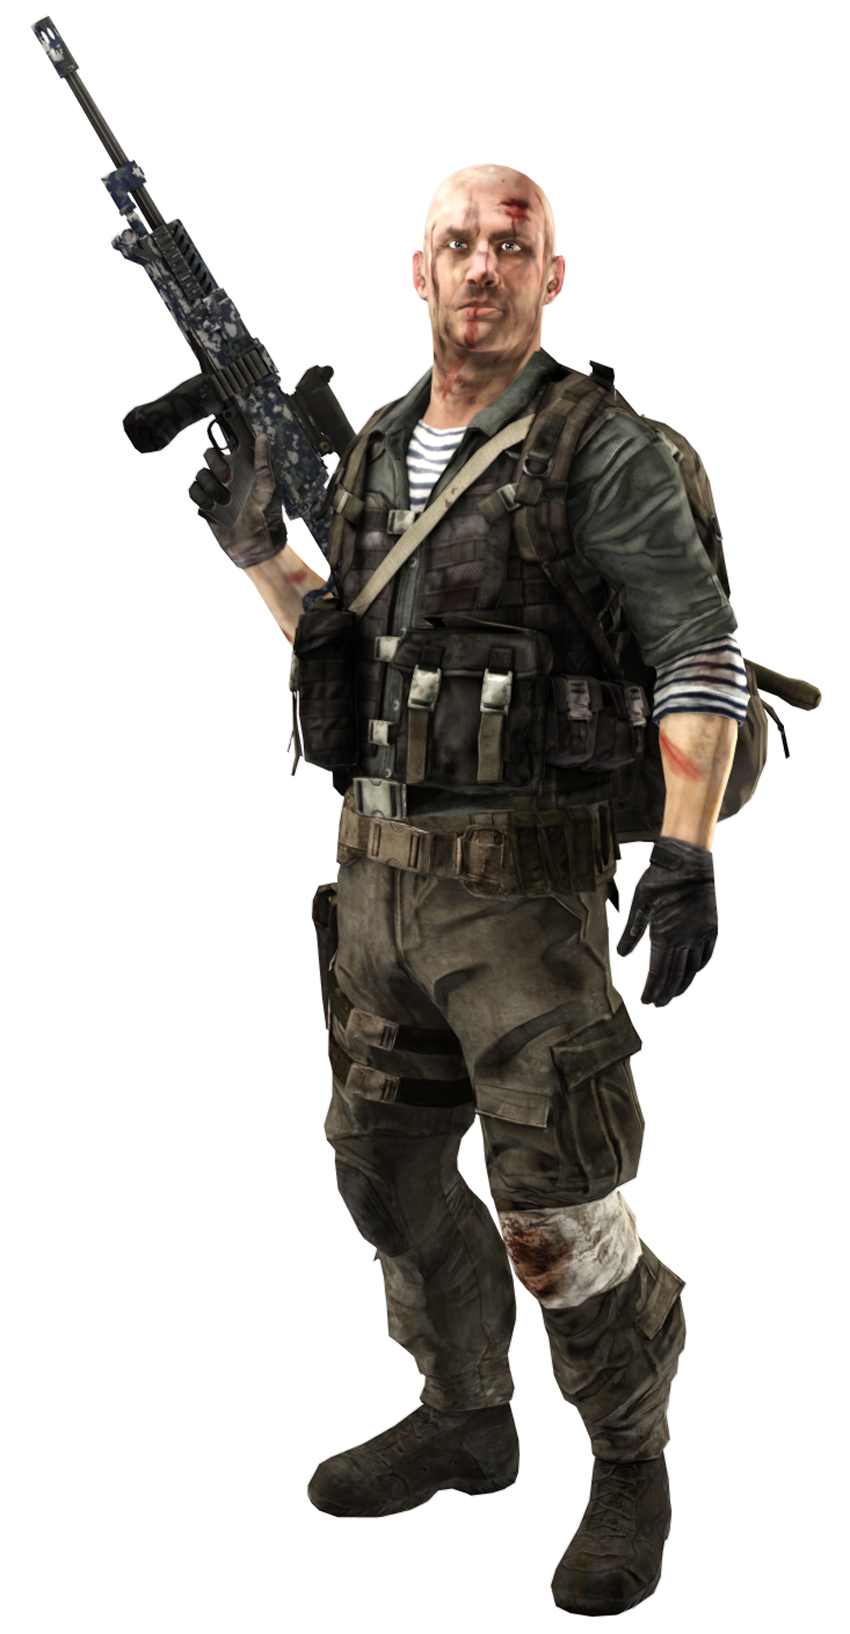
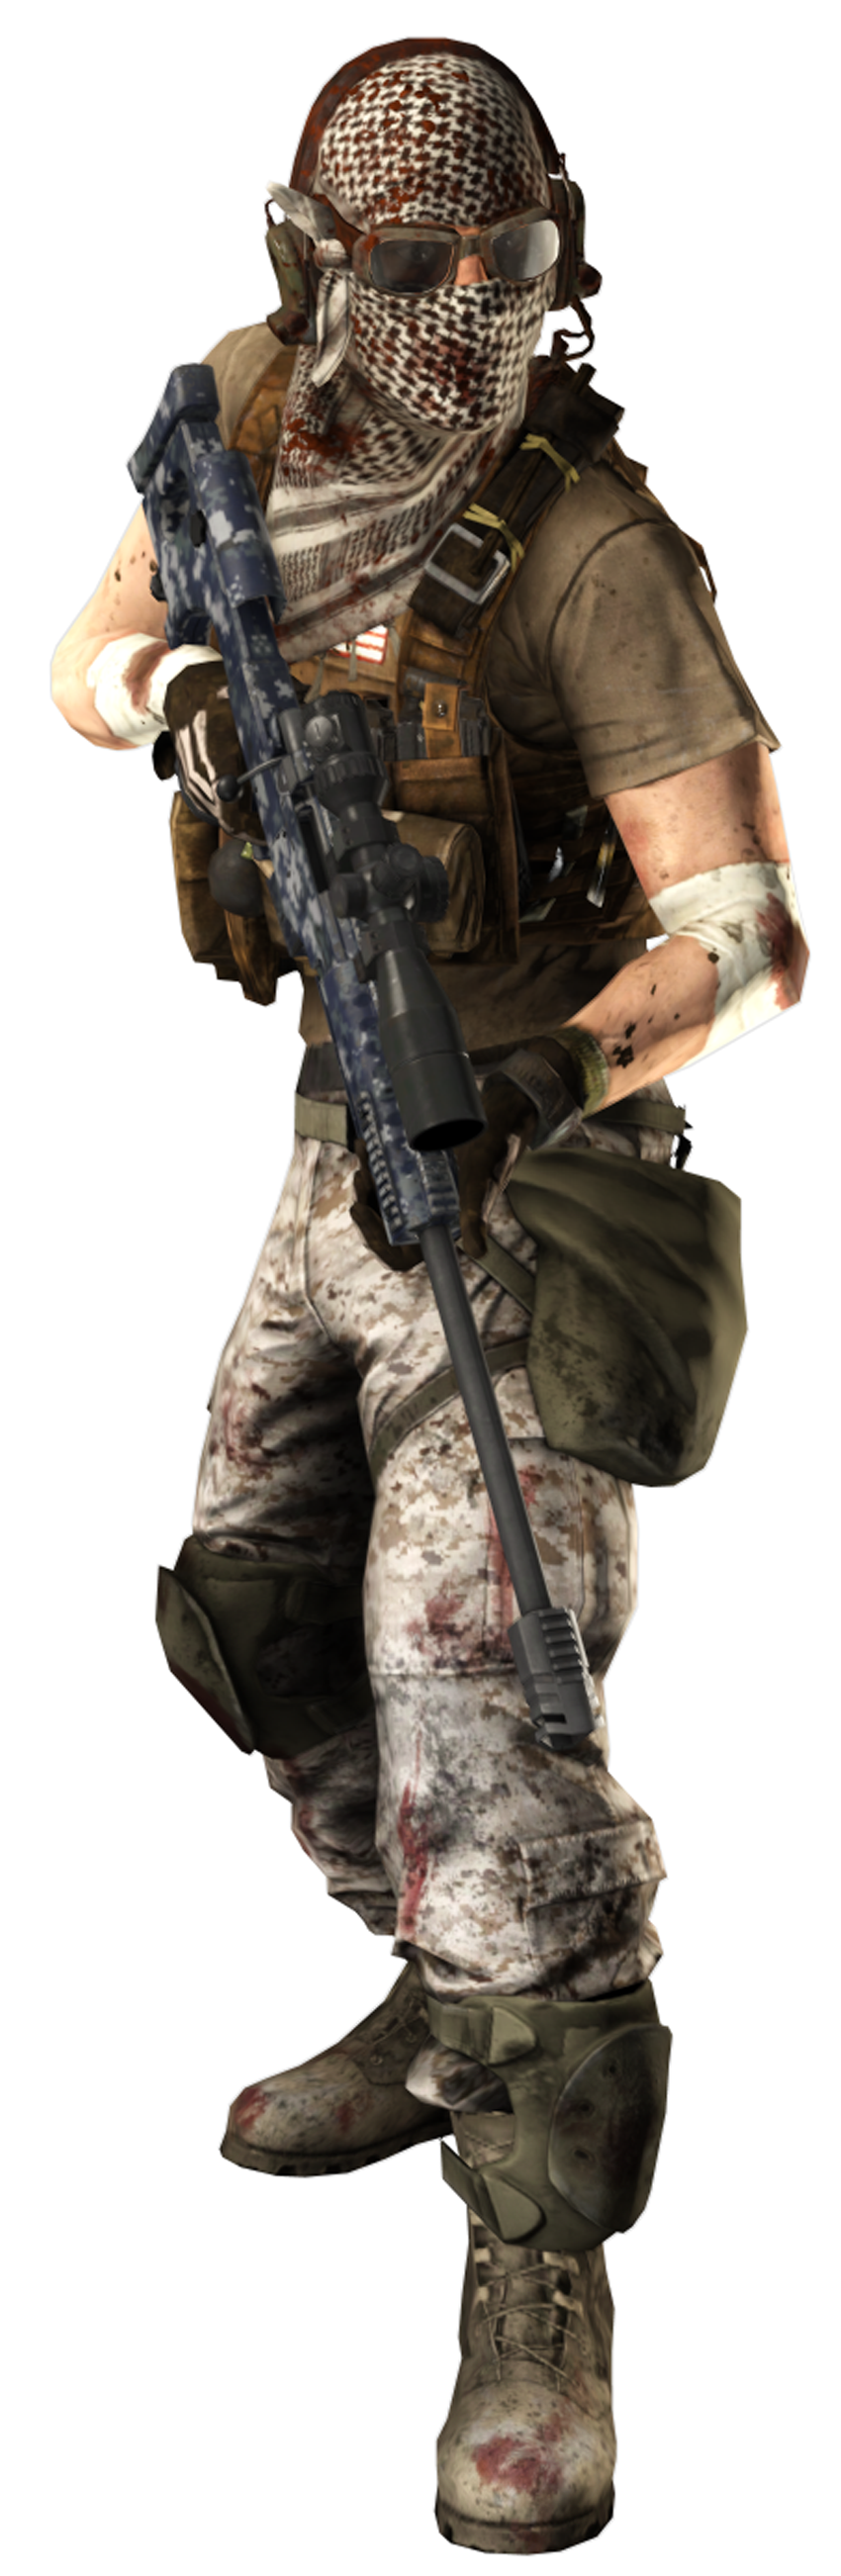
Following the earthquake event depicted in the single-player campaign in Battlefield 3, operational capacity in the Iran region is severely compromised. From the ashes rise survivors who are beat-up but not beaten. The whole style and tone in the themed expansion pack is one of being down but not out, and you can even see it in the multiplayer character design: These soldiers have bandages, cuts, and bruises, and their clothes are torn.
Assault
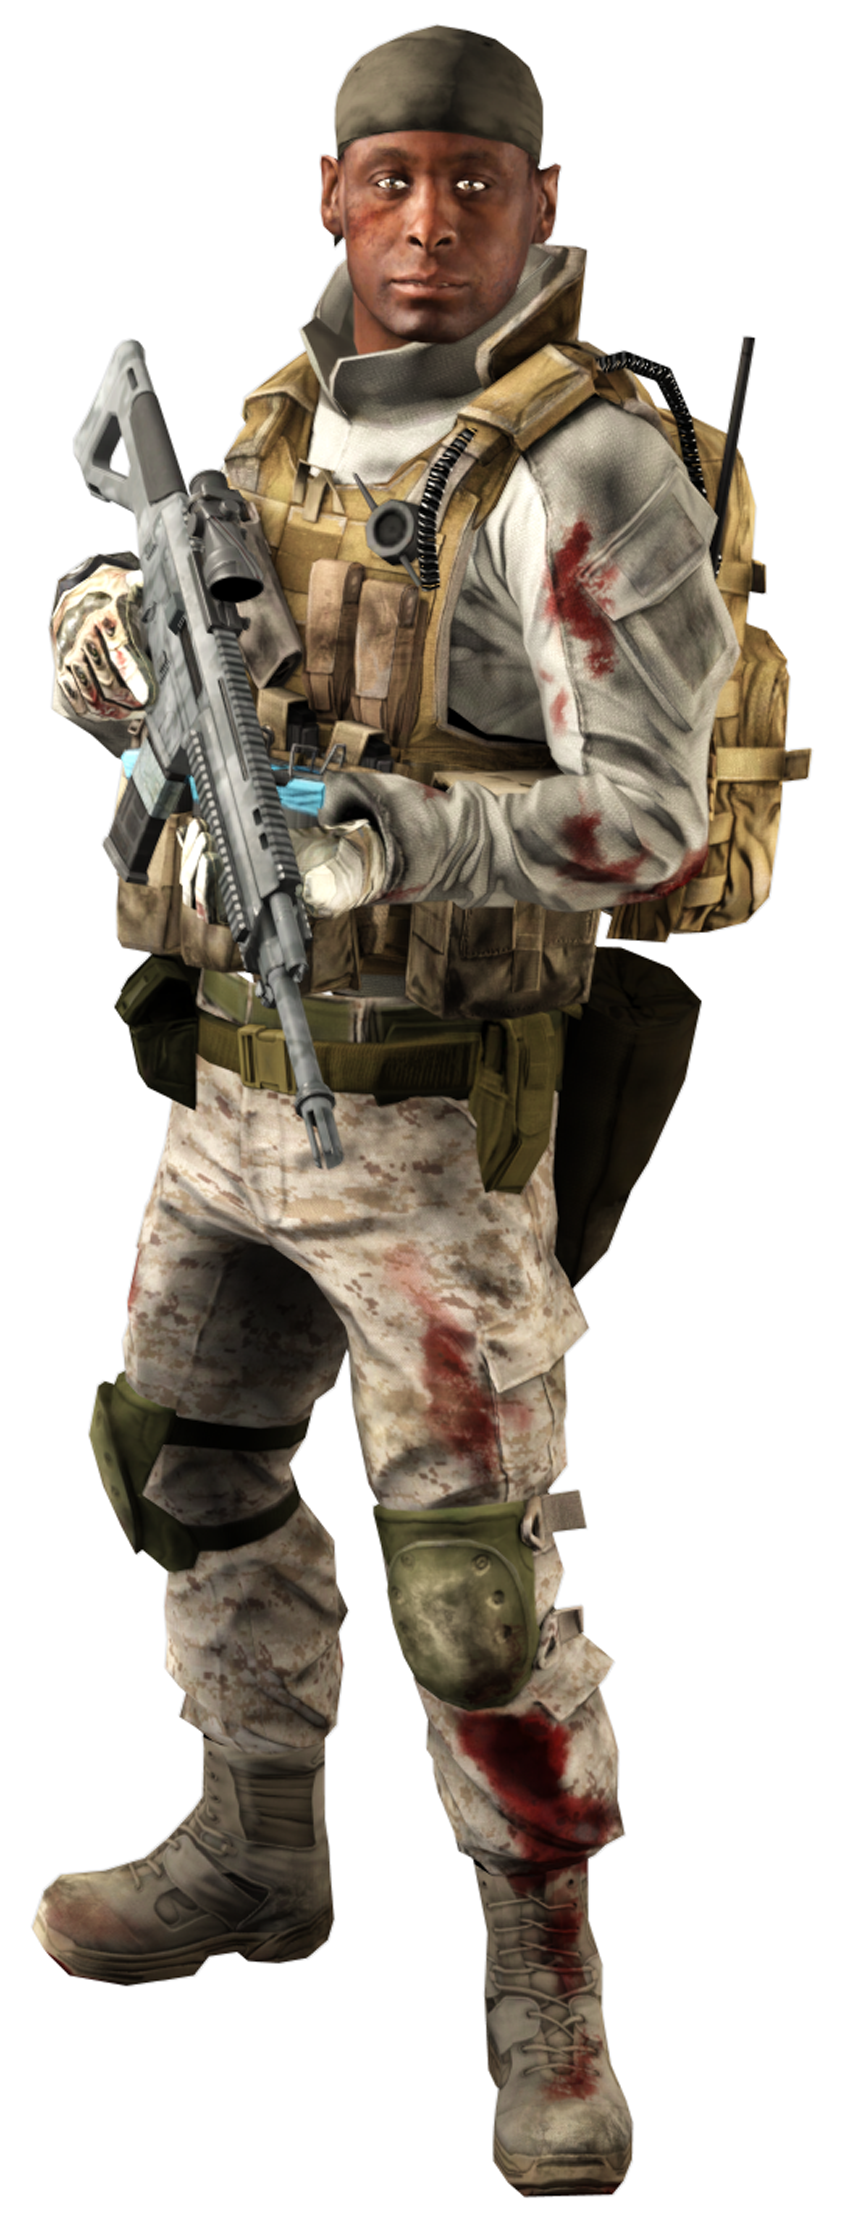
US Assault
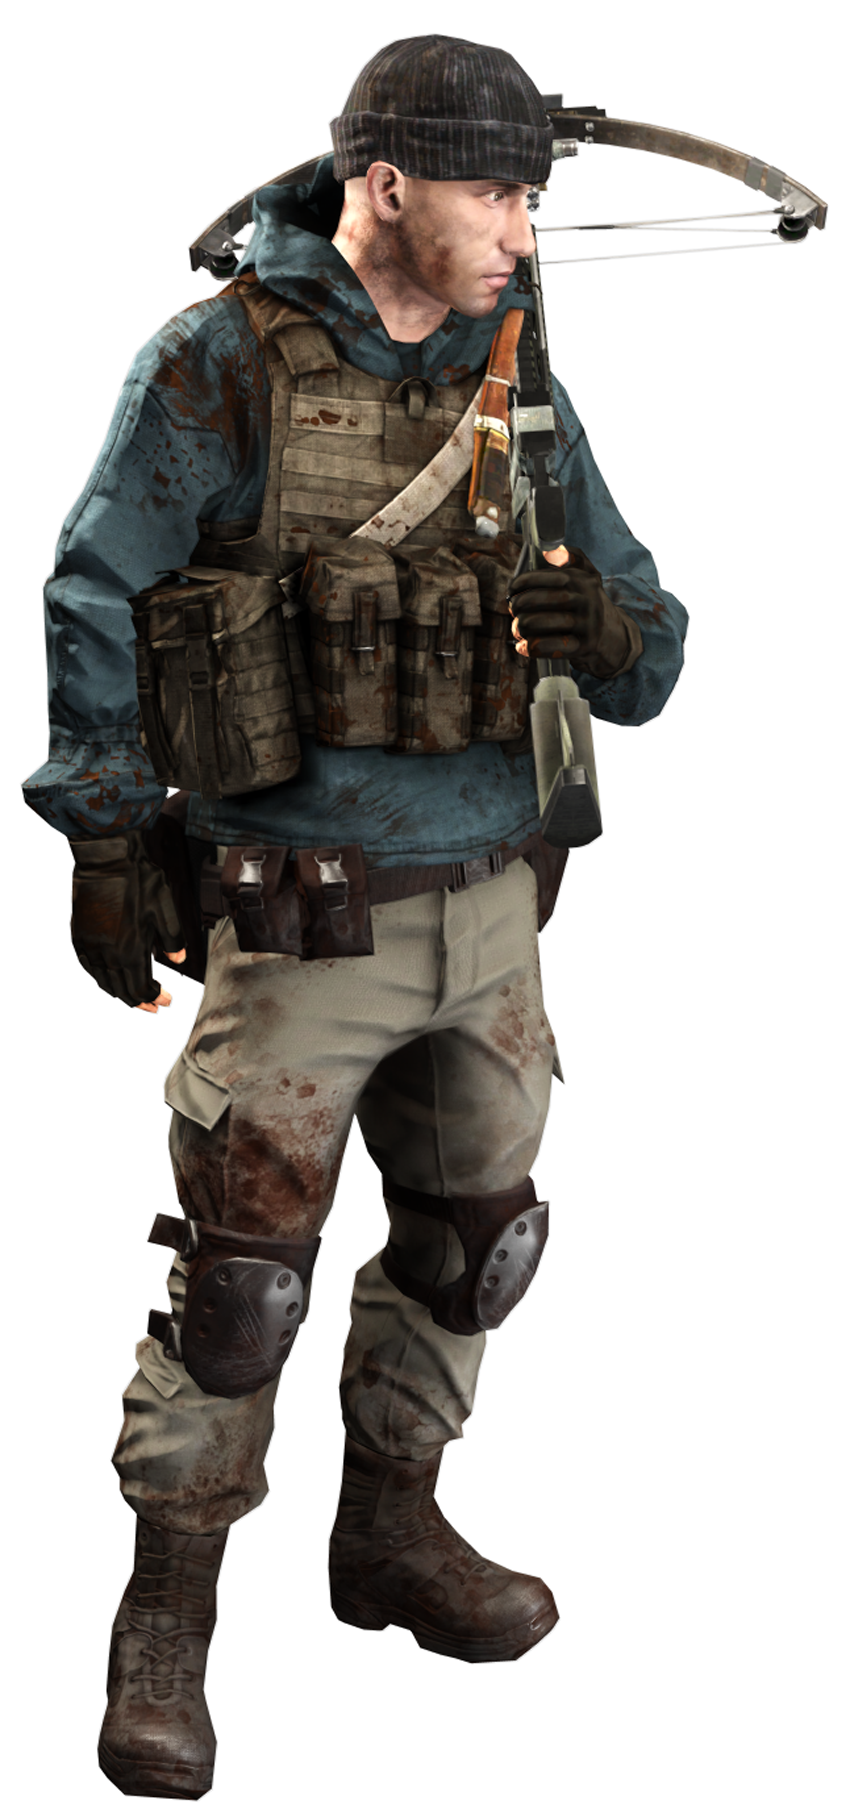
RU Assault
- Strengths: Well-rounded kit; heal/revive teammates
- Weakness: Weak anti-vehicle capability
The assault class is the most versatile of the four, proving effective in both offensive and defensive situations. When you’re not sure what kit to choose, you can’t go wrong with this one. The assault rifles associated with this kit are excellent at any range, and have great damage output and impressive rates of fire. Each assault rifle can also be equipped with the M320 40mm grenade launcher, which is great for blasting infantry, light-skinned vehicles, and even structures. The M26 MASS assault rifle attachment is a powerful shotgun capable of firing a variety of devastating ammo. Beyond their impressive offensive capabilities, the assault class is now responsible for healing injured teammates with the medic kit and reviving recently deceased teammates with the Defibrillator. The Defibrillator isn’t immediately available, so keep playing as the assault class to unlock it; it’s the first item unlocked.
Engineer
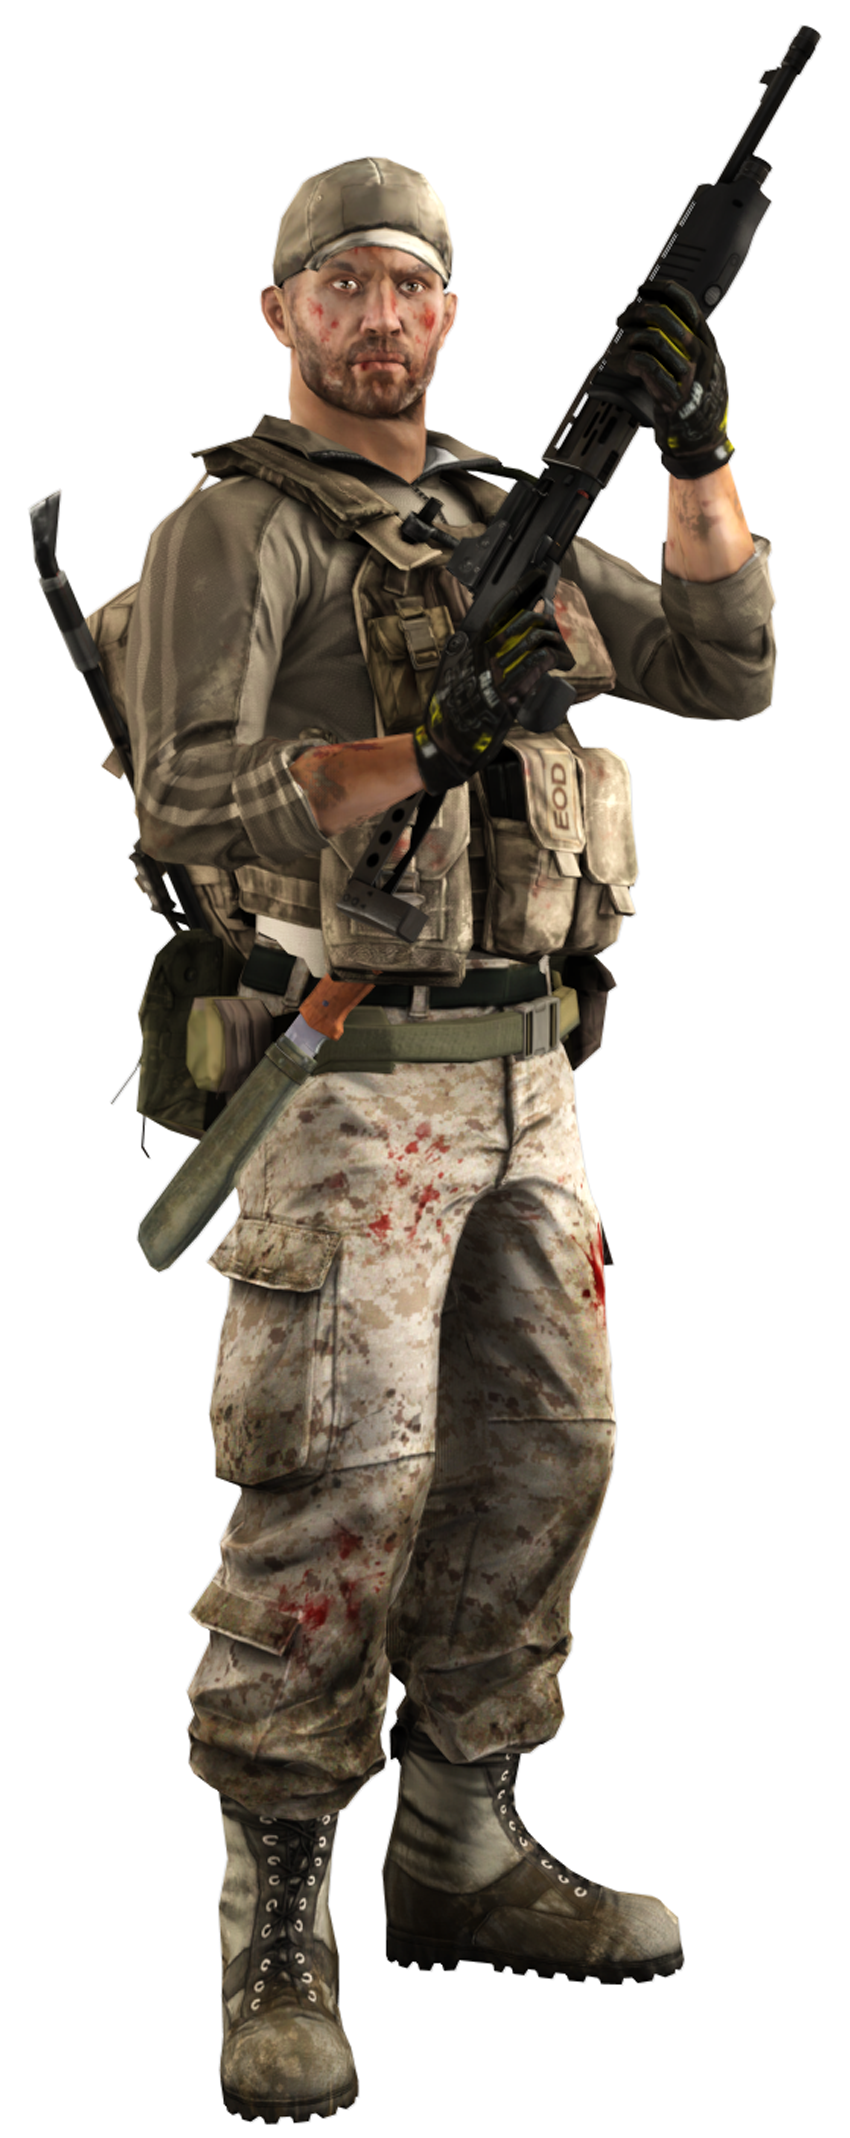
US Engineer
RU Engineer
- Strengths: Anti-vehicle specialist; vehicle repair
- Weakness: Limited anti-infantry capability
Engineers are great at taking out vehicles as well as fixing them. Out of the gate, the engineer is equipped with the SMAW or RPG-7V2 rocket launcher. Use this weapon (and the kit’s unlockable FGM-148 Javelin) to take out enemy vehicles, including heavily armored tanks and IFVs. The first unlocks available to this class are the FIM-92 Stinger and SA-18 IGLA shoulder-fired anti-aircraft missiles, which are perfect for shooting down helicopters and jets. While the engineer is strong against vehicles, the kit’s carbines are a bit underpowered, particularly at long range. So when you’re not facing tons of vehicles, consider choosing a different kit with better performance against infantry. In addition to demolishing vehicles, the engineer can also repair them with the Repair Tool. Repairing manned friendly vehicles can earn you Repair points that serve as a great way to supplement your score. Try to use the vehicle you’re repairing as cover, to avoid getting picked off by enemies.
Support
US Support
RU Support
- Strengths: Solid anti-infantry kit; ammo resupply
- Weakness: Limited anti-armor capability
The support kit is a crucial member of any squad, regardless of the tactical situation. These guys carry the massive light machine guns that are capable of laying down high volumes of sustained fire and are great for suppressing enemy infantry. The support class also has access to some of the most devastating weapons in the game, including C4, Claymores, and the new M224 Mortar. When they’re not busy scoring kills, support troops should supply teammates using the ammo box. The ammo box dispenses ammunition to all within a small radius. There are no ammo crates in multiplayer, so it’s up to the support players to replenish everyone’s ammo. You earn a Resupply bonus (10 points) whenever a teammate retrieves ammo from an ammo box, so don’t be stingy with these things. Scatter them around your teammates to boost your score. Since this is the only kit equipped with explosives, support players are also effective at taking out enemy vehicles with C4, either through direct application or through the creation of car bombs. So if you’re not satisfied laying down suppressive fire from a distance, take the fight to close range and do some damage with your explosives. But such attacks are extremely dangerous, so you had better have an assault buddy nearby to revive you.
Recon
US Recon
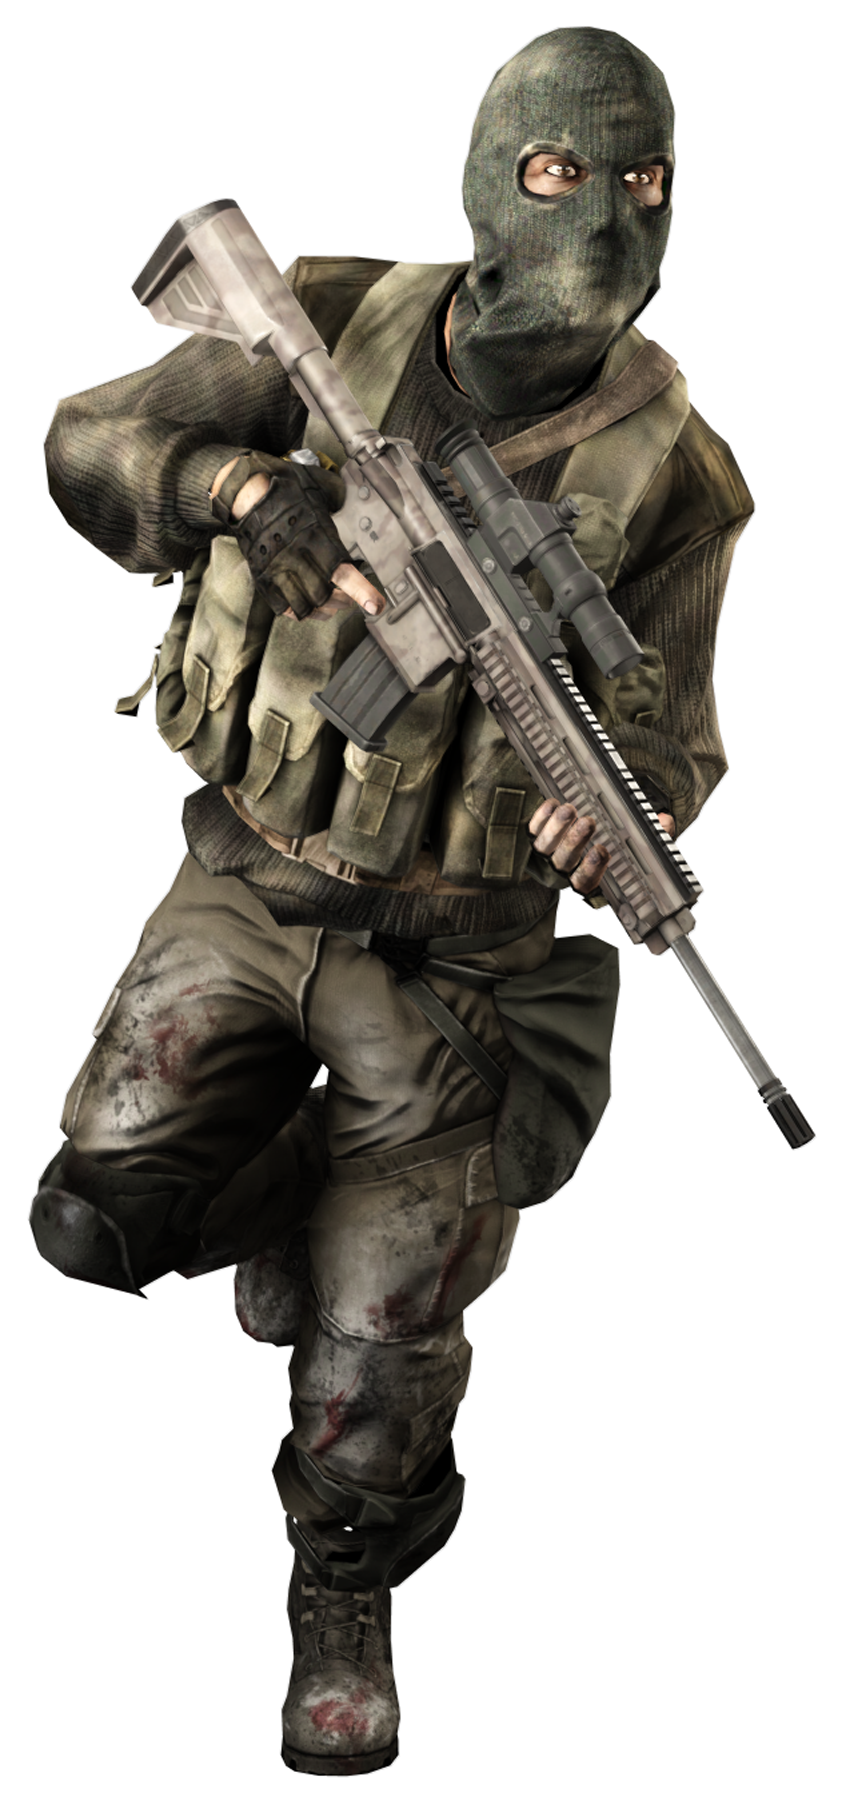
RU Recon
- Strength: Long-range/spotting specialist
- Weaknesses: Slow-firing; vulnerable in close quarters
The recon class is much more than just a sniper. Gadgets like the Radio Beacon, SOFLAM, MAV, and T-UGS motion sensor put a greater emphasis on team play, allowing the recon player to fill a more supportive role. It’s up to the recon class to spot targets for infantry and vehicles, informing teammates of enemy movement and designating targets for laser-guided munitions. But this doesn’t mean recon troops can’t also crack skulls at long range. The sniper rifles offered by this kit require the greatest amount of skill and patience of any weapon type, so they are best reserved for players willing to put in the practice to master them. Unless you score headshots every time, it will take two or three hits to down an opponent. Accuracy and stability can be improved significantly by firing from a prone position with a Bipod.