
All Traders and Shops in Hollow Knight Silksong – Merchant Locations
The real challenge is keeping the Rosary Beads.

Accumulating enough Rosaries for tools and upgrades is extremely challenging in Hollow Knight: Silksong. Every death puts you back to zero and sends you on a hunt for your own corpse, making it hard to purchase upgrades, let alone find the merchants.
Here’s a list of all the traders, what items they sell, and how much they cost, so you can easily save and find upgrades you need in Hollow Knight: Silksong.
All Merchant Locations and What They Sell in Hollow Knight Silksong
Shakra – Bone Marrow
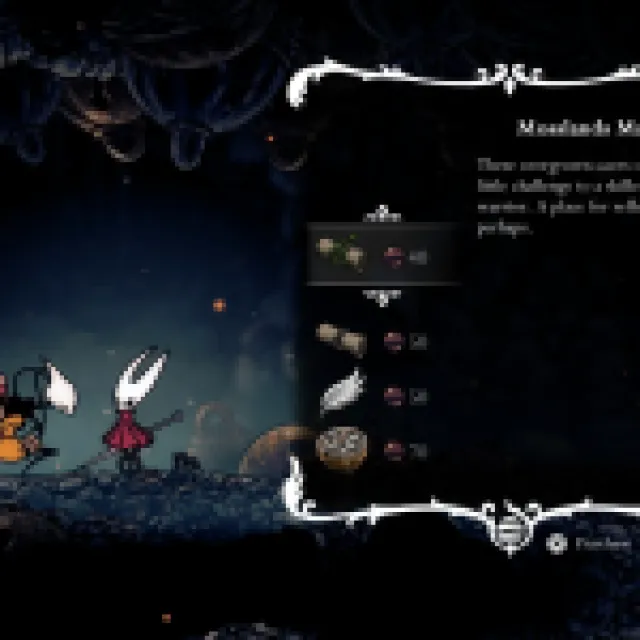
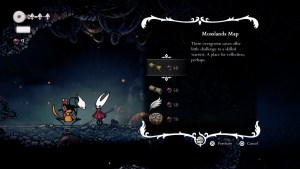

She sings, so she’s quite easy to locate.
| Item | Rosary Cost | Information |
| Mosslands Map | 40 | Mossland Map |
| The Marrow Map | 50 | The Marrow Map |
| Quill | 50 | Add new areas to your map. |
| Compass | 70 | Help track location. |
| Bench Pins | 60 | Marks the rest areas. |
| Shell Marker | 40 | Allows you to mark spots on the map |
Shakra is one of the earliest traders or merchants you’ll encounter. She’s casually staying at the top-left region of the Bone Marrow, conveniently located just before the Mosshome area and the second boss fight, the Bell Beast.
She sells the key tools to unlock the map. You’ll buy the Mosslands and Marrow Maps, but you’ll also need the Quill to write and chart down the new areas on the map.
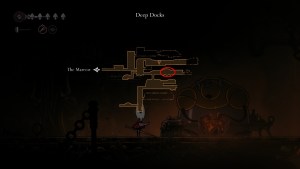
Shakra – Deep Docks


Shakra still sells everything from the previous encounter, along with these additional new items:
| Item | Rosary Cost | Information |
| Deep Docks Map | 50 | Deep Docks Map |
| Bellway Pins | 60 | Mark station on the map. |
| Vendor Pins | 80 | Pin vendor markers on the map. |
| Ring Marker | 40 | Mark important places on the map. |
Shakra shows up early in the Deep Docks, so you can buy her Deep Docks map early. She will also start selling Vendor Pins, which should help you easily identify all the merchants.
Shakra – Sands of Karak
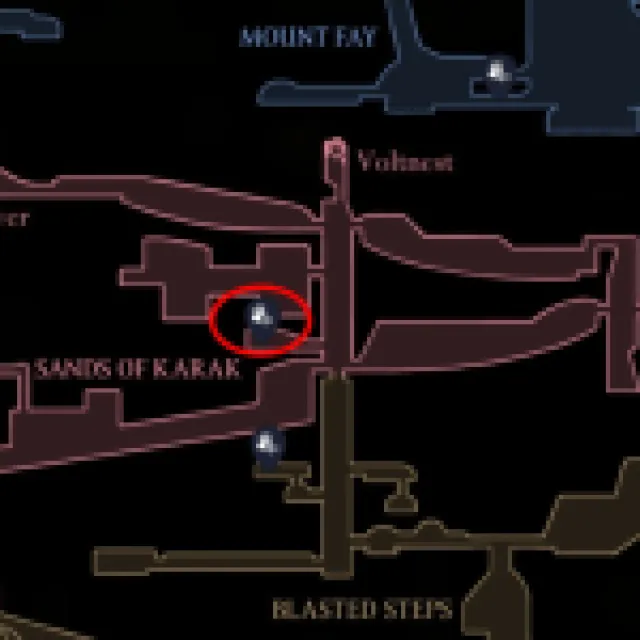
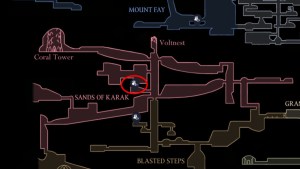
| Item | Rosary Cost | Information |
| Sands of Karak Map | 90 | Sands of Karak Area Map |
Pebb – Bone Bottom
On the surface of Bone Bottom; He’s quite hard to miss.
| Item | Rosary Cost | Information |
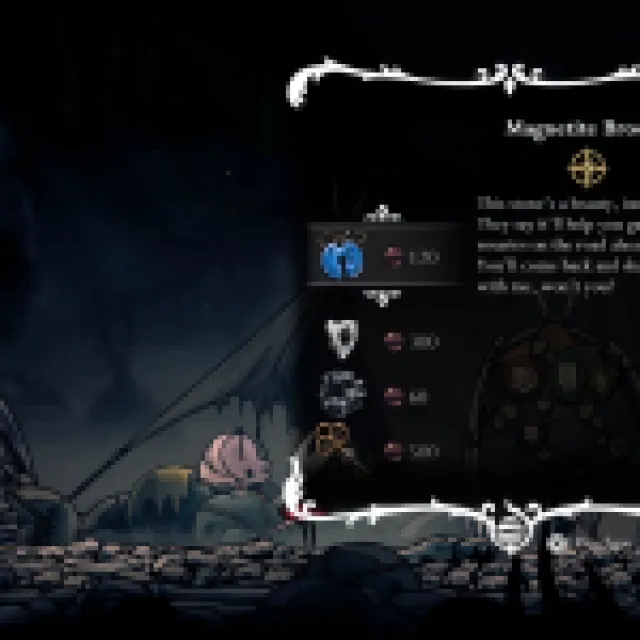
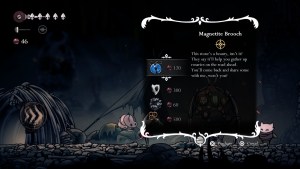
| Magnetite Brooch | 120 | Magnetize Rosaries to pick them up with ease. |
| Mask Shard | 300 | For luck. |
| Craftmetal | 60 | A skilled craftsbug could work on it. |
| Simple Key | 500 | Unlocks something in the Citadel. |
| Rosary String | 80 | Strings up Rosaries so you don’t lose them. |
Pebb sells a lot of useful items, like the Rosary String, which helps you keep your Rosaries when dying. His wares are much more expensive, even if they are available early. Early in the game, they shouldn’t be your priority since they are too expensive, but if you get to farm a lot of Rosary Beads early, you can always come back to Pebb since he’s literally next to the fast travel point in Bone Bottom.
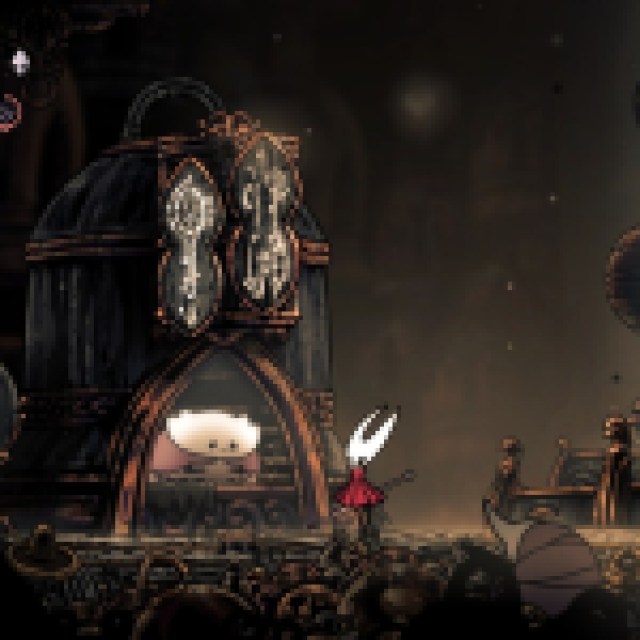
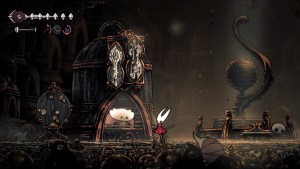
Forge Daughter – Deep Docks
| Item | Rosary Cost | Information |
| Sting Shard | 140 (requires Craftsmetal) | Stabbing trap. |
| Magma Bell | 110 (requires Craftsmetal) | Trinket worn to ward against lava. |
| Crafting Kit | 180 | You can craft finer, sharper, and deadlier tools. |
| Shards Bundle | 50 | Used mainly to maintain tools when shards are needed for repair. |
The Forge Daughter sells mostly traps and some nifty tools. You’ll find her just after getting trapped fighting a bunch of enemies. After the encounter, a platform shows up and brings you up. You have to keep hitting the levers to get up. There’s also a rest area nearby, which will be easy to get to in the future.
Freya – Belhart
| Item | Rosary Cost | Information |
| – | 880 | – |
| Spool Fragment | 270 | A gift left behind by the old creeping ones. |
| Memory Locket | 330 | Used to expand Crests. |
| Rosary Necklace | 140 | Can be broken for 120 Rosaries. |
| Crafting Kit | 180 | You can craft finer, sharper, and deadlier tools. |
| Shard Bundle | 50 | Used mainly to maintain tools when shards are needed for repair. |
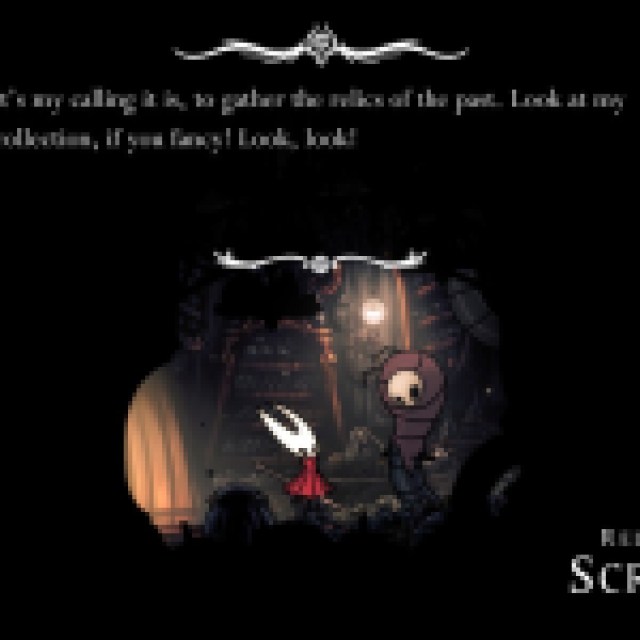
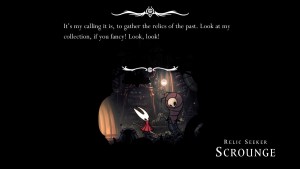
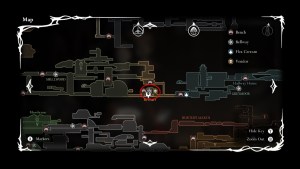
Just above Ferya’s location in Belhart, you’ll also find Relic Seeker Scrounge, who can trade relics with you.
Mottled Skarr – Hunter’s March

From the bench in Hunter’s March, head right and updraft up. Once on top, smash to the left and run through the traps until you find Mottled Skarr.
| Item | Rosary Cost | Information |
| Curveclaw | 140 | Arched bone weapon (boomerang). |
| Fractured Mask | 260 | Shields you against critical damage, but only usable once. It resets when resting. |
| Shard Bundle | 50 | Used mainly to maintain tools when shards are needed for repair. |
Mottled Skarr gives you weapons like the boomerang and also a mask that helps you survive more. Since the Fractured Mask isn’t a consumable and resets upon resting, it is a must-have for survivability.
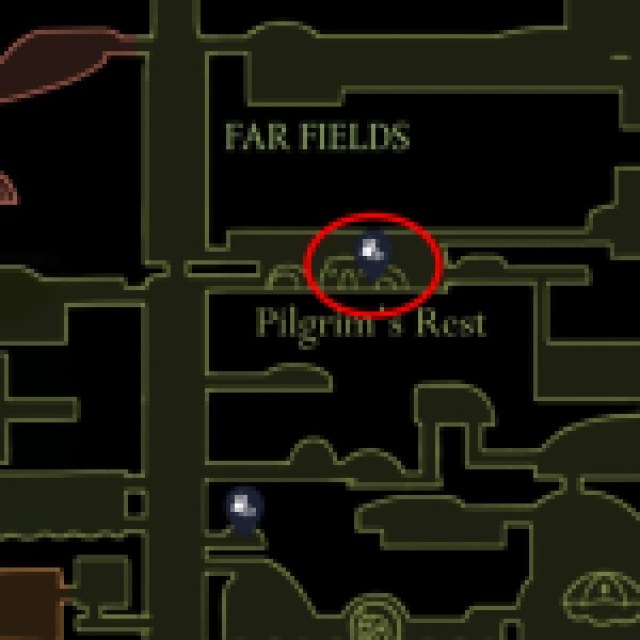
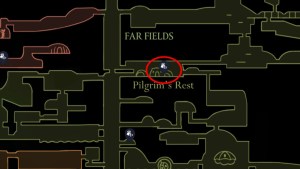
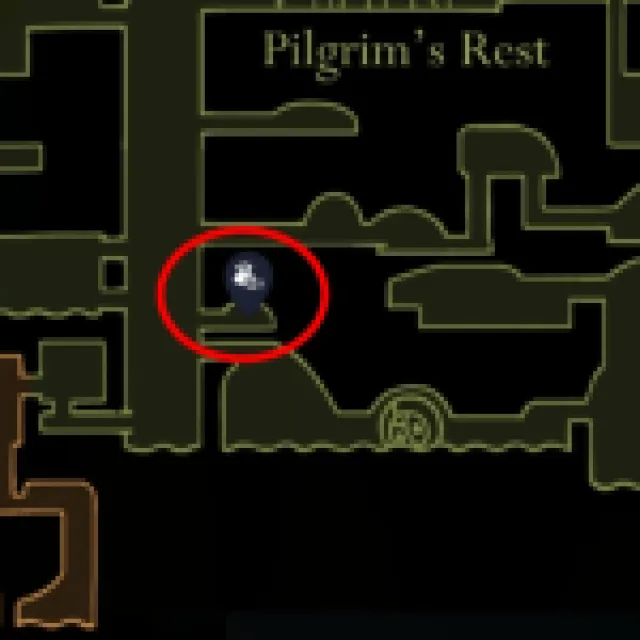
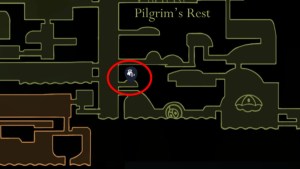
Mort – Far Fields – Pilgrim’s Rest
| Item | Rosary Cost | Information |
| Weighted Belt | 160 | Gives you more time to recover after taking damage. |
| Tool Pouch | 220 | Increase capacity for tools and Shell Shards. |
| Memory Locket | 150 | Expand Crest capacity. |
| Rosary String | 80 | Strings up Rosaries so you don’t lose them. |
Shakra – Far Fields
Sells the Far Fields map.
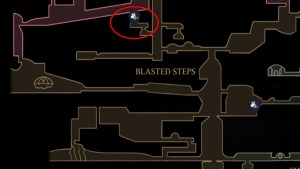
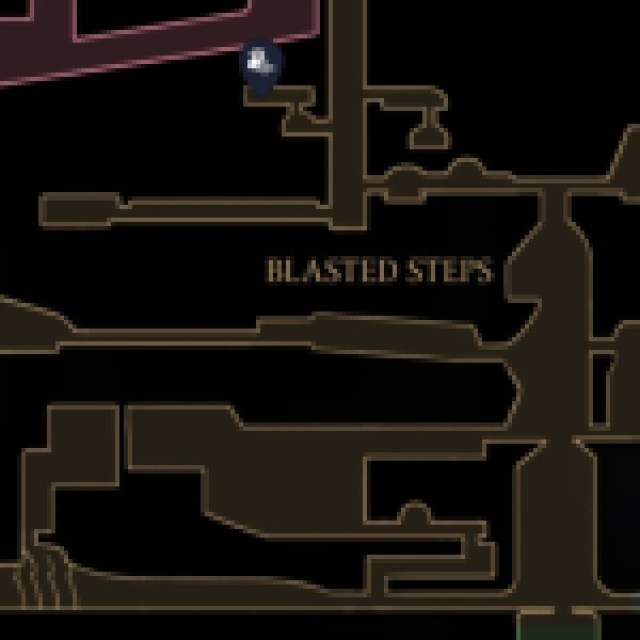
Grindle – Blasted Steps

| Item | Rosary Cost | Information |
| Thief’s Mask | 350 | Enemies drop more Rosaries but you drop Rosaries when taking damage. |
| Spool Fragment | 680 | A gift left behind by the old creeping ones. |
| Crafting Kit Upgrade | 700 | Upgrade the crafting kit. |
| Psalm Cylinder | 180 | Enemies drop more Rosaries, but you drop Rosaries when taking damage. |
| Snitch Pick | 740 | Harpoon into an enemy. |
| Magnetite Dice | 300 | Chance to negate an attack. Shows up after visiting the Choral Chambers. |
| Rosary String | 80 | Strings up Rosaries so you don’t lose them. |
Shakra – Blasted Steps

Shakra pretty much sells the same things, like pins and markers. She’ll add additional maps to her store depending on your location. In this case, you’ll see maps like Blasted Steps for 70 Rosaries and other maps you haven’t bought previously.
Shakra – Mount Fay

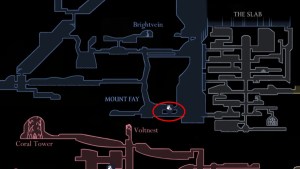
Sells the Mount Fay map.
Shakra – Bilewater
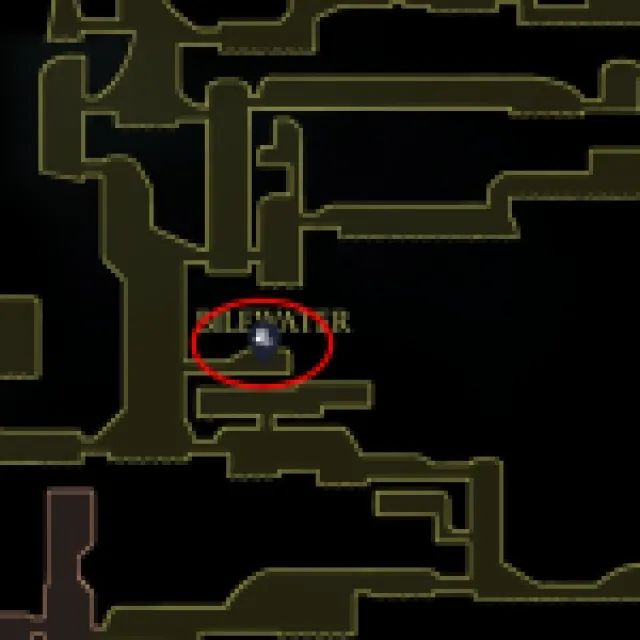

Sells the Bilewater map.
Shakra – Sinner’s Road
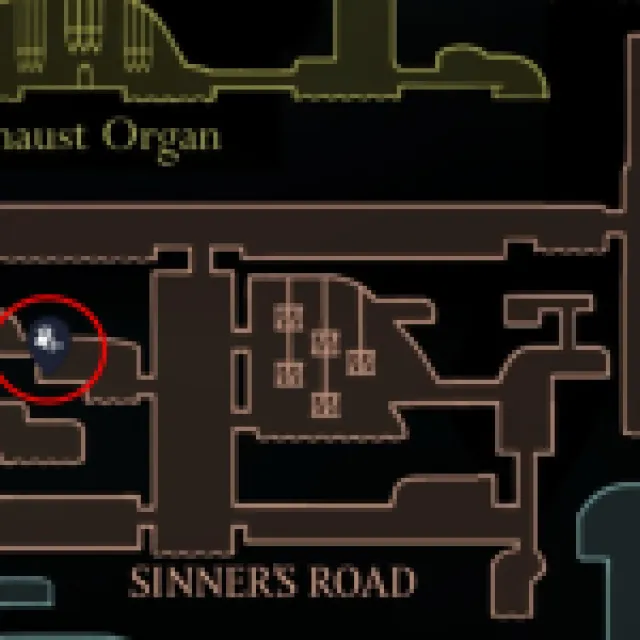
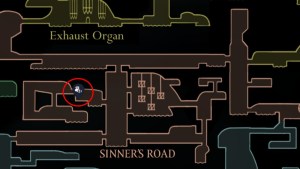
Sells the Sinner’s Road map.
Shakra – Greymoor – Craw Lake
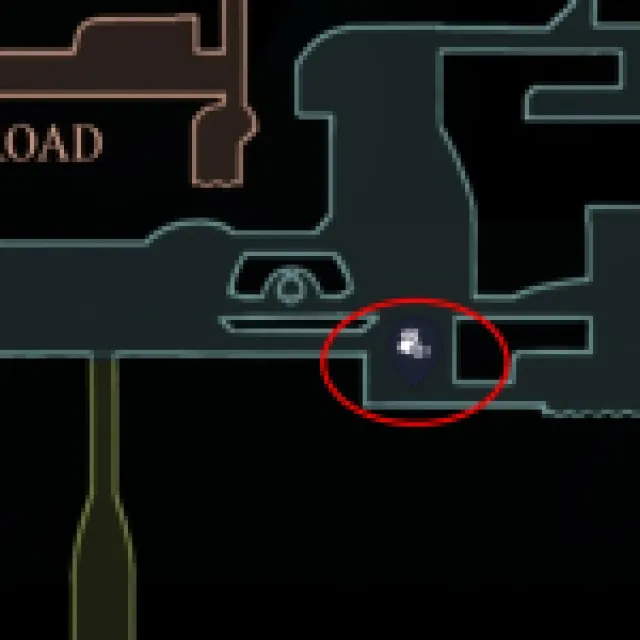
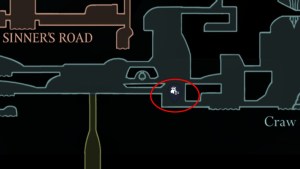
Sells the Greymoor map.
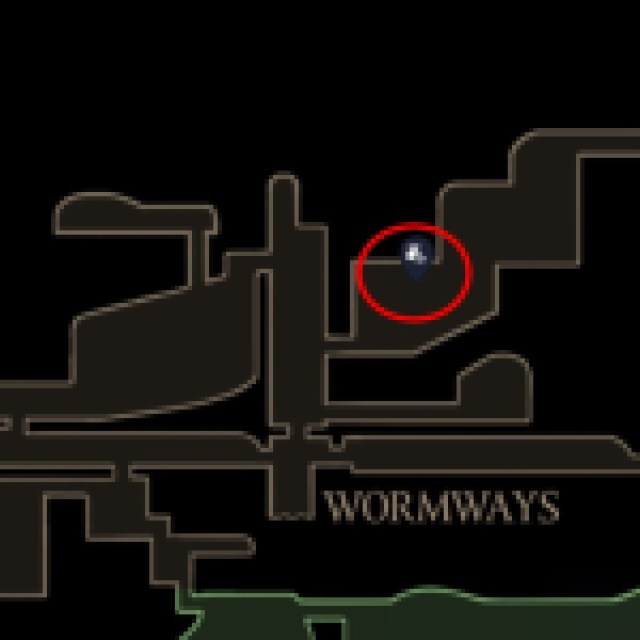
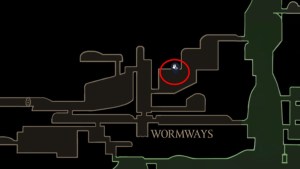
Shakra – Wormways
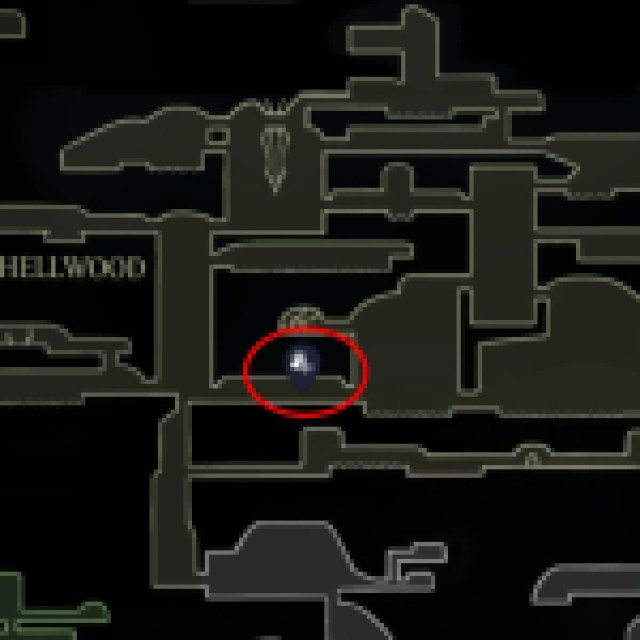
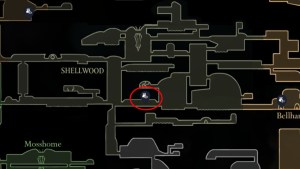
Shakra – Shellwood
Jubilana – Choral Chambers – Songclave
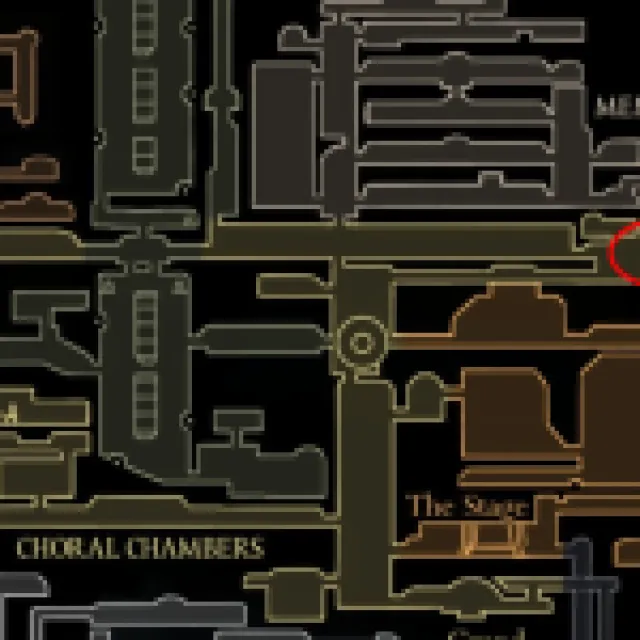
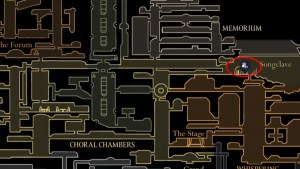
You must finish a quest called “The Wandering Merchant” activated from the quest board in Belhart.
| Item | Rosary Cost | Information |
| Ascendant’s Grip | 350 | Gives the ability to hold in place while on a wall. |
| Mask Shard | 750 | Part of a whole mask, mainly used to protect against damage. |
| Simple Key | 650 | Unlocks something in the Citadel. |
| Spool Extender | 720 | Allows storing of more Silk. |
| Rosary String | 80 | Strings up Rosaries so you don’t lose them. |
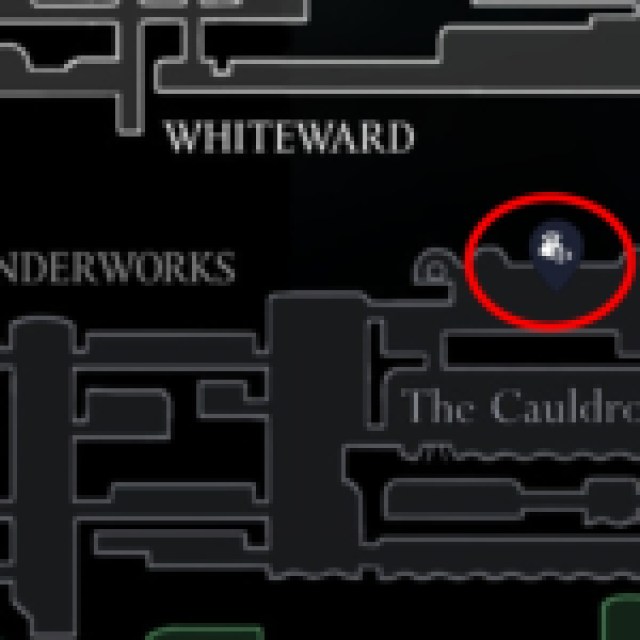
Twelfth Architect – Underworks – The Cauldron

| Item | Rosary Cost | Information |
| Silkshot | 130 (needs Craftsmetal and Ruined Tool) | Launches three projectile attacks, but uses Shell Shards and Silk. |
| Cogwork Wheel | 360 (needs Craftsmetal) | Propel yourself forward and attack the enemies in one motion. |
| Sawtooth Circlet | 230 (needs Craftsmetal) | Flaring the cloak will spin blades and damage enemies around you. |
| Scuttlebrace | 140 (needs Craftsmetal) | Give the ability to dodge backwards |
| Crafting Kit Upgrade | 450 | Upgrade the crafting kit. |
| Architect’s Key | 110 + 12 Tools | Opens the Chapel of the Architect for the Architect Crest. |
| Shards Bundle | 50 | Used mainly to maintain tools when shards are needed for repair. |
Requires Clawline to get to the spot.
If you’d like to see more helpful guides, news, or features from Prima Games, please consider adding us to your preferred sources (available to users in the US or India).