How To Install Mods for Red Dead Redemption on PC
Zombie John? Sure, why not.

Red Dead Redemption has finally made its way to PC after 14 years since its original release on the PS3 and Xbox 360. This port is handled by Double Eleven and runs flawlessly on a variety of hardware. It pushes the draw distance further and improves the overall shadow quality as well. In true PC fashion, there are tons of mods for the release already out for Red Dead Redemption, and here is how you can install those.
Installing Mods for Red Dead Redemption
Mods for Red Dead Redemption come in different categories. Some of these change the game’s existing systems, like the camera, parts of its visuals, and presentation, while other mods replace existing models and textures with something different. Installing these is thankfully fairly simple, and we’ll explain how it works with an example for each category.
Systems Replacement Mods
The mods of this category replace an existing “rpf” file available in the “game” folder in Red Dead Redemption’s installation folder. This type of mod essentially replaces an existing system, texture pack, fonts, or animations with something different created by modders.
For example, the “RDR 2 Camera Style” mod from k1nt4ro replaces the game’s camera with perspective with a closed-in camera similar to what is found in Red Dead Redemption 2. For this mod to work, players need to replace the camera.rpf file in the “game” folder with the one provided by the mod author.
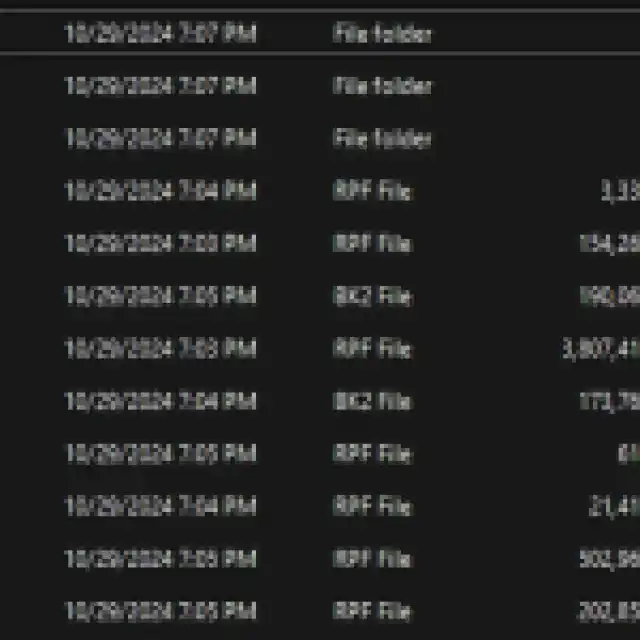
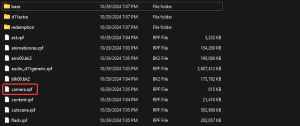
Any time you’re replacing or modifying an RPF file, make sure to back up the original in case you don’t like the modded version or if something goes wrong. Similarly, the “RDR Upscaled Textures” mod from FiK replaces all in-game textures of the vfx.rpf file, meaning it’s a complete replacement, so all you need to do is to replace the file.
Customization Mods
While some customization mods can replace an entire rpf file, a lot of mods will target an individual aspect of the rpf file. For example, if we want to replace the default Gentleman’s Attire with the “Black Variant” which is a mod created by Sir_galahad172, we will have to use the Magic RDR tool that allows editing rpf files.
- First, head over to the GitHub page for Magic RDR, and download the latest version by selecting MagicRDR_v1.3.6.3.rar under Assets. Extract the zip file.
- Download the mod files from Nexus Mods, and extract that as well.
- Head over to the following location, and make a backup of the mapres.rpf file
\Red Dead Redemption\game
- Now, launch MagicRDR.exe
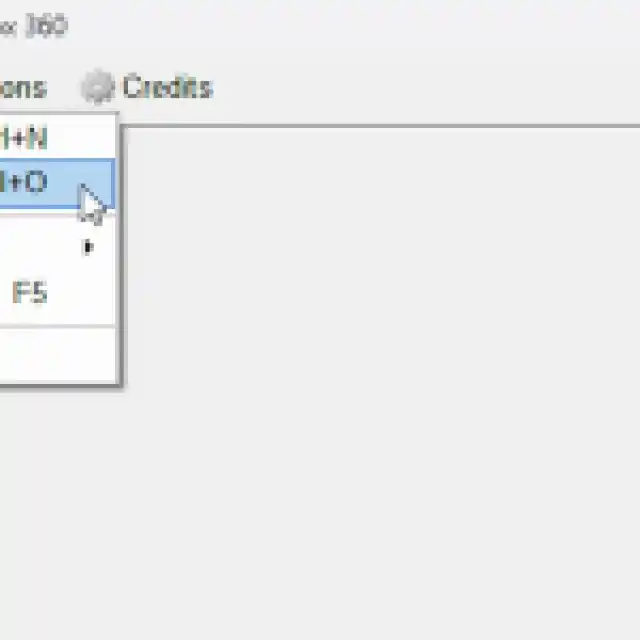
- Select File, followed by Open

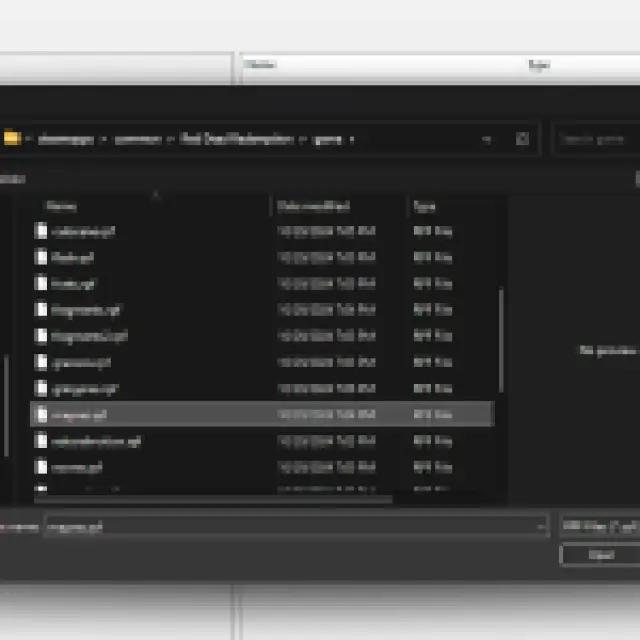
- Locate the mapres.rpf file, and you’ll see a bunch of values. Don’t worry, you don’t need to do anything with them.
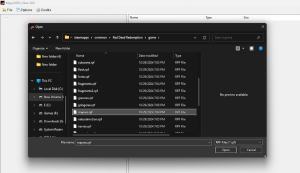
- Simply drag the smic_player_social_1.wtd file from the mod folder into MagicRDR, and you’ll be able to replace the specific part of mapres.rpf with the modded entry.
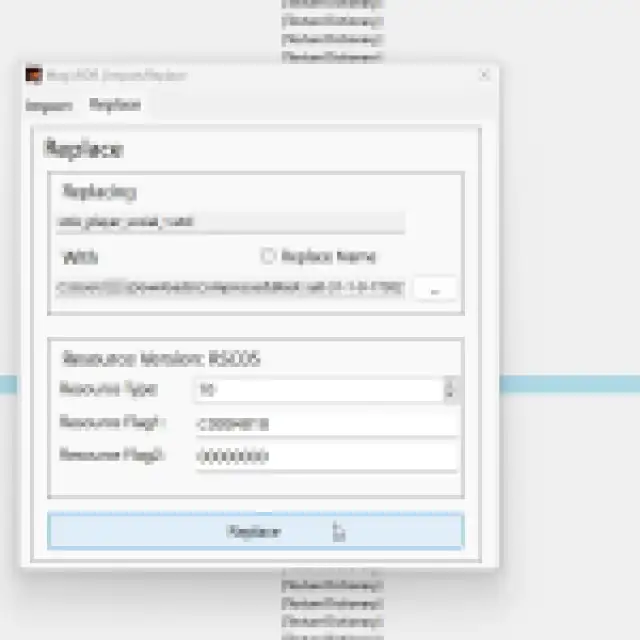

- Save the file (Ctrl + S), and exit out.
That’s all you need to do for mods like this, and the next time you launch Red Dead Redemption, the mod will be applied. In this case, the Gentleman’s Attire will be replaced by the black variant.
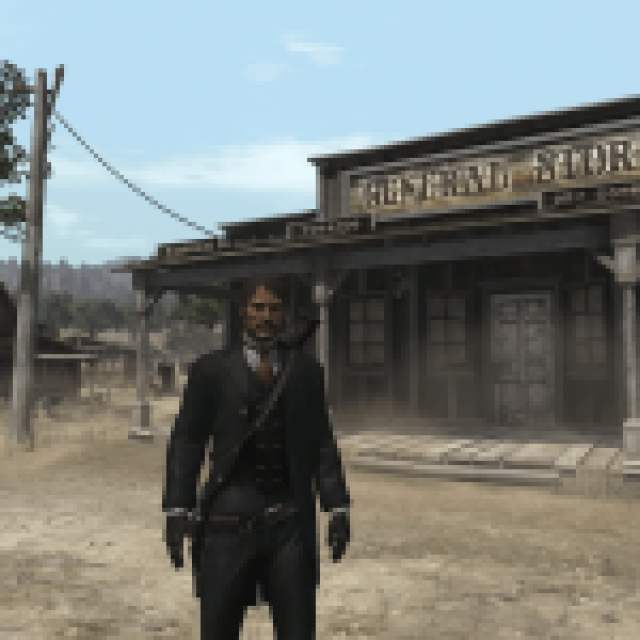

If you aren’t happy with the mod, you can simply delete the modded rpf file, and restore your backup.
Utilities and Added Features
Some mods offer value in terms of improved features, and added tools. For instance, the ultrawide mod by Rose removes pillar boxing from the game’s cutscenes. These are pretty simple to install, and either have existing executables that patch the game or have a few files that need to be pasted in the installation folder.

Overall, most mods will fall in one of the categories above, and thankfully, MagicRDR is a simple tool that allows easy swapping of in-game assets. If you’re looking for some essential mods, our curated list of the best mods for Red Dead Redemption covers a variety of customization, technical improvements, and quality-of-life features.
